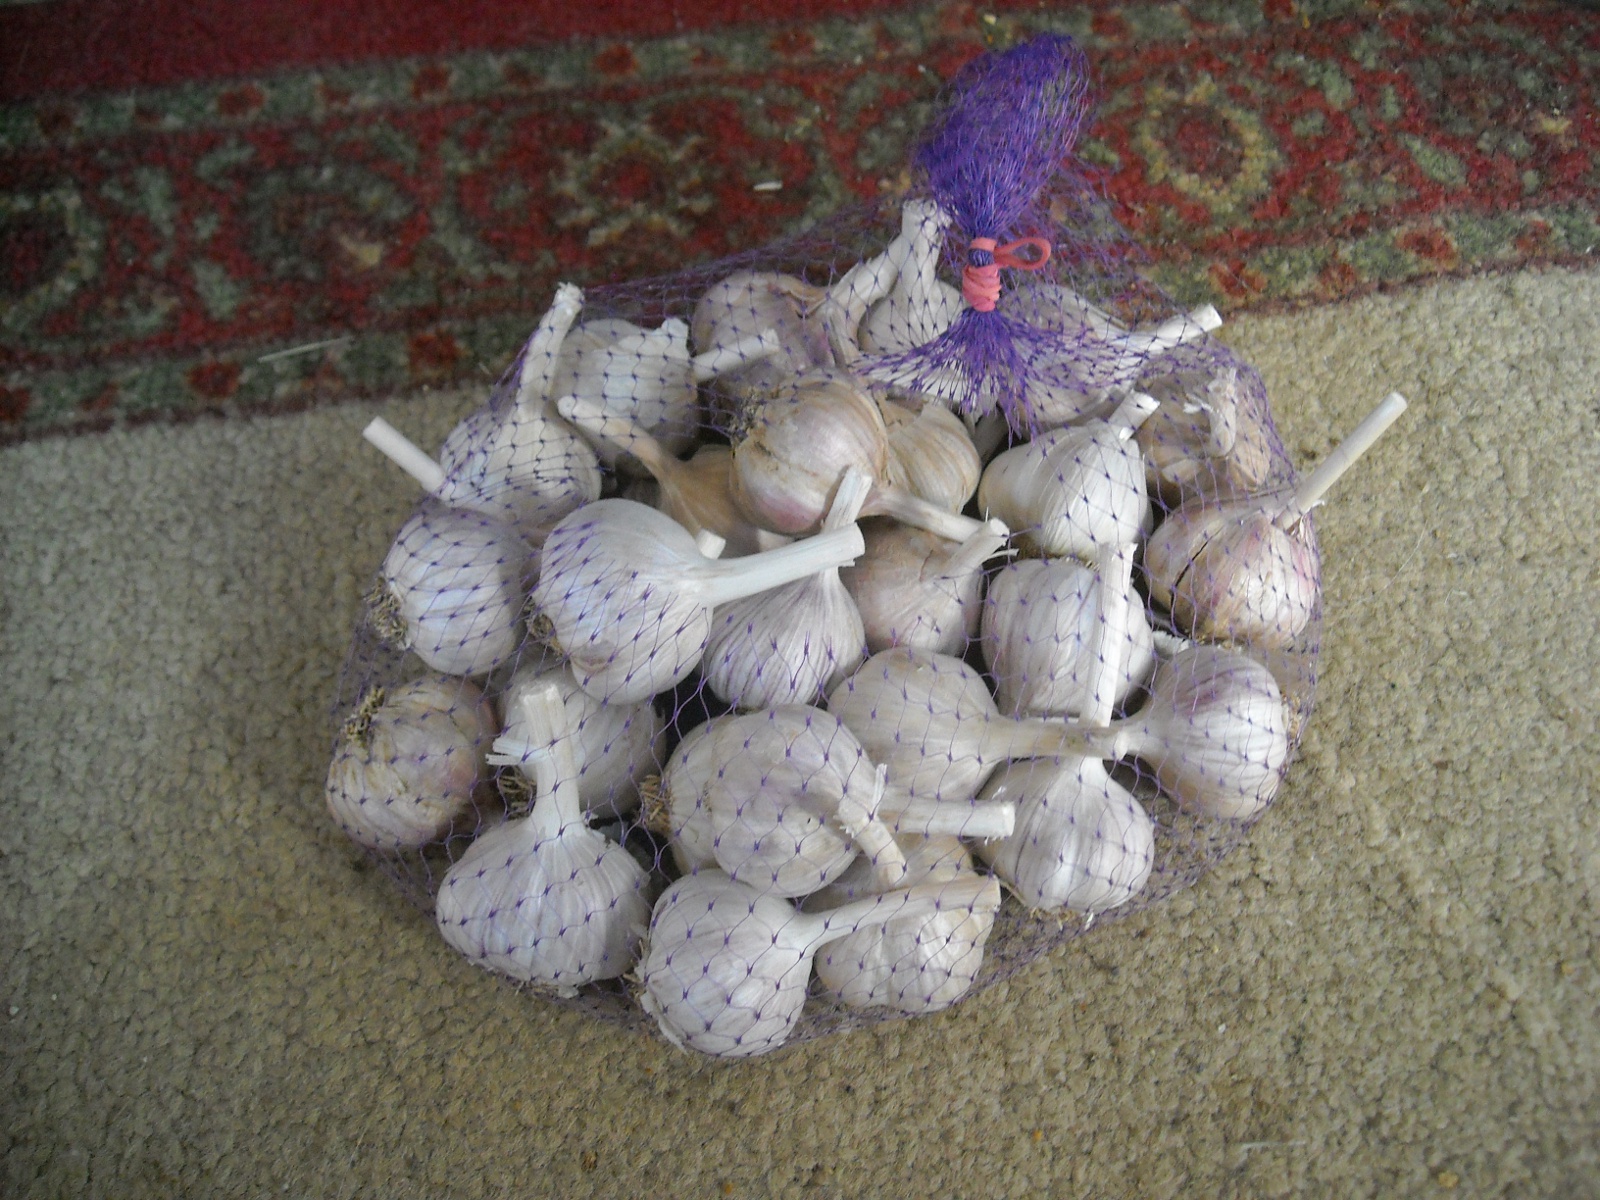
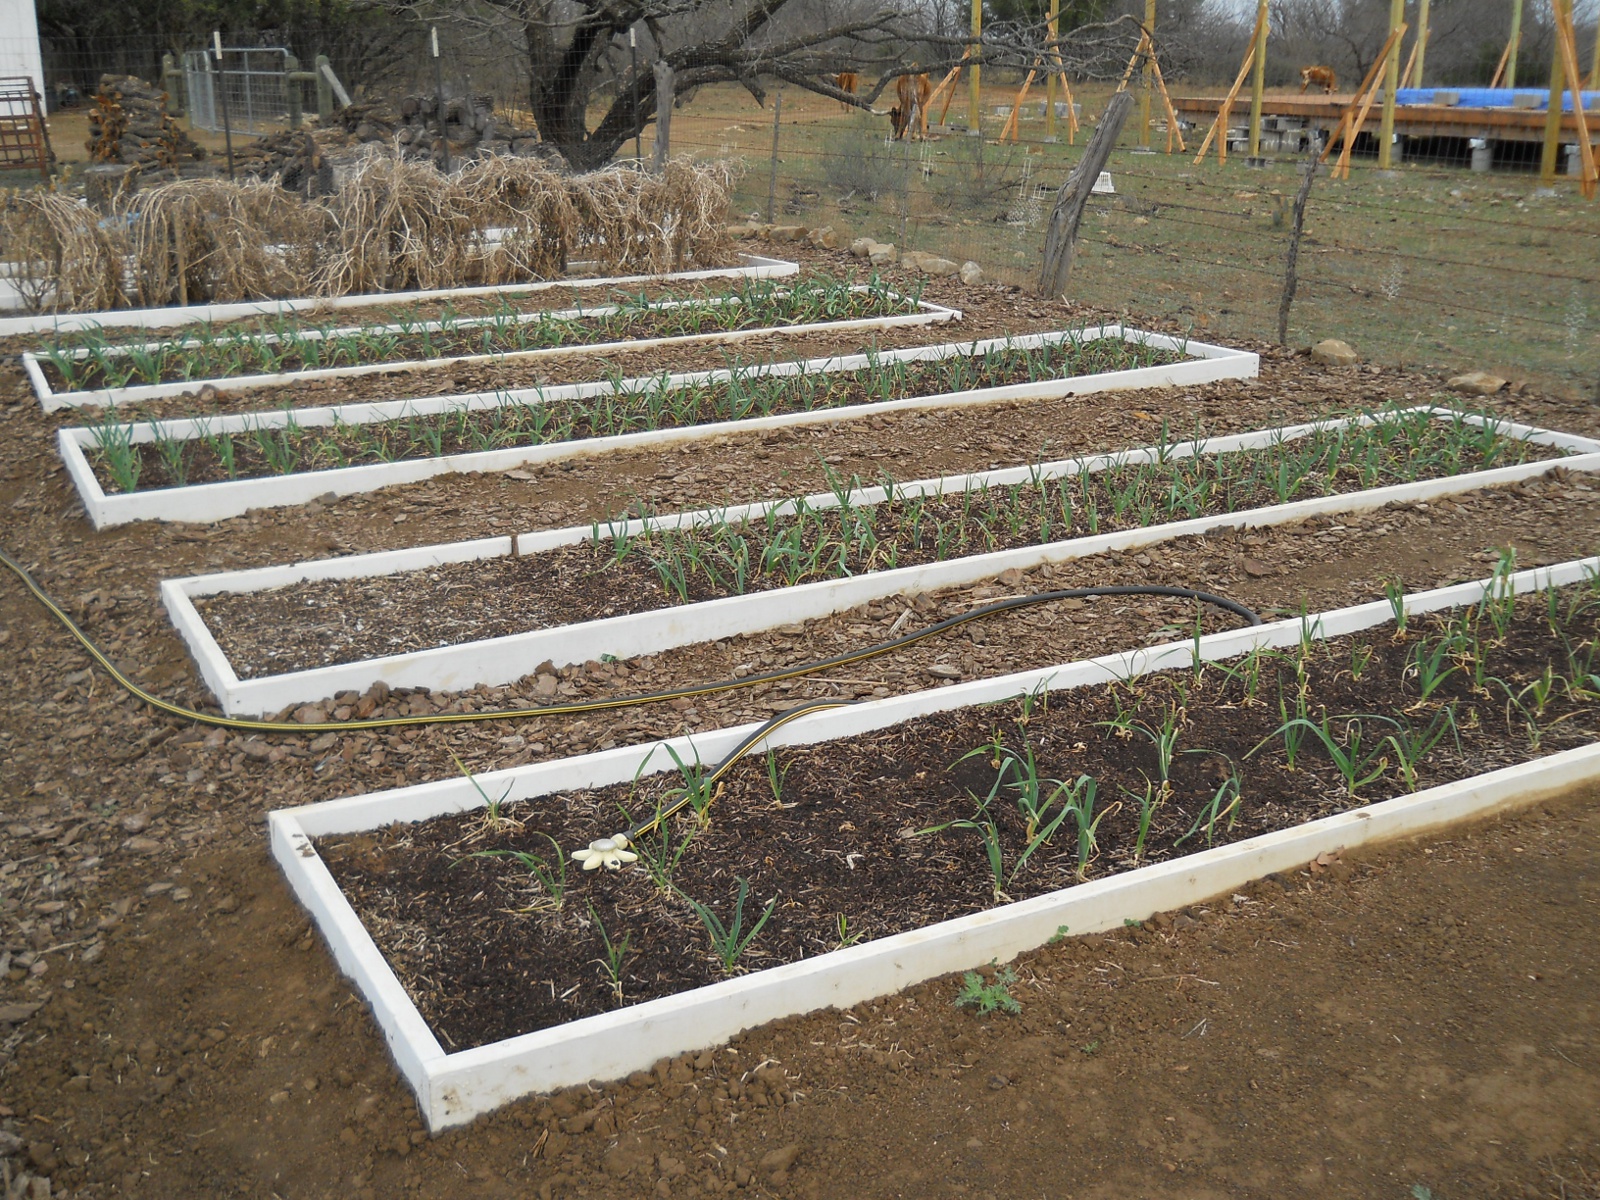
Dave and I have been learning about the health/medicinal benefits of certain vegetables, herbs, etc. We were so impressed with the benefits (and obvious great taste) of garlic that we decided to plant some. The Bunkers have been very successful with growing Spanish Roja, a high quality gourmet bulb; so we went with that as well. Since garlic is a good Winter garden crop, we decided to plant four beds with it as everything had been pulled from our 2010 Spring garden. We figure you can never have enough garlic, and this particular variety is highly valued among the “gourmet garlic buying” crowds. We thought that if the Lord allowed a large crop we could turn around and sell some. We looked to buy it later in the season and found it was already about 90% sold out and somewhat difficult to locate, but Dave finally triumphed on eBay and with another garlic seller, so we took the garlic plunge:
We had to prep the garlic before planting, so the first step was peeling it and separating it into individual cloves:
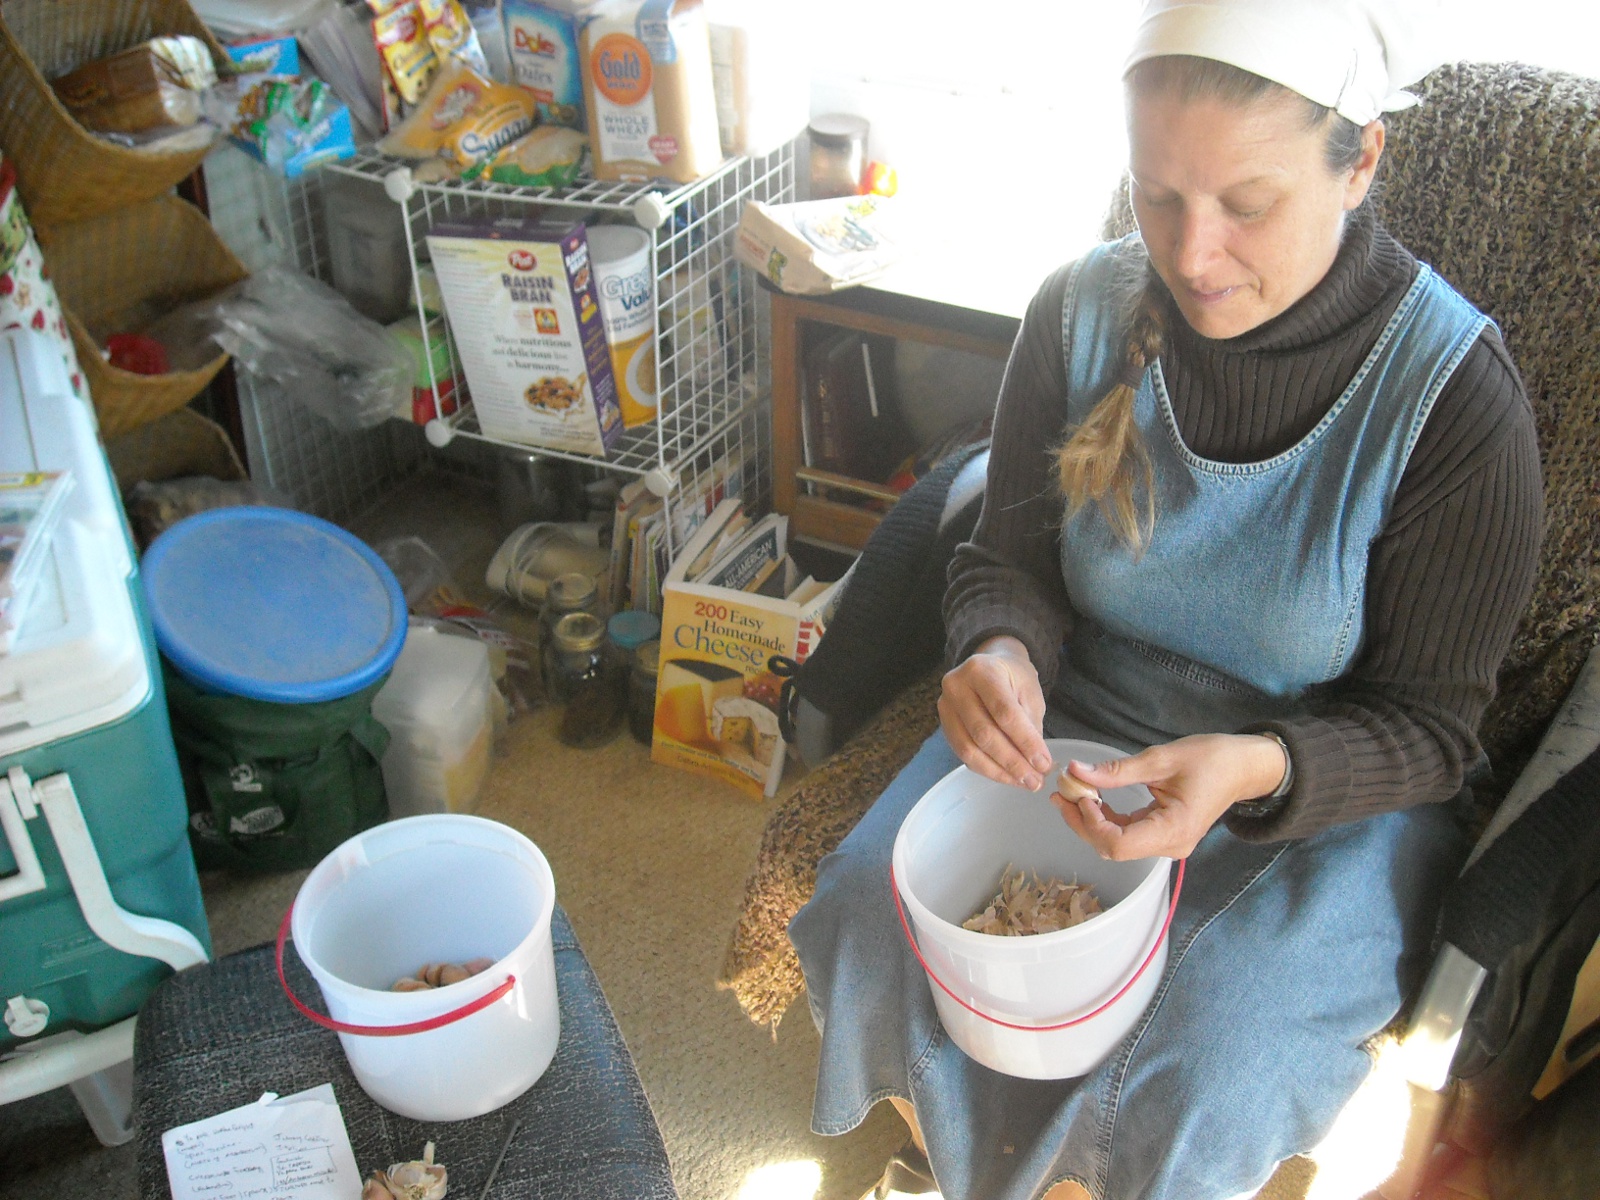
Those ice cream buckets really come in handy! That’s the only reason we buy them, you know. 🙂
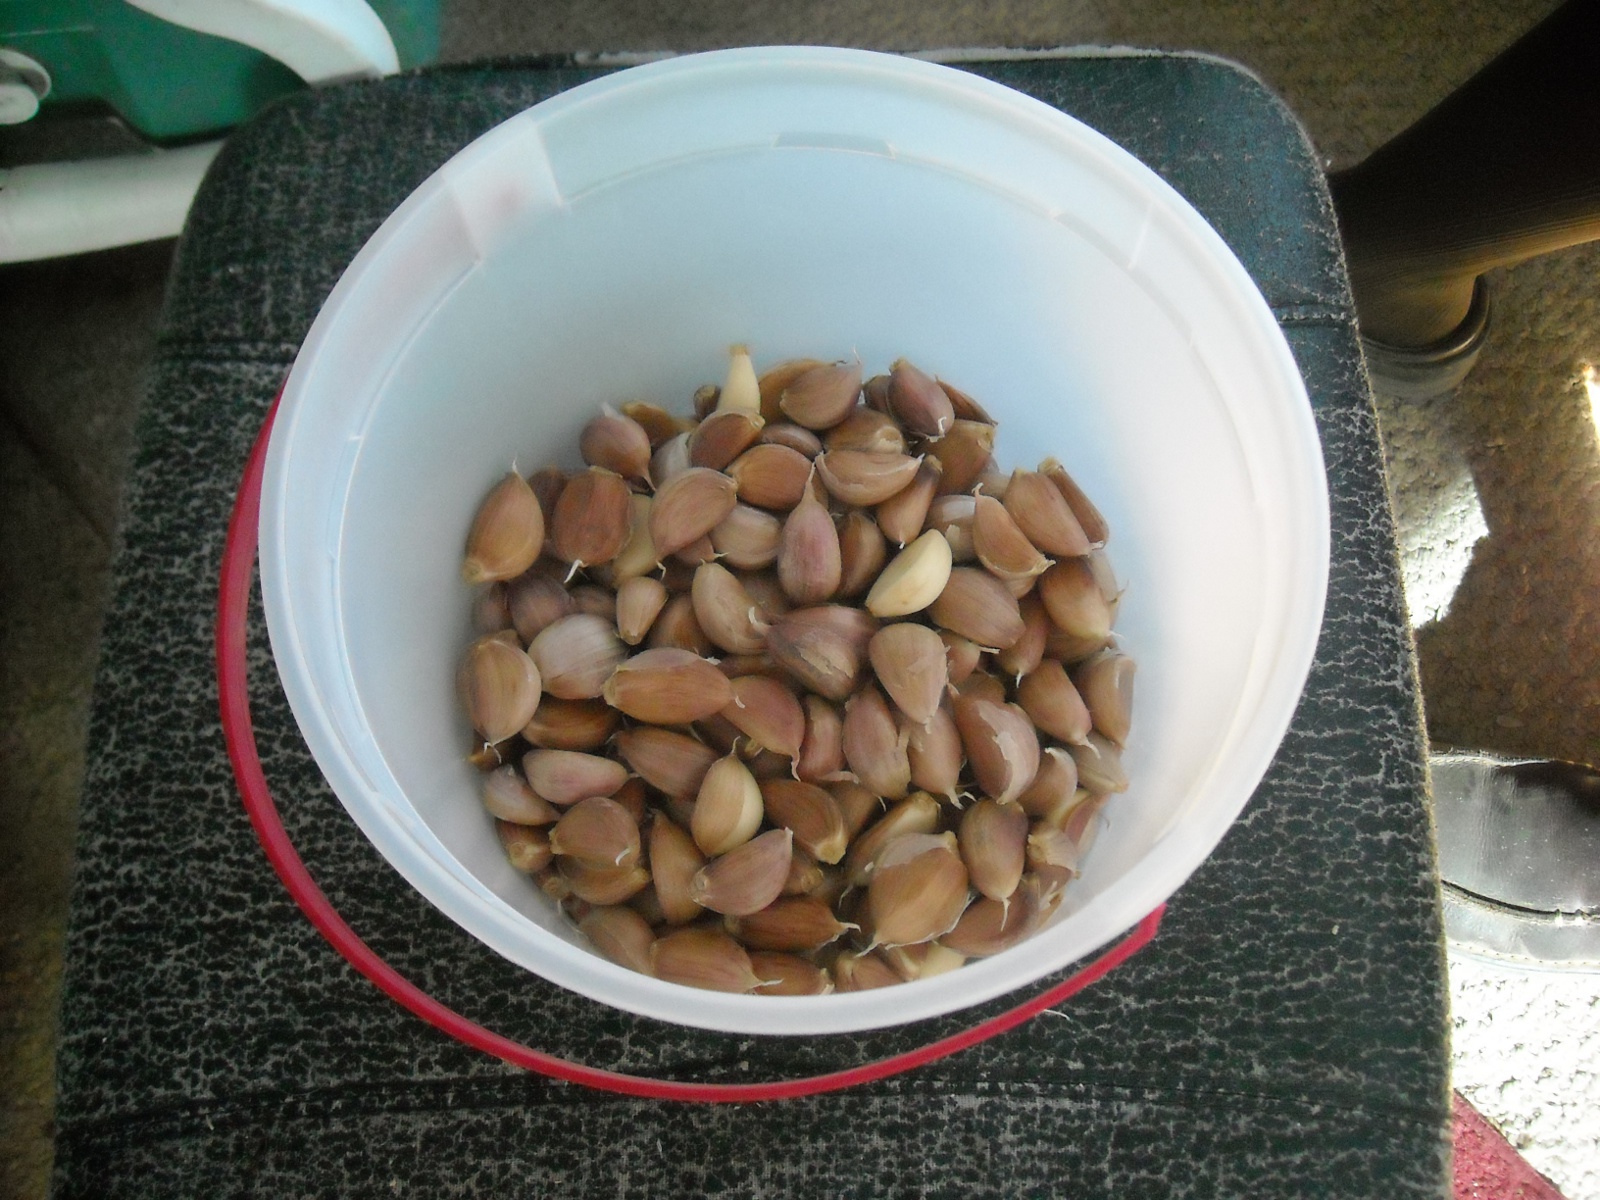
We then soaked the cloves in rubbing alcohol for an hour or so in order to kill any bacteria on them:
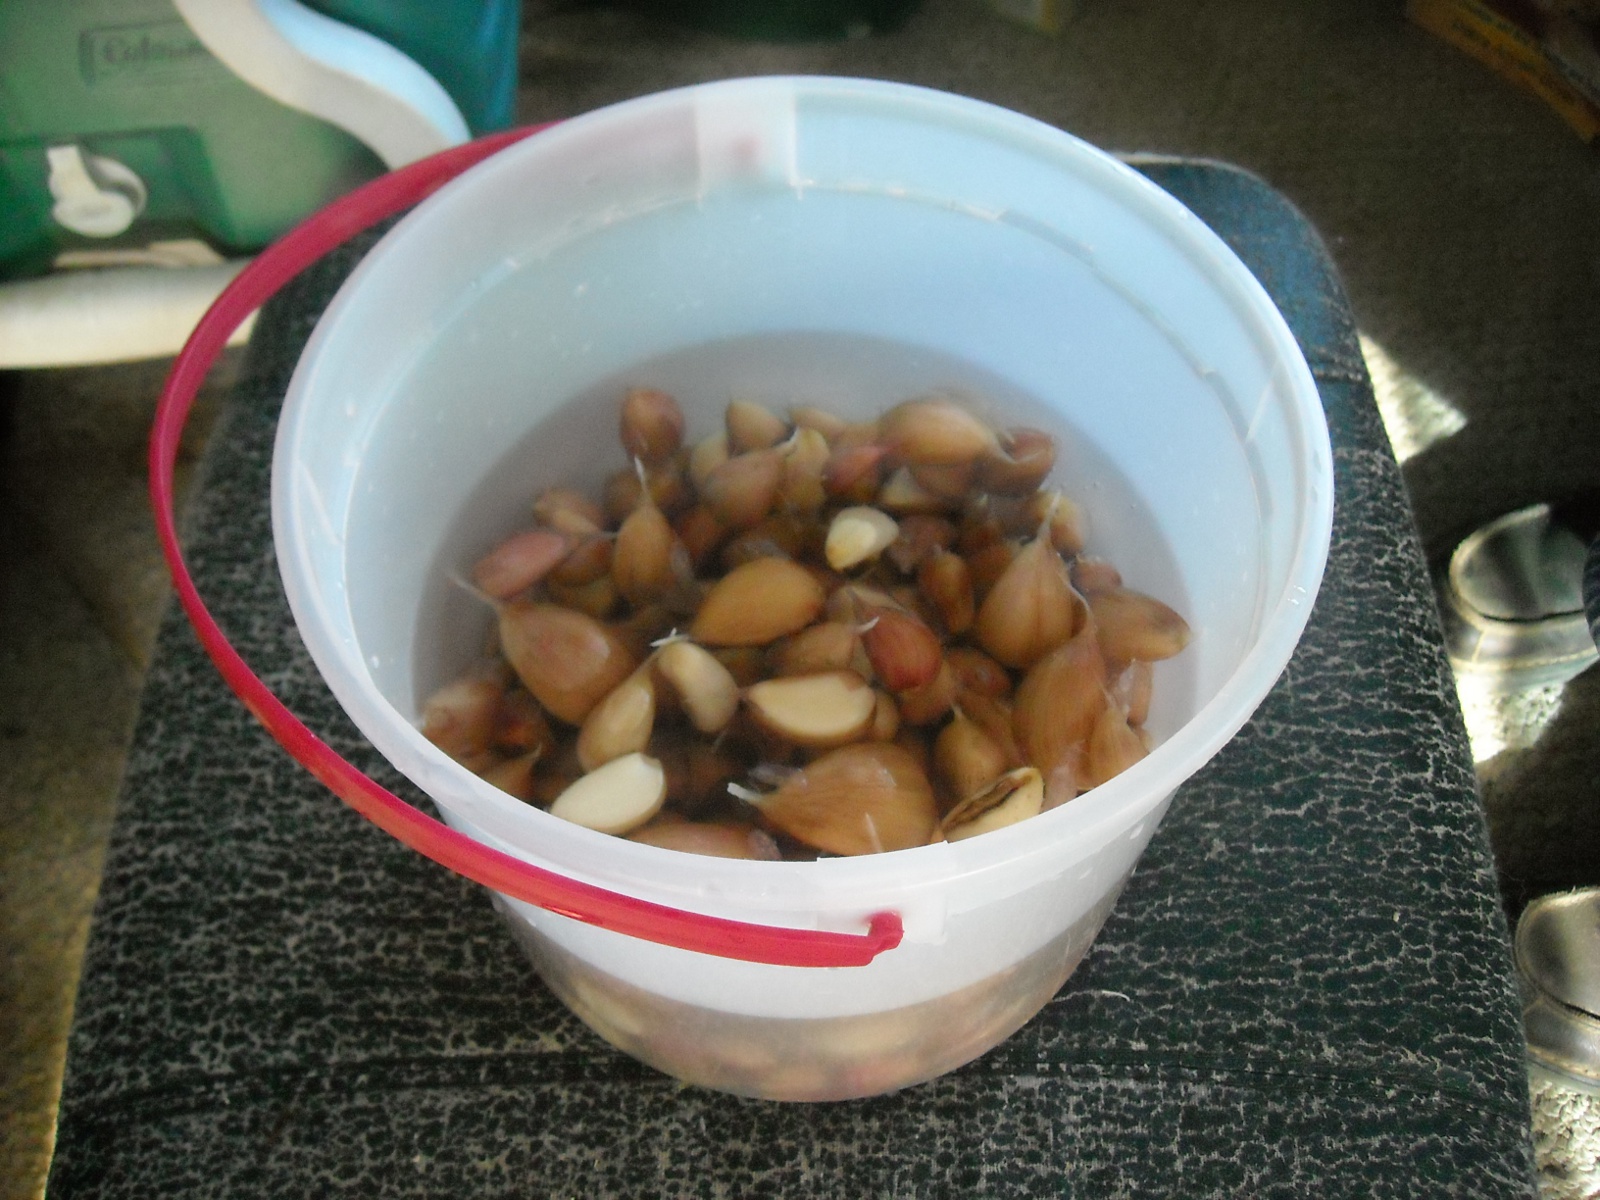
And then we soaked them in water over night and then planted.
Dave planted them in late November, and we had to water them sparingly because we have been in an awful drought. But God allowed them to grow and we recently pulled the first batch in early May!
Here they are freshly harvested:
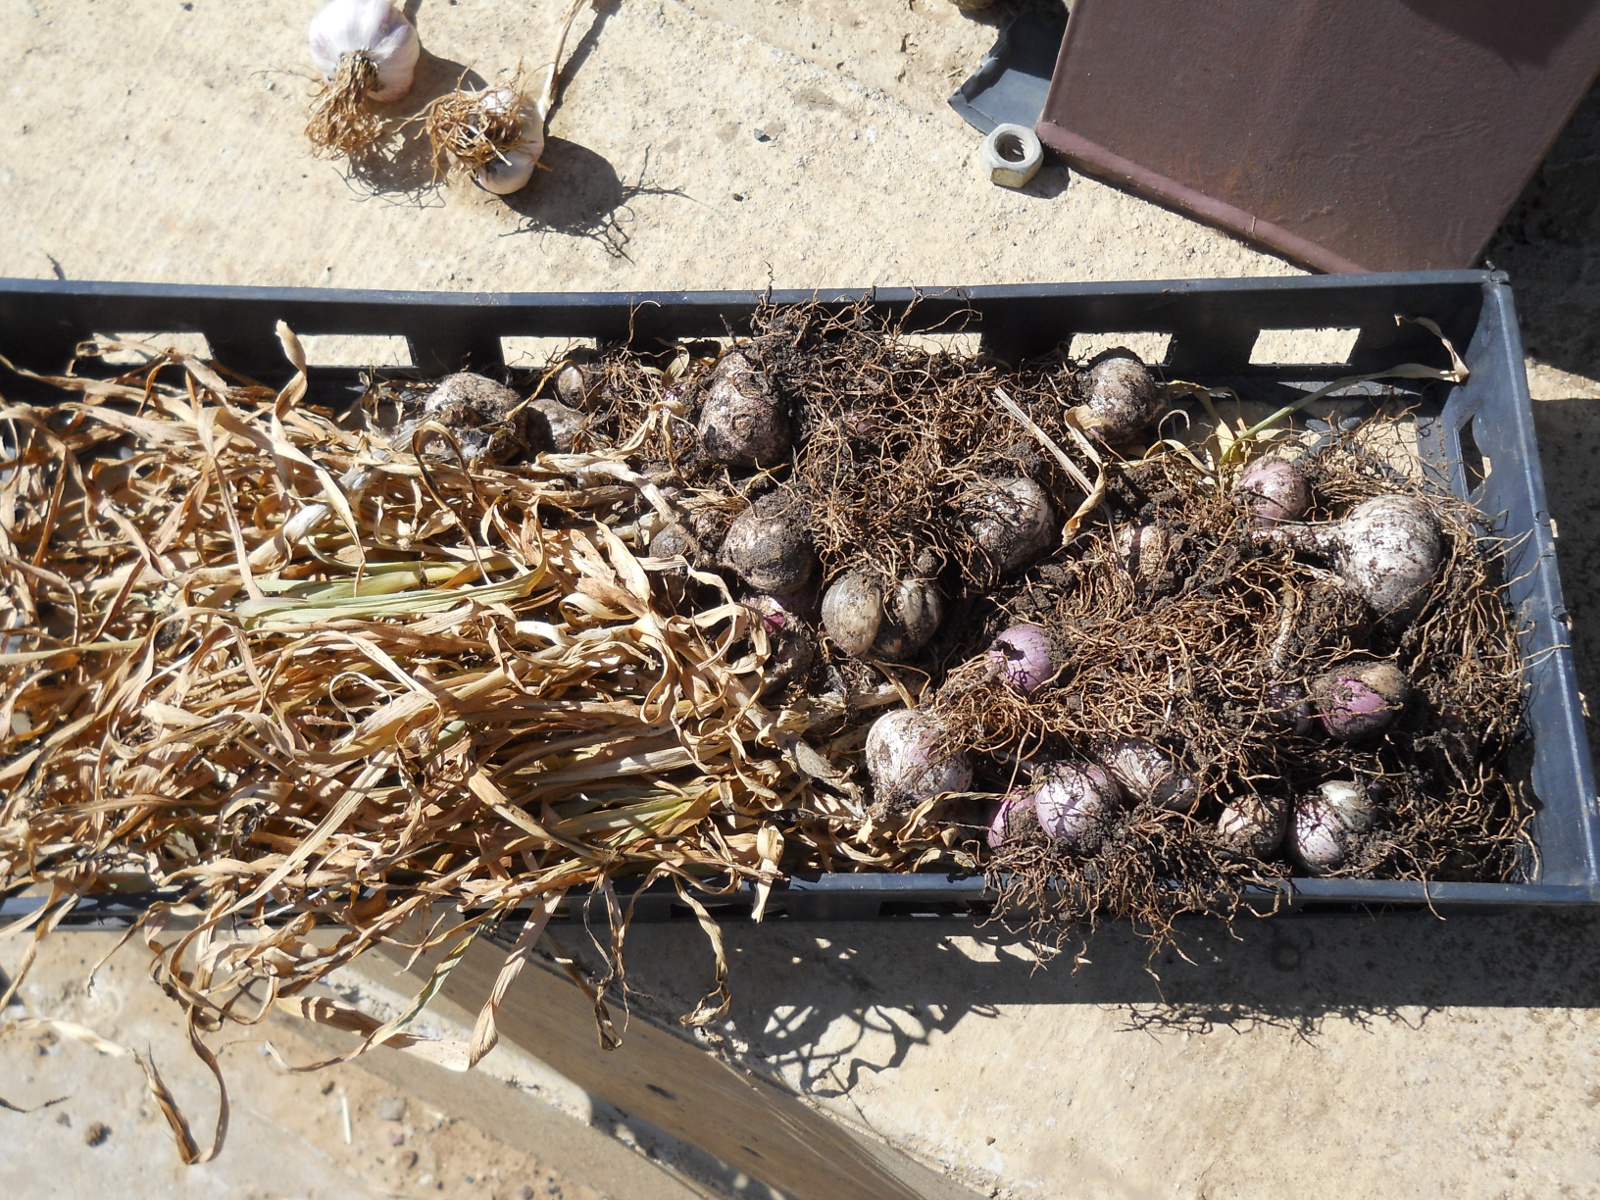
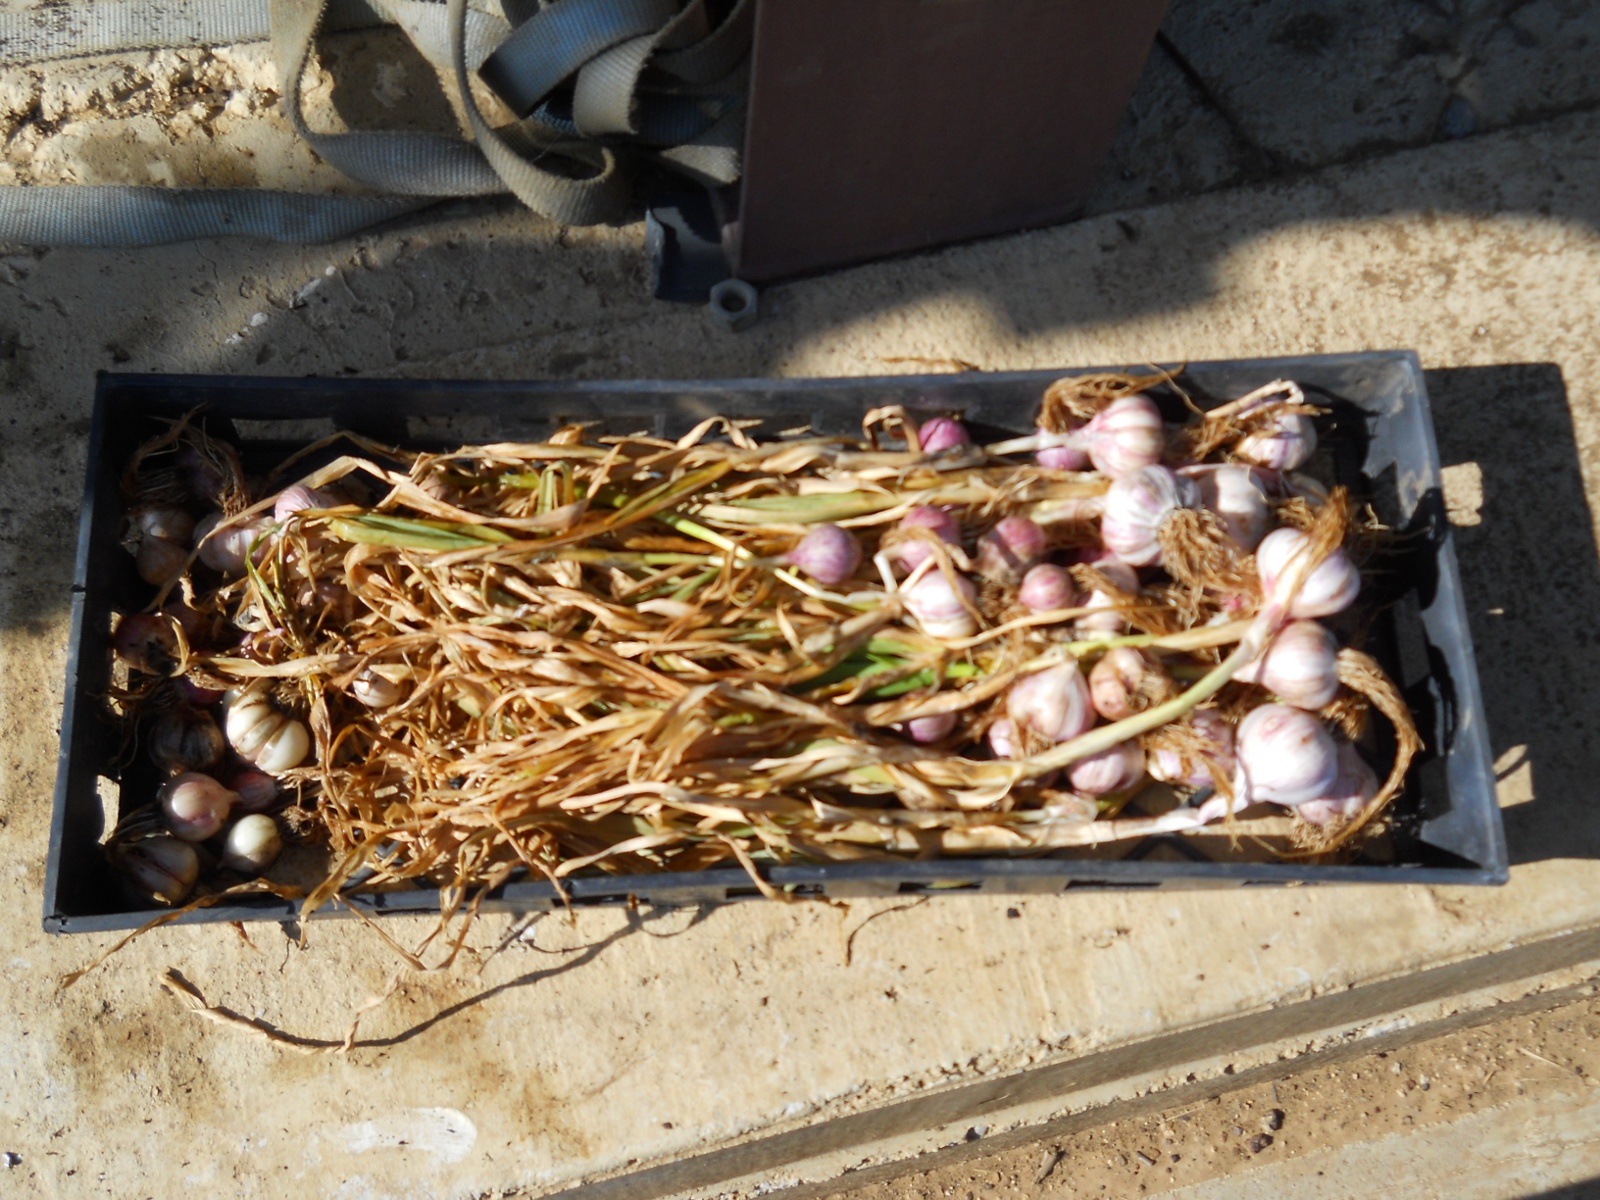
In preparation for long term storage, and I wasn’t aware of this, but through research I discovered that garlic goes through a drying or “curing” process after harvesting. Here are the bulbs dried and ready for braiding and curing. In my ignorance, I did wash this batch; but with further research, I didn’t see anywhere that washing was appropriate at this stage. Apparently though, the drying helps harden the dirt so it comes off easily; and the curing hardens the outer layer, which helps seal in the moistness:
You can braid the garlic or simply hang it out to dry for a few weeks to cure it. We thought we would just stick it in the food dehydrator, but my research indicated to keep it out of the direct sun. I found a very good braiding garlic tutorial online to help me with the process.
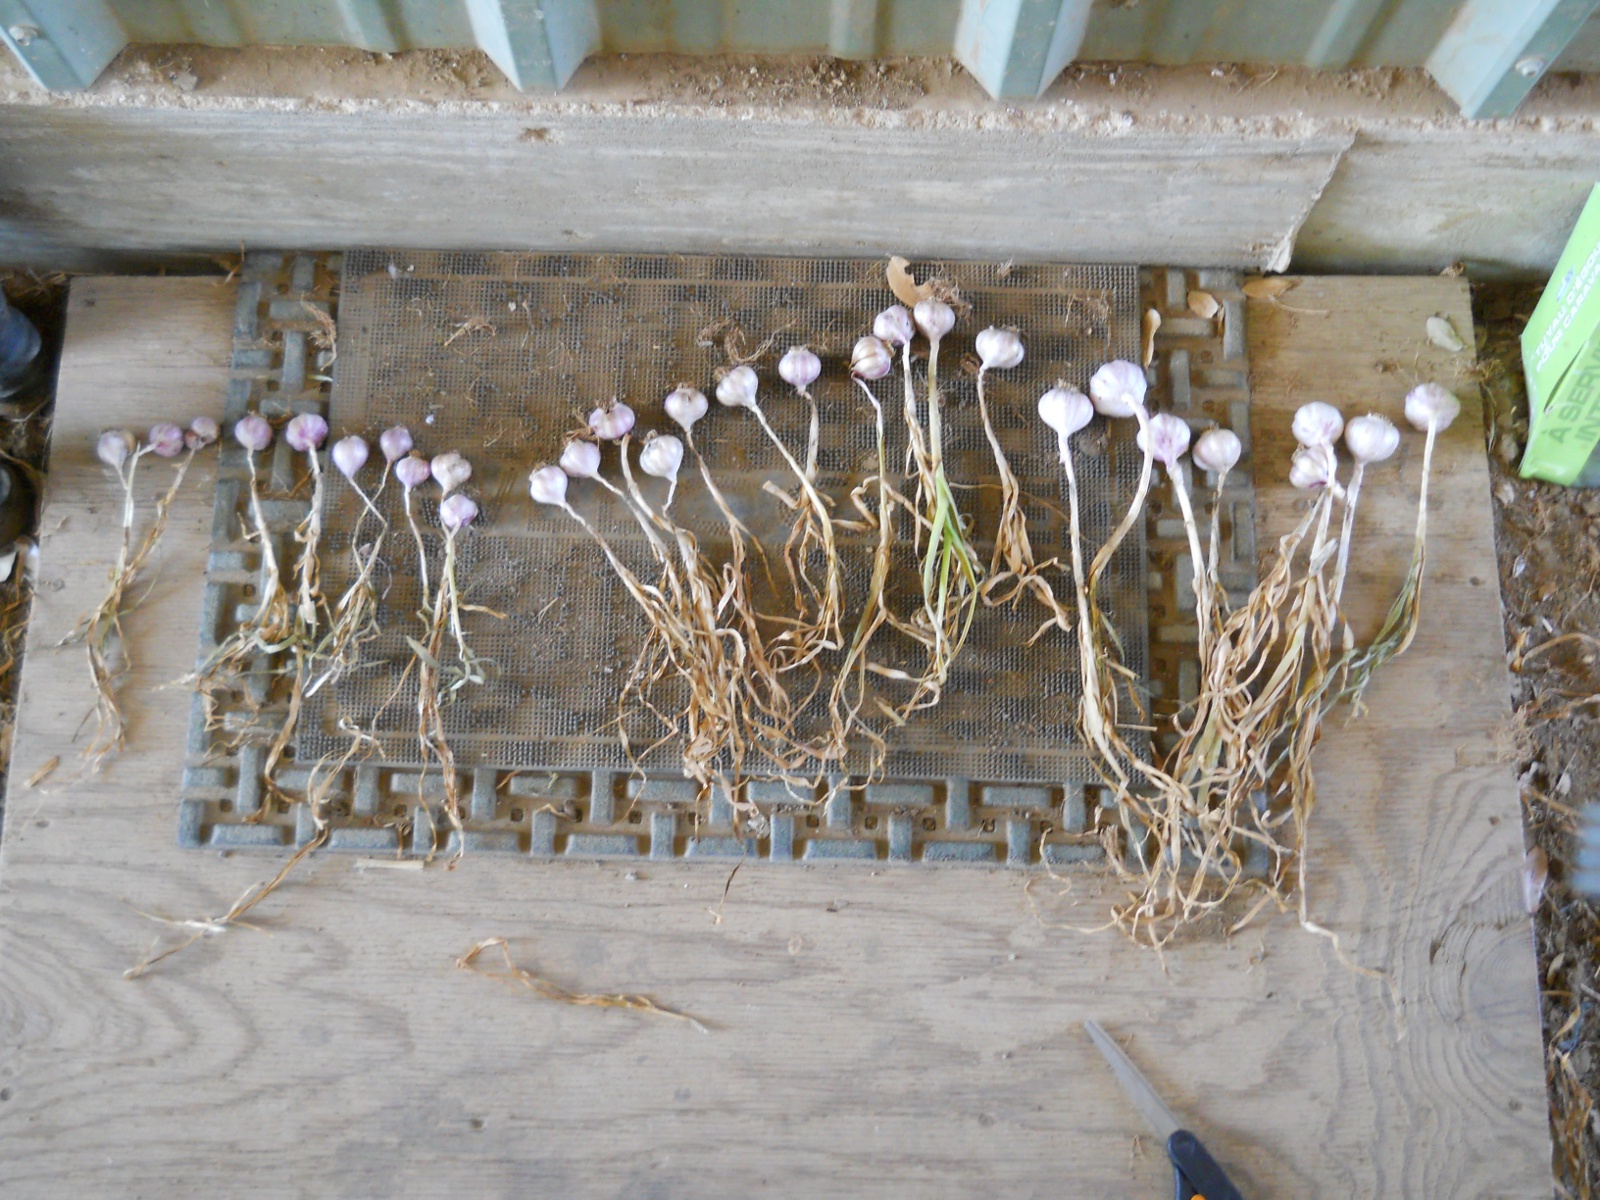
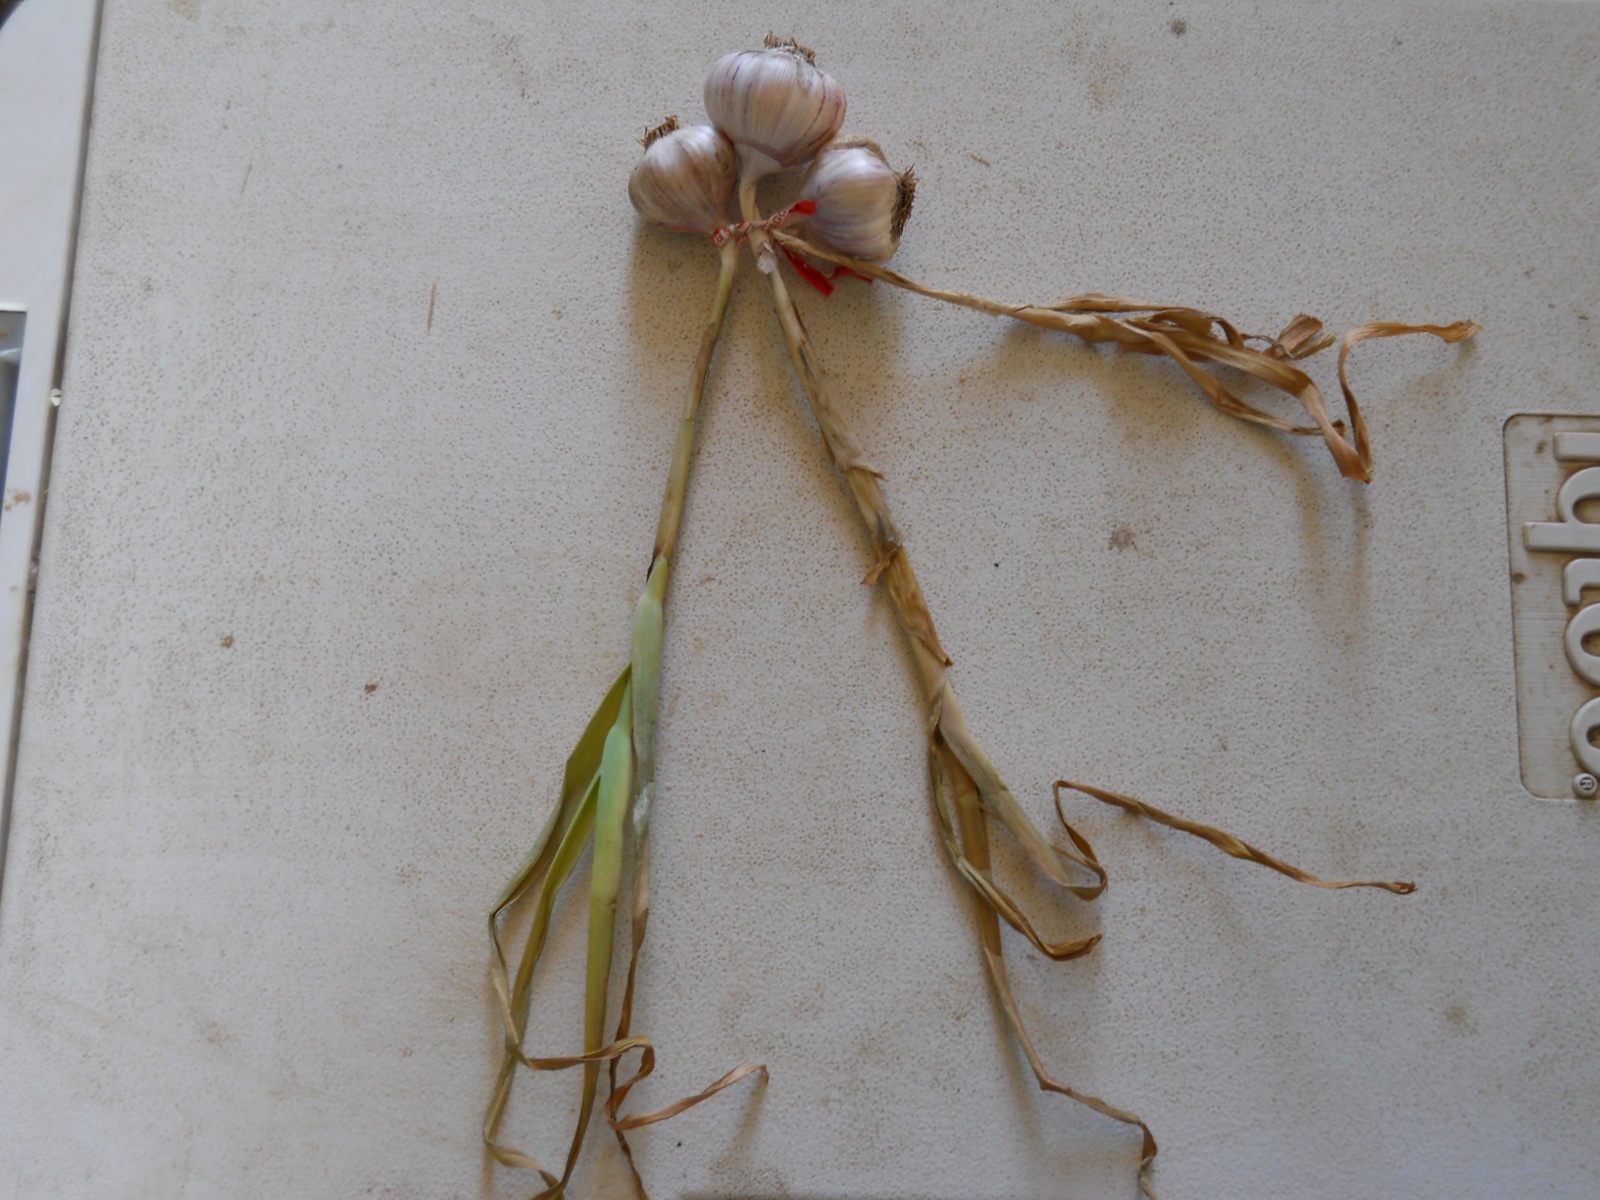
First I separated out the different sizes of garlic bulbs:
Then I tied a large bulb and two smaller bulbs together with a twisty tie like the nice lady said on the video:
Then I continued to braid in the remaining bulbs, and this is the result. I made several mistakes but learned from them, so it’s not perfect by any means but accomplishes the goal of curing the garlic! Several of the bulbs lost their tops, so I have them drying on a table in the summer kitchen. This represents just a portion of one garden bed, so it looks like I may have ample opportunity to hone my garlic curing and braiding skills and put it on my agrarian resume! 🙂

We are ever thankful to our great Provider for this harvest of garlic with its manifold benefits.
Susan