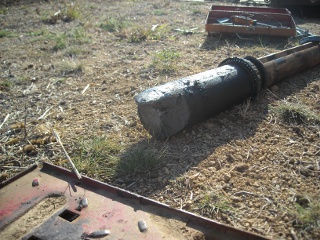
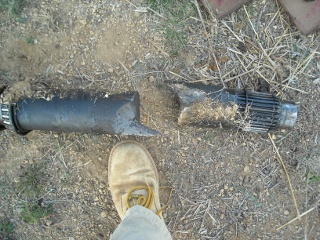
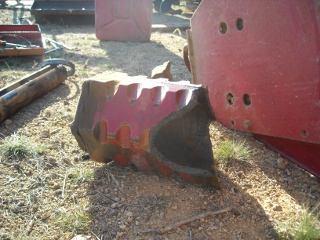
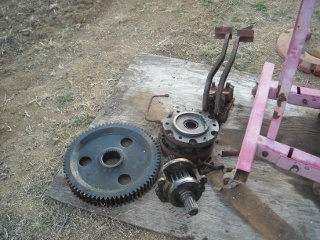
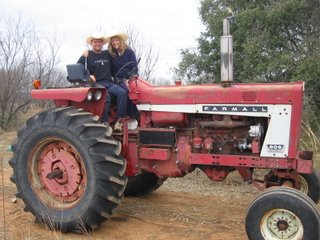
The last time we blogged about our tractor, it was in pieces after a rear axle had sheared and the axle casing had cracked apart when trying to chisel-plow a field here on the land.
Well, the Lord, in His mercies and will, saw fit to allow us to find replacement parts at a fairly local tractor salvage yard; and so after I was able to go get them, Mr. Gillis, a local friend of the community, graciously offered some more of his time; and we began to work on putting it all back together.
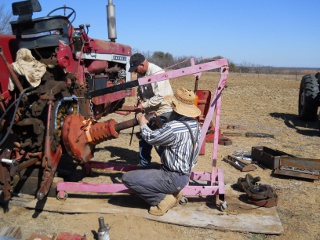
We used the engine hoist to pick up and maneuver the new axle (the combination of the axle and housing really made that piece heavy):
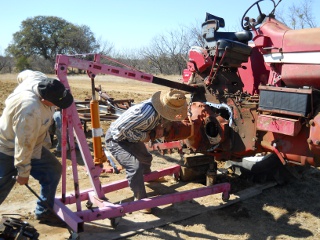
Here we are trying to position it. Notice that we had placed a new gasket, which I had to obtain from a local Case-IH (the company that now owns Farmall) dealer, in position (the new gasket is the greyish outline on the tractor where the axle casing goes):
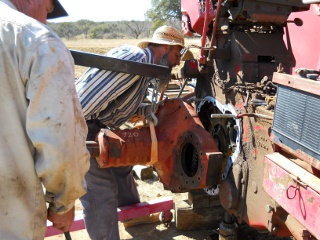
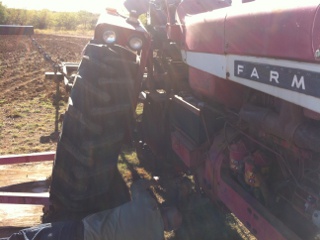
Mr. Gillis had me cut the heads off of a couple of bolts so that we could use them as positioners, sliding the axle onto them to get it into place while holding the axle up against the tractor. The first time we slid the axle on the bolts, we unknowingly did it out of position; and then the new axle casing appeared as if it was the wrong part! But after getting the holes aligned correctly, it was the correct part (thankfully!!):
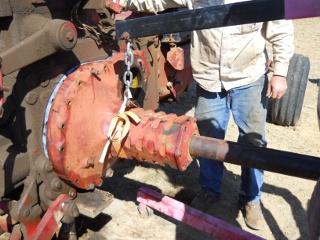
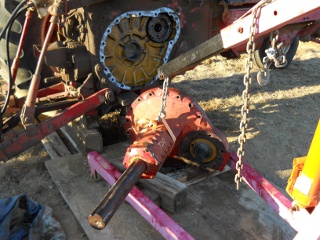
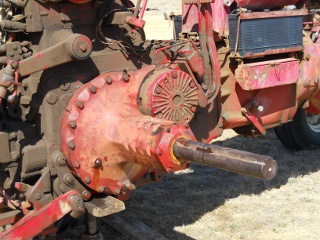
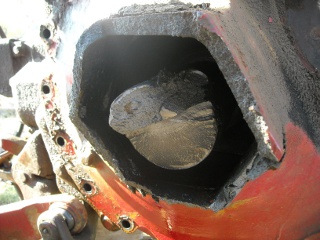
And here is the replacement axle in place. Notice, though, the large hole behind the chain in the front of the axle casing (you can see it in the above pictures a little better):
Well, that large hole in the front is where the drive gear goes. We thought it went in after the axle went on; but once the axle was bolted, we realized we couldn’t get it to fit in, which meant removing the axle again. Once on the ground, we still couldn’t get it into place, and then realized that the main “bull gear” (which is the large gear shown in the last picture of the “Tough Tractorin'” blog post above) needed to be removed to get the drive gear in place. However, that couldn’t be removed without removing a new replacement bearing we had pounded into place onto the axle. Sadly, removing that bearing didn’t go too well; and I ended up cracking the casing; and so, we just broke it off (it took over an hour to do that), and had to get a new bearing (which meant stopping for the day that day). Once we got a new bearing, we put the drive gear and bull gear in place, installed the new bearing, and were once again ready to go. You can see in the picture the drive gear in place now:
And so, we reattached the axle, and then started putting everything else back. Here you can see the axle and the brakes re-installed (the brake drum went over the drive gear):
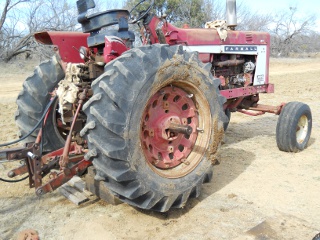
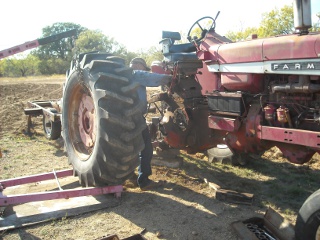
And last but not least, we put the wheel back on using Mr. Gillis’ front-loader on his tractor and a chain:
And there you have it. When I first drove it after all of this, the center cap of the brake drum had pushed out and disappeared, and there was a small amount of smoke and flakes coming out of it as I would drive. I eventually figured out one of the brake pads had slid onto the drive gear crooked; and with a little bit of pounding effort, I was able to straighten it out, install a new center cap; and the tractor seems to be working just fine.
We are thankful to the Lord for allowing us the continued intermediate means of the tractor as we endeavor to work the land so as to be able to separate further from the world. I would like to put forth a big push this year to try to get our fields under control, including getting our upper field in a perennial pasture grass, which in my estimation requires the use of a tractor; and so, hopefully we’ll be able to do that, as the Lord wills. Once again, we are grateful for God’s graces and mercies in these temporal provisions. And thanks also to Mr. Gillis for his time and effort.
— David
