Our journal of what we pray is our sojourn of life along the narrow way, even the old paths, submitting to the Bible as a light unto both.

Category: recipes

Cookbook Review: “Traditional Meals for the Frugal Family”

Traditional Meals for the Frugal Family Book

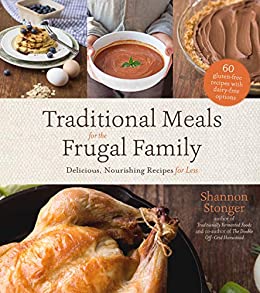
Our dear friend and neighbor, Shannon has released yet another really great cookbook: “Traditional Meals for the Frugal Family: Delicious, Nourishing Recipes for Less.”

A little background…I have known Shannon and her growing family for, wow, going on 10-plus years now. She.is.the.real.deal. I have great respect for her as a Mom, wife, friend and sister in Christ. All of her cookbooks have been written as a result of looking to find ways to feed her family while meeting diet and financial restrictions, without skimping on quality or nutrition. She is MacGyver in the kitchen :))

Today’s western diet, as most everyone knows, is full of ingredients that, let’s face it, do not lend themselves to a strong, healthy body, especially growing children. Some cookbooks are very niche oriented, or “fru-fru” with ingredients. This cookbook is very mainstream, and anyone who buys it will truly benefit, in my opinion.

Shannon includes really great tried and tested information and tips all throughout, and the recipes are easy to understand and made with healthy, yet, very obtainable ingredients. On a side note, the pictures alone will make your mouth water, and I believe Shannon took all of the photos herself. The whole presentation is very classy.

The contents include a philosophical and real-life approach to “Making Traditional Foods Work on a Budget”, providing a sample weekly shopping budget and list, what to buy and why.

And the recipe sections include:

  • “Thrifty Mornings” (Soaked 100% Rolled Oat Pancakes, Greek Fauxgurt, Sweet Potato & Greens Breakfast Skillet, and much more!)
  • “Frugal Broth & Beans” (Soaked Grain-Free Garbanzo Bean Pizza Crust, Soaked Mexican Taco Pizza Bake, Real Food Copycat Tomato Soup, and much more!)
  • “Economical Pastured Proteins” (Tamale Pie, Crispy Oven-Baked Salmon Burgers, Spiced Thai Coconut Chicken, and much more!)
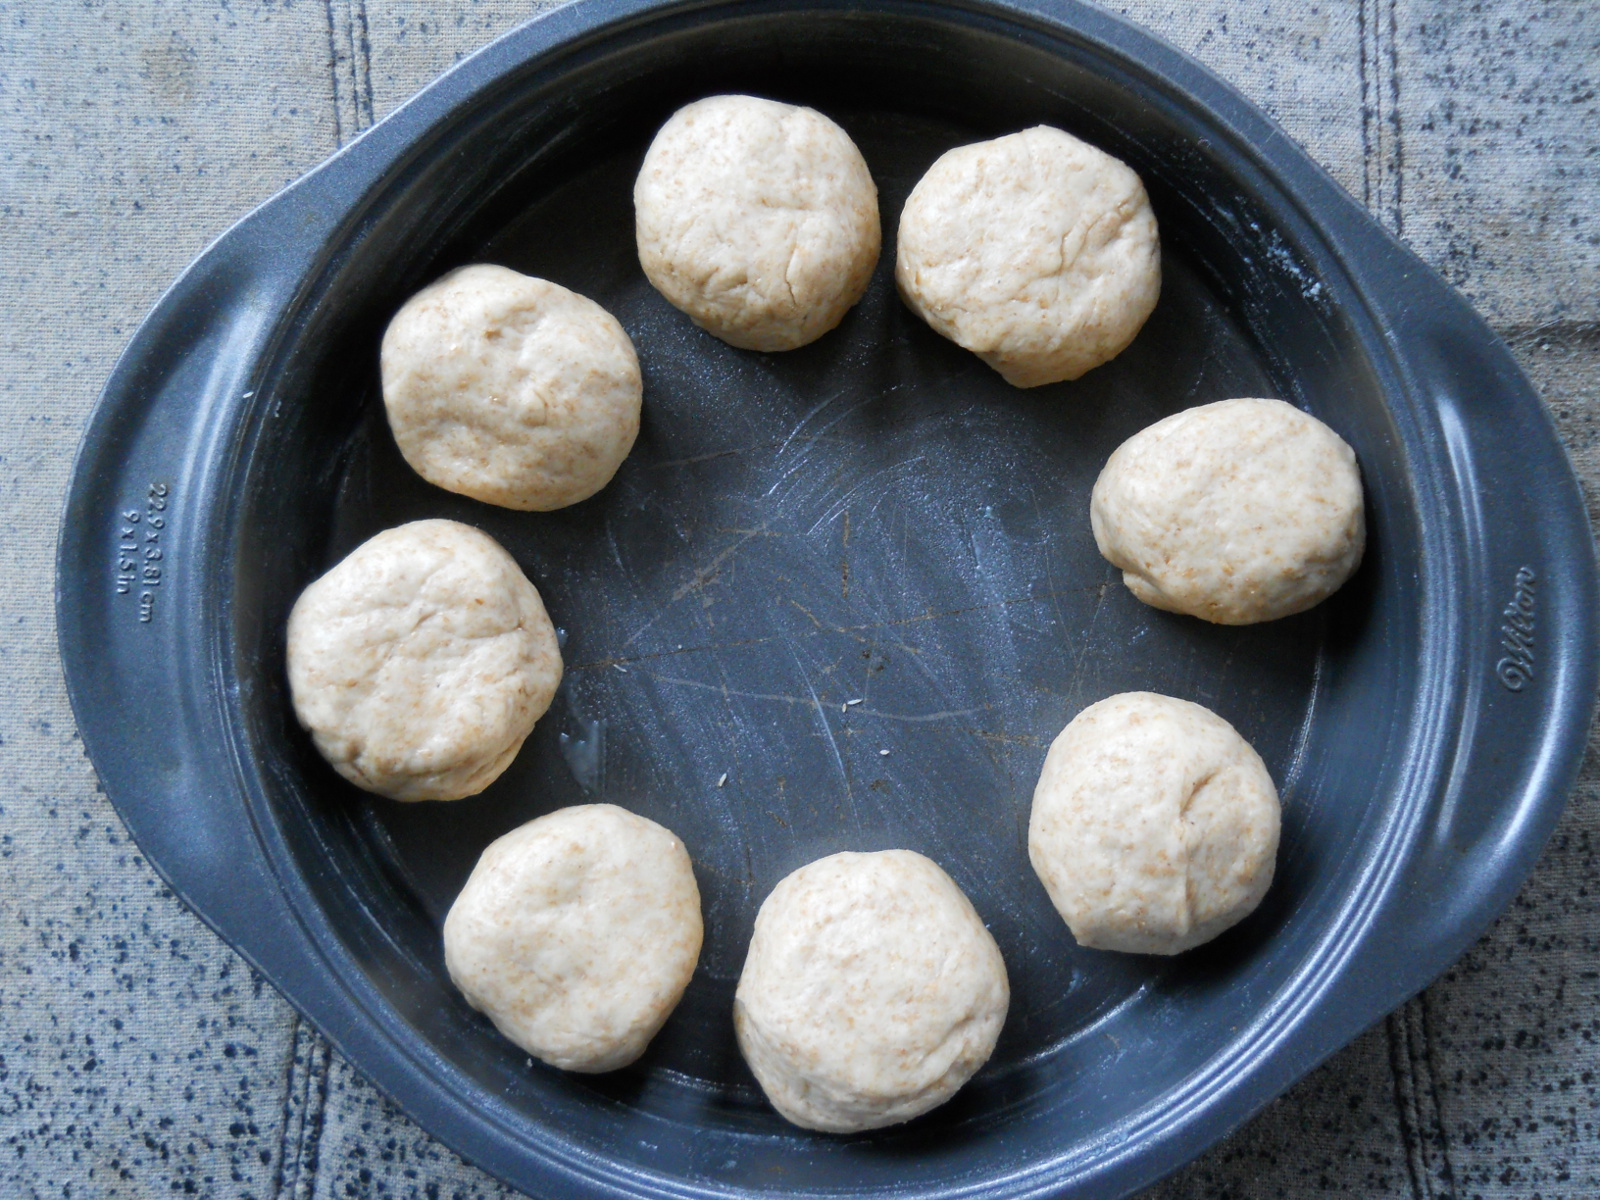
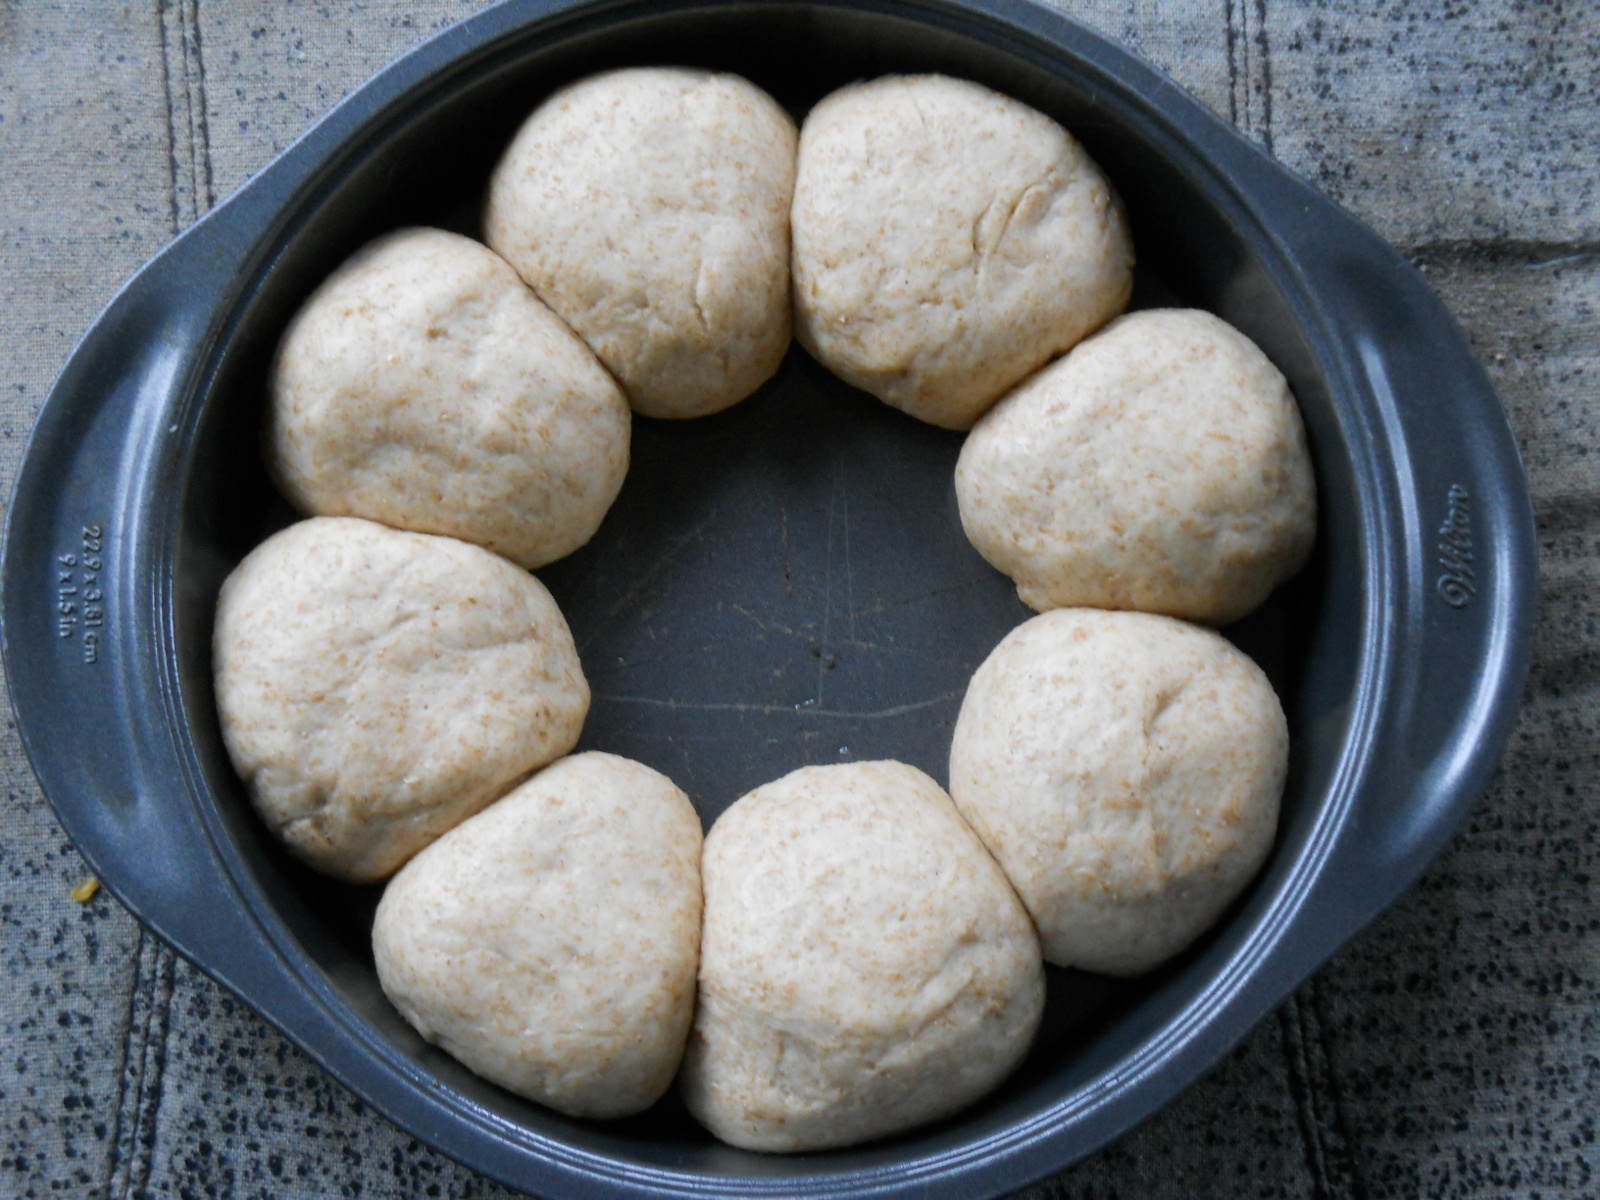
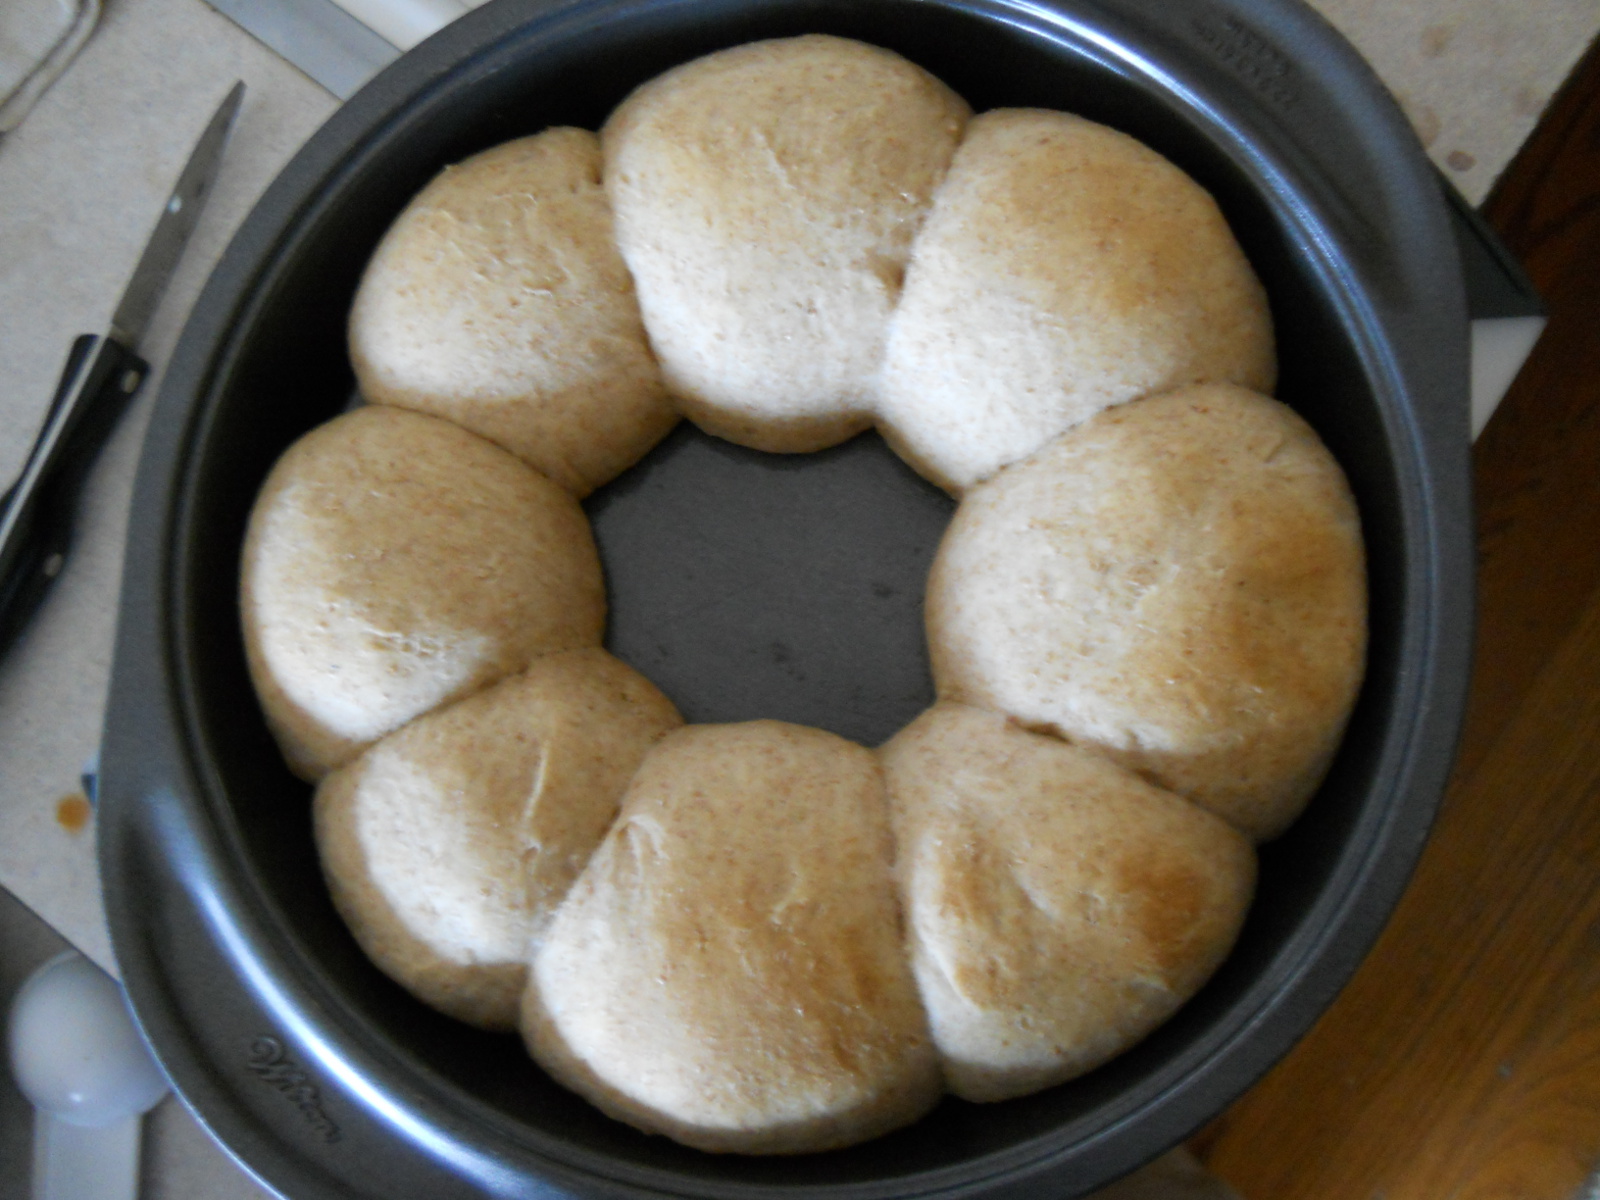
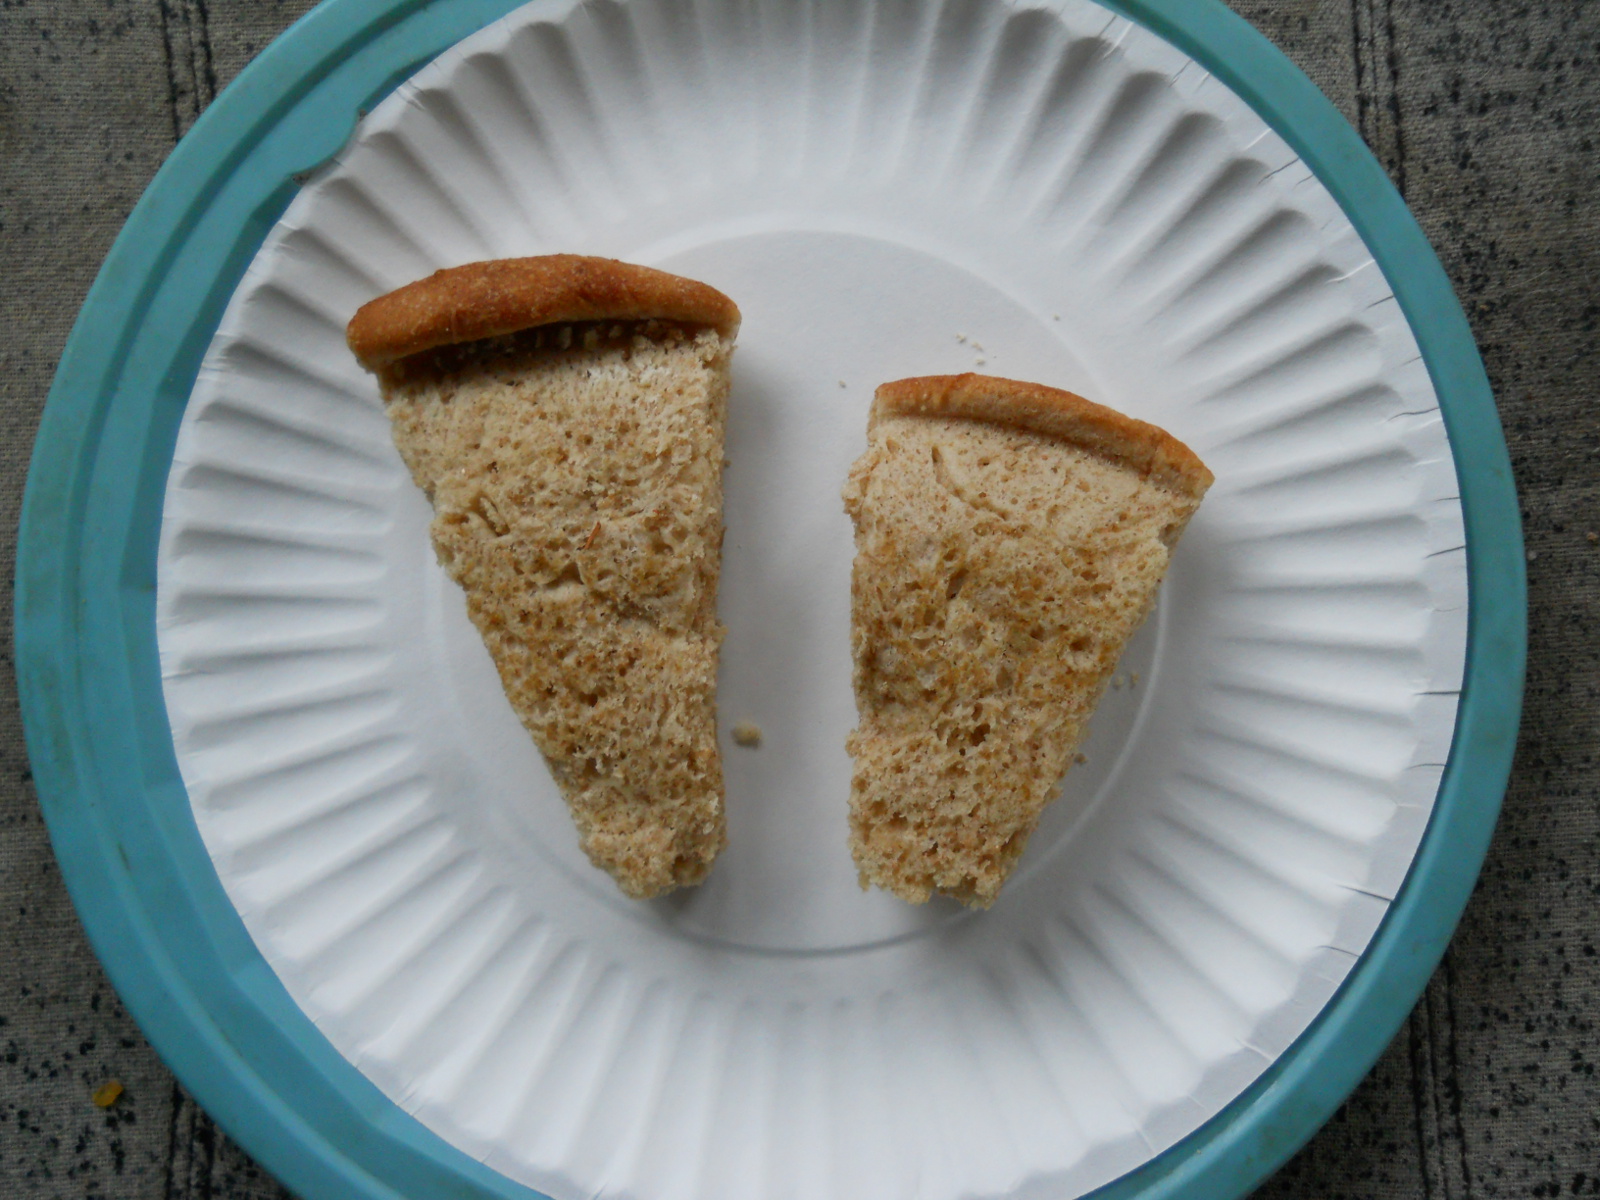
  • “Sensible Accompaniments” (Sheet Pan Hash Browns, Roasted Vegetables, Soaked Gluten-Free Artisan Bread, and much more!)
  • “Prudent Sweets & Treats” (Chocolate Coconut Cream Pie with a Grain-Free Crust, Soaked Chocolate Chunk Cookies, Raw or Dairy Free Mexican Sipping Chocolate, and much more!)
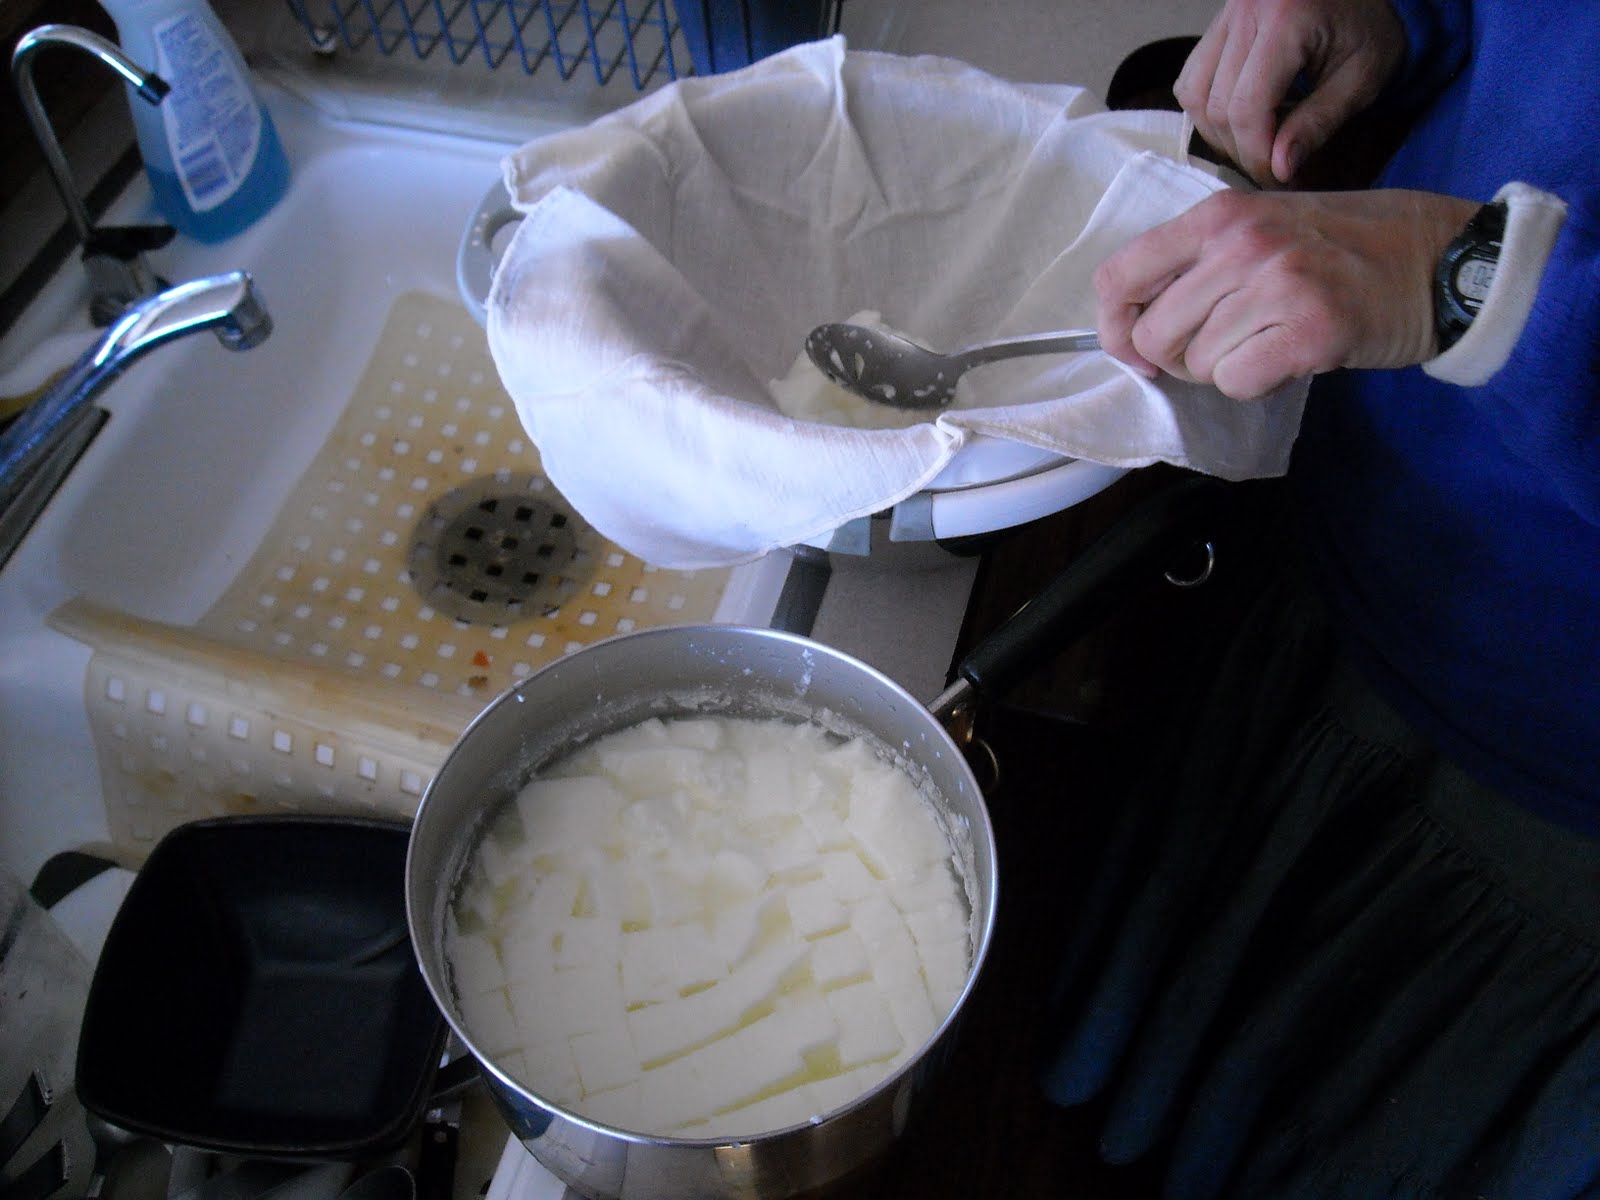
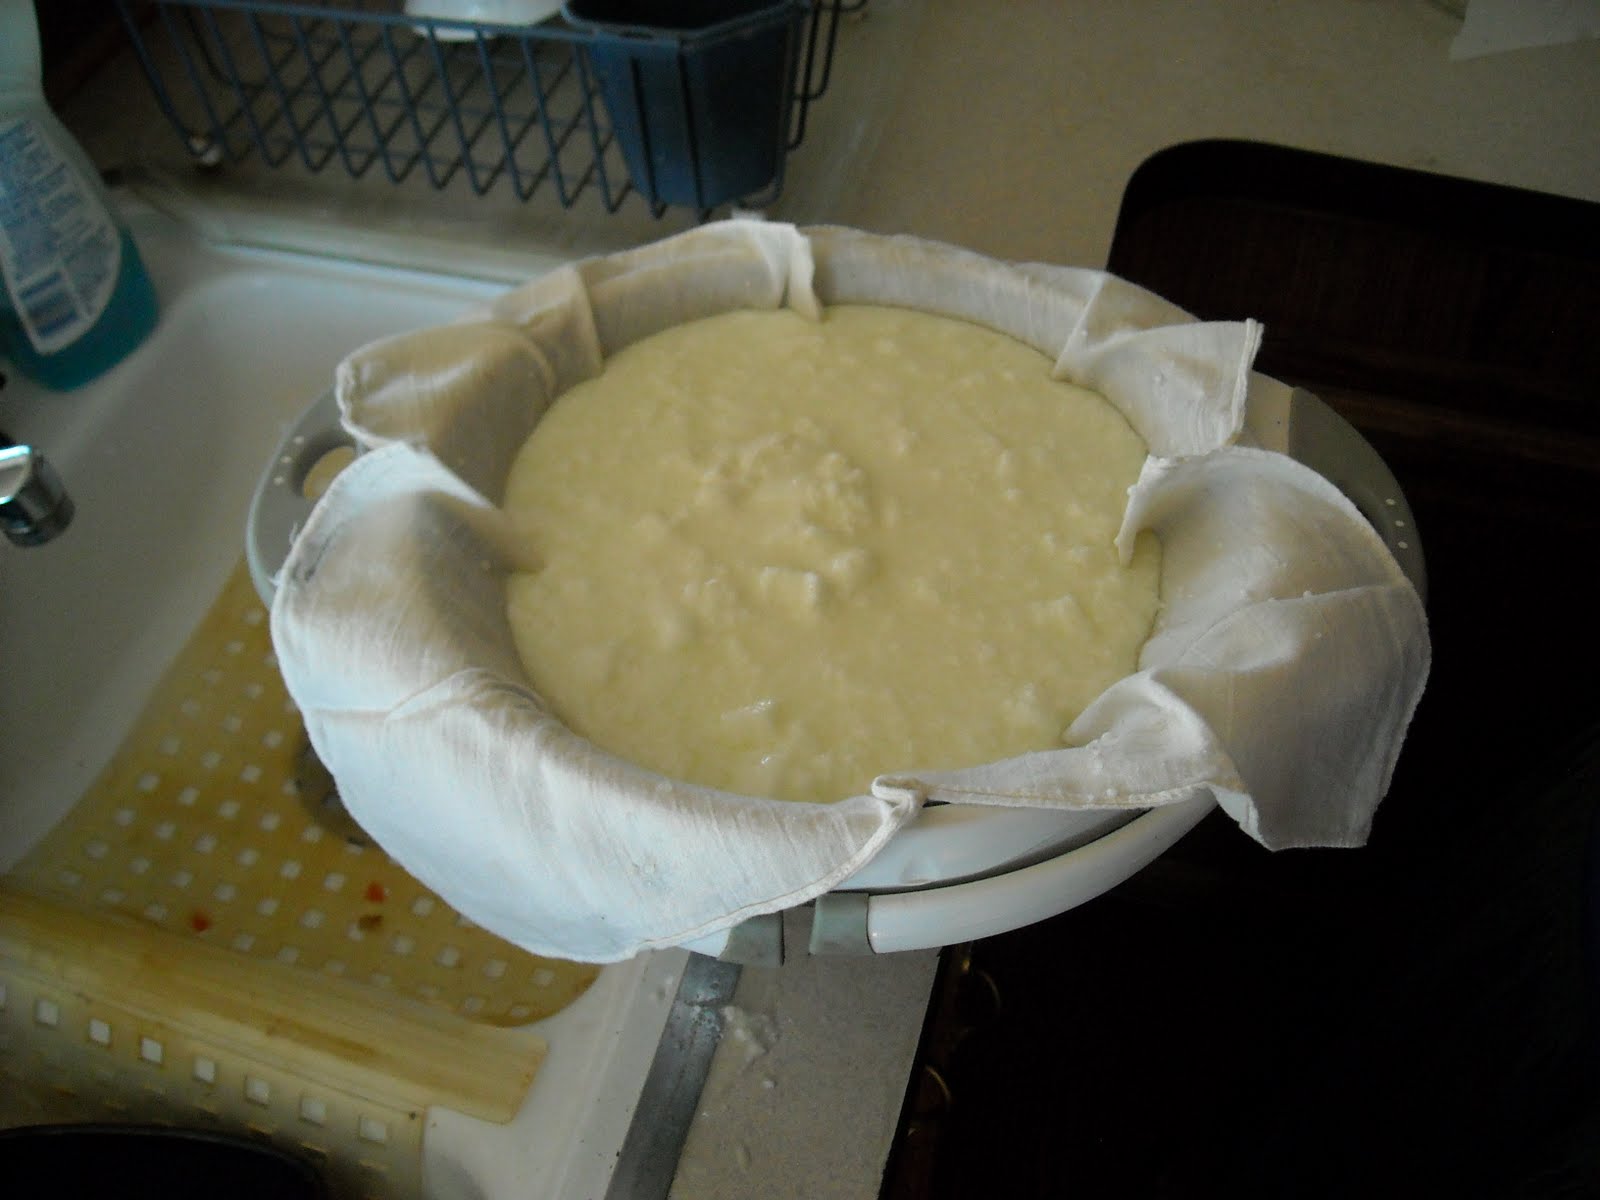
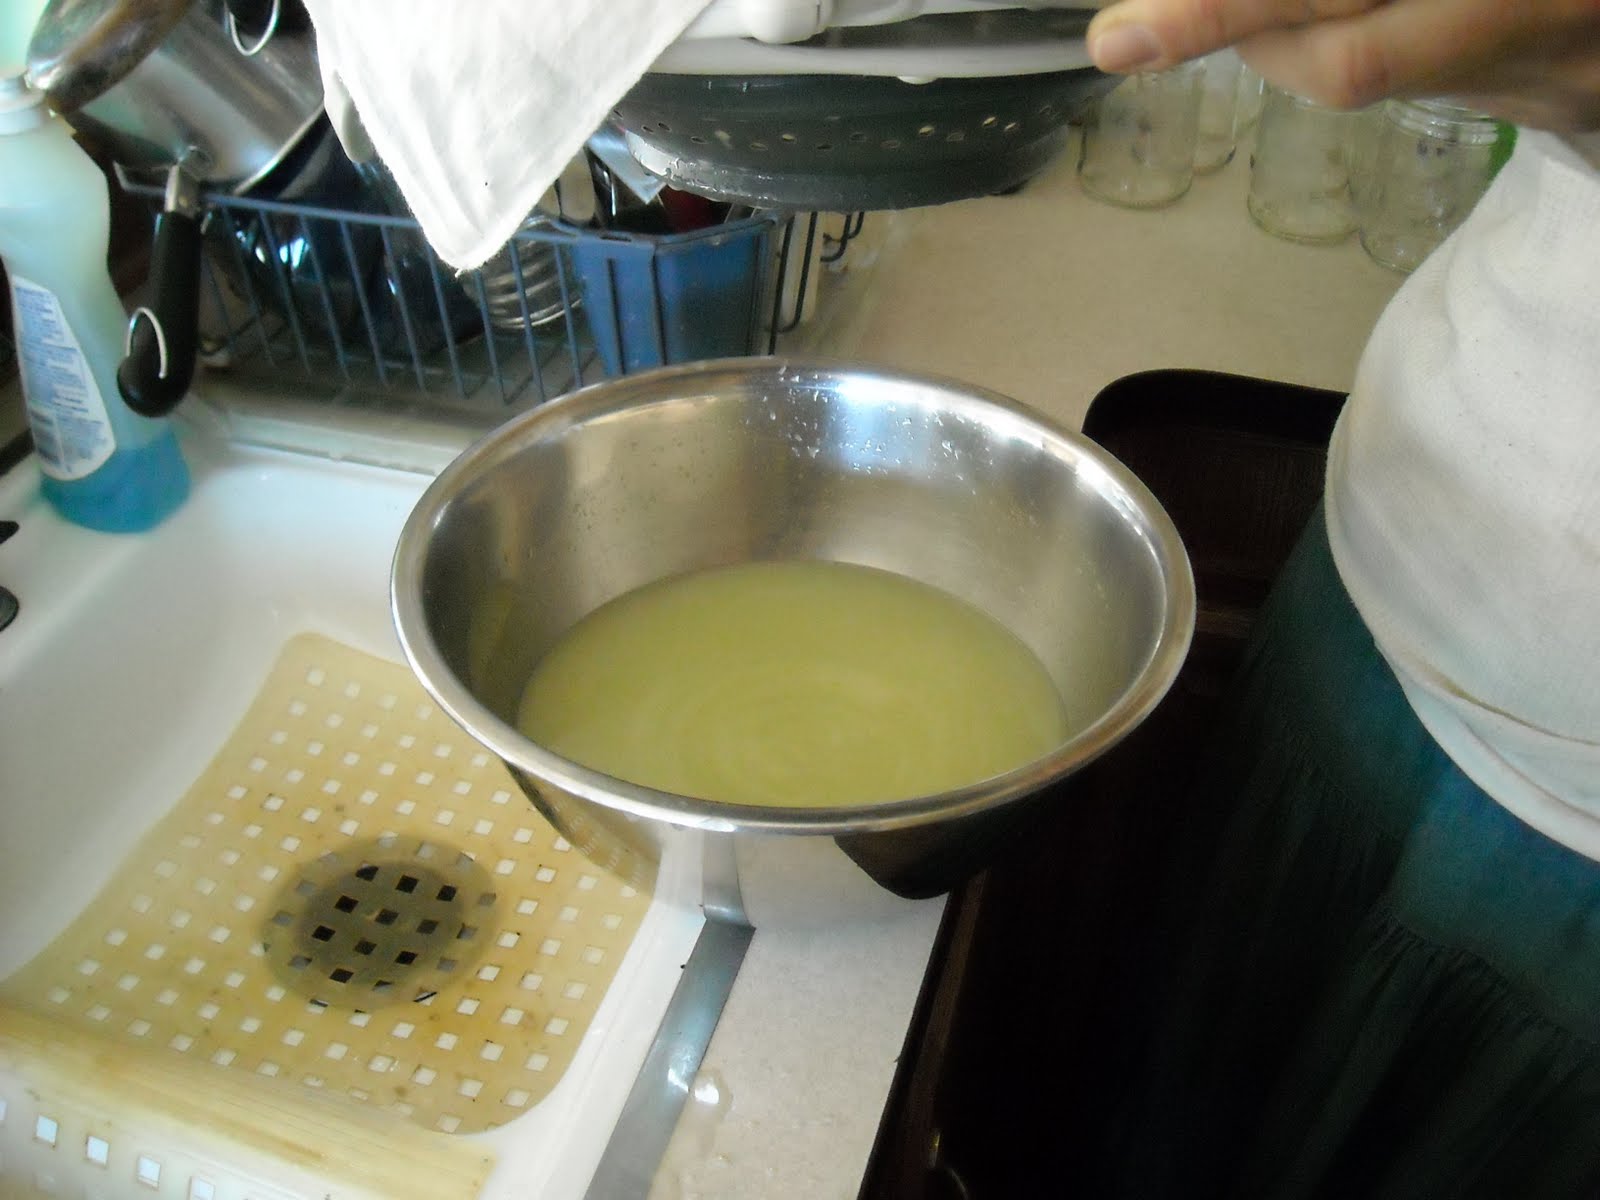
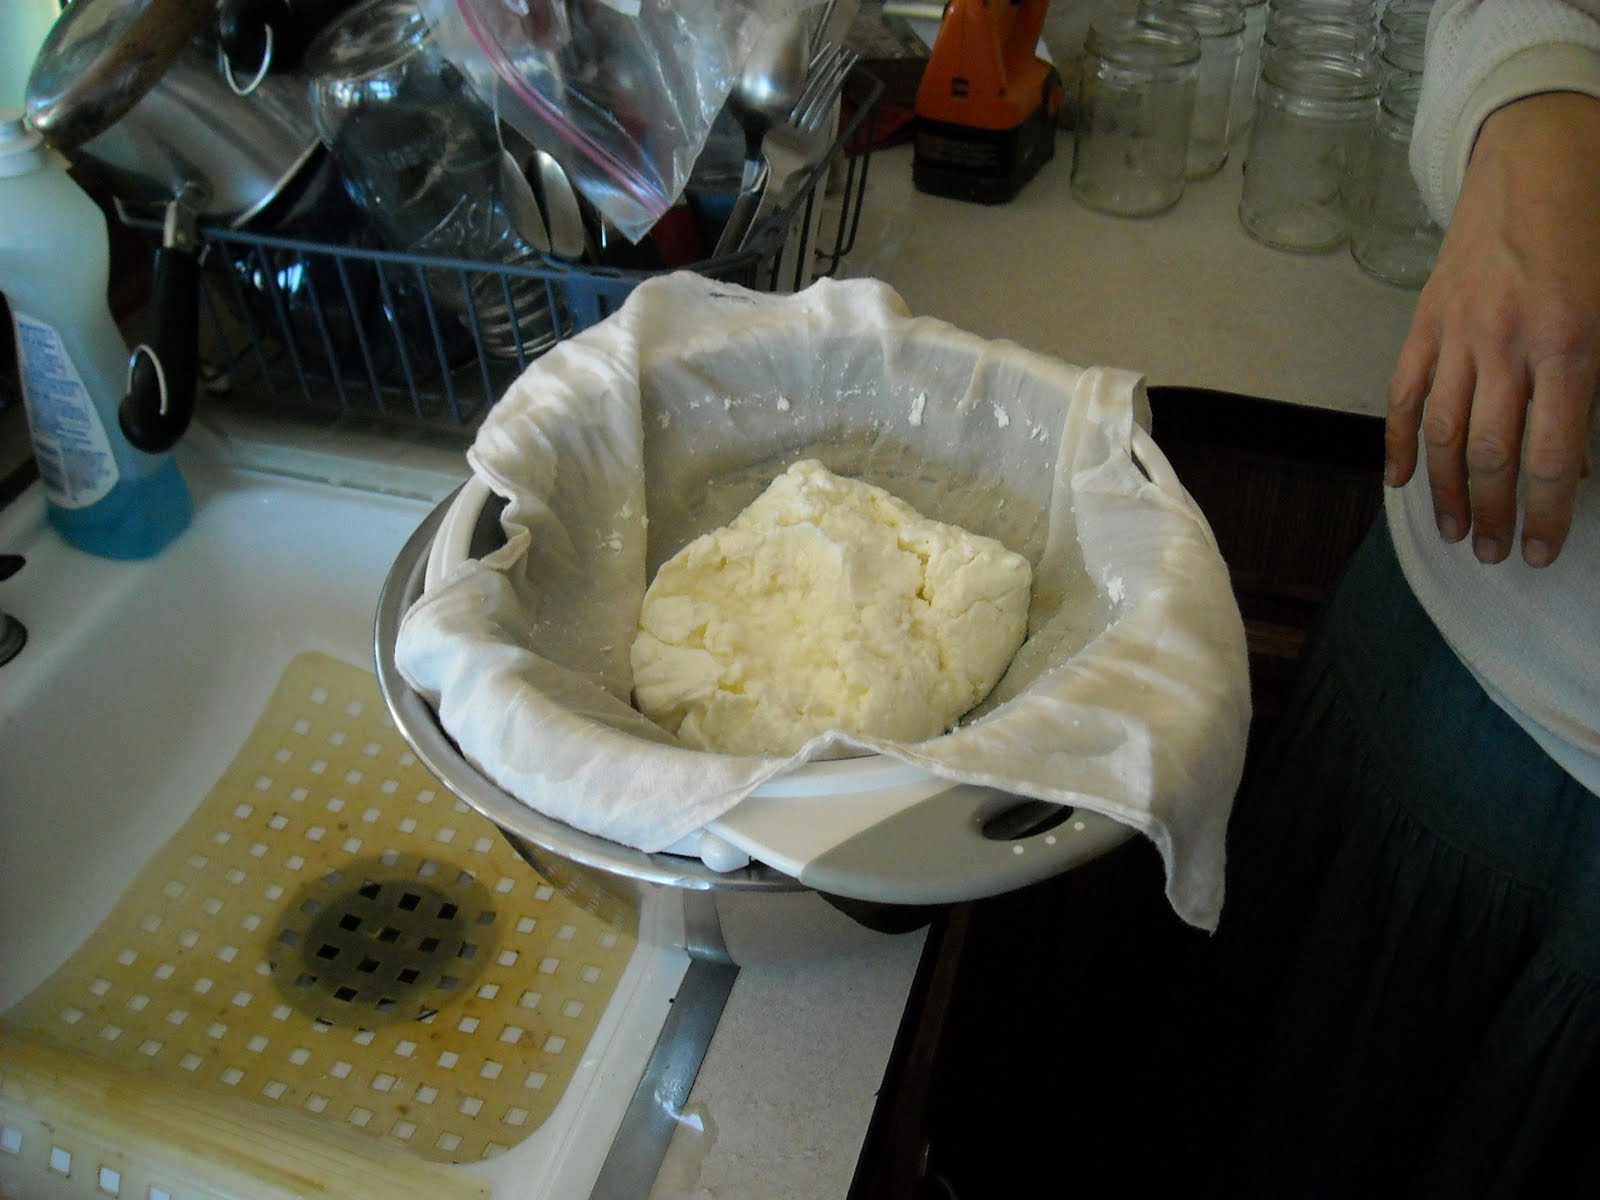
  • “Penny-Pinching DIY’s” (Broth-Based Dairy-Free Cheese Sauce, Better Sunflower Seed Butter, Easy and Traditional Homemade Corn Tortillas, and much more!)

Oh, my goodness, I wish my intermittent fast ended sooner than 2:00 pm today – this is making me hungry!!

Dave and I have been on the receiving end of some of Shannon’s recipe experiments in preparing for her cookbooks, and they have all been delicious. Shannon and her husband have six children, with another on the way!, and we are very blessed to know and love them.

I highly recommend this cookbook to anyone, especially if you are looking for ways to feed your spouse and family delicious, nutritious food on a budget, or just because the recipes are really cool on their own.

Susan

Simple Bread Rolls

I’ve been wanting to do this blog post for almost a year now and figured just before Thanksgiving would be a timely…uh…time!

With there always being so much going on these days on our homestead, right now there’s a fine line between consciously keeping things process driven but also actually getting things done. So recipes like this come in handy.

I volunteered to make the dinner rolls for our community Thanksgiving meal last year and chose a recipe that ended up taking a few hours in which to make the rolls, including kneading the dough, letting it rise, twice, etc. Well, I started to panic when I realized the recipe would not make enough; and I didn’t have time to make another batch. Then I found this bread roll recipe and threw it together quickly to make up the difference in the amount needed. I couldn’t believe how fast and easy it was; and the rolls tasted as good, if not better! I was so thankful to have found it because it changed the way I think about making rolls for everyday meals.

So if you’re looking for a quick bread/dinner roll recipe for Thanksgiving or any other meal, I highly recommend trying this:

SIMPLE BREAD ROLLS – Yield: 16 rolls (from http://www.food.com/recipe/bread-rolls-246317)

INGREDIENTS

2 (1/4 ounce) packages yeast

3 1/2-4 1/2 cups white bread flour (I use half whole wheat flour, half unbleached white flour)

3 tablespoons sugar

1 teaspoon salt

1 cup milk

1/2 cup boiling water

1/4 cup butter, room temperature

DIRECTIONS

1. In a small bowl, mix milk with water. Add sugar, yeast, and butter. Stir until yeast is dissolved and set aside for 10 minutes or until yeast has foamed up a bit.

2. In a large bowl, mix flour and salt. Use the lower amount of flour to start with and add more only if the dough is really too sticky.

3. Add yeast mixture to flour and mix.

4. Knead until smooth and elastic.

5. Place in greased bowl, cover tightly with plastic wrap, and let rise in a warm place for 15 minutes. (I turn my oven on warm and place the bowl in there)

6. Oil your hands and shape the dough into rolls and place in a well-greased pan. I use 2 round non-stick cake pans.

7. Cover loosely with plastic wrap and let rise another 15 minutes.

8. Bake at 400 for about 10 minutes or until golden brown.

9. Let these cool down before you remove them from the pan or they will likely tear.

For those of you who are helped by step by step photos, here you go!

Here the wet ingredients have all been mixed together and set aside for the yeast to start to foam up:

Simple Bread Rolls Wet Ingredients

All the dry ingredients are then mixed together:

Simple Bread Rolls Dry Ingredients

The yeast has foamed up and is ready to be added to the dry ingredients:

Simple Bread Rolls Yeast Foaming

I knead the dough for about five minutes, but your experience may vary:

Simple Bread Rolls Kneading Dough

And it eventually reaches a smooth and elastic consistency:

Simple Bread Rolls Dough Before Rising

The dough should expand in size like this after it has been placed in a warm area for 15 minutes:

Simple Bread Rolls Dough After Rising

To form the dough into the roll:

Step A: Grab a small doorknob-sized roll of dough from the large amount:

Simple Bread Rolls Starting to Form Roll

Step B: Start to smooth the dough from the top down:

Simple Bread Rolls Shaping Roll Step A

Step C: Continue to smooth the top of the roll all the way to the underneath:

Simple Bread Rolls Shaping Roll Step B

Step D: Make all sides of the roll even and smooth:

Simple Bread Rolls Shaping Roll Step C

Place the rolls on large cookie sheet or in two round cake pans:

Simple Bread Rolls in Pan Ready to Rise

Here are the rolls after rising in the pan:

Simple Bread Rolls in Pan After Rising

These rolls have been prepped and baked in about an hour and are ready to serve with butter, jam or whatever you like! You see…simple!

Simple Bread Rolls Ready to Serve

…except for this batch that ended up rising waaaayyyyyy to long in a round pan on a hot day and turned into pizza dough 🙁

Simple Bread Rolls That Have Melted and Lost Their Shape

Whether you use this recipe or not, I pray for God to grant the reader a blessed Thanksgiving and the real Bread of life in His Word.

Susan

Farmer’s (Goat) Cheese aka Neufchatel

I just finished eating a few crackers topped with my first (successful) attempt at Farmer’s Cheese, a soft “cream” type cheese.

A neighbor said she had made some Farmer’s cheese with the inexpensive Junket rennet tablets found in the local grocery store, so I thought I would try that first. An online cheese making blog said not to use Junket rennet because it is not the same as cheese rennet. But it was here and within my budget, so it was cheese rennet to me! 🙂

Goat Milk Cheese Rennet

My “first” first attempt was a bust, using the original recipe from the Junket instructions. Not to say it doesn’t work, but that my attempt didn’t work. The recipe calls for buttermilk, which I didn’t have; so I looked online and found you can substitute with milk and lemon juice. So I did that, along with adding 1/4 tablet of rennet dissolved in a little water. In hindsight, I don’t think the combination of those was enough to coagulate the milk. I heated the milk to 65 degrees F according to the recipe, added the “buttermilk” and rennet, and left the covered pot out overnight per the instructions. It was supposed to solidify overnight; but it just never did, even after I left it another 12+ hours. So that went to the chickens.

My next attempt was a conglomeration of a couple of recipes. This time I heated two quarts of our raw goat milk to just below boiling, and added two generous tablespoons of white vinegar (one per quart) and 1/2 tablet of the Junket rennet dissolved in a little water. Since this was previously frozen milk, it was a bit watery; so I decided to err on the side of caution and add too much vinegar and rennet rather than too little. The last thing I wanted was to ruin another batch:

Goat Milk Cheese Milk Heating

I whisked it all together, covered the pot, and hoped for the best. Well, this time it started to coagulate much more quickly, which gave me hope. By the next day, it was not as solid as I imagine a really good cheese probably would be; but it was close enough!

Goat Milk Cheese Milk Whisking

According to the recipe, the cheese is ready when you can poke your finger in and lift the top, gelled layer cleanly from the lower, liquid layer:

Goat Milk Cheese Curds

Then, you are supposed to cut it into 1/2 to 1 inch cubes in order to assist with the “draining of the whey” (sounds like a ceremony). The instructions call for the first cut starting down the middle, holding the knife at a 90 degree angle, and then each subsequent cut tilting the knife a little until you get to 45 degrees by the time you reach the side of the pot. You turn the pot 1/4 turn, and repeat the process, which eventually makes a grid of curd cubes. I forgot to tilt the knife as I cut — oh, well. But, it came out okay anyway:

Goat Milk Cheese Cutting Curds in Pot

Then, I spooned out the cubes of curds into a handkerchief-lined strainer with a bowl underneath to catch the whey drippings. They say to use cheesecloth, but it just seemed too loose of a mesh, and the handkerchief worked very well for this type of cheese:

Goat Milk Cheese Spooning to Handkerchief

Here it is all spooned into the strainer. You can’t tell here, but it’s draining like crazy underneath:

Goat Milk Cheese Whey Draining

Quite a bit of whey drained quickly, but it takes 2-3 hours to fully drain:

Goat Milk Cheese Whey

Here are the curds with the majority of the whey drained. Pretty cool, huh?!

Goat Milk Cheese Curds with Whey Drained

After the main draining, I hung up the handkerchief to draw out the rest of the whey with the help of a bit longer exposure to gravity:

Goat Milk Cheese Curds Drip Draining

Well, this looked like it might resemble Farmer’s, or some kind of cheese, and not too much like a train wreck:

Goat Milk Cheese

So I seasoned it with a little salt, garlic and onion powder, spooned it into a container and put it in the refrigerator overnight. Using two quarts of milk is supposed to make approximately 3/4 lbs. of cheese, and this looked about right:

Goat Milk Cheese Storage

I’m very pleased with the mild, seasoned taste. It has been too easy to eat a lot of crackers topped with the cheese at one sitting! But I’d rather have to combat will power than have to hold my nose closed and gag it down 🙂

Goat Milk Cheese on Crackers

All of our does have dried up in preparation to deliver more kids in the Spring, if the Lord wills; so this was my last opportunity to attempt making goat cheese until then; and I’m very thankful it turned out. I’m excited (and not as scared) at the future possibilities! What a great way to preserve milk; and we are, as always, very thankful for God’s direct provisions. Believe me, I know I probably could have done this much better and more “properly;” but, hey, it worked for me; and it’s food! I hope to continue to improve with more practice and maybe somebody out there can learn from my mistakes. Bon appetit!

Susan