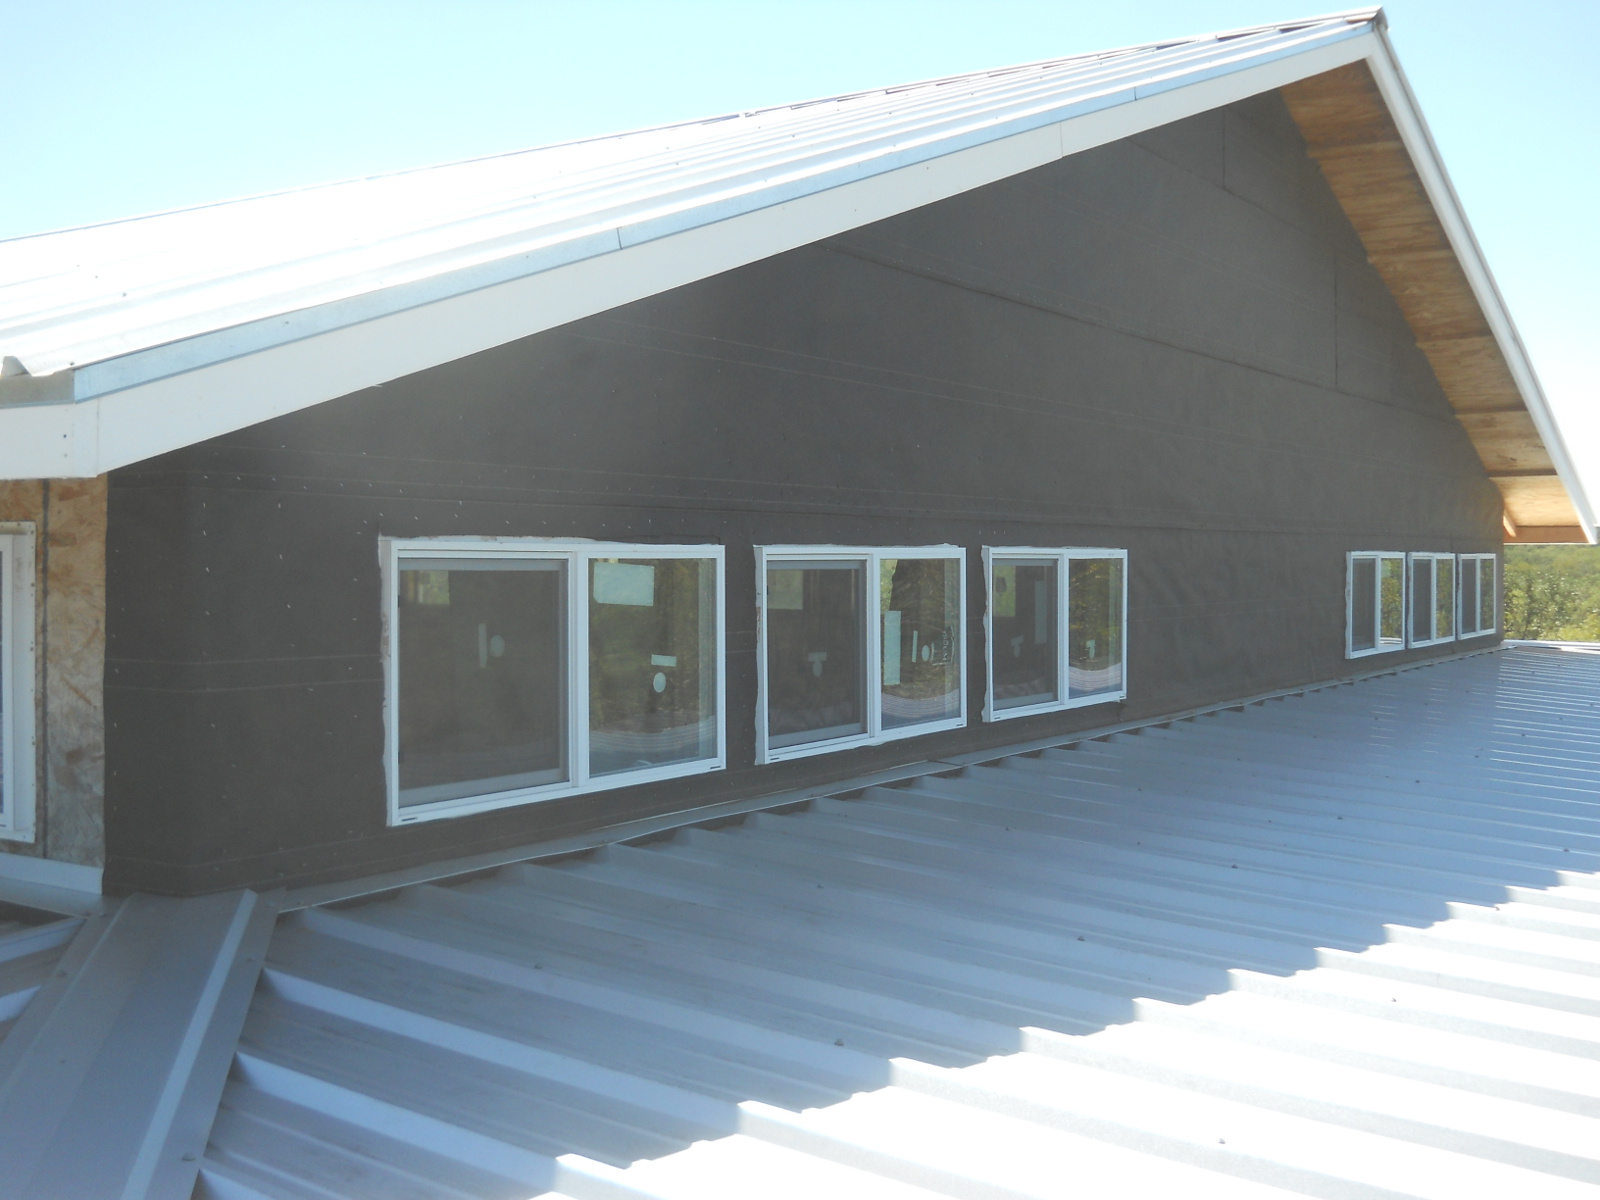
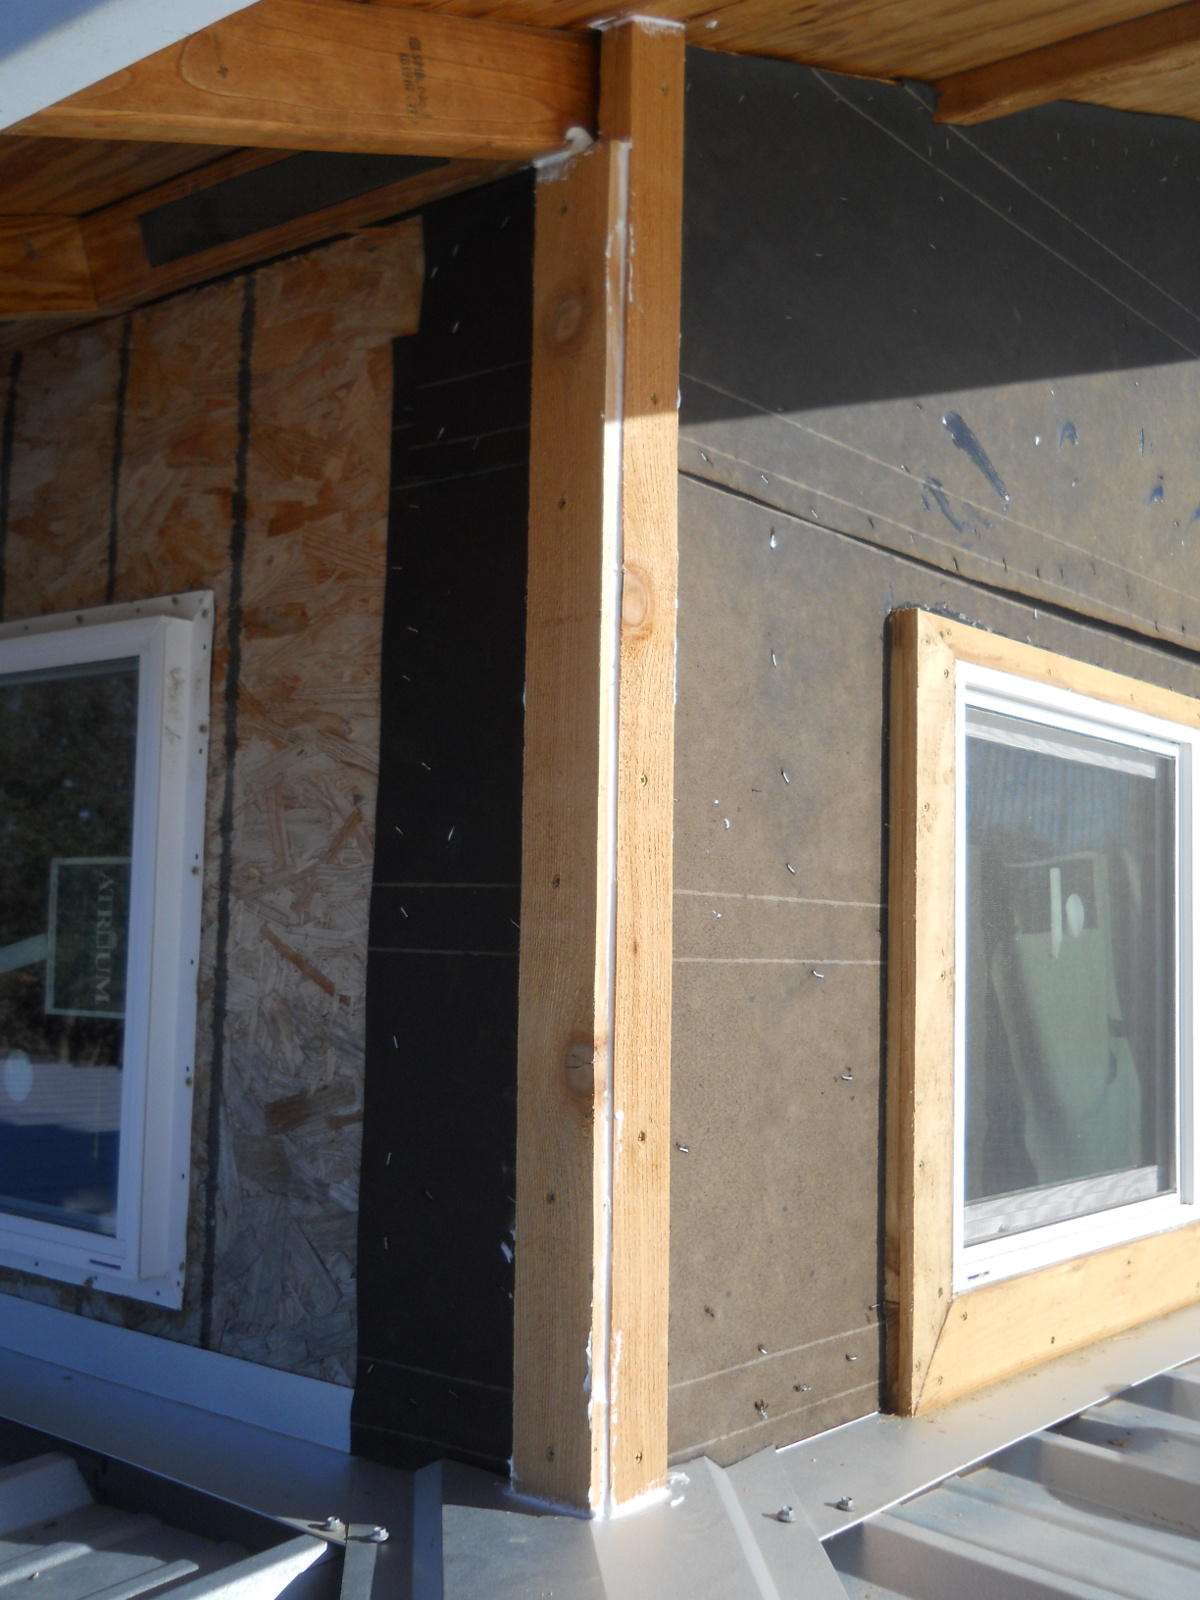
The Lord has graciously supplied resources via help from others to be able to work on the external siding of our house. We’re very thankful to God and them to be able to begin to protect the most exposed under-siding areas, as the OSB only lasts so long in the elements.
First was the tar paper that Sue and I put up using a hammer stapler. We were told we should have put the windows in after the tar paper, but I guess it was a little late for that now. I suppose I should have applied some special tape to secure the tar paper to the window — perhaps I’ll plan to do that on the next ones:

I wanted siding that was durable, hopefully without having to paint it all of the time, but that could be used as lap siding because I like the look, and was not too expensive; and so I thought cedar fence slats just might accomplish the task. I also decided on using tan Deckmate screws, so if we needed to remove pieces easily we could, and because the tan color matches the boards nicely.
First was the window trim. For the bottom and top, I just ripped a slat (cut it length-wise) to fit the bottom, and then just used what was left on top, to try to save on slat usage. The trim is two boards thick — the under board corners are cut square to fit, and the top ones are miter-cut at angles for aesthetics, although with the funny (non-45 degree) angles, they didn’t end up joining together too nicely, but hopefully I’ll get better at that as I go. Because of the shape of the screws, I found I needed to drill pilot holes slightly using a 3/8 inch bit, so the screw head would sit nicely and not split the board; and I used 5 screws per full board, probably about 3/4 inch up from the bottom of the slat.
And because the window “flares” (the part that holds the window to the wall) stick out, and the top trim was so thin, I used shims to push the top of the trim piece a little more vertically level:
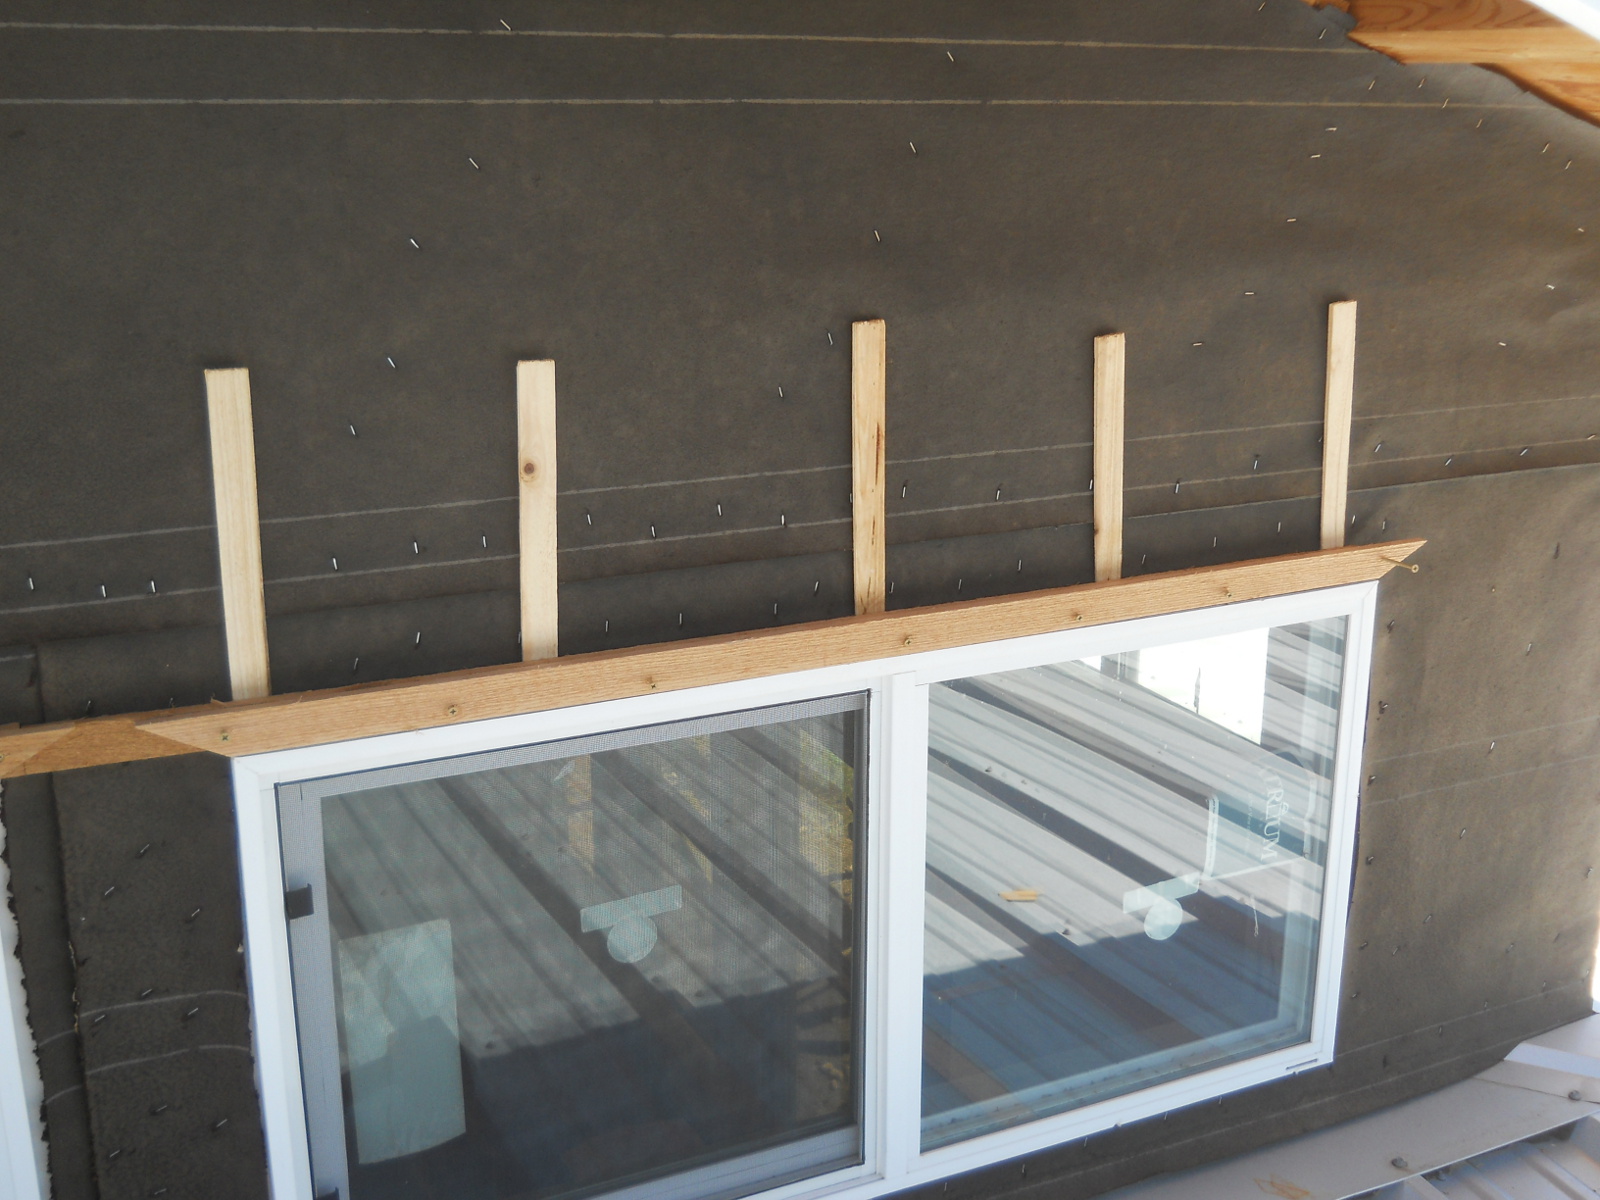
Here is the trim with the shims cropped:
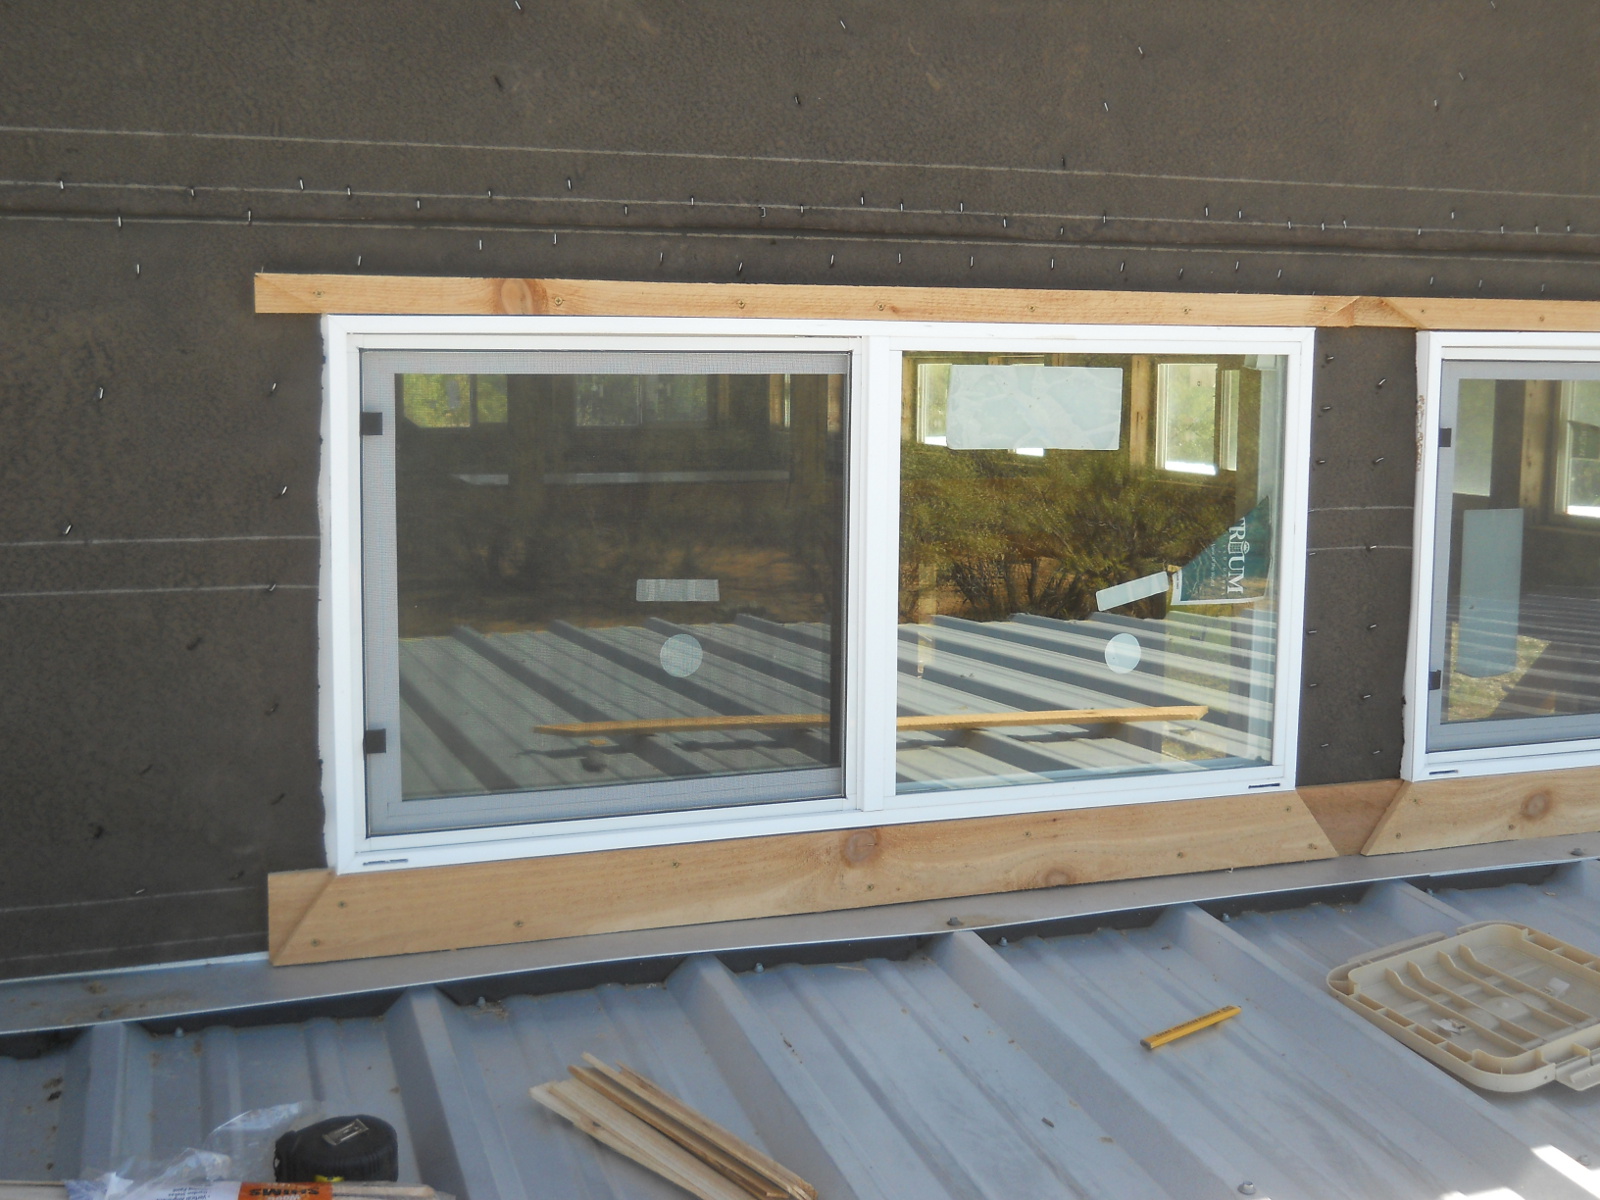
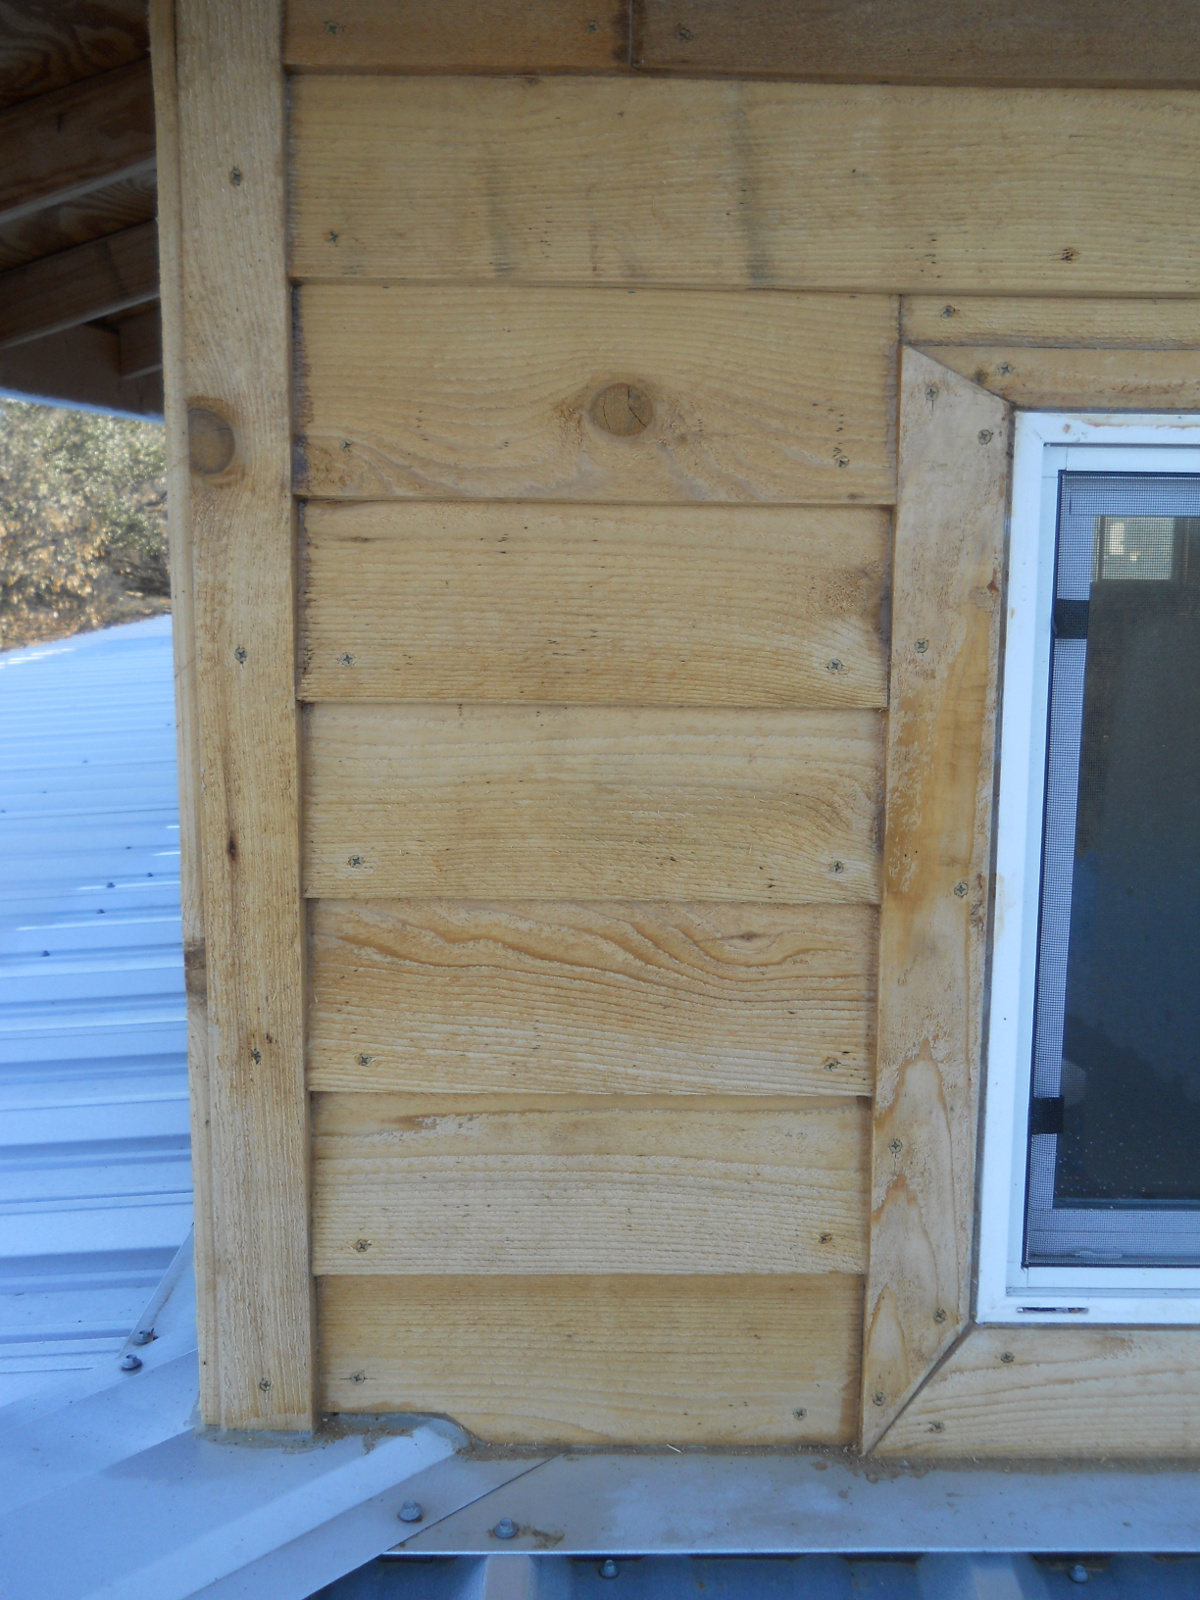
And the window trim complete. All throughout the siding I tried to use copious amounts of clear silicone caulking:
With the corner trim, I ripped the outer boards in a way so as to be able to cover the overlapping of the under boards:
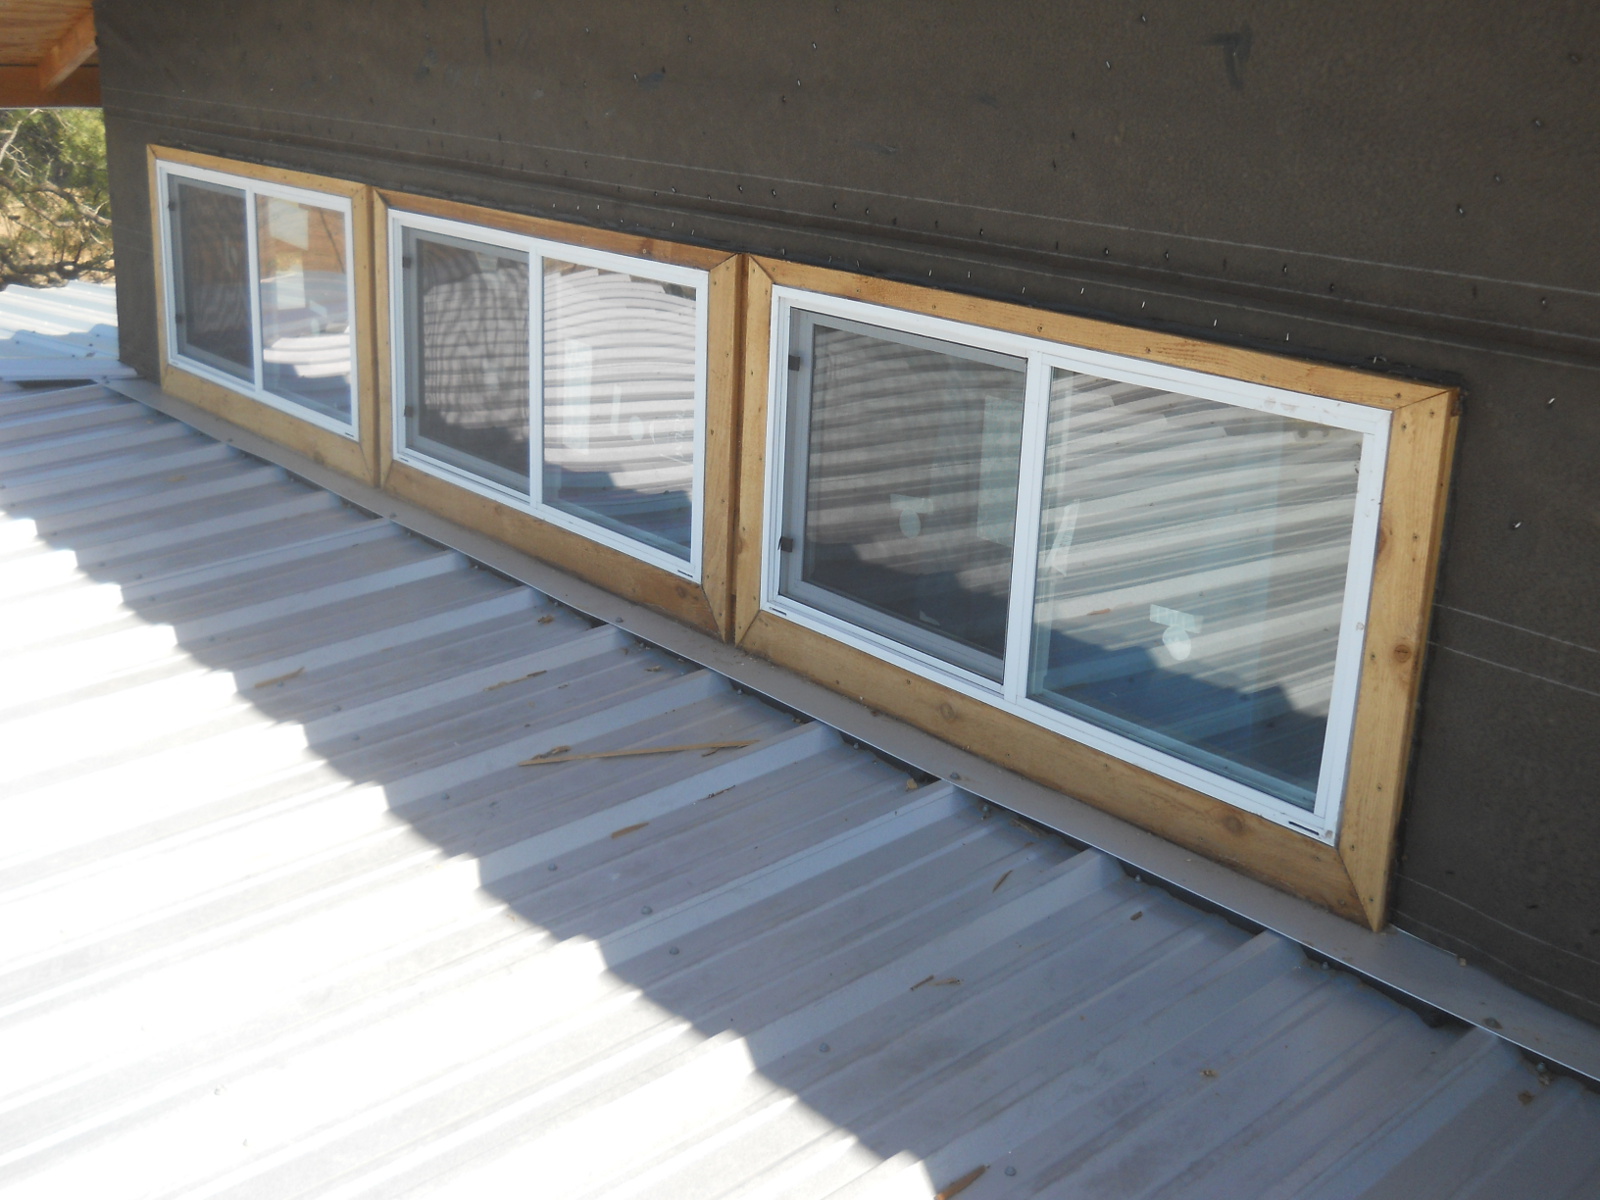
And here are the windows and corners done:
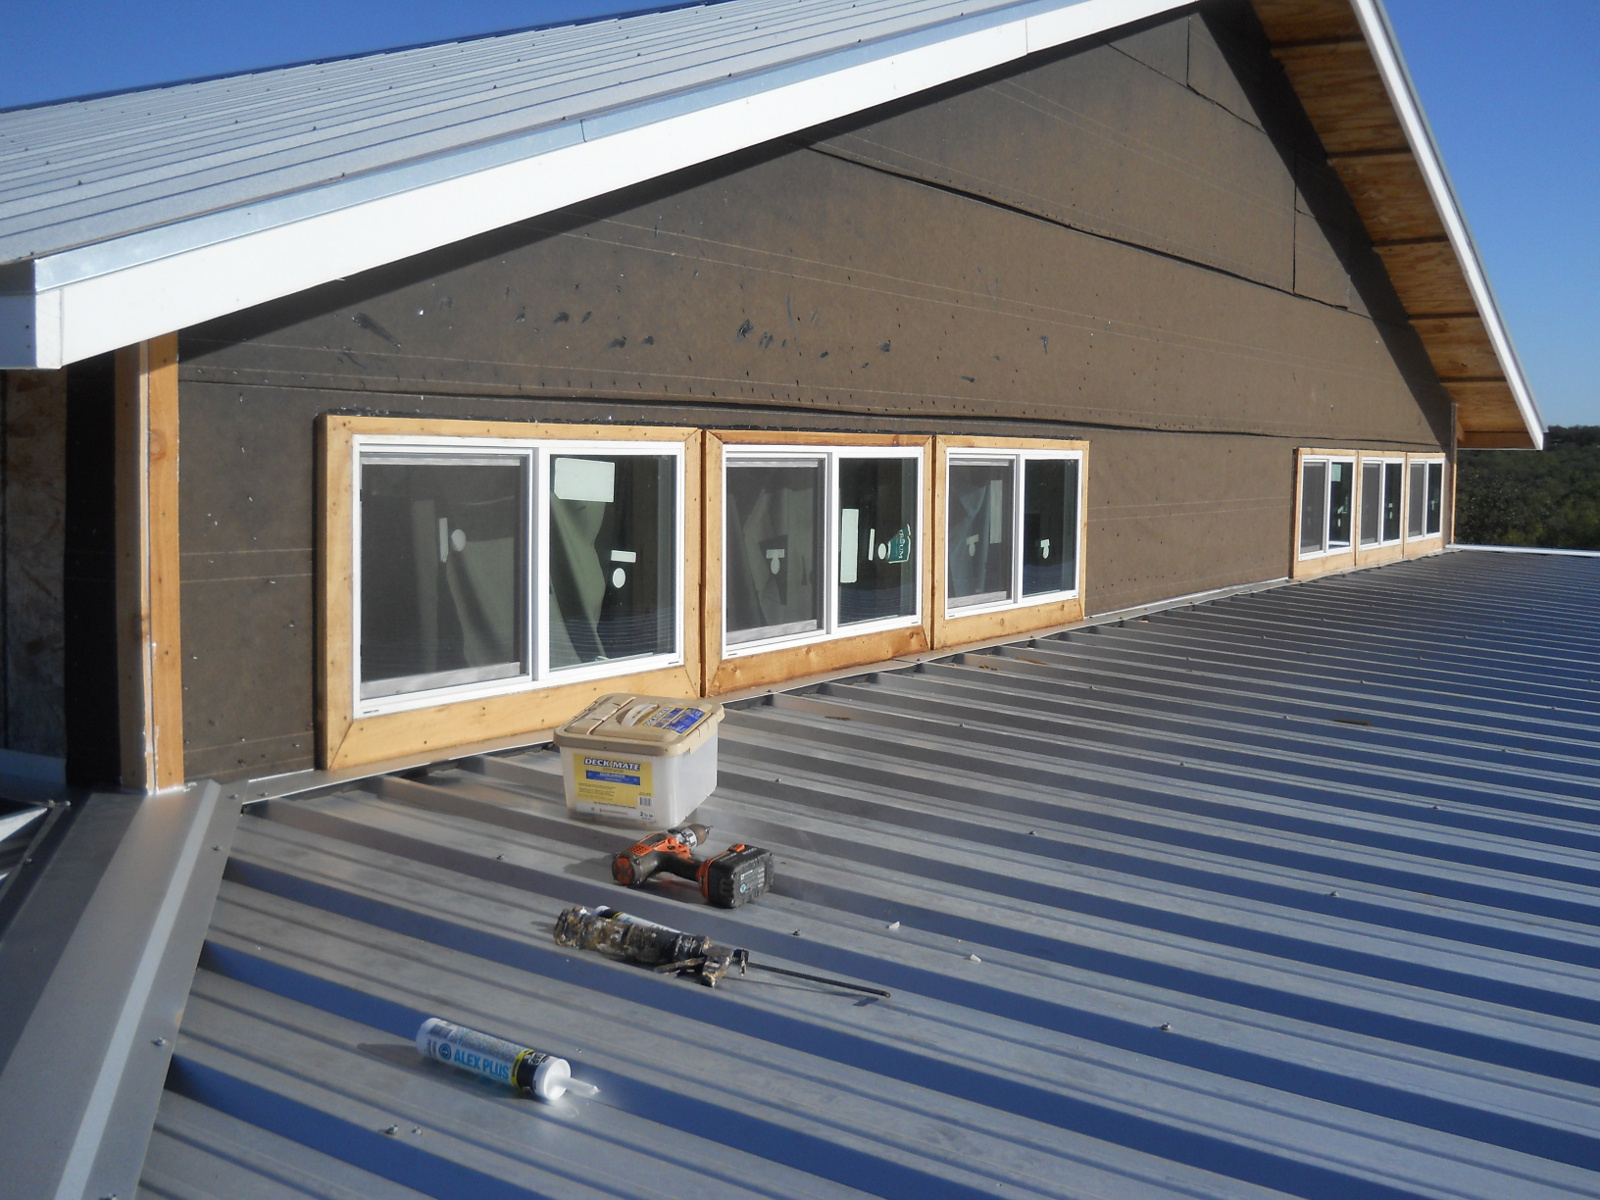
Here is the corner to window siding. I initially thought I would run a string all of the way across to try to keep each course level, but with the distance of 40 feet, the string sagged; and so I figured once I got above the windows, I could even things out as I went, making sure the first course above the windows was generally the same height on one end of the house and the other. I was also able to follow the line on the tar paper on this first course, which helped set things fairly straight:
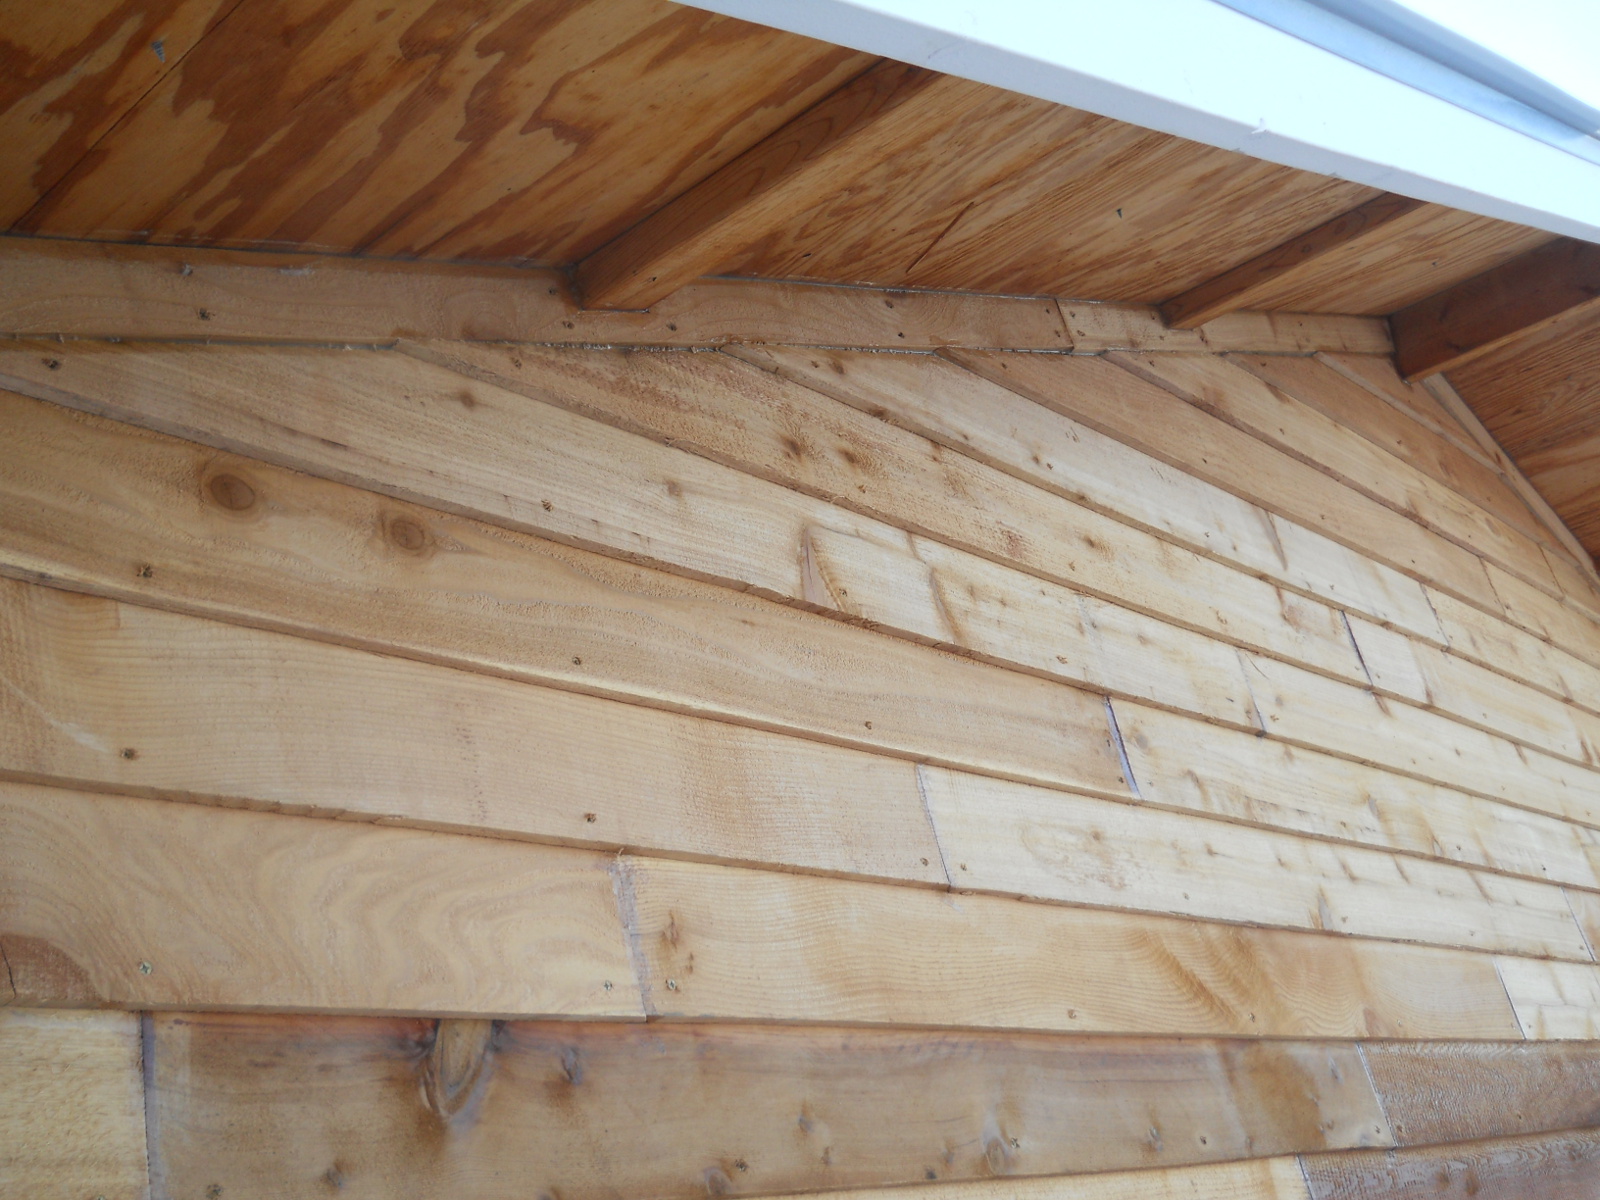
Because I worried that the slats might shrink some over time, I wanted to have a decent overlap, and ended up going with 5 inches of each course visible (the slats are around 5 1/2 inches wide). Each board-join I bevel-cut at 45 degree angles to overlap each join, hopefully helping to keep more moisture out, and I caulked each join as well. Given some of the slats would have arcs in their width, I’d have to try to press them flat when running the sliding chop saw through them:

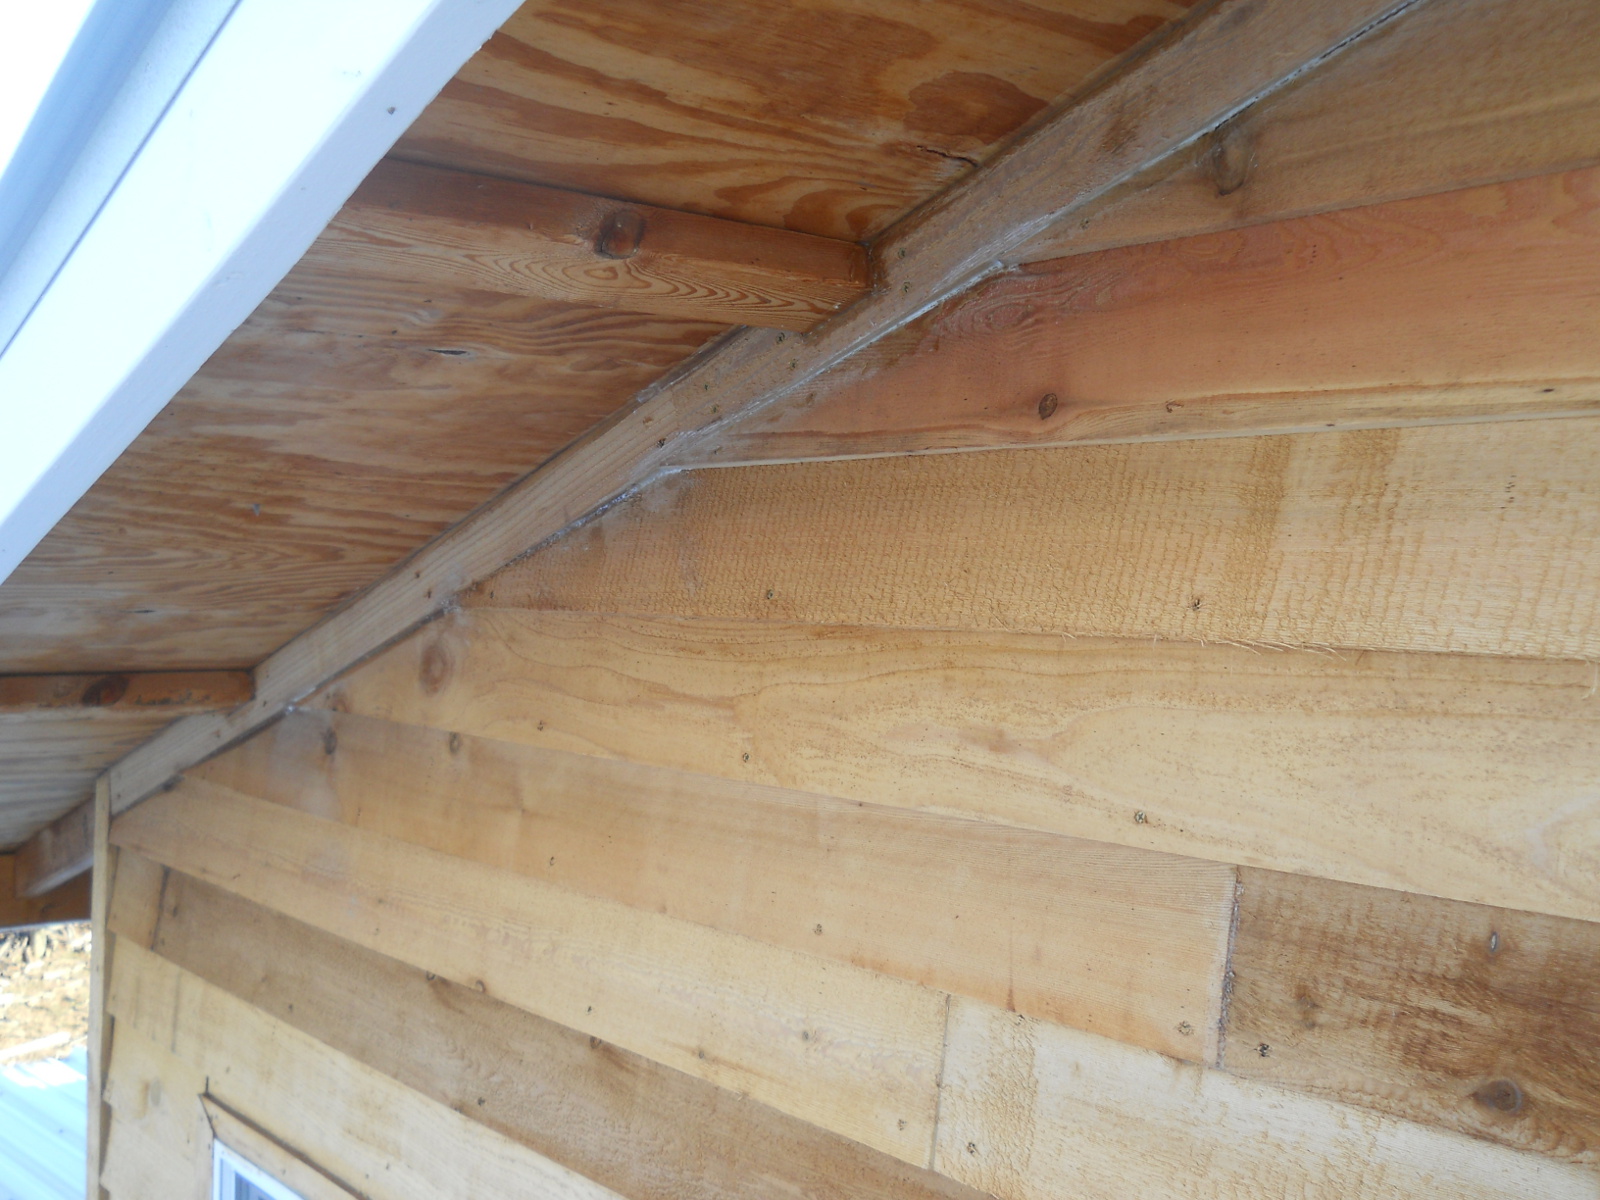
Here is the roofline trim. At one point in this area, I started caulking and realized I was using white caulking instead of clear. Arg. I tried to wipe it off with wet cloths as much as possible, but some is still there, although at least I did it in a place that’s somewhat generally hidden:
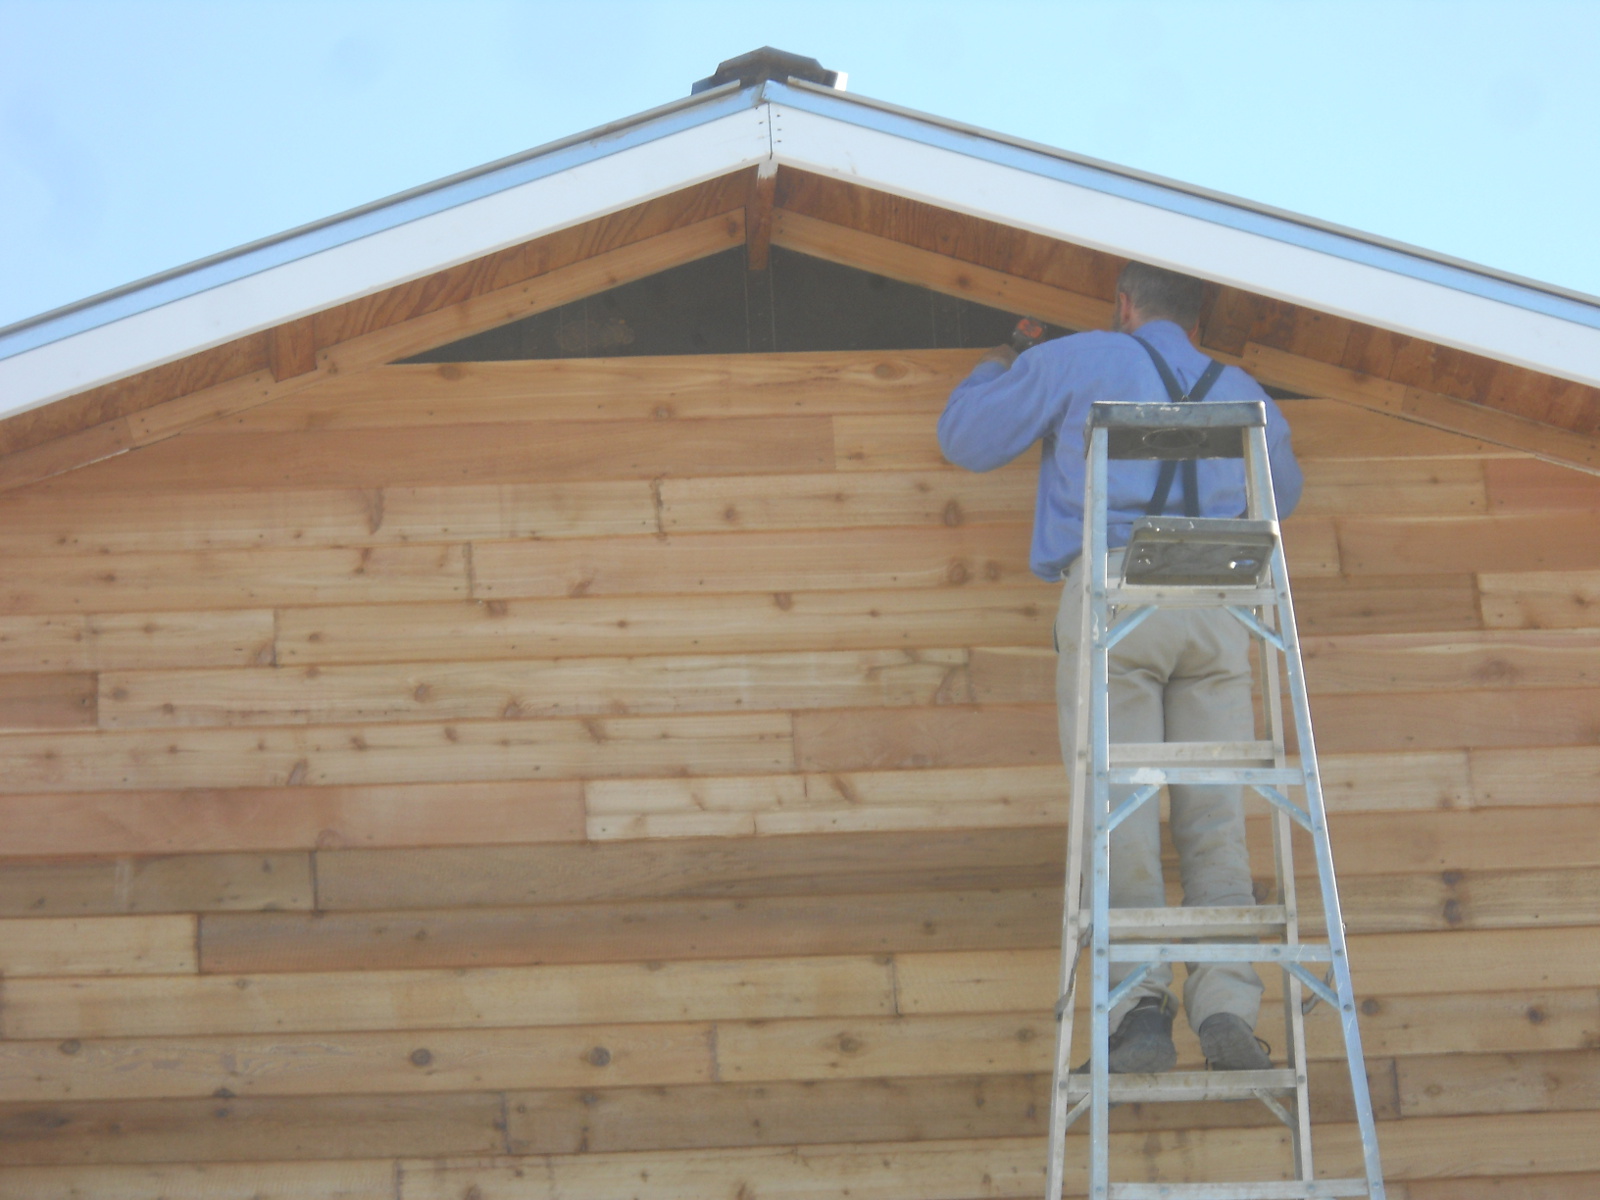
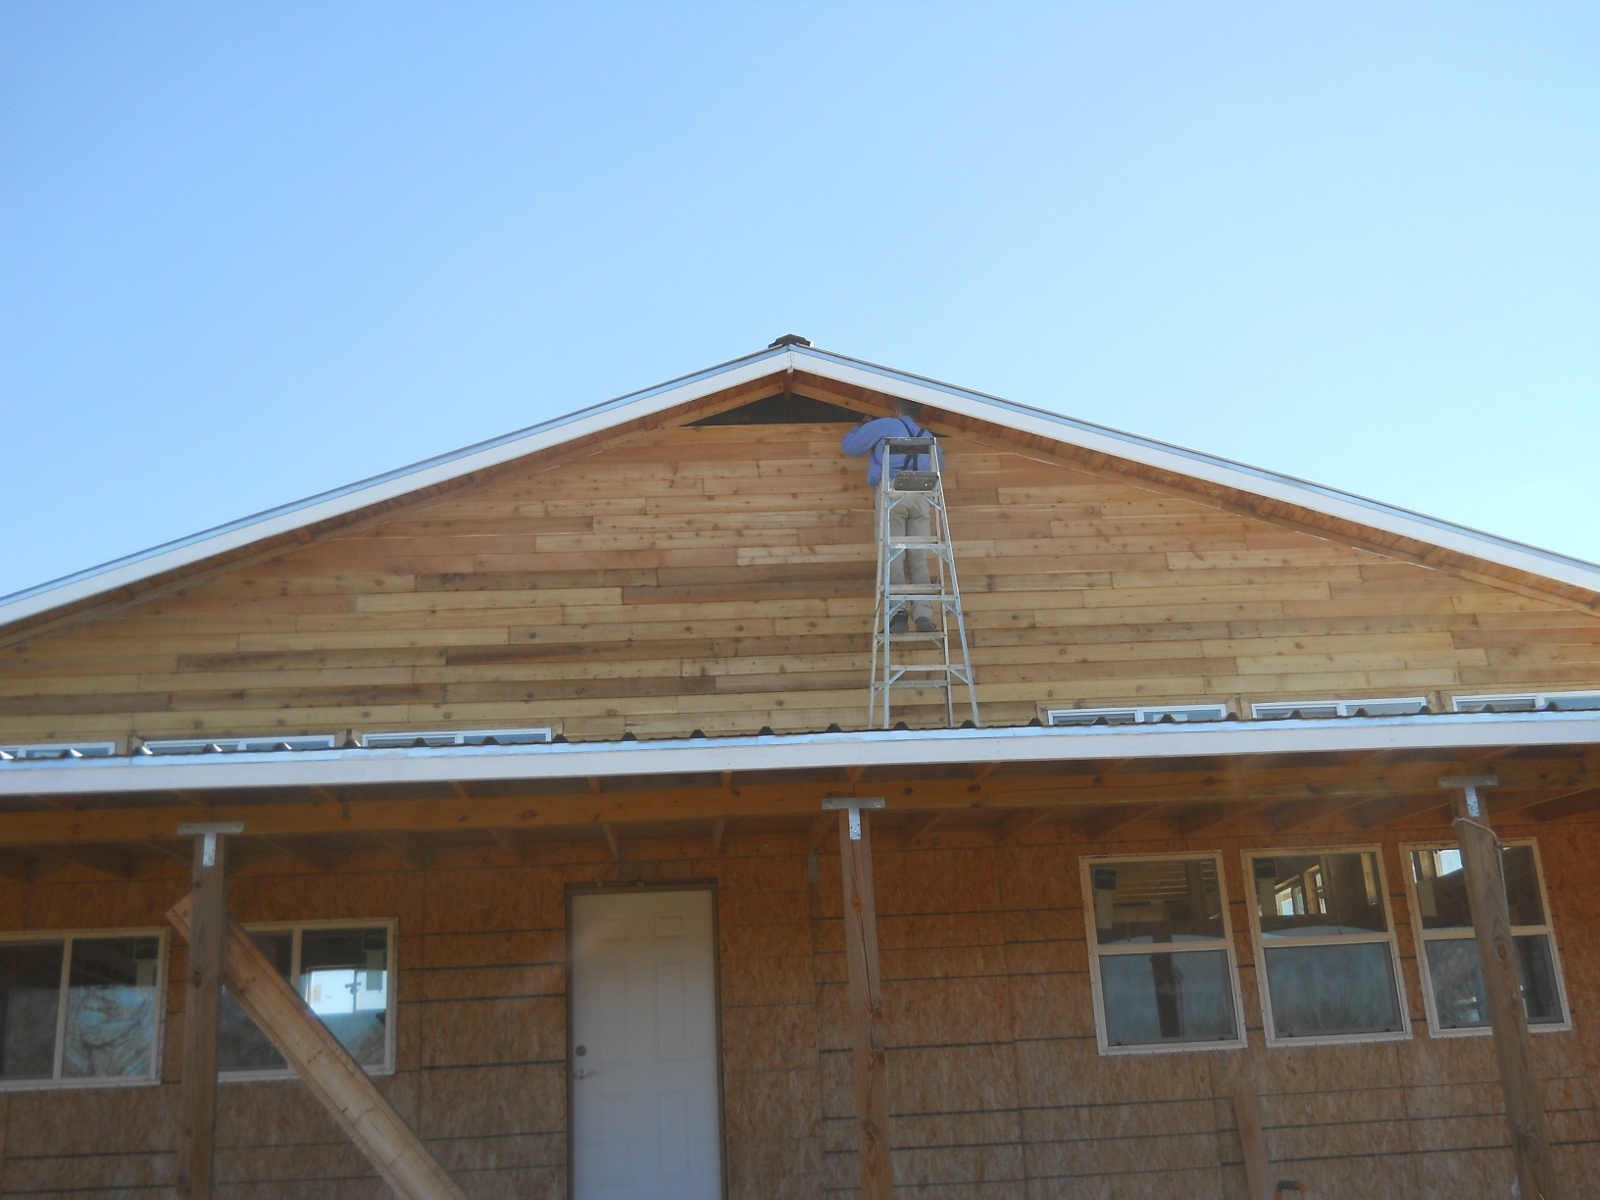
Here I am getting close to the top:
And here is the first side complete! We plan to paint it with clear wood protector, once the colors settle, since it appears some of the red tinting in the boards seems to fade away over time; and we might paint the trim a different color, just so it stands out a little. It’s an amateur job, but I’m an amateur. 🙂
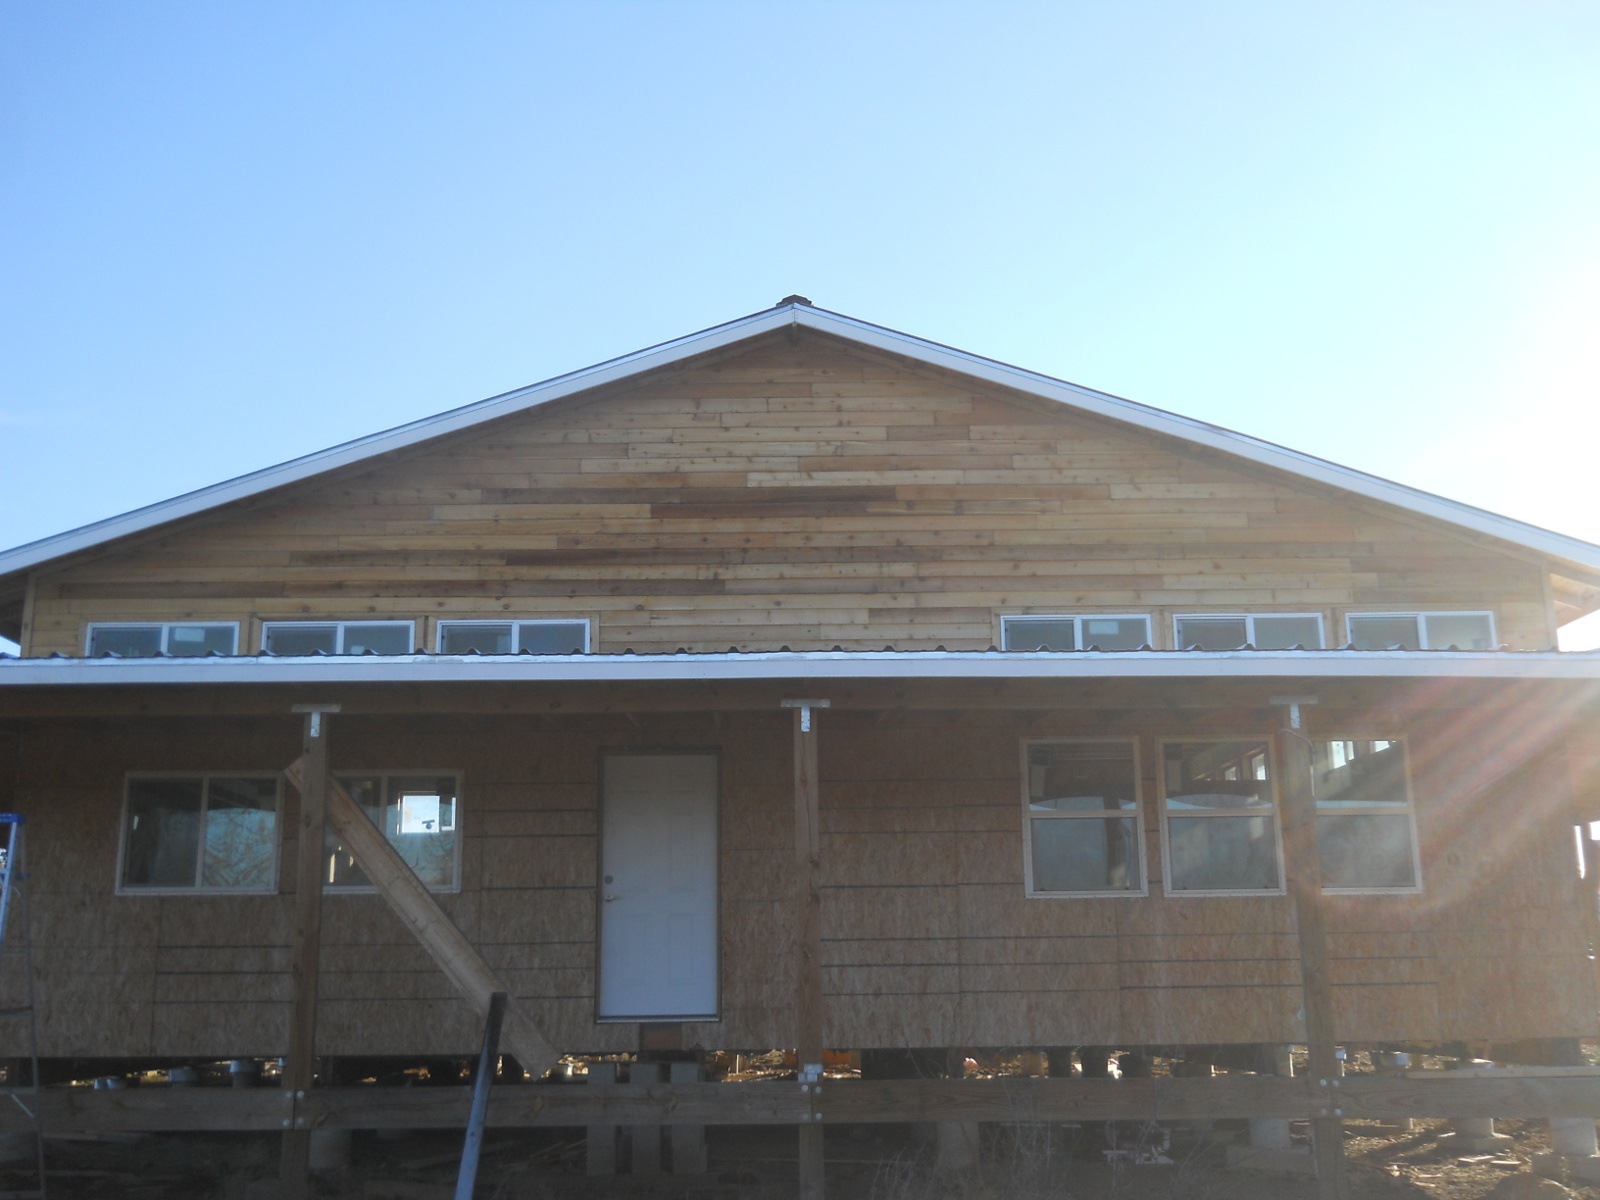
Because of time restrictions, it took several months to do this, but we are very thankful again to the Lord for granting this progress on the house!
— David
Leave a Reply