Our journal of what we pray is our sojourn of life along the narrow way, even the old paths, submitting to the Bible as a light unto both.

Year: 2013 (Page 3 of 5)

Community Singing – July 2013

We are grateful once again to be able to gather together in Christ’s name to sing the Psalms of His praises and His wonderful works in, and protection of, His children. Last Lord’s Day/Resurrection Day, we recorded the next set of Psalms after the previous Psalms recording. We pray God glorify Himself and that He benefit His Church through these:

Psalms 25A-27F

Previous Psalms singings:

Psalms 1A-12B (minus 4B)

Psalms 4B & 13-18L

Psalms 19A-22E

Psalms 22F-24C

We again thank the Lord for His word and the opportunity to sing from it and learn it in this way. May He guide and strengthen our hearts by His Spirit, and may He write His law on our hearts that we might not sin against Him. May His great love, kindness and mercy toward His Church bring out from us love, kindness and mercy toward Him, His people and our neighbors.

— David

Providence’s Perpetuation Provisions: New Kids of 2013

After putting our does and bucks together in November, so they kid in the spring, the time came, and the Lord graciously granted quite the little kid herd for 2013! And so, we thought we’d introduce you to the group.

Here are our two bucks, Rocky (left) and Shatner (right):

Dairy Goat Bucks Rocky and Shatner

And here are some sights and sounds of the offspring…

In this video, I introduce you around, including how we named some of them:

And I’ll try to name them in each of the pictures, from left to right.

This is Moe I think, I think Albert (there are 3 or 4 that look like him), Vinnie and Choco on the milking stand, either Shirley or Larry under it, Alice, Rosie on top of the front of the milking stand, and Mario and Stoney:

Dairy Goat Kids of 2013

And here’s a little video Sue caught of some of them a-frolicking in the evening:

Here are Winnie I think, and Annie (our two does), Choco, Penny, not sure the two black ones in the back — maybe Finn and Becky, from top to bottom — Louie, Daphne, Velma, and Nicki, and our doe Minnie with Donny (black) and Clyde behind her:

Dairy Goat Kids of 2013 on Hill

And this is Clyde and Penny:

More Dairy Goat Kids on Hill

Marie, with Stoney and Mario:

Dairy Goat Nannies Dairy Goat Kids Kids of 2013

Over to the left, Nellie with Velma and Daphne; Huey, Louie, Winnie our doe, and Dewey; Rosie in front; and our doe, Adeline, right:

Dairy Goat Nannies Dairy Goat Kids Kids of 2013

Our doe Annie; Choco, our doe Pammy, and Vinnie behind her; Rosie (in black); our doe Gracie, with Penny and Nicki; Nellie again, with Daphne and Velma; Winnie again with her three; and Alice way over to the right:

Dairy Goat Nannies Dairy Goat Kids Kids of 2013

Here’s a closer shot of some from the last pic:

Dairy Goat Nannies Dairy Goat Kids Kids of 2013

And another close up:

Dairy Goat Nannies Dairy Goat Kids Kids of 2013

Our doe Betsy, with Finn (left) and Becky (right):

Dairy Goat Nannies Dairy Goat Kids Kids of 2013

And this is our doe Minnie, with Donny (left) and Clyde (right):

Dairy Goat Nannies Dairy Goat Kids Kids of 2013

Thanks for taking the tour! In the end, the Lord granted 21 kids — 13 bucks and 8 does. We are very grateful to God for His graces and mercies in granting these provisions this year; for their safe deliveries (both mother and kids), especially after last year’s difficulties; and the health and safety He’s granted to them all thus far.

Soon, Lord willing, we’ll be able to get back to having goat milk, which we really look forward to!

— David

A House – Update XXII – Great Room Ceiling, Floor Insulation and Some Move In

This past first Wednesday of the month for community work day, the group graciously worked at our place to help continue with some things on the house we’re building. In preparation for being able to install a wood burning stove for the kitchen, we needed to get the ceiling paneling over to that area. As we did when the group helped put up ceiling in the bedroom, I wanted to start in the middle of the house instead of on one side, so that if the side we started on was “off” compared to the other side, we could end up with squaring problems. And so, we needed just enough panels to get from the middle of the house over to where the stove is planned to be. Running them offset by half, I figured two per row would hopefully allow us to keep the next row’s panels fairly square on the previous row’s panels.

And here’s the crew helping do just that:

House Putting Up Great Room Ceiling Panels
House Putting Up More Great Room Ceiling Panels

And here are all of them in place. The stove is planned to go over there on the right near the wall where there aren’t any windows:

House Some Great Room Ceiling Panels in Place

A very long time ago, probably when we bought the wood for the floor, I had bought the floor insulation, and it had been sitting in our barn for years. Recently though, with the roof on, we moved the insulation into the house, and I had started to install it. On this last workday, with the ceiling panels going up fairly quickly, and with the time left over, the men helped continue and finish installing the insulation:

House Floor Installing Insulation

Sue had been in town at one point fairly recently, and I had asked her to stop off at the hardware store to try to find these insulation holder-type things that slide between the joists and apparently help keep up the insulation. I guess the store didn’t have them, and someone there said people often use chicken wire, but that can be expensive for this type of application. Someone else suggested using wood-strip runners, which I thought was a pretty good idea, since we had the left-over 2x6s we were using as braces to twist the porch posts, and so I took them and starting ripping some of them into runners for the insulation. For a 2×6, I found that setting the guide on the rip saw at 23/32s (1/16 past 5/8 + half of the next 16th) worked just about right to evenly rip the board into 7 pieces:

House Floor Installing Insulation Runners

And here’s a picture showing them installed:

House Floor Insulation & Runners in Place

After this work day, thanks to the help, all of the floor insulation is in place, and I only have the runners to finish for the last two sections.

The ladies helped us with some things on workday as well. They helped clean up some of our furniture that’s been in the barn since we moved everything in there, and we were able to move a lot of it into the house.

Here the ladies are helping clean:

House Furniture Cleaning
More House Furniture Cleaning

And here is the wardrobe I had built when we had first moved here now in the bedroom closet:

House Bedroom Closet Wardrobe

Here’s the living room:

House Living Room

And toward the kitchen:

House Living Room Toward the Kitchen

And here are book shelves, where we’ve finally been able to unload many of our books from the tubs we had them in from our move to Texas:

House Library Books in Shelves
More House Library Books in Shelves

And this globe was a nice gift, which we finally get to put up:

House Library Globe

Finally, with the heat of summer already starting, and with our camper getting very hot during those times, with very little ventilation, a few weeks ago, we decided to set up our bed that’s also been in the barn since we moved everything into it. The plan was to be able to position ourselves right in front of the window screens while we slept, so hopefully any breeze would keep us a bit cooler, and thankfully, it has worked pretty well.

The bedspread and other accoutrements we were able to get using gift certificates we had received for our wedding back in 2003! We had been saving them for things for the house, and we’re grateful to be able to finally use them:

House Bedroom Bed Made Up

As always, we are very thankful to the Lord for His continued provisions, and allowing progress on the house. And we thank Him and the folks here for the help and service from this workday to be able to get some of these things done.

Here was a moment of relaxing:

House Workday Fellowship

We pray the Lord glorified Himself during our activities on workday, and that He grants a blessing on the group here for their help, and that He grants us growth in service to Him and each other.

— David

Providence’s Perpetuation Provisions: First Chicks of 2013

Back in late March, one of our australorp hens went broody, and 3 weeks later, by God’s graces, she hatched out I believe 9 out of 12 eggs (11 were fertilized, but two of the young ones either died pretty quickly or didn’t make it out of the shell), and she raised the others very successfully! She hatched them out originally in our chicken mini-tractor, and then we moved them into the summer kitchen where we had our chicken nursery last year. Finally, just recently, I moved them to the chicken pen. As I mention in the video below, a few of them started getting sick in a day or two after moving them to the pen, and sadly, one died. I started feeding the other two that didn’t look well a little elixir the Lord granted I come up with — using an at least 3cc dropper, fill it with 1/4 cc angrstrom silver, then up to just past 1.5 cc’s with egg yoke, and up to 3 cc’s with goat milk (I did 2 1/2 for these little ones; rinse it down with semi-clean water — and they appear to be doing much better, thanks to God.

And here they are about 6 weeks into it:

First Chicks of 2013

And here’s a little video, that includes the mother hen:

And maybe 12 days ago, another autralorp hen went broody, and here she is in the mini-tractor:

Next Broody Australorp Hen

We are very grateful to the Lord for granting this provision of being able to continue the flock, and we pray they are used for His glory and the benefit of His Church.

— David

Preserving Garlic with Fermentation and Its Health Benefits

Preserving Garlic - Garlic Bulbs

Last year the neighbor family invited us over for supper. It was a nice time of great food and fellowship. Over the course of the evening, they offered us some preserved garlic to try. It was basically garlic that had been aged in vinegar – that’s it. But it was delicious! I had two all by themselves and really enjoyed them. Apparently, the preservation process makes the edgy/hot garlic taste much milder and easy to pop into the mouth and eat raw. This jogged my memory to several months ago when we originally harvested our very first garlic crop. Our friend, Mrs. Bowman, had commented that she preserves her garlic cloves in cider vinegar, honey and salt. When her husband had a case of swine flu, eating a couple of cloves a day kept her healthy to be able to care for him.

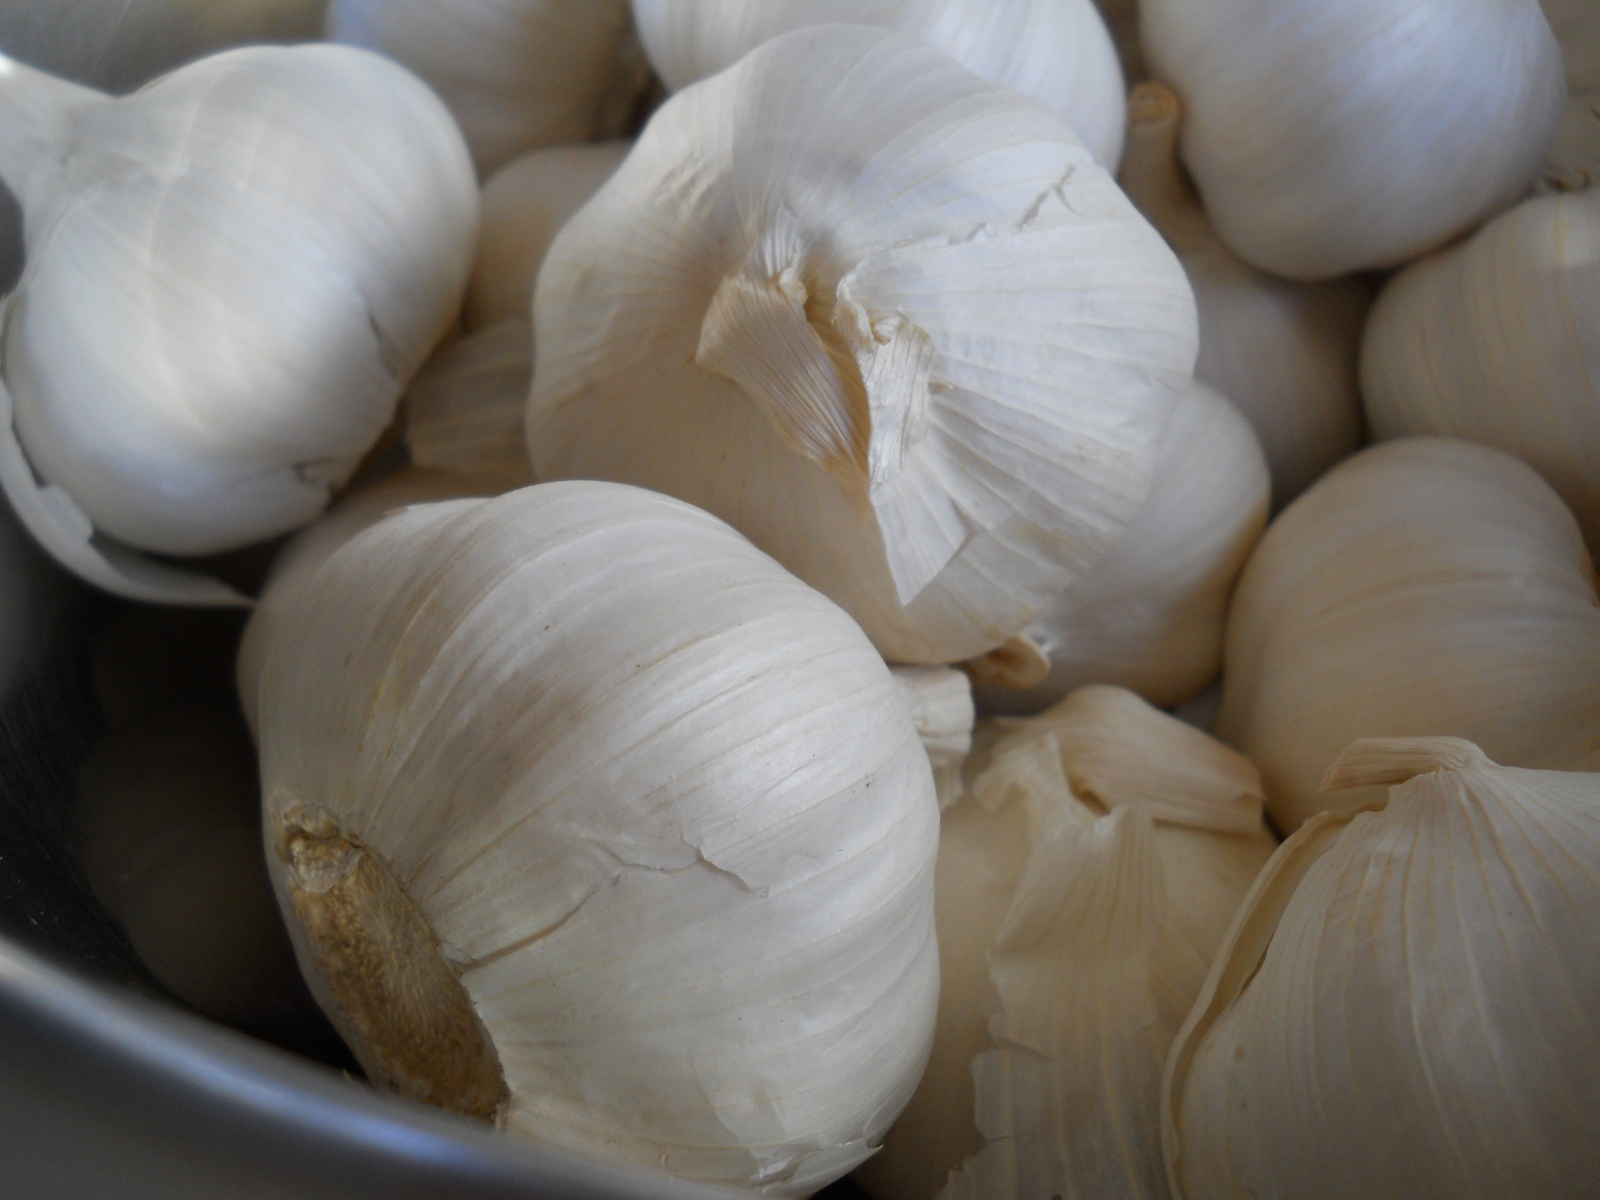
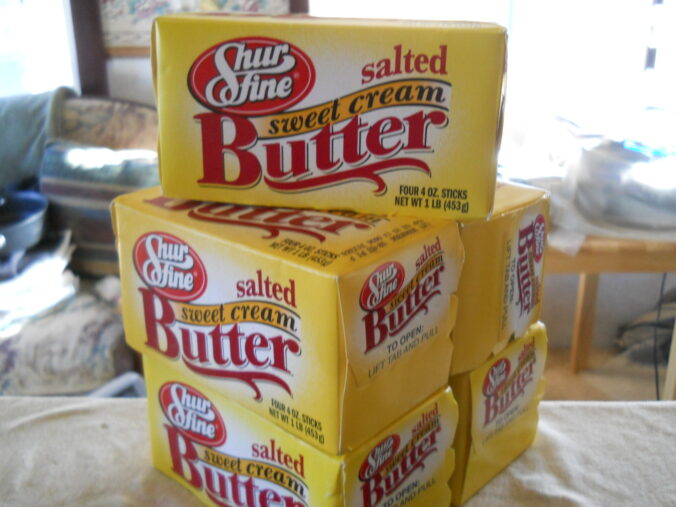
For some reason, our 2012 garlic harvest just didn’t cure correctly and most of it was unusable (that’s another blog post altogether). So when the local market had a great sale on garlic I “pounced” and bought a bunch to preserve using apple cider vinegar:

Preserving Garlic - Bowl of Garlic Bulbs

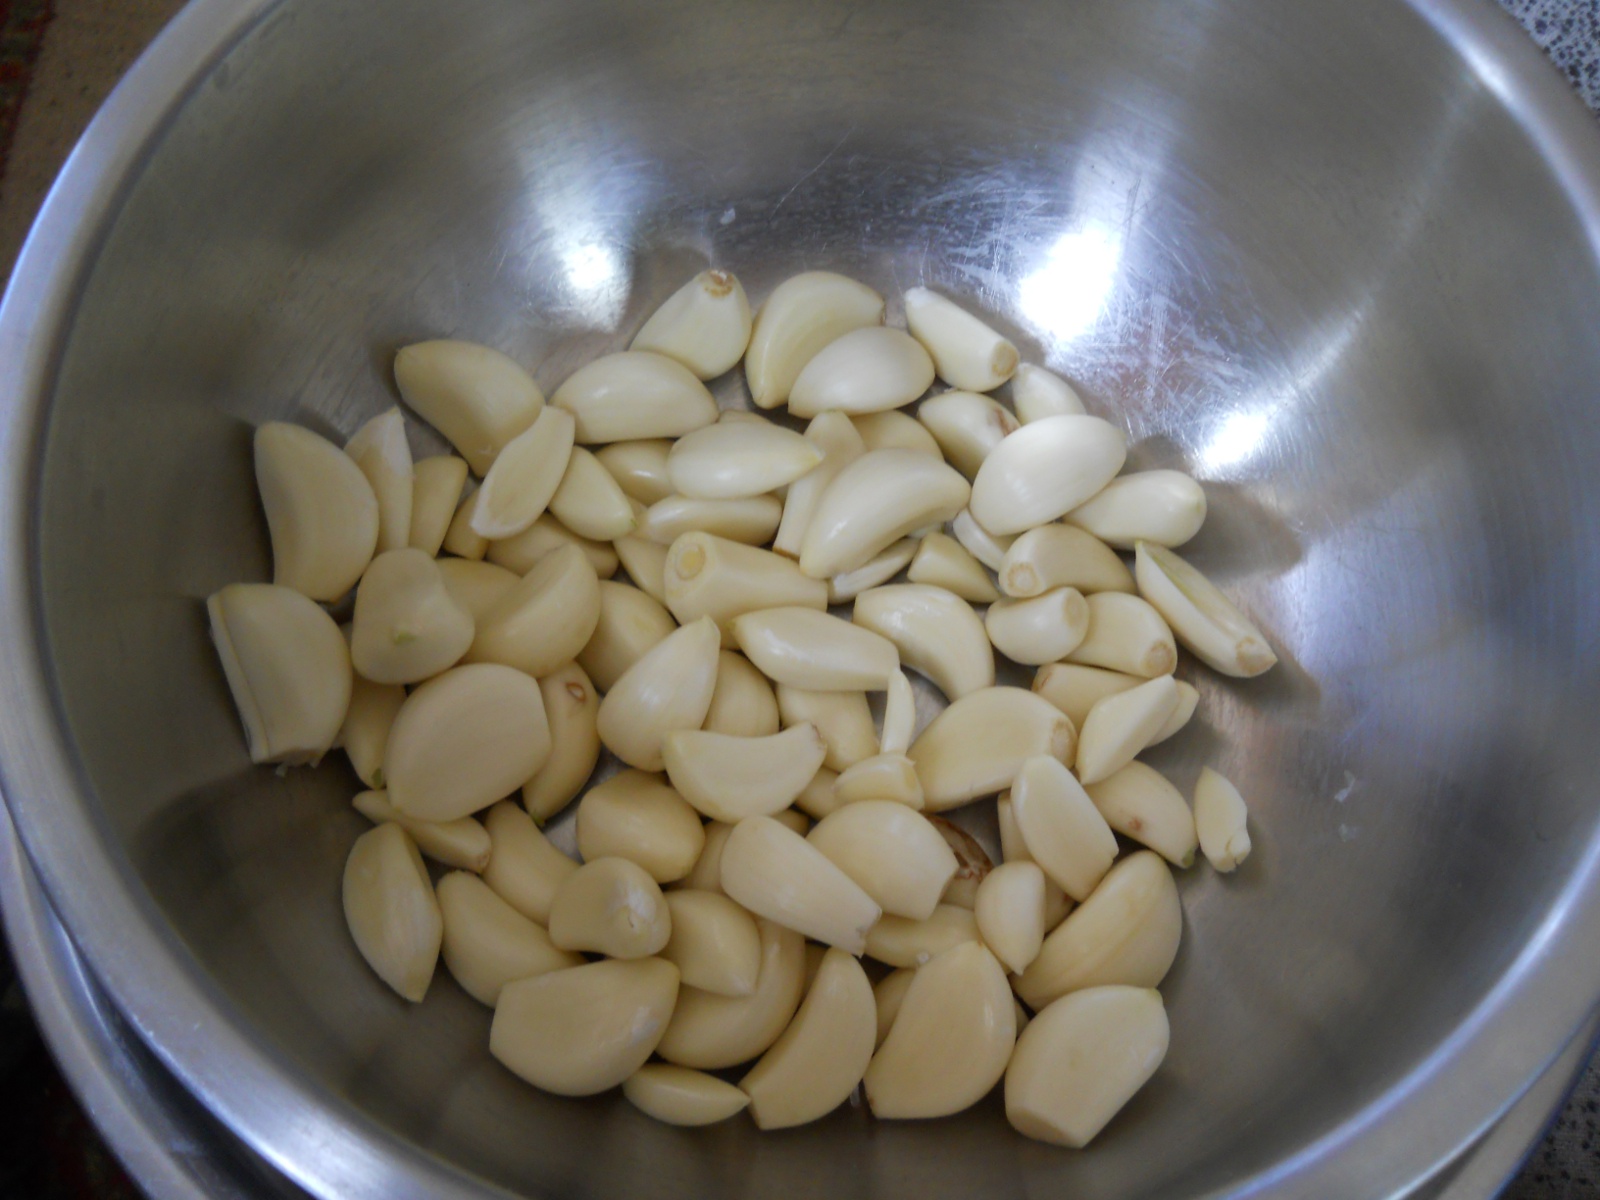
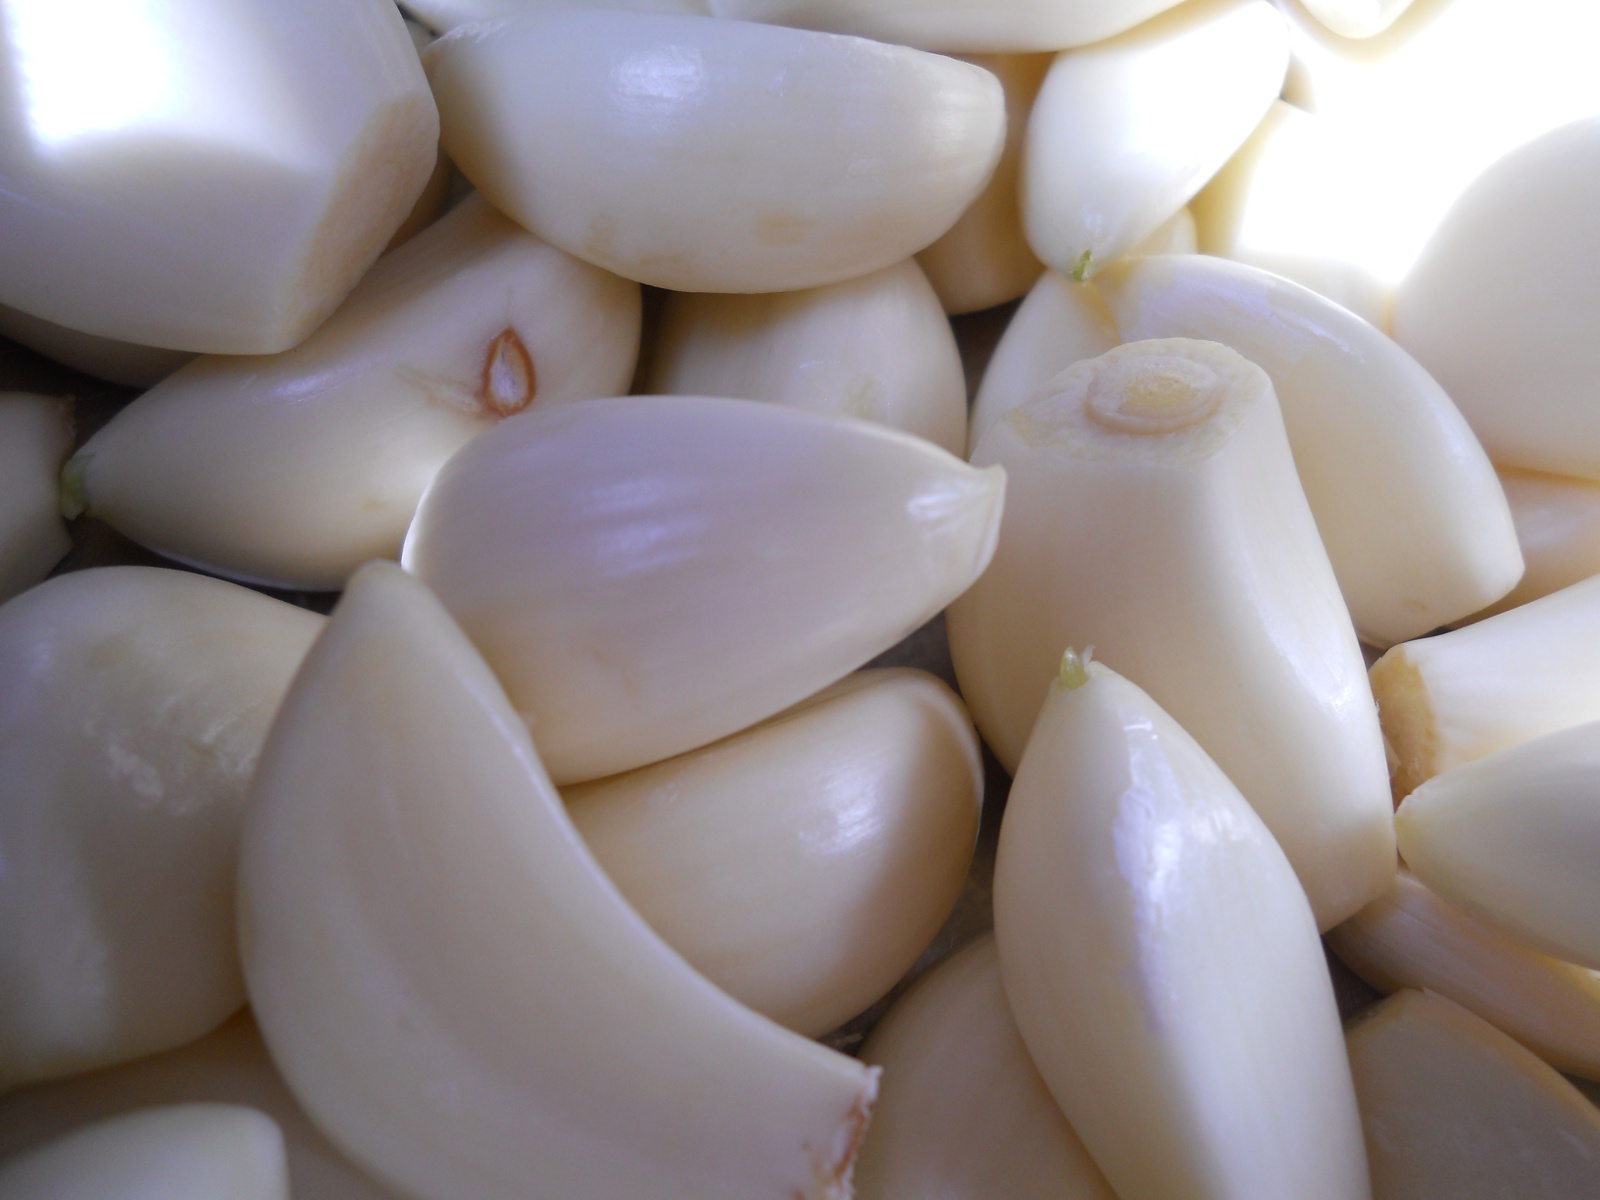
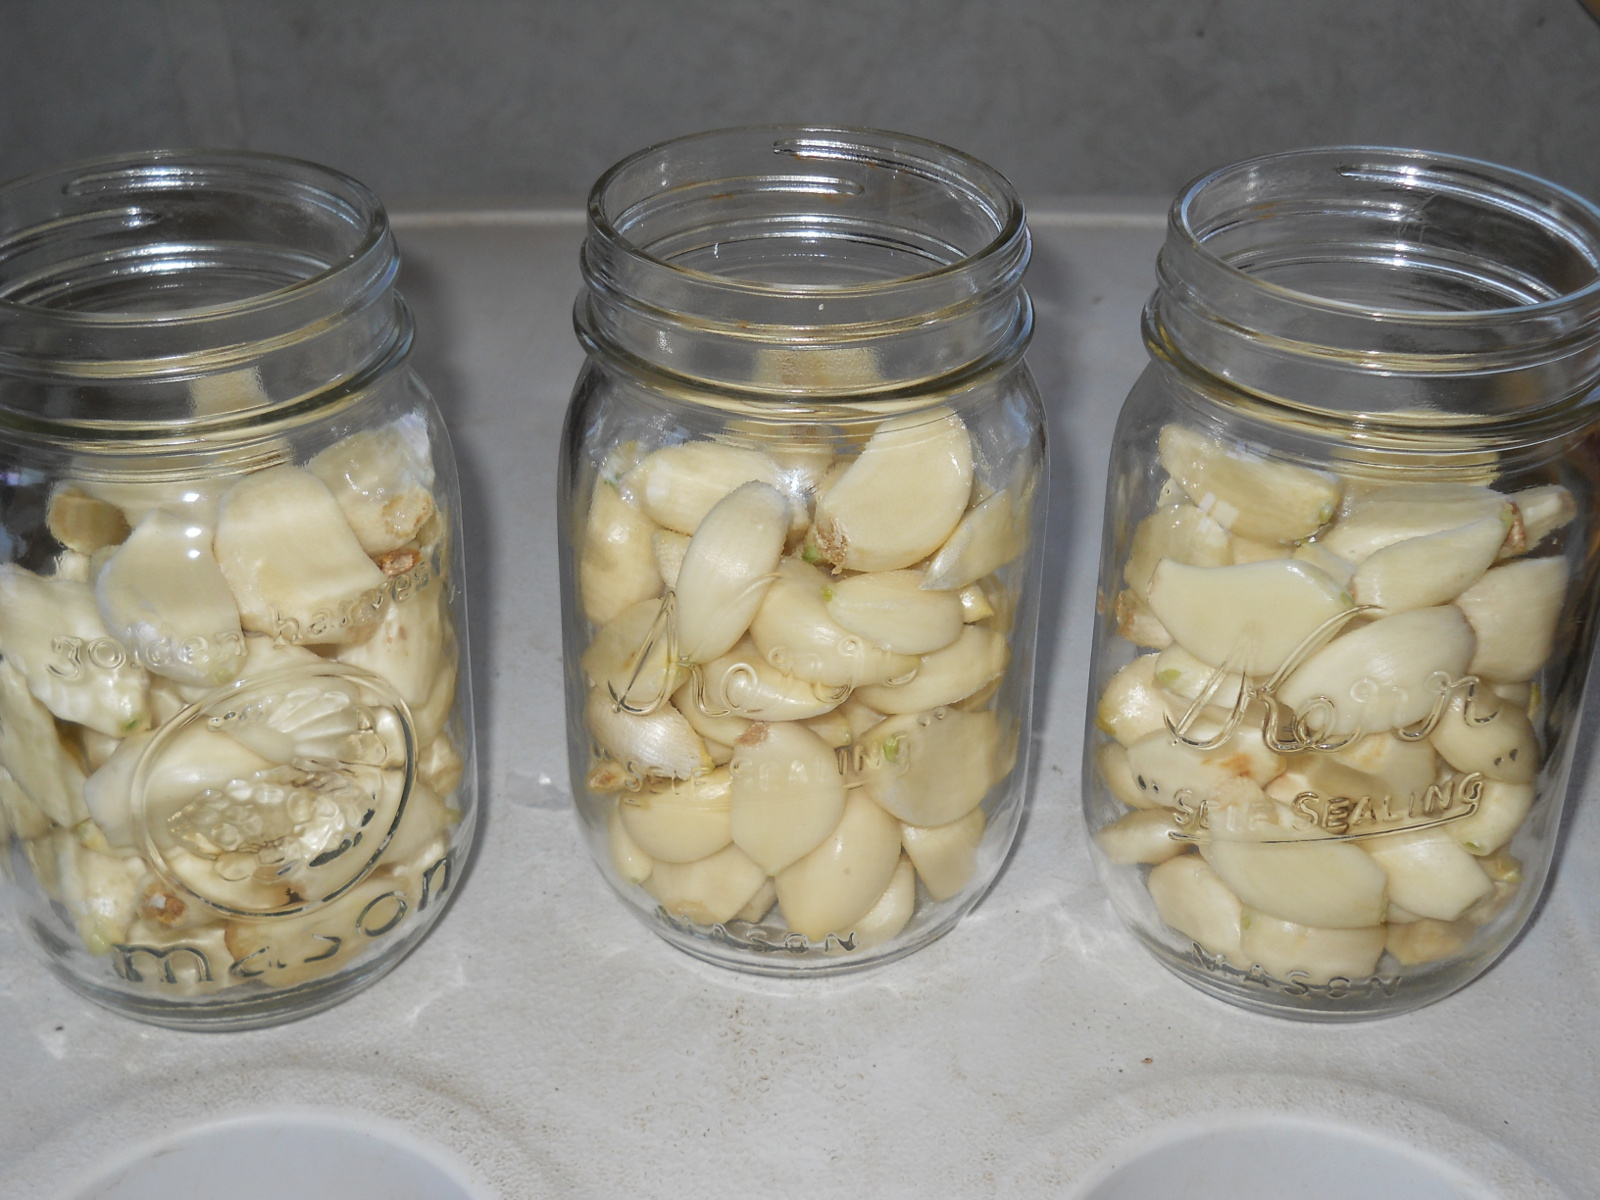
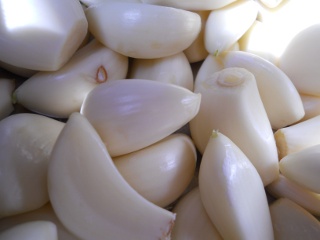
So, we separated the cloves from the bulbs and peeled them completely. Before I go on I should mention that in order to retain the full health benefits of garlic you should leave them whole and not cut or crush them when preparing for preservation. There is a component in garlic called allicin that provides its health benefits and is released when the clove is crushed or cut open. So you will want to leave the clove whole until eaten if possible:

Preserving Garlic - Peeled Garlic Cloves

I included this picture because one of the ladies here, Shannon, always puts such great, artistic, professional pics on her blog so I thought I’d try it. 🙂

Preserving Garlic - Peeled Garlic Cloves Close-up

When we first started experimenting with fermenting garlic, we used a salt brine, and either didn’t wait long enough for the garlic to mellow or we just plain made a nasty batch. It tasted awful. Don’t get me wrong; using a salt brine is probably a fine way to proceed, and I’ve included a link to a great and simple recipe here. But in our home we have found that simply immersing the cloves in cheap apple cider vinegar from the store is the quickest and cheapest way to preserve garlic and have it taste great. And there is lots of room for experimentation with herbs and seasonings, but I like to keep things ultra simple. Like Mrs. Bowman, you can add honey and salt as well. Raw, organic apple cider vinegar with what is called “the mother,” like Bragg’s, is a a prebiotic, a naturally fermented food, which supports and feeds the probiotics existing in the flora of our gut, contributing to a healthier and synergistic environment in the body. But for preserving purposes we use the cheap stuff because it can get pricey otherwise.

One of our readers has provided clarification since I first posted this, in that, you achieve lacto-fermented garlic when you place the cloves in a salt brine solution. When you preserve garlic in vinegar, it basically is a pickling process. In either case, you are preserving the powerful benefits of the garlic.

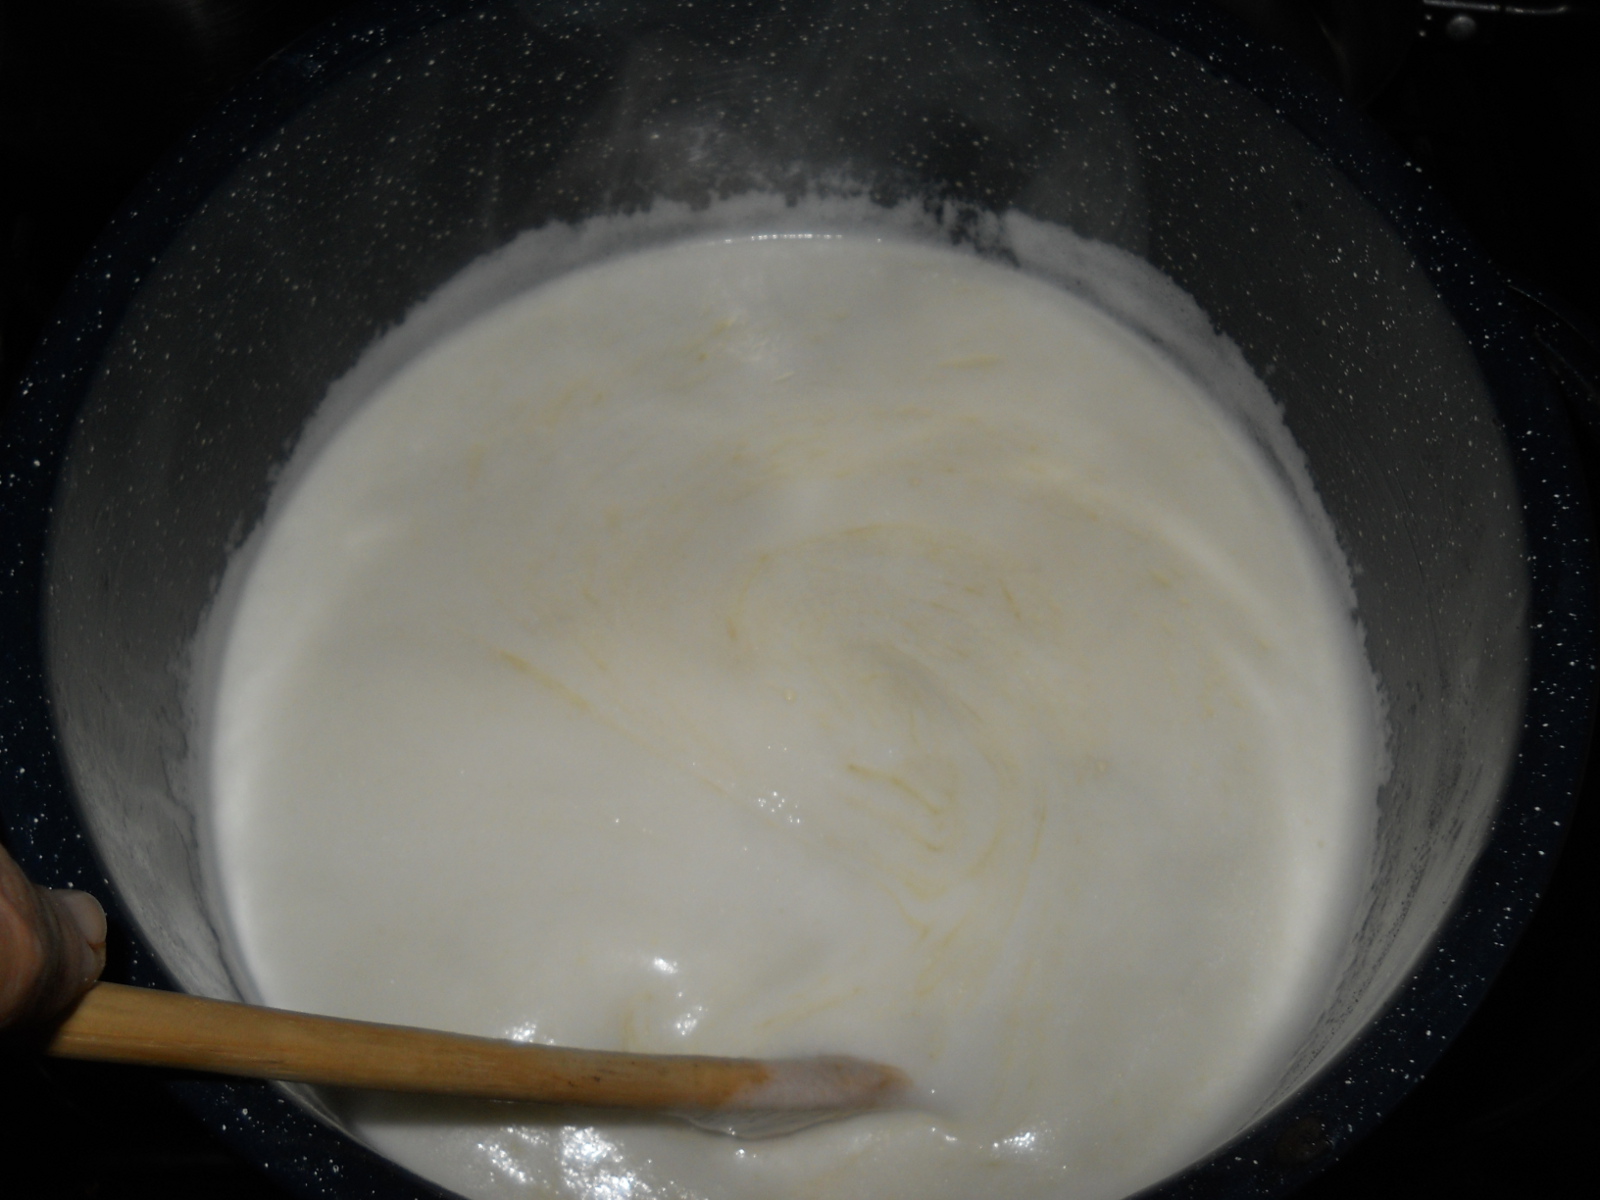
Now pay attention, it gets REAAALLLLY tricky! We put the peeled, whole garlic cloves into a pint jar……..

Preserving Garlic - Garlic Cloves in Jars

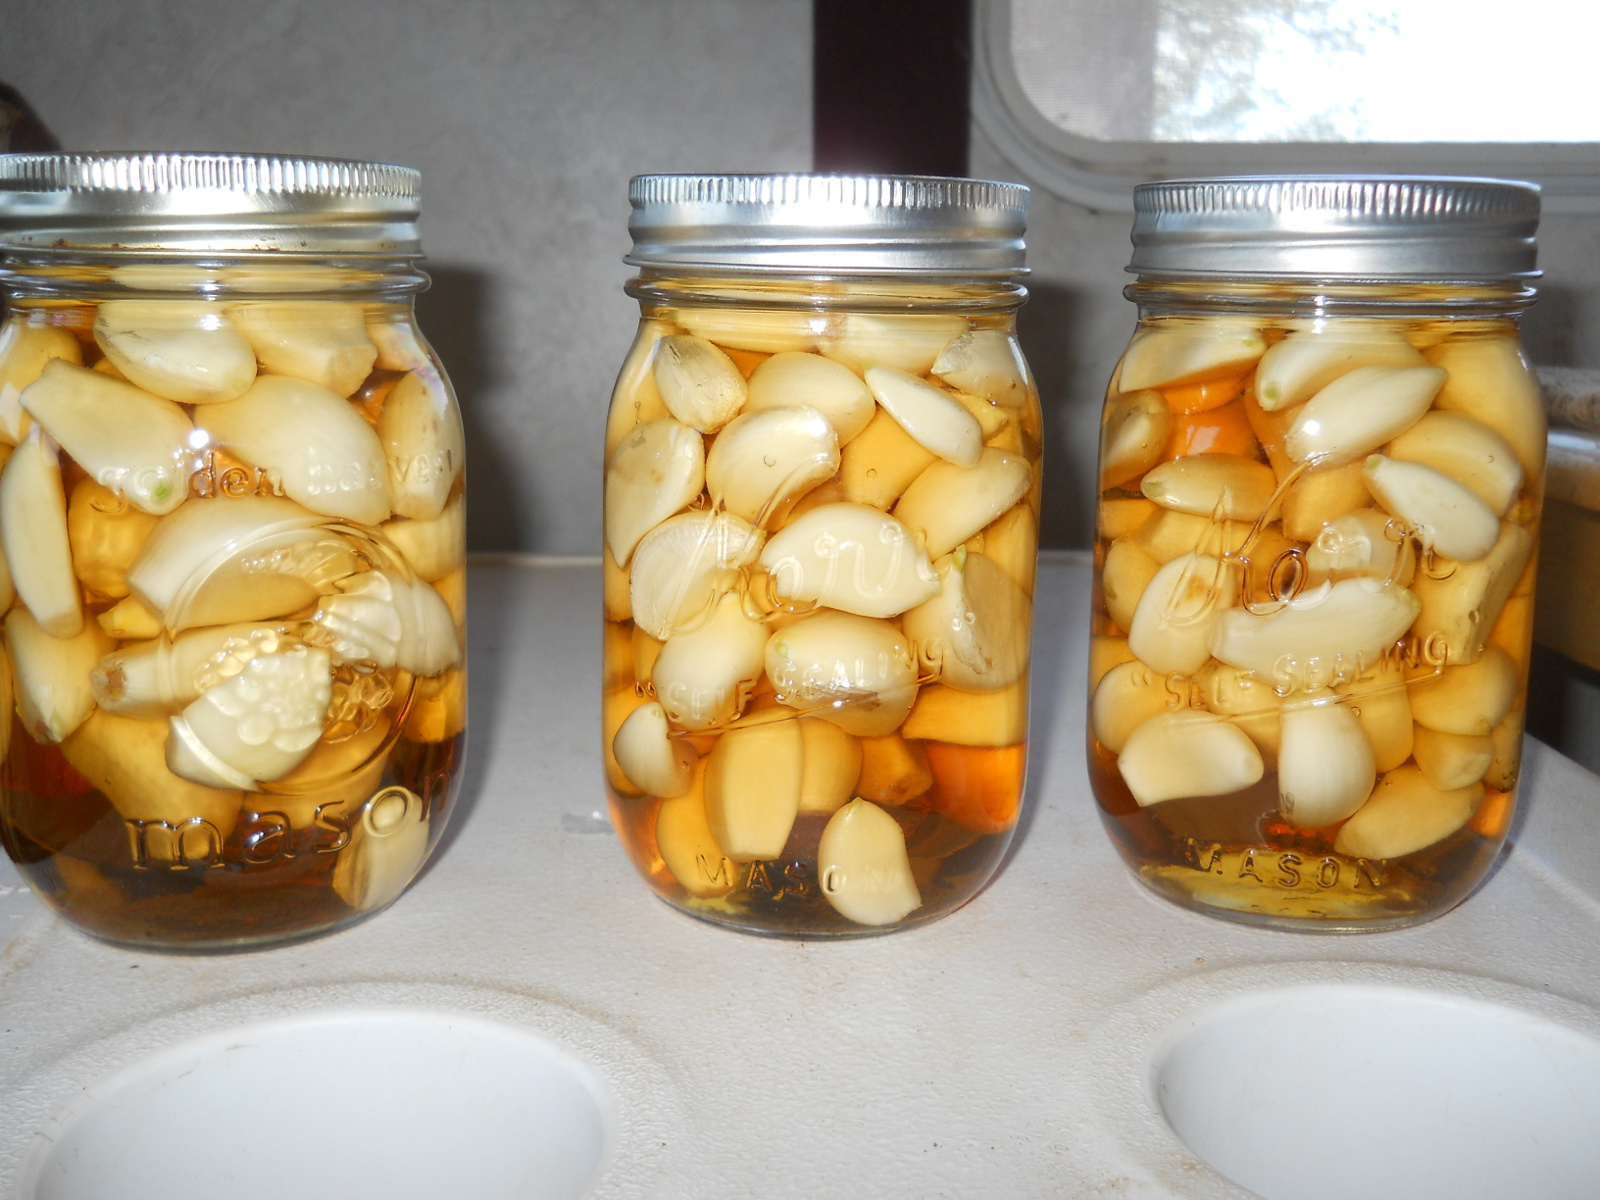
Covered to one inch head space with cheap apple cider vinegar……then closed it up with the lid and screw top. Ummmmm, THAT’S IT!!

Preserving Garlic - Garlic Cloves in Apple Cider Vinegar

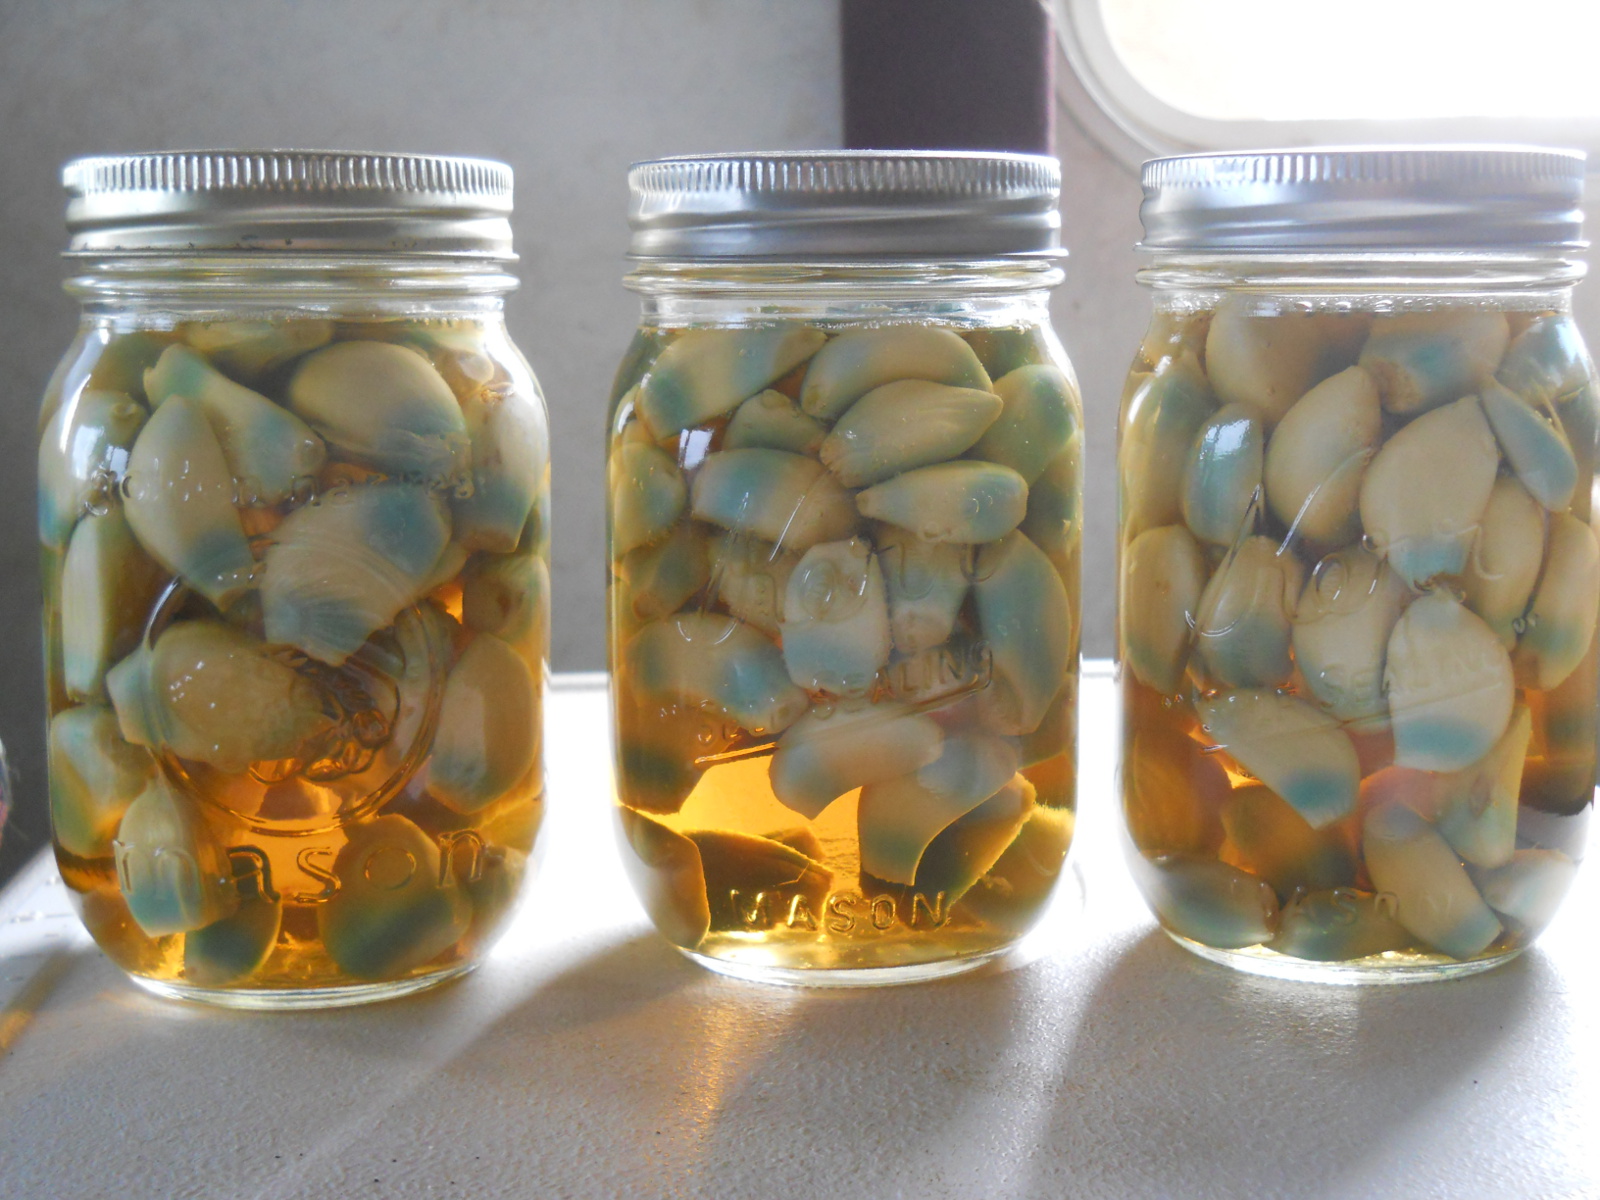
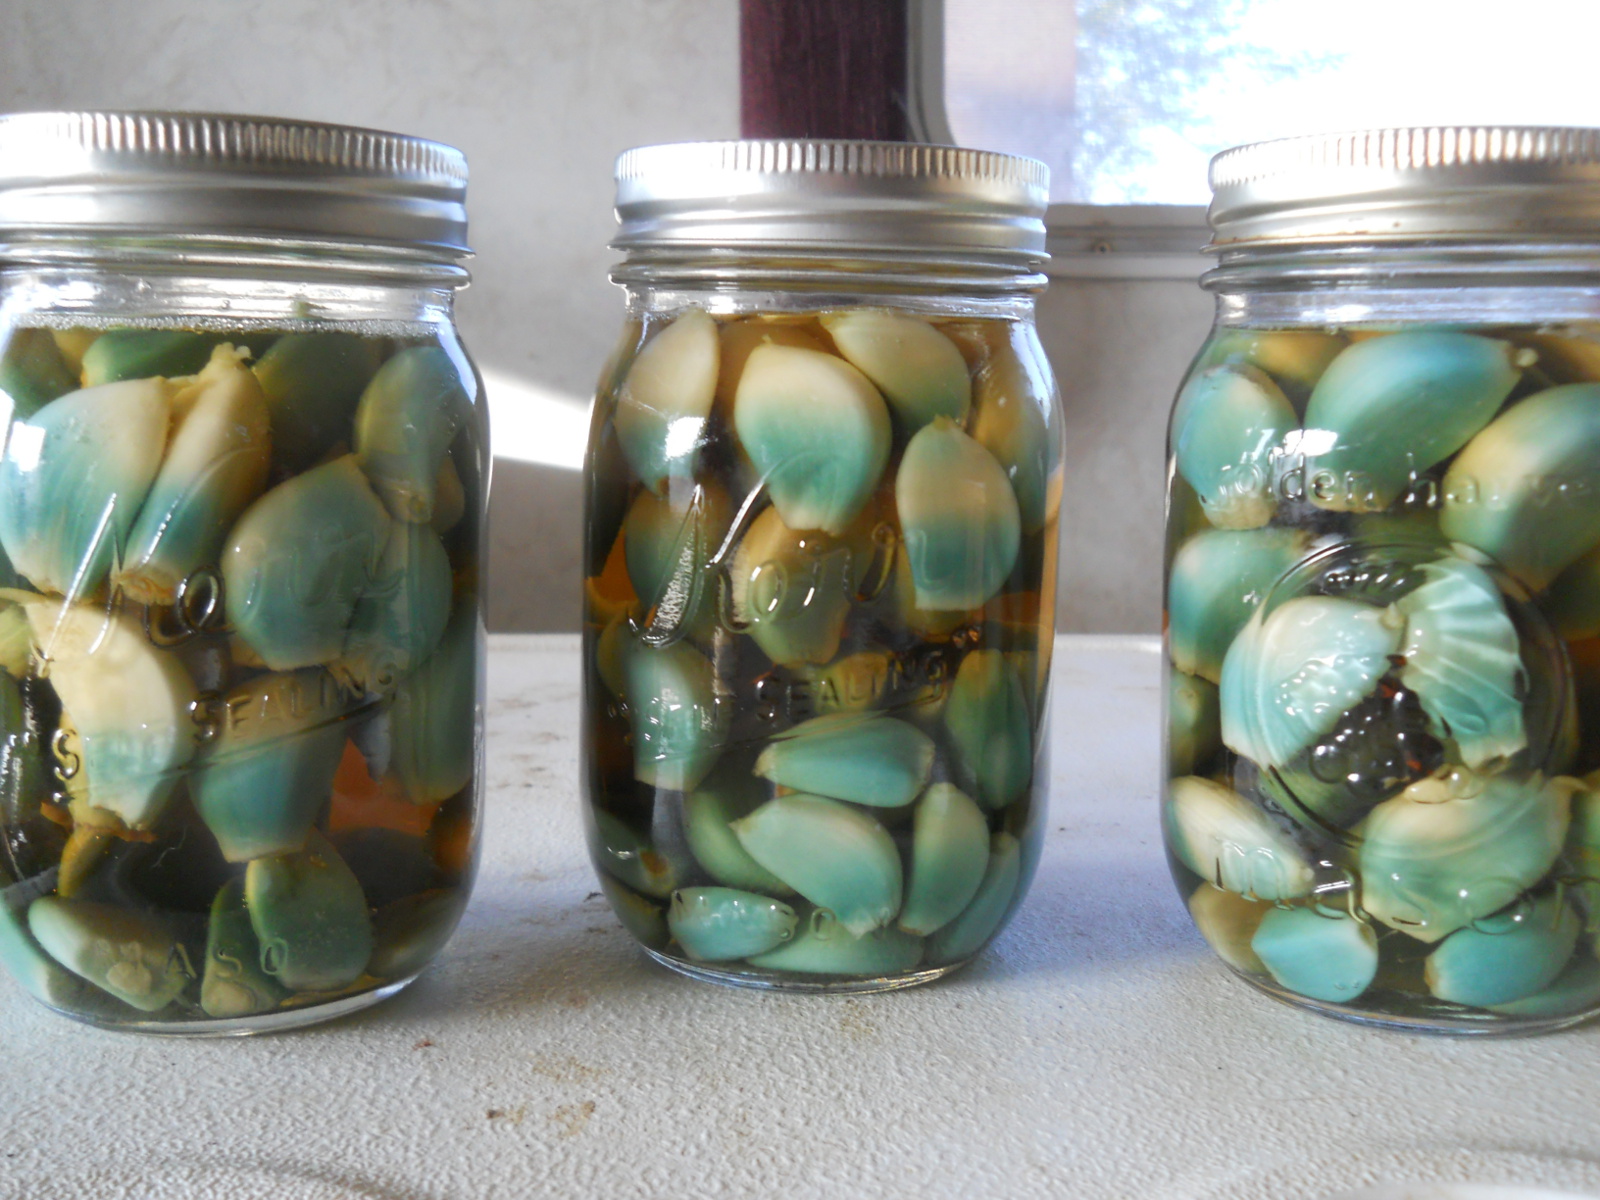
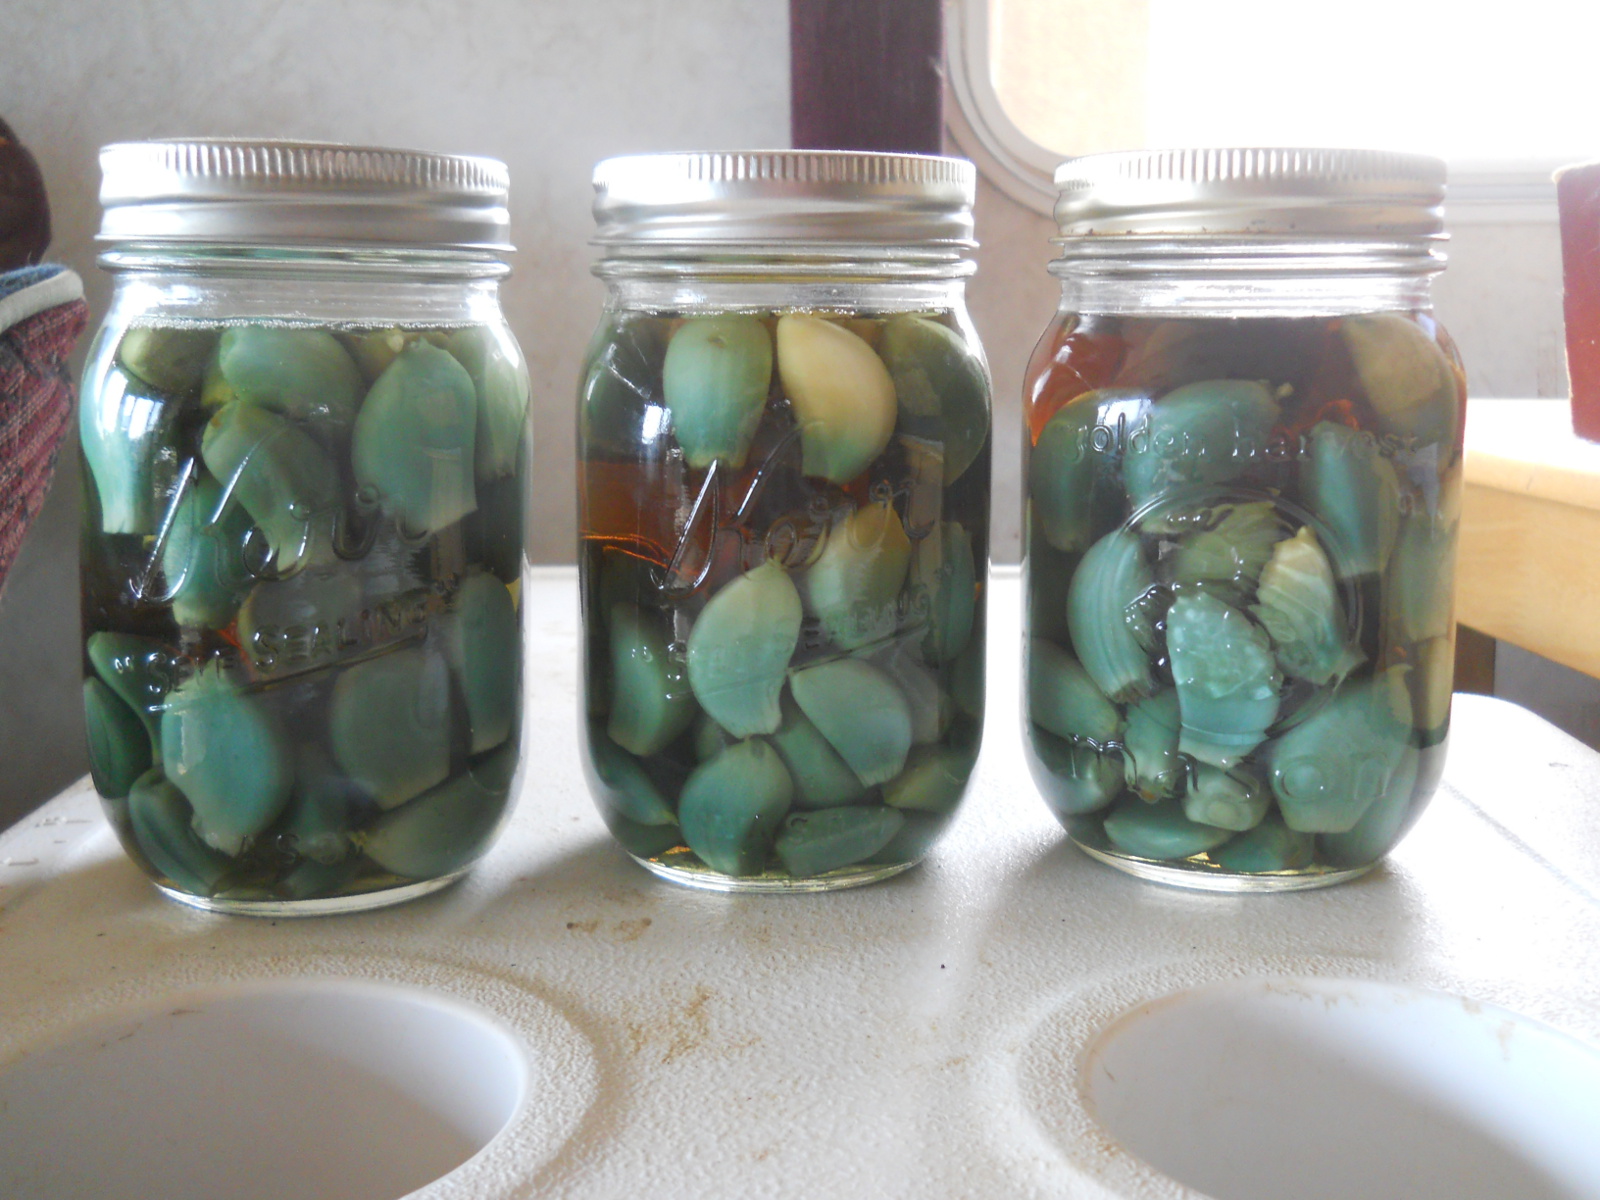
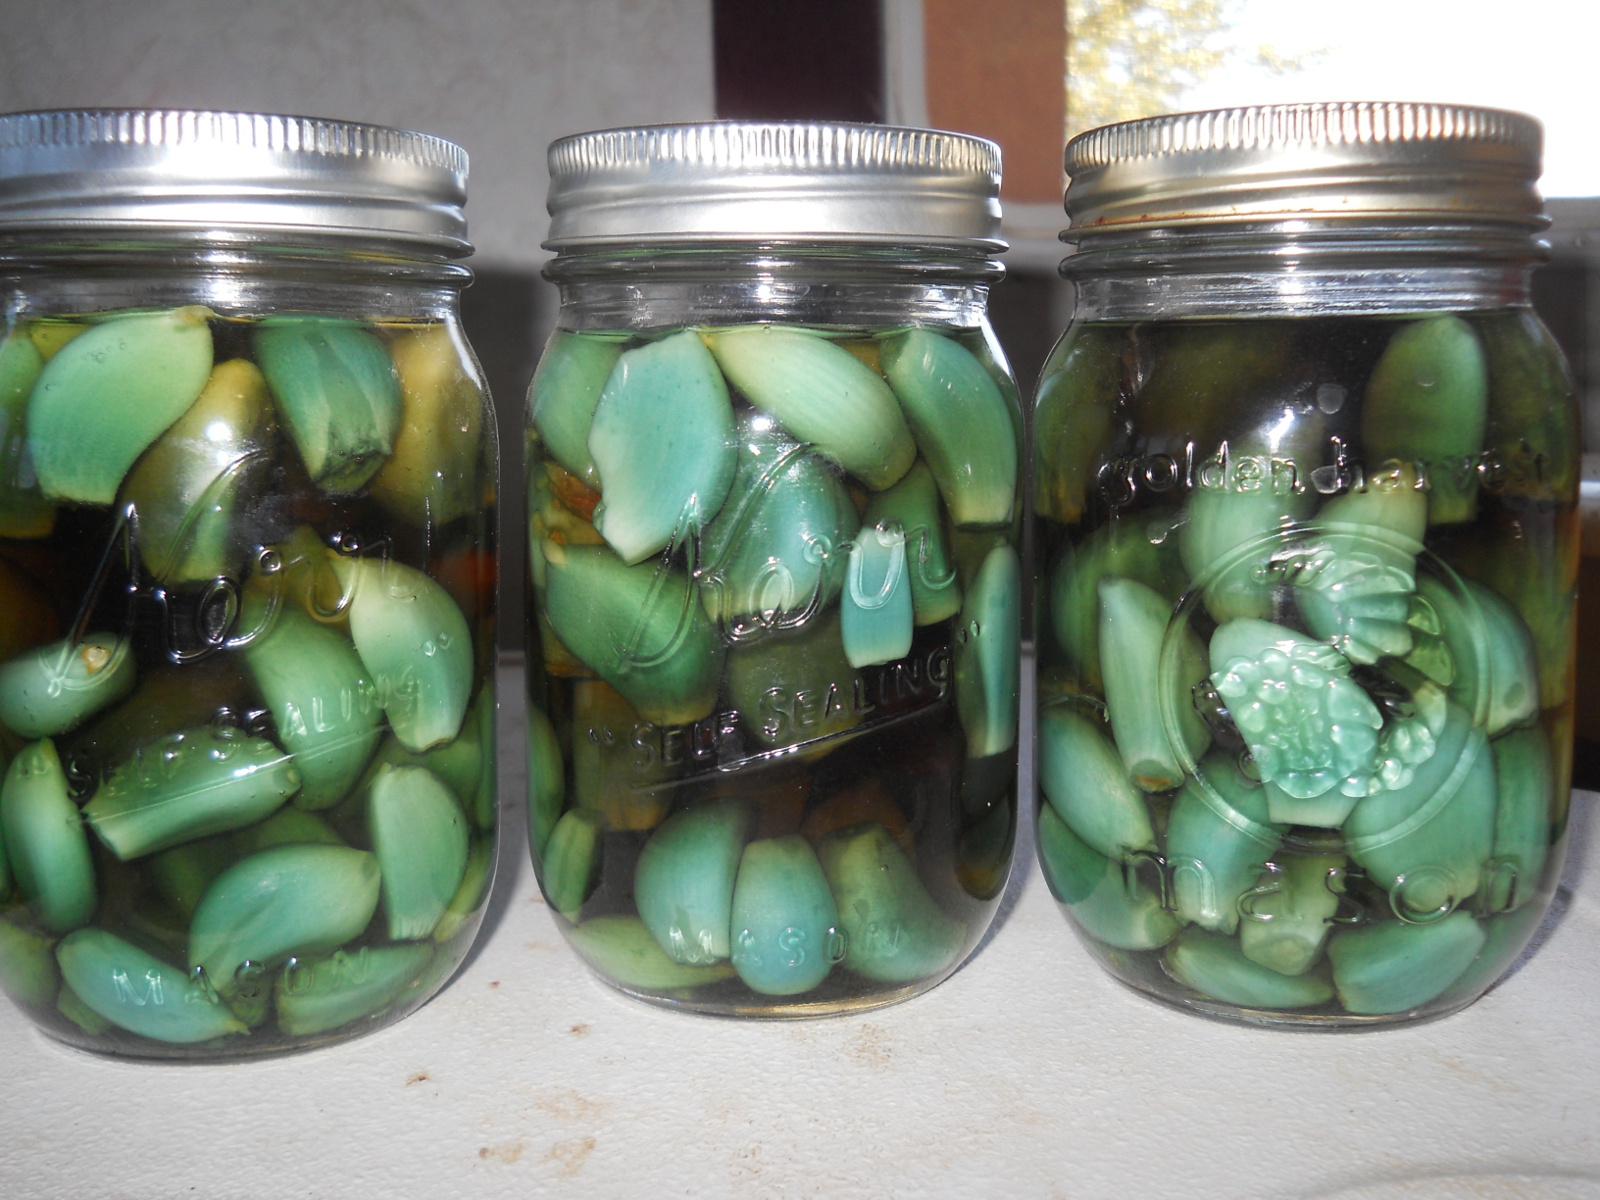
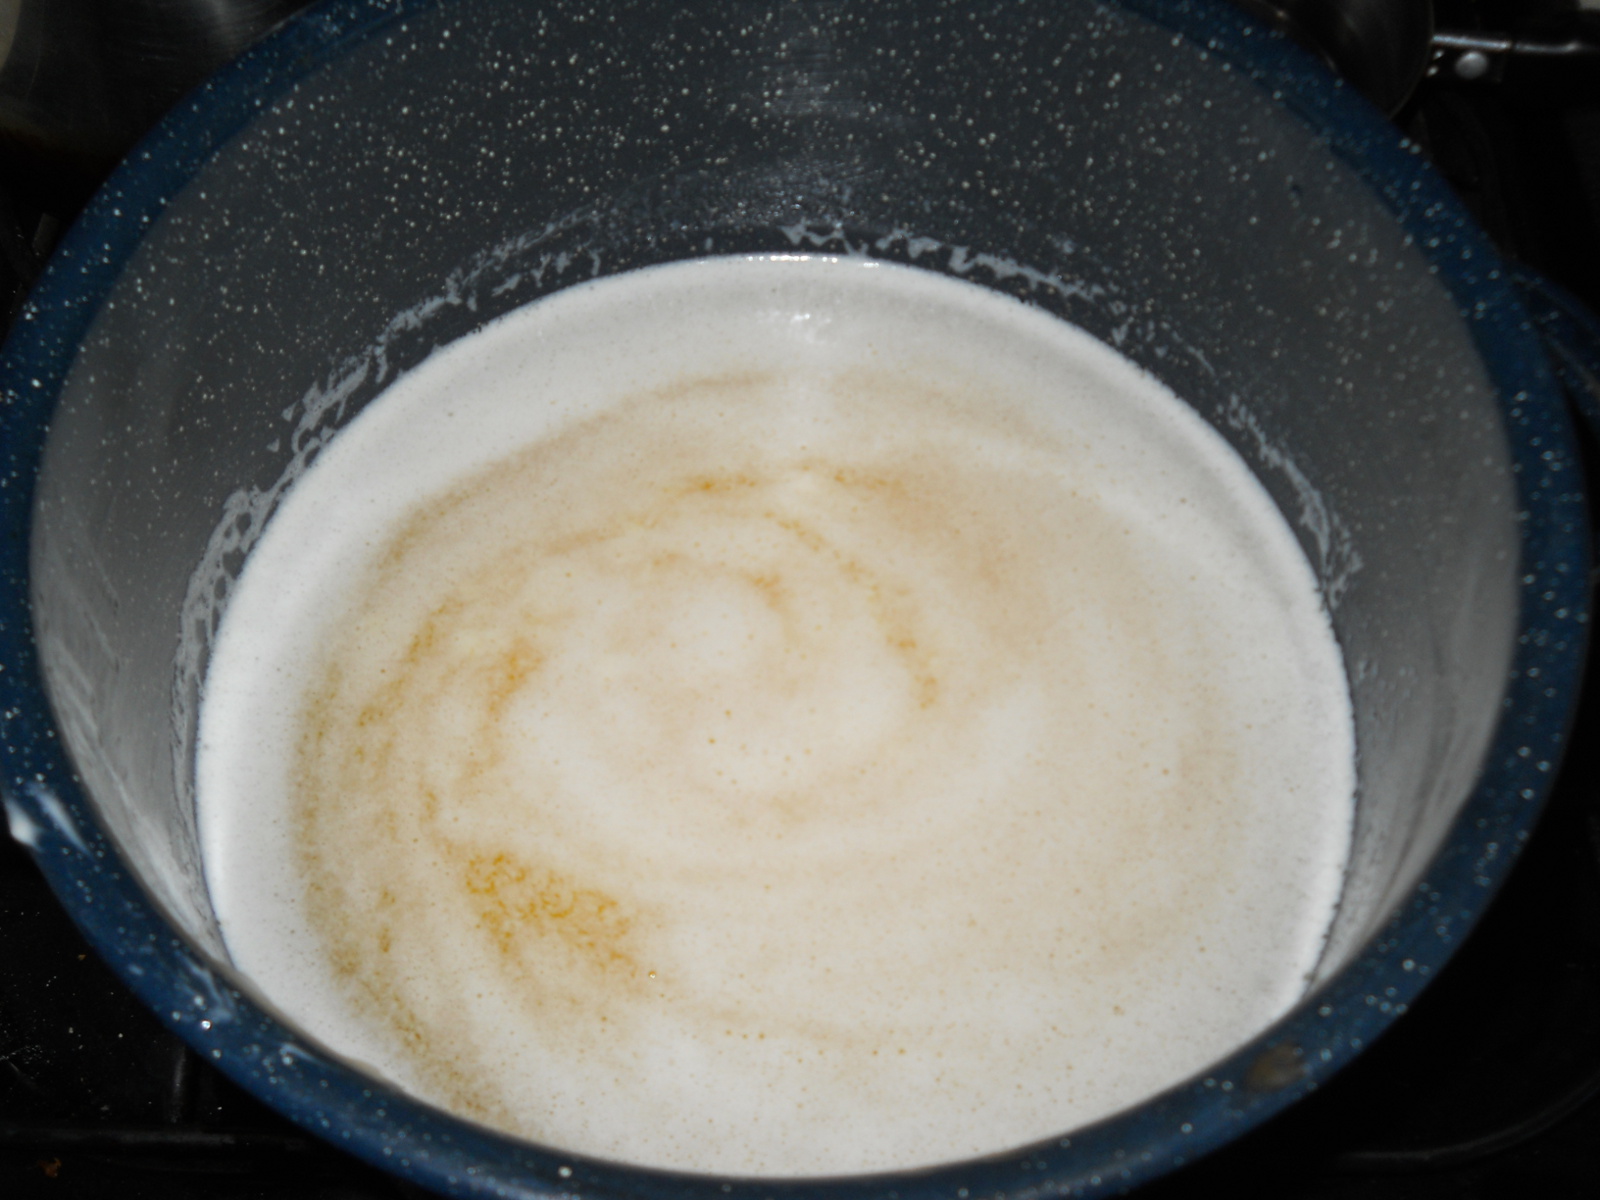
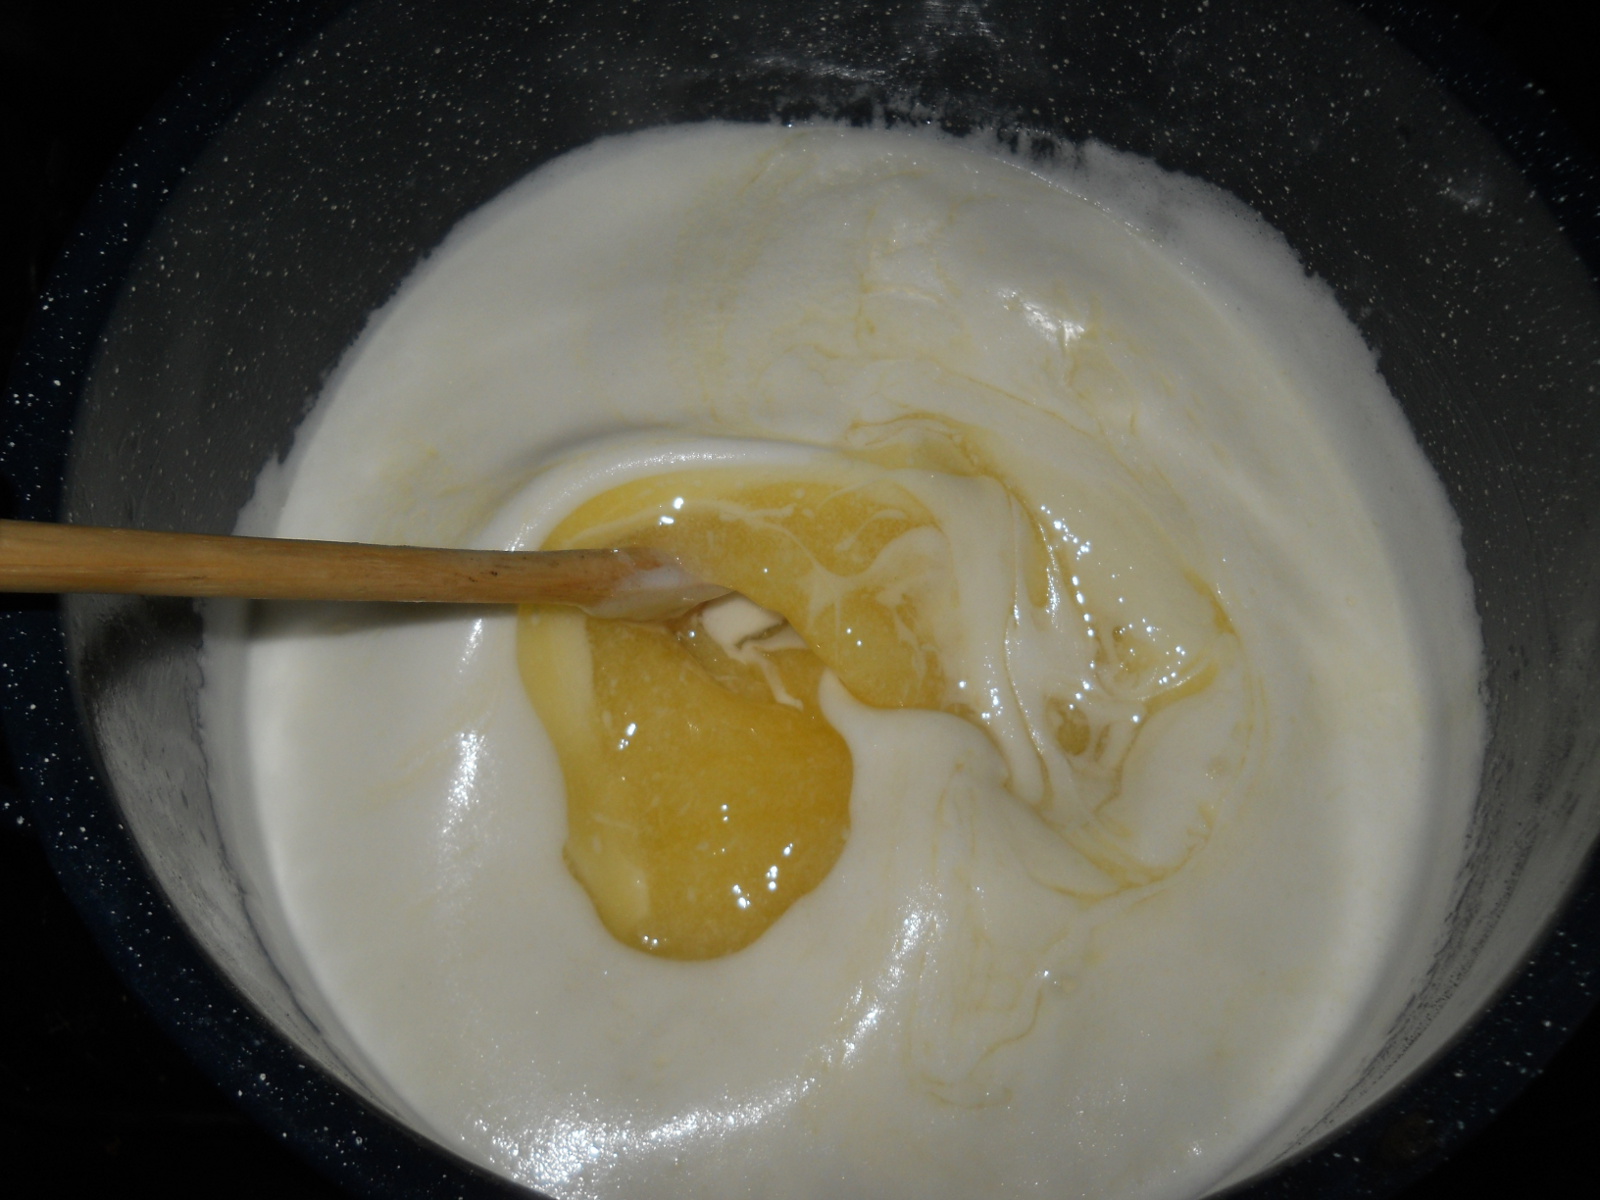
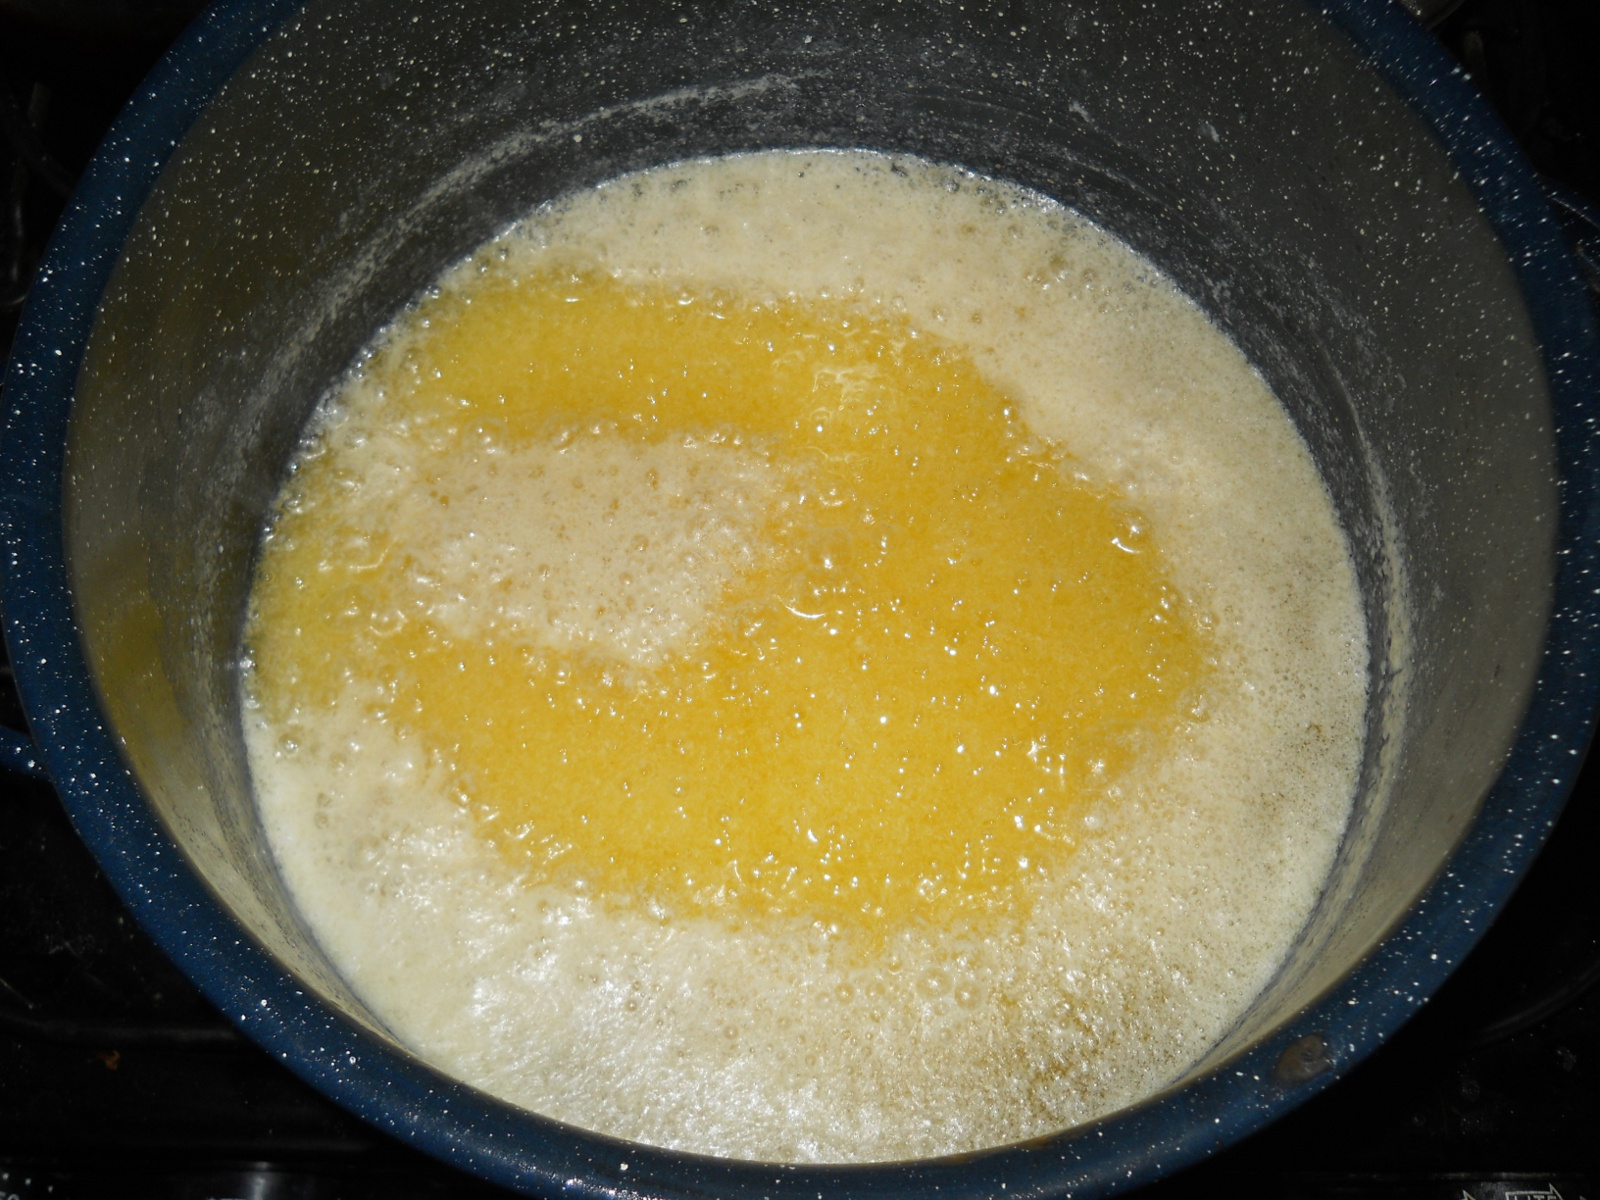
Mrs. Bowman said the cloves would turn blue (or green, Dave says my sense of color is kinda wacky 🙂 ) And then after a couple weeks, after they turn white again, they are good to eat. I’m glad she said that because these started turning blue-green within a day or so, and I might have thought there was something wrong; but, apparently, it’s quite normal.

Here are the cloves after one day:

Preserving Garlic - Garlic Cloves in Apple Cider Vinegar On Day One

And on day two:

Preserving Garlic - Garlic Cloves in Apple Cider Vinegar On Day Two

Again on day three:

Preserving Garlic - Garlic Cloves in Apple Cider Vinegar On Day Three

Day five:

Preserving Garlic - Garlic Cloves in Apple Cider Vinegar On Day Five

And finally on day seven:

Preserving Garlic - Garlic Cloves in Apple Cider Vinegar On Day Seven

You can see there is an interaction dance that takes place between the acidity in the vinegar and the garlic. Then after several days at room temperature, you can move the jars to continue aging in a cool, dark, dry place like a cellar or cool room in the house. It seems that the longer it is left, the more mellow the taste. You’ll probably want to wait at least 2-3 weeks before eating, but you can experiment with time and ingredients in order to find out your personal preferred taste.

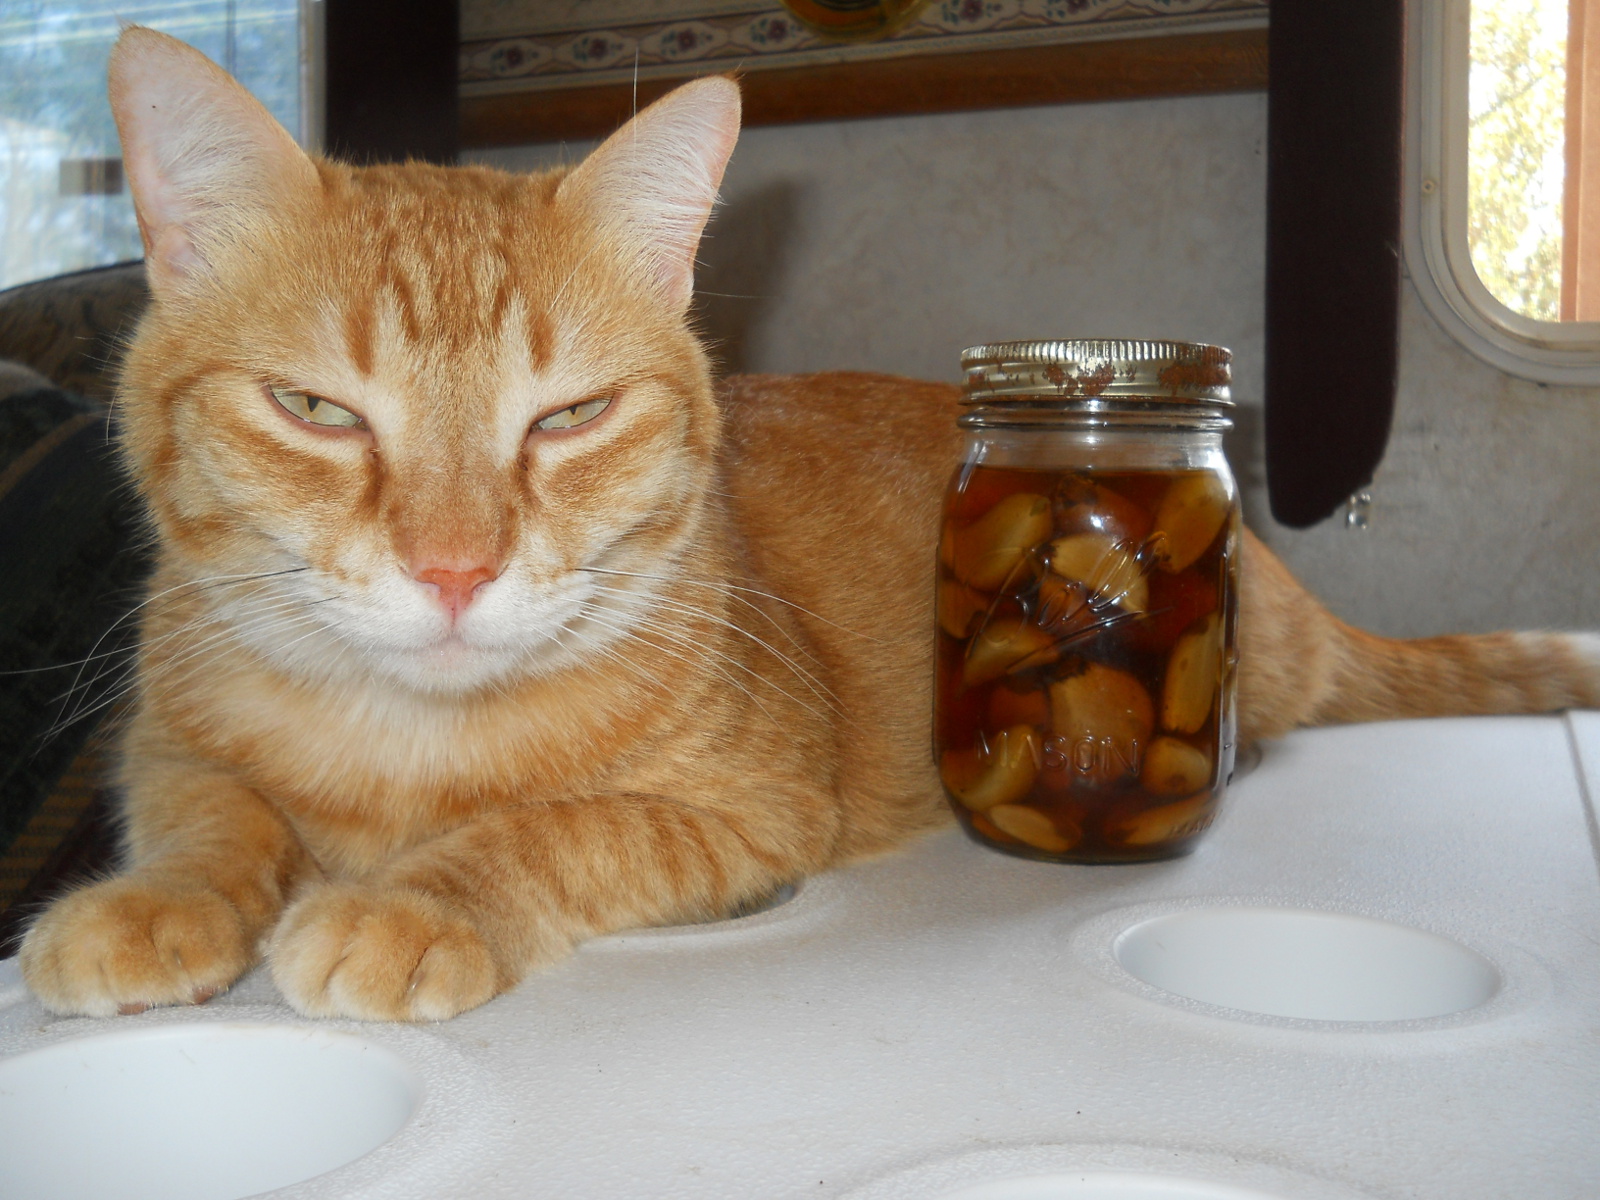
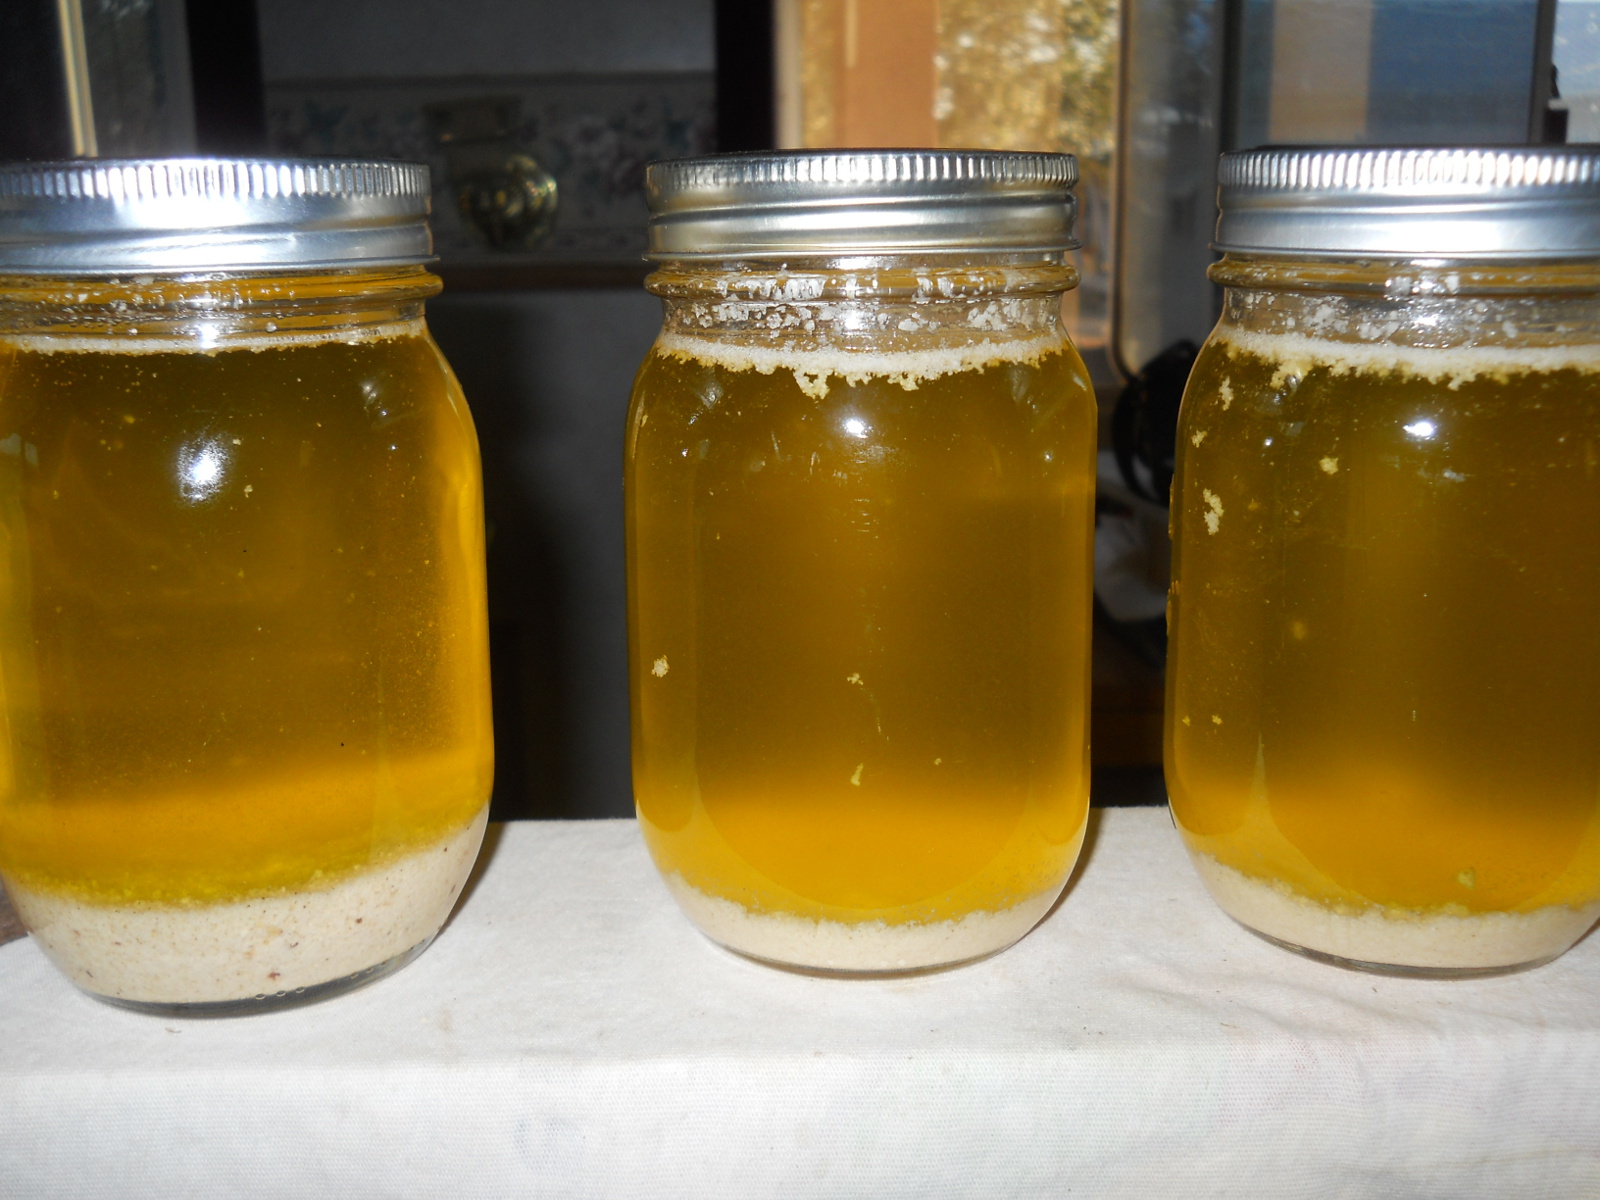
I pulled a jar from the root cellar that I prepped in February of this year, and this is what it looks like after about 3+ months. William decided he wanted to do his Vanna White impression and “present” the garlic:

Preserving Garlic - Garlic Cloves in Apple Cider Vinegar After Three Months

Dave and I have been trying to eat a clove every day with supper (sometimes I forget, but we average probably five a week). At first he was the only one eating them, and I was kind of eyeing him when he wasn’t looking to see if he got sick or keeled over dead. He was the royal food tester and didn’t know it. 🙂 But he loved the taste, AND I noticed with delight that there is something in garlic preserved this way that does not create a lingering odor on the breath. You can sometimes smell it when the person is eating it, but that’s about it. There don’t seem to be ANY lingering breath issues!

So, we either just eat a whole clove with supper, or I cut them up and put them in our salads or other dishes (delicious!)

I am very excited with the health possibilities this provides. In my research, I have found that garlic is purported to have anti-viral, anti-bacterial, anti-oxidant properties, is effective in lowering blood pressure as well as bad cholesterol, and also provides a great general boost to the immune system. I suggest you do your own research, but Dave and I have not been sick this past flu season — I’m just sayin! (There was a day this past winter where I could tell something was trying to get at me like a cold or flu. But it just never materialized. It just kind of phhhtttffft out. I was feeling a little taxed for a day or so, but nothing serious came of it like having to miss any work or go lie down, etc.)

This is one of those cheap, easy, natural and healthy ways to keep your immune system in better shape. I would encourage you to try it! You can even use any kind of glass jar with a lid (peanut butter, mayo, etc.)

As always, we are so thankful to God for providing everything we need for good health found in His creation. And for granting us this information so we may continue to pursue a sustaining lifestyle with His help.

Susan

Hugelkultur Garden Beds

One of the garden bed methodologies we’ve learned about is hugelkultur. Generally, this involves burying (below and/or above ground) tree materials, like stumps, trunks or even branches, under your garden soil. Apparently, as the tree material rots, it also becomes very absorbent, and is supposed to help with holding moisture in the garden bed. There is lots of information and videos about it on the Internet, but here is our first attempt at doing one of these. Since we’re observing a land sabbath and aren’t growing gardens or crops this year, I definitely wanted to start on these while I had extra time.

I decided to just locate the beds as an extension of our main garden area, and here is the first level dug out. I thought using the dug-out dirt as a berm around the bed would help even make it deeper:

First Dug Out Level of Hugelkultur Garden Bed

After the first digging, in looking at it, and I think even trying it out by putting a stump in place, it just wasn’t deep enough, so I dug out another round:

Second Dug Out Level of Hugelkultur Garden Bed

Then, it was time to gather the wood material. For this first bed, I thought I’d go with larger items, and so I went around trying to collect old stumps and similar things:

Hugelkultur Garden Bed First Wood Stumps in Place

And here is the bed full. It was like a puzzle trying to place the pieces to fit as tightly as possible:

Hugelkultur Garden Bed First Rest of the Wood in Place

The plan was to then cover the bed with mulch. I had originally wanted to fill the entire thing with sifted mulch, but realized that was going to take a lot of effort for probably not much gain, since I could fill the bed up leaving 8-10 inches at the top with the wood-chips mulch we get from the landfill, and then sift from there, which is what I did. This is the mulch in place:

Hugelkultur Garden Bed Wood Chips in Place

And then the sifting process. I used that long board across the bed for sliding the mulch sifter back and forth:

Sifting Mulch on Hugelkultur Garden Bed

And here it is complete!

Hugelkultur Garden Bed Complete

Lord willing, I hope to add another bed in front of this one.

Composting

We had recently discovered that the area all around our goat sheds, where we put the hay and goat “evacuations” cleaned out from the sheds, with rain water collecting there, and over time, was composting nicely into this fine, fluffy dirt. Some time ago, we were given a composting container; and so I figured, since this goat material seemed to compost well, it was time to get that process going; and here is the container set up, and then a look inside. The container has holes on the sides and the top and bottom pieces:

Compost Container
Composting Material in the Compost Container

We thank the Lord for granting us the opportunity to continue on the process out here of trying to grow our own food, and for hopefully new and beneficial ideas; and we thank Him for the physical strength and materials to do these things.

— David

Preserving Butter Without Refrigeration, Canning or Freezing

I continue to be pleasantly surprised to find out just how many things can be preserved without refrigeration, canning or freezing. Recently our local market had a great sale on butter, so I bought several pounds to preserve and keep in our root cellar. But the great thing about this preservation method is that you don’t need a canner! And since we don’t run a large storage freezer, this is a great alternative way to preserve large amounts of butter!

I love our goats and the milk God provides through them and have made a little butter from their milk. But the amount of cream contained in goat milk is a fraction of that found in cow milk, as well as more difficult to extract from the milk. A cream separator is low on our “to get” list, so I usually end up buying butter from the store at this point in our lives (although we do use lard as well). I keep a keen eye out for a sale on butter at the local market and then “pounce” and buy several pounds if I am able in order to stock up our pantry in a cost effective way.

The process to preserve butter is so easy and quick that if you blink before you read this entire blog post you might miss it! I started to type out my own instructions but found online the butter preserving recipe I had been given and have posted it below along with my own pictures and a few added notes.

1. Use any butter that is on sale. Lesser quality butter requires more shaking (see #8 below), but the results are the same as with the expensive brands:

Salted Sweet Cream Butter

2. Unwrap all the butter quarters and place them in a pot large enough to easily melt and process your butter:

Blocks of Butter in Pot

3. Place pint jars in a cold oven without rings or seals and turn the heat to 250 degrees for at least 20 minutes. Place the jars directly on the rack or you may find a roasting pan works well for holding the pint jars while in the oven. One pound of butter slightly more than fills one pint jar, so if you melt 11 pounds of butter, heat 12 pint jars:

Warming Butter Preserving Jars

4. While the jars are heating, melt the butter slowly until it comes to a slow boil. Using a large spatula, stir the bottom of the pot often to keep the butter from scorching. Reduce the heat and simmer for a minimum of 5 minutes. A good simmer time will lessen the amount of shaking required (see #8 below):

Melting Butter in Pot

Here’s what it looks like if it gets scorched a little:

Scorched Butter in Pot

5. You will notice a thick foam form at the top. You’ll need to continue stirring for several minutes until this foam begins to dissipate. The foam can get pretty thick:

Foam on Melted Butter
Stirred Foam on Melted Butter

And here it is with the foam dissipating:

Dissipating Foam on Melted Butter

6. In the meantime, place the jar lids in a small pot with water and bring to a boil. Then turn the heat to low and leave them simmering in hot water until needed:

Boiling Canning Jar Lids

7. After most of the foam has dissipated, stirring the melted butter from the bottom to the top with a soup ladle or small pot with a handle, pour the melted butter carefully into heated jars through a canning jar funnel. Leave 3/4″ of head space in the jar, which allows room for the shaking process. Carefully wipe off the top of the jars, then get a hot lid from the simmering water, add the lid and ring and tighten securely. Lids will seal as they cool:

Melted Butter in Canning Jars

8. Once a few lids “ping,” shake while the jars are still warm, but cool enough to handle easily, because the butter will separate and become foamy on top and white on the bottom. In a few minutes, shake again, and repeat until the butter retains the same consistency throughout the jar.

9. While cooling and hardening, shake again, and the melted butter will then look like butter and become firm. This final shaking is very important! Check every 5 minutes and give the jars a little shake until they are hardened in the jar:

Hardened Butter in Canning Jars

10. Preserved butter should store for 3 years or longer on a cool, dark shelf. Preserved butter does not “melt” again when opened, so it does not need to be refrigerated upon opening, provided it is used within a reasonable length of time.

DISCLAIMER: There is information found on the internet claiming this is not a safe way to preserve butter because there is no official supporting information. But if the butter is kept in a cool dry place, it should be kept preserved for a long time. We have had no problems with it in our experience. However, these are my own personal thoughts and opinions. I would encourage you to do your own homework and proceed at your discretion.

NOTE: This form of preserved butter may taste a little more salty because of its condensed form. Use unsalted butter and add salt to your taste if this is of concern to you. I have had much success using it as-is in recipes and in our everyday uses for butter.

We have found this to be a great way to preserve butter in a cost-effective way for any lifestyle!

Susan

« Older posts Newer posts »