Our journal of what we pray is our sojourn of life along the narrow way, even the old paths, submitting to the Bible as a light unto both.

Category: agrarianism (Page 19 of 21)

Providence’s Perpetuation Provisions: New Piglet “Pebbles”

Recently, Wilma, our gilt started to look very pregnant; so I put the farrowing “runners” in the shed; and we looked forward in anticipation to the day.

Well, this past Monday evening, I went out to feed the pigs; and lo and behold, a little piglet was running around:


Wilma the Duroc Sow in Labor

We were excited the process had begun. However, minutes went by, then hours, and no other piglets. We started to look online to try to investigate the situation: some sites said they should be coming out every 15 minutes or so, some said up to and hour, some longer. After several hours (which included the several it looked like had passed before we even found the piglet, as the piglet was very dry, and its umbilical cord was already dry), we decided to try to check if we could find a piglet in the birth canal and pull it out. We found it about five to six inches in, but were unable to grab onto it in any way. We solicited help from the Bunkers, who have dealt with pulling animals before; and they worked for a couple of hours trying to pull the piglet out, but could not. We even tried using salad tongs. When we couldn’t get it out, we thought we’d leave her for the night, and see how things were in the morning, as maybe she would pass it. We also pulled the born piglet out of the pen and took it with us, so it would be warm (as there were no other piglets and her mother was incapacitated and in labor) and not get squashed or that other harm might come to it.

The next morning, there was no change. I called the vet, and he suggested we either need to get the piglet out, or bring her in for a C-section, or euthanize her. He also suggested that by then, the unborn piglets were probably dead. We weren’t going to bring her in for a C-section (he even suggested we not do that for economic reasons); and so we tried various other things, including pliers, to try to get the piglet out, all to no avail.

At this point, there wasn’t much left. We spent several hours going back and forth, trying to decide if we let things be and see what happened, because maybe she’d pass it; or butcher her, losing the sow we had thought maybe about having for a couple of litters. After prayer and lots of indecision, we made a decision. This video could be a little rough if you’re not used to this. Sadly, this part of the process didn’t go as we had hoped — it usually goes better than this:


Slaughtering Wilma the Duroc Sow

As I mention in the video above, the plan was to kill her and quickly get to the unborn piglets, in an attempt to get them out and breathing. Here was that process, which I believe no one around here as done before (at least with the people participating). If you’re squeamish, this one is pretty intense:


C-Section of Wilma the Duroc Sow

And then it was to the butchering station:


Butchering Wilma the Duroc Sow

It was a rough couple of days. Sue was up about every hour the first night (and has been similarly since) tending to the piglet, and the whole ordeal was fairly stressful.

But, the Lord, in His graces and mercies, allowed a successful butchering, which appears to have yielded quite a bit of meat and fat; and He has graciously granted a new piglet — His providentially perpetuating the species. The new little piglet didn’t have to be the first one out — she could have been behind the stuck one, and so we are very grateful.

And yes, I said “she” — it’s a female piglet; and because her sire’s name was Fred, and her dam’s name Wilma, we’re calling her Pebbles. And here she is:


Wilma the Duroc Sow’s Piglet Pebbles

I know some of these videos could be somewhat shocking if you haven’t seen or been around these kinds of things before, but I wanted to include them so you all could see some of the experiences that are part of life here on the farm.

Another aspect about being here on this farm is that we are part of a community of like-minded brethren. I was able to put out a short-notice solicitation for help with the processing of Wilma the pig, and many folks showed up, representing every household that had someone available. That is a lot of the reason we are all here: Christians serving their (spiritual) family.

Finally, once again, we thank the God of creation for His graces and mercies, and allowing us the provision of this new piglet; and we pray that He might grant this little piglet to grow and be a productive part of the homestead and community, as He might will.

— David
Homemade Top Bar Bee Hive

In our desire to live separated from the world, we need methods of food preservation; and one of the methods is via sugar. One of most practical ways we could obtain sugar is from honey, which of course comes from bees. Well, in our hopes to be able to produce honey, for its preservation use and for its health benefits, we needed a bee hive. We had heard top-bar hives were better than regular stacked hives, in ease of use for us and the bees; and so rather than purchase one, I found a design on the Internet, and decided to try to build one. The following is the process based on the design provided by at Backyard Bee Hives.

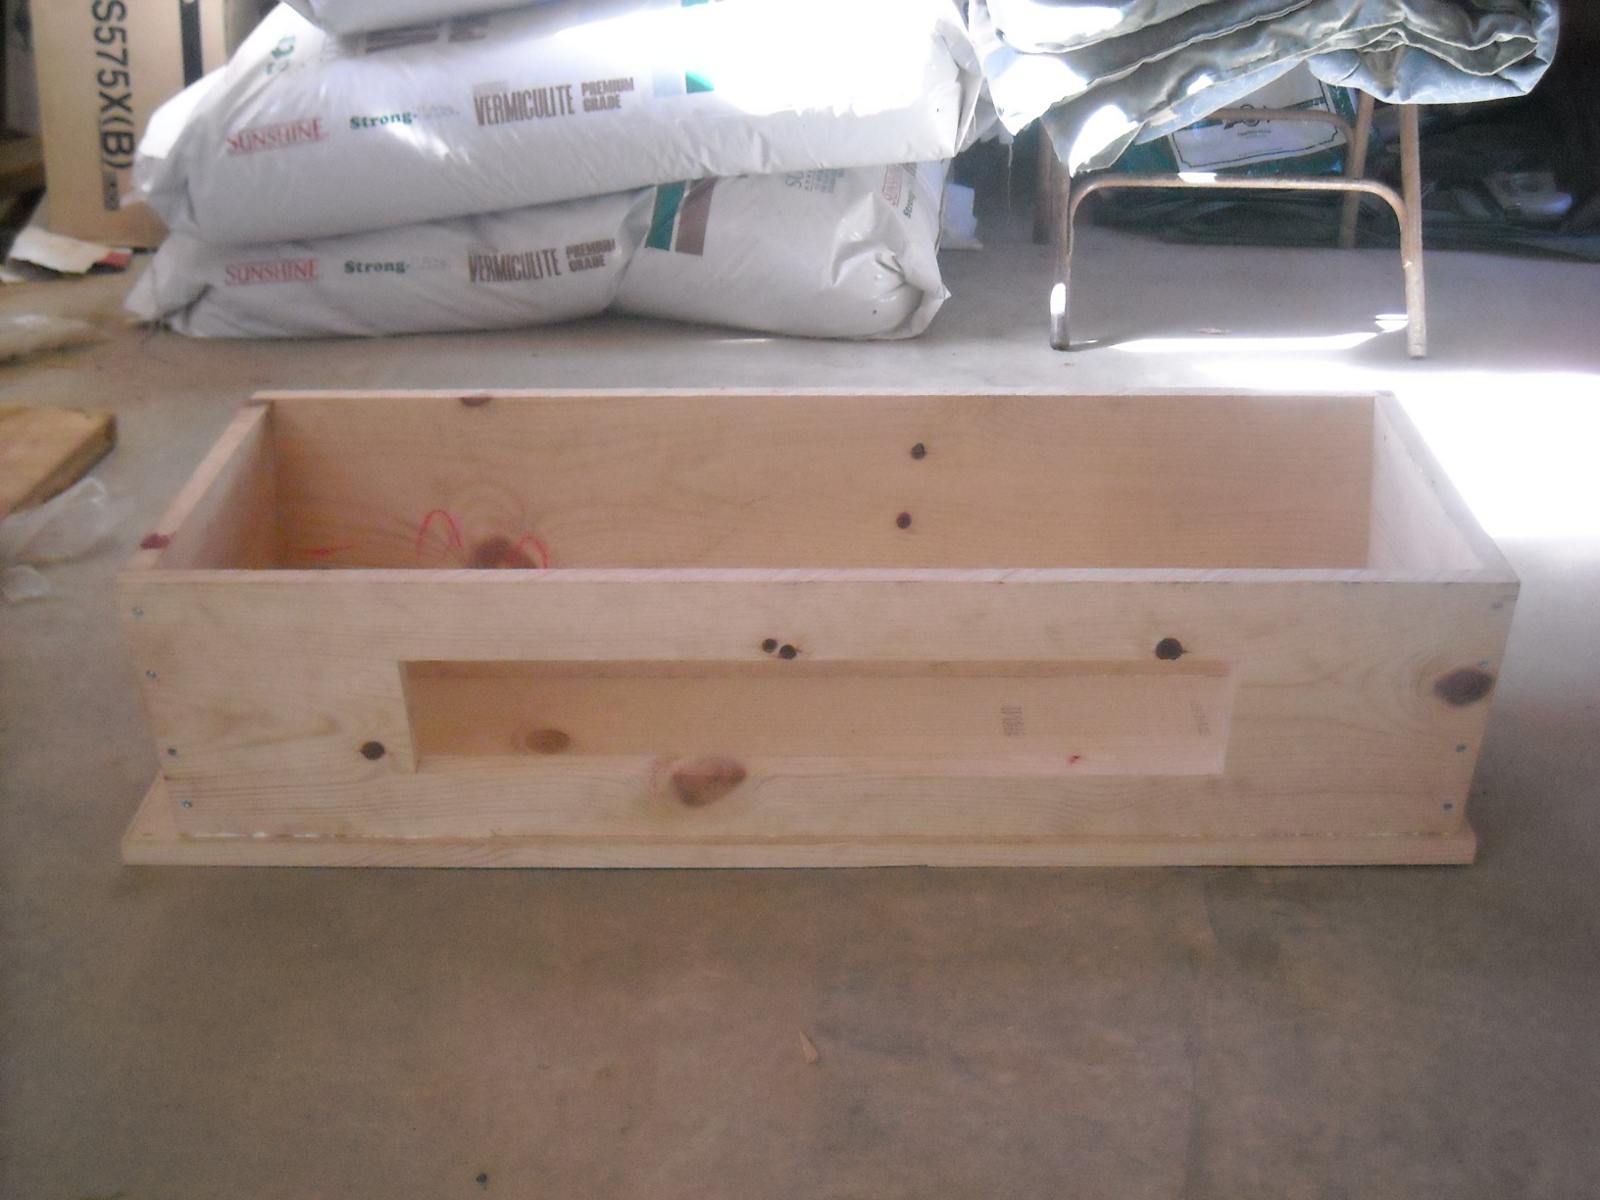
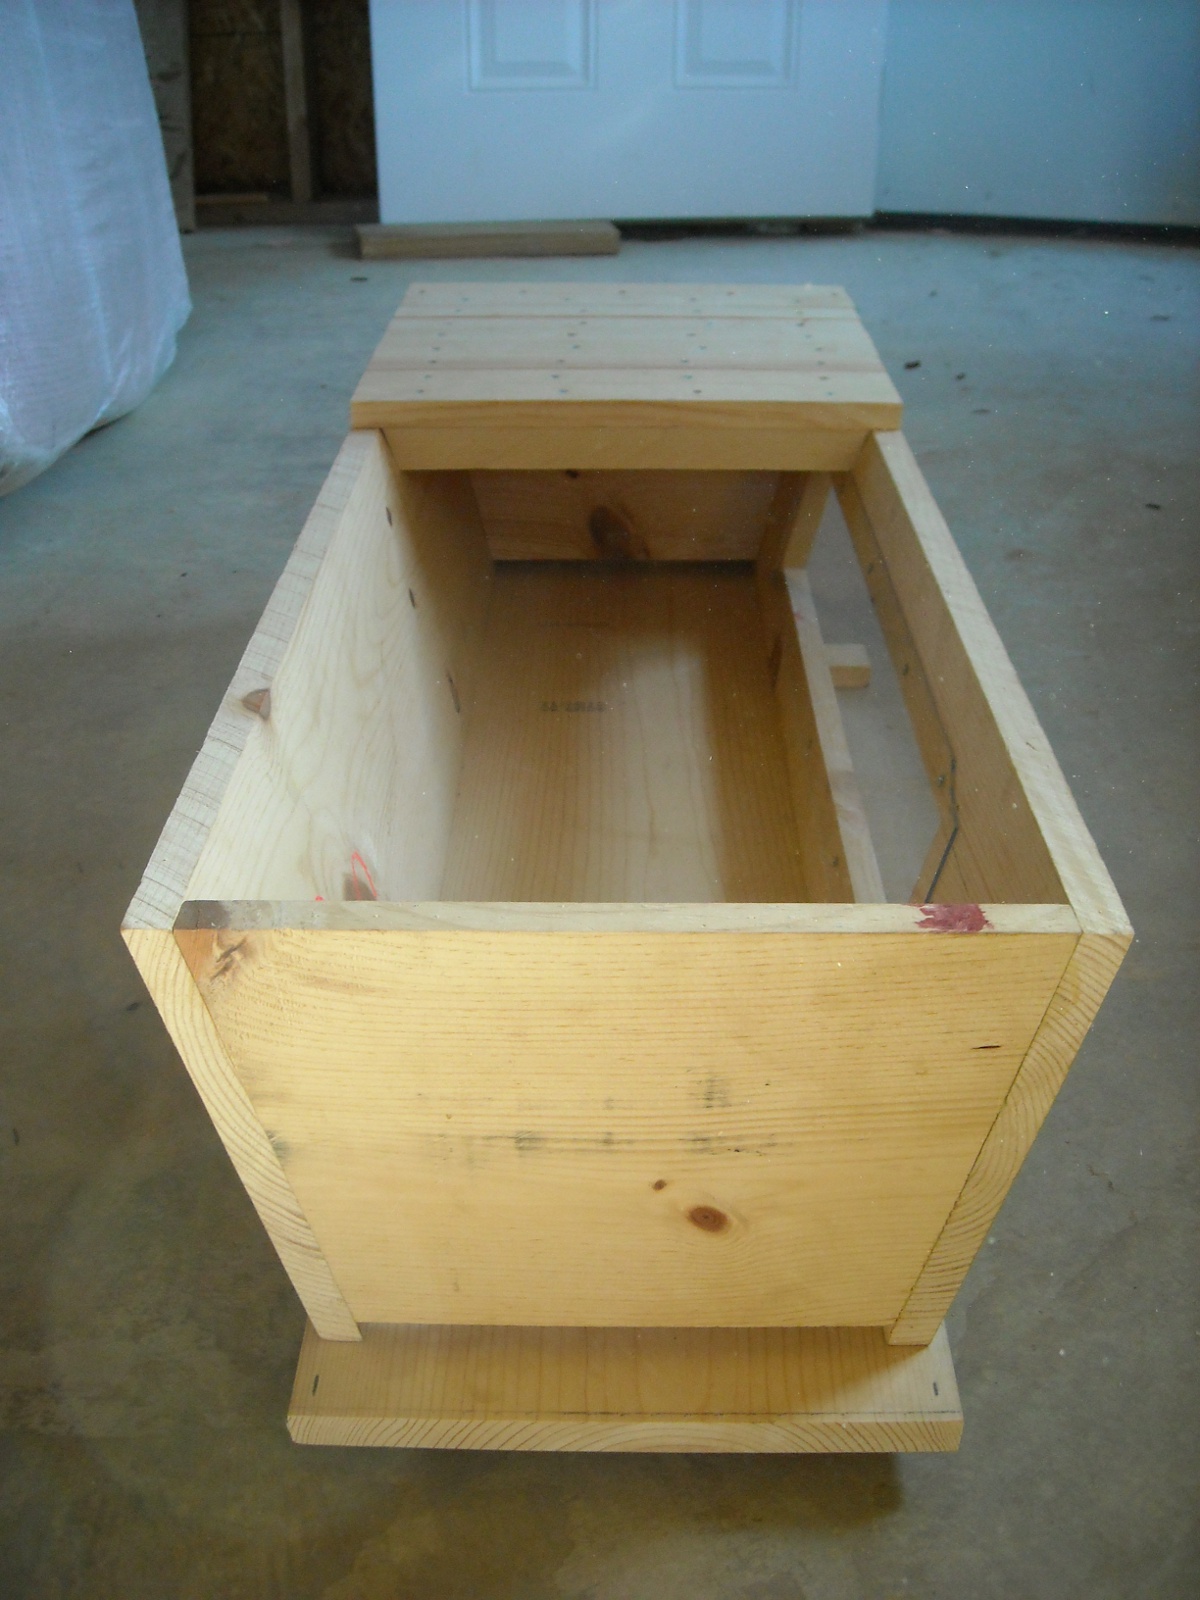
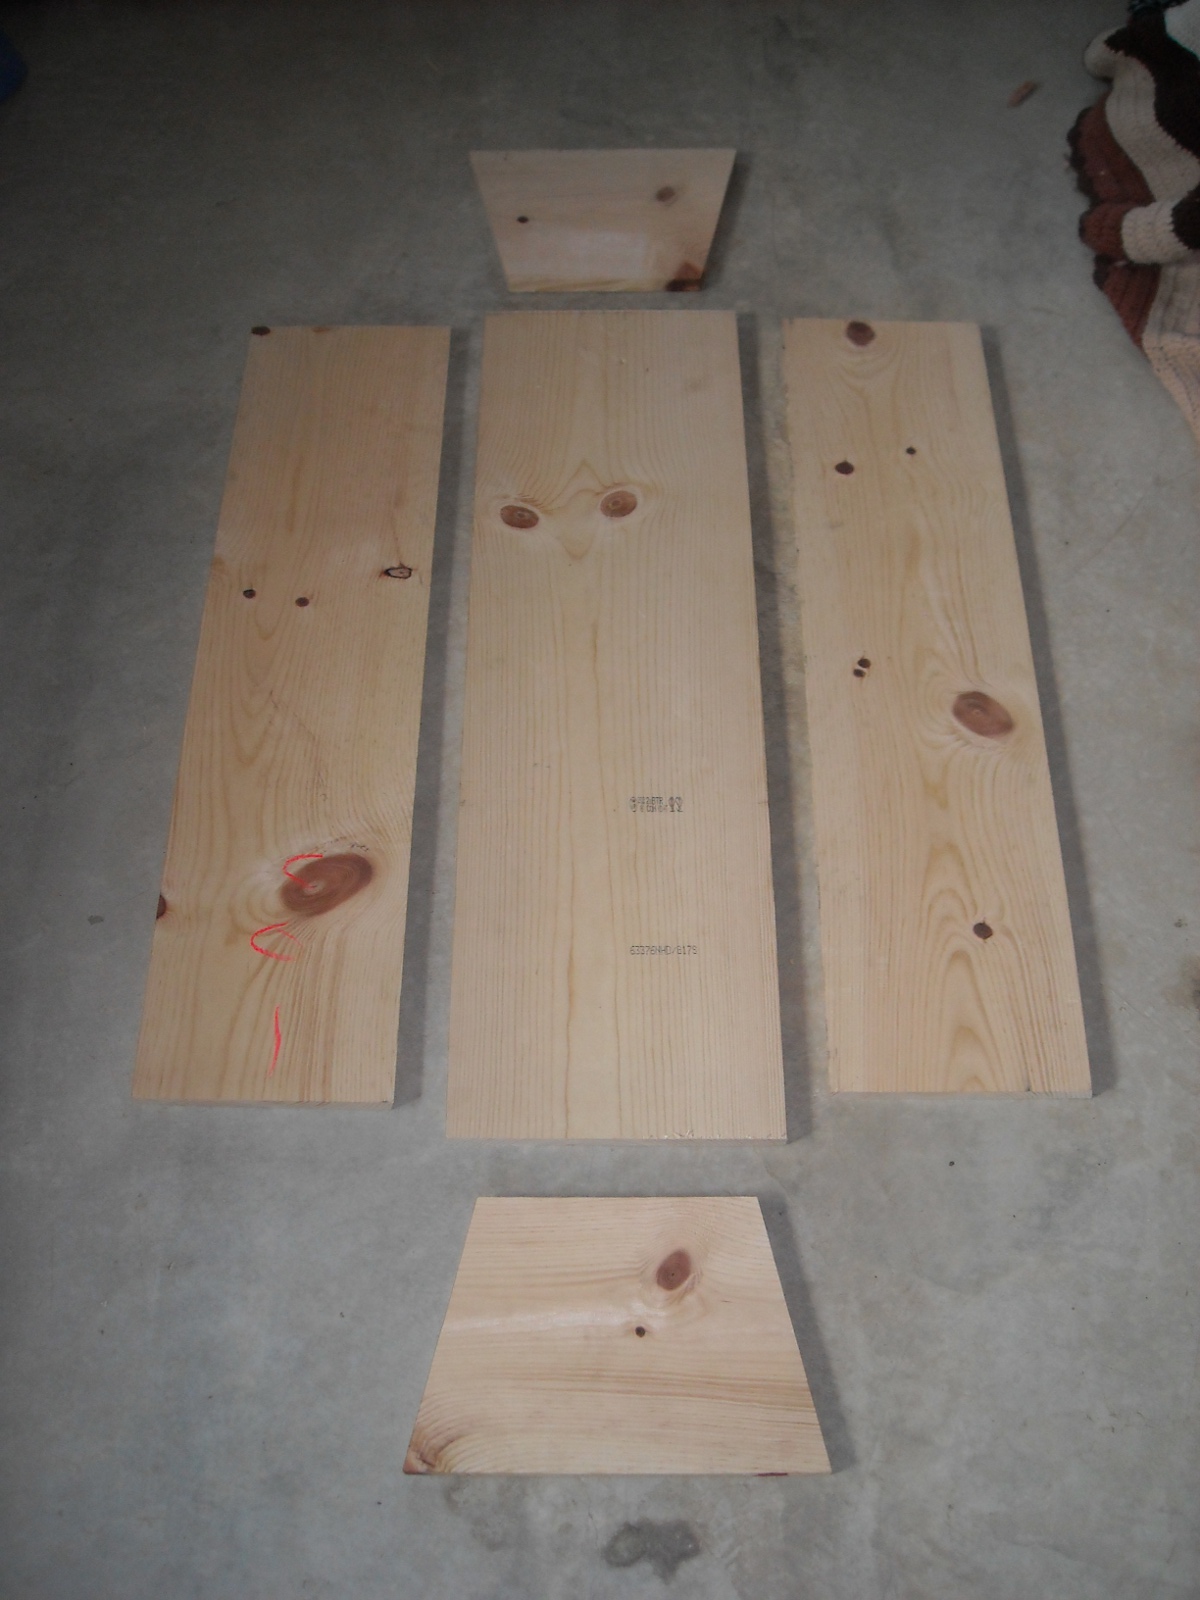
Here are the sides and bottom. As per the instructions, the angles were 13 degrees:

Homemade Top Bar Bee Hive Side and Bottom Pieces

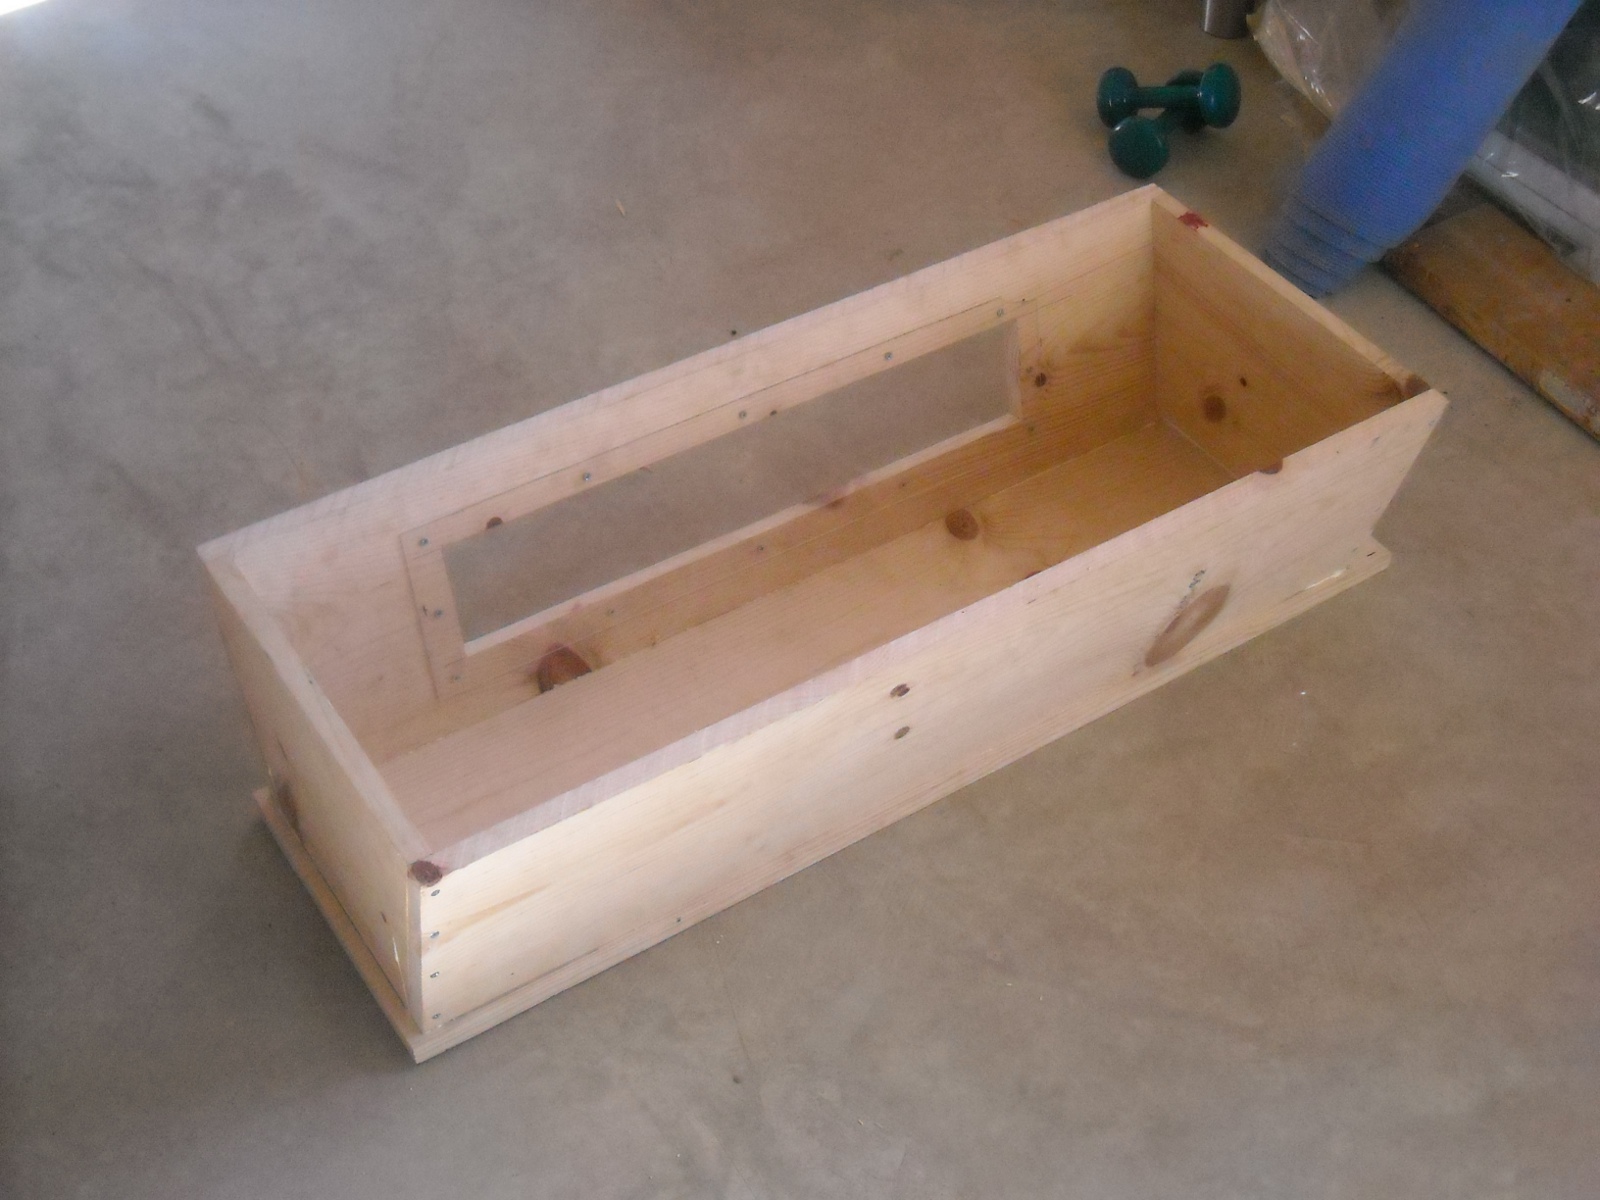
And here are the sides and bottom put together. I used 1 1/2″ wood screws and wood glue. Also, notice the window hole — I cut this out before joining everything together:

Homemade Top Bar Bee Hive Side and Bottom Together

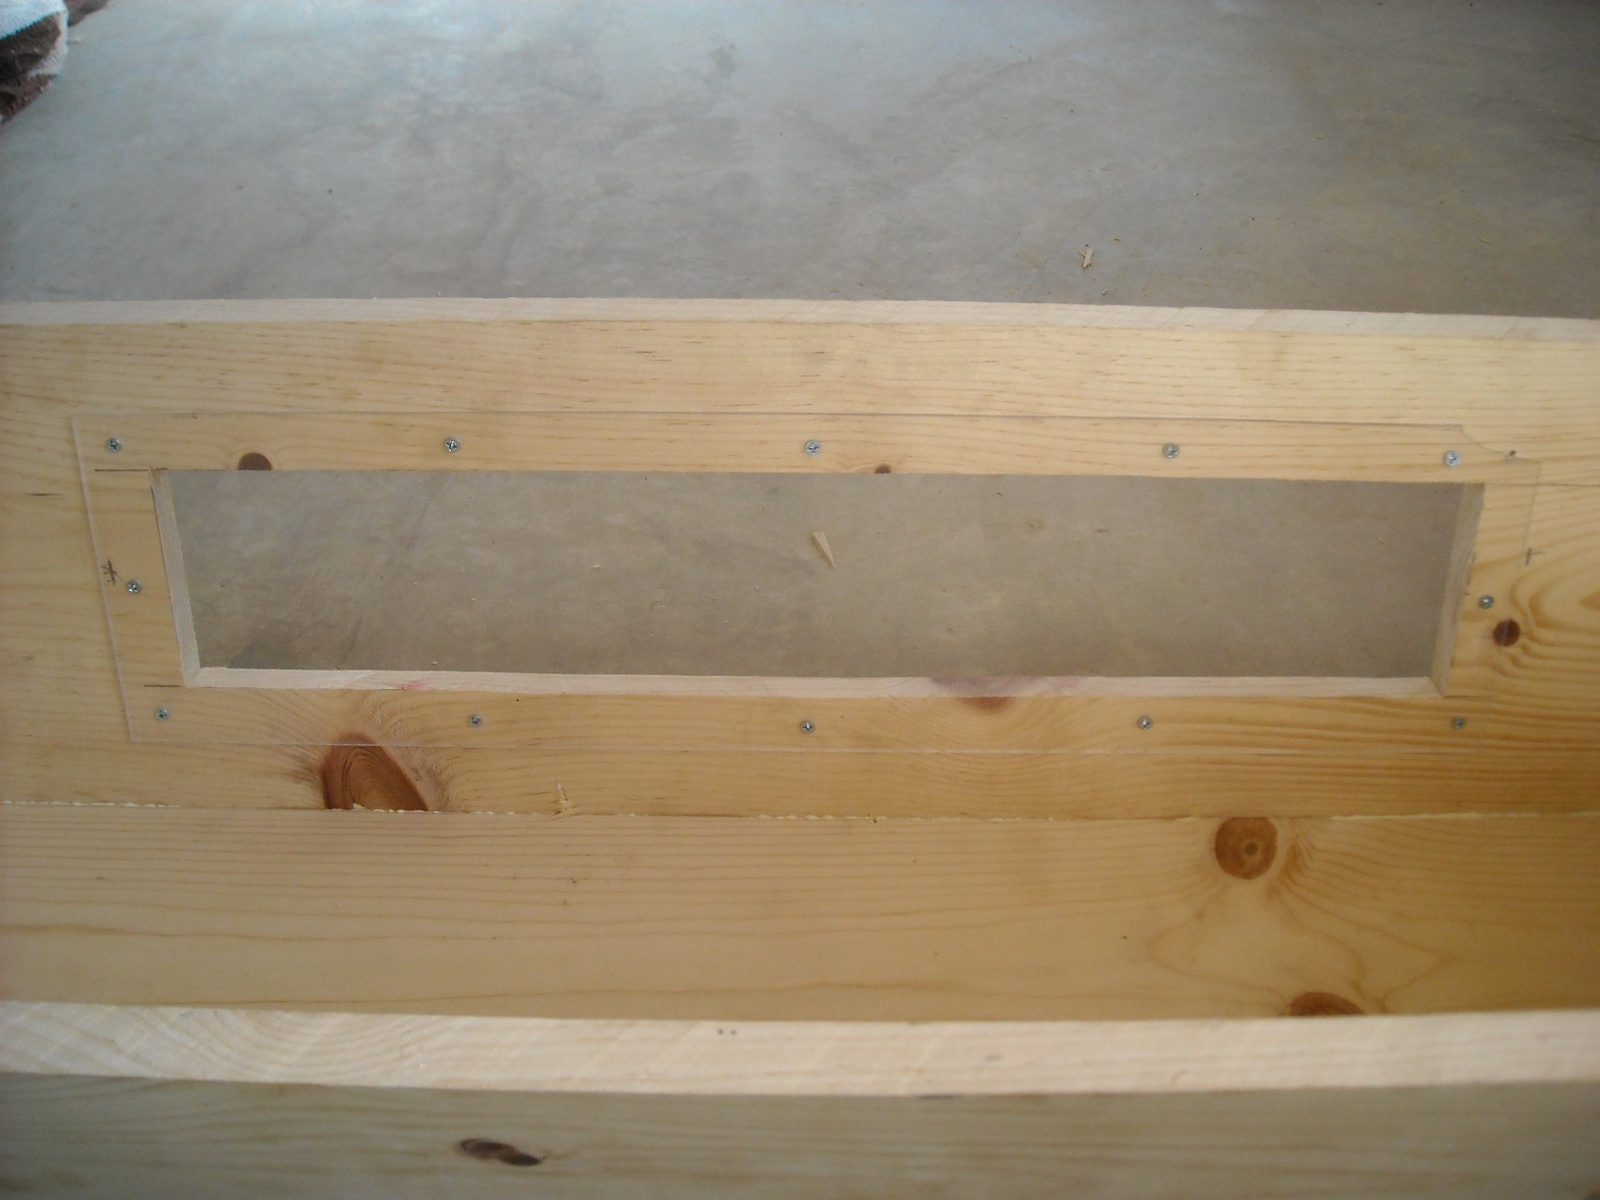
For the window, I cut a piece of plexiglass to fit over the hole (I used similar plexiglas to what I used on our solar food dehydrator). In working with the plexiglas, I pre-drilled a small hole, and then bored it out just slightly using a larger drill bit, the same size as the head of the wood screw, to allow the declining angle of the head of the wood screw to fit almost exactly in, making the top of the head of the screw flush with the plexiglas:

Homemade Top Bar Bee Hive Top View with Plexiglas Window in Place

And here’s a close up:

Homemade Top Bar Bee Hive Close Up of Plexiglas Window

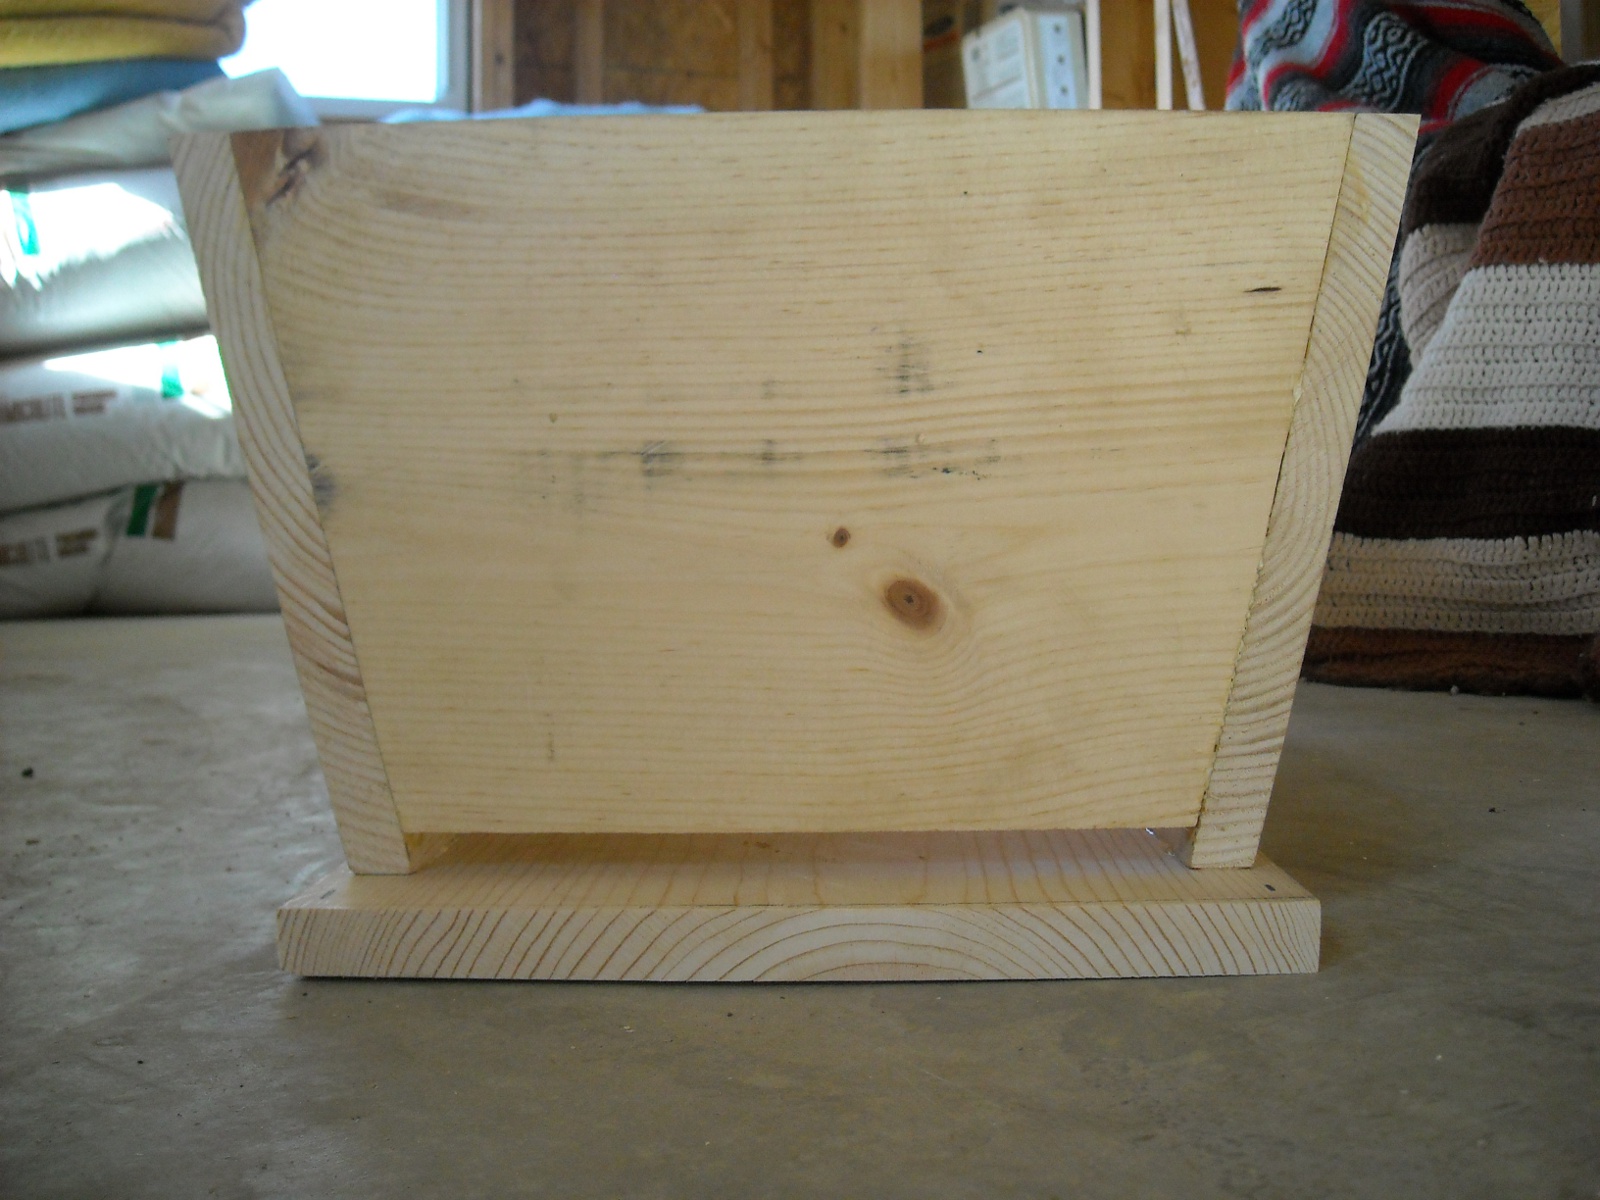
This is a view of the front side, where you can see the entrance area at the bottom:

Homemade Top Bar Bee Hive Front Side

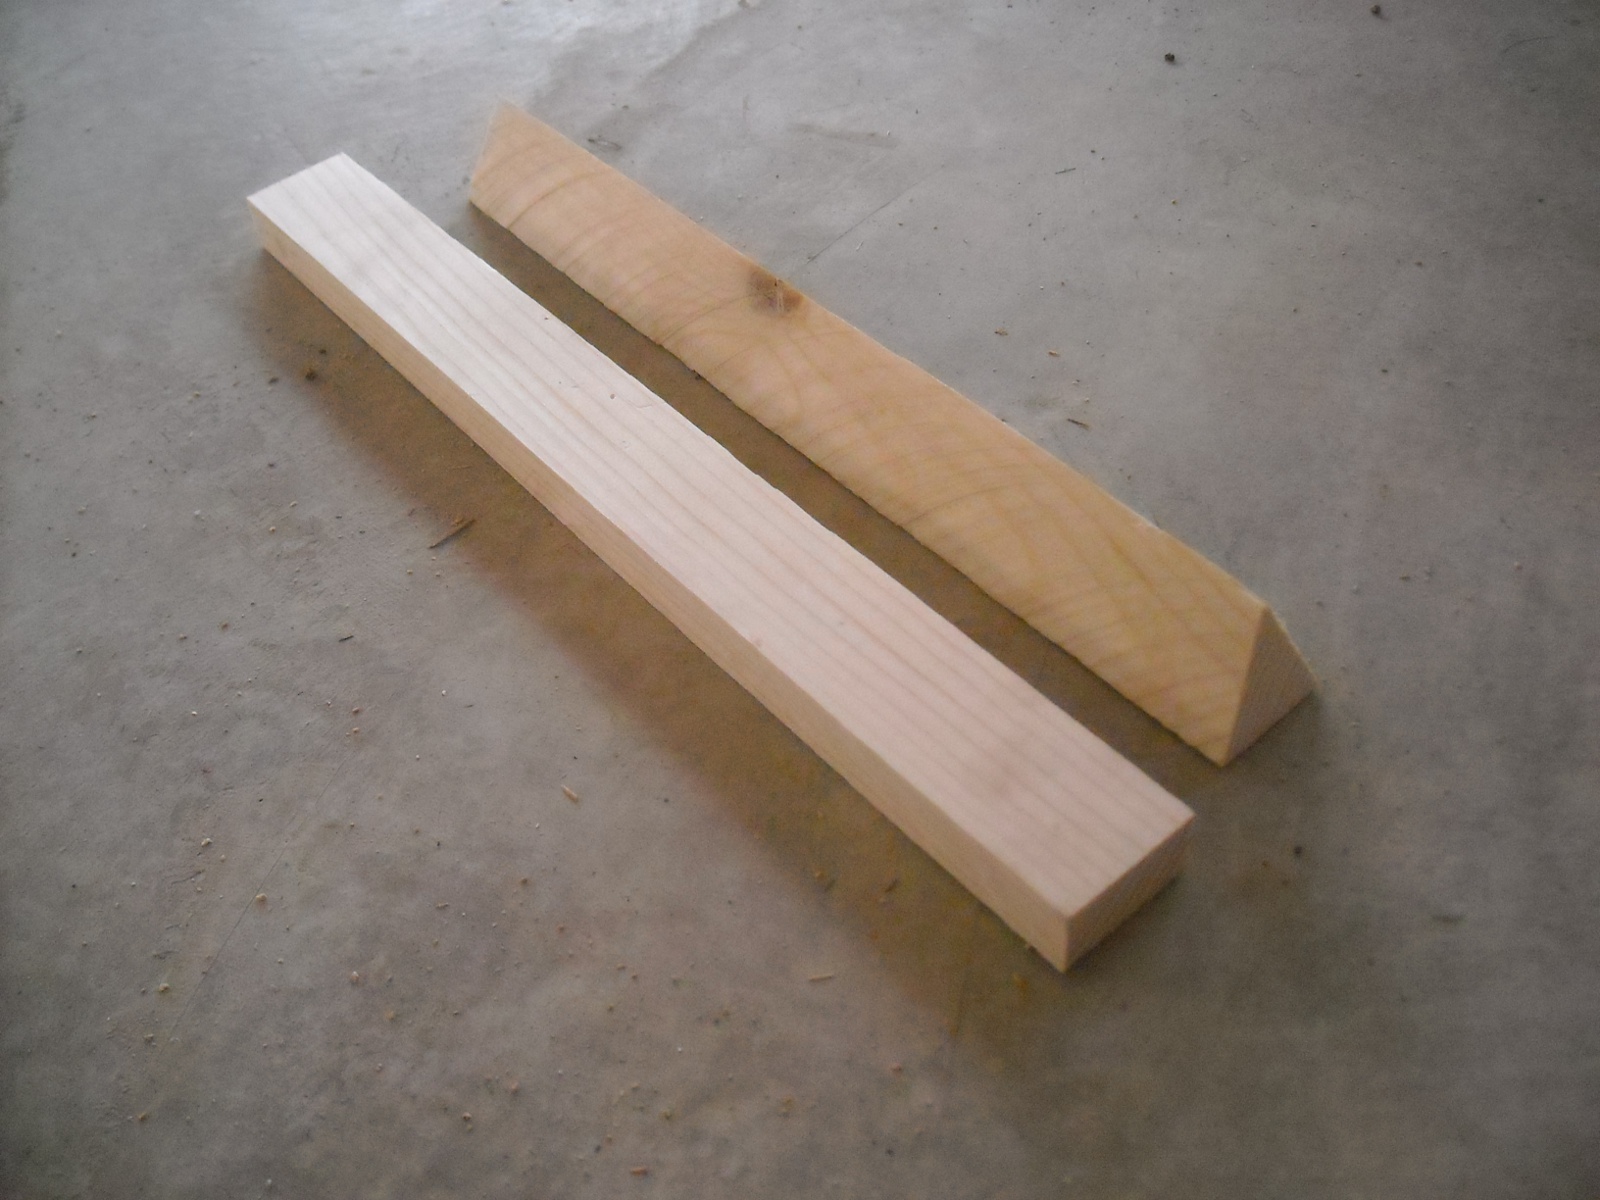
After getting the main box together, it was time to build the top bars. To make these, I ripped (using a table saw) 1x4s to the width of the top bars, and then cut those “strips” of 1×4 to the width of the hive box. These would be the top of the top bars. For the bottom of the top bars, I ripped 2x wood at probably somewhere around 26.5 degrees I believe for a 1 1/2″-wide top bar (you would need to figure the angle out based on the width of a top bar) down one direction and then down the opposite way, which basically created long strips of the pointed top bar bottoms (with the point running down the middle of the top bar); and then I chopped the end of those at 13 degrees (beveling each in opposite directions) to be able to fit inside the top of the hive box, accounting for the width of the sides of the hive:

Homemade Top Bar Bee Hive Top Bar Pieces

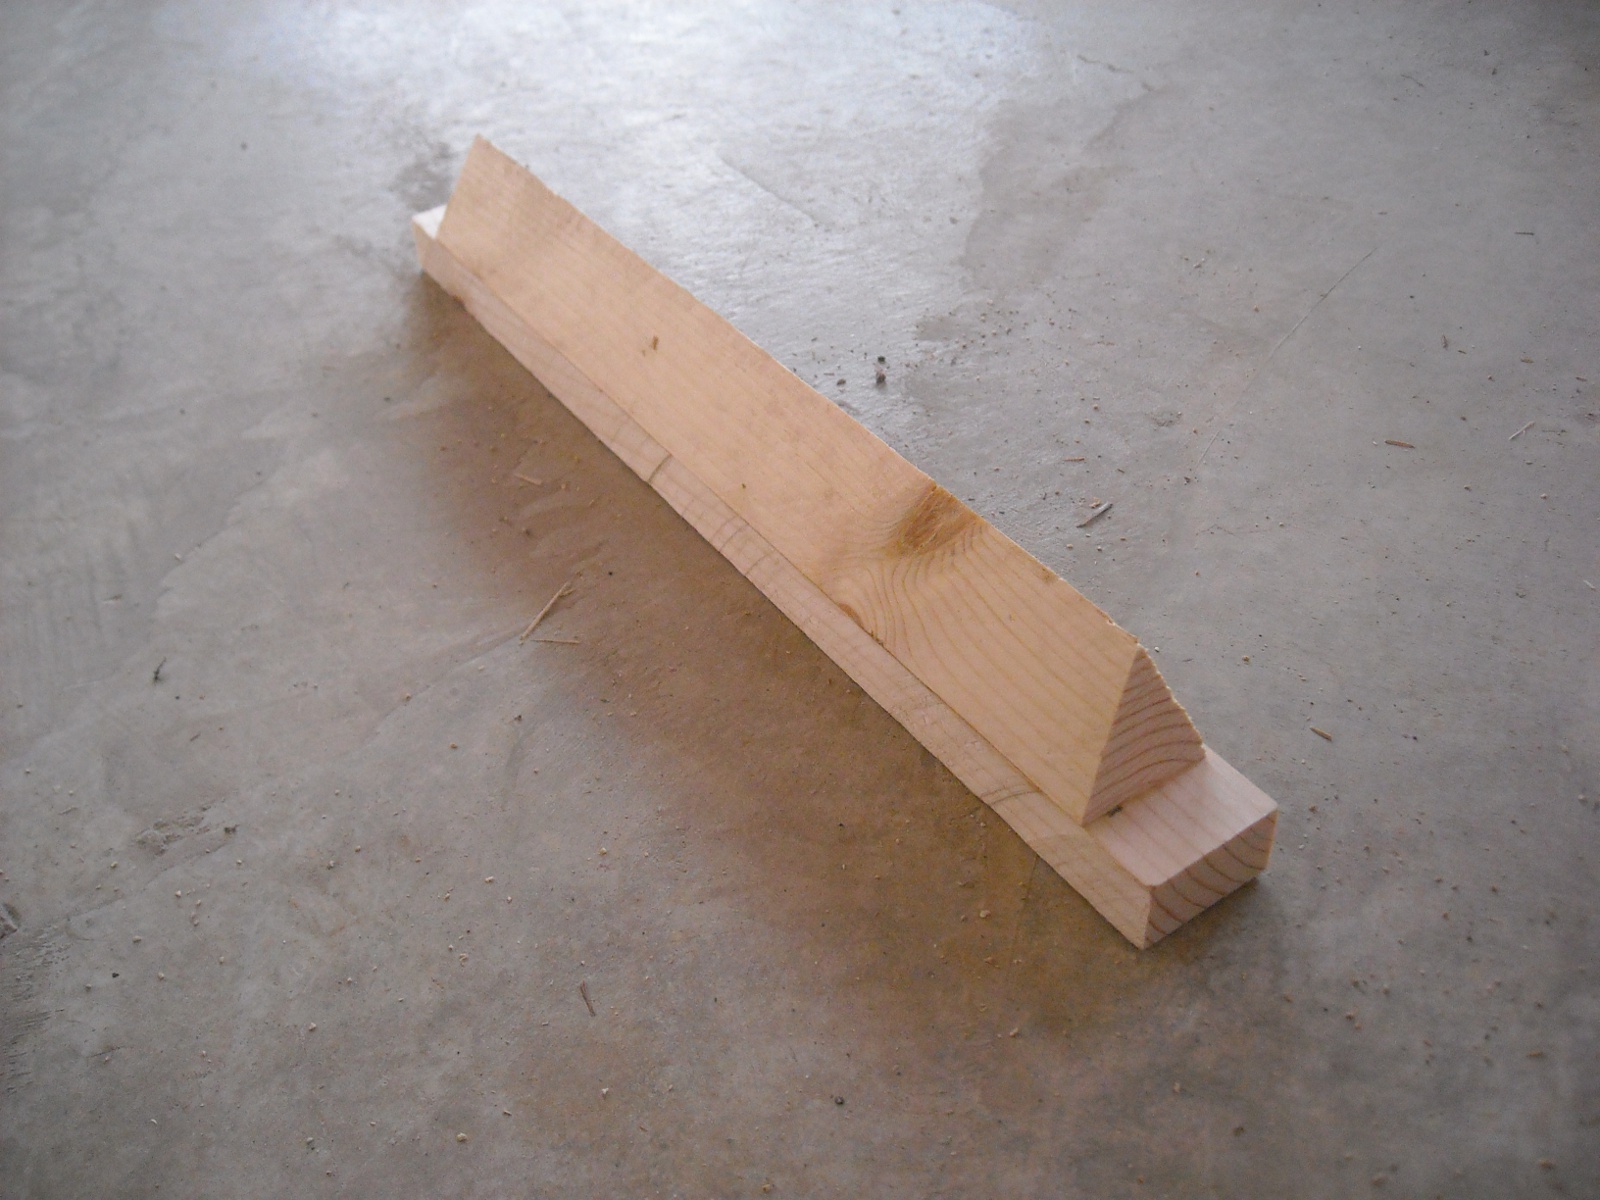
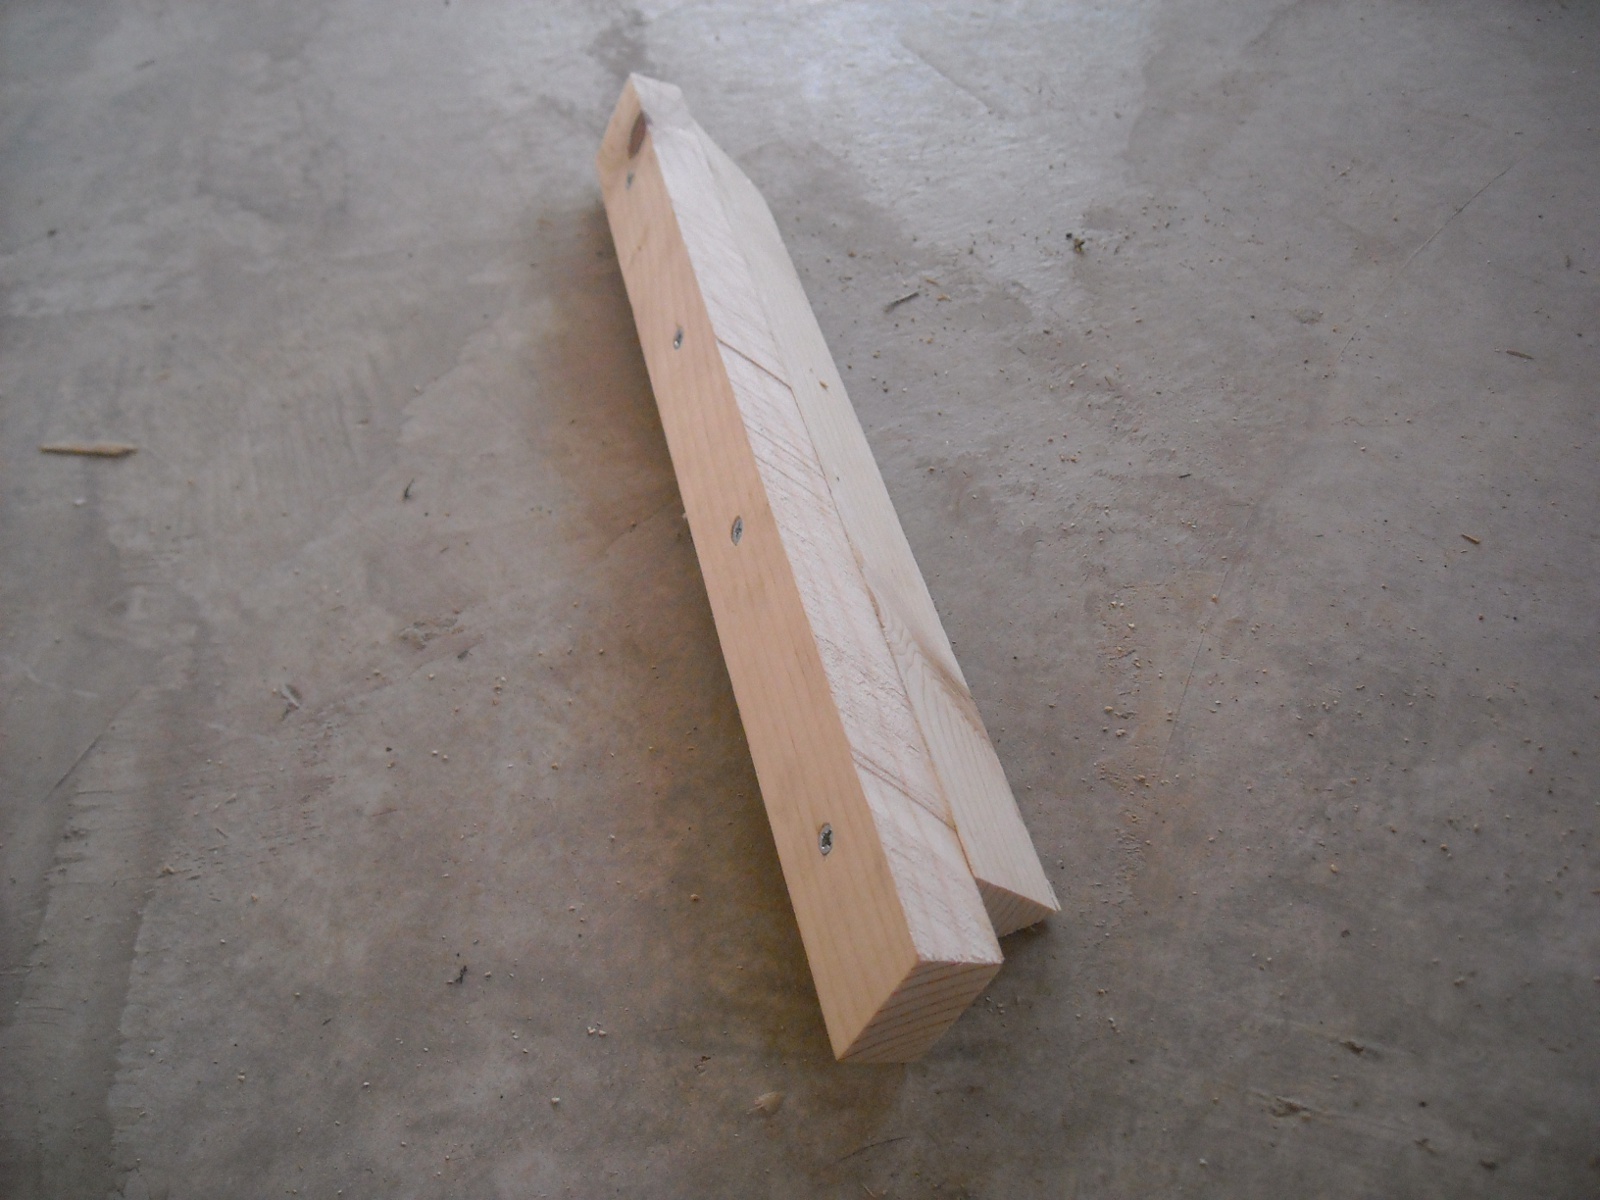
And here they are put together. I glued them and used wood screws:

Homemade Top Bar Bee Hive Top Bar Bottom View
Homemade Top Bar Bee Hive Top Bar Top View

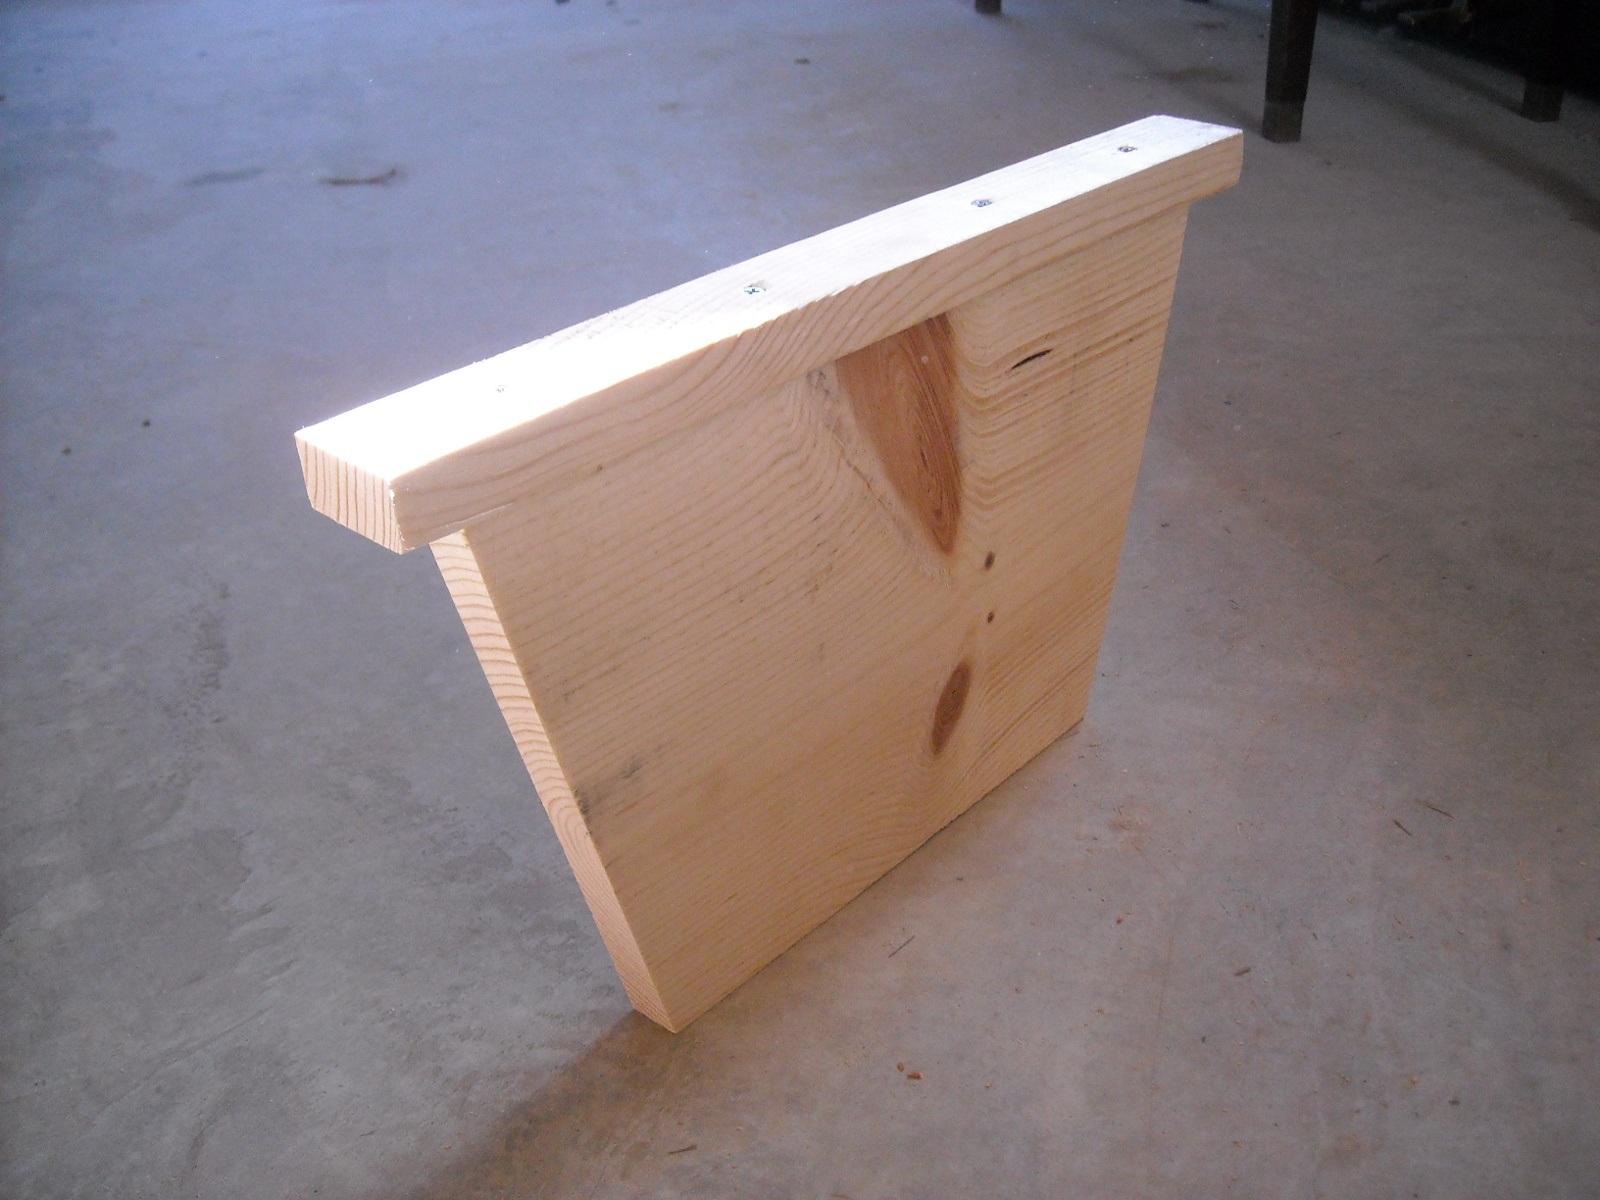
Here is the false back that’s part of the design. Moving the false back up to the last bar with comb on it during the Winter creates a smaller space in the hive to help the bees stay warmer:

Homemade Top Bar Bee Hive False Back

And here is the false back and some of the top bars in place. I had to file down some of the bottom parts of the top bars to get them to fit into the sides of the hive box:

Homemade Top Bar Bee Hive with False Back and Some Top Bars in Place

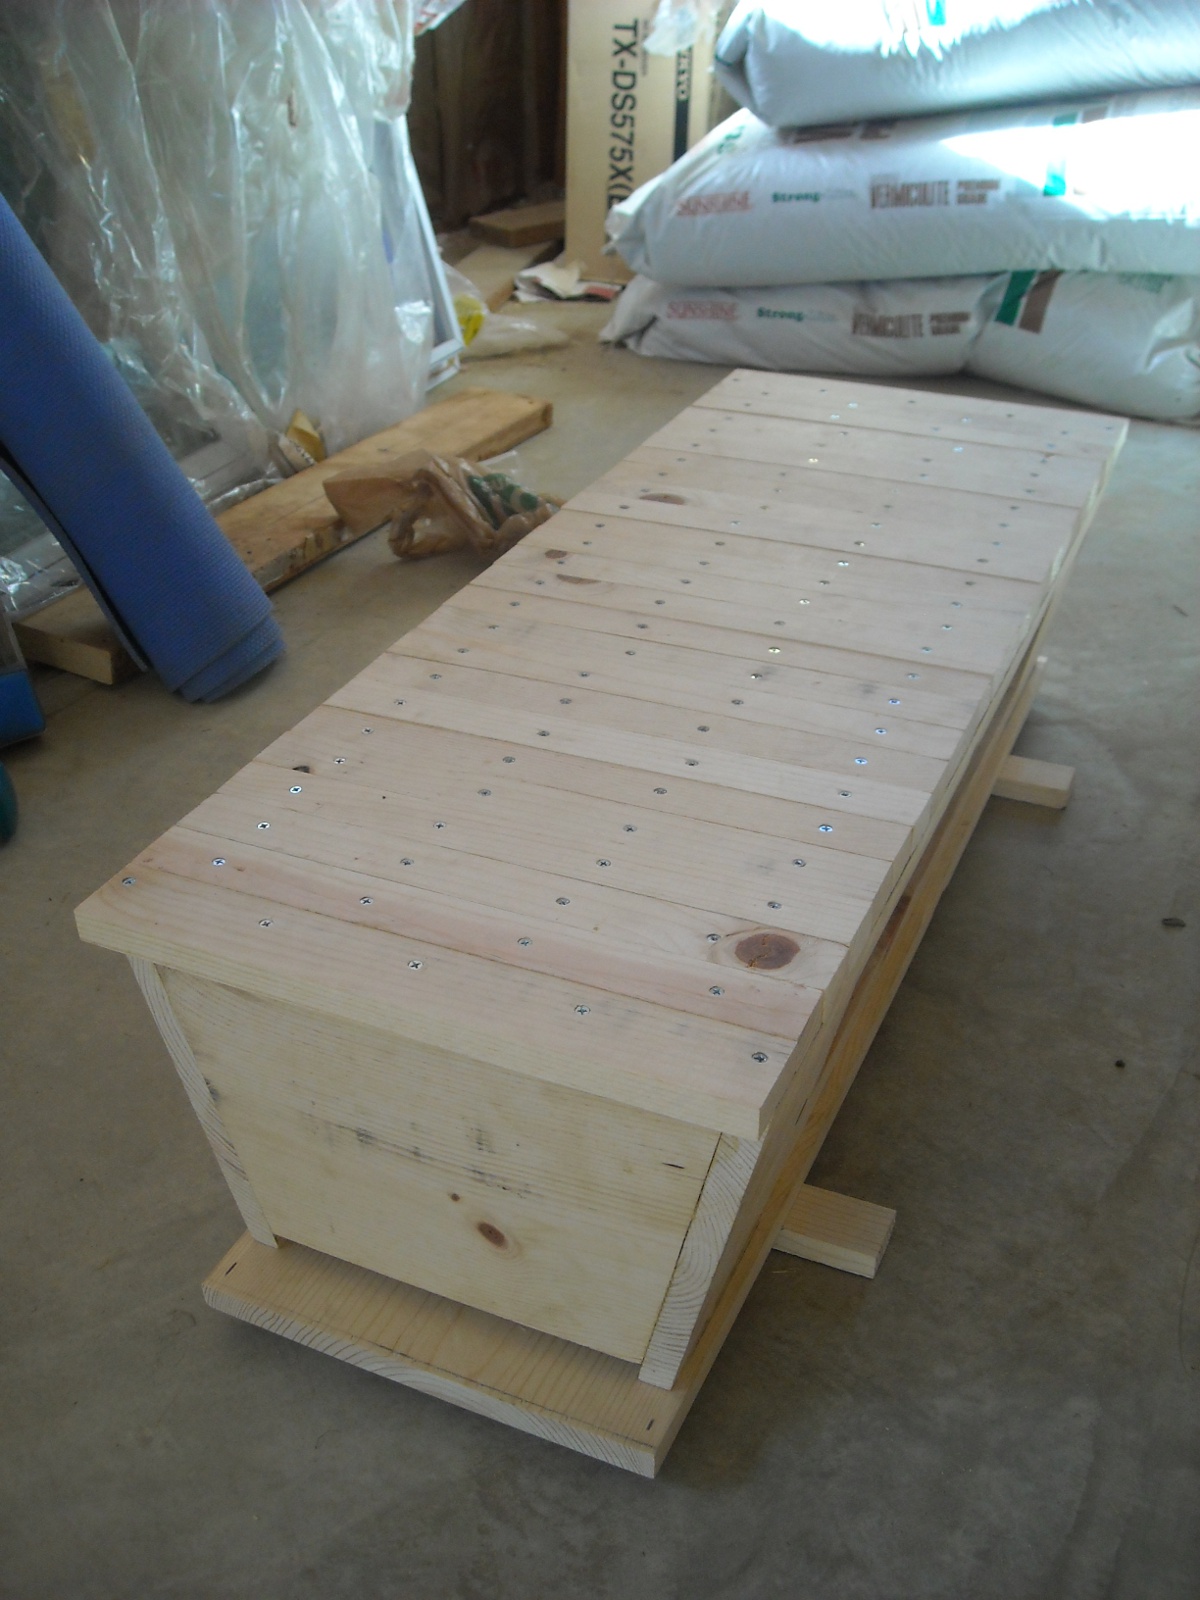
And then here is the hive with all of them in place, including the front and back handles that book-end the top bars. For those, I installed one handle first, placed all of the top bars in place not too tightly, and then installed the other handle up against the top bar next to it:

Homemade Top Bar Bee Hive with All Top Bars in Place

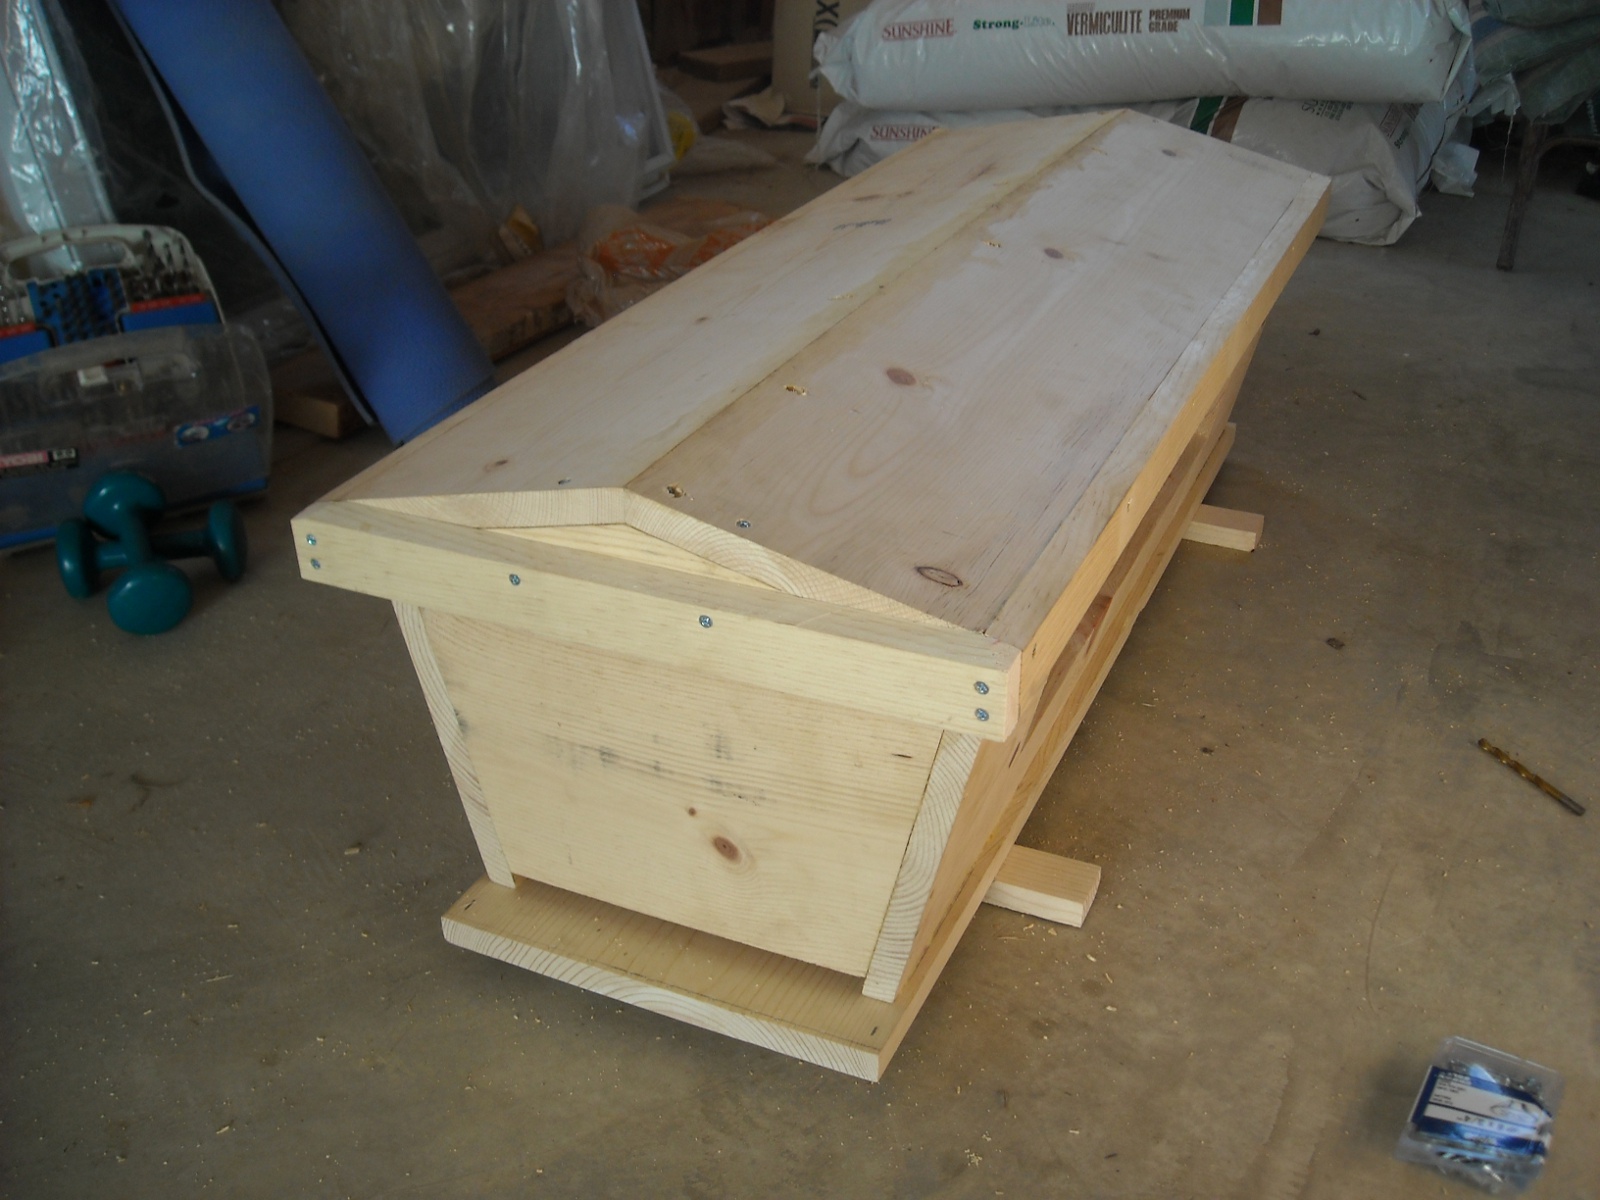
I changed the lid design a little, making it gabled instead of just flat. This was more complicated, but allows for the use of 1x wood for the top instead of plywood, and hopefully will allow the rain to run off easier:

Homemade Top Bar Bee Hive with Lid On

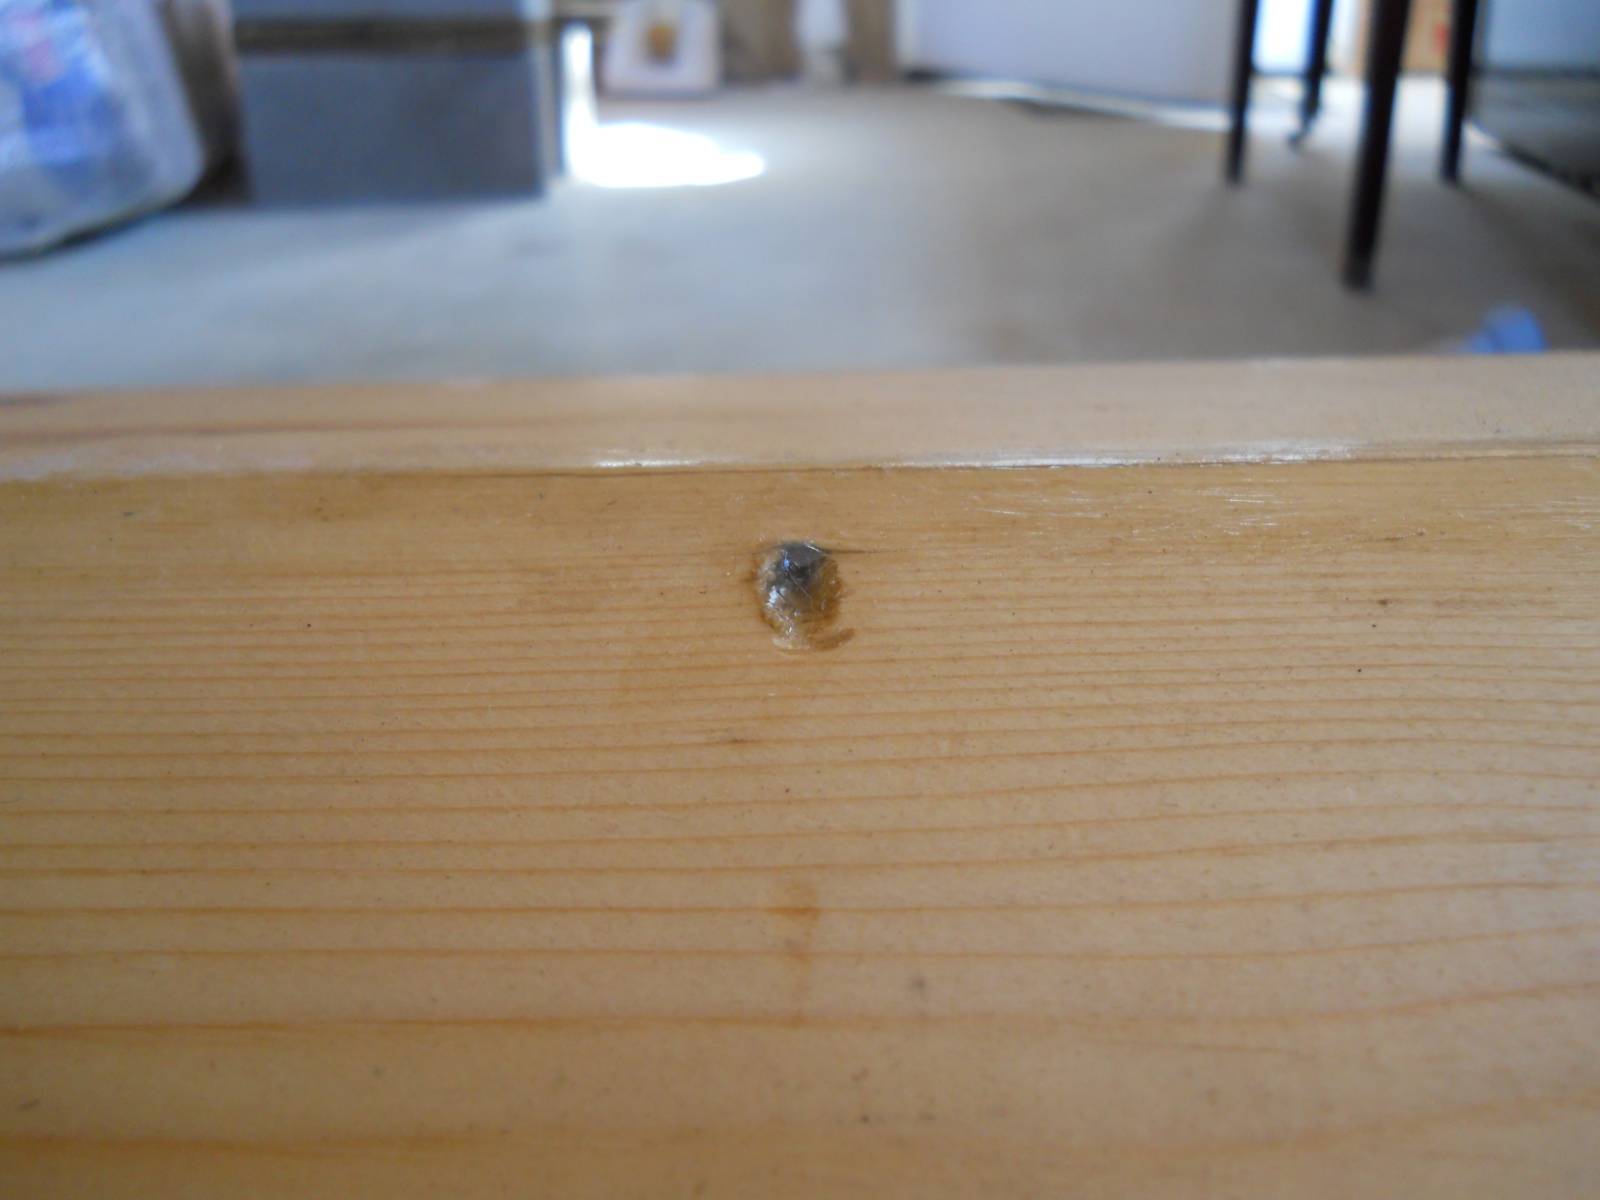
In joining the boards at the roof peak, I drilled pilot holes from one board to the other, and drilled out the hole a little more with a larger bit to allow the head of the screw to sink farther in; and for this part, I used 3/4″ wood screws:

Homemade Top Bar Bee Hive Lid Joined with Screw at the Peak

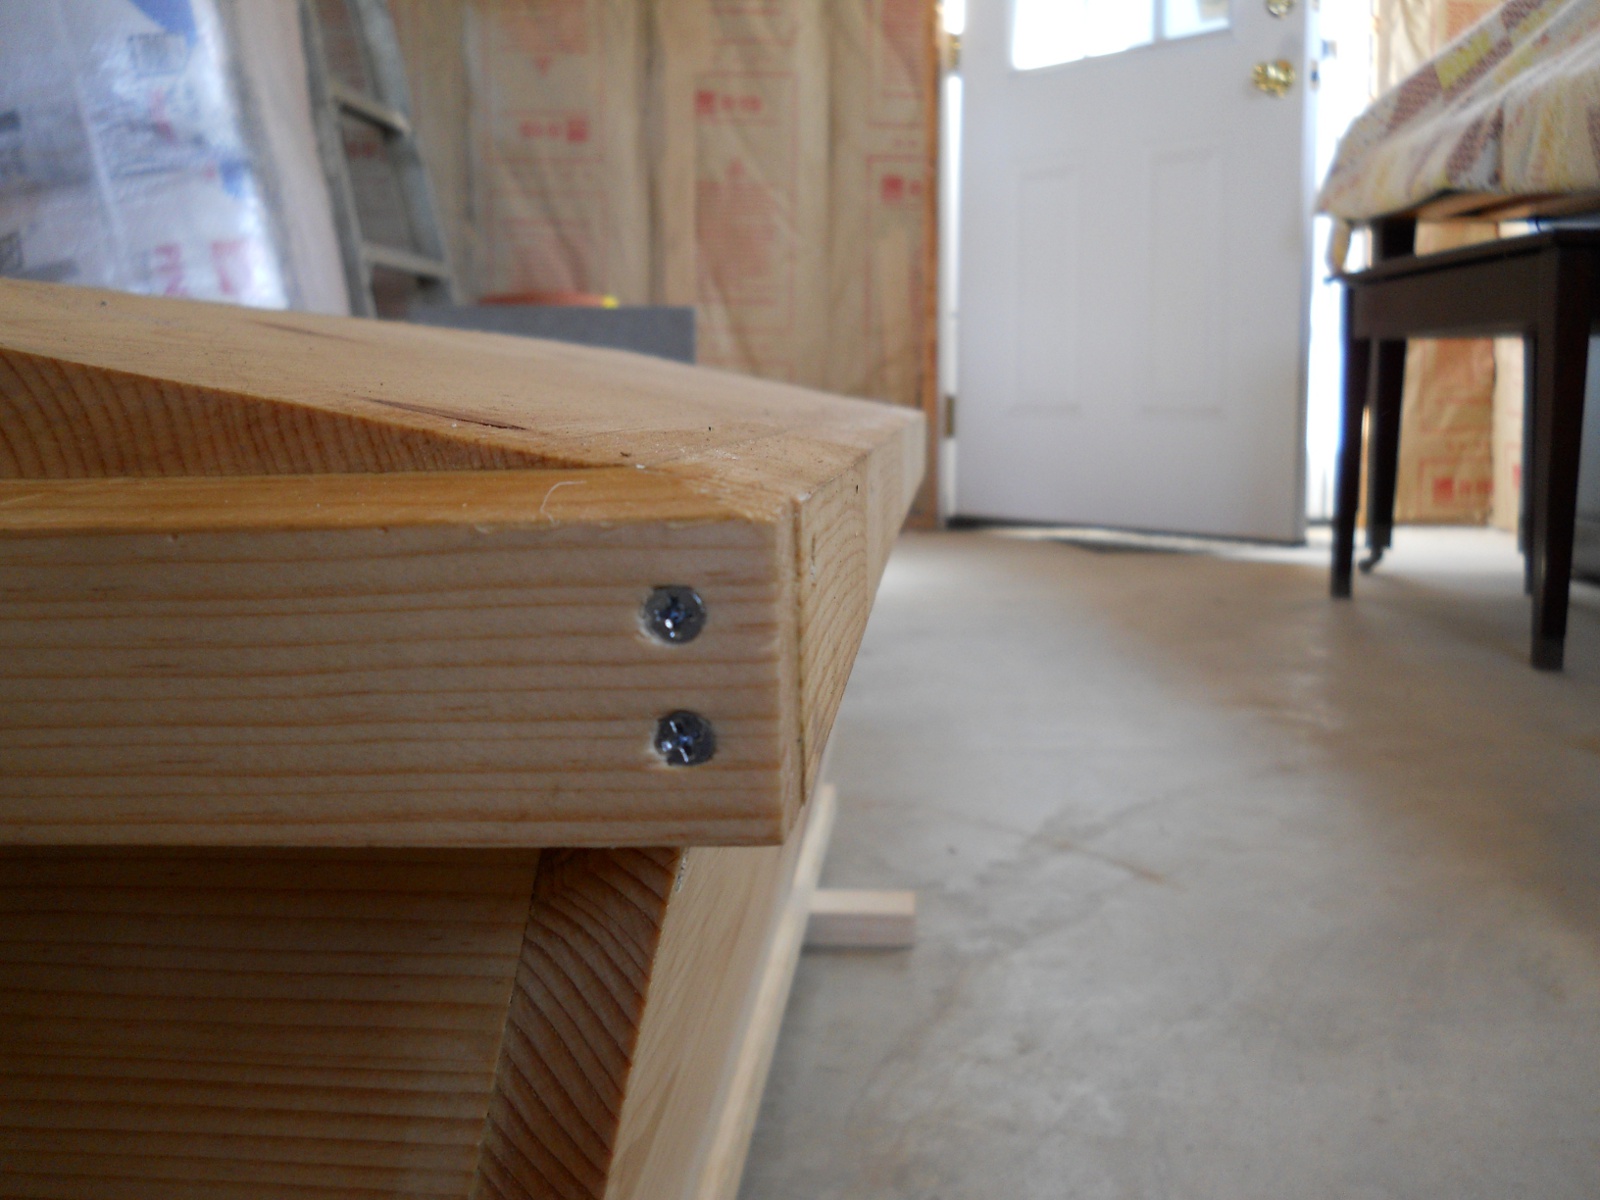
I also angled downward the tops of the edge pieces of the hive top to allow for better water run-off:

Homemade Top Bar Bee Hive Lid with Angled Edges

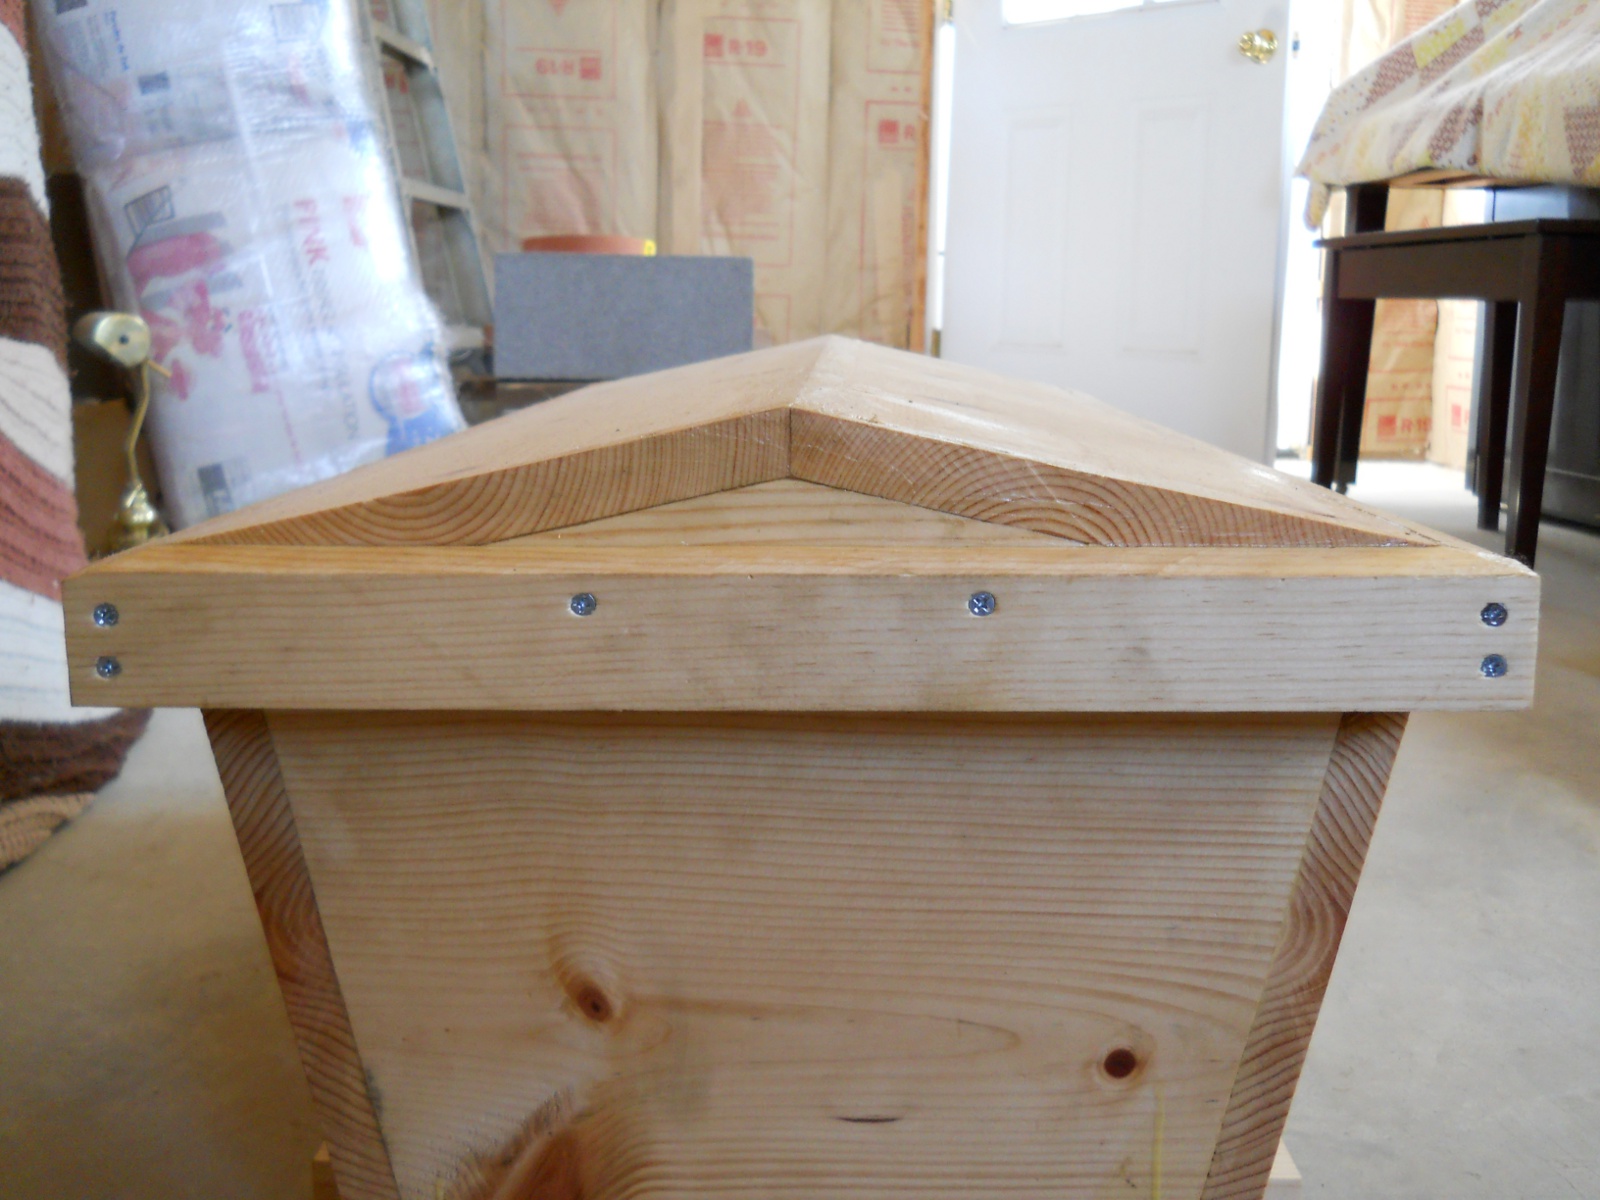
And here’s a picture of the end of the lid:

Homemade Top Bar Bee Hive Lid Side View

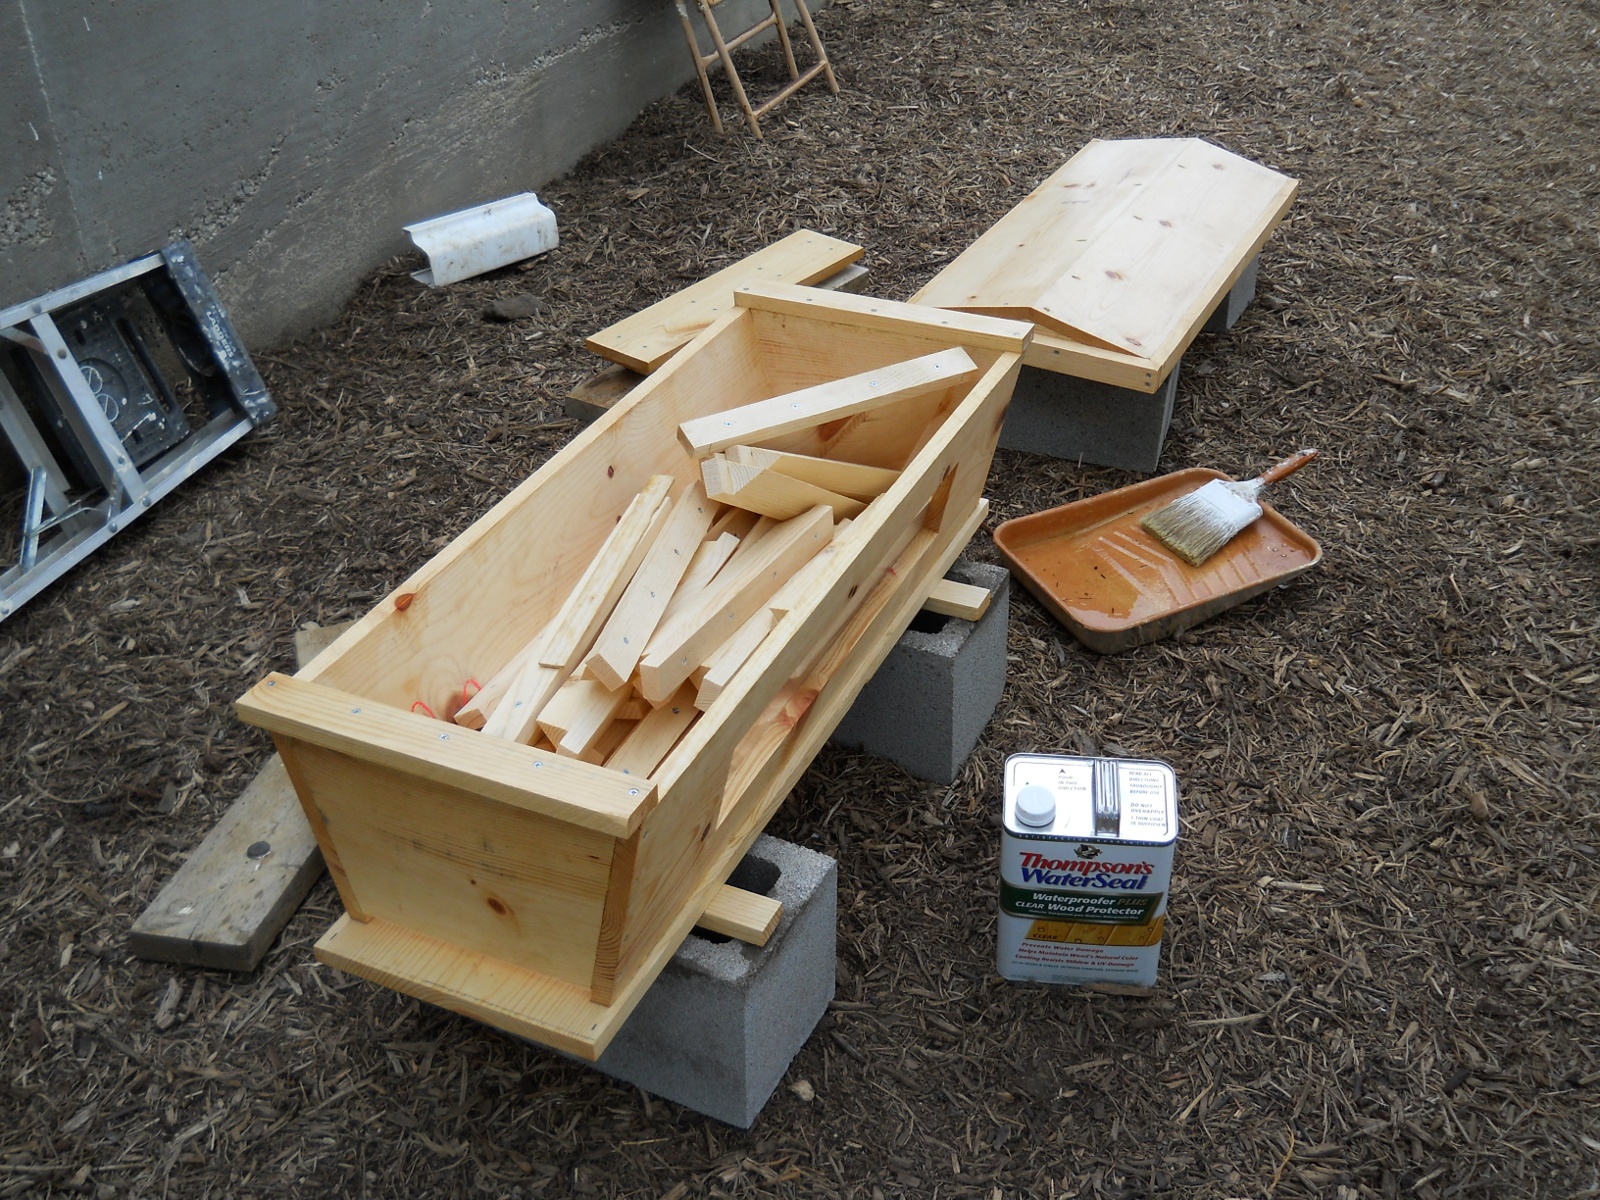
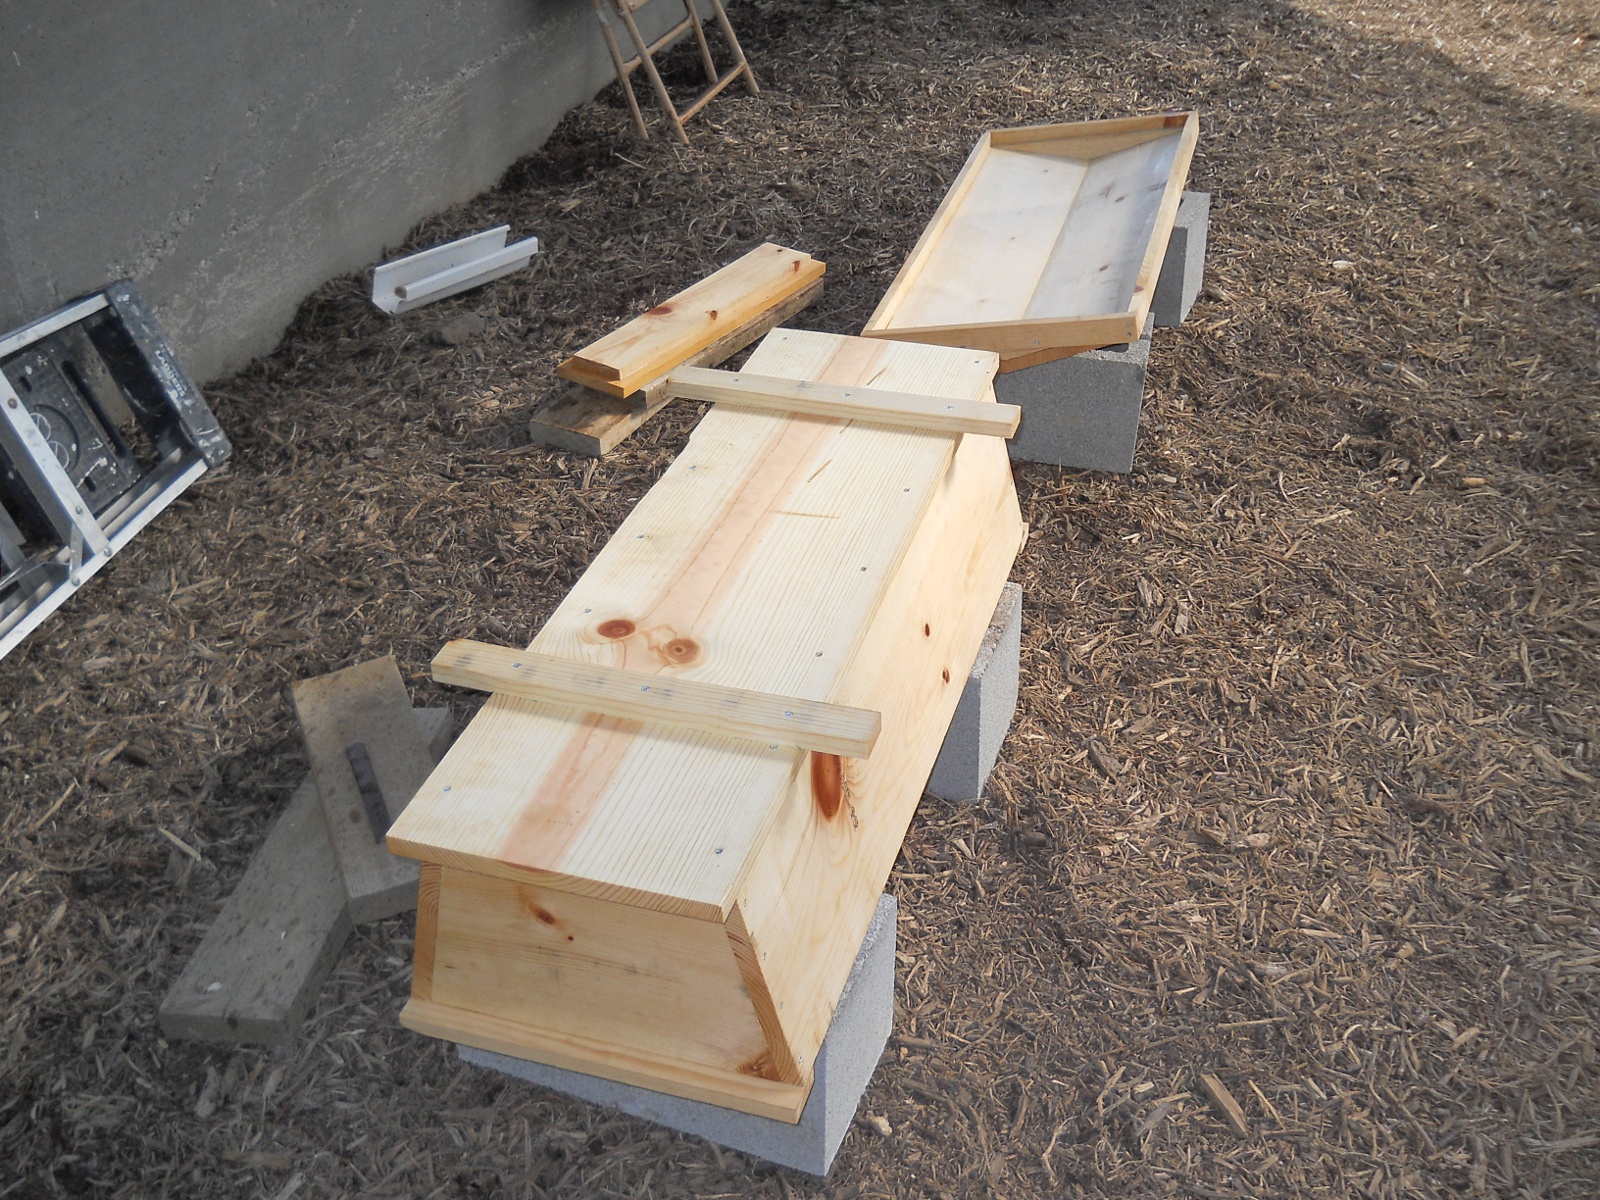
Once built, to weatherize it, I painted all of the external parts with water sealer. After that was dry, I caulked the lid on the outside and inside to help keep water from getting into the inside of the hive:

Homemade Top Bar Bee Hive Painting with Water Sealer
Homemade Top Bar Bee Hive Underside Painting with Water Sealer

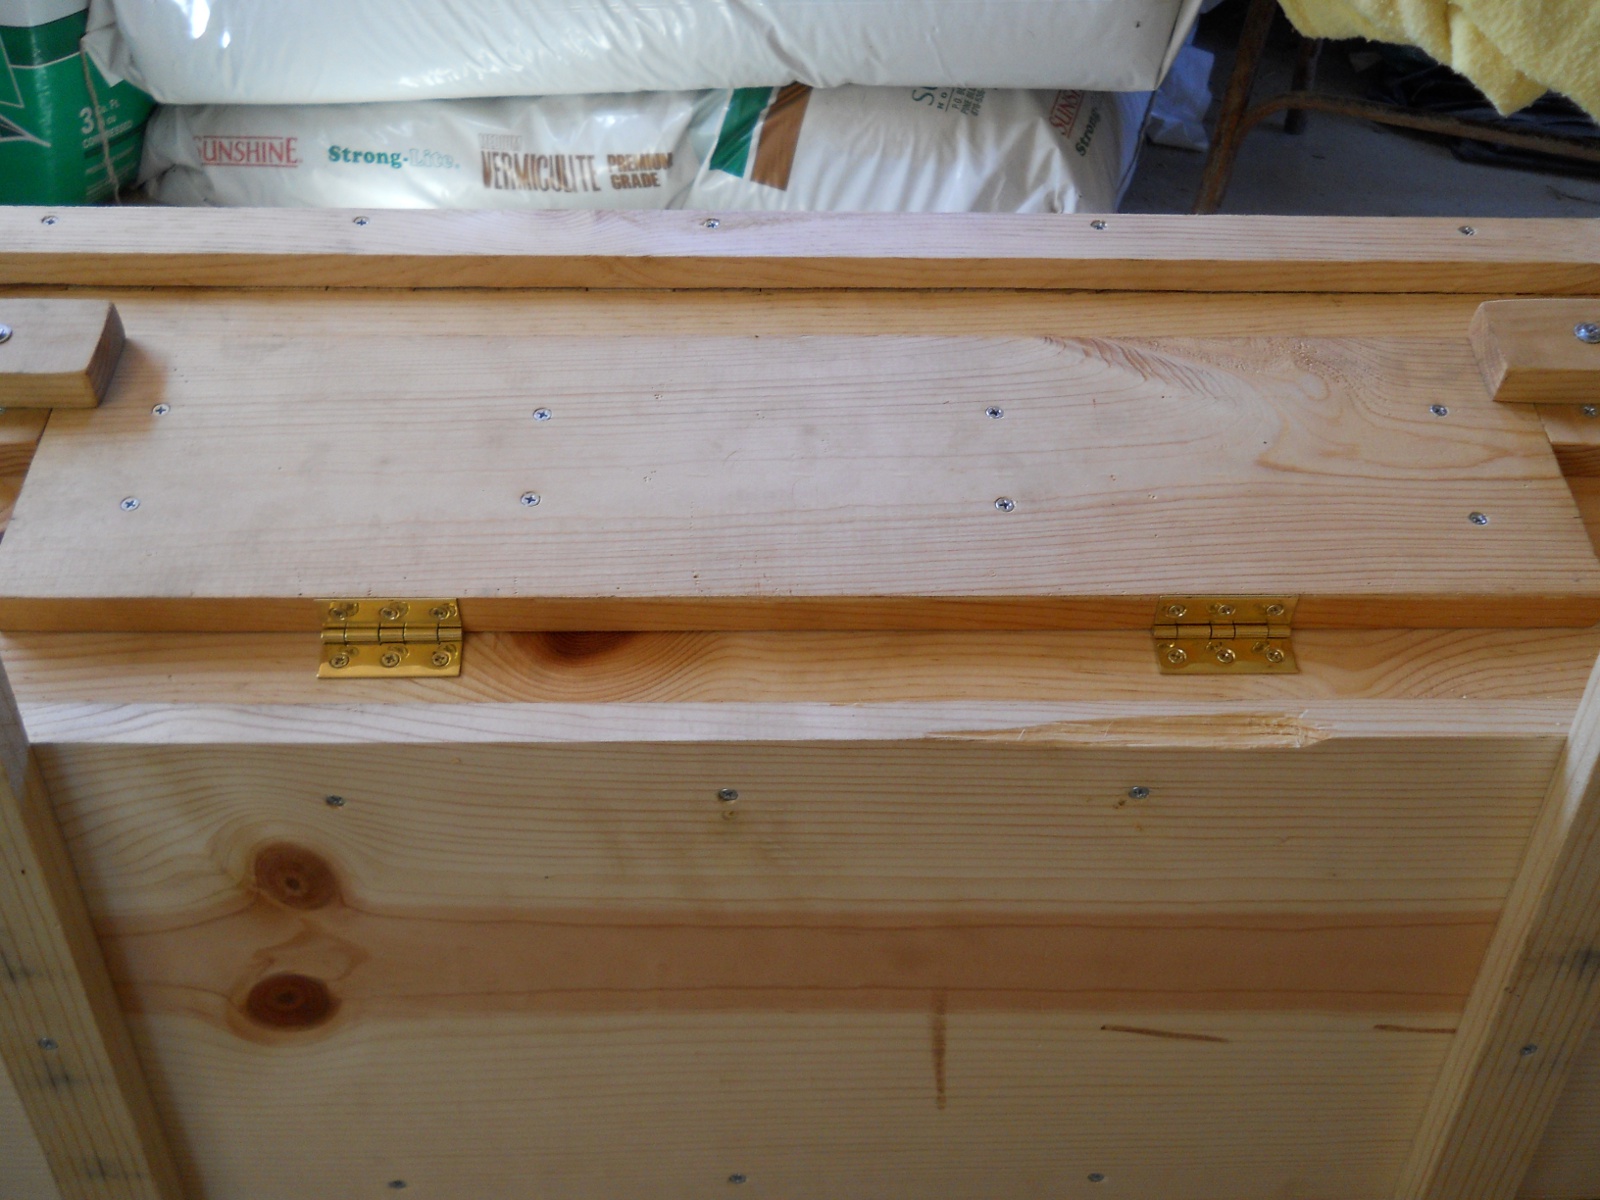
Once painted, I attached the window cover with hinges:

Homemade Top Bar Bee Hive Side Window Hinges

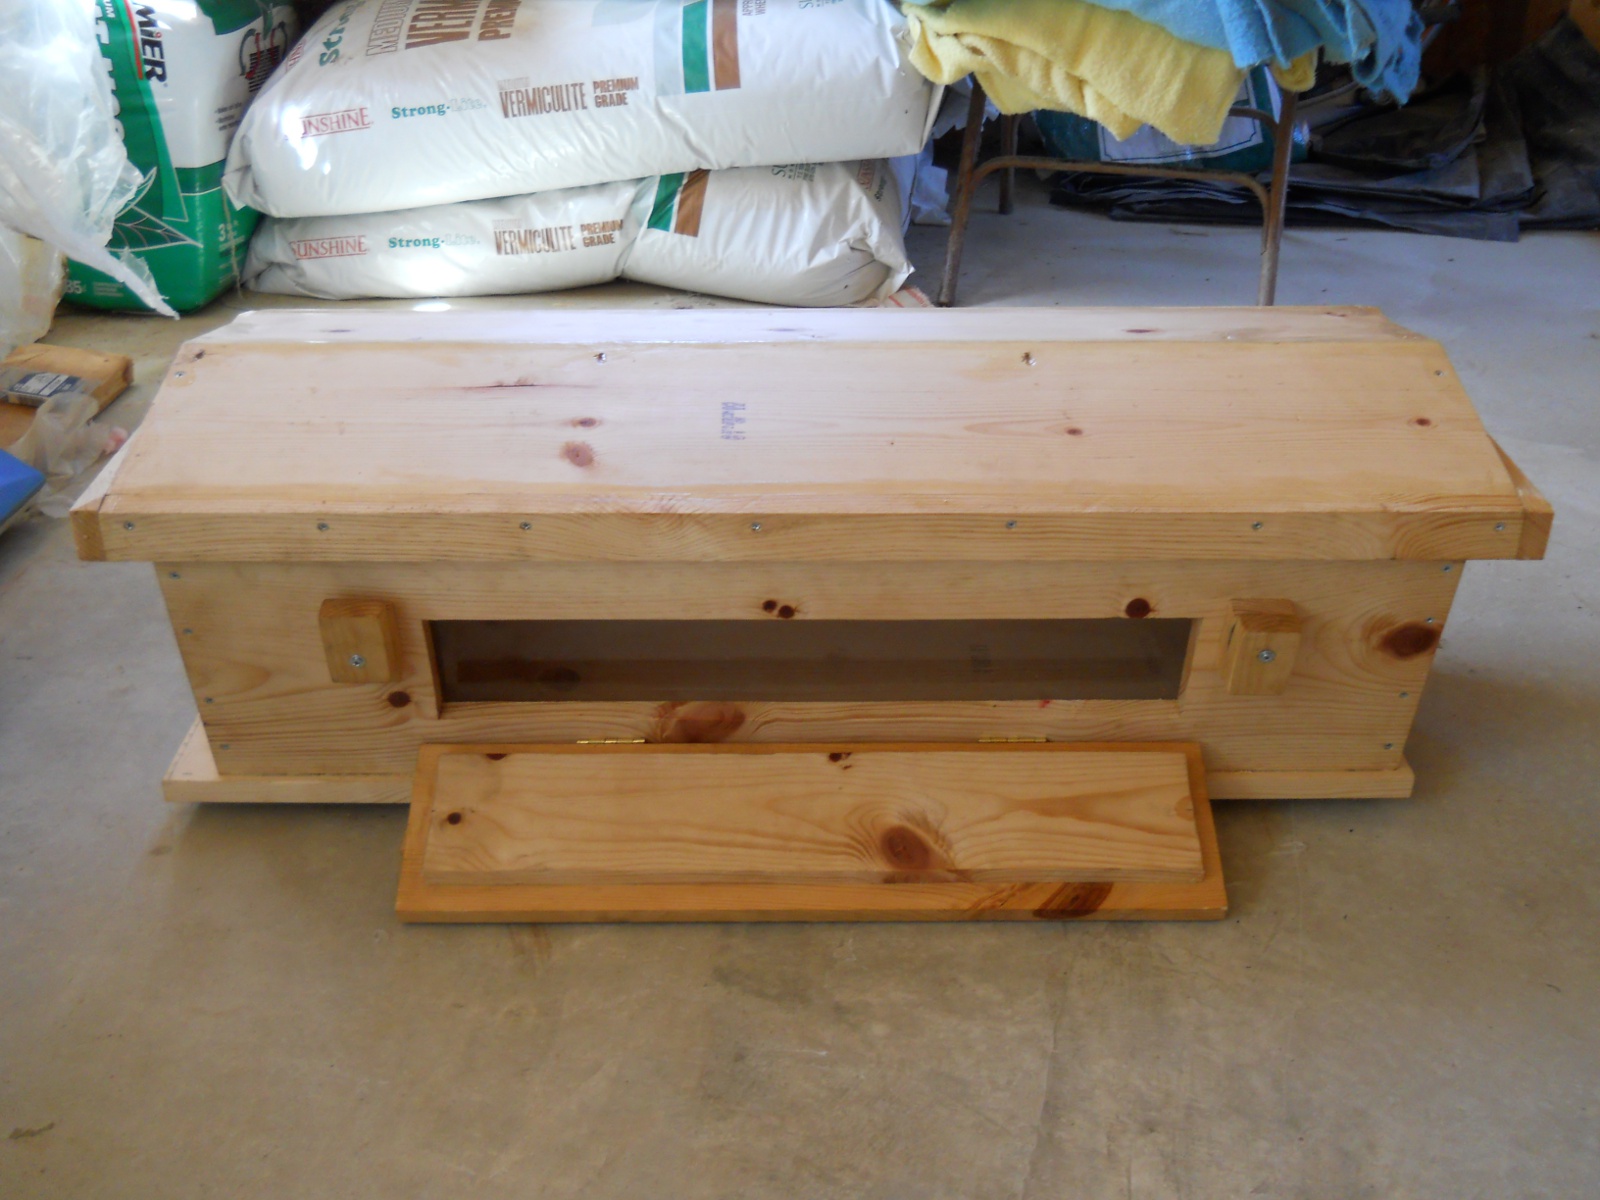
Here it is open:

Homemade Top Bar Bee Hive Side Window Open

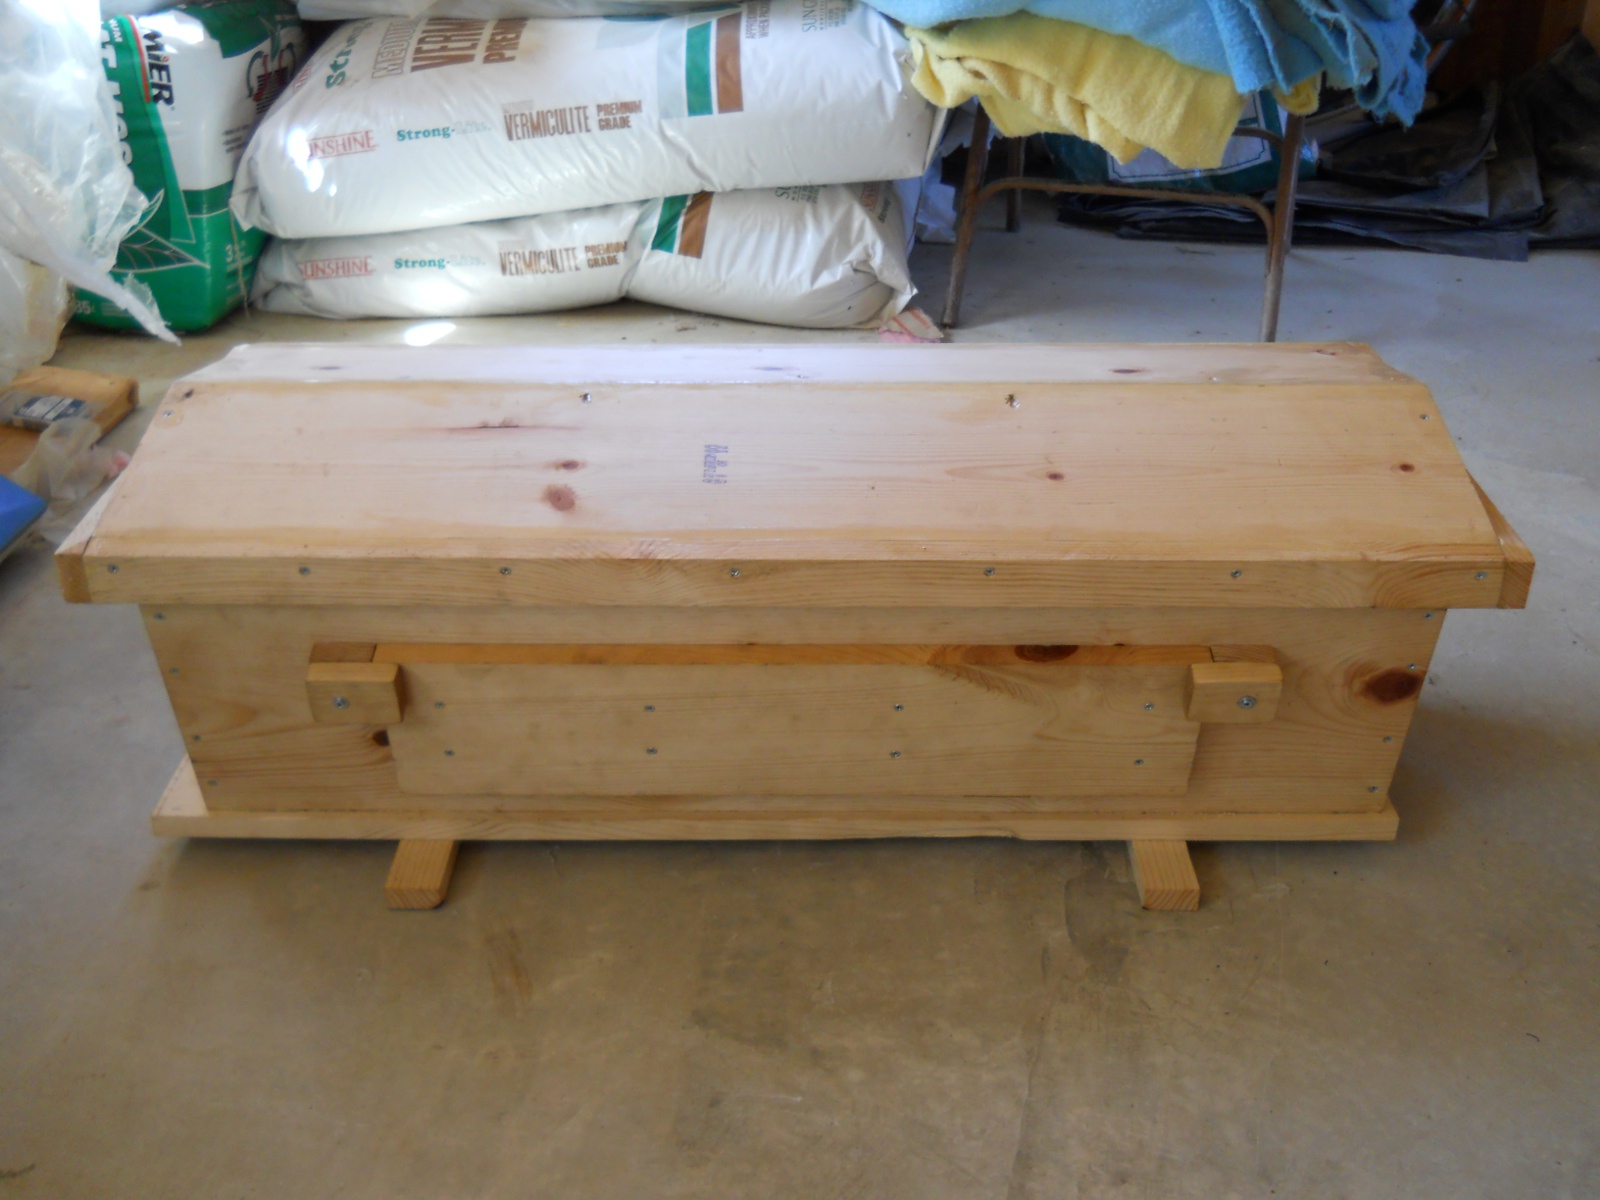
I also added wood latches I cut to keep the door closed. I originally tried aluminum butterfly latches, but those were pretty flimsy and bent easily:

Homemade Top Bar Bee Hive Side Window Latched Closed

We are grateful to the Lord for allowing the provision of this hive; and we pray we are able to husband bees well, to His glory, for preserving food, and having more bees to keep our gardens and trees pollinated.

— David
David’s Digest: Quick Quiz

Quick quiz:

Who invented Agrarianism?

Answer: God

Before the fall: Gen 2:15 – “And the LORD God took the man, and put him into the garden of Eden to dress it and to keep it.”

After the fall: Gen 3:19,23 – “19 In the sweat of thy face shalt thou eat bread, till thou return unto the ground; for out of it wast thou taken: for dust thou art, and unto dust shalt thou return. 23 Therefore the LORD God sent him forth from the garden of Eden, to till the ground from whence he was taken.“

Who invented Industrialism?

Answer: Man

Jer 17:9 – “The heart is deceitful above all things, and desperately wicked: who can know it?”

Prov 4:23 – “Keep thy heart with all diligence; for out of it are the issues of life.”

Prov 14:12 – “There is a way which seemeth right unto a man, but the end thereof are the ways of death.“

Agrarianism or Industrialism: it’s God’s way or the highway.

— David
The Great Black-Eyed Pea Adventure

Our neighbor, Mr. Bunker, planted his large field (about 5 acres) in black-eyed peas this past Spring. It was no small amount to purchase the seed and pay to have the ground plowed and planted. He had every right to keep it all to himself for his family and to have a cash crop. Instead, he graciously opened up the field to our community to come and tend it and reap its harvest together along with his family. We greatly appreciated his offer and spent many hours over several weeks in the Summer sun weeding and then picking the beans when they grew to maturity. It was a great opportunity for our community to learn what it means to come together for a common cause and share God’s bounty as a group. It was also the first major crop for the community to cultivate, so this was a new experience on multiple levels.

I learned many things through the experience. The women and children devoted several community work days towards weeding and tending the field, which turned out to be rich times of work, fellowship and getting to know each other better. Working in the field introduced me to the joys of blisters from the Blister Beetle; and I received my first wasp sting, not to mention the potent burning sting of the Stinging Nettle plant. It also forced me personally to come out of my own little homestead world to focus on a larger cause, and required additional discipline to go out into the field even when I didn’t “feel” like it or when I was really busy with other things.

The Lord did a little weeding of my own heart during this process as well. The Bible says we are to mortify (kill) the flesh (Rom 8:1-13), the carnal (non-spiritual) man of sin, which means we need to examine ourselves for sins of the flesh. At times when I was tired or really hot and sweaty wanting to quit, I had to reel myself back in and remember to be thankful for this opportunity and provision, and to work for Christ’s sake and as unto Him and nobody else. Just as with God’s grace, this provision was being offered undeserved as a gift; but I still had to beat down the flesh and submit myself to what was required to persevere to the end (the harvest). The field was so big it felt very overwhelming at times, when the weeds were growing so fast it was impossible to keep up with them. I could usually only get through one half to one row in a one to two hour time period. During the times when it was just me in that big field, my flesh would say, “It’s just too big. You’re not making a bit of difference. The weeds are going to take over this field, and there won’t be any beans left to harvest.” It was easy to forget that other members in the community were out there at different times doing the same thing, and we were all in it together. I also found myself at times to be even a little resentful that the entire community couldn’t put in more time and were jeopardizing the crop and some deserved more than others because of the different investments of time. The Lord had to remind me (strongly) that this was a REALLY good opportunity to step outside of myself and practice meekness and selflessness. I had to repent of that and remember it was not for myself but for the good of the community. I was saddened and surprised at how quickly my flesh had wanted to take over my spirit.

When it came time to harvest, there was plenty for everyone; and I learned the beans that weren’t picked could be turned back into the soil to nourish it. So no part of the whole process was wasted — another reminder that even when I don’t see the big picture, God does, and is in control and all knowing of every aspect of the situation. I believe the spiritual weeding of my heart truly paralleled the physical, and I praise the Lord for His patience with me to teach me these things. It was a valuable lesson in so many areas of my life, and I’m grateful to Mr. Bunker for his personal sacrifice in order for our community to grow spiritually and physically on individual and corporate levels.

I had not eaten black-eyed peas much growing up in California; it seems like more of a southern food. But I am now sold on growing them to harvest and preserve. Did you know it is a three-for-one crop: in that the first harvest produces long, tasty green beans; the second when they are a little dry, the moist bean could be shelled and preserved; and then at the end of the harvest when the bean pods have all dried up, you can go through again and pick the dried pods to shell and keep the black-eyed peas as a dried bean until you’re ready to cook them, or use them to re-plant. Wow!

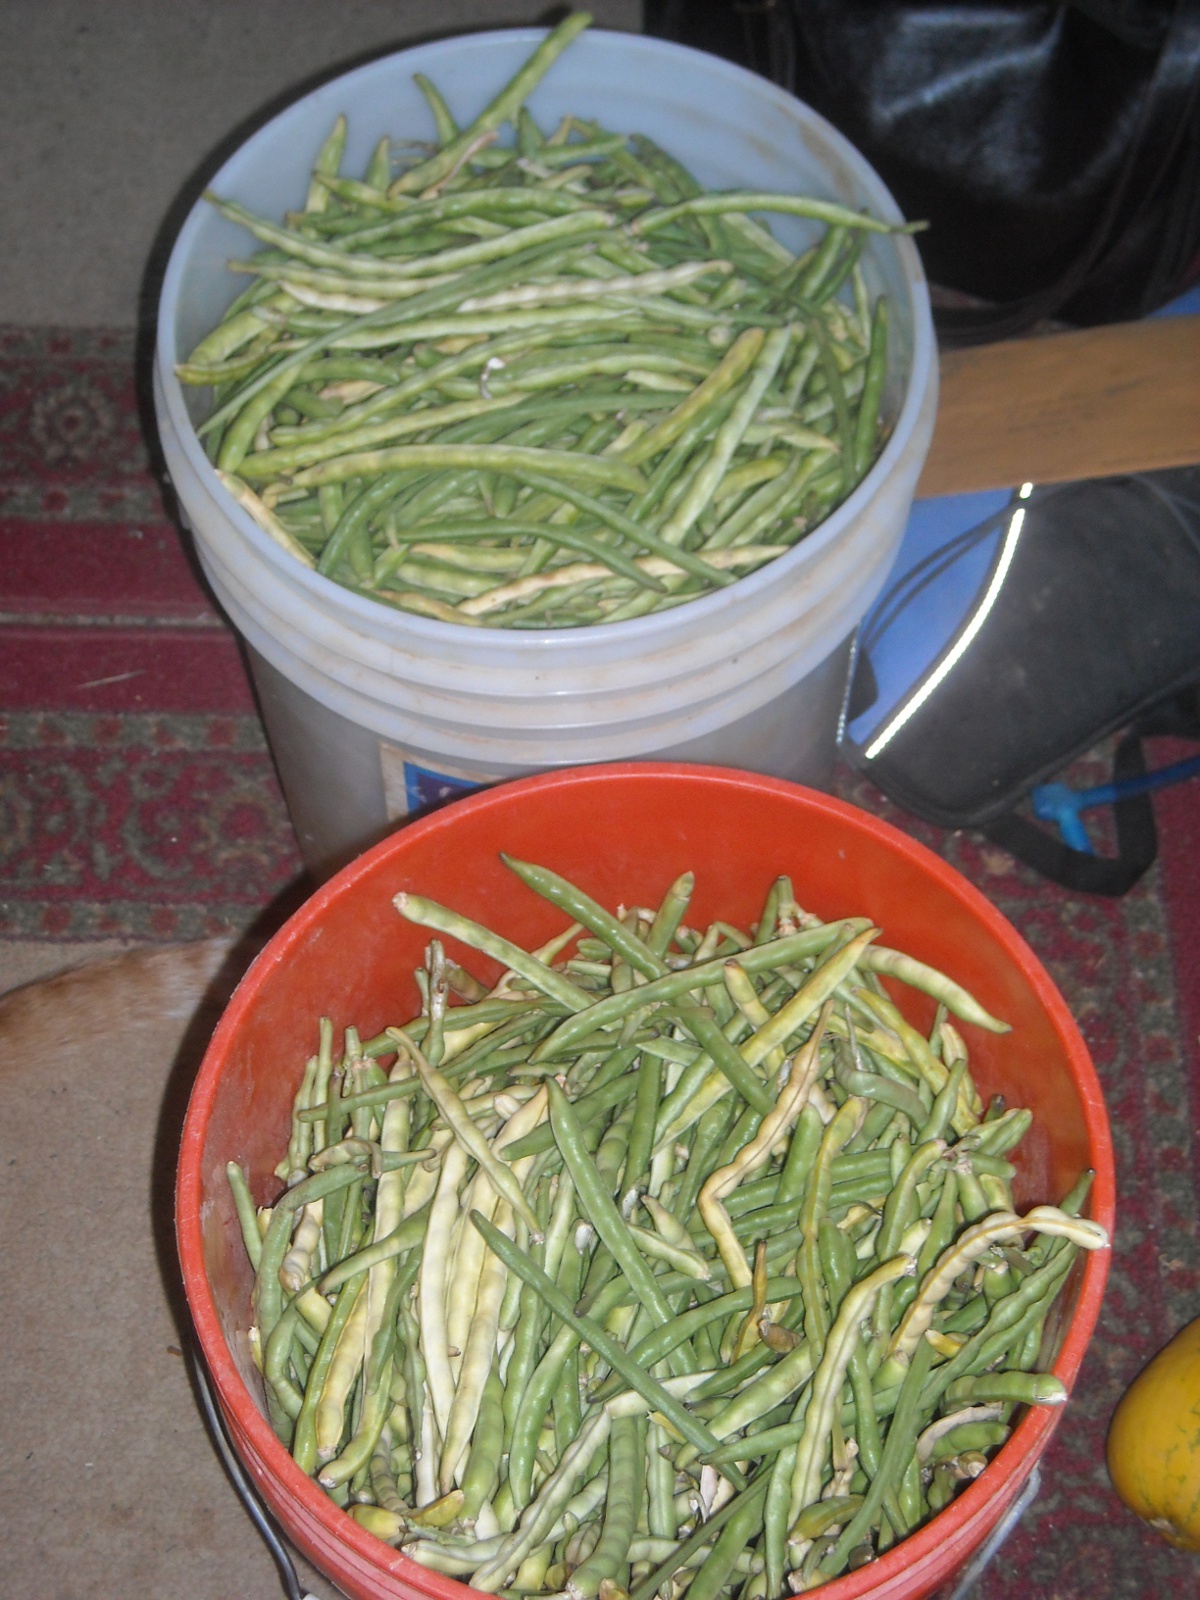
Here are a couple of five-gallon buckets from the first green bean stage harvest:

Black-Eyed Pea Green Beans

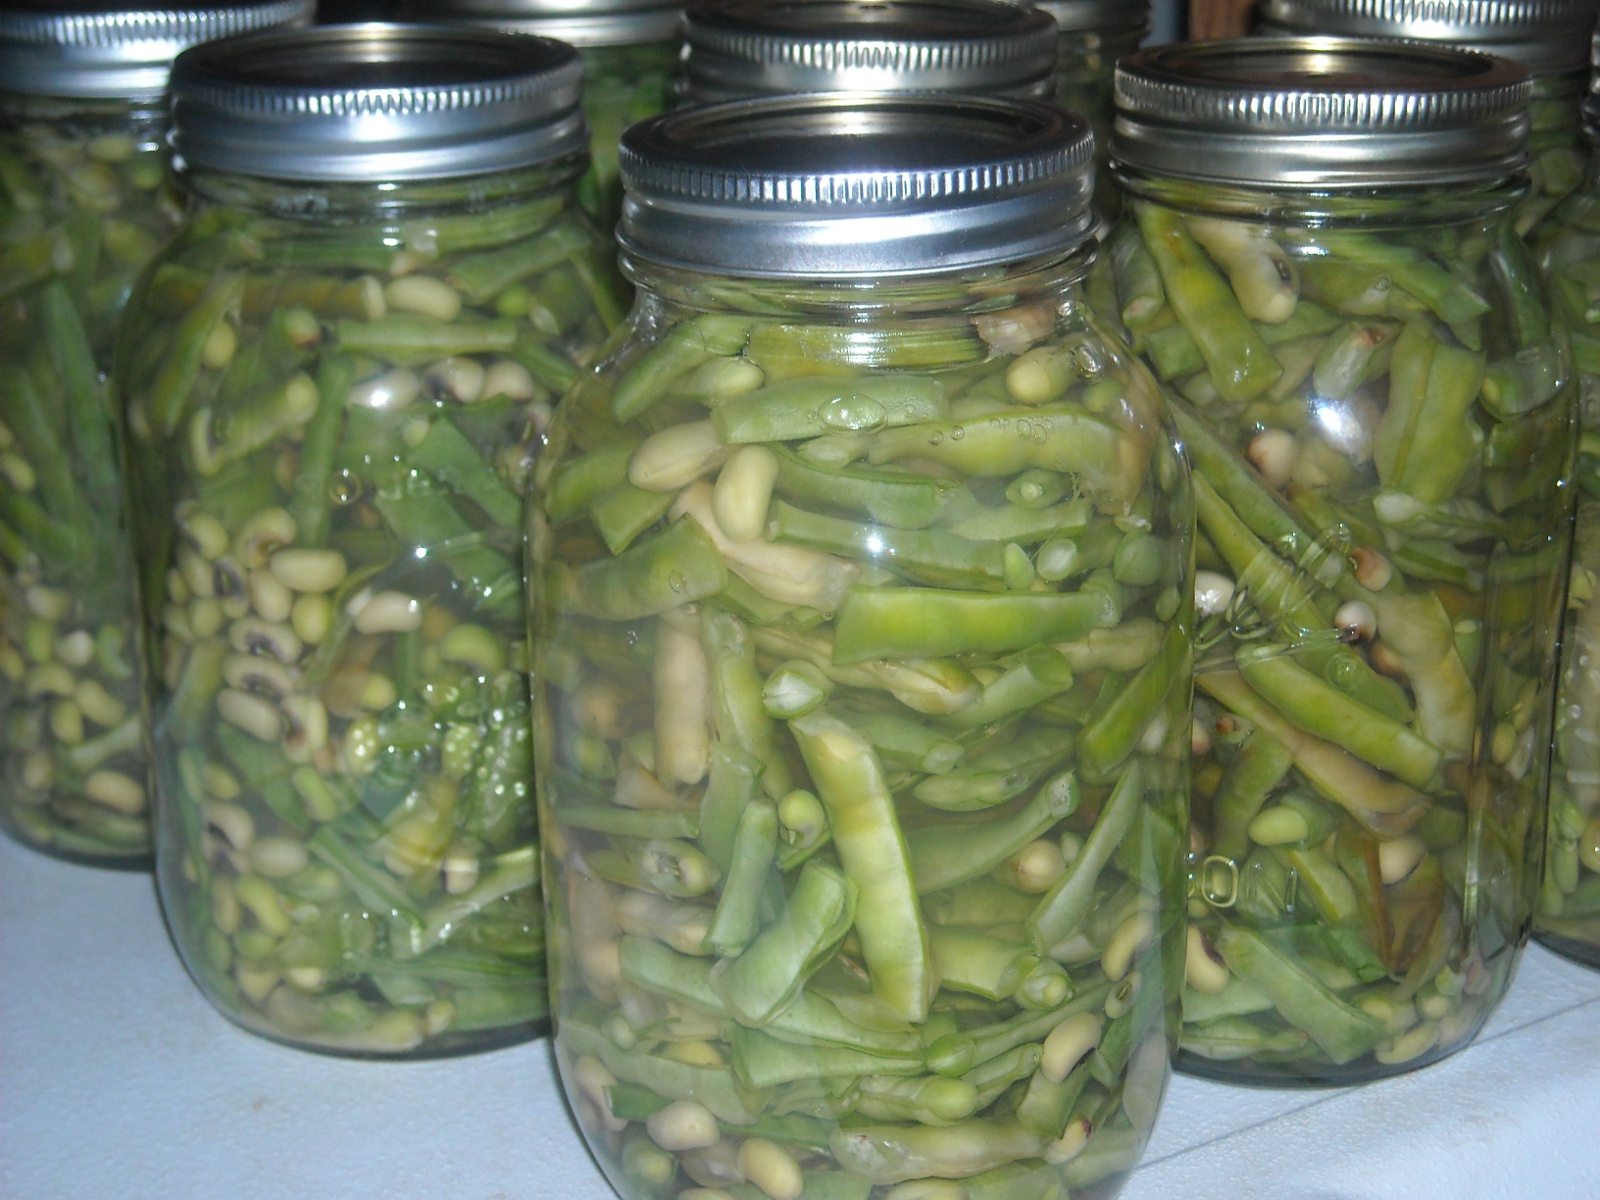
I was able to pressure can over 20 quarts:

Canned Black-Eyed Pea Green Beans

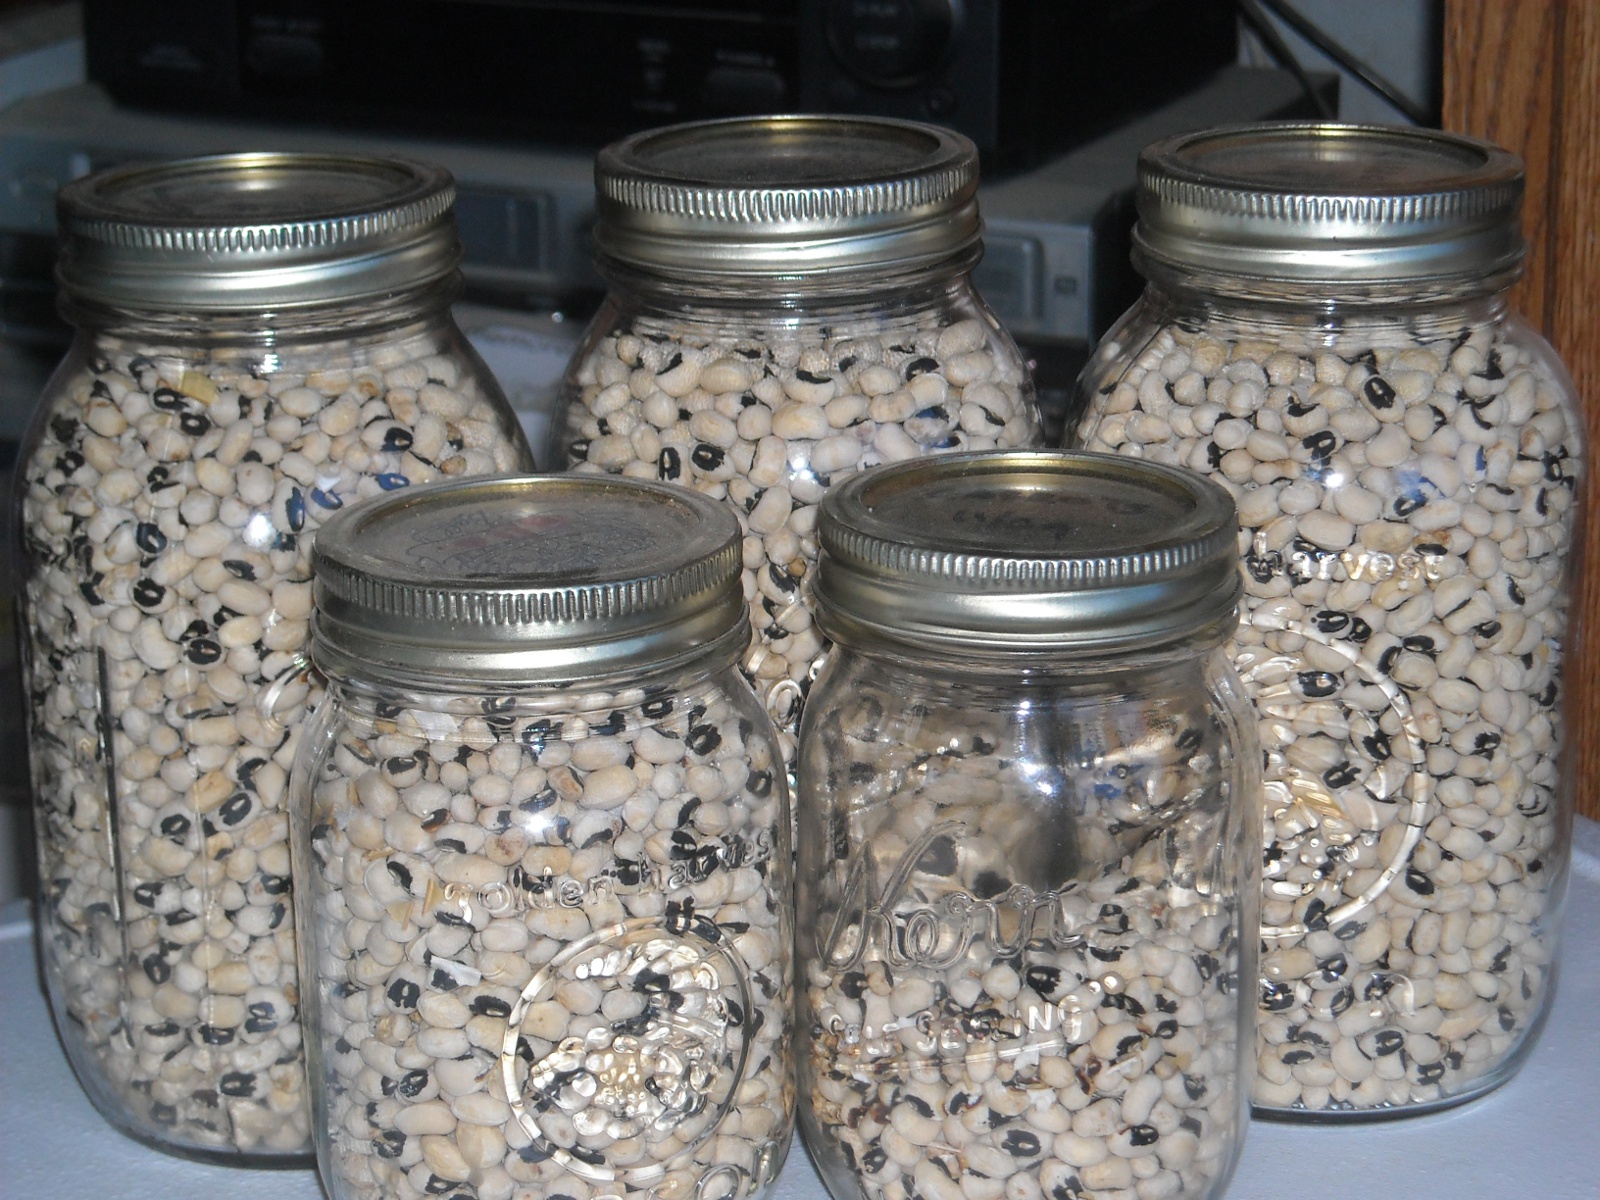
And here are the dried beans we harvested. It doesn’t look like much, but this represents a lot of food for the two of us:

Dried Black-Eyed Peas in Jars

We thank the Lord again for His direct spiritual and physical provisions and lessons from the experience of this first community crop. I hope I will have grown in spiritual maturity the next time, Lord willing, and pray for God’s blessing on Mr. Bunker and his family for their sacrifice and love for the community.

Susan

Homemade Fat Lamp – Update I

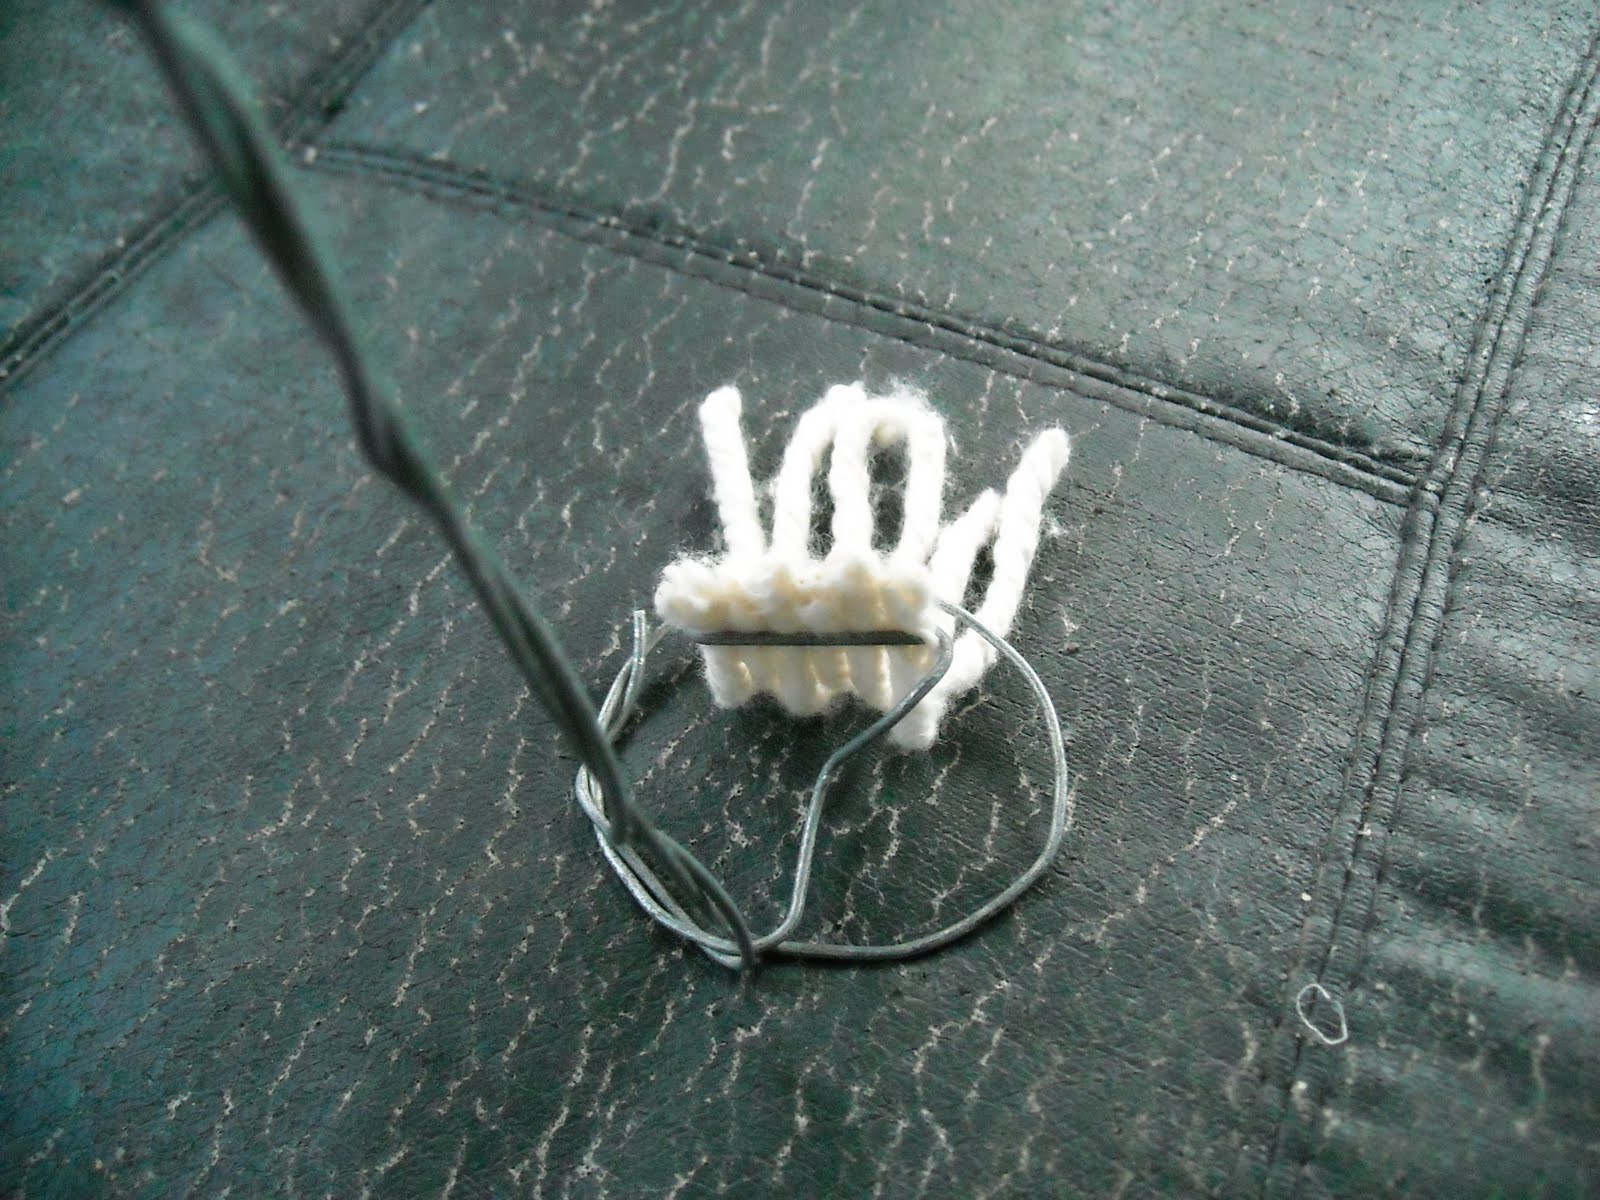
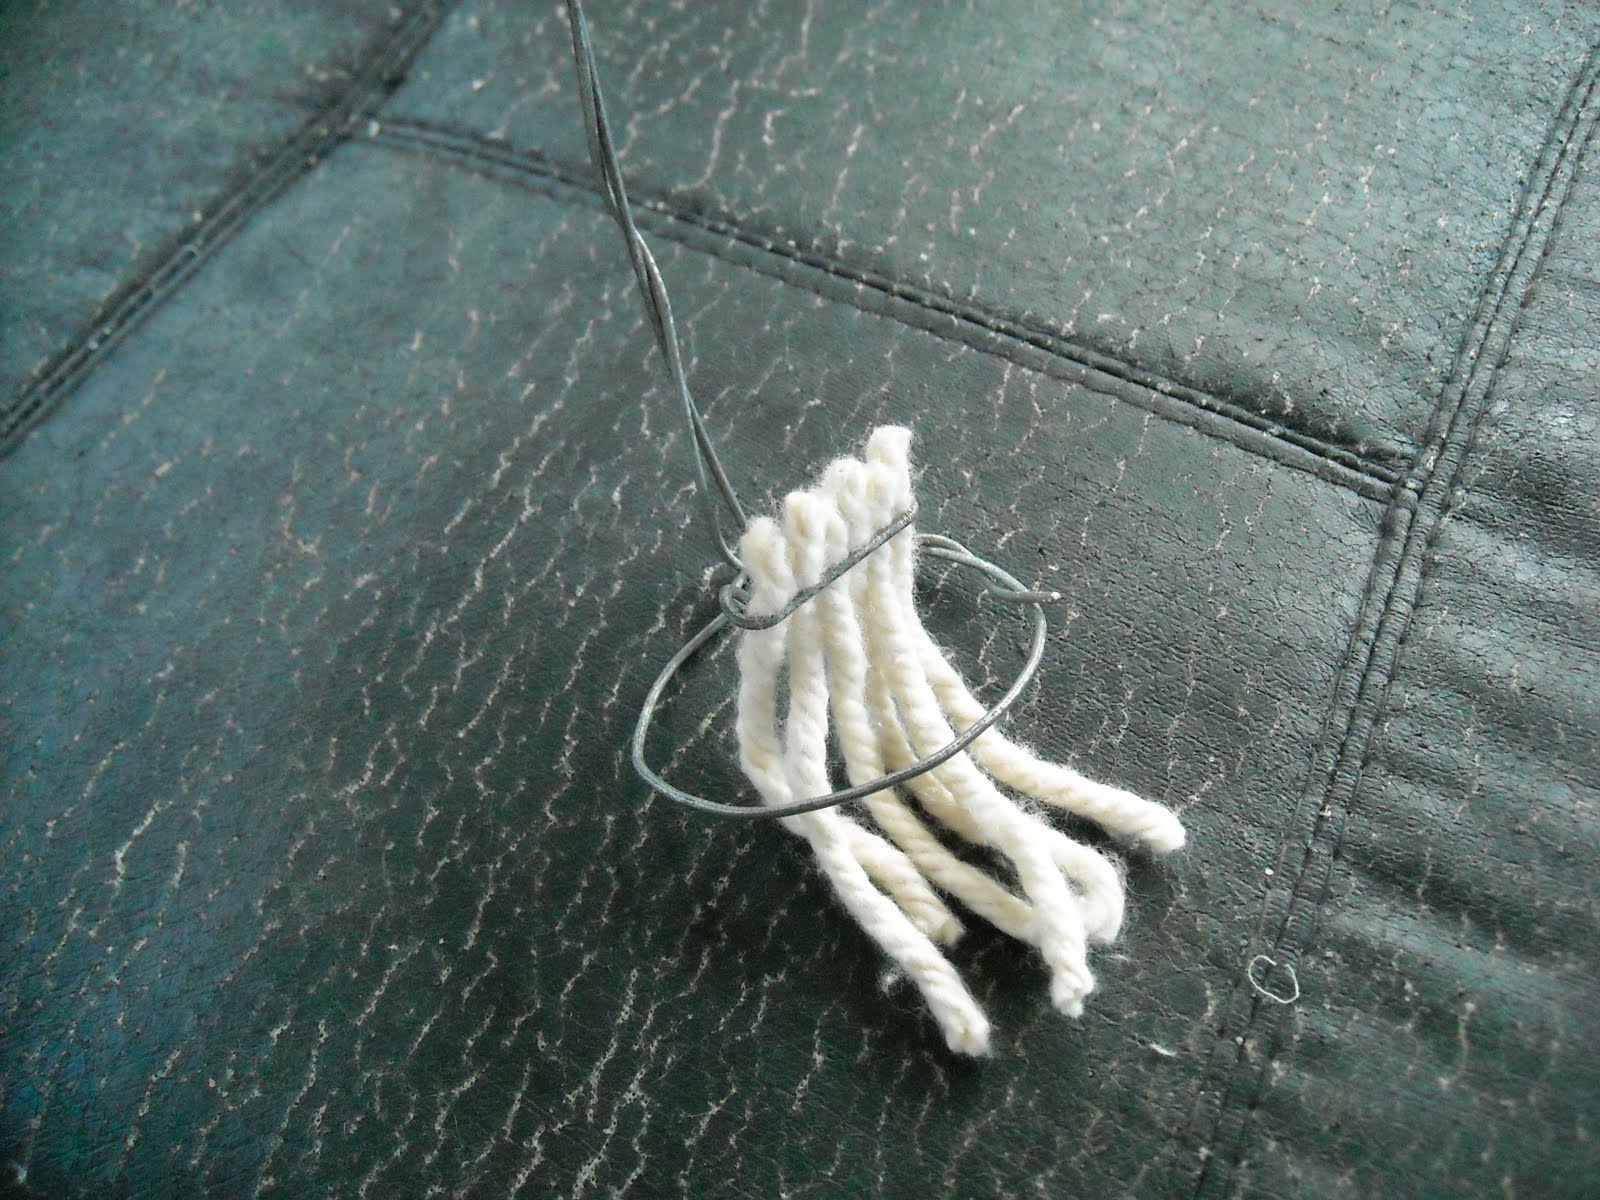
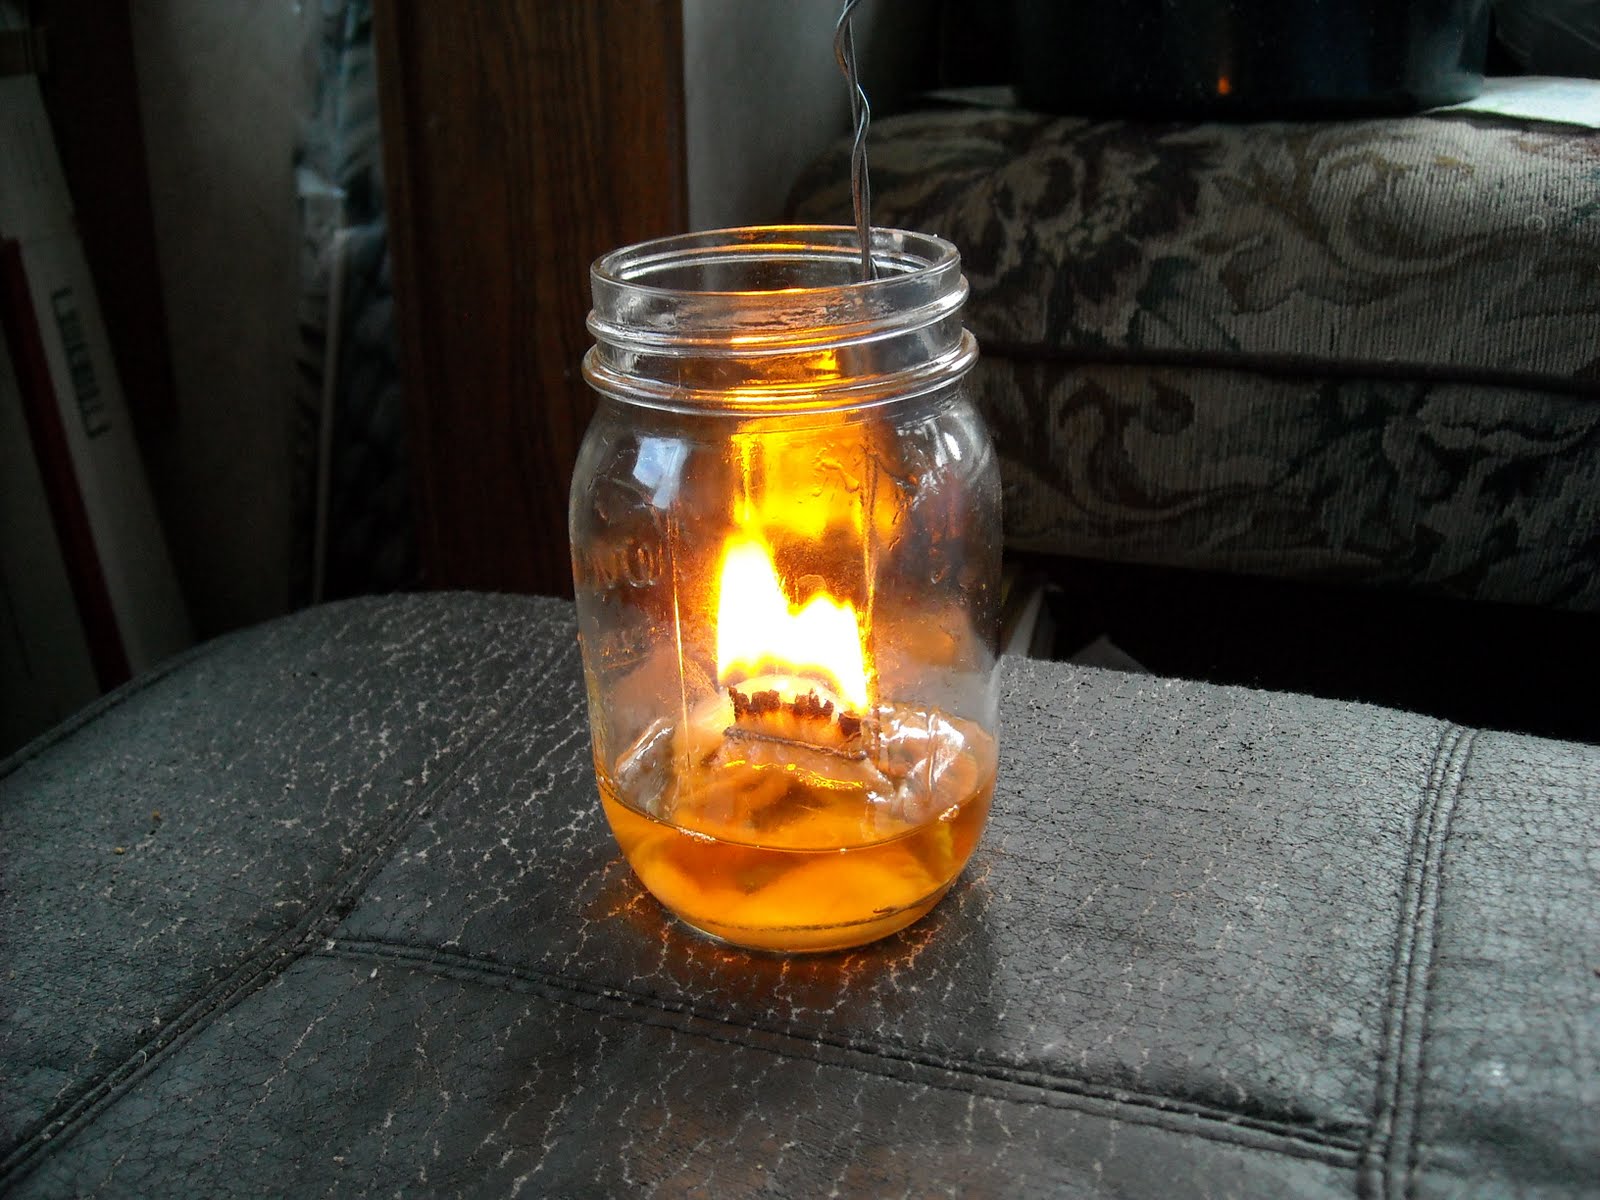
After being able to fashion a homemade fat lamp with a wick consisting of one rope of a cotton mop head, I thought it would be interesting to see if I could form a wick holder that would hold multiple rope strands so that the wick would be more similar in width to a common lamp wick, and thus produce more light.

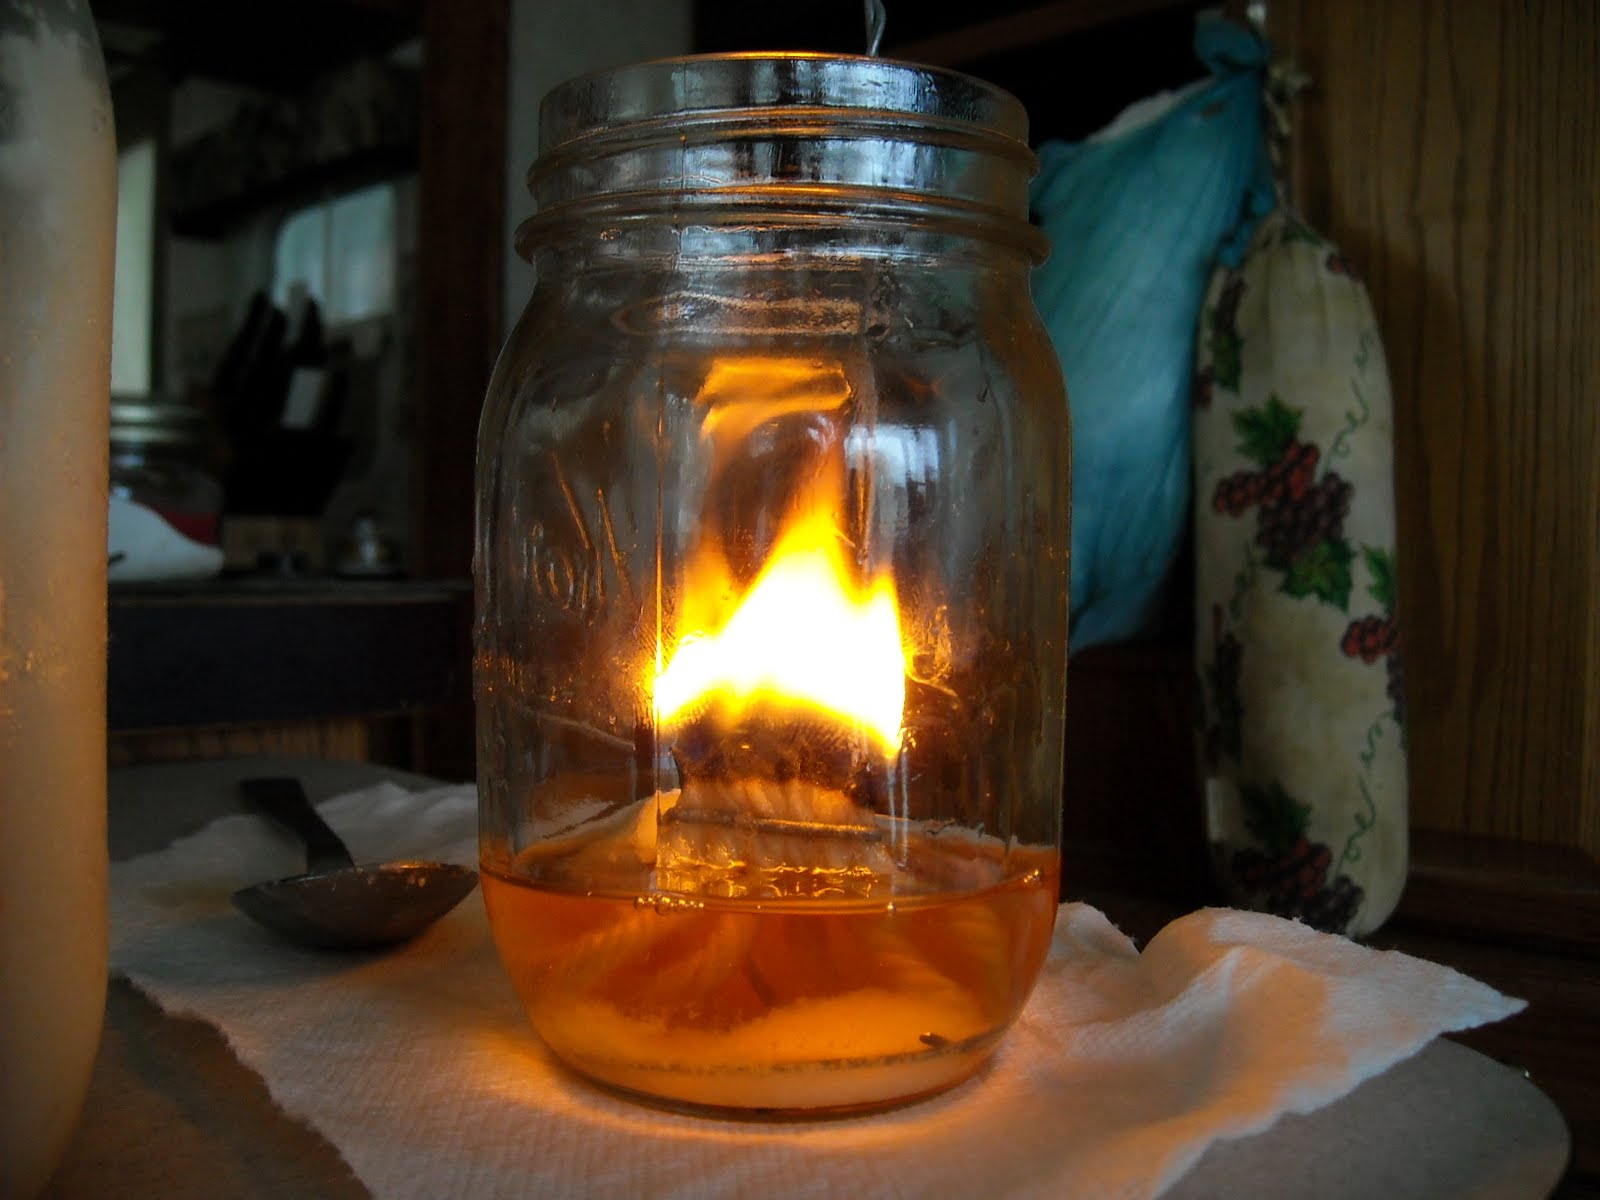
And here is my attempt to do just that. I bent a single, elongated loop to surround the rope strands:


Well, it appeared to work pretty well, and produces quite a bit more light!


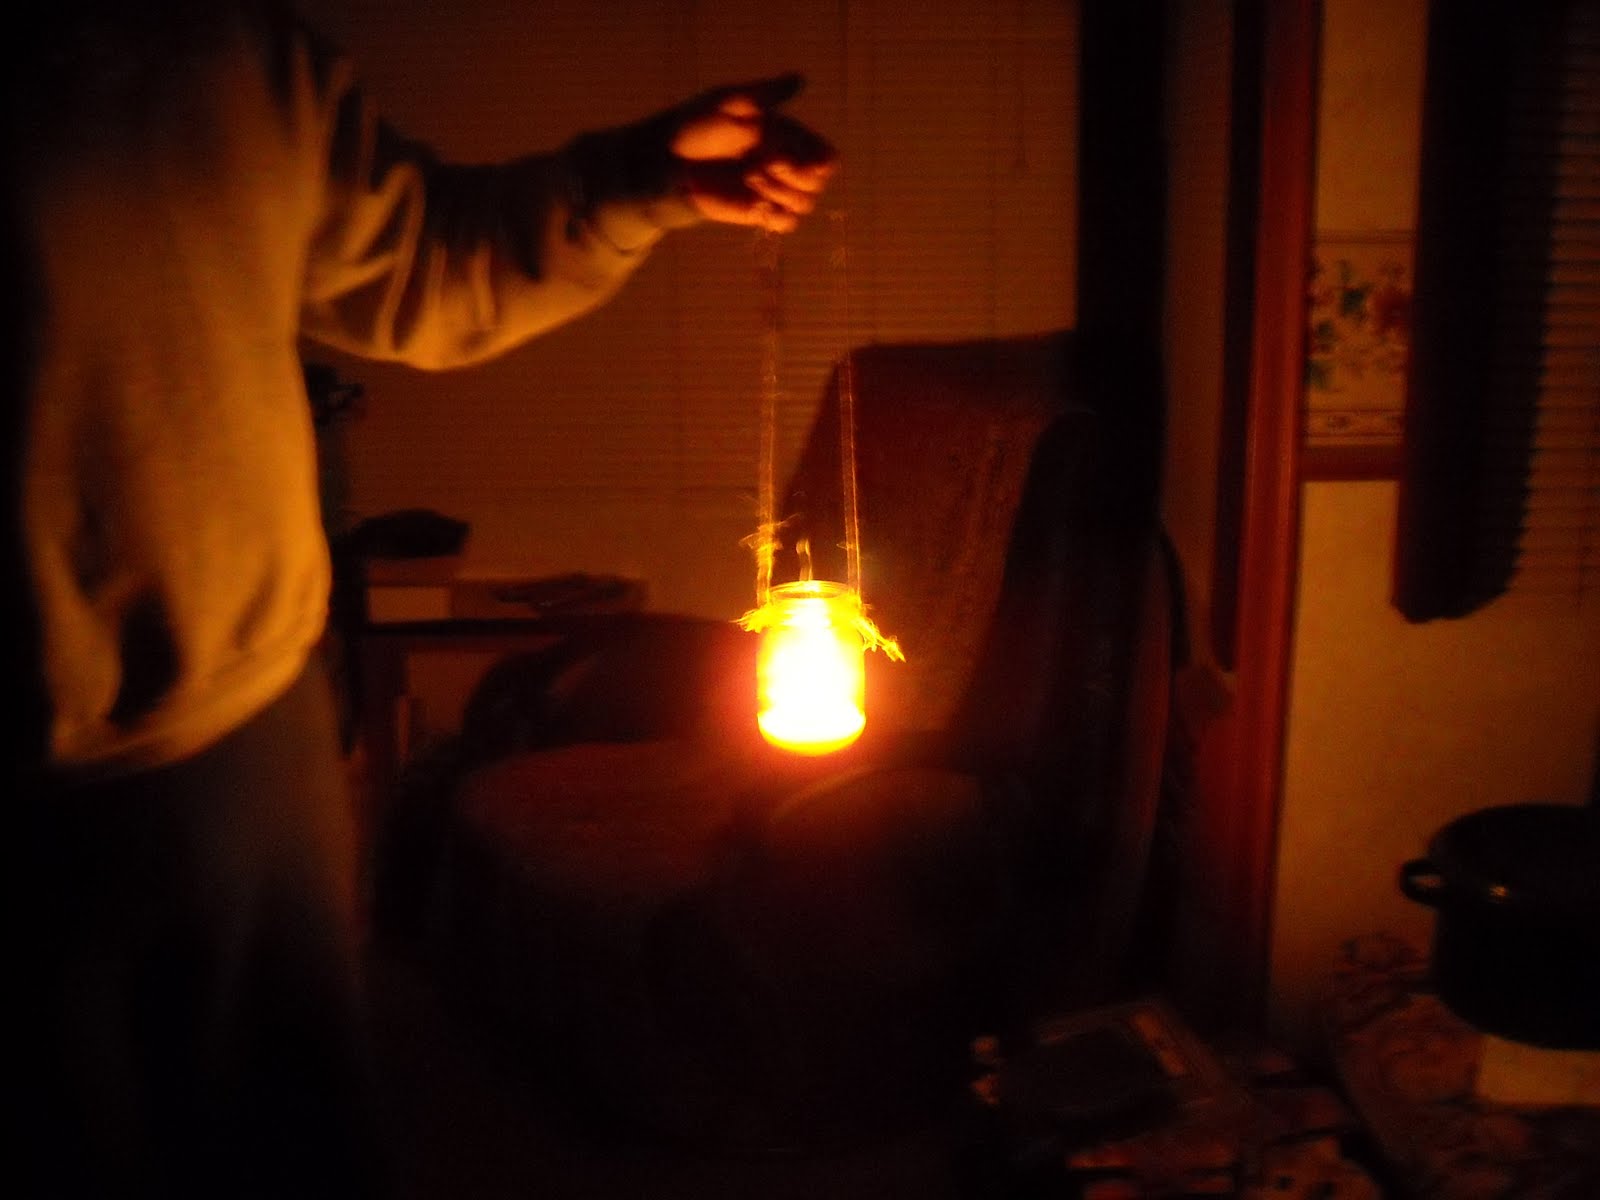
With the extra light comes extra heat, so I tied a cord around the mouth of the jar; and now it functions as a lantern:

We thank the Lord once again for granting resources and provisions to continue to learn the old paths, may He increase His light within us daily, and may we shine brightly His light to the world.

— David
 

Time to Come Clean


Before Dave and I moved to Texas, we lived in a small cottage, which did not have washer/dryer facilities; so we had a laundry “date” every couple of weeks. We packed up all of our laundry and took it to my mom’s for her to do (haha Mom, just kidding). No, we took it to Dave’s mom’s house for her to do (haha, Mom Sifford, gotcha!) But seriously folks, we took it to the local laundry mat. It was so nice to get all of our laundry washed, dried, and folded in a few hours and not have to worry about it for another couple of weeks. Then on the way home, we usually picked up some tacos from the local eatery (a romantic way of saying Taco Bell) and made a fun afternoon of it.
After we moved here to Texas, thankfully there was a local laundry mat that worked well for our needs. This time, I had the pleasure of going into town with our neighbor, Danielle, for the first several months, to do laundry together. But I knew, with our new off-grid lifestlyle and our worldview, I would need to eventually set up a system of hand washing and drying our clothes here on our homestead.

I had been drying clothes on the wonderful clothes line my mother-in-law had given me but had not yet started hand washing clothes here at home, even though the Lord had by now granted enough water to be available in our cistern. To be honest, at first, I was more than a little apprehensive about washing all of our clothes by hand. Why was it that I was so afraid of broaching this laundering method with myself when it is the way it had been done for centuries before the industrial revolution? The unknown scared me a bit and seemed overwhelming. Eventually though, I began to “scour” the internet and research all of the wash tubs to be found, and spent probably too much time searching for the “perfect” set up. In retrospect, I believe I was procrastinating and in denial. Finally, Dave and I discussed it, and realized, uh, any old tub should do the trick. So we went out and bought a few inexpensive, galvanized tubs locally, I took a deep breath, and I’ve been hand washing our clothes for several months now! I know, pretty anti-climactic, isn’t it?

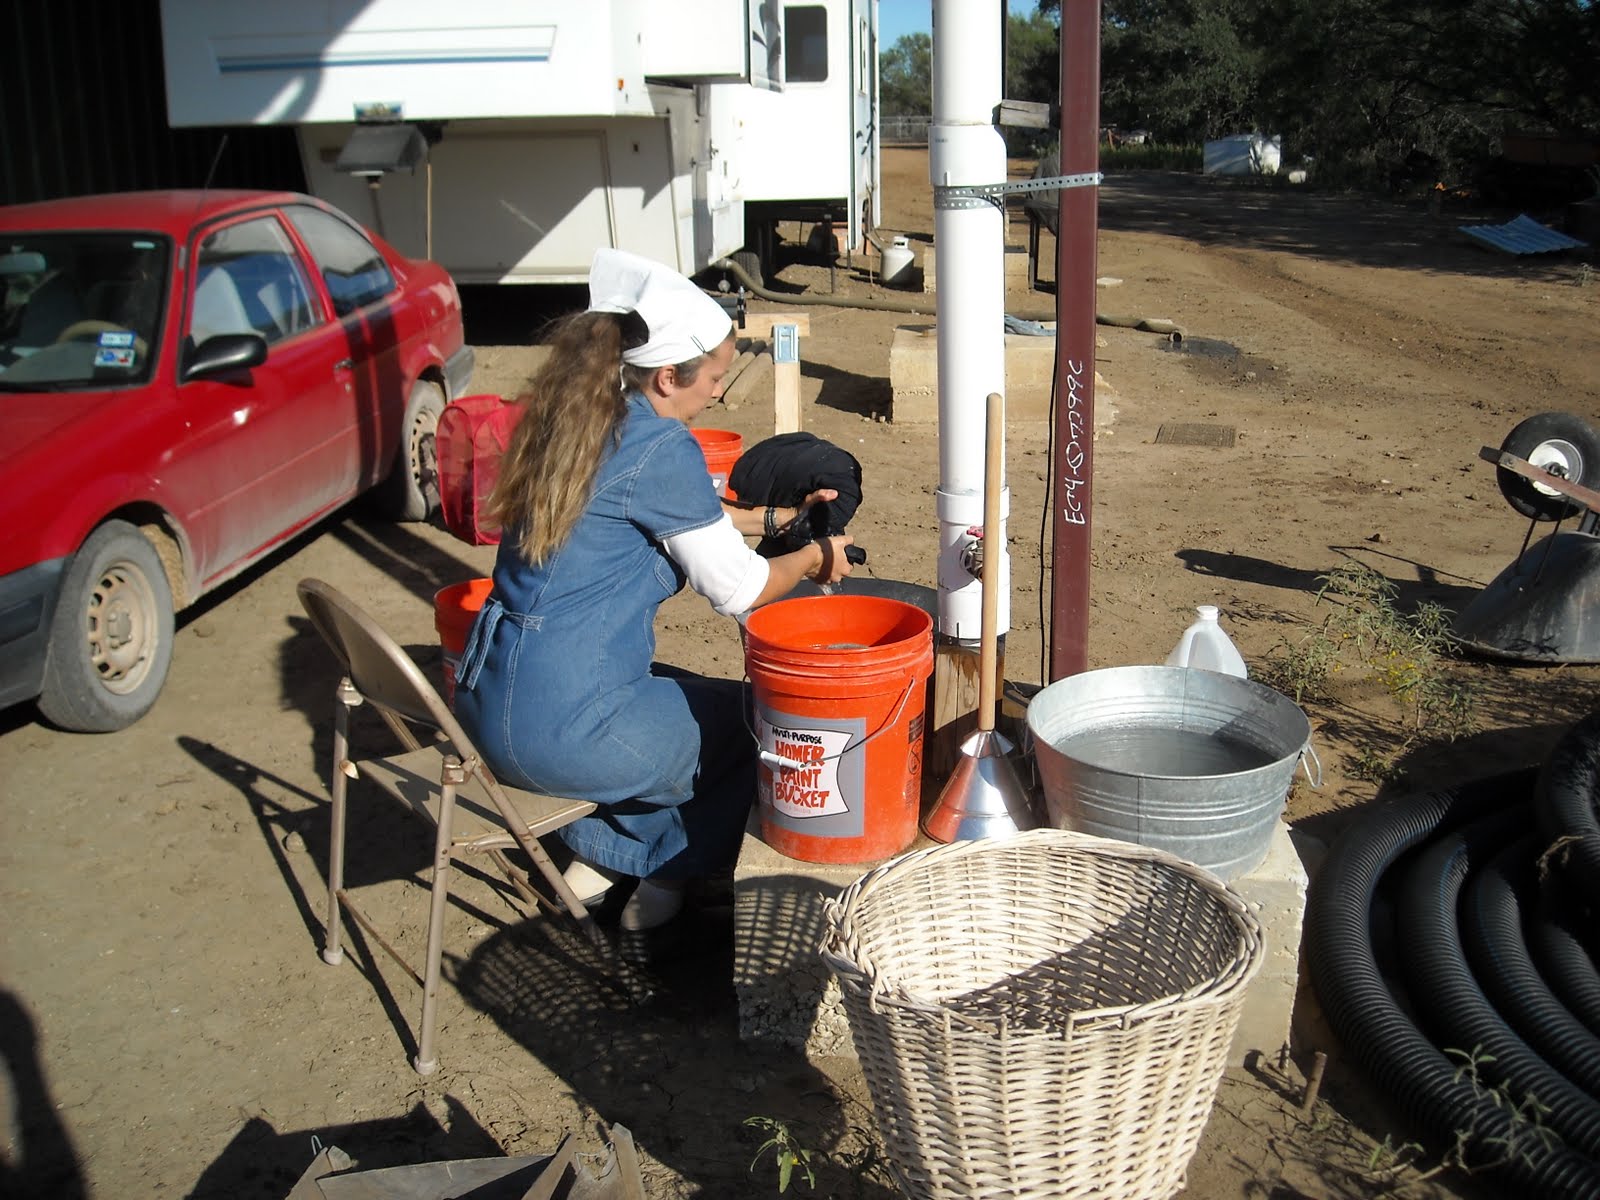
Anyway, for those of you who, like I was, might be wondering how to get started, it’s pretty simple. By the time I got to washing clothes this way, Danielle had already been washing clothes by hand for some time; and she helped me a lot, and has some hand washing laundry tips and then some info about her manual laundry set up. For myself, I use four buckets: one for pre-soaking clothes, one for the main washing, and two rinse buckets. I put about six ounces of hydrogen peroxide in the main wash bucket per load of whites as my bleach (try it, it works!) and I use a splash of white vinegar in the final rinse bucket to soften the clothes. One of my other neighbors puts a bit of fabric softener in her rinse, and I might try that as well.

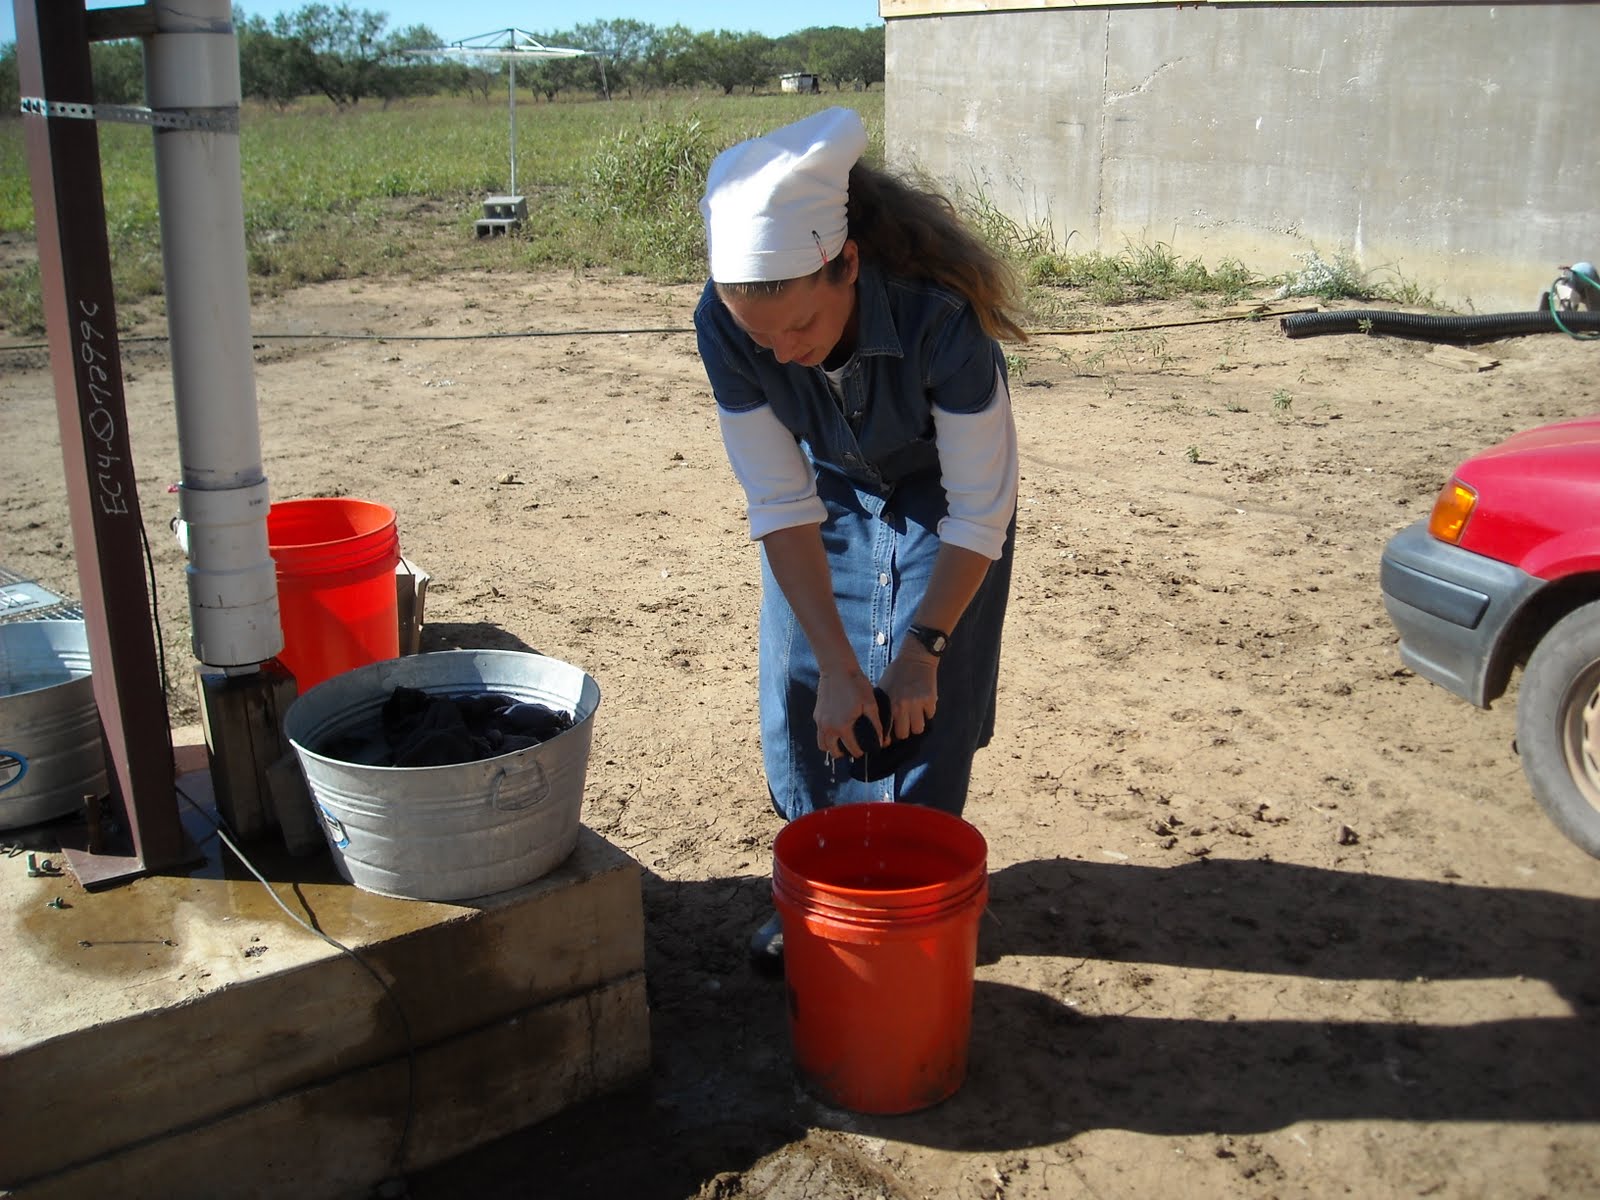
First I put a little laundry detergent and some water into the pre-soak bucket, along with the dirty clothes, let that set for a little while, and then transfer the pre-soaked clothes to the main wash tub:

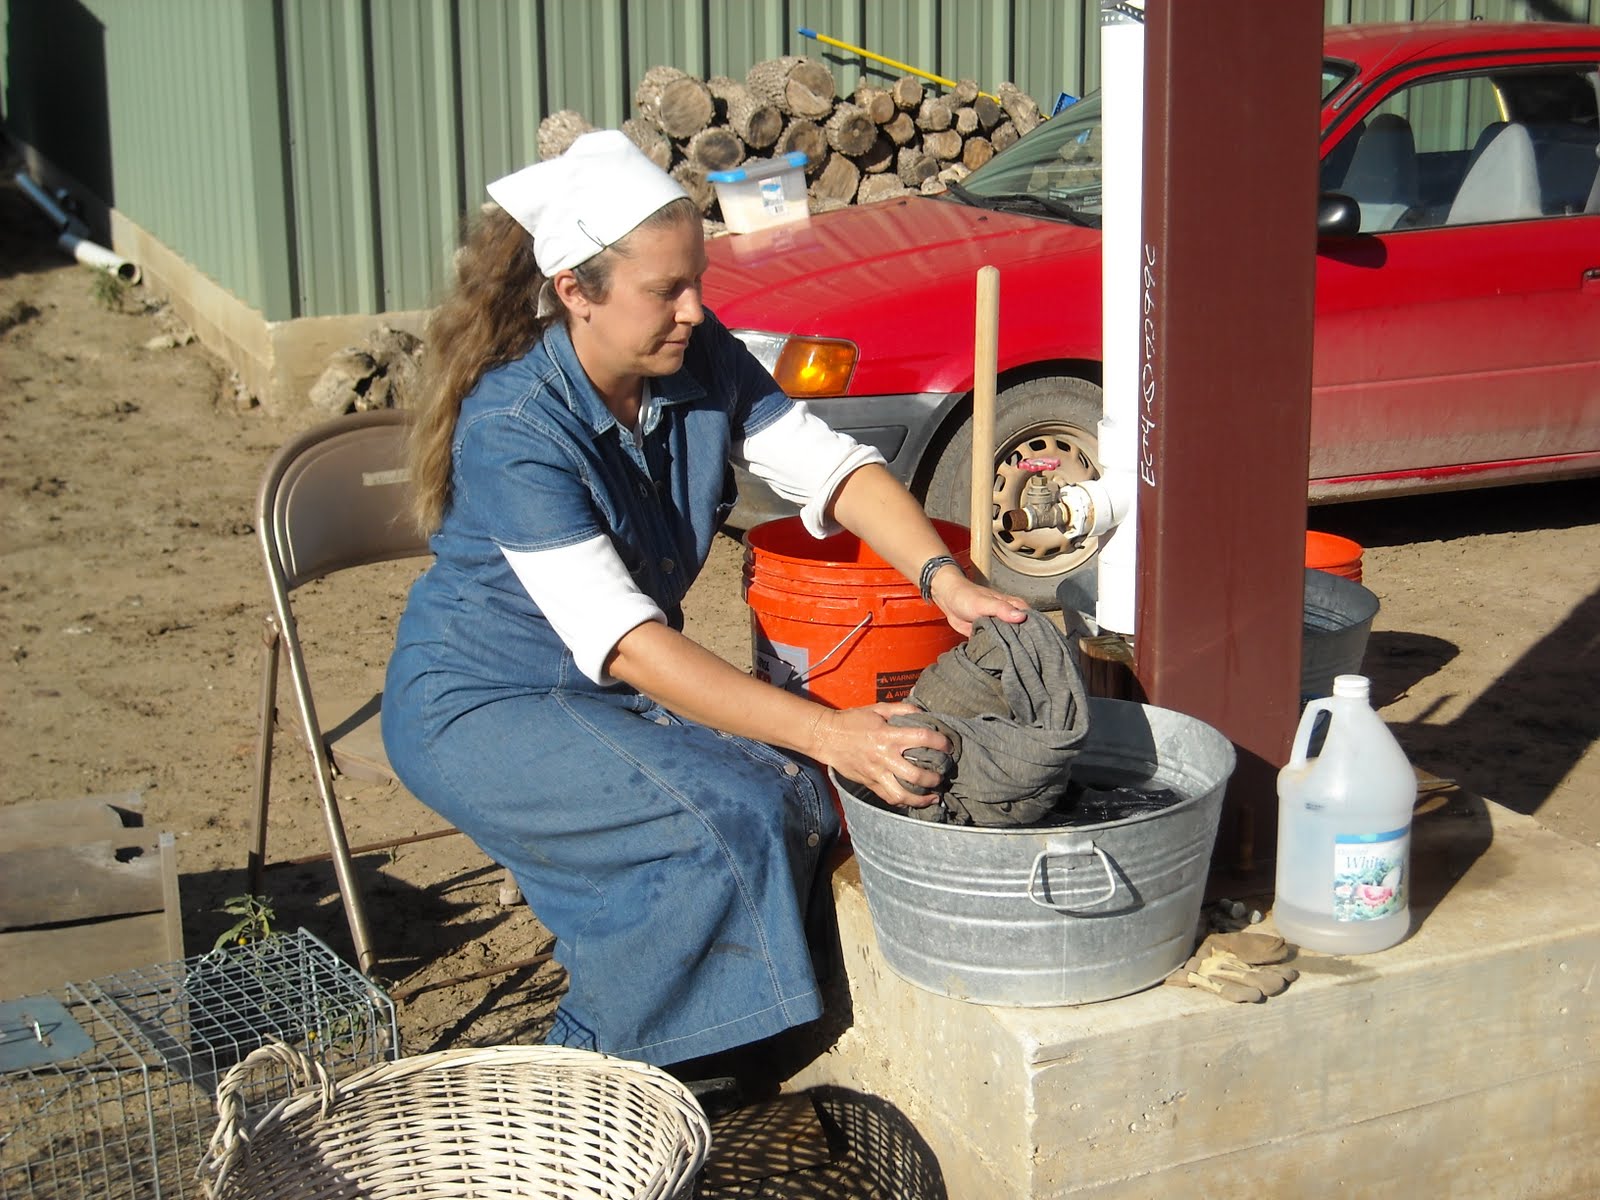
I highly, highly recommend the Rapid Washer sold by Lehmans. If anything happened to it, I might drop on the ground sucking my thumb in the fetal position — that is how valuable it is to my clothes washing experience (I wouldn’t really do that, but you get the point 🙂 ). The proof is in the dirty wash water, and you can get a good amount of clothes clean in a short amount of time.

I use it for about 10 minutes per load:

Time to transfer the washed clothes to the first rinse bucket:

And then onto the final rinse. Another neighbor recommended using the Rapid Washer for not only the wash cycle but the rinse cycle too, to push all the soap out of the clean clothes. I tried that, and it works really well:

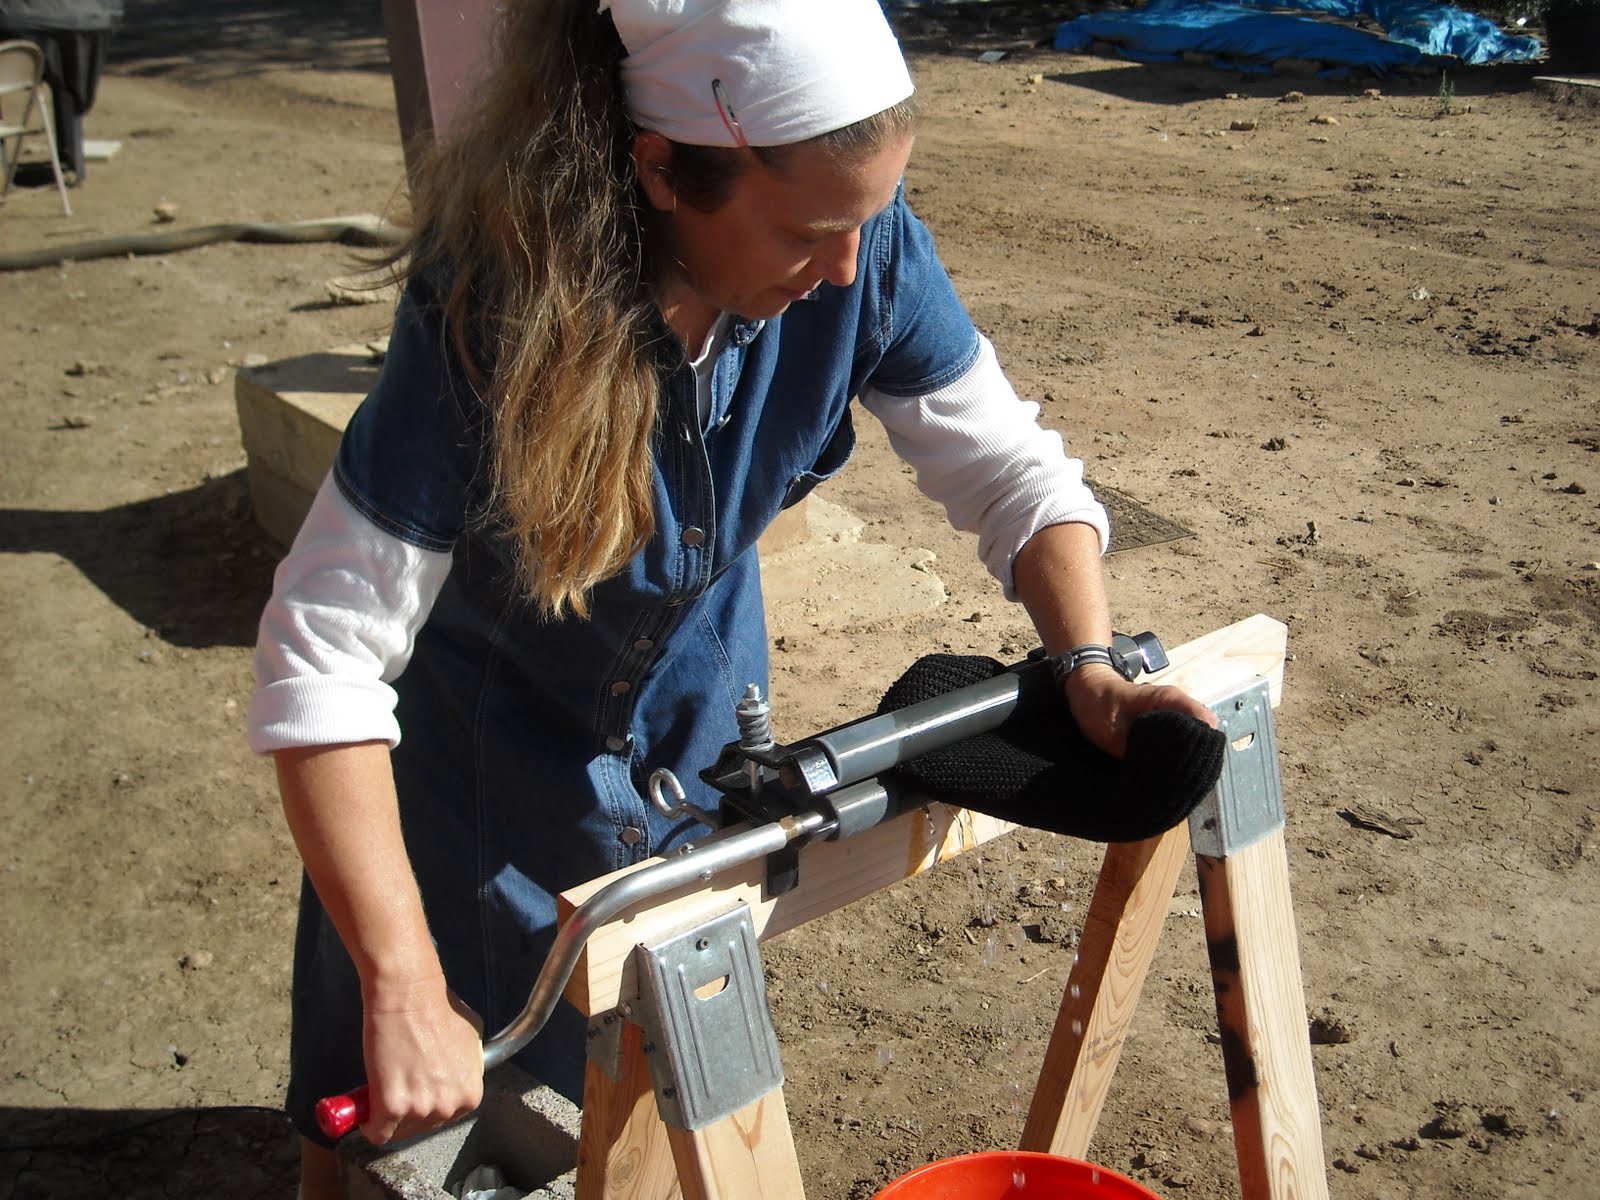
We decided to invest in a commercial grade wringer, considering the anticipated heavy usage. Dave put together a sawhorse for it as a stand, and with some bracing, it works beautifully:

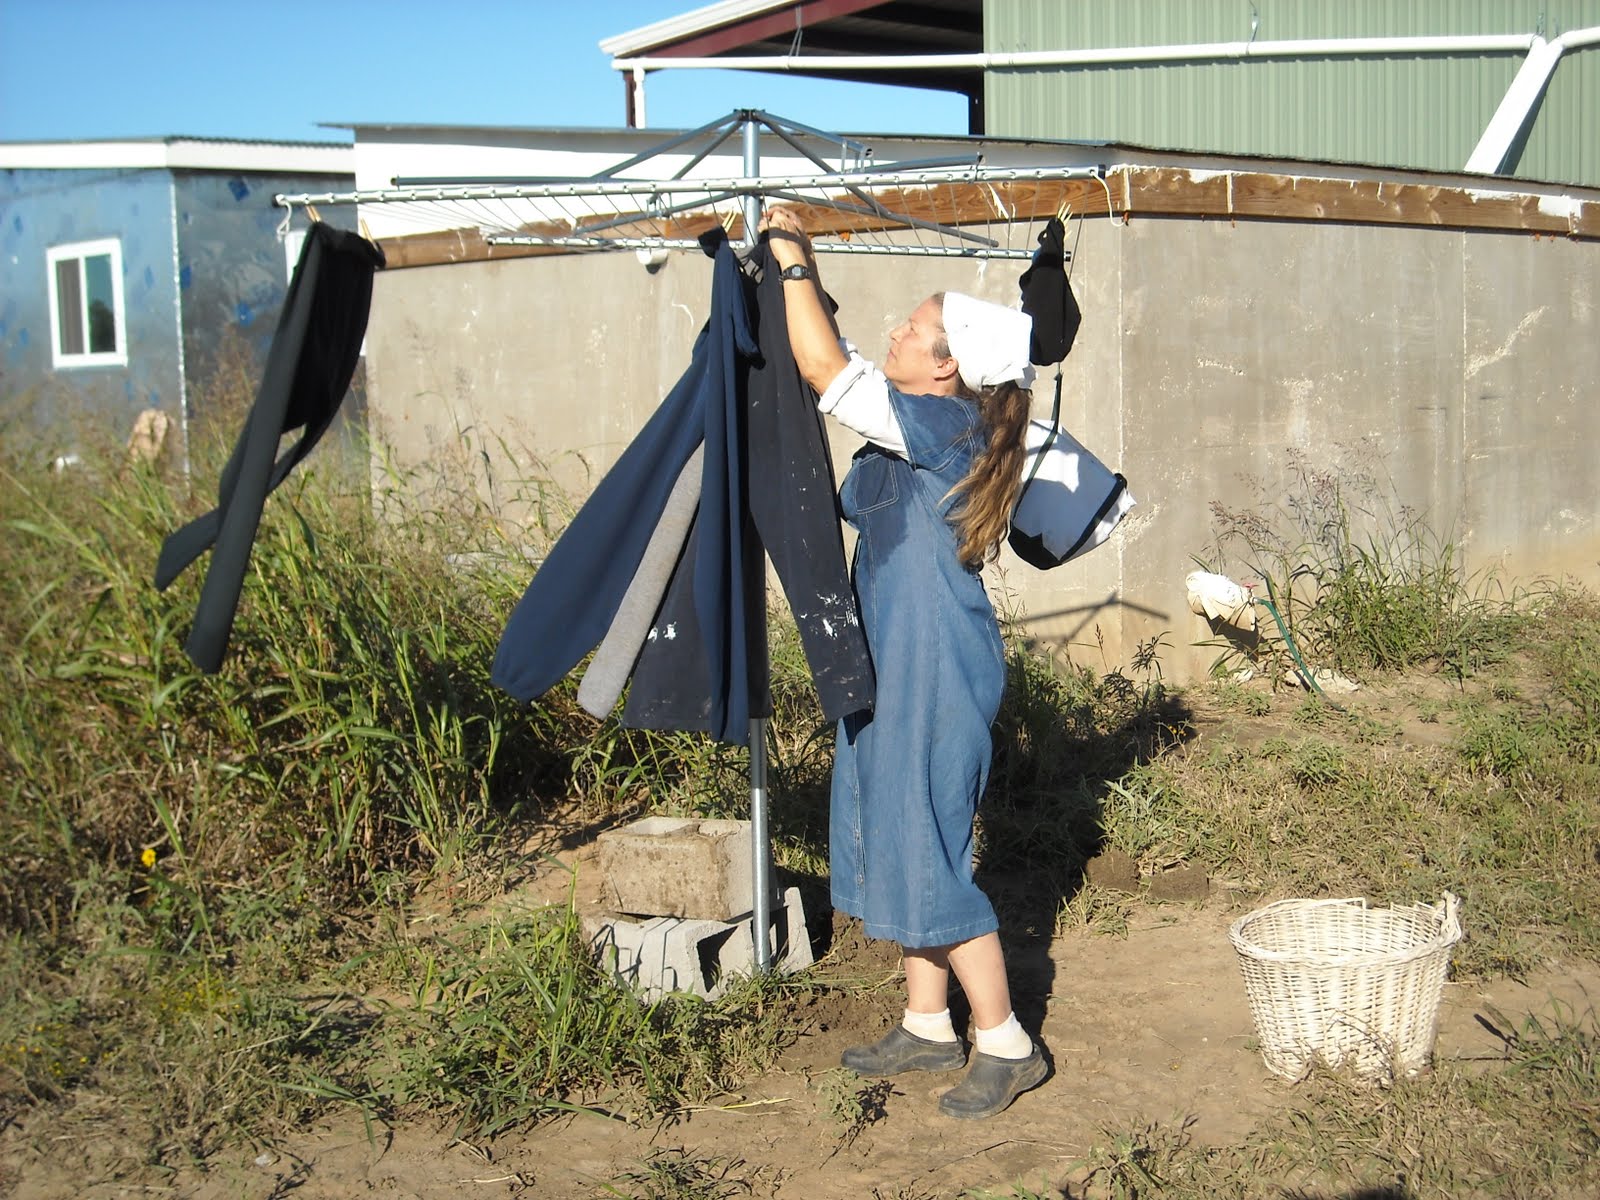
Last stop, clothes line:

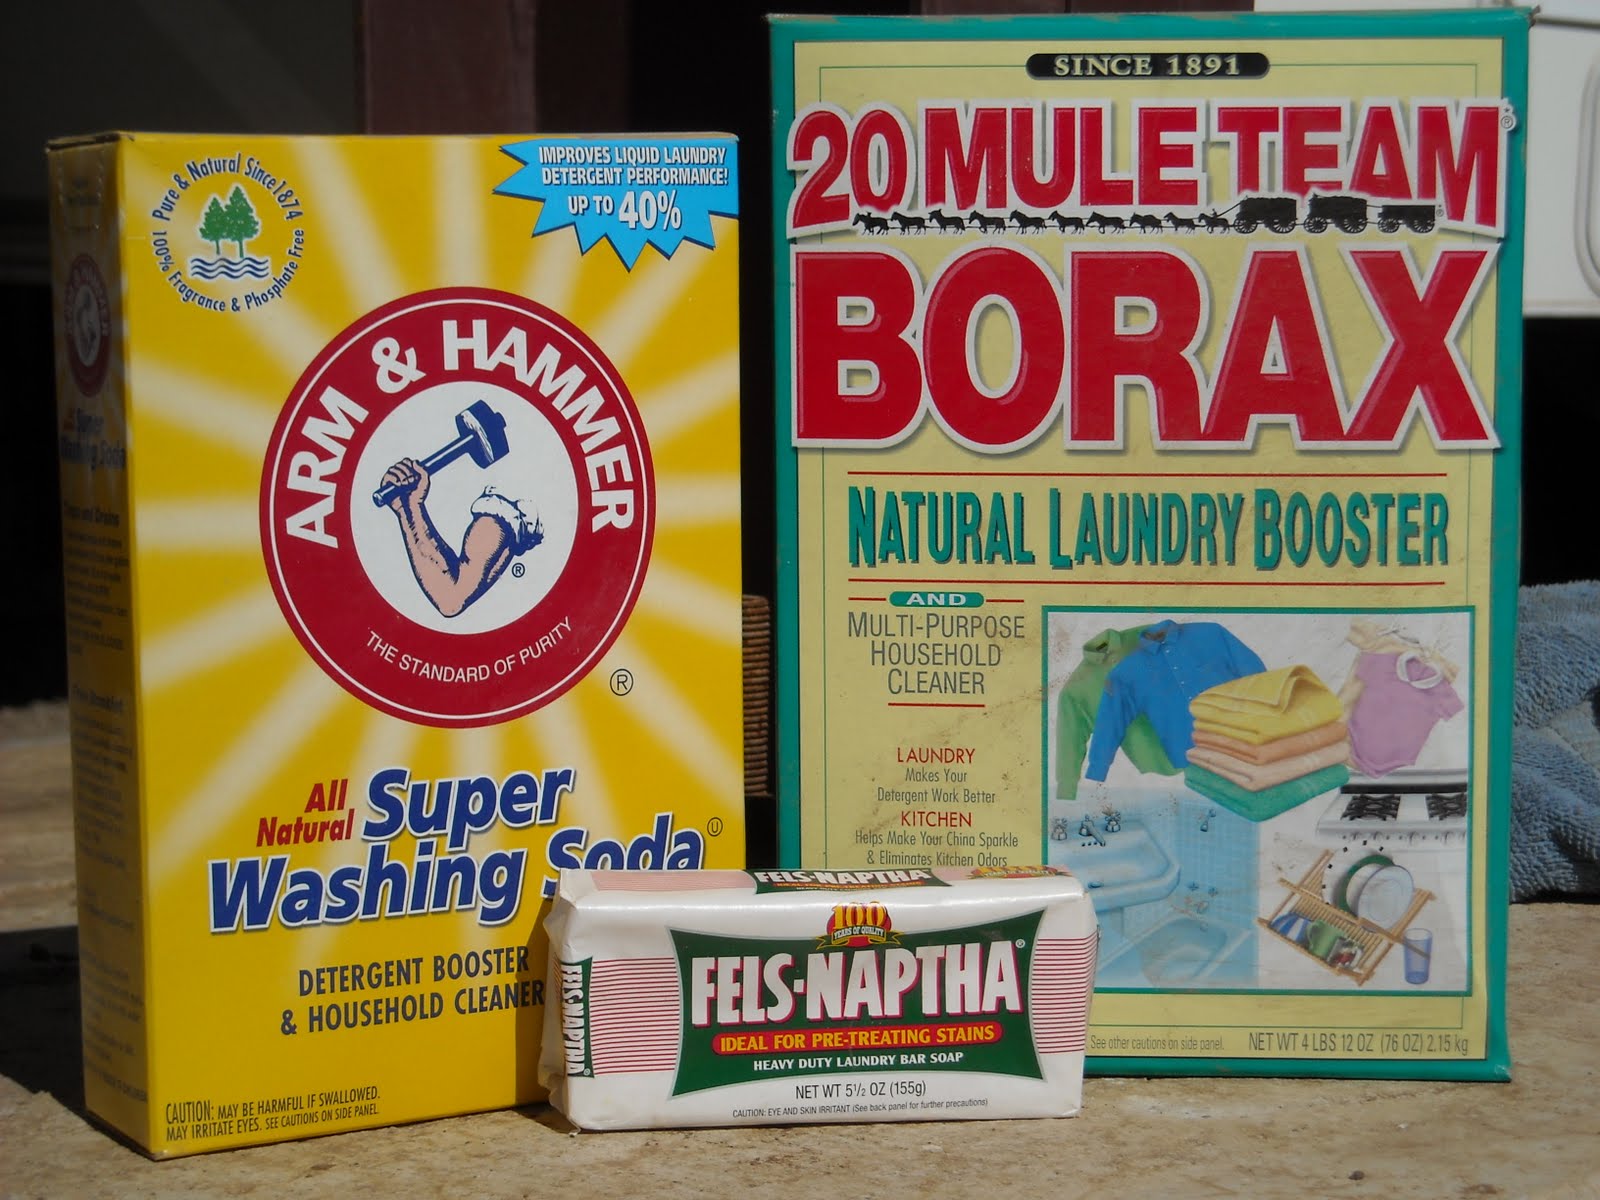
I also began making my own laundry detergent, which saves a lot of money. You can find recipes at the website Soaps Gone Buy. The one I use most often is to grate three bars of Fels Naptha soap, and combine that with 1 1/2 cups of Arm and Hammer Washing Soda, and 1 1/2 cups of Borax. Some people use Zote soap in place of Fels Naphta. The recipe mixture works great, and costs pennies per load, using only two to three tablespoons each. As an alternative, one lady I know uses only baking soda for her wash; and her clothes look fine!

This experience has brought me another step closer to not being afraid to try new (or old, in this case) things, and to think outside the box to do whatever works best. It used to take a good chunk out of a day away from our homestead to do laundry. Now I can simply step outside when I have a free hour to do a couple of loads, while staying at home helping Dave on the homestead. It’s also a step closer to less dependence on outside resources. What a blessing!

And I love working outside in the fresh air and not melting away in the stuffy laundry mat. It also provides a great time to pray or listen to a sermon or Christian audio teaching as well. (Eph. 5:15-16: “See then that ye walk circumspectly, not as fools, but as wise, redeeming the time, because the days are evil.“)

Once again, I’m very thankful to God for allowing me to live this lifestyle, farther from the distractions of the world, so I may focus on Him, His Word and living obediently before Him.

Susan

Garden 2009 – Spring – Update IV – 24 (Pint) Carrot Gold and Other Precious Commodities


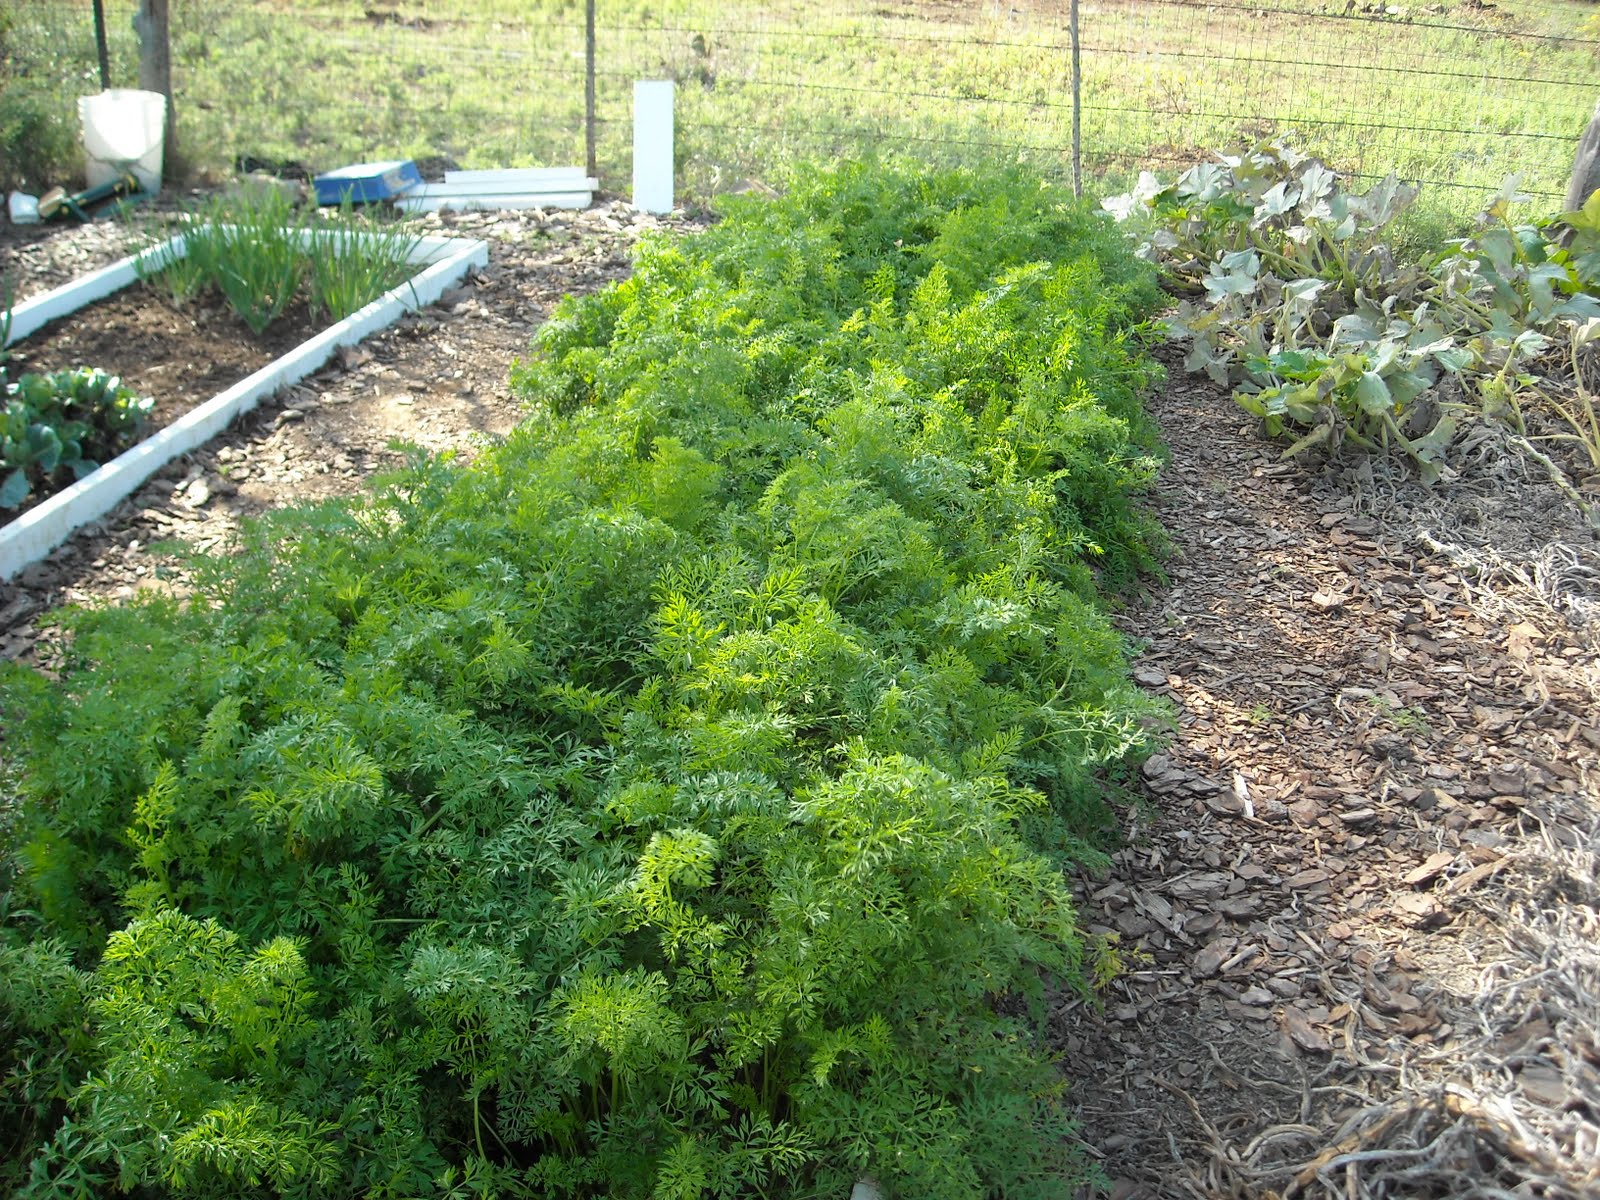
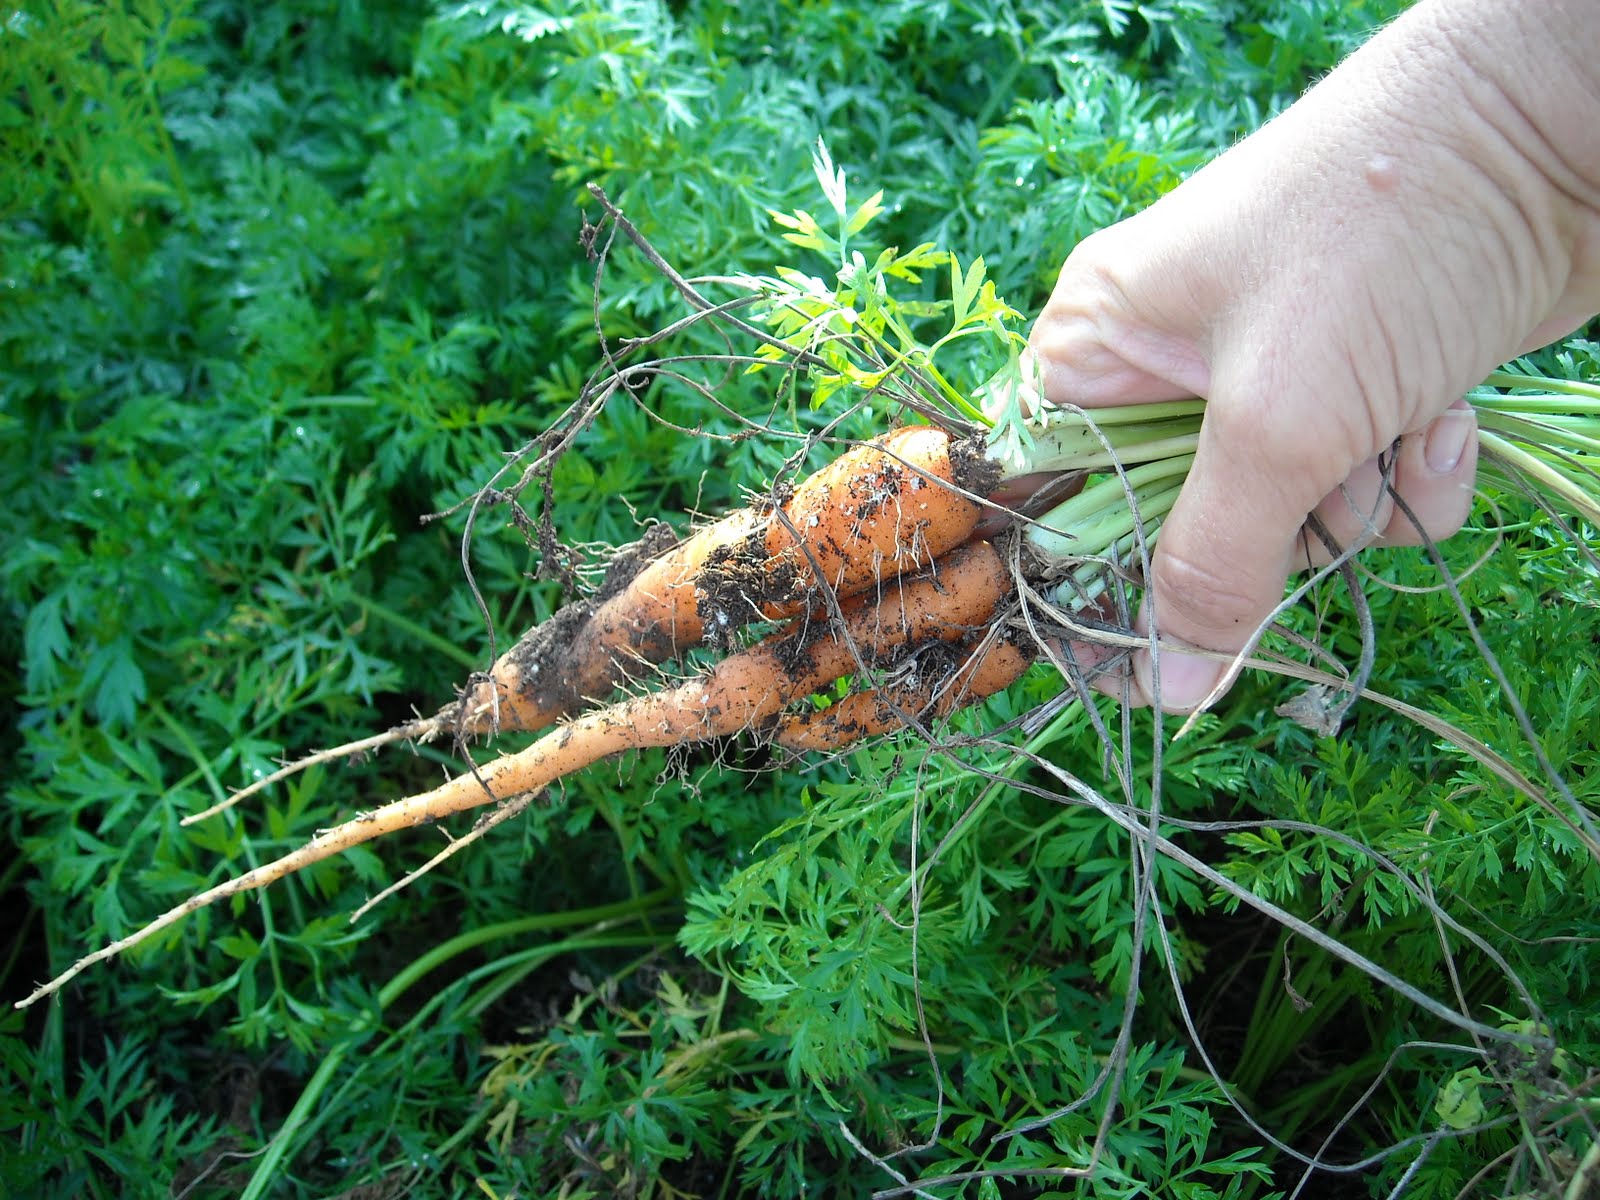
Boy, if there was any doubt carrots grow well in West Central Texas, may it be forever removed. We planted carrot seeds in one entire bed this year; and, wow, the carrots took advantage of every bit of space in that bed. This blog post reflects the second round of thinning of the carrots; and I still have one, maybe two, rounds to go!

The carrots grew very densely because there was so much depth for them to grow in the double-dug, raised bed. So each pull of the greens revealed a handful of carrots:

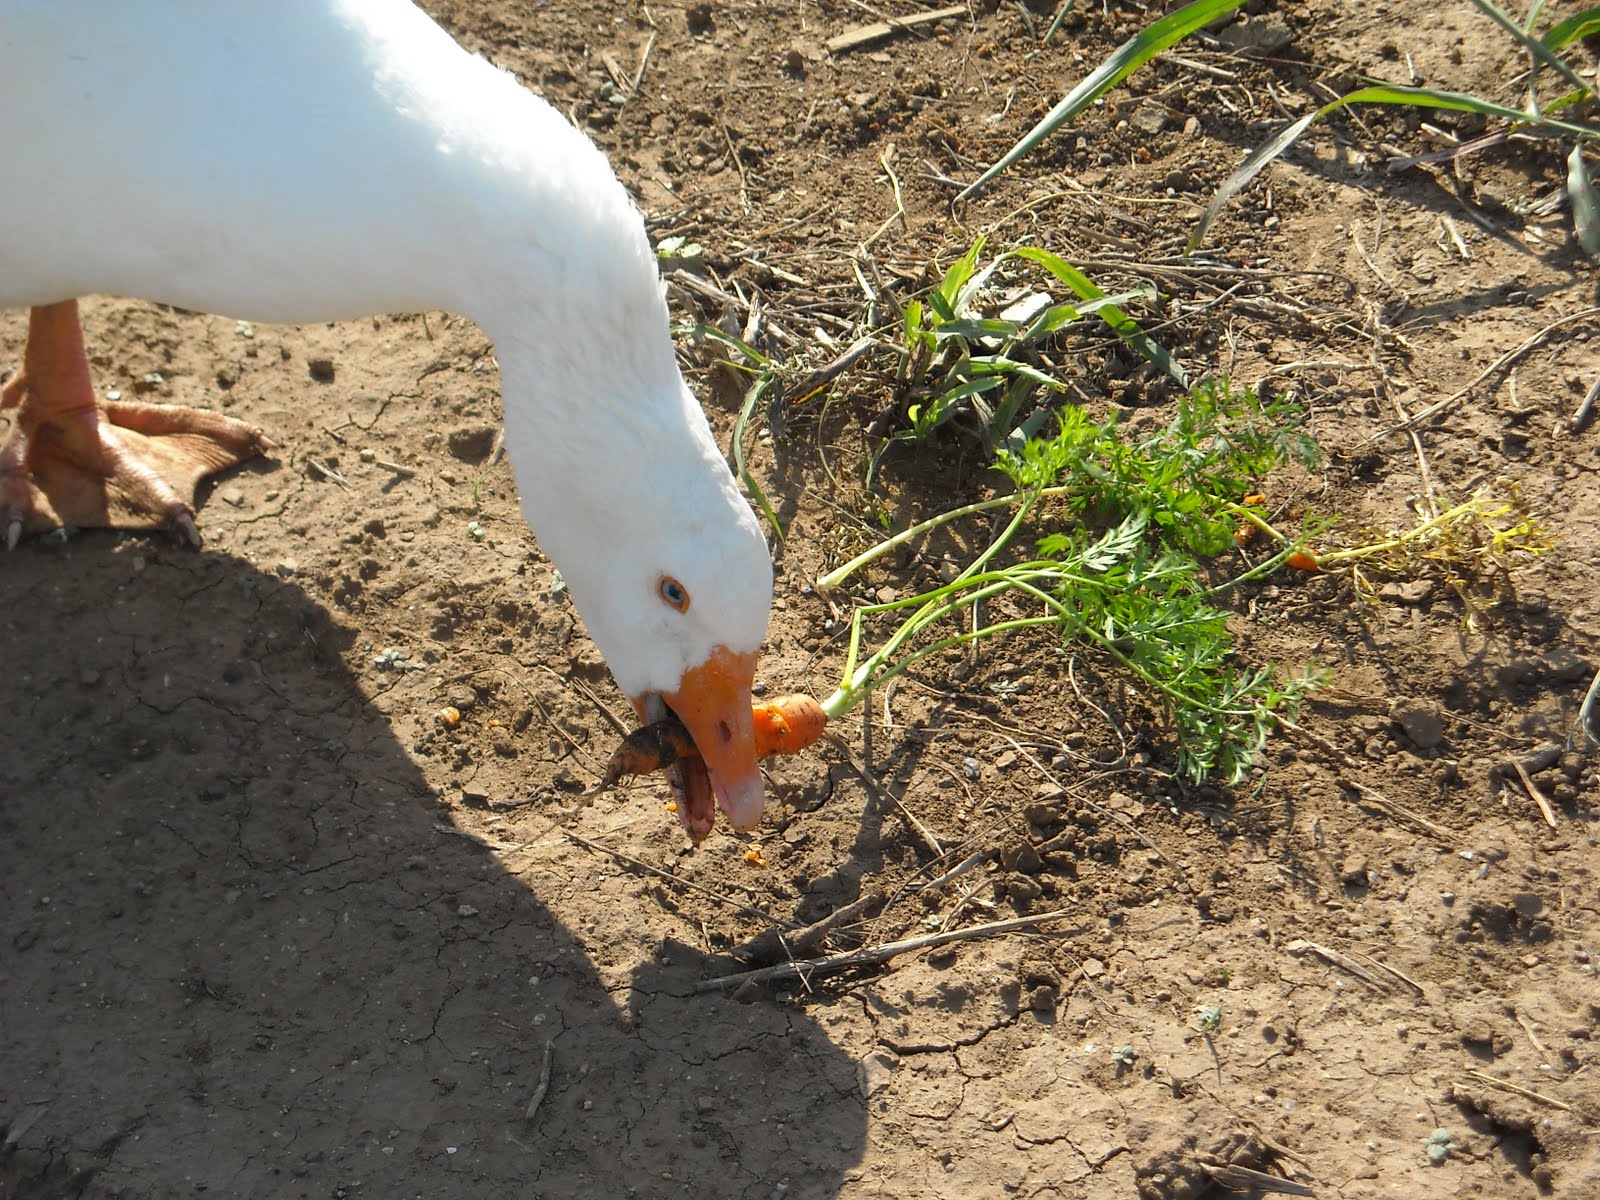
“Ehhhhhh……what’s up, doc?” Gary loves carrots. The greens, eh, not so much:

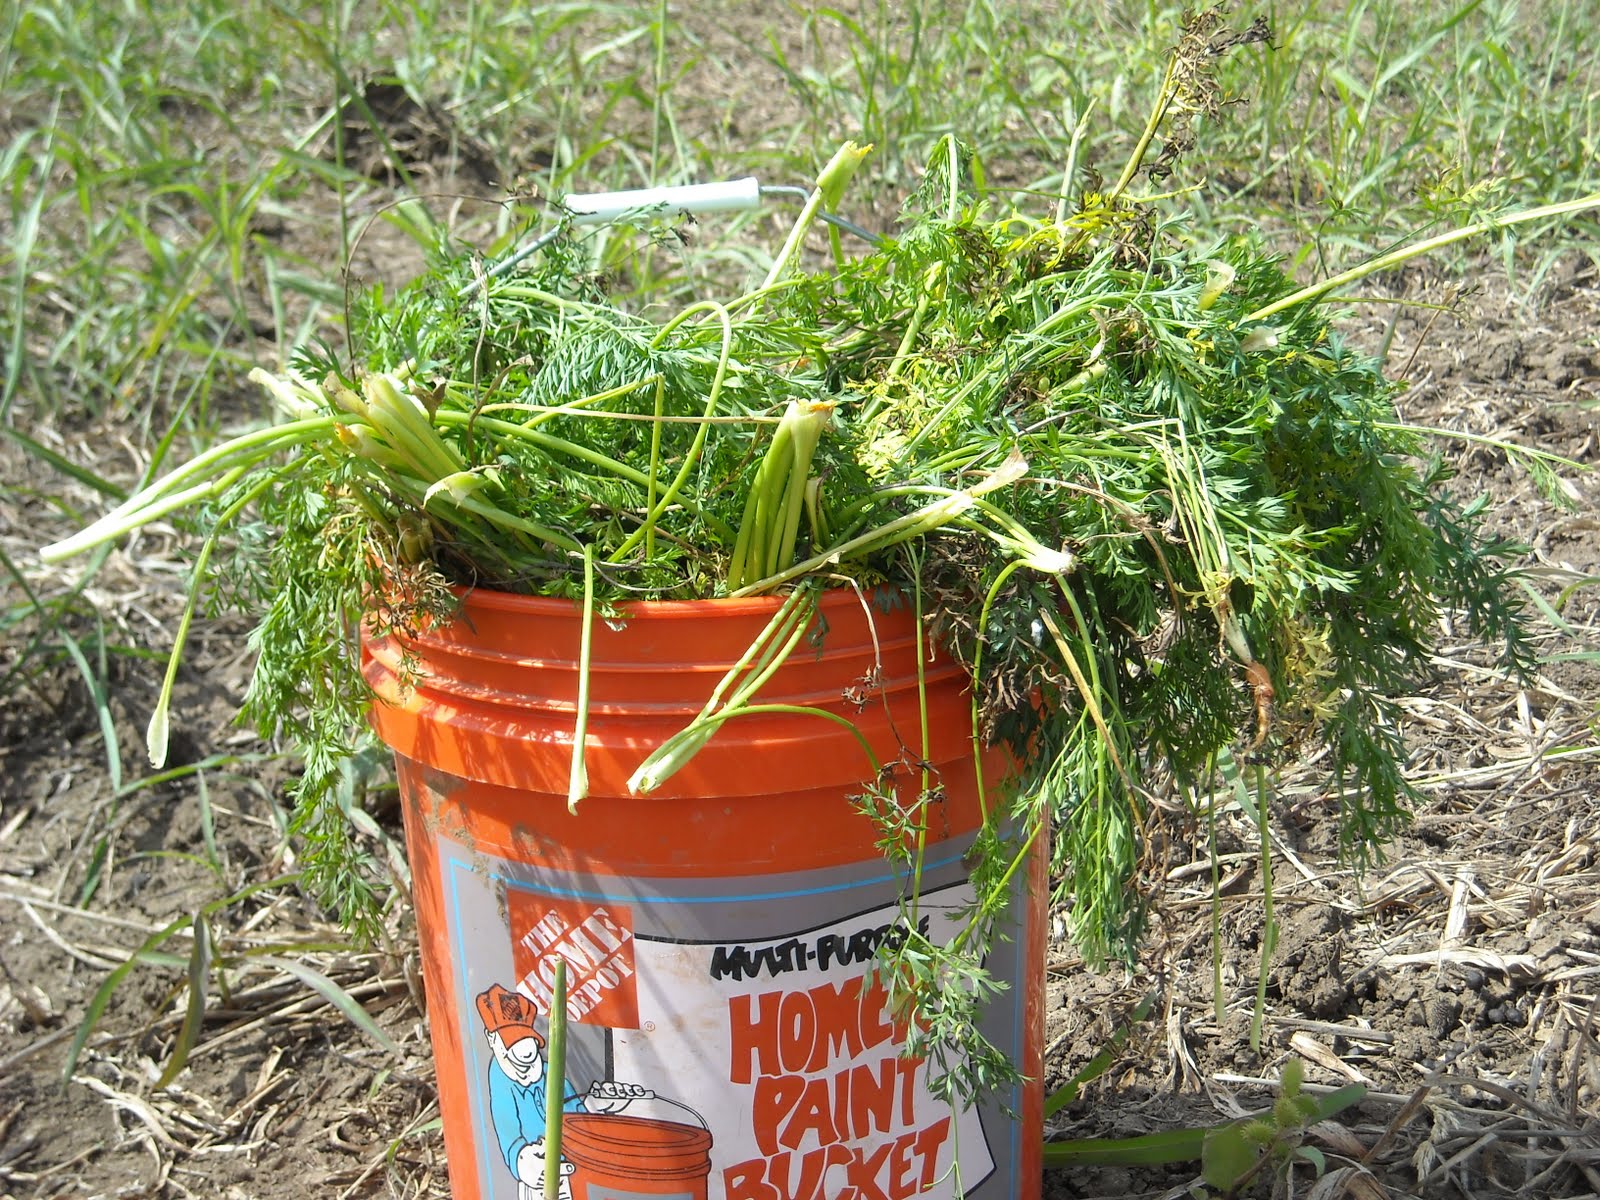
So I filled the bucket with greens knowing they would be appreciated somewhere else……

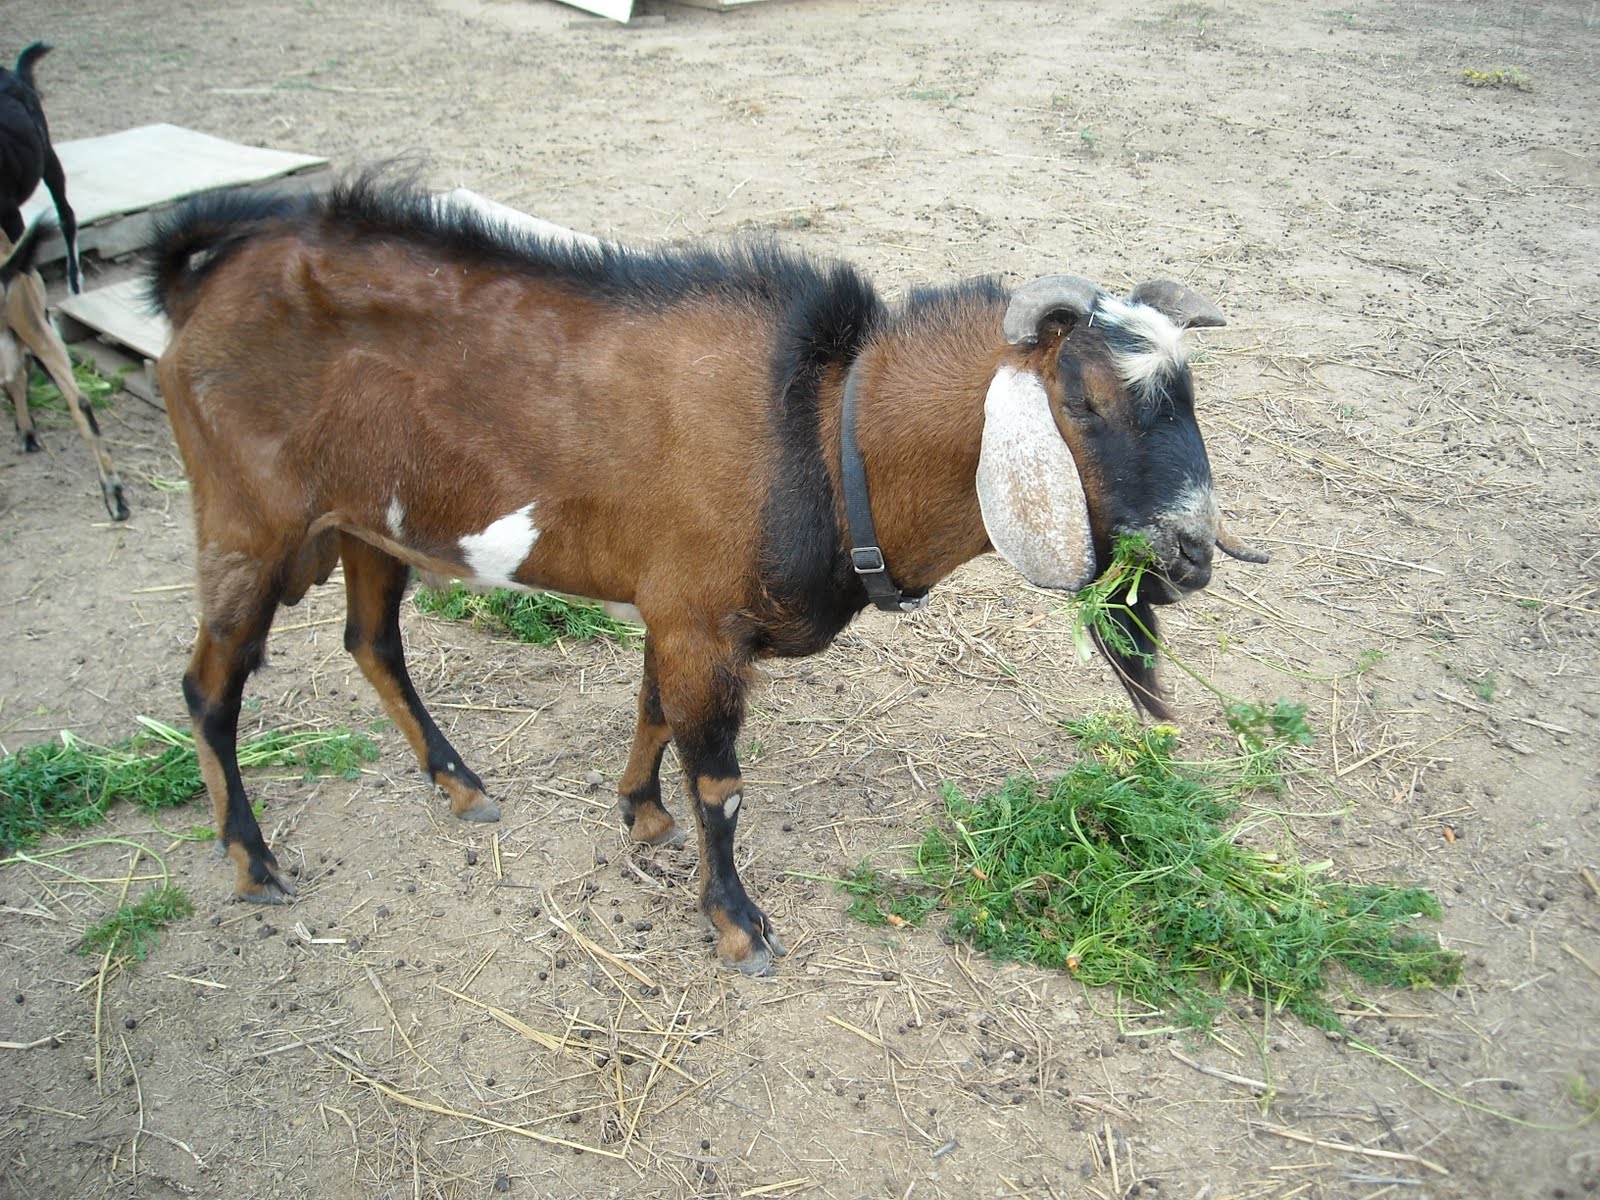
Shatner, on the other hand, loves carrot greens. (In a high-class maître d’ French accent…”Taybelll for one, Monsieur?”)

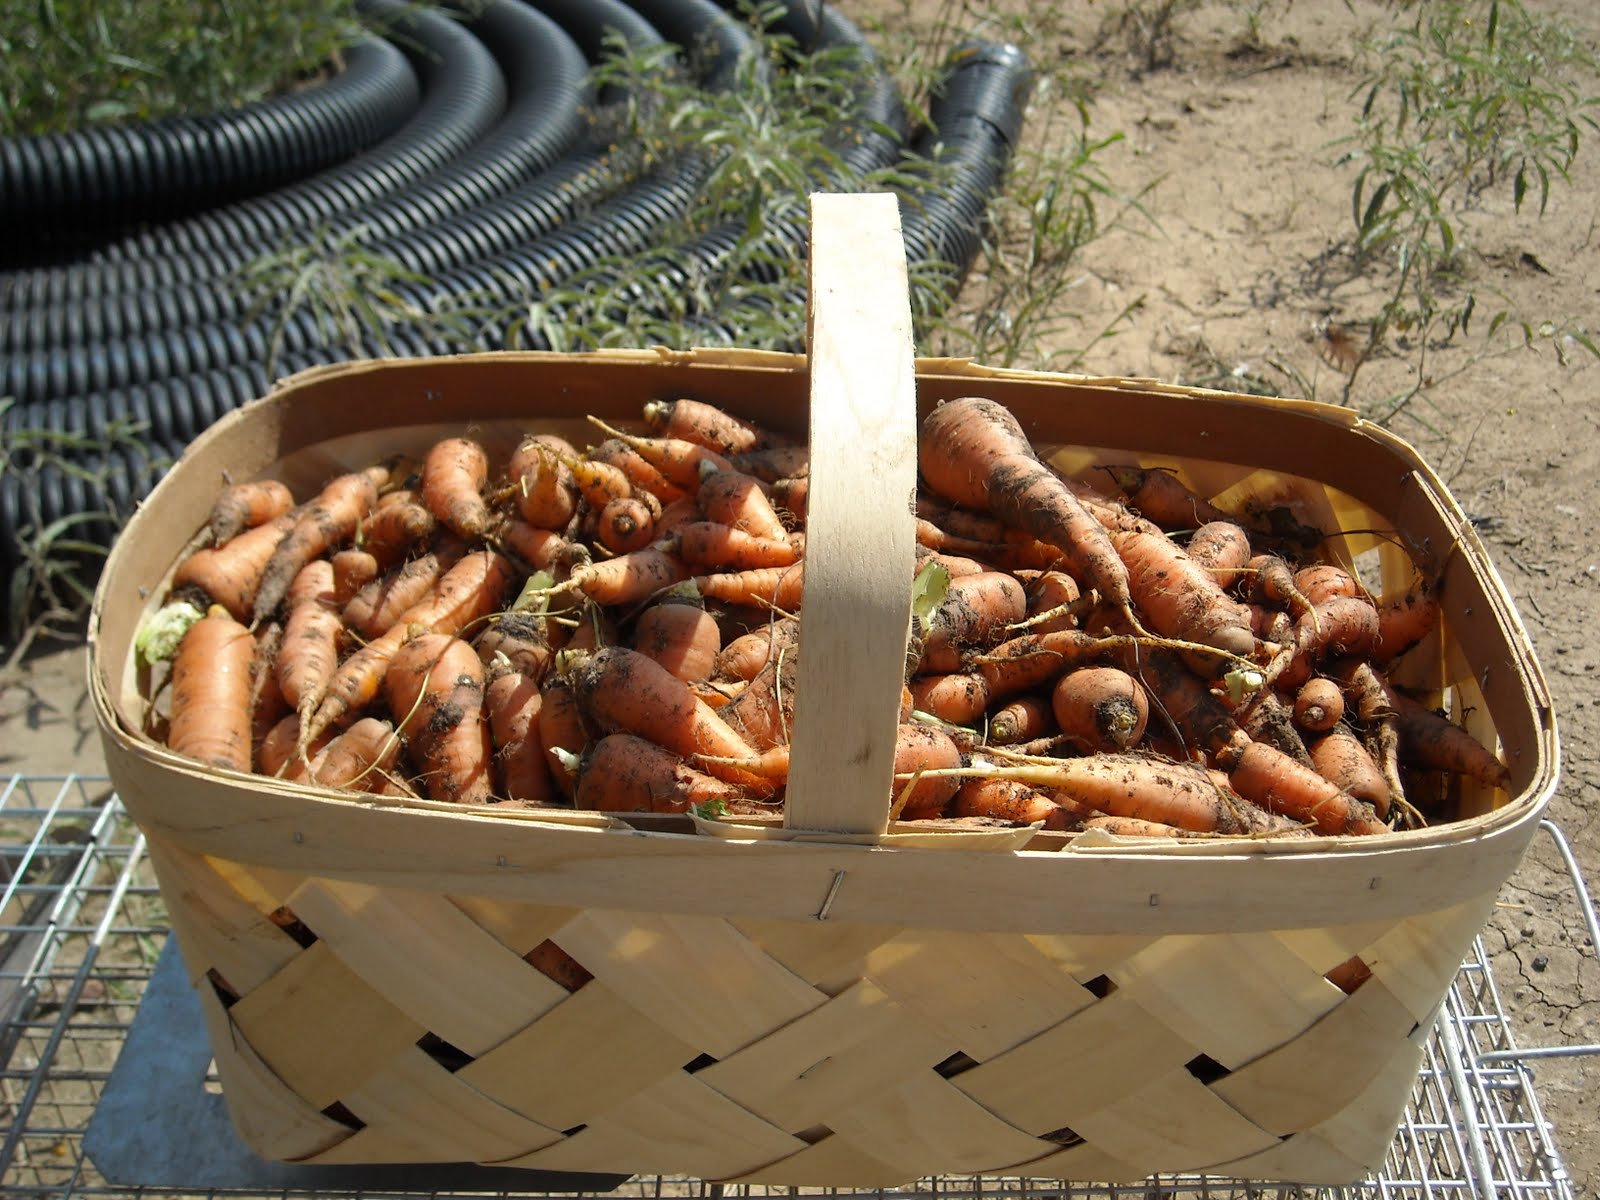
I stopped pulling carrots when the basket was fairly full, knowing this many would take several hours to prepare for canning:

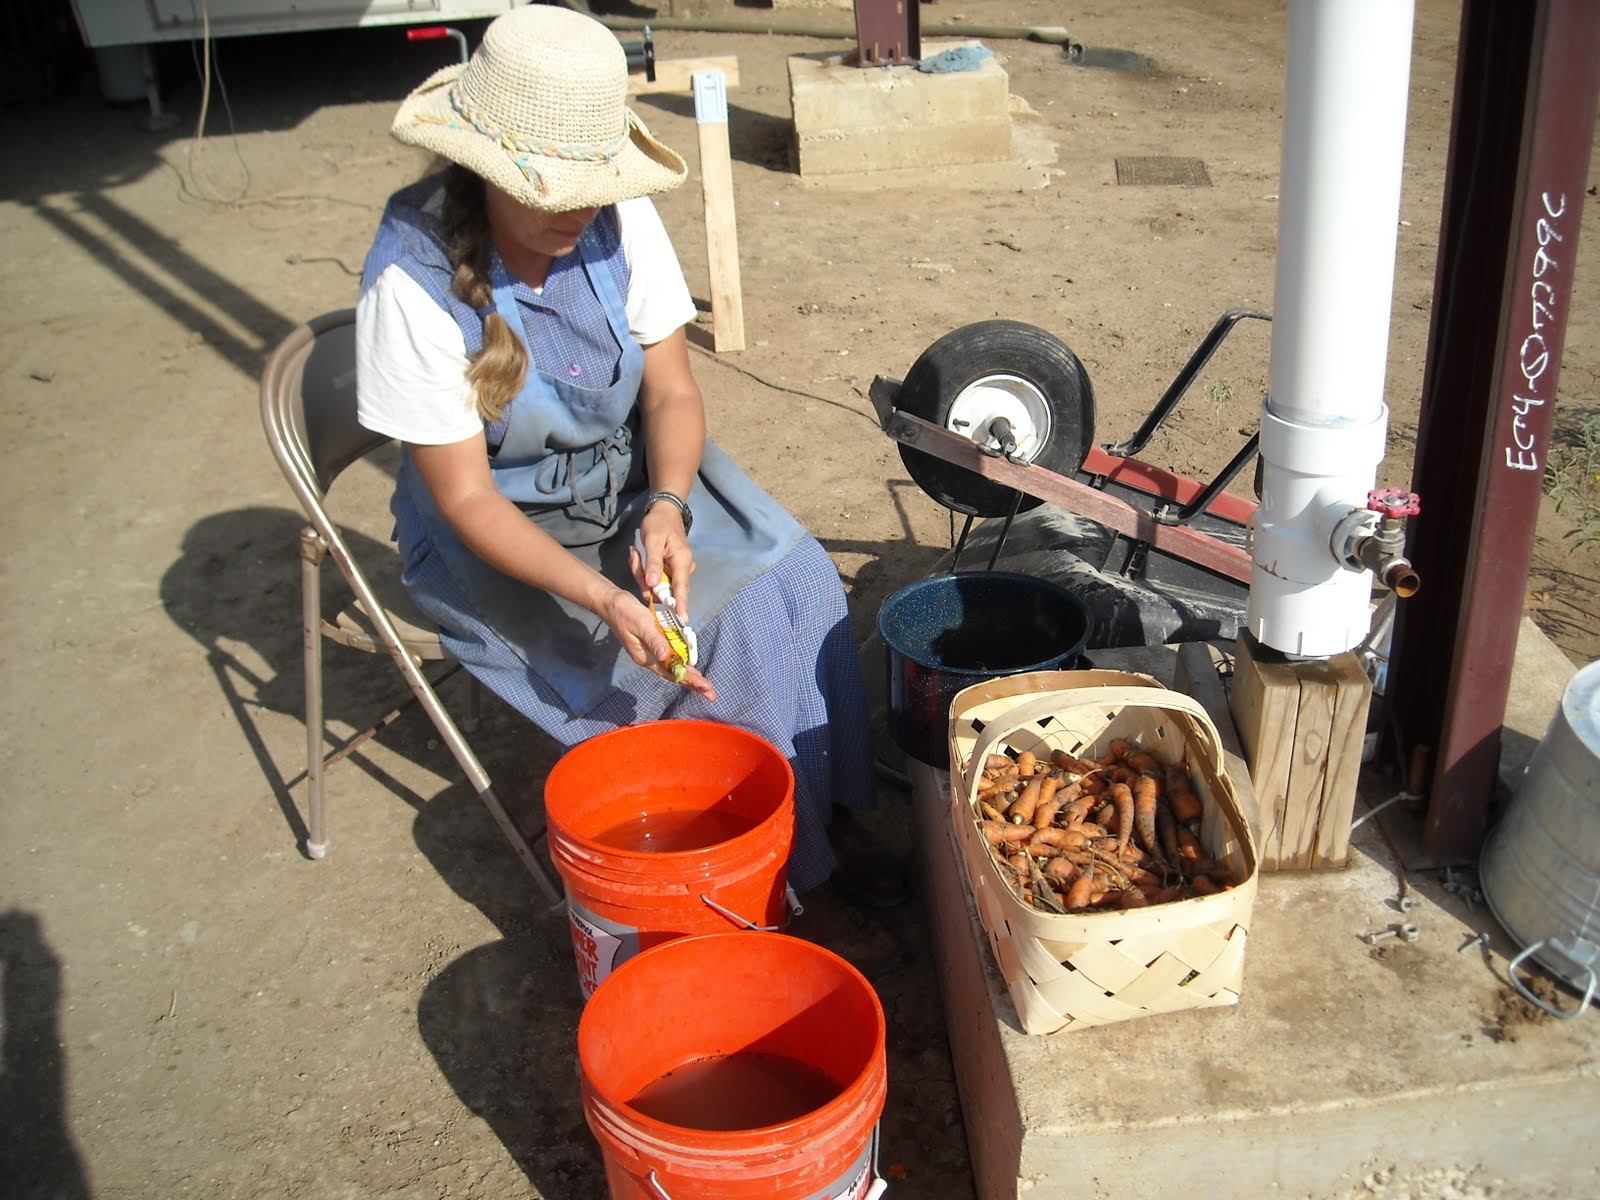
What a blessing to sit out in the fresh air and sunshine to work at my “day job.” I had two buckets for the initial processing of the carrots: one was for a first rinse to get the major dirt off, and the other was to give them a good scrub with the vegetable brush to get them as clean as possible:

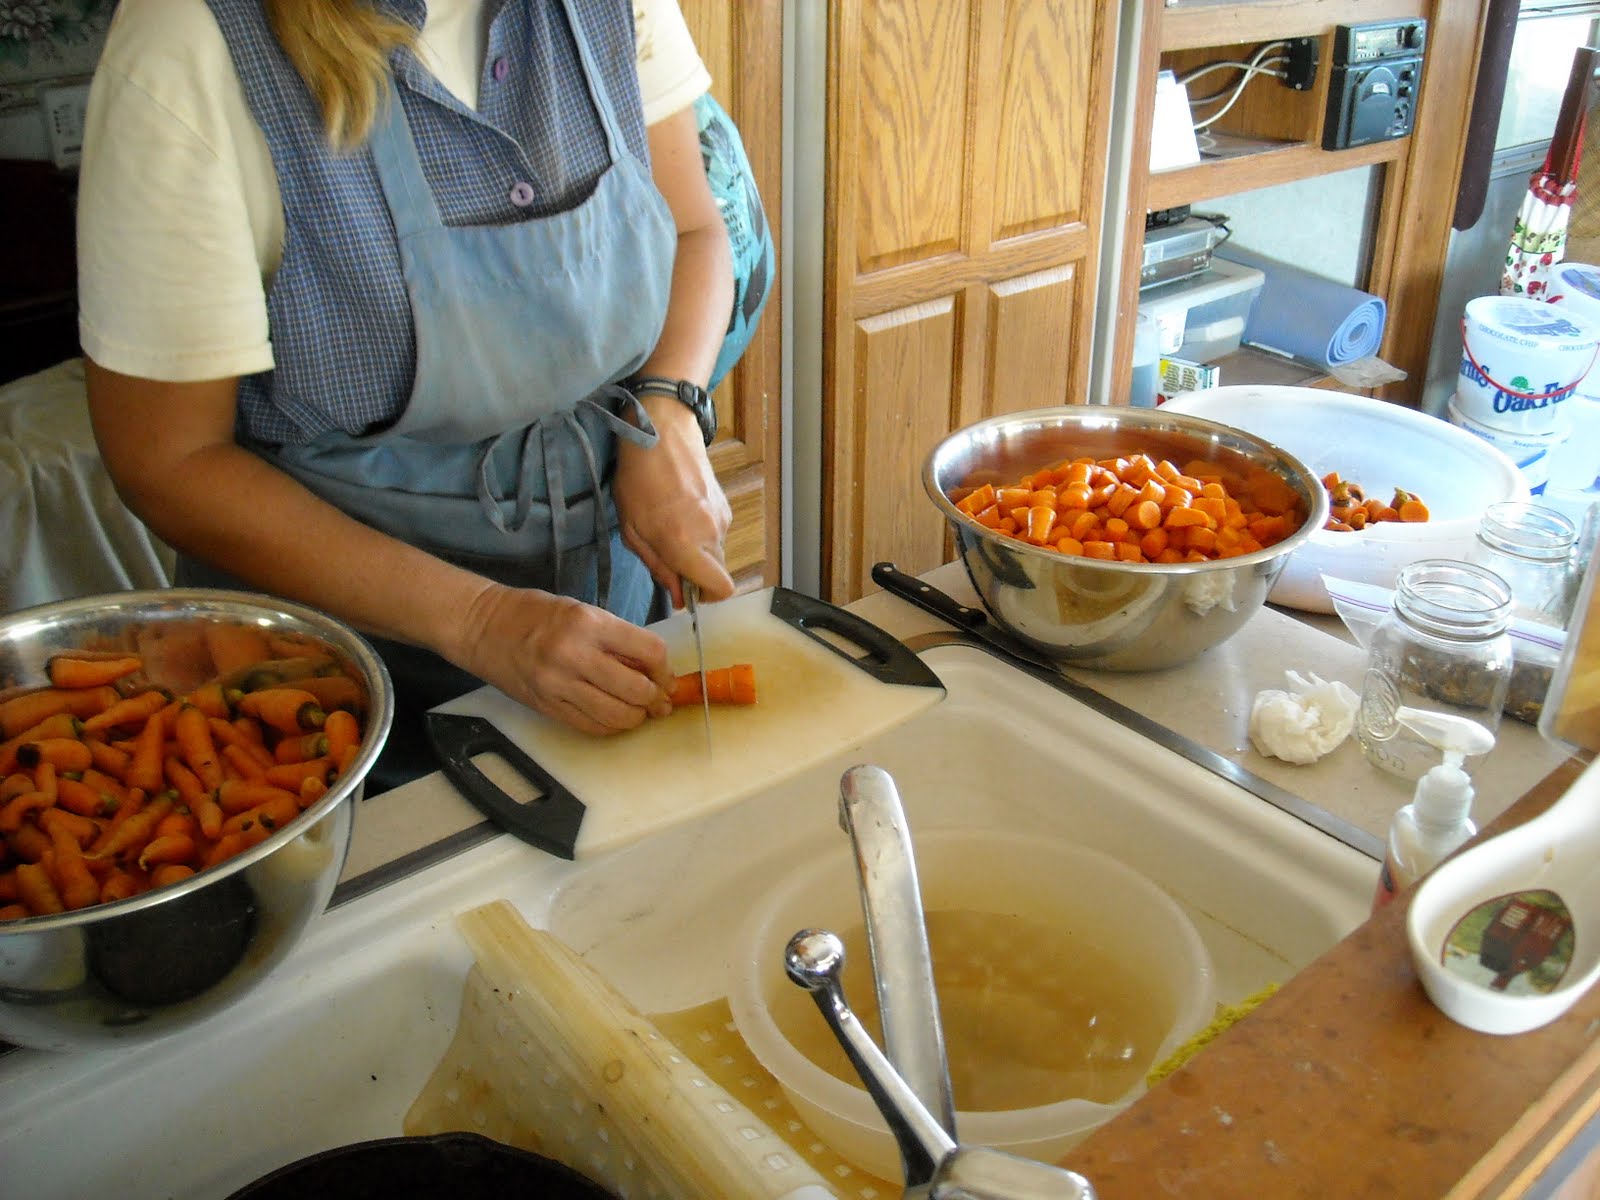
Next, I gave them a final rinse, cut off the ends, and cut up the carrots into smaller pieces. I munched along the way and loved knowing these carrots are God’s direct provision, and that any middle men and chemicals have been eliminated:

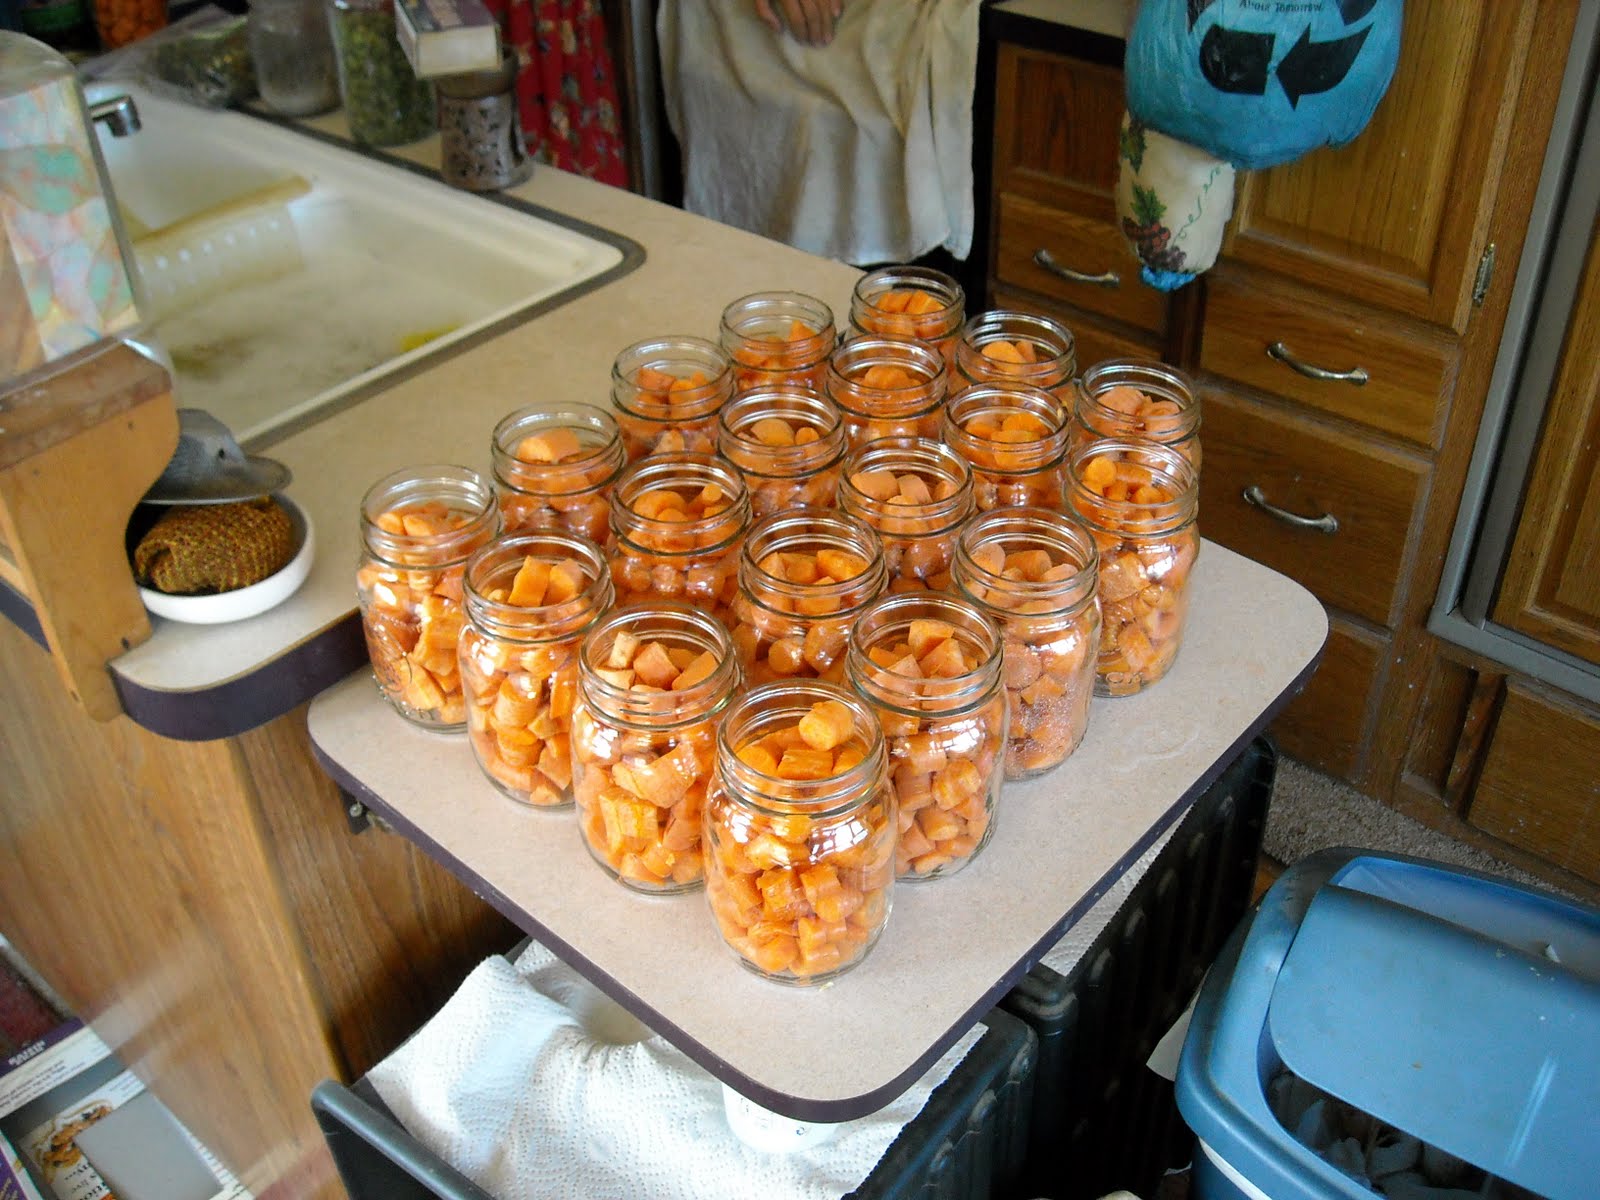
Here they are in the jars ready to go into the canner:

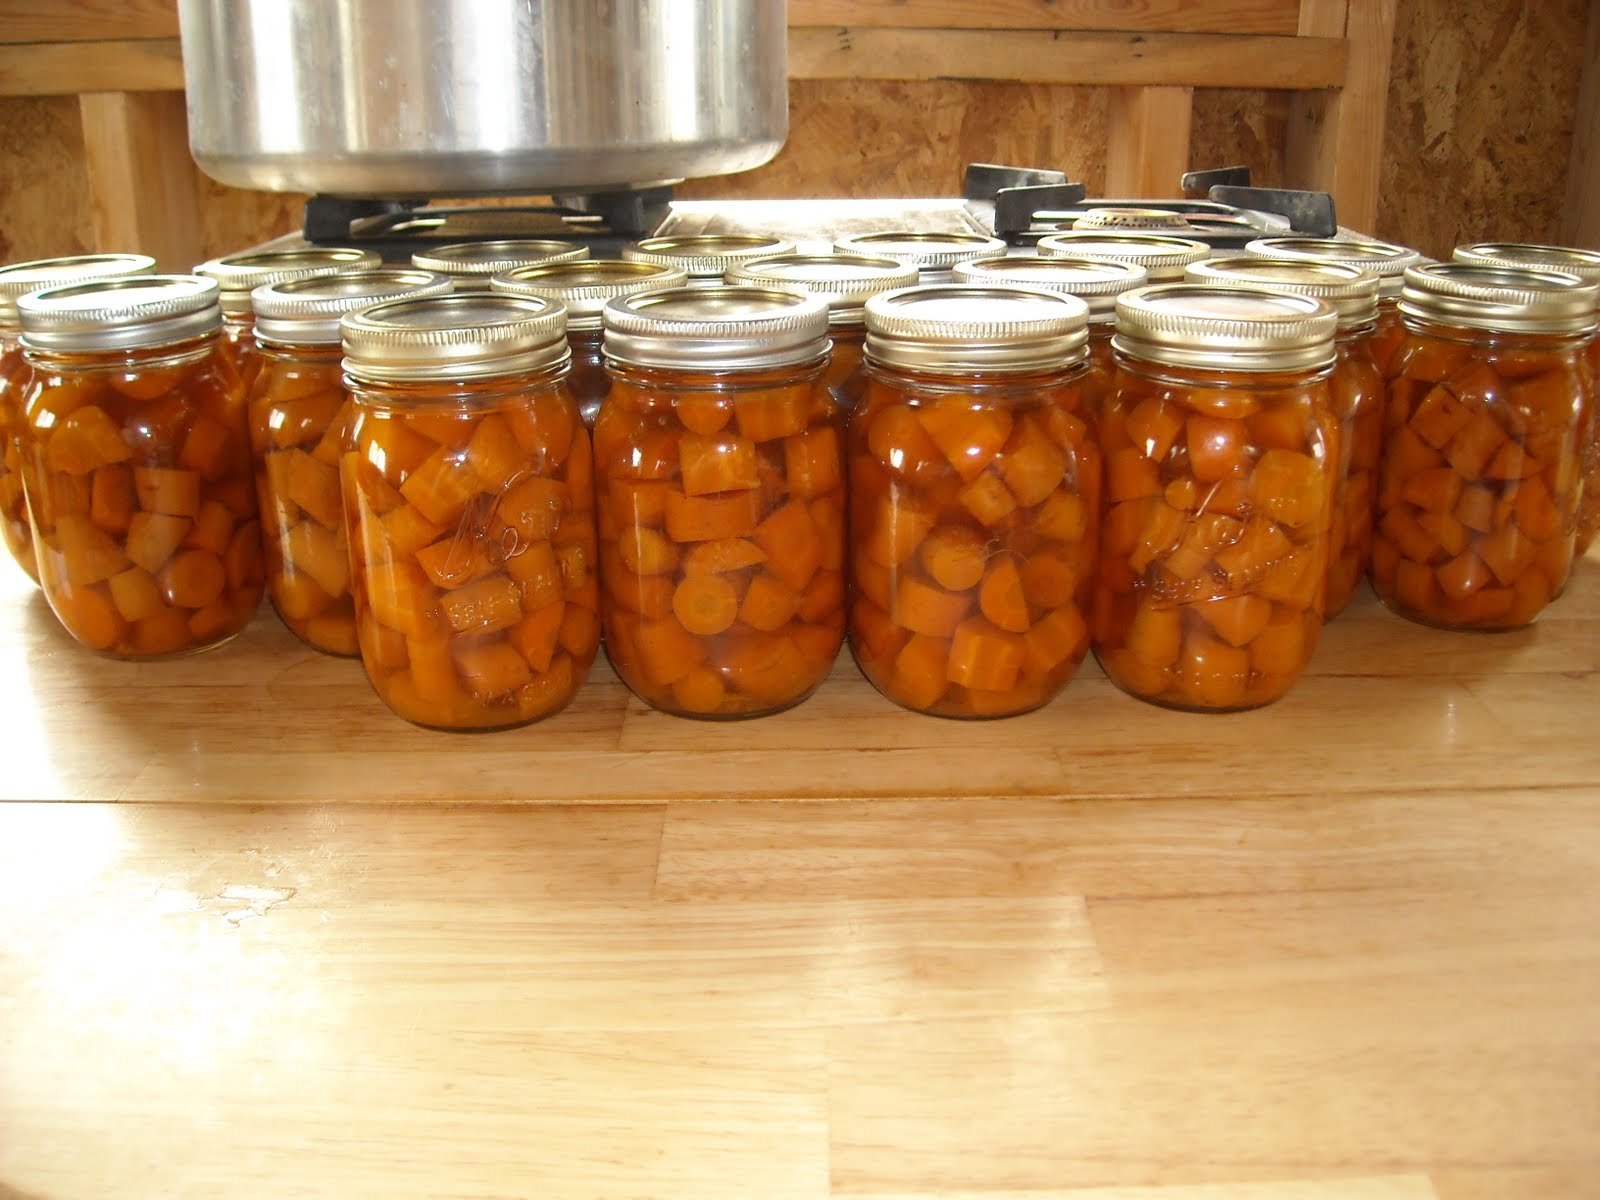
And, yippeeeee! Fresh garden carrots preserved to be used in many delicious dishes:

And speaking of delicious things for meals, I thought I’d provide an update on our other garden adventures.

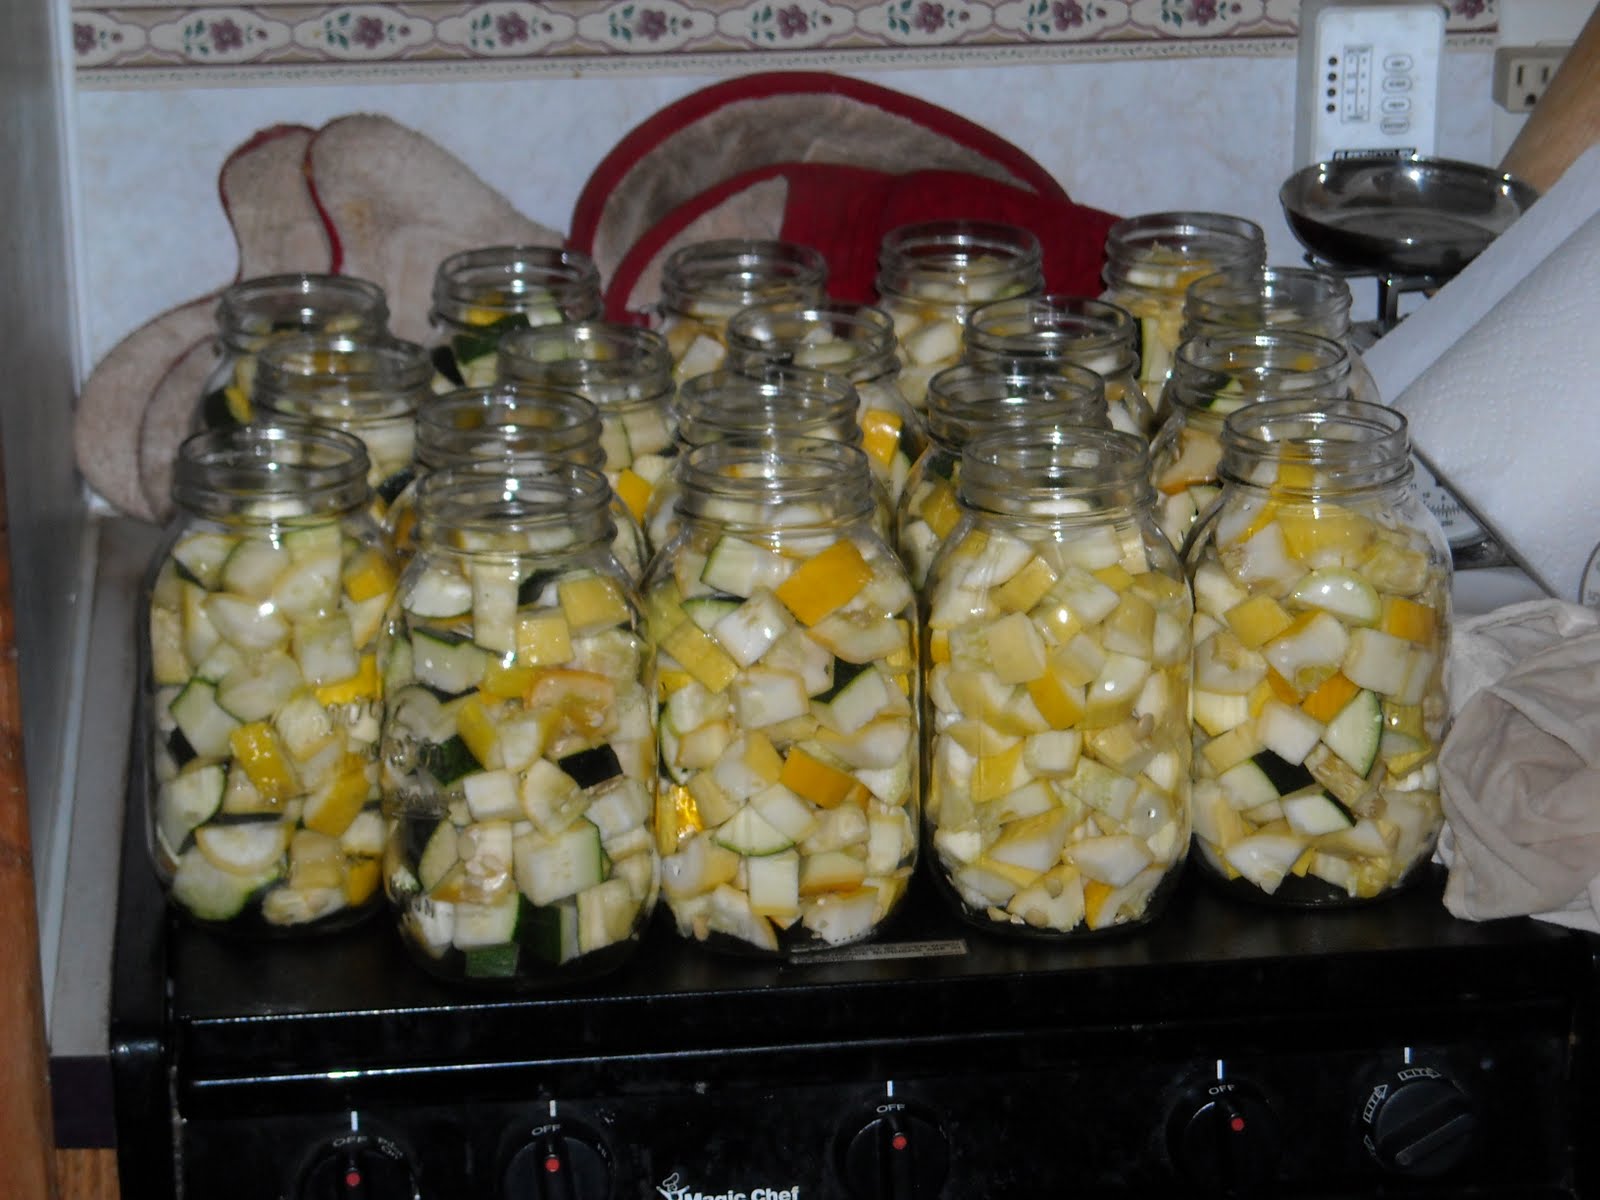
In addition to our abundant yield of Zuchini, we were blessed with an abundance of summer squash:

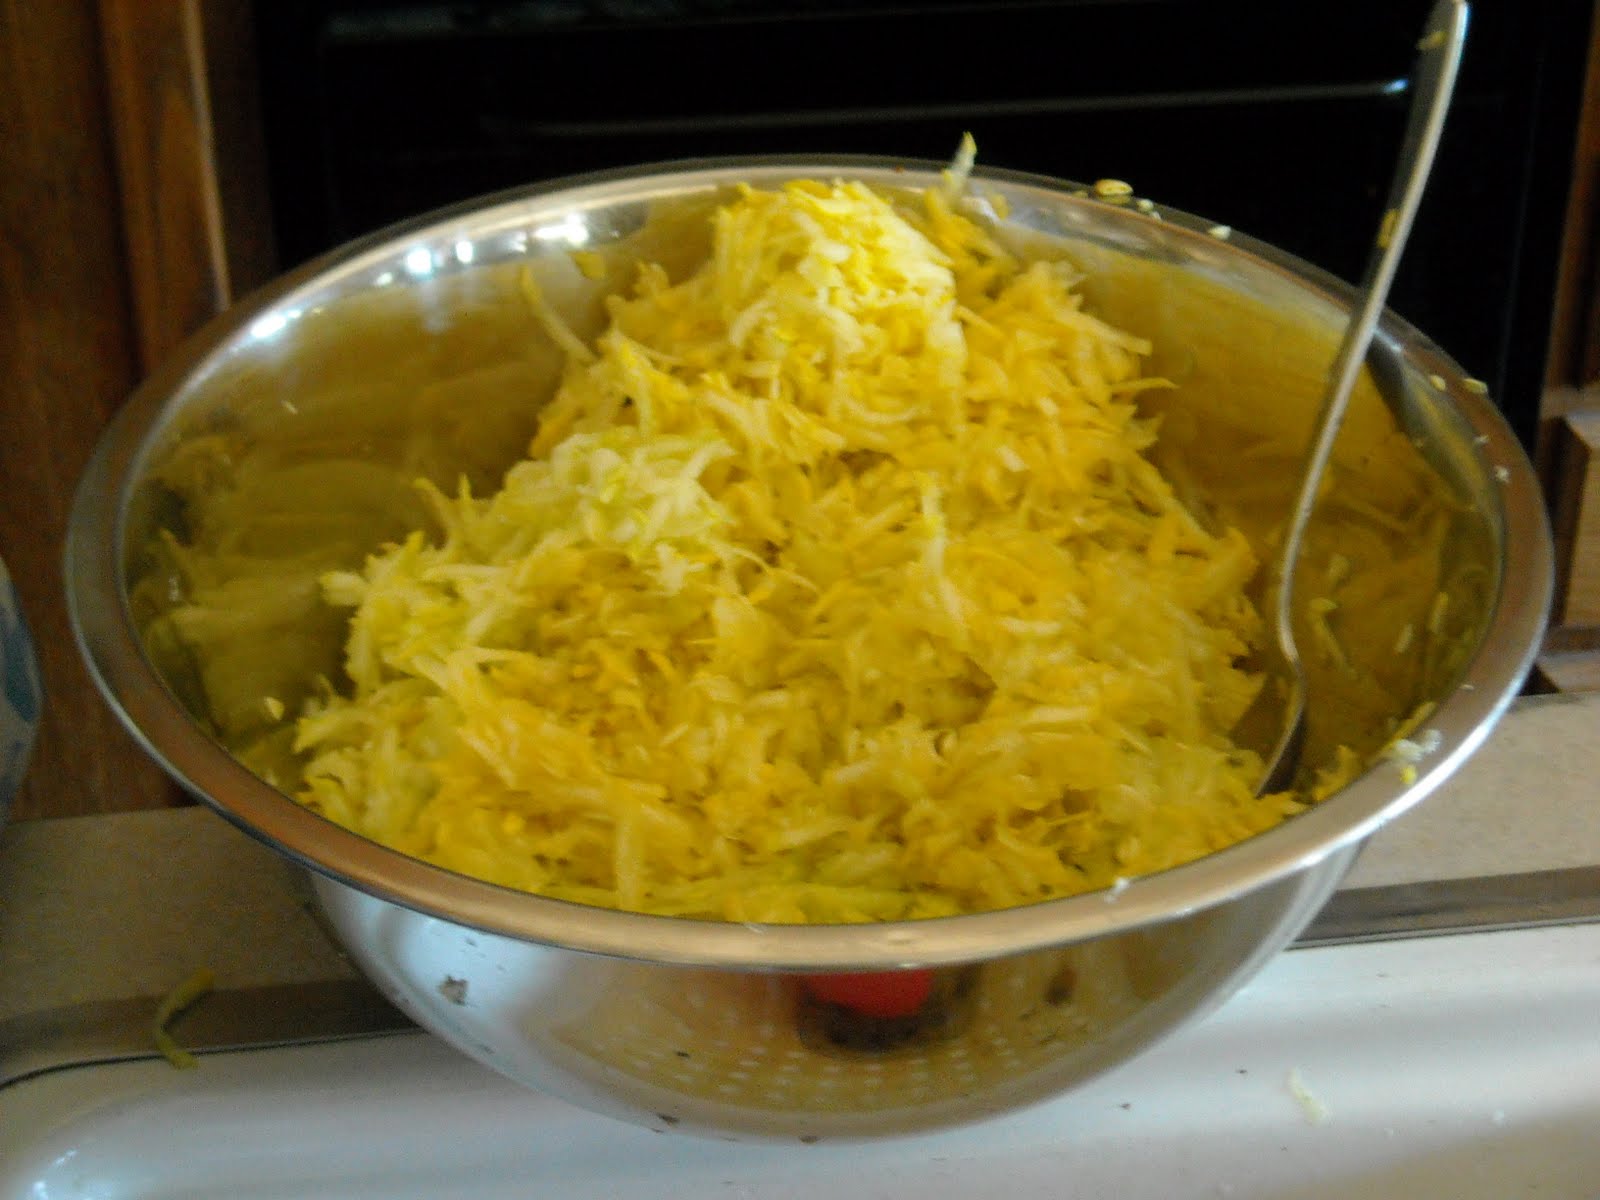
We also shredded up much of the summer squash and put it in jars with salt for lactic fermentation, and placed them down in the root cellar. It tastes great – just like sauer kraut. And it makes a very flavorful and healthy salad when you add cucumber and tomato:

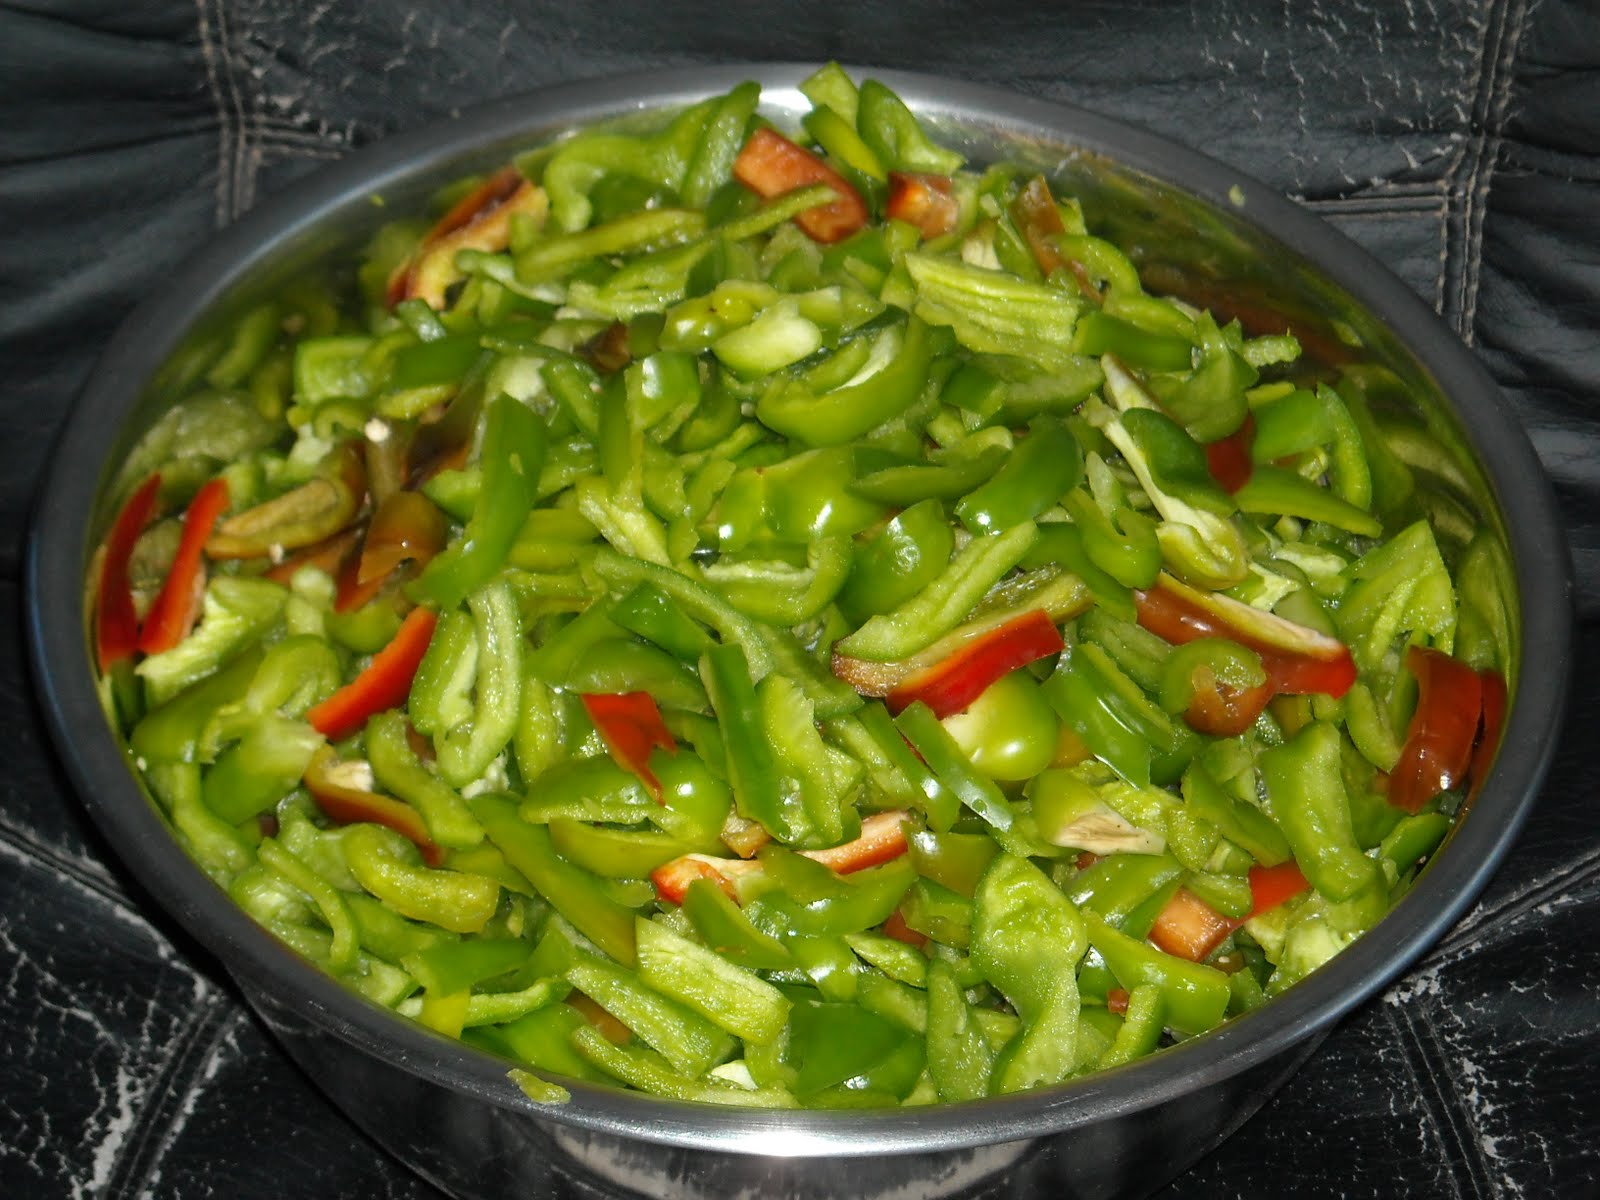
Our peppers are still going gangbusters. Here is a bowl of freshly cut peppers ready to be put in jars. I have found it to be very handy to grab a jar of these off the shelf and saute them with onions when I’m making fajitas. Thanks to one our readers, Ginny, we also got the idea to cut them up and dry them in our solar dryer. They are great to add into recipes, and I was very pleasantly surprised at how much taste is packed into even one of these small pieces:

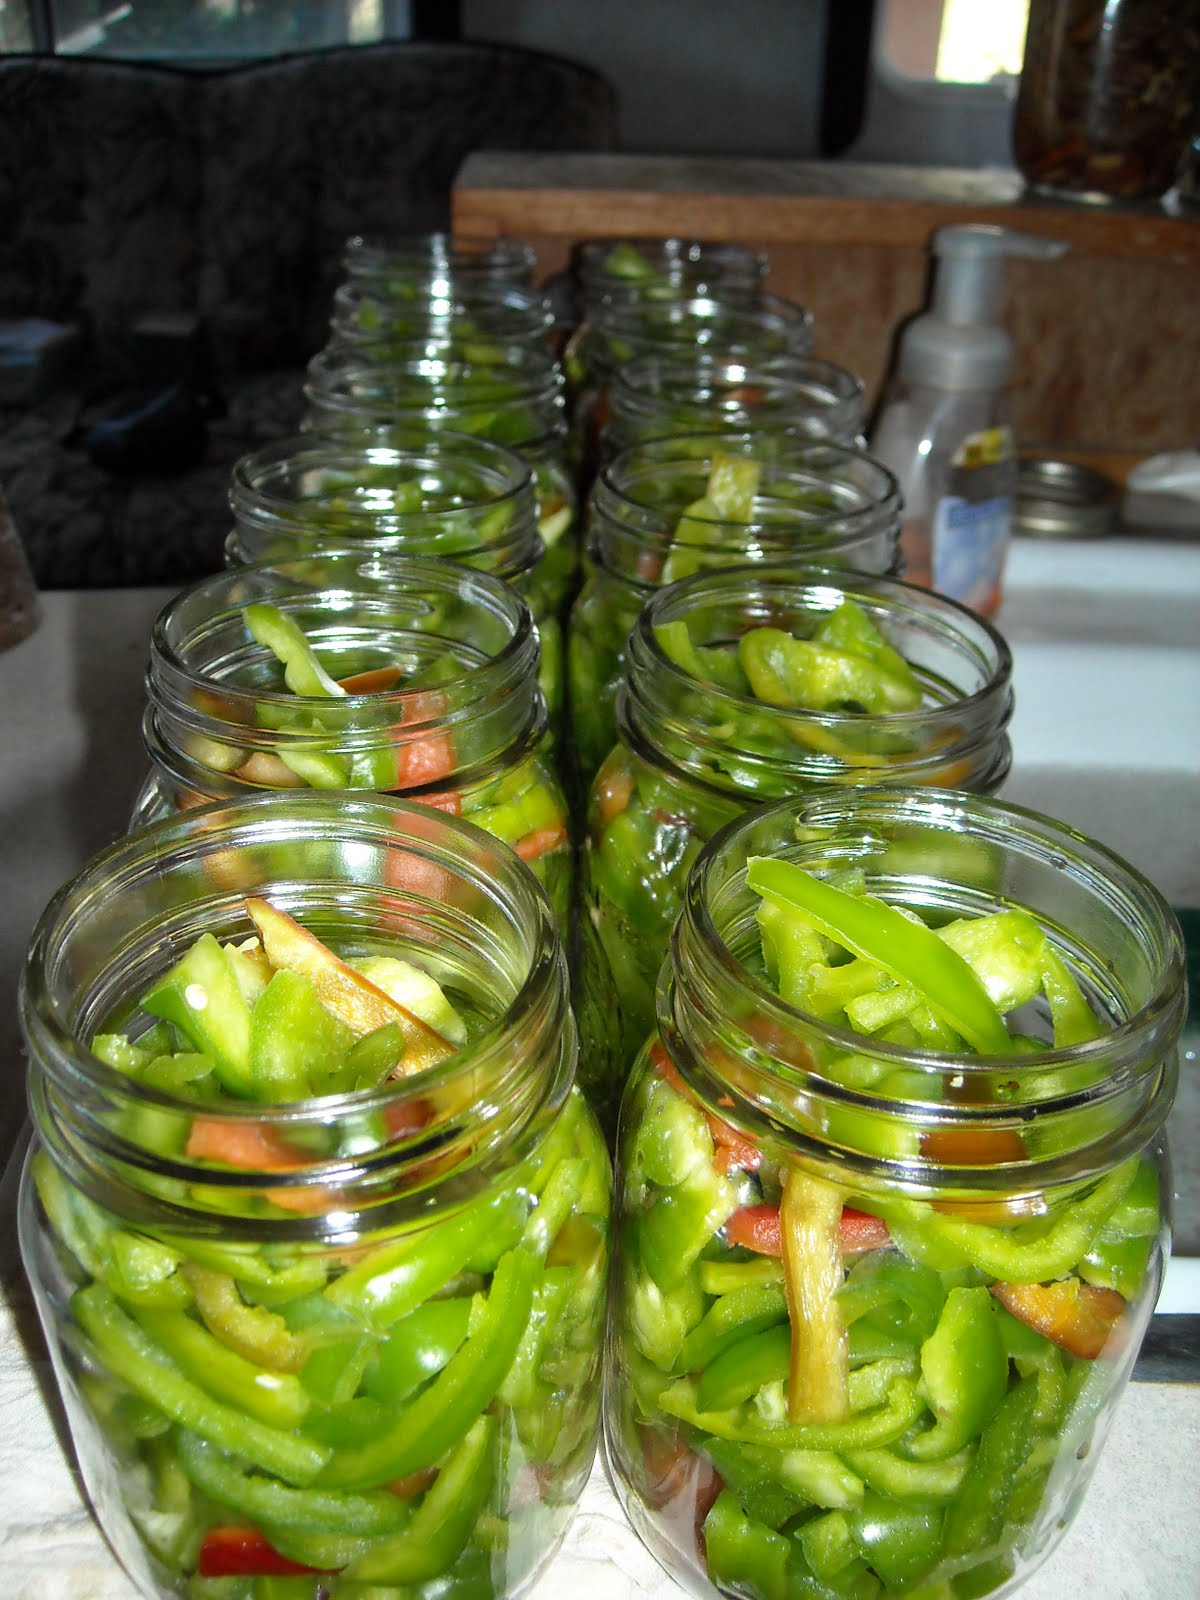
Here they are ready to be canned. As I was going through the pepper plants harvesting the ripe ones, I found that a plant with smaller red and green peppers resembling chili peppers had popped up. (Imagine, if you will, what the Chili’s Restaurant pepper logo looks like.) Well, I haven’t been canning those because Dave likes to eat them raw here and there. HOWEVER, we have found that somehow these peppers were rubbing elbows with some of the other peppers; and sometimes when we bite into a sweet red or green pepper, we’ll get a HOT surprise! So some of these jars are packed with more taste than we bargained for! 🙂

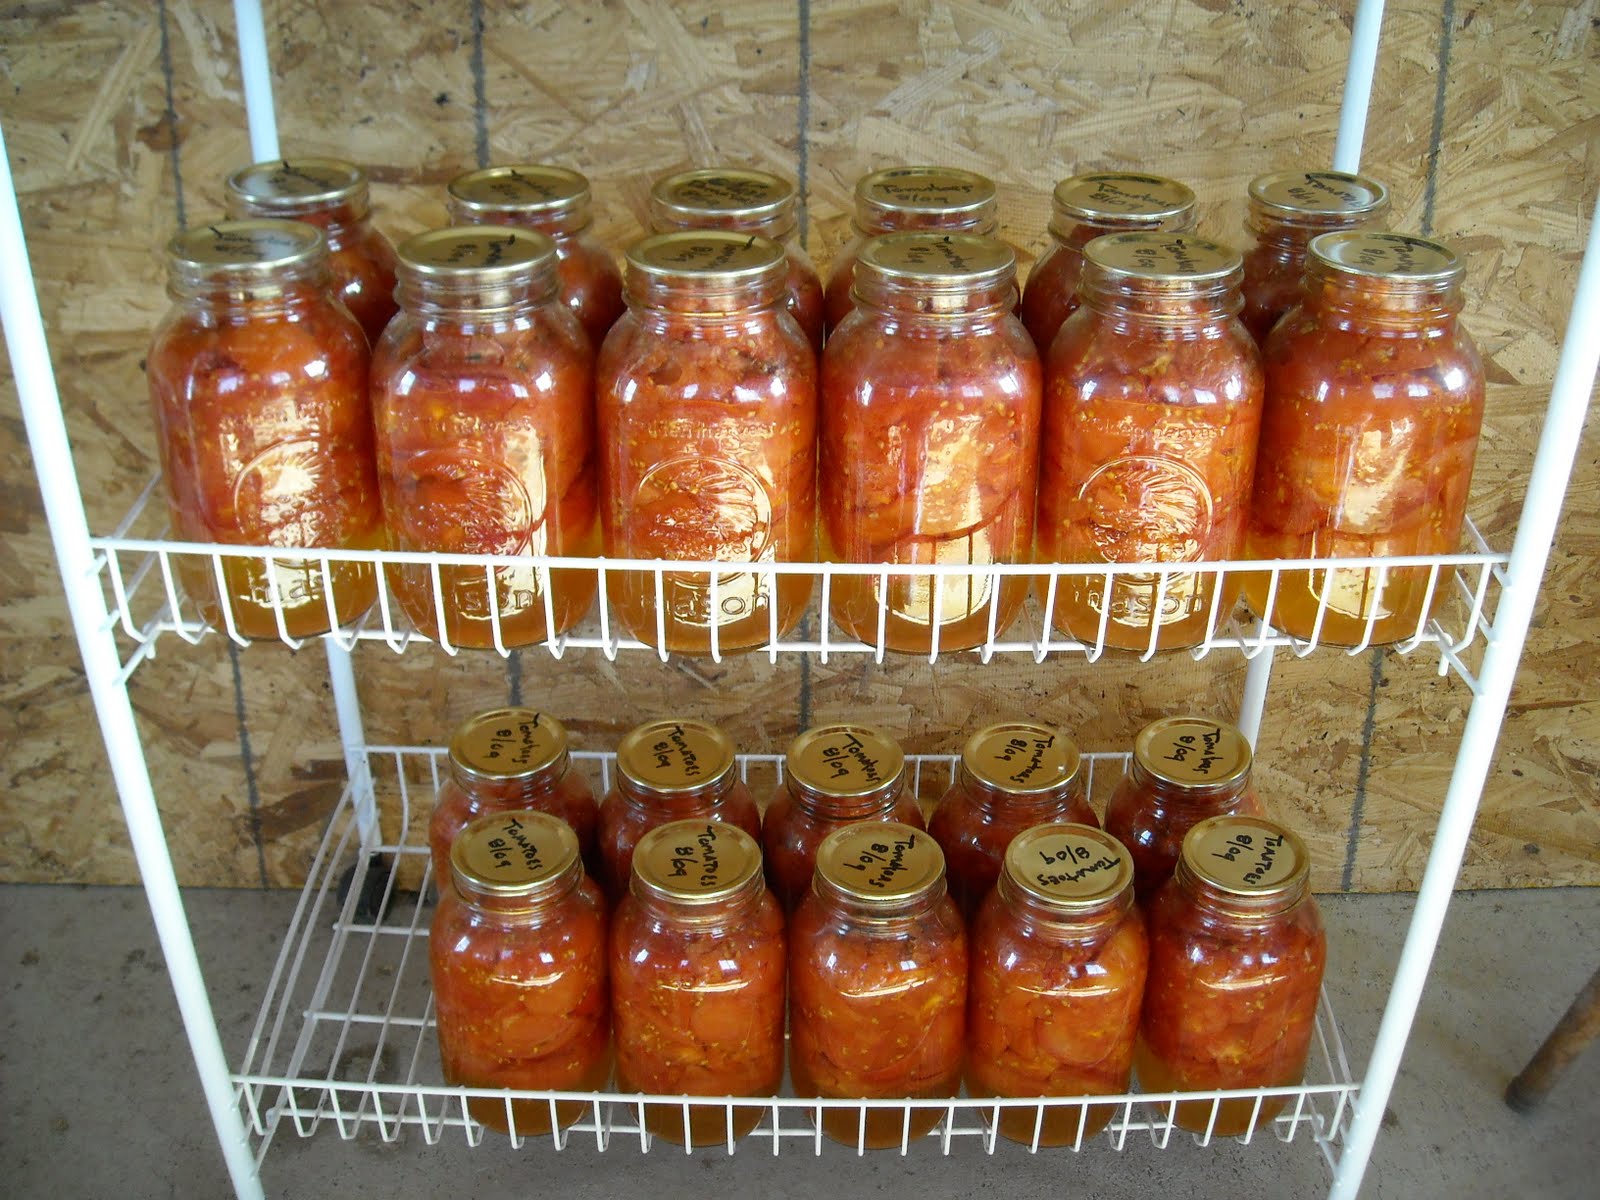
We planted 17 tomato plants this year hoping that we might have a successful crop; but for some reason, none of them did well at all. We have harvested probably fewer than 40 tomatoes the entire summer. Not sure what happened. But, thankfully, the local produce market was selling fresh tomatoes at a fraction of the normal price to keep them moving. We paid a whopping $5.00 for these tomatoes and got 22 quarts! Thanks to the Lord!

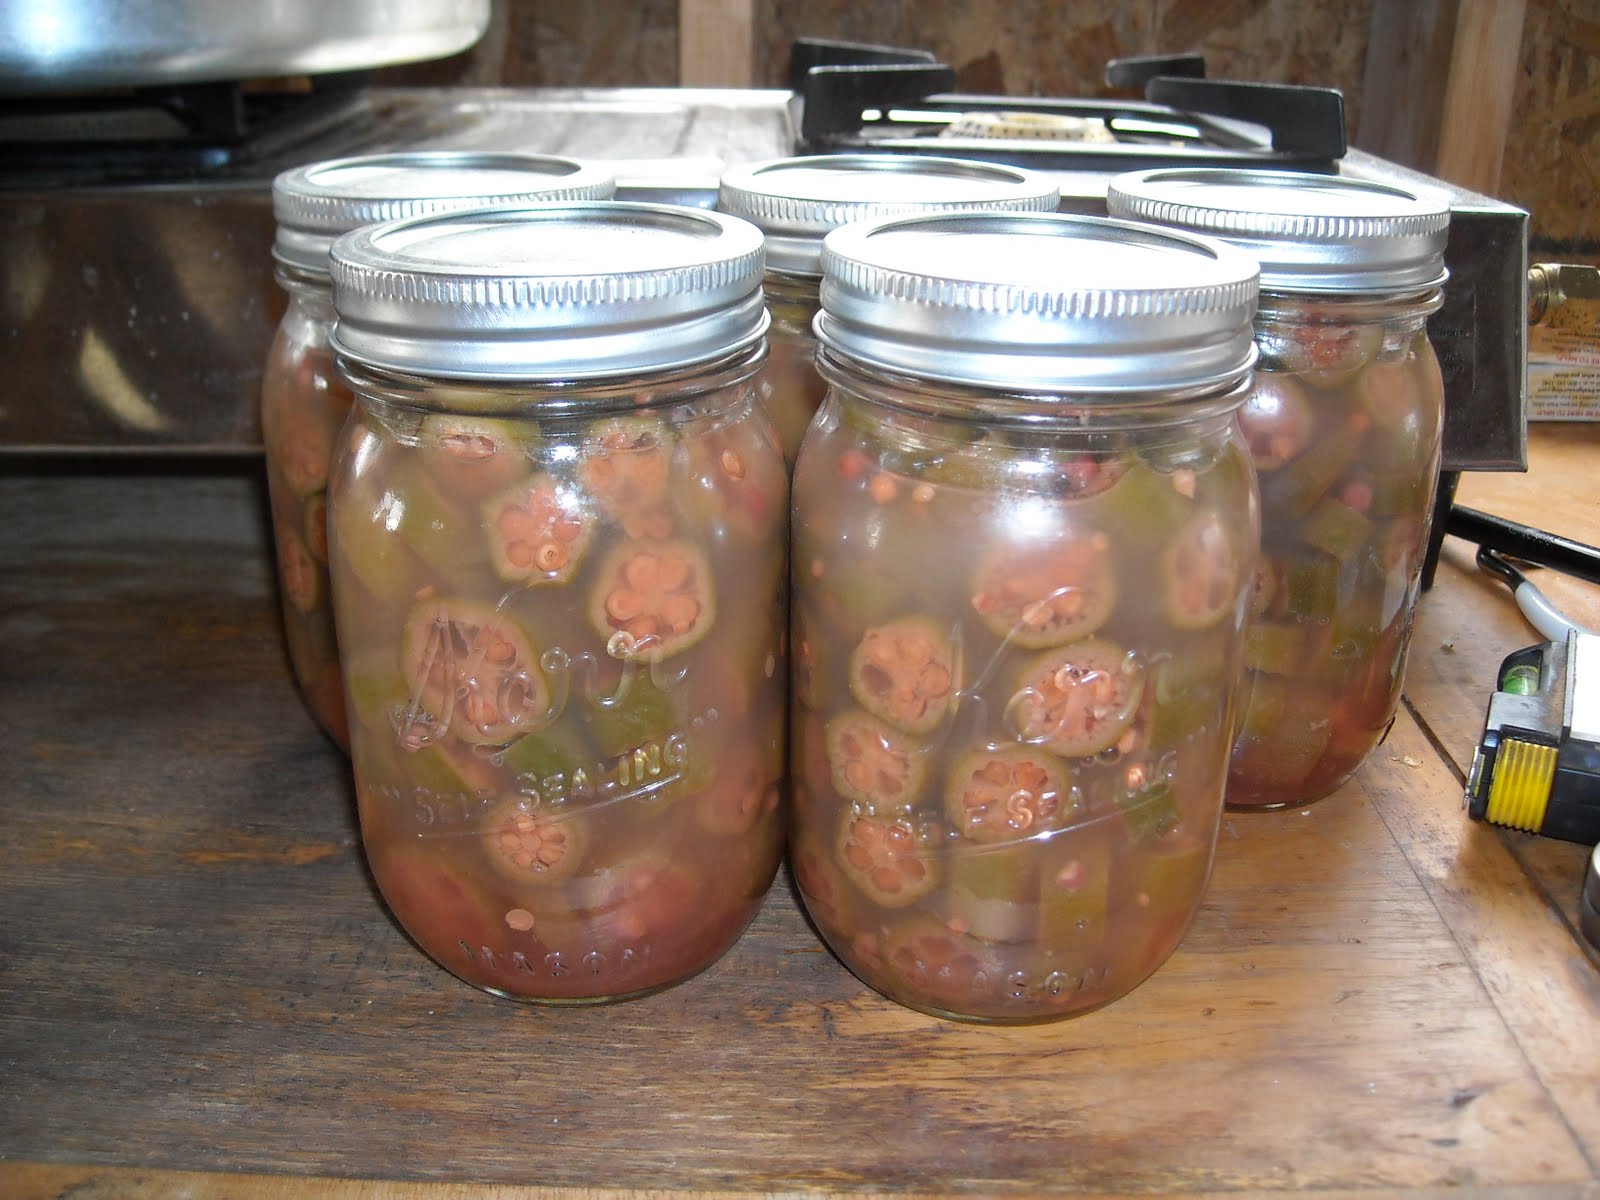
Hmmmmmm, then there is okra (not to be confused with Oprah). Okra and I are still getting to know each other. Coming from the West Coast, I had never eaten okra and don’t believe it is on any menu I’ve ever seen in California. So I’m still becoming acquainted with these Southern crops. To be completely honest, okra and I have a kind of love/hate relationship. They are SO prolific, I could not keep up with them. Do you know that okra can grow to maturity in four days?! It’s almost too much of a good thing. They are fibrous by nature; so if you don’t catch them when they are young and tender, they can get pretty tough and stringy. However, in the canning process, they do soften up and are very edible. I only tried to fix fried okra once but had to put doing that on the back burner (no pun intended) after that until I have more time to experiment with the seasonings. For now though, we are very grateful to have several jars of nutritious okra put away in the root cellar. They’re actually quite tasty when I process them with lemon juice and a little salt:

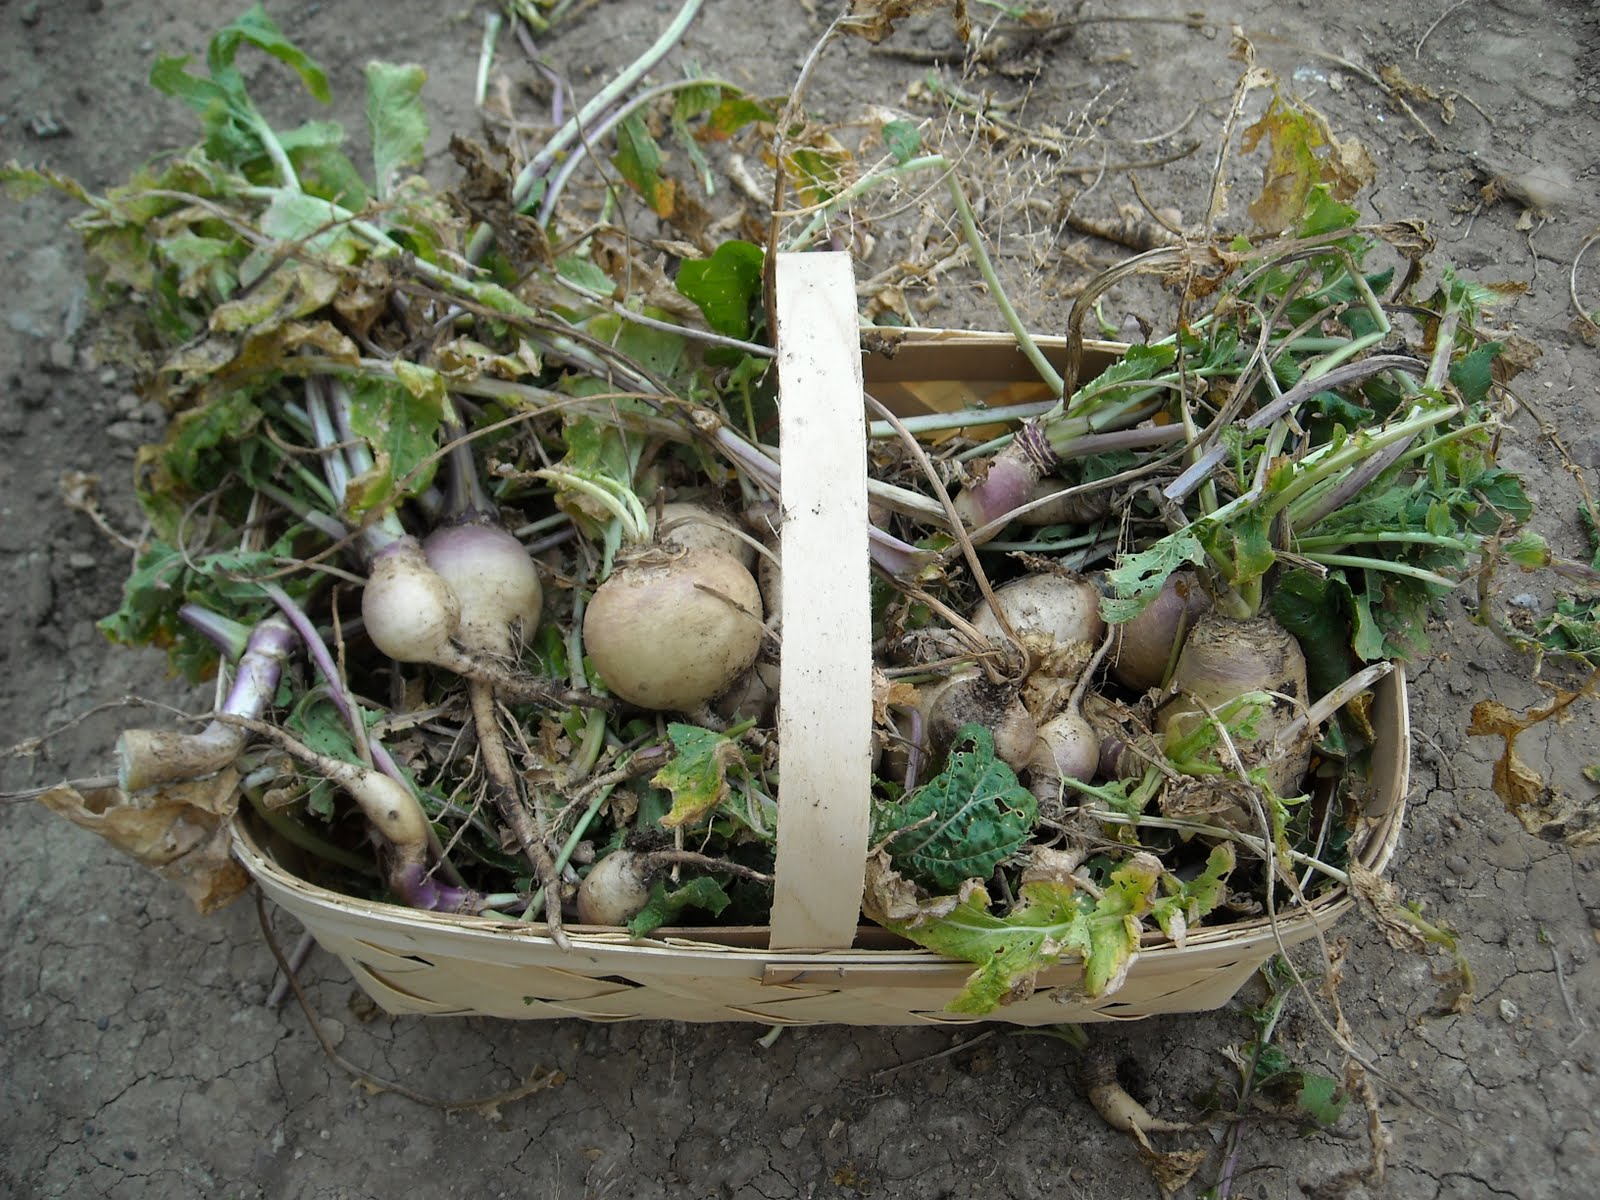
We planted a half bed of turnips this year as a kind of experiment to see how they would grow. They did very well, and we had many great salads with turnip greens. The greens are a bit misleading because the actual number of turnips that were harvested were not that many. But we were very thankful to have this basket full of them:

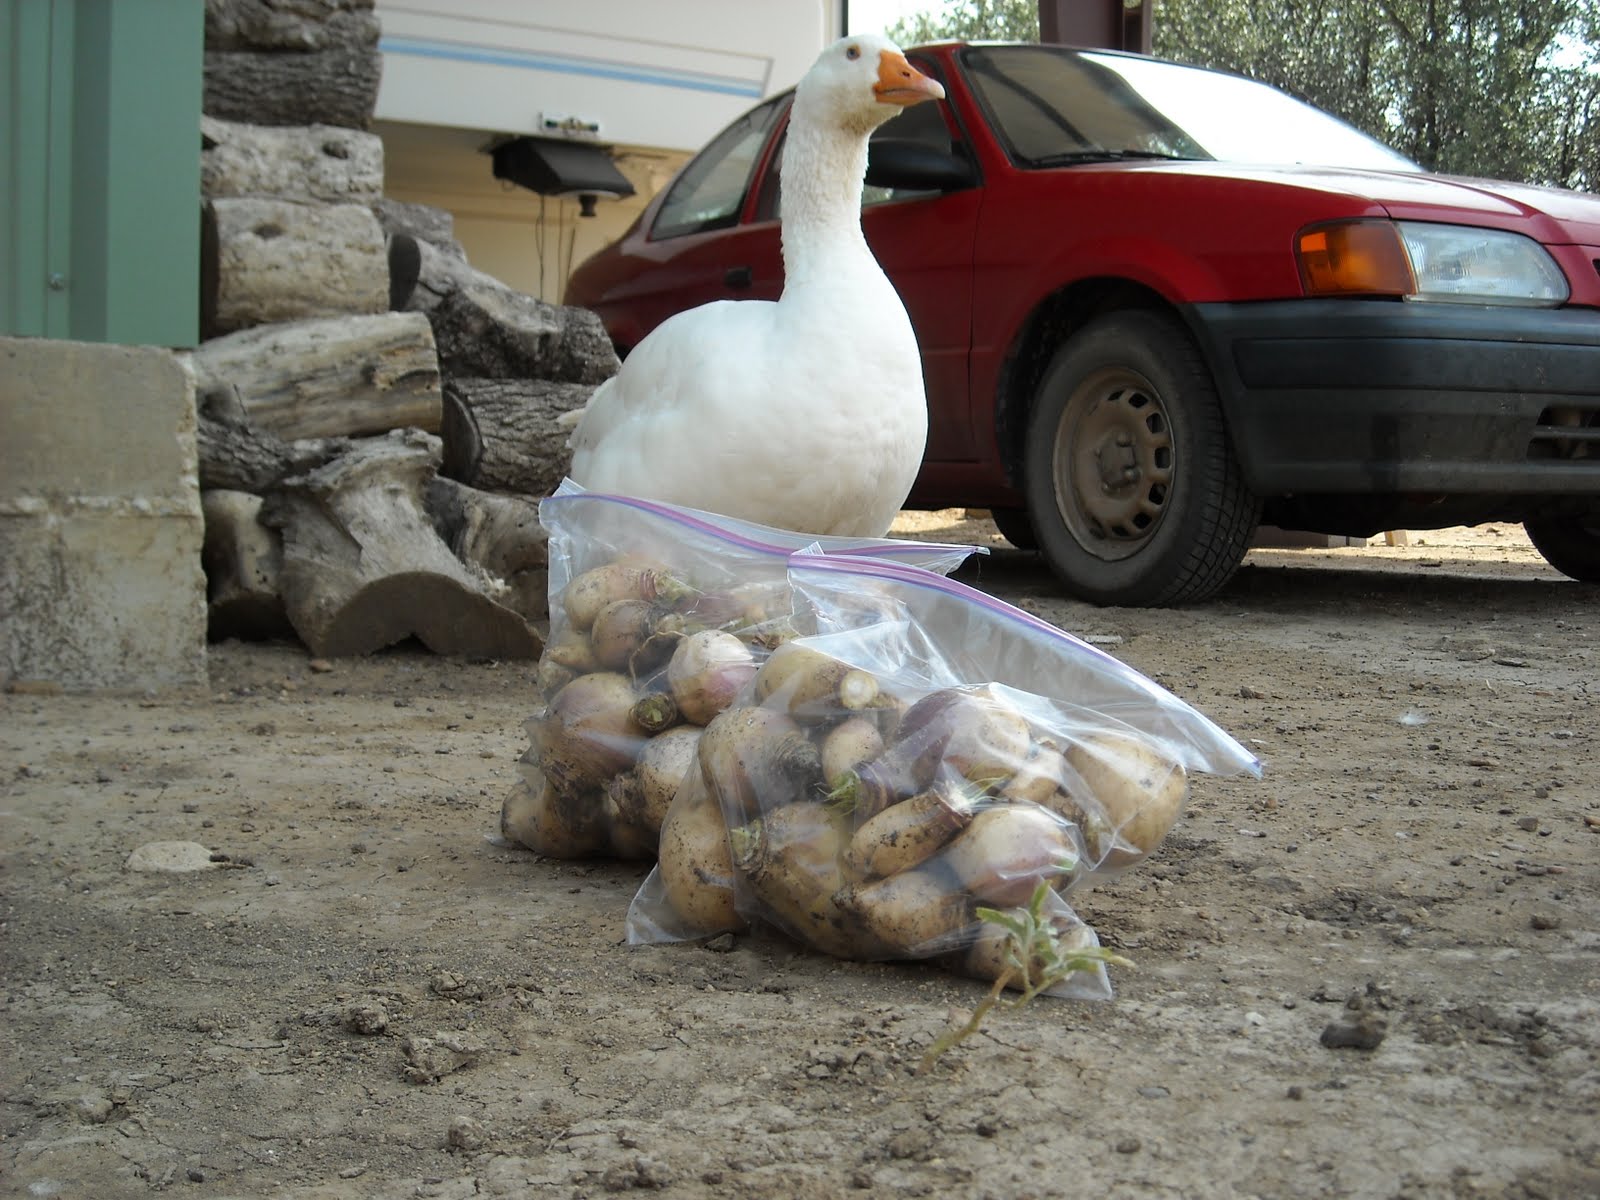
Dave put them in freezer bags to be kept in our large freezer (which we had running because I was in the process of canning our two butchered hogs at the time) until I could get around to canning them. Here, we paid Gary a couple carrots to guard them until Dave could put them in the freezer:

Sadly, they thawed just enough in the freezer that they started going bad by the time I could get to them. So our turnips were, instead, enjoyed by our hog, Missy. Maybe next year…….

We also have gotten some great green onions and red onions from our garden, of which I don’t currently have pictures. I still haven’t gotten used to knowing I can just walk outside over to the garden and pick a bunch of fresh produce to put into our meals. What an amazing blessing for which we are so thankful to God.

Susan

« Older posts Newer posts »