In studying on how to build a pier and beam foundation, and how to prevent against termites, I learned that there are termite shields available to put on top of a concrete pier. Well, I wasn’t able to obtain any locally; so I thought I might try to make them myself. The following is the process of how I did that:
Since flashing is galvanized, which again helps against rust, I figured that would be a good material to use. I purchased 20″ flashing, and cut it into squares:

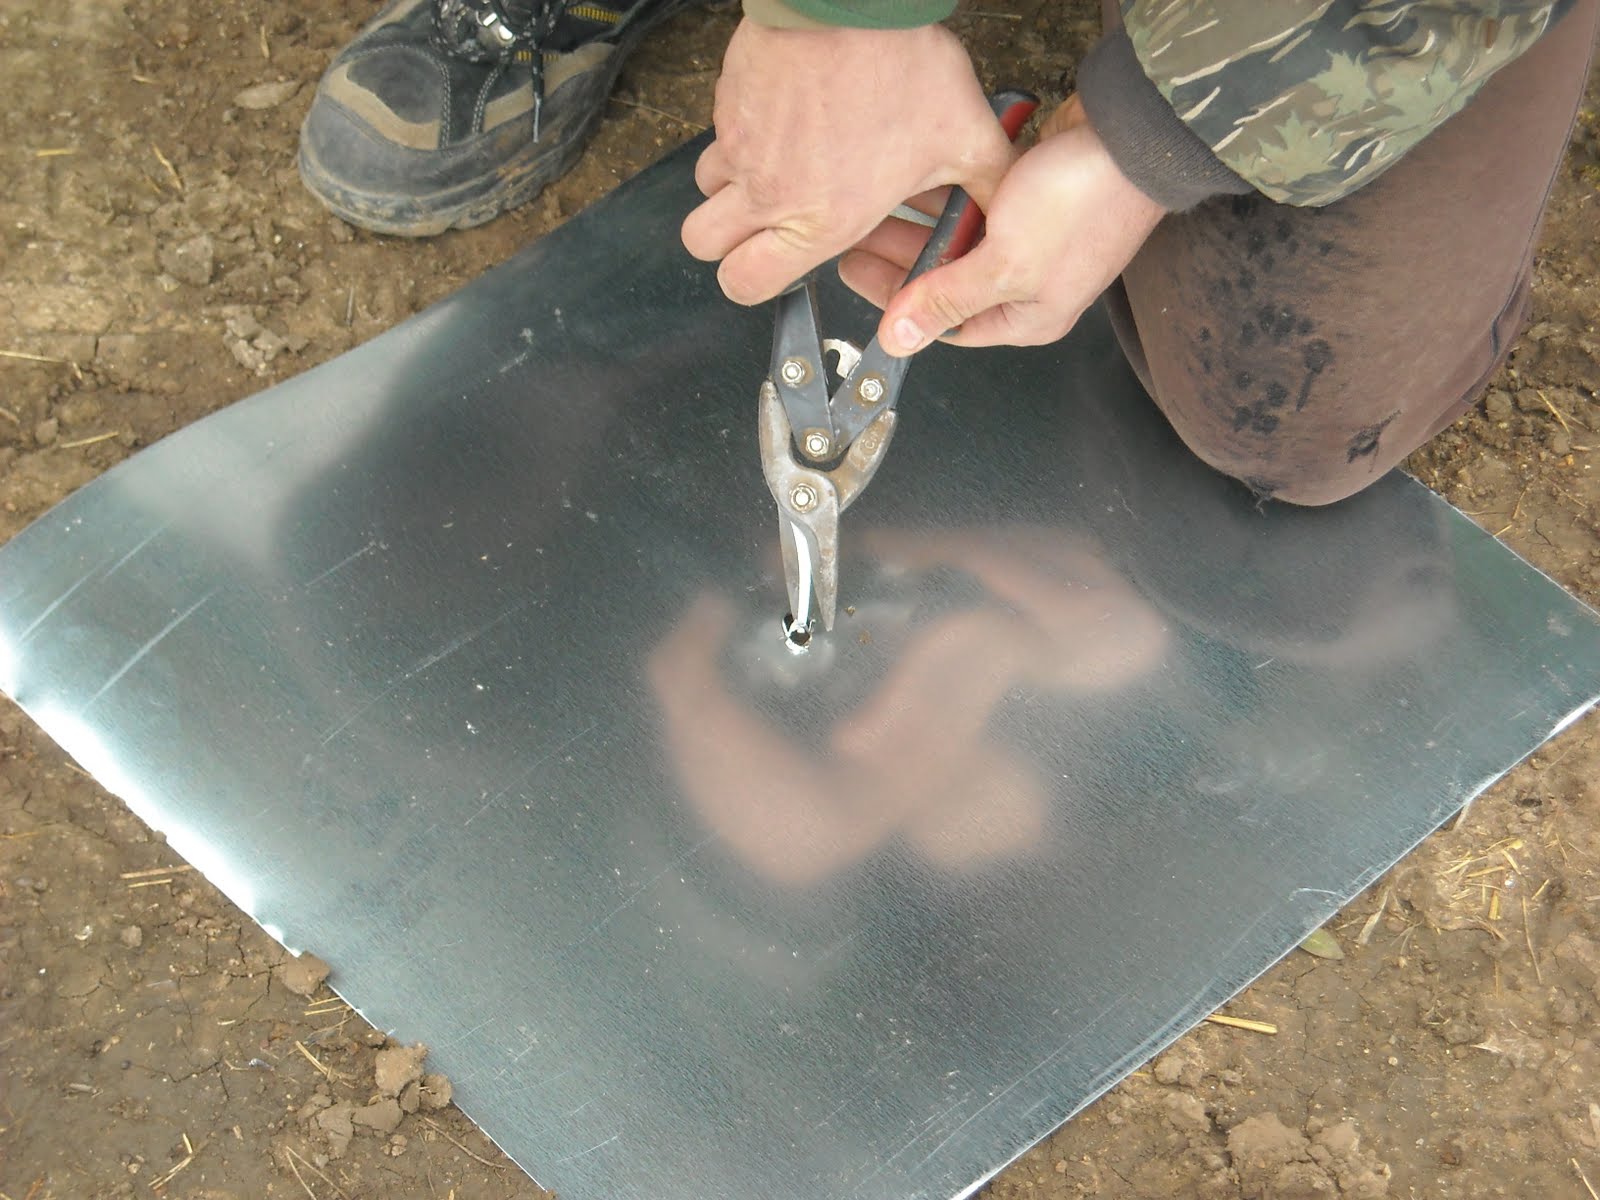
Since they had to fit over a 5/8″ bolt sticking out of the concrete pier, I drilled two 3/8″ holes next to each other in the center of the flashing squares; and I was able to drill three squares at a time easily:

Since the two drilled holes were next to each other, and given the size of the pier’s bolt, I had to cut out the center hole a bit:
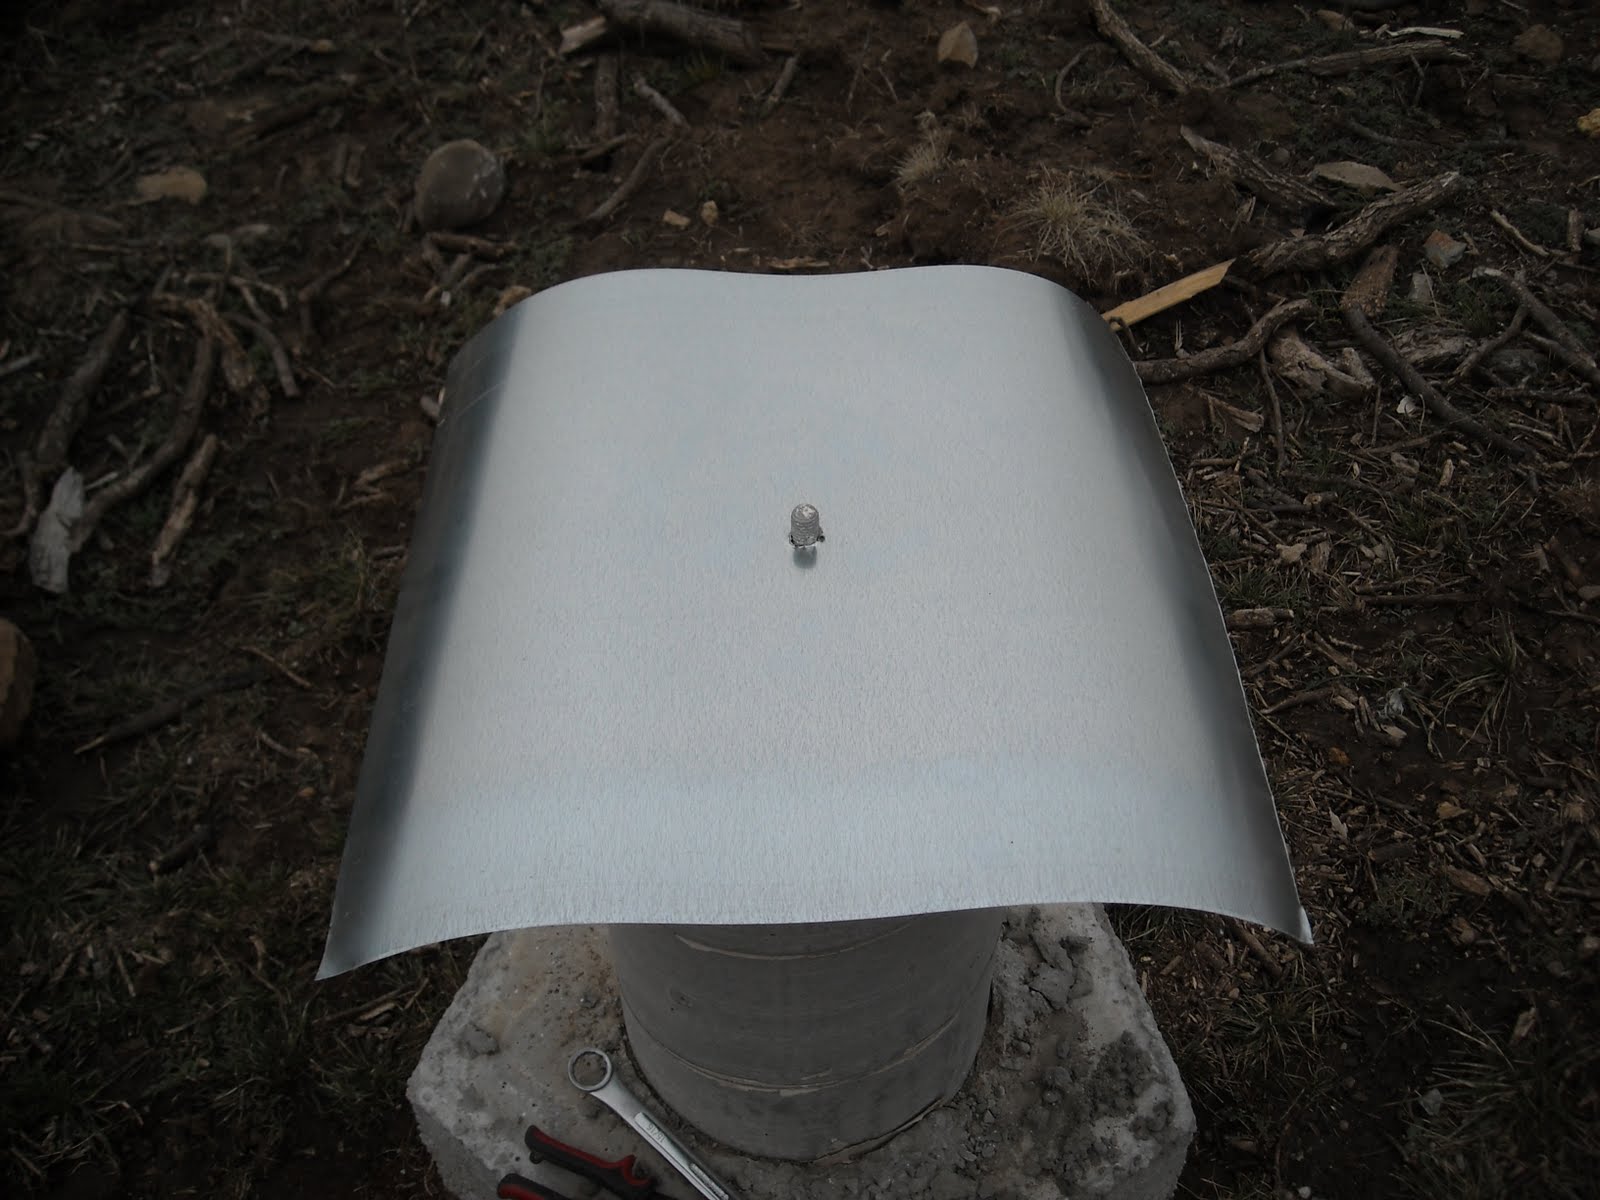
Here is the flashing pushed onto the pier. I usually had to work it down onto the bolt. Before putting it on, I sprinkled on some Seven termite powder because I heard that was a good thing to do, but my guess is the weather has removed most of it by now:
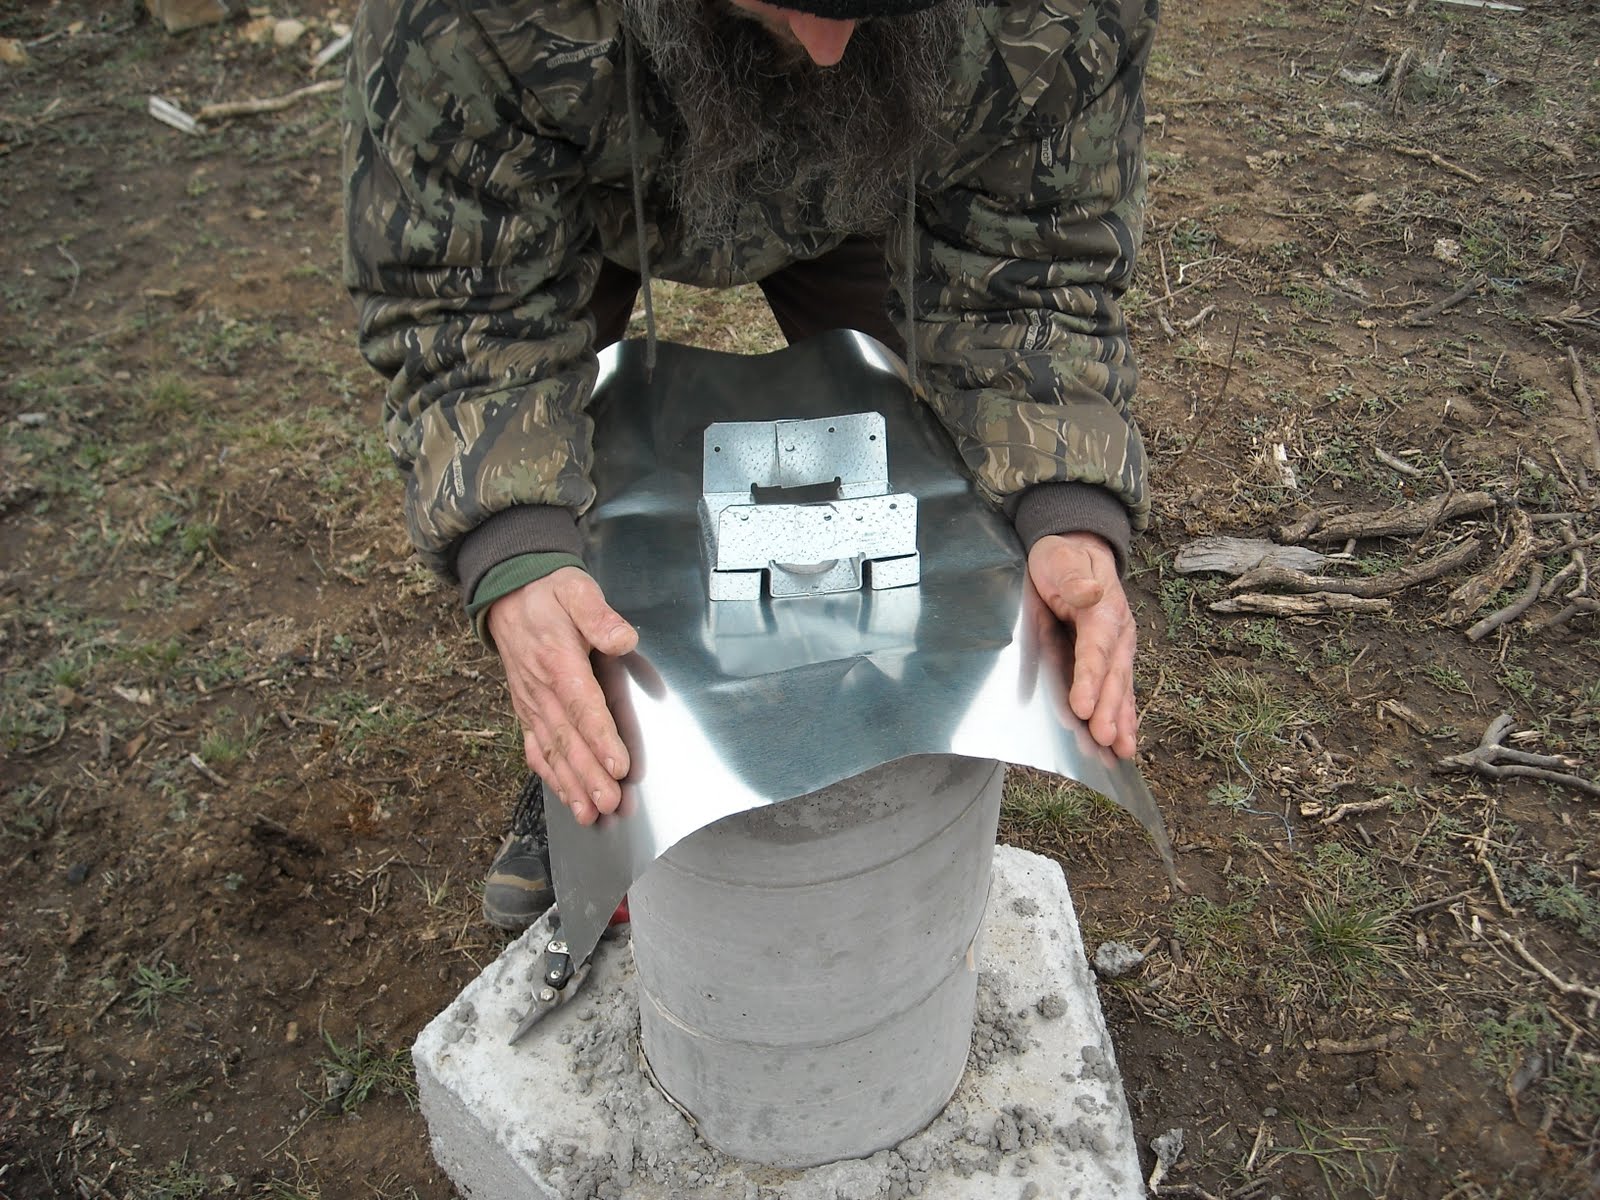
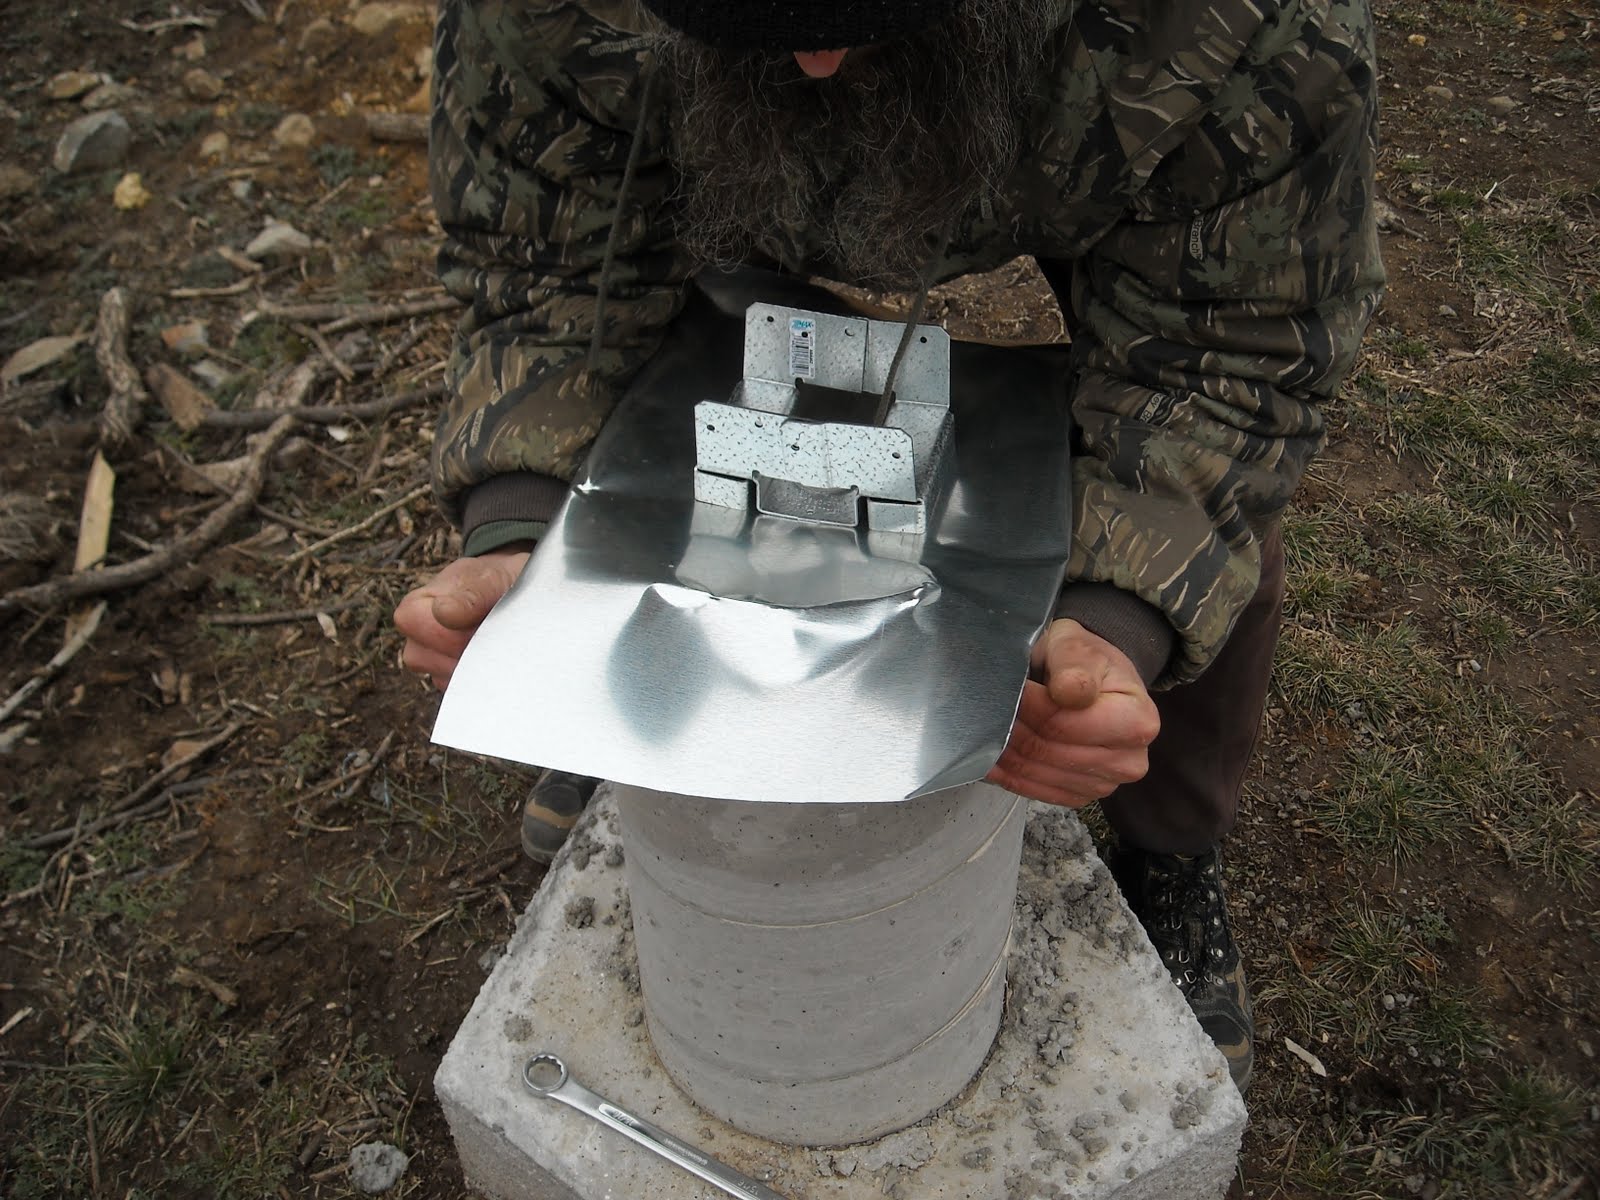
After placing the beam bracket on the shield over the bolt and finger tightening the nut down to hold the flashing in place, I folded the sides down to crease the flashing, and began to form it into its final shape. I originally tightened the bolt down all the way on quite a few of them, but realized that bent the brackets in the middle, which wouldn’t have allowed the beam to sit flat on them:
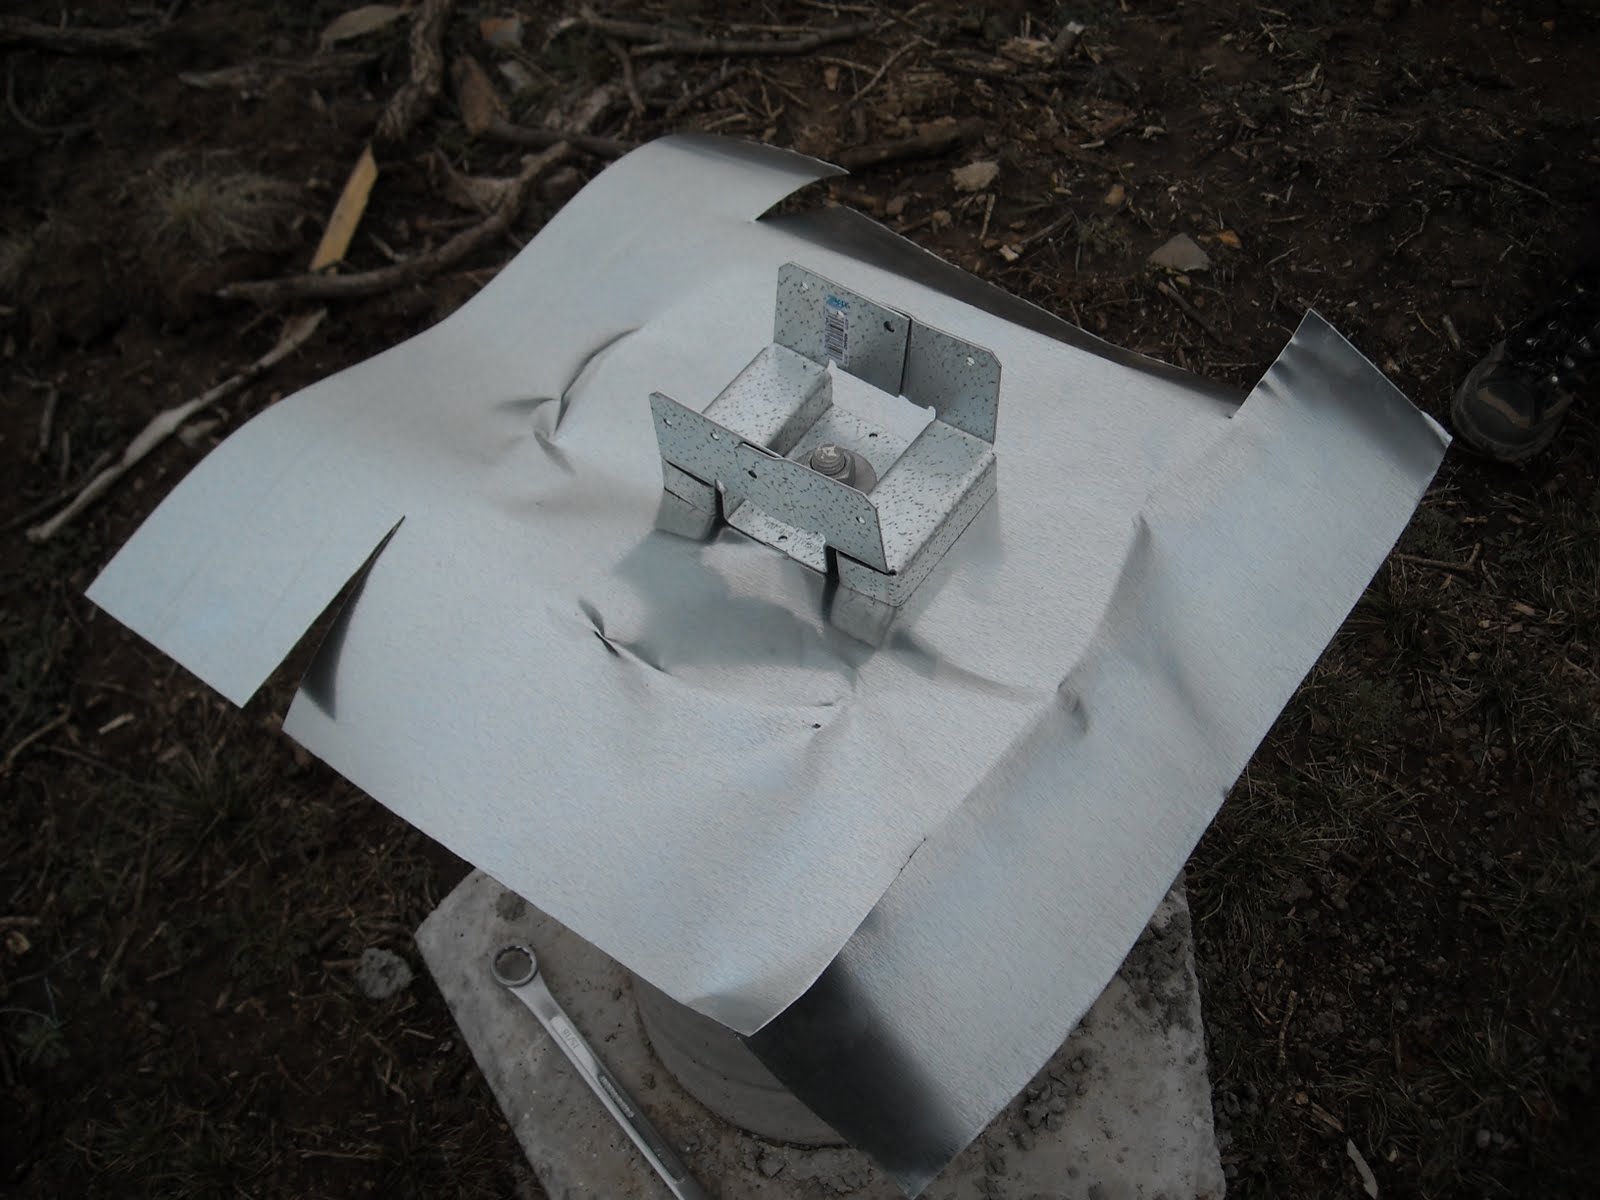
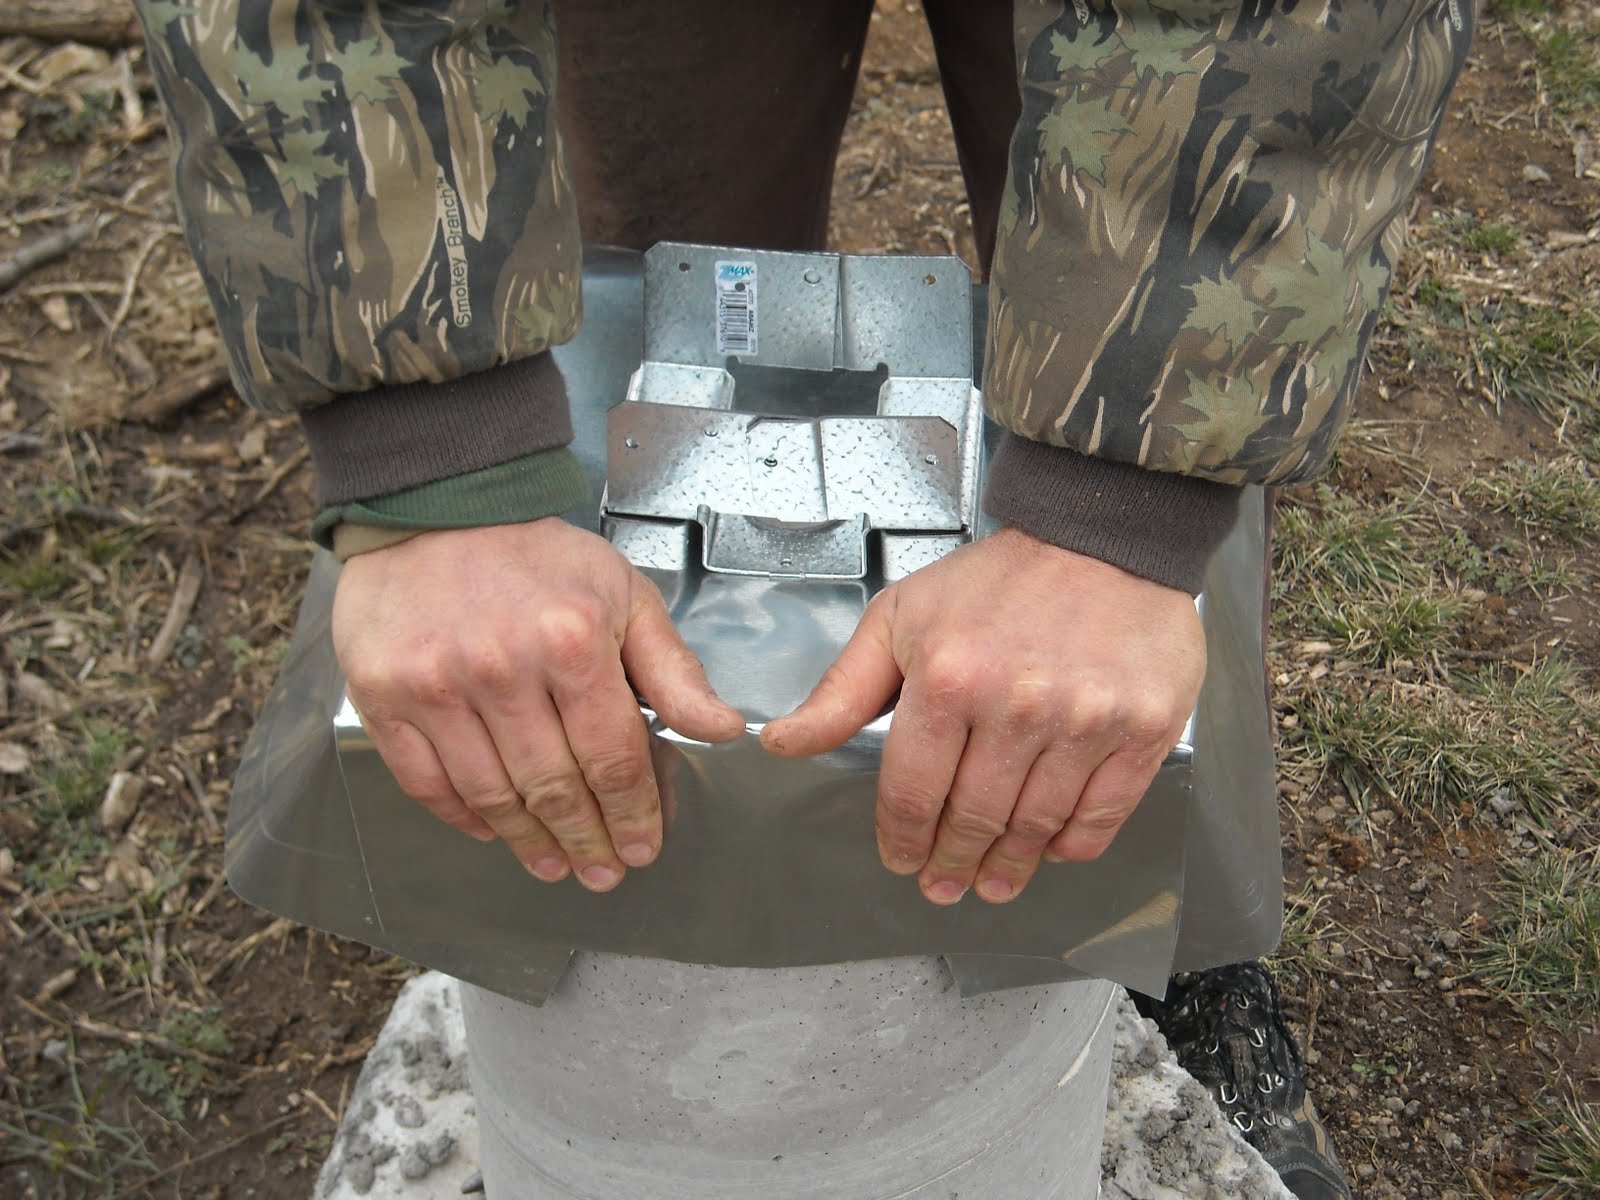
On opposite sides of the pier, and starting several inches in from the side edge of the flashing, I cut the folded flashing from the lower edge to a point where two perpendicular creases met in a line, creating a square out of two flashing edges and a cut edge; and I did this for all four corners:
Then I positioned myself on one side where I had made the cuts, reached around the other side of the pier, and tucked in underneath the opposite side of the flashing the cut edges in each of my hands:
And then I folded the other sides on top of the tucked-in cut sides:
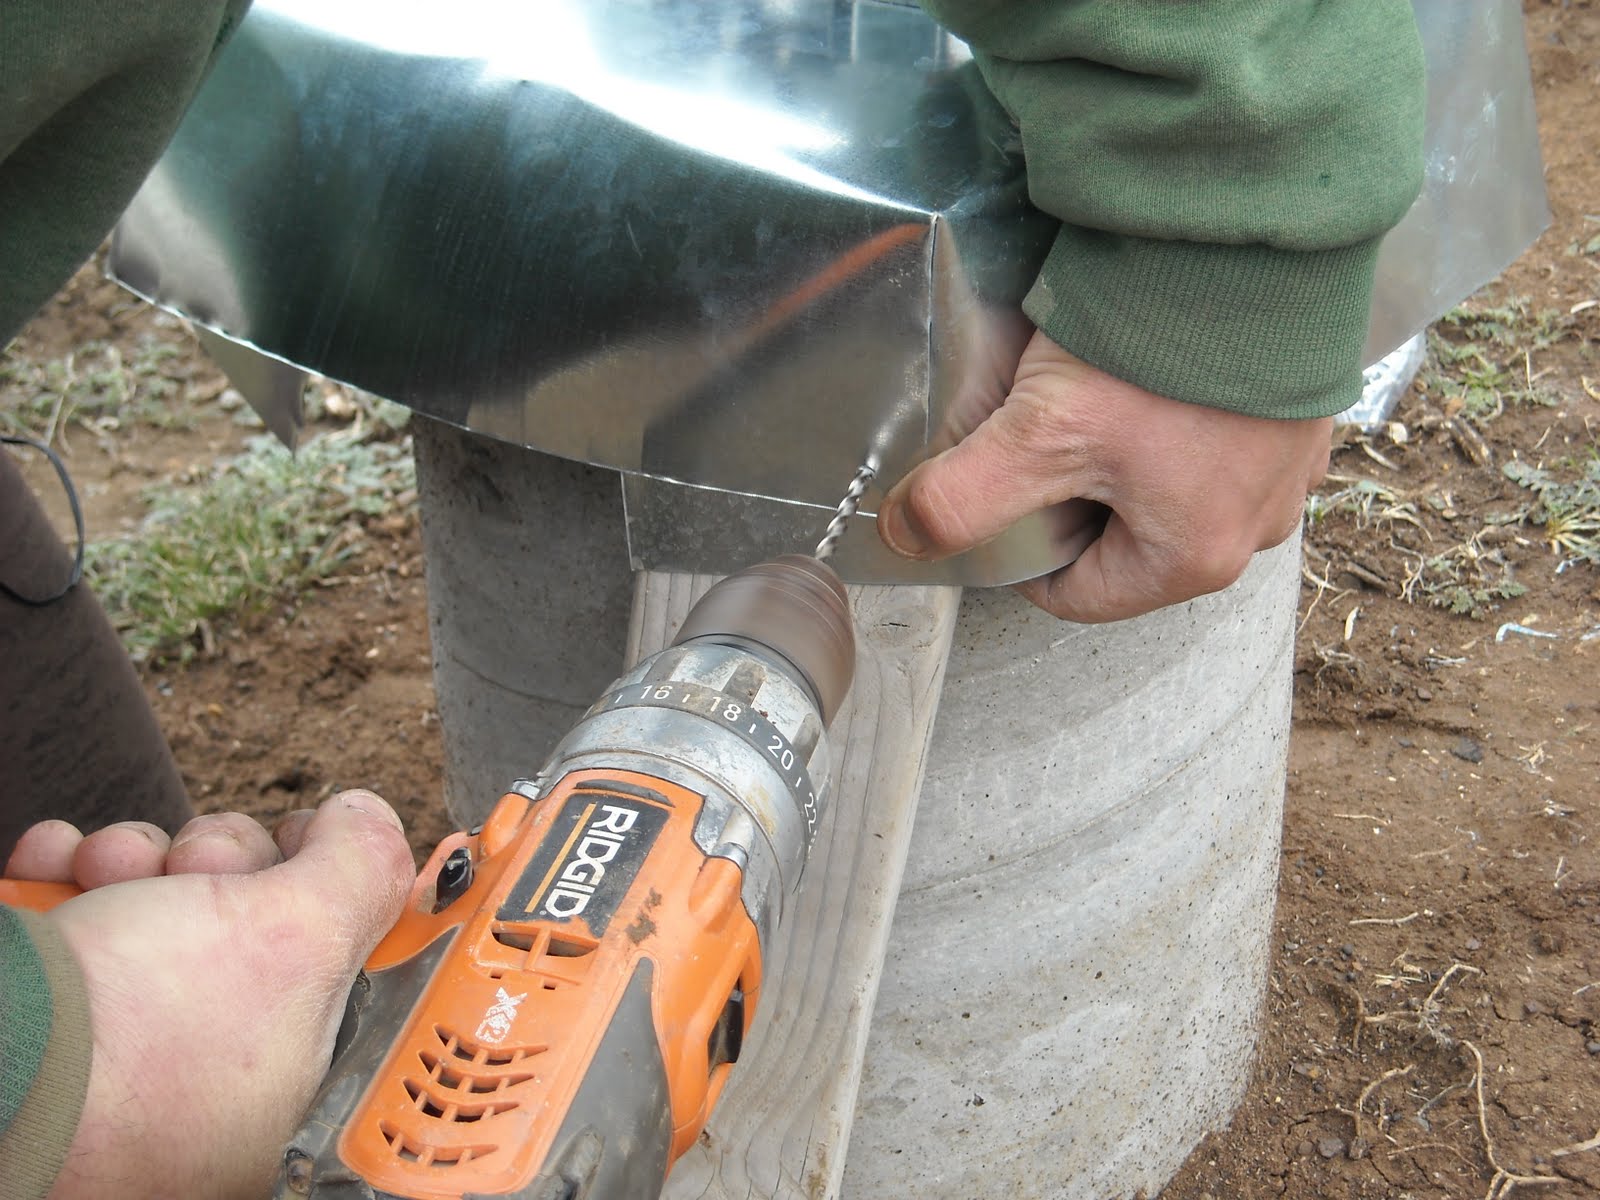
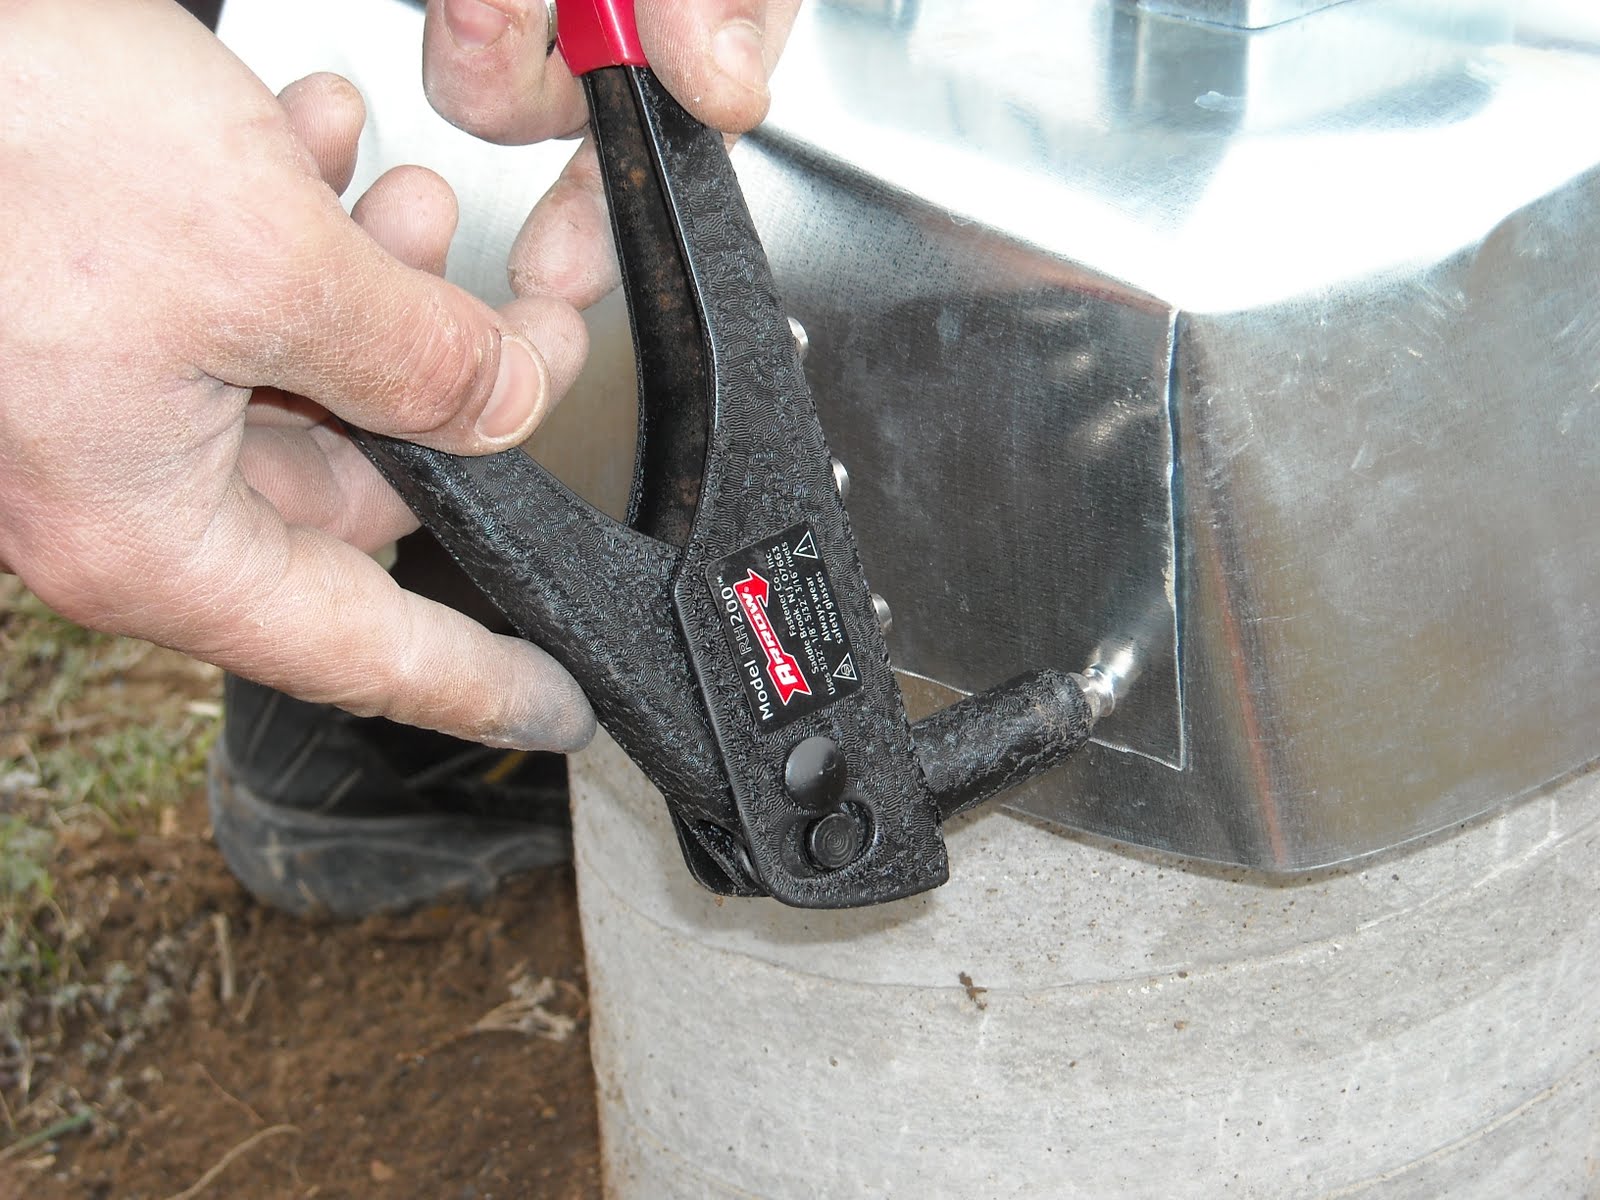
I didn’t want to leave the sides of the termite shield loose like that, so I decided to use rivets to fasten the corners in place. They are aluminum (again, to help against rust problems), and I chose 3/16″ short fastener rivets. I took a 2×4 and put it behind a folded corner to support the pressure of drilling; and using one hand, I closed the corner tightly around the 2×4. I then drilled a 3/16″ hole through the flashing in the corner of the overlapped flashing, and another hole in the corner of the folded-under flashing:
I then set the rivet in place…
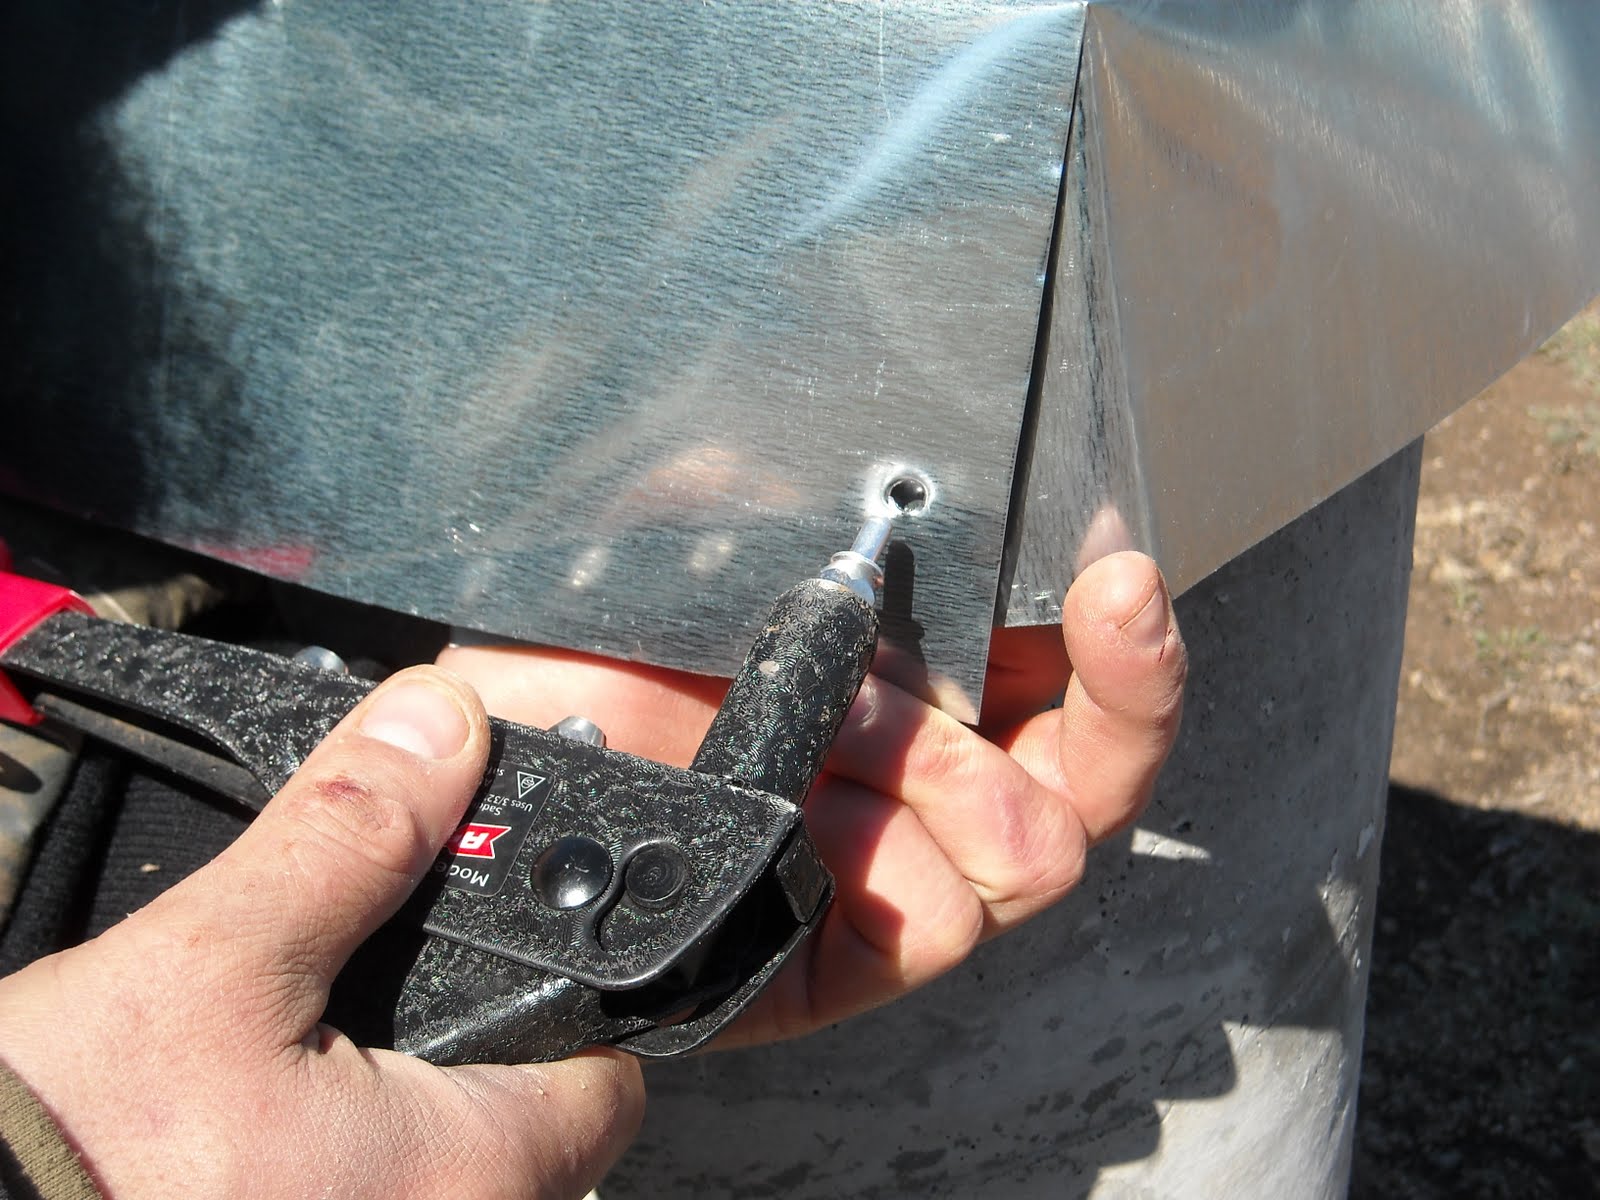
…and squeezed the rivet tool several times until the stem of the rivet cut off:
And here is the completed rivet:
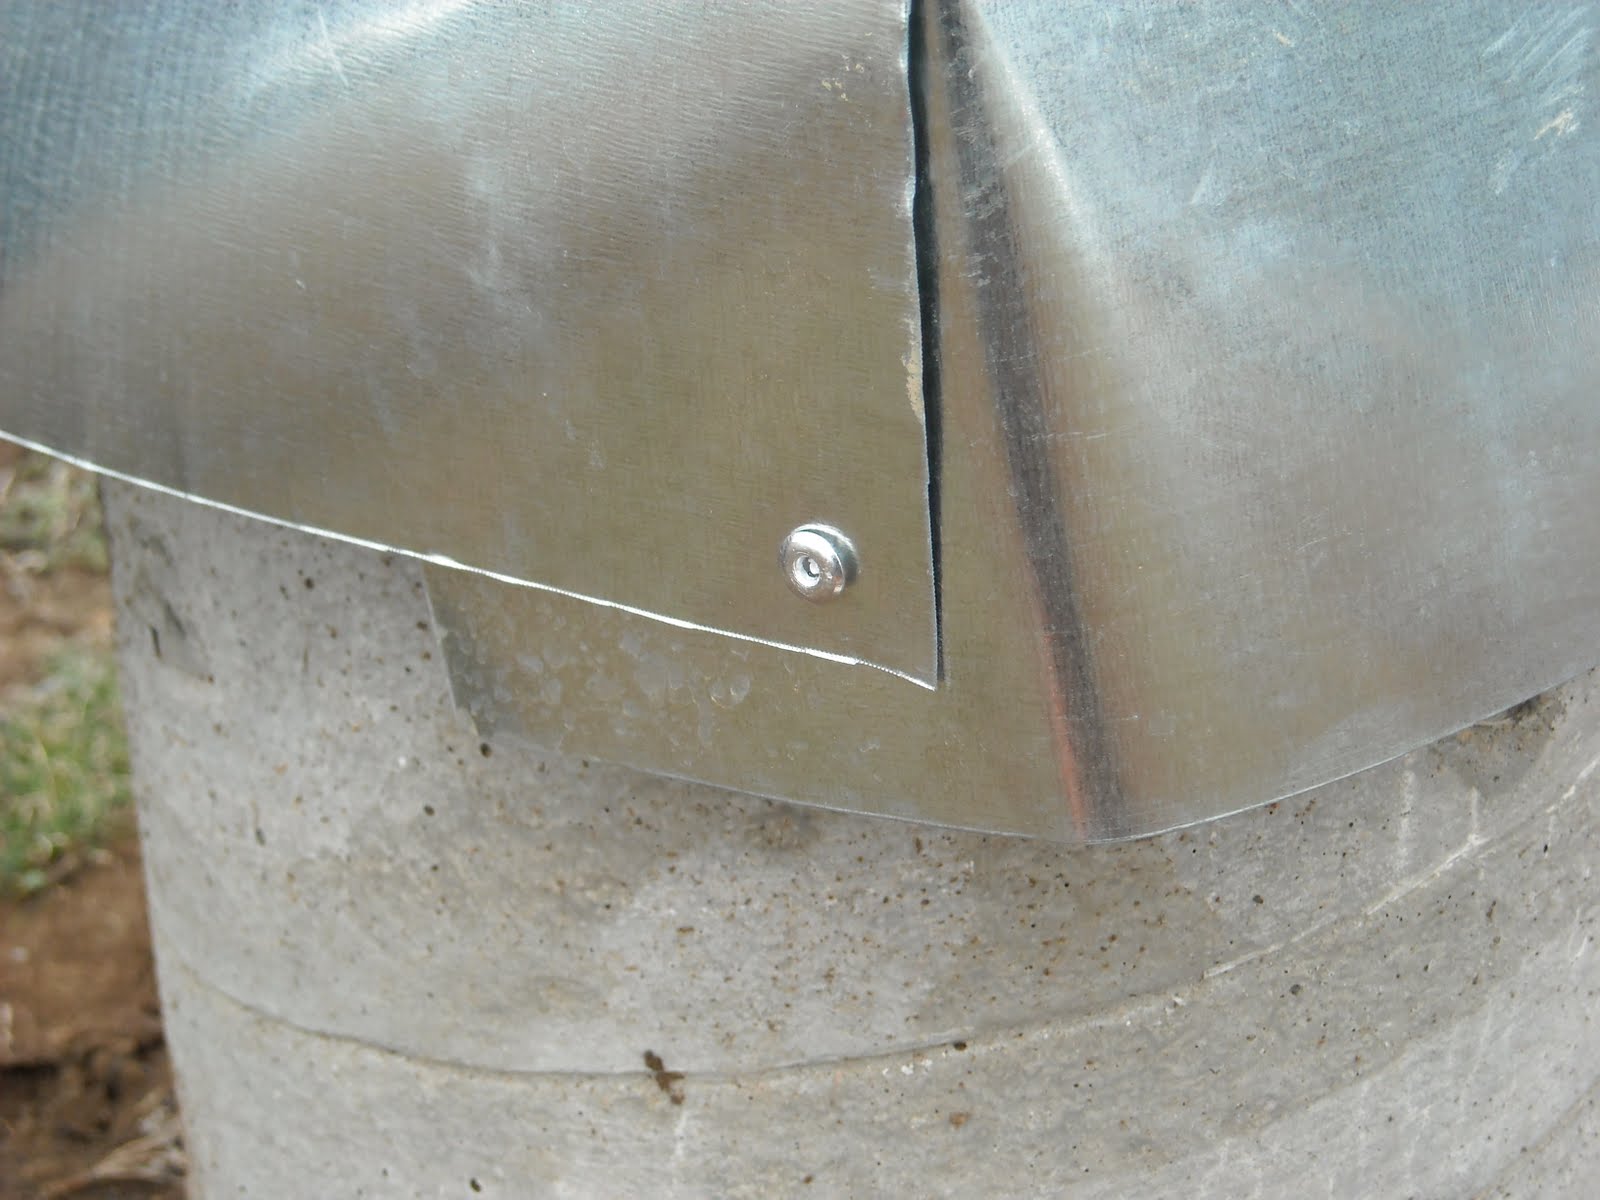
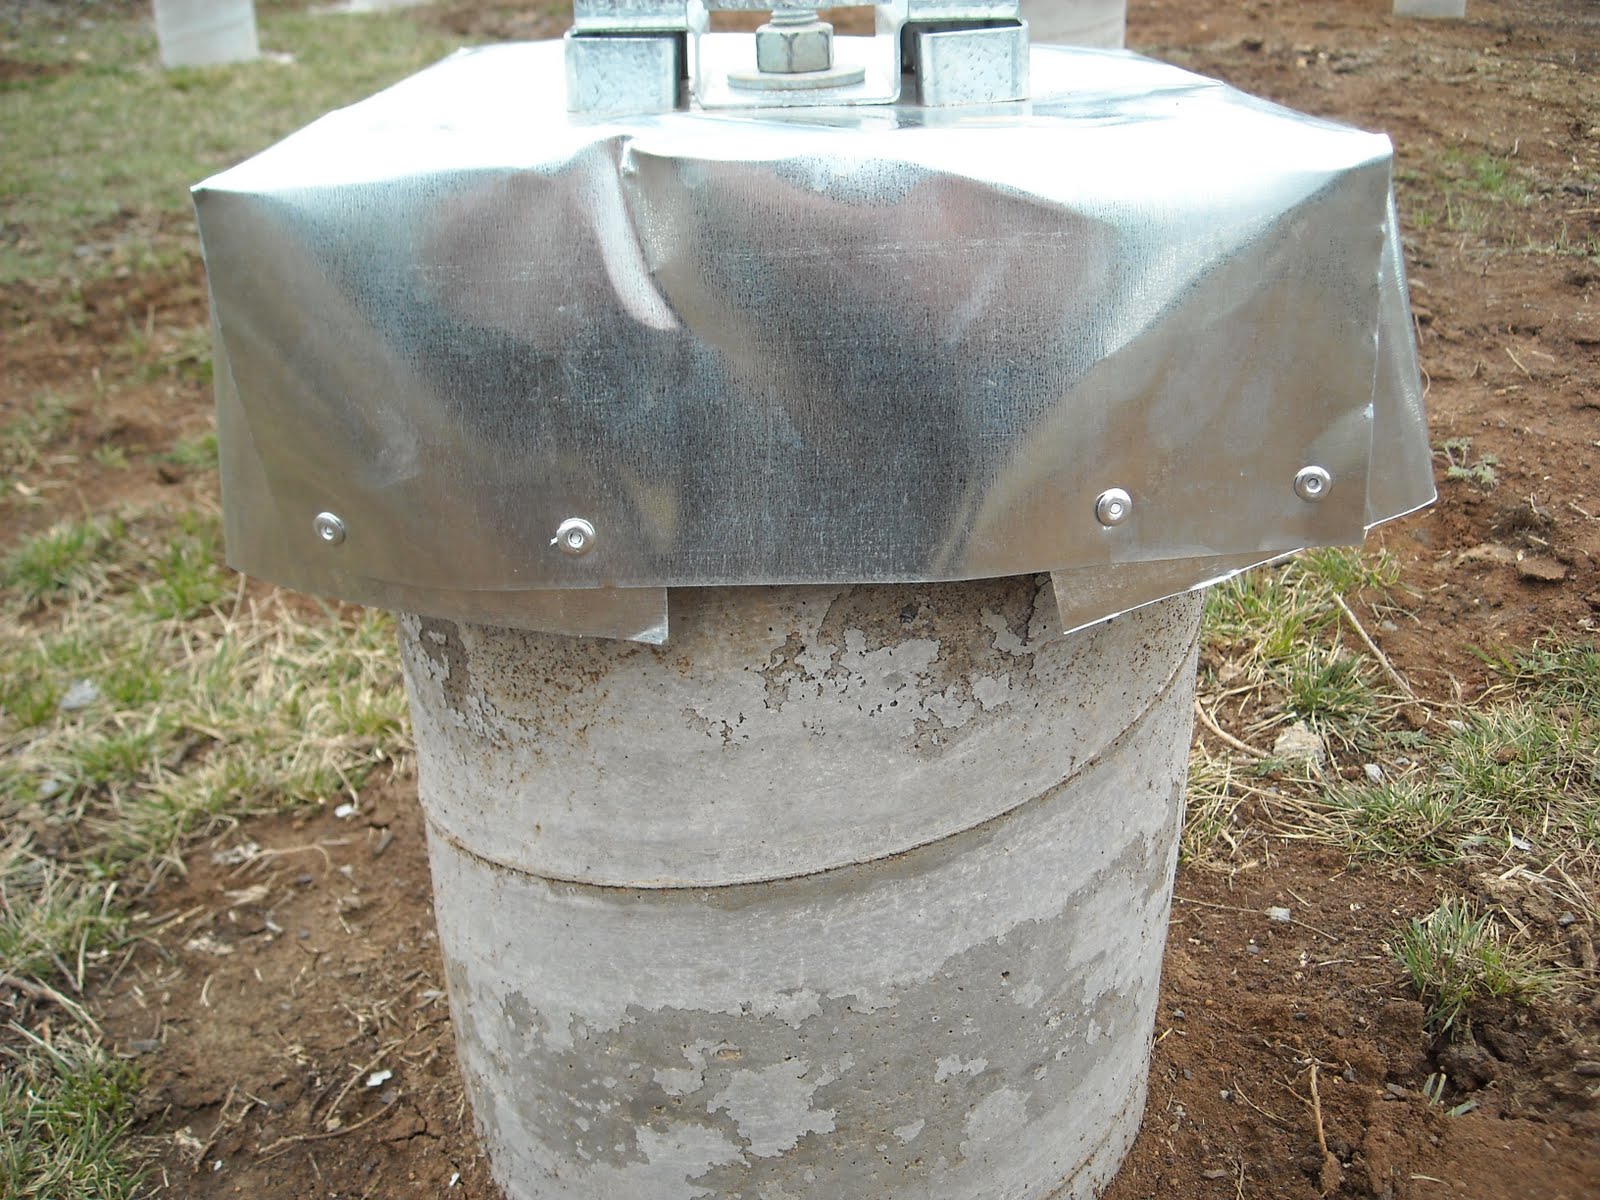
This is the completed termite shield:
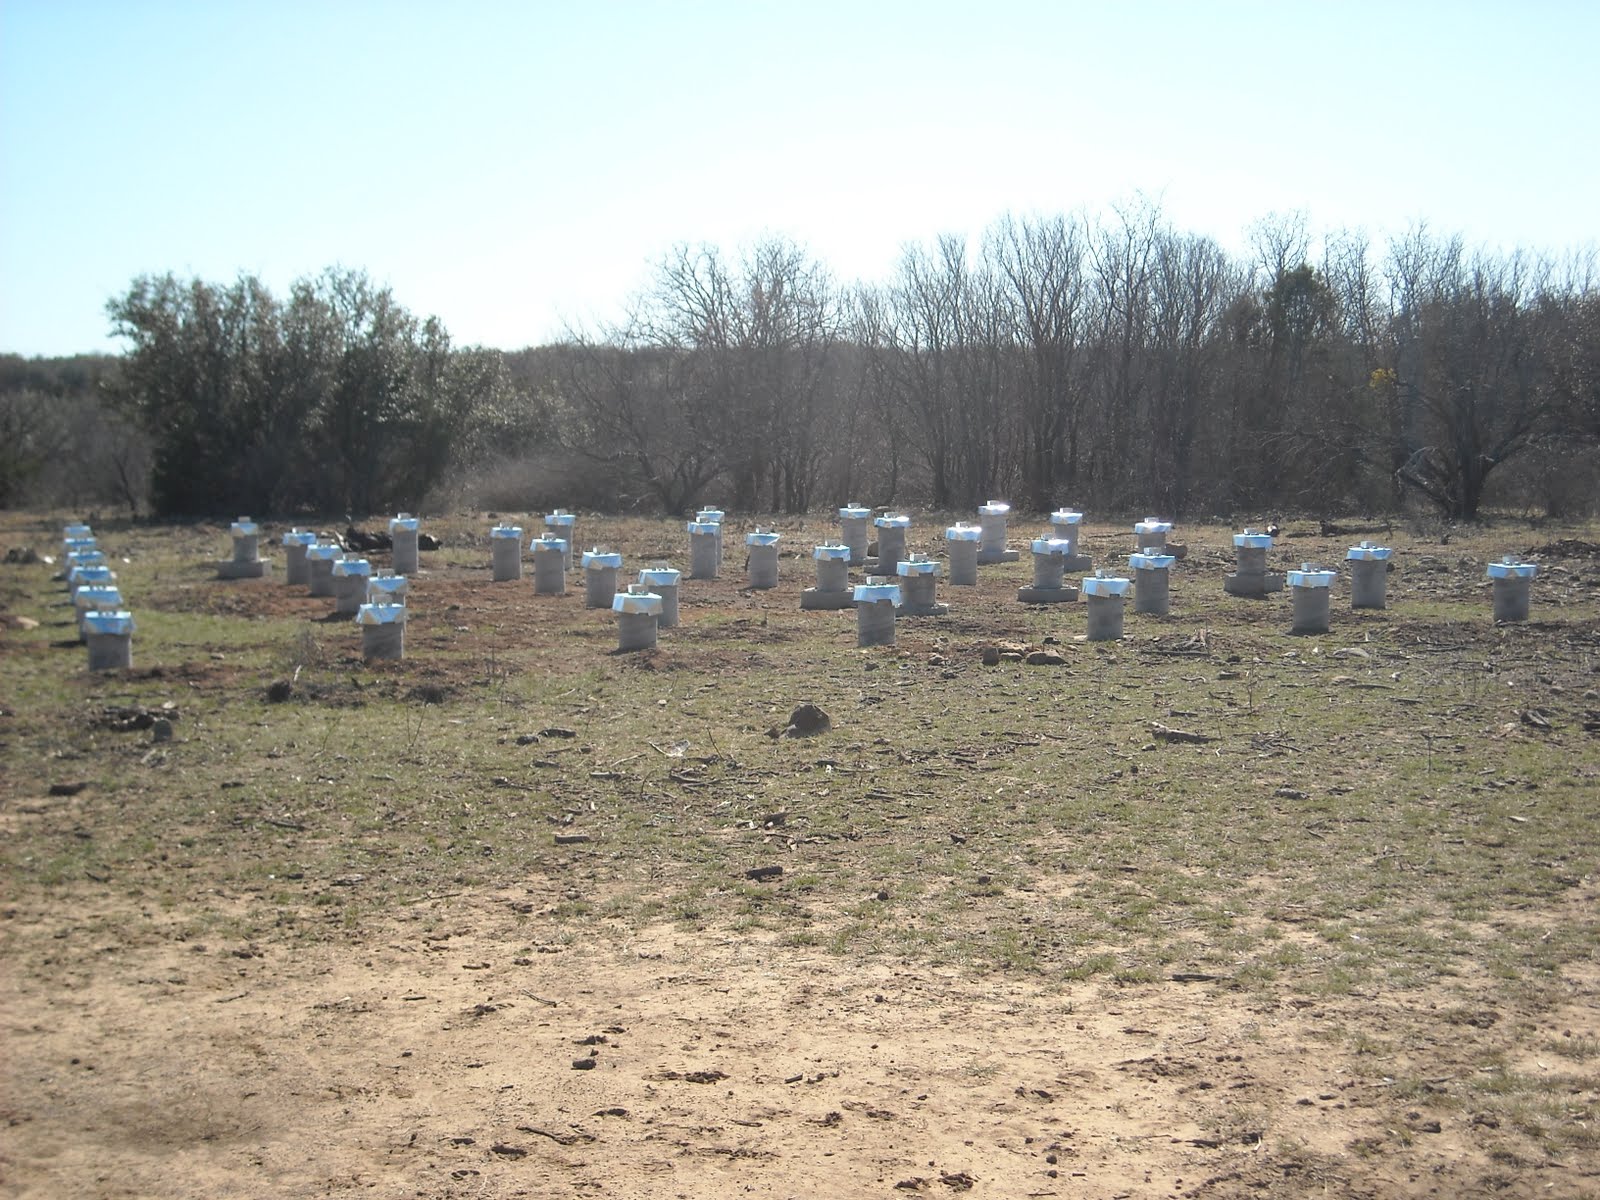
And here are all of the piers with all of their termite shields in place. No mind control for these concrete piers! 🙂
We’re thankful to the Lord for His provisions, and for the idea and ability to put these together.
— David
Thankfully you've protected them against mind-waves…. lol. My question is: How many cuts did your hands enjoy while playing with all that sheet metal?
Very nice job! But, have Susan ask you to wear gloves next time you're working with metal. It makes me nervous. 🙂
Judy
Hi Ryan, Judy,
Interesting you both mention potential metal cuts — my experience with those in past maybe helped me be a little more cautious this time! 🙂 Also, I think if you are careful, small sheets are a little easier to deal with. Still though, as you both mentioned, it's very easy to cut yourself on that stuff.
Thanks for saying hi, and for the concern.
— David
That protects against the ground termites, but what about the flying ones? You're better off placing a bait system around your house every few years. Termite shields are useless.
Thank you for the information, although even you said the termite shields protect against ground termites, so they're apparently not useless.
I do appreciate the pointer on flying termites though.
— David