This is our journal of what we pray is our sojourn of life (Hebrews 11:8-10) along the narrow way (Matthew 7:14), even the old paths (Jeremiah 6:16), submitting to the Bible as a light unto both (Psalms 119:105). It is our prayer that these documented moments in our earthly time benefit whom God might choose to edify, but ultimately that God glorifies Himself through them.

Category: barn (Page 2 of 2)

The Barn – Update II – The Loft – Update I

Recently, my brother Kevin, whom I hadn’t seen in quite some time, graciously offered to take some time off and come out and visit! It’s the first time he’s been this way, and it was very nice to see him!

David with His Brother Kevin When He Visited

He was here for around five days, and during the time, he graciously helped around the farm. With him here, I decided the main project he and I could work on was continuing with the barn loft, which I talked about in this blog post here. And so, since the beams were in place, it was time to start adding the floor.

Given the approximated 10-foot span, and I decided to go with 2×10 joists spaced at 16-inches:

Barn Loft First Floor Joists

Before implementing this phase, based on costs, I decided to use 3/4-inch plywood for the floor with 2×4 blocks, instead of 3/4-inch tongue-in-groove OSB or plywood; and here are the blocks on the back side:

2x4 Blocks Between Joists

And then for the blocking over the second beam, I decided to use full 2×10 blocks for added stability. While this picture shows the joists extended over the beam, we eventually slide the joists back so the blocks and joists would only cover half of the 4 1/2-inch wide beam, so Lord willing when the floor is extended from beam 2 to beam 3, half of the block-joist end covers the other half of the beam:

Full 2x10 Blocks Between Joists Over Second Beam

Since there was going to be some overhang of the plywood because of the horizontal metal purlins of the barn, I added a couple of 2x4s to help support under the plywood that was going to extend over. Quite frankly, I probably didn’t need to do this, or maybe I only needed one 2×4 instead of two:

2x4s Attached to Extend Floor Parallel to the Joist Blocks

And I added one to the joist running parallel to the barn purlins:

2x4 Attached to Extend Floor Parallel to the Joists

Here are the 2×4 blocks to support under the edge of the plywood at four feet. Before we tacked down the floor joists to the beams, we squared the whole section from corner to corner:

2x4 Blocks at Four Foot Spaces to Block for Plywood Sheets

And here is the first piece of plywood in place:

First Plywood Sheet in Place

We then added more floor joists along beams 1 and 2:

More Floor Joists Extending the Floor

And then added more plywood. Now, we need to add more floor joists to be able to continue adding plywood:

Several Plywood Sheets Installed

And here are Kev and I standing on the loft:

David's Brother Kevin and Him Standing on the Barn Loft

We are very thankful to the Lord for granting the resources to be able to make some progress on the barn loft, and we are very grateful to Him for allowing us the time and resources He did for Kev to come and visit!

— David

The Barn – Update I – The Loft

Part of the original plan for our barn was to have a U-shaped loft inside, where the entire back 20 feet would have a loft, and then moving forward in the barn, the loft would extend 10-12 feet from the side walls for another 20 feet or so of depth.

Well, over a year ago, I was able to start on this process, with the idea of building one half of the back section at a time. At the time, I figured I would have that section done by now, but it was not meant to be; however, I thought I’d show the progress in pieces, starting with where it is today.

Here is the first post hole:

Barn Loft First Post Hole

And here is part of the first post. I decided to use triple 2×12 inch built-up posts, using deck screws to tie the boards together, for the farther internal one, 2×10 inch boards for the center post between the barn-middle post and the barn wall, and 2×8 inch boards for the posts that would sit on the barn side’s concrete footer. I chose to make them this hefty because of potential weight we might have up there one day, like grains, etc., Lord willing:

Barn Loft Built-Up Post

I didn’t calculate the height of the first posts correctly when I bought the wood, and so I needed to elevate the post some. I used a cinder block for that, and string to align the posts:

Barn Loft Post on Cinder Block in Hole

And here is the post braced:

Barn Loft Post Braced

And then in concrete:

Barn Loft Post in Concrete

Here is a post next to the barn structure, attached to the metal barn post, using L-brackets and self-tapping screws:

Barn Loft Post on Barn Footer Attached to Metal Post

And here is one attached to one of the metal purlins, looking from behind the post:

Barn Loft Post Attached to Metal Purlin

I cut away the top of the posts all around the center board to allow the cross beams to be attached with bolts and allow for the center boards of the cross beams to have something to sit on:

Barn Loft Post Top Cutaways Front View
Barn Loft Post Top Cutaways Side View

And here is the first row of posts:

Barn Loft Three Posts Complete

Here is one end of the cross beam. I used 5/8 inch bolts to secure the cross beam to the post:

Barn Loft Cross Beam End

And the first cross beam in place. I used ratchet straps to vertically level the posts and bar clamps to squeeze together the cross beam boards as I screwed in the deck screws:

Barn Loft Cross Beam Installed

Here’s how the first two boards looked installed on the post attached to the barn structure, which required some overhang to cross the purlin to fill in the space all the way to the barn wall:

Barn Loft Cross Beam Barn End Design

And that same end complete:

Barn Loft Cross Beam Barn End Complete

Here is how I attached the back cross beam to the back purlin (some of these L-brackets I would have to install on the post before raising it because of lack of space issues for getting tools in there to install them after the fact):

Barn Loft Back Cross Beam Attached to Purlin

And here is how I attached the posts sitting on the barn’s concrete footer, using concrete screws for this:

Barn Loft Post on Barn Footer Attached to the Concrete

And here are all the beams in place!

Barn Loft Posts and Cross Beams Complete

It’s been like this for some time, but we are grateful to the Lord for granting that we be able to begin constructing the barn loft. We look forward one day, if the Lord wills, to be able to begin installing the floor, even if it’s one sheet at a time.

— David

The Barn

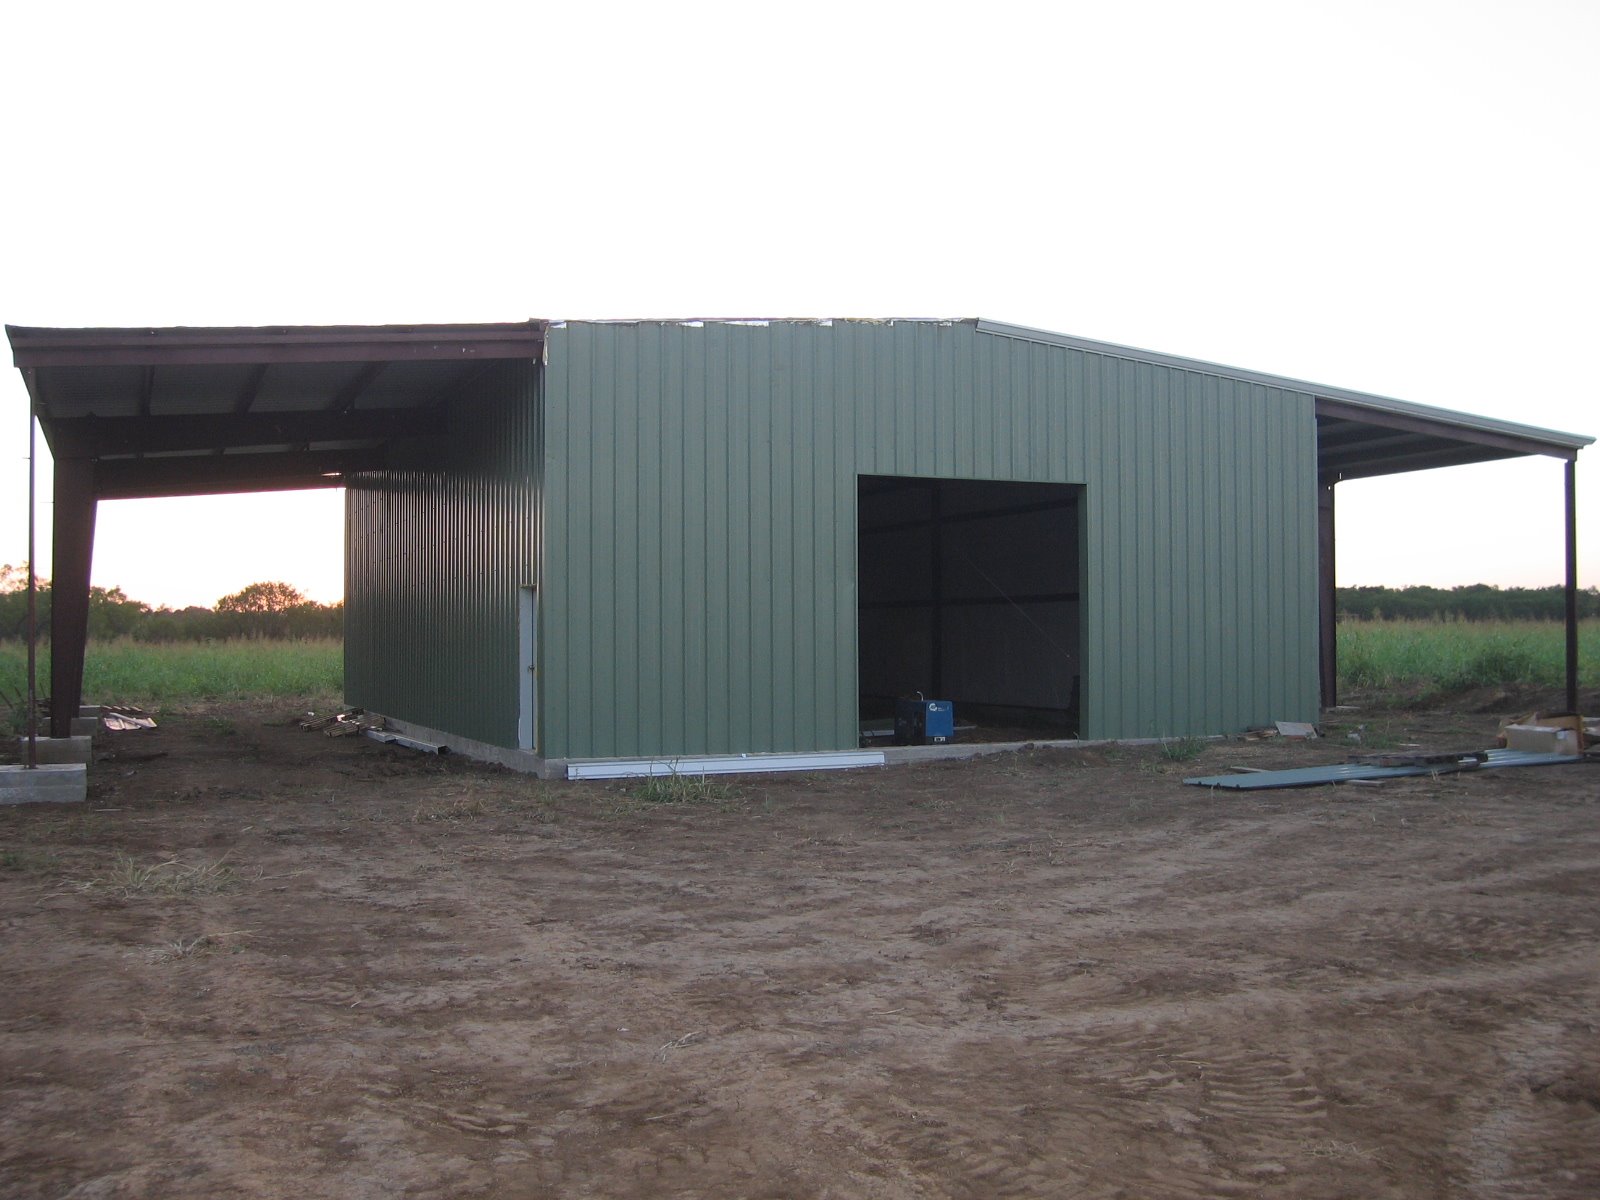
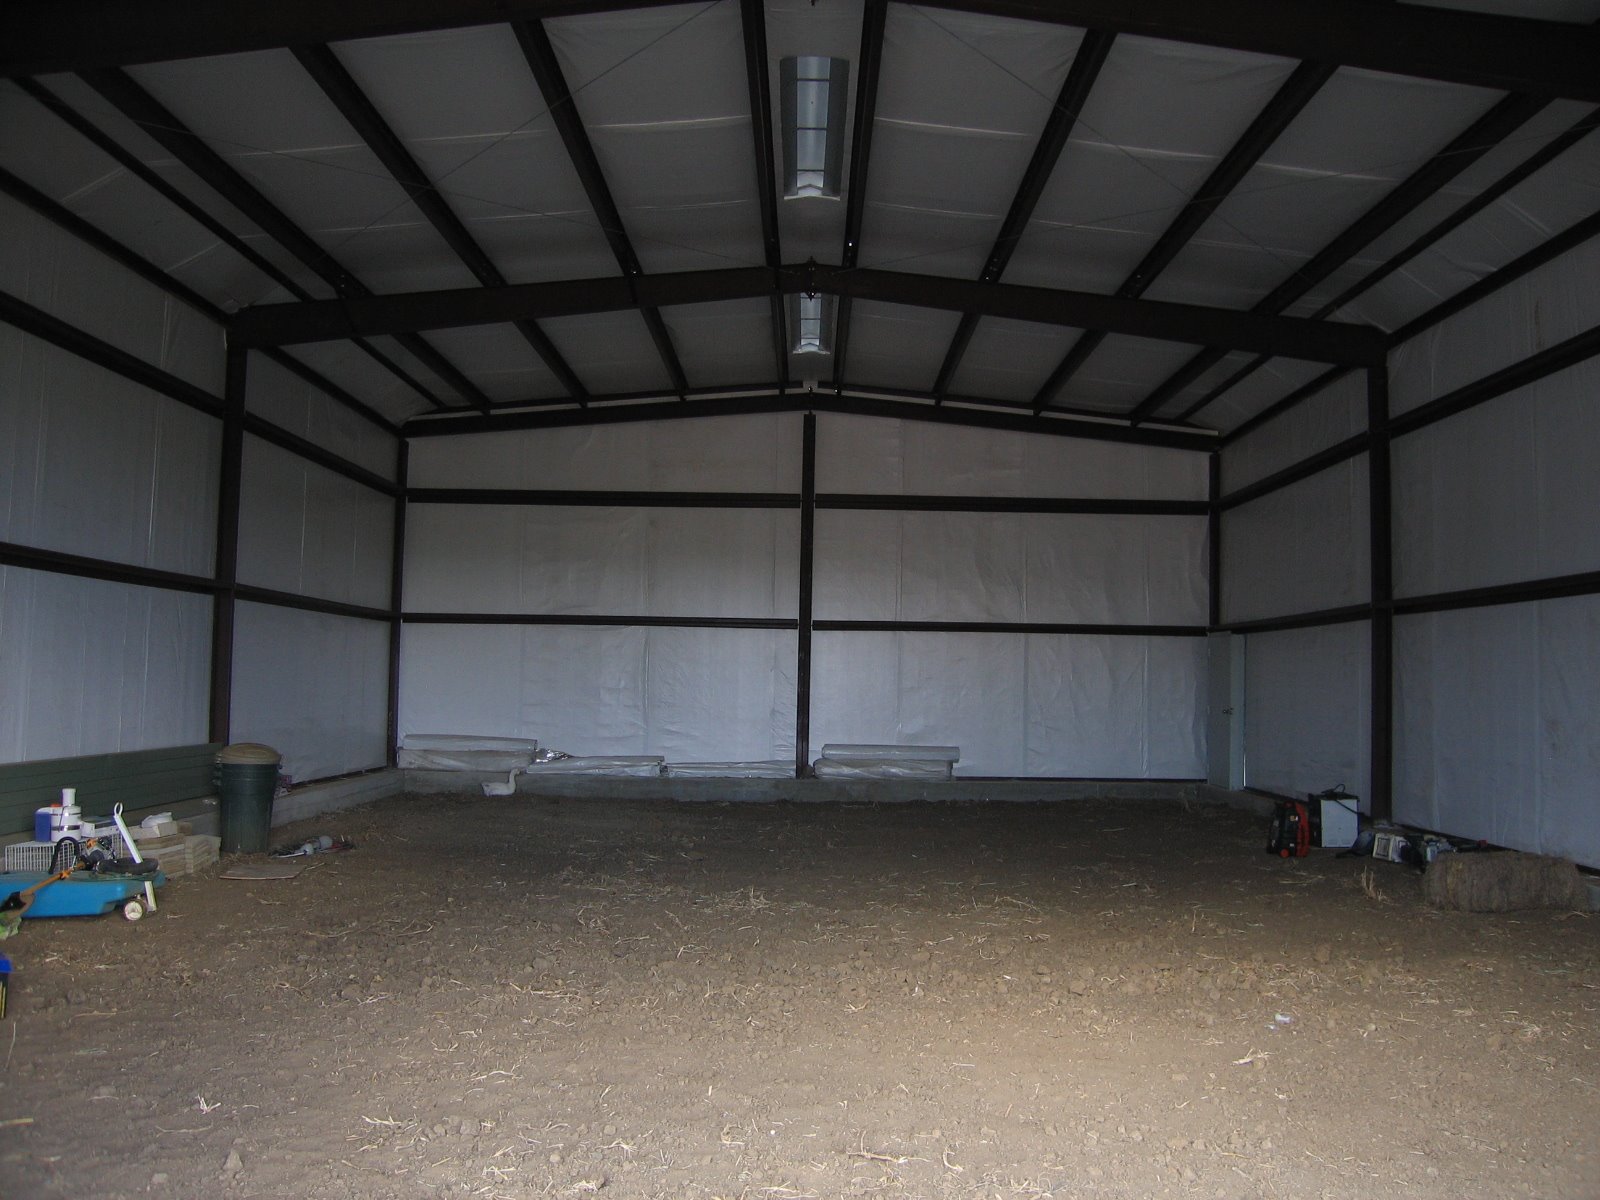
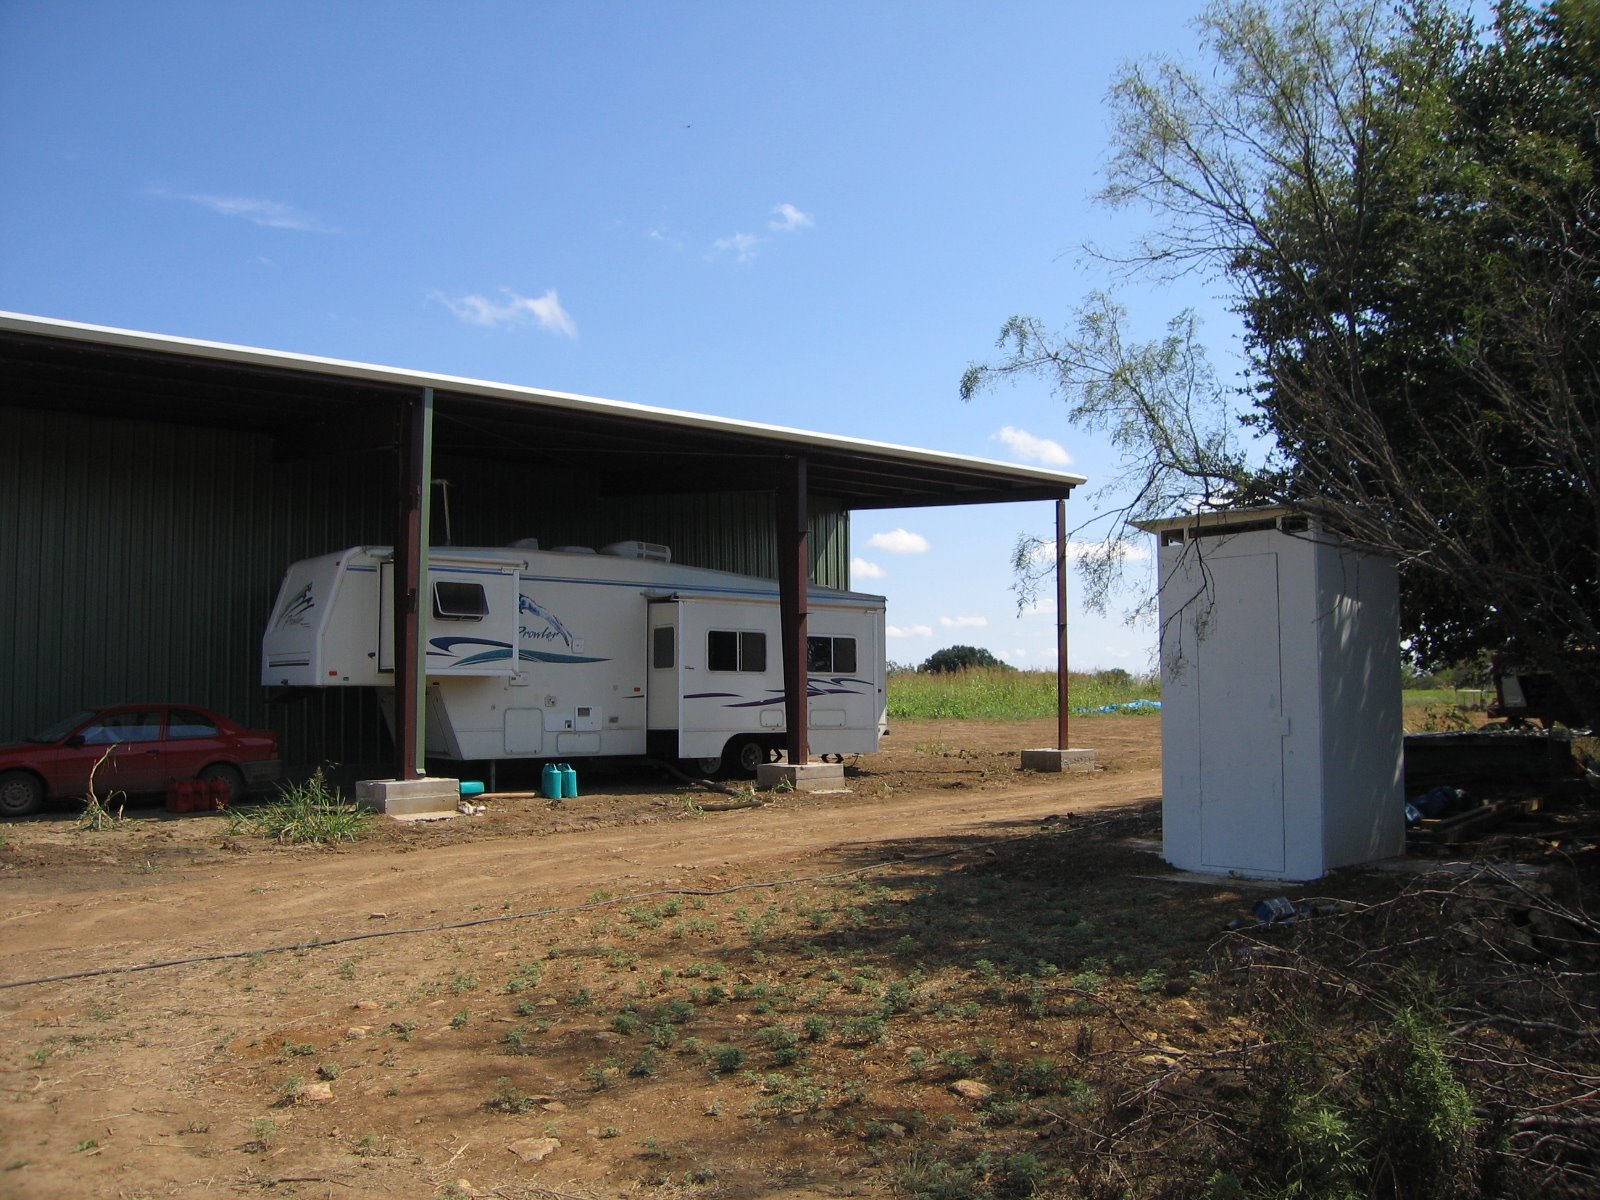
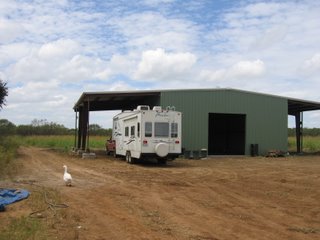
In planning our homestead, I figured we needed a barn and had some ideas as to what it might look like. I envisioned the barn to be a place to temporarily put all of our stuff that we had brought with us from California so that we wouldn’t have to pay storage anymore; I thought that our camper needed to get out of the elements to protect the investment and shield us a little from heat and wind, and so I wanted the barn to have “overhangs” big enough to cover our camper; I wanted it to be big enough so that we could use it for any other housed homesteading things we might need (a place to put hay, to have a tool bench, to be able to work on automobiles, to house animals, etc.) without having to build multiple buildings for each; I thought, since we needed it tall enough to be able to cover the camper, I would like the inside to be tall enough to allow for a loft level; and I wanted to be able to back up the tractor and our cattle trailer from the side of the “overhang” to store them and protect them from the elements as well. The way I saw it, this building would be the central and most important structure for our farming. These were the parameters for a barn with which we proceeded.

In the beginning to look at how to do this, I considered many different paths: building it ourselves from scratch, buying a steel building kit, hiring someone to build one, etc. After struggling with designs and my inabilities in the area of construction, plus in wanting to have something very sturdy and not susceptible to termites, we decided to go with a metal building. I looked into having one built, but it just seemed very expensive; and so we decided to go the steel building kit route, which would save us money in labor and also give us the opportunity to do the work ourselves. We began the search.

After much investigation, we found a supplier we liked. Through the process of ordering and working with this vendor, there were delays with design issues, and things seemed to just “come up”. We were starting to wonder what the Lord had in mind, but tried to trust Him. Lo and behold, after some time, apparently the vendor had a sale price on an I-beam construction version of the building we wanted for the same price as the original design. This would eliminate any center posts, a concept which I liked; and it was supposedly structurally better. Plus, this allowed us unlimited hight on the ends of the lean-to’s (the “overhangs”), and would guarantee enough space to allow our camper to park under one freely. Further, it would allow for the lean-to areas to be free from having walls so that the tractor and other things like that could be backed up under the lean-to from the side. This was exactly what I had in mind, and sounded like a no-brainer; and so we went with this. However, by this time we were some 9 months or more into the ordering process. Still, we wanted to trust the Lord and were thankful that the delays led to what apparently was a better situation.

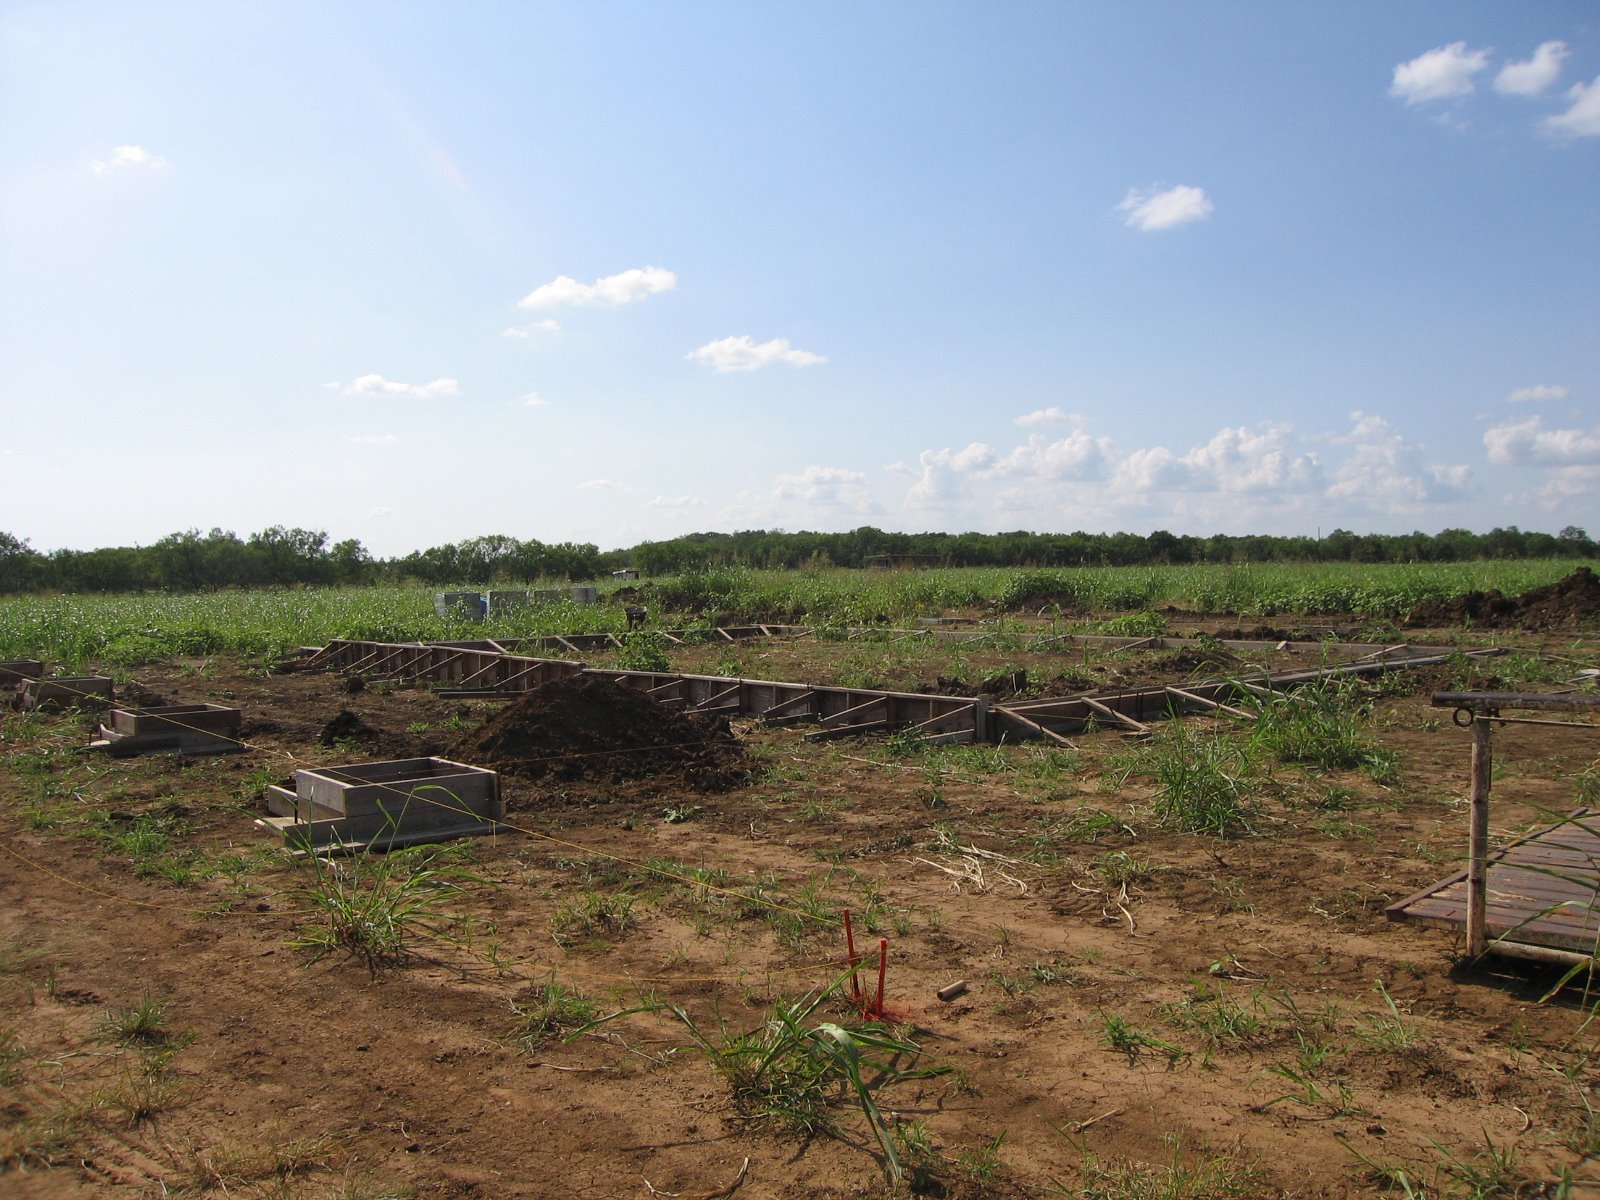
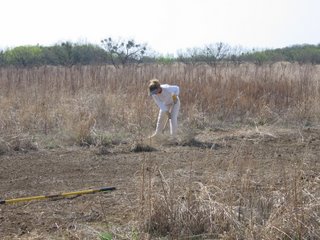
During that time, Sue and I got out there to try to begin prepping the site:


In trying to prepare for the concrete and studying about foundations, I soon discovered that doing the concrete ourselves was probably not the best way to go. I really felt that the concrete foundation was probably the most important part of the building process and needed to be done correctly, as building on a good foundation seemed imperative (Matt 7:24-25). We started to look for concrete contractors but had difficulty in finding one to help us, but we kept looking.

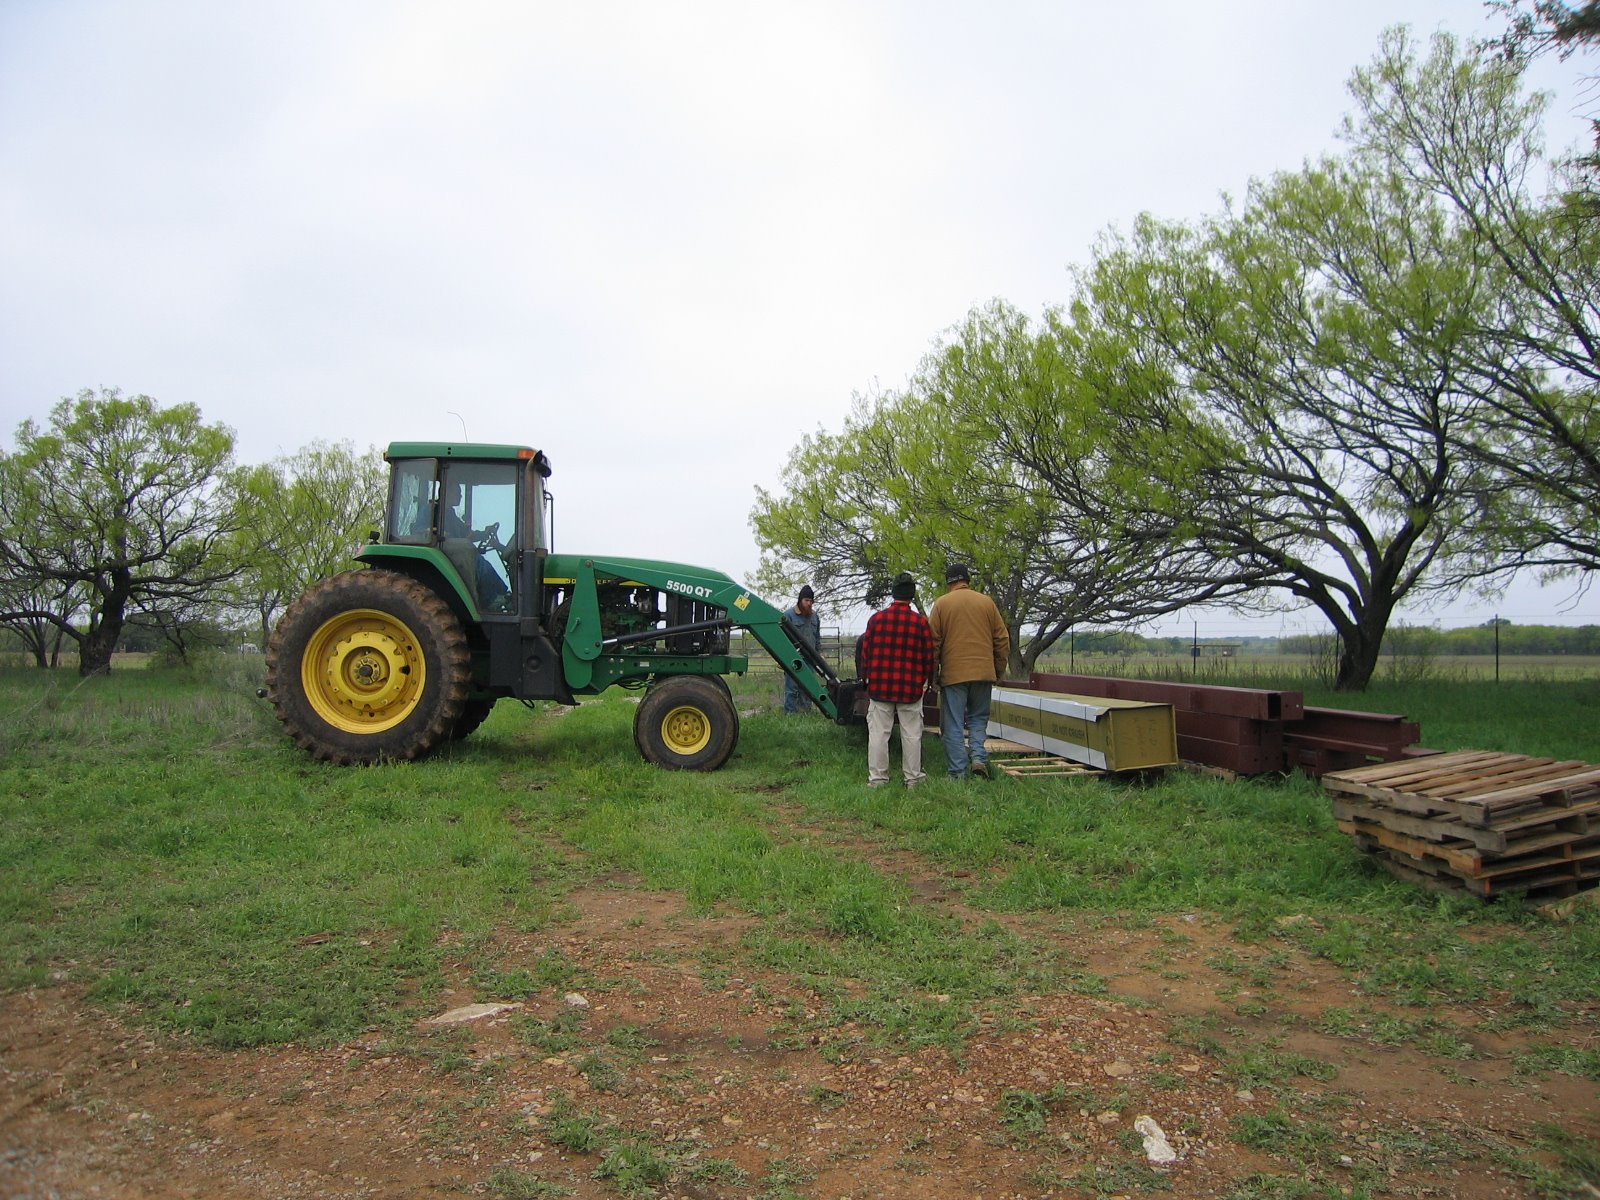
Finally, delivery day for the barn came, and it was on a Monday. It had snowed during the weekend, and so the delivery big-rig could not make it to our barn site. Plus, there was a miscommunication in how the materials were to be removed from the big-rig: I thought they were going to do it, and that was not the case. So, after calling forklift rental companies with no success, I called our neighbor Homer, who graciously sent one of his workers with his tractor to get the items off of the truck. We were thankful for the blessing of our neighbor’s good will and for the help of the men in the community:

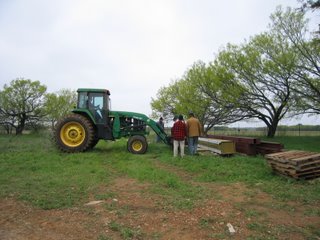
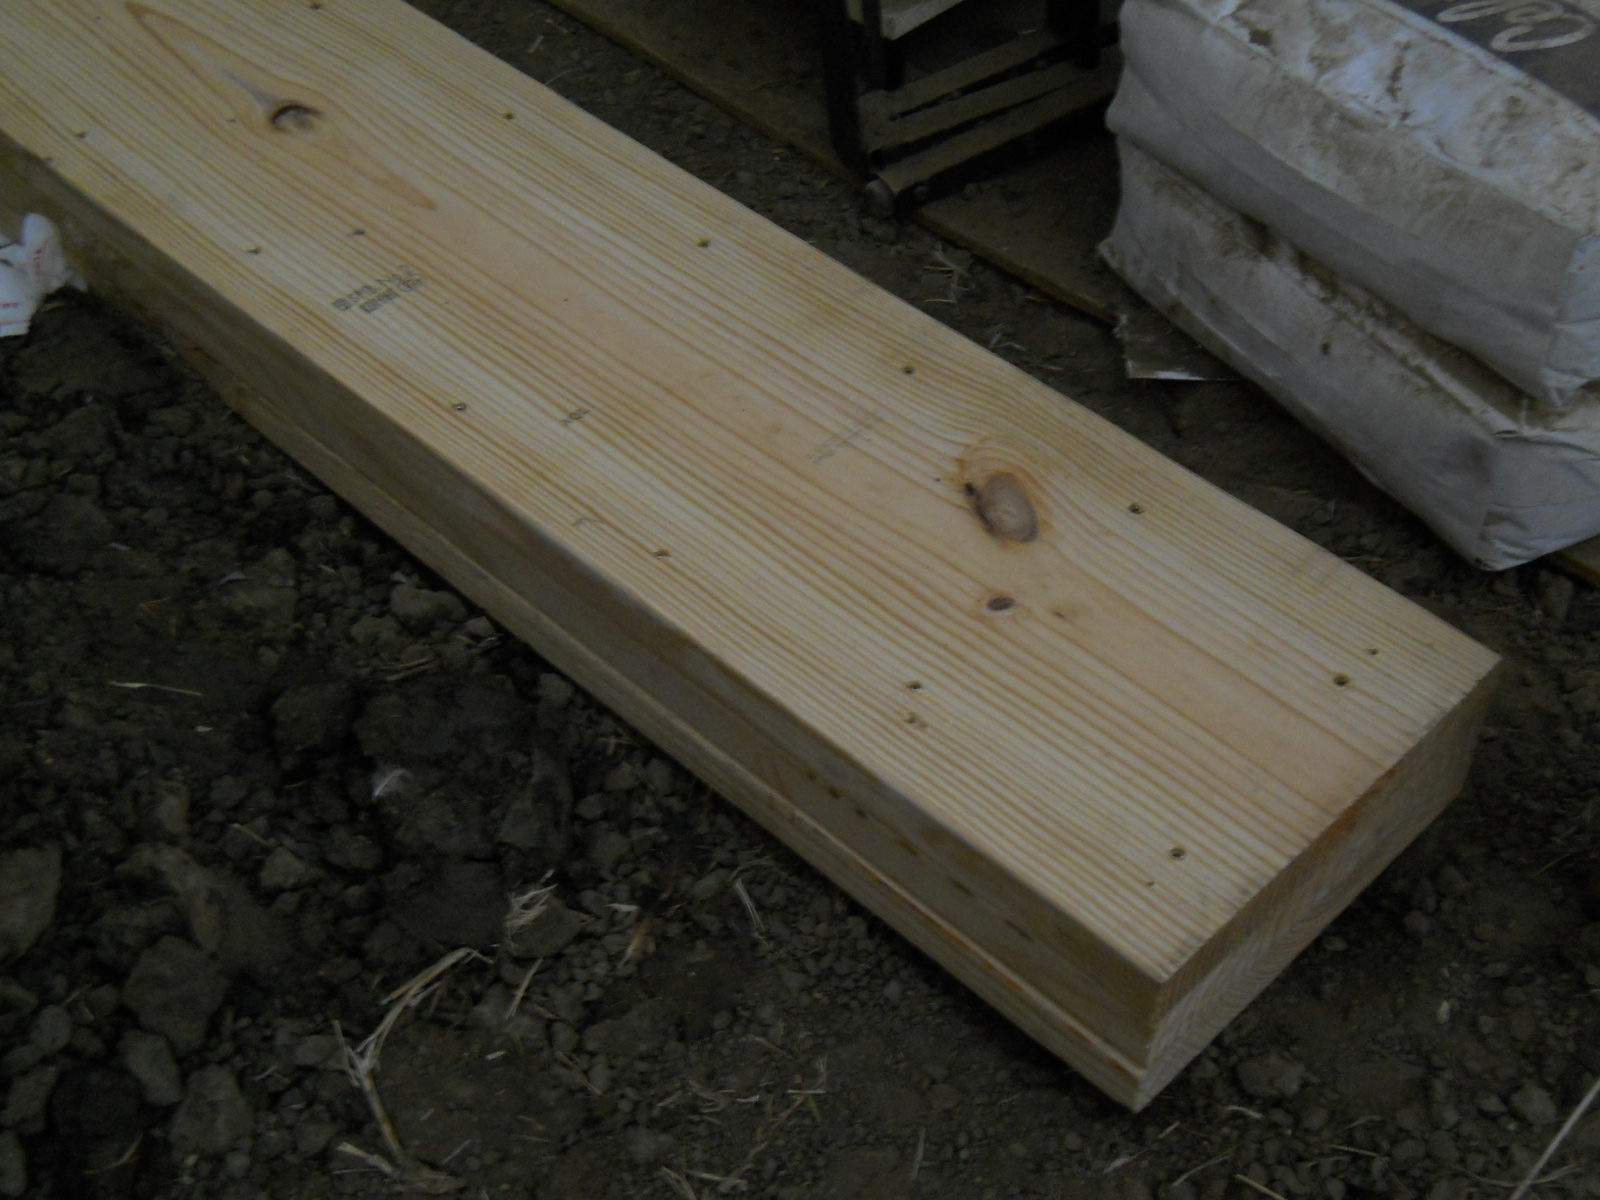
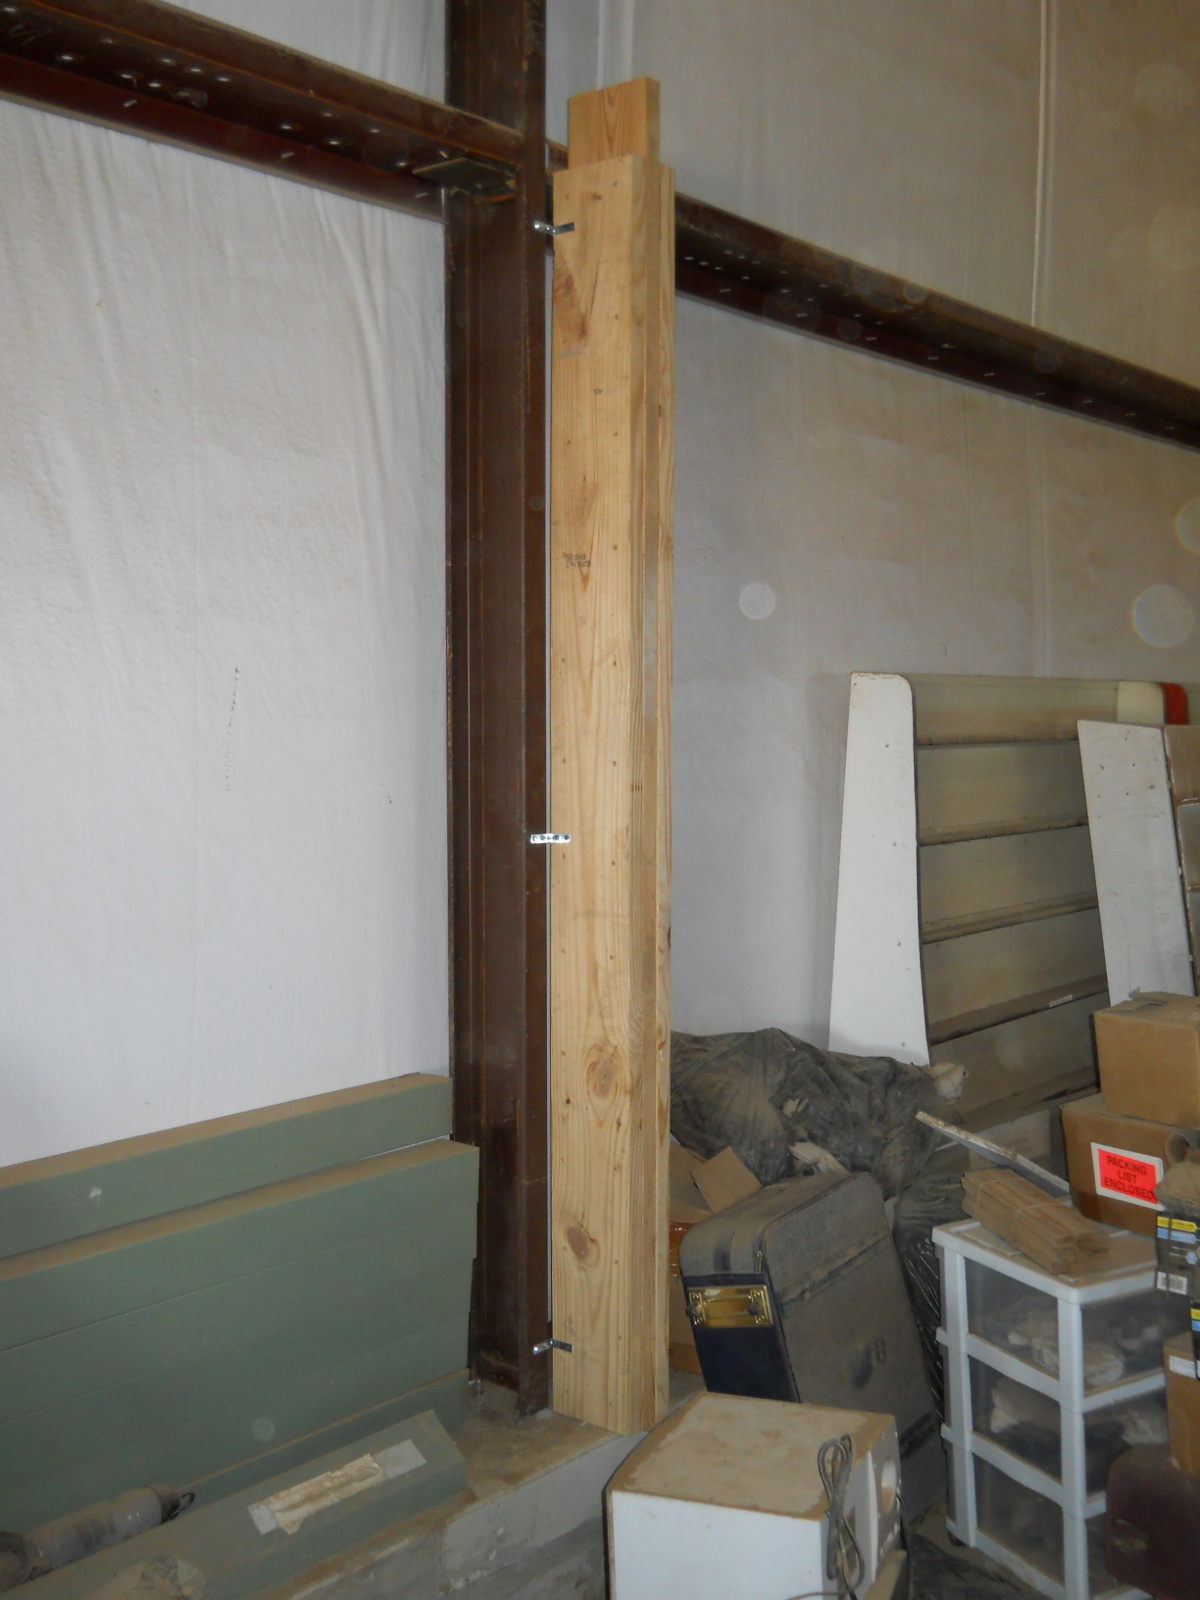
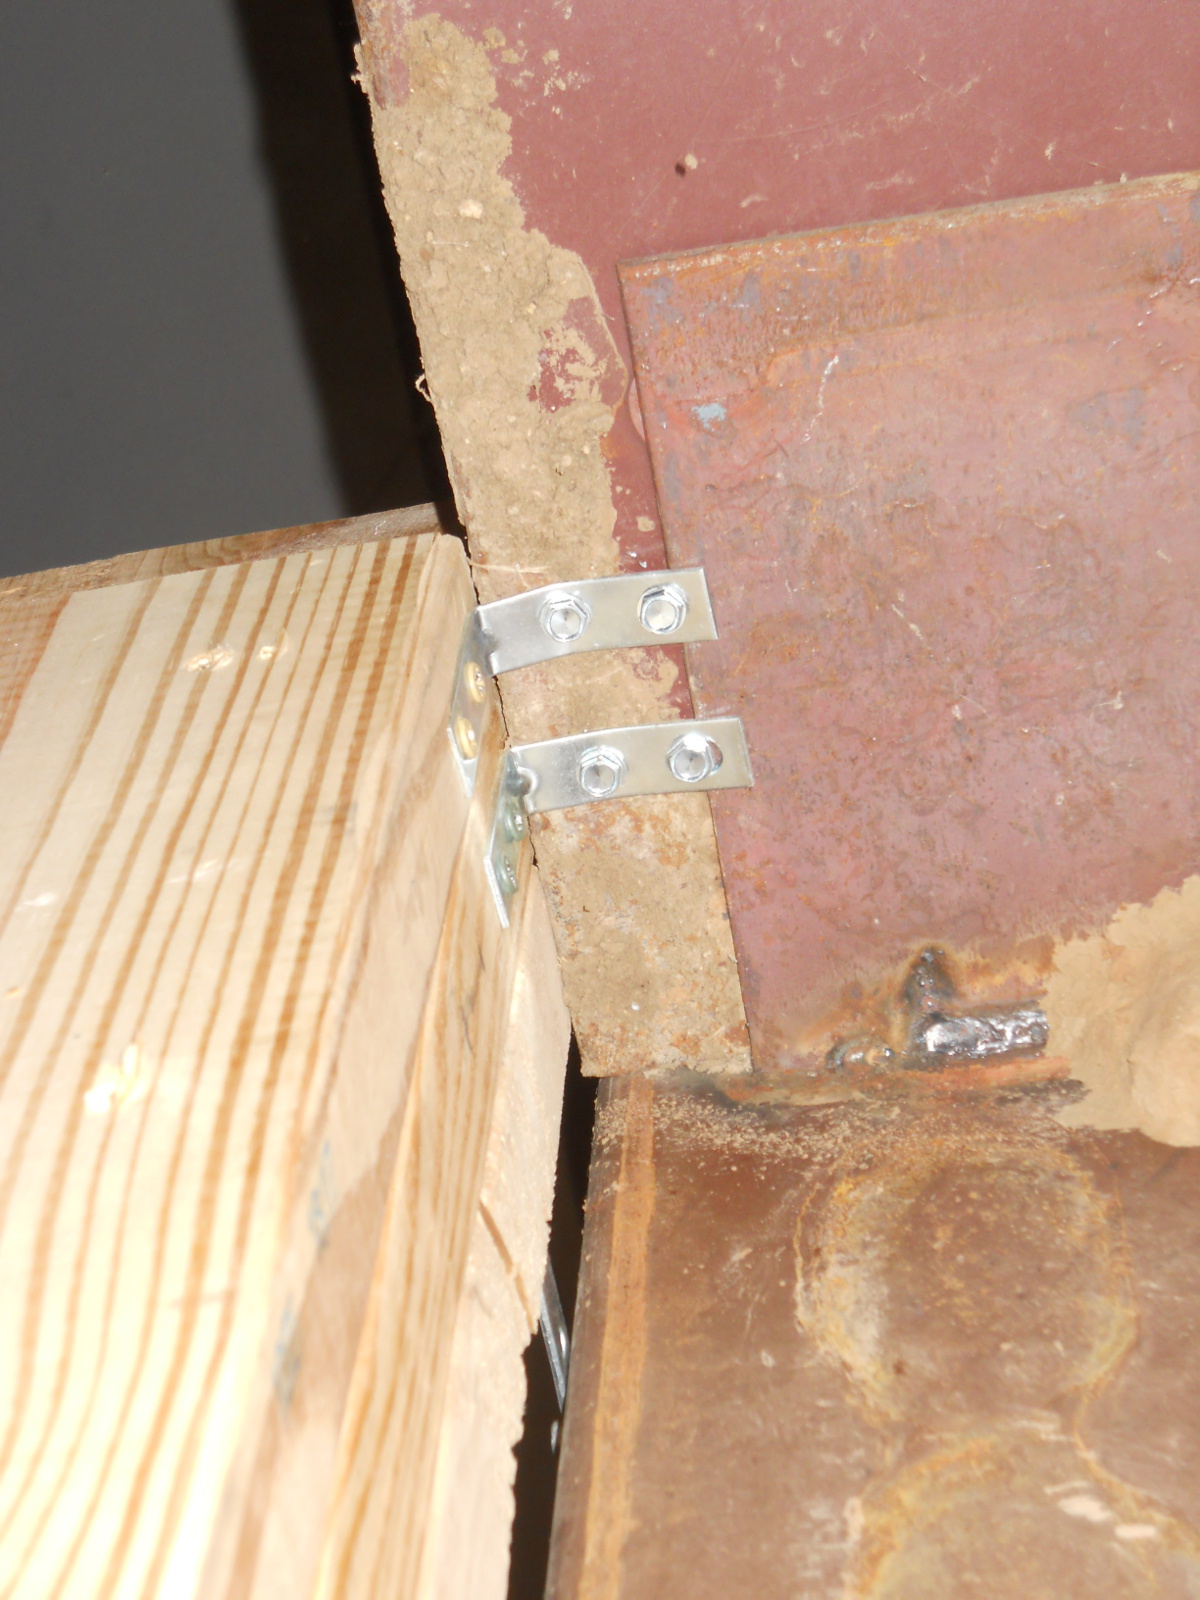
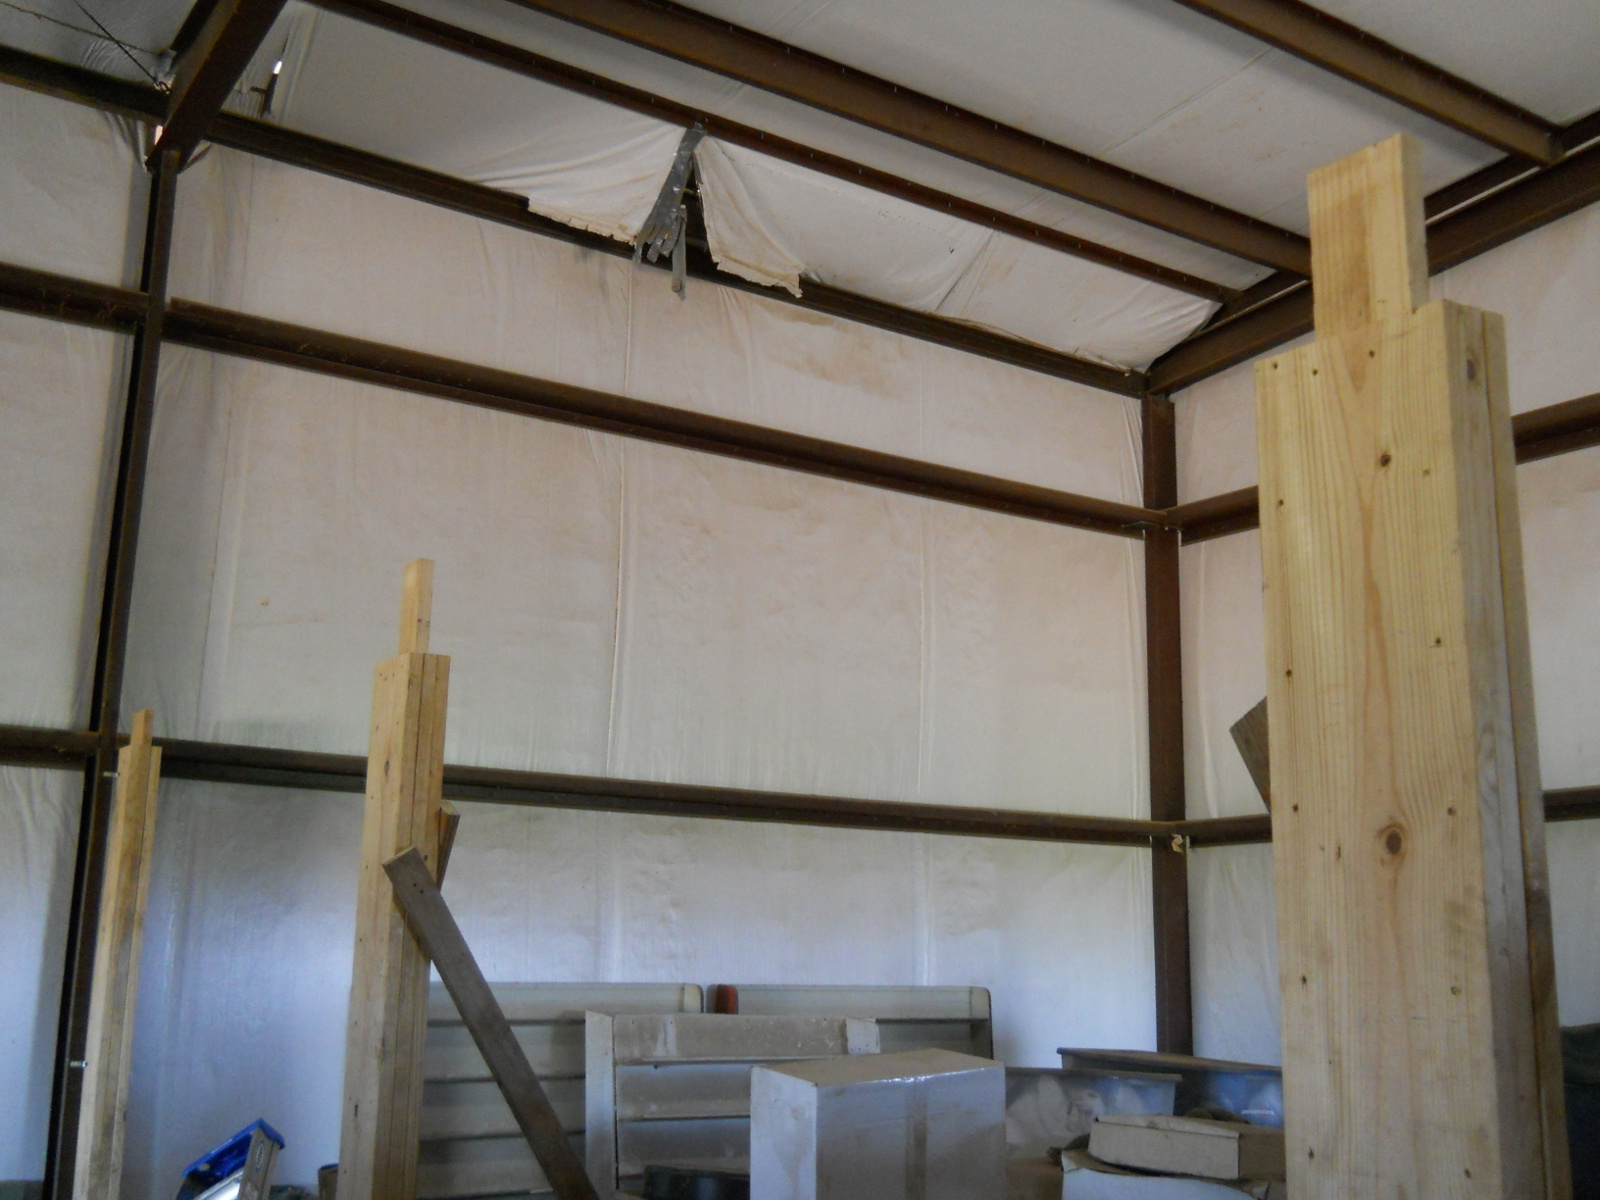
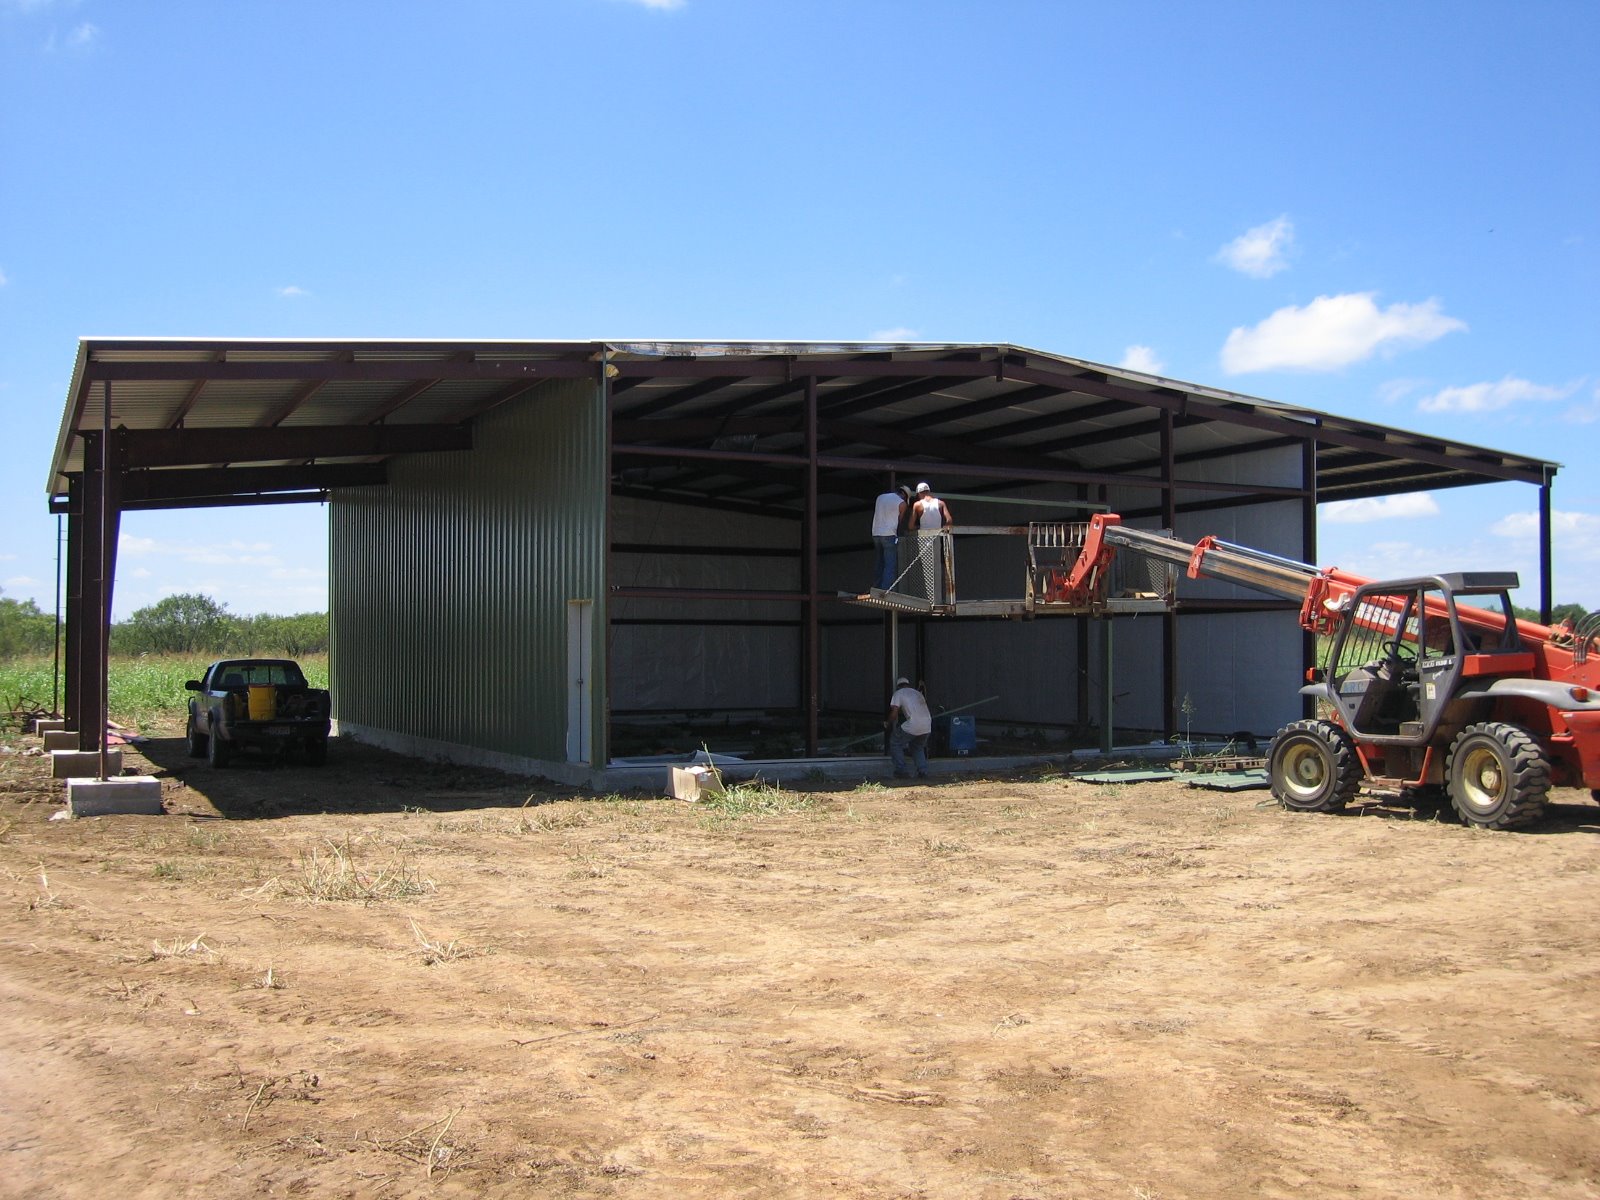
Well, in examining what was delivered, which included several approximately 42 foot steel I-beams, it started to become apparent that putting this together was not going to be that easy. We would need cranes and crane operators, lifts, etc., etc., which all started to add costs. And so, coupled with the fact that we still needed the concrete to be done, we started to look for steel building contractors.

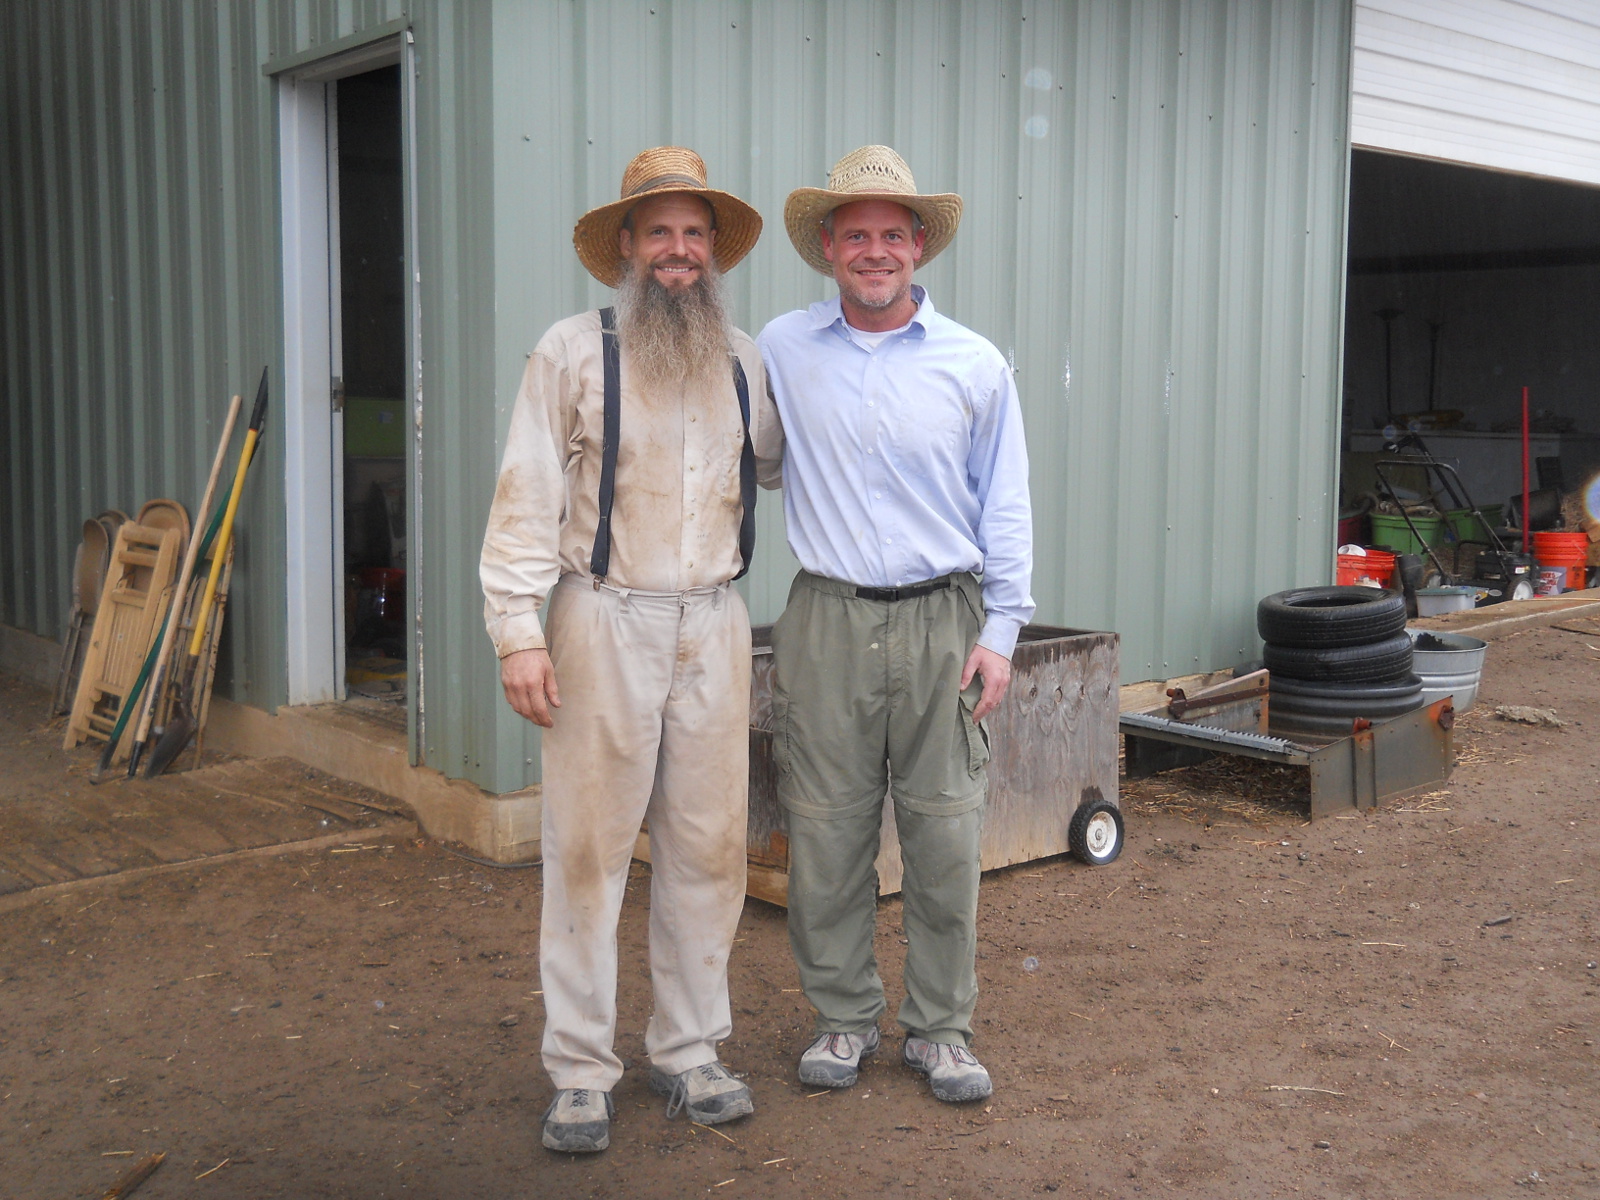
We found a local one who would do the whole thing for what was the best price of any of the ones at whom we looked. And thus began the process…

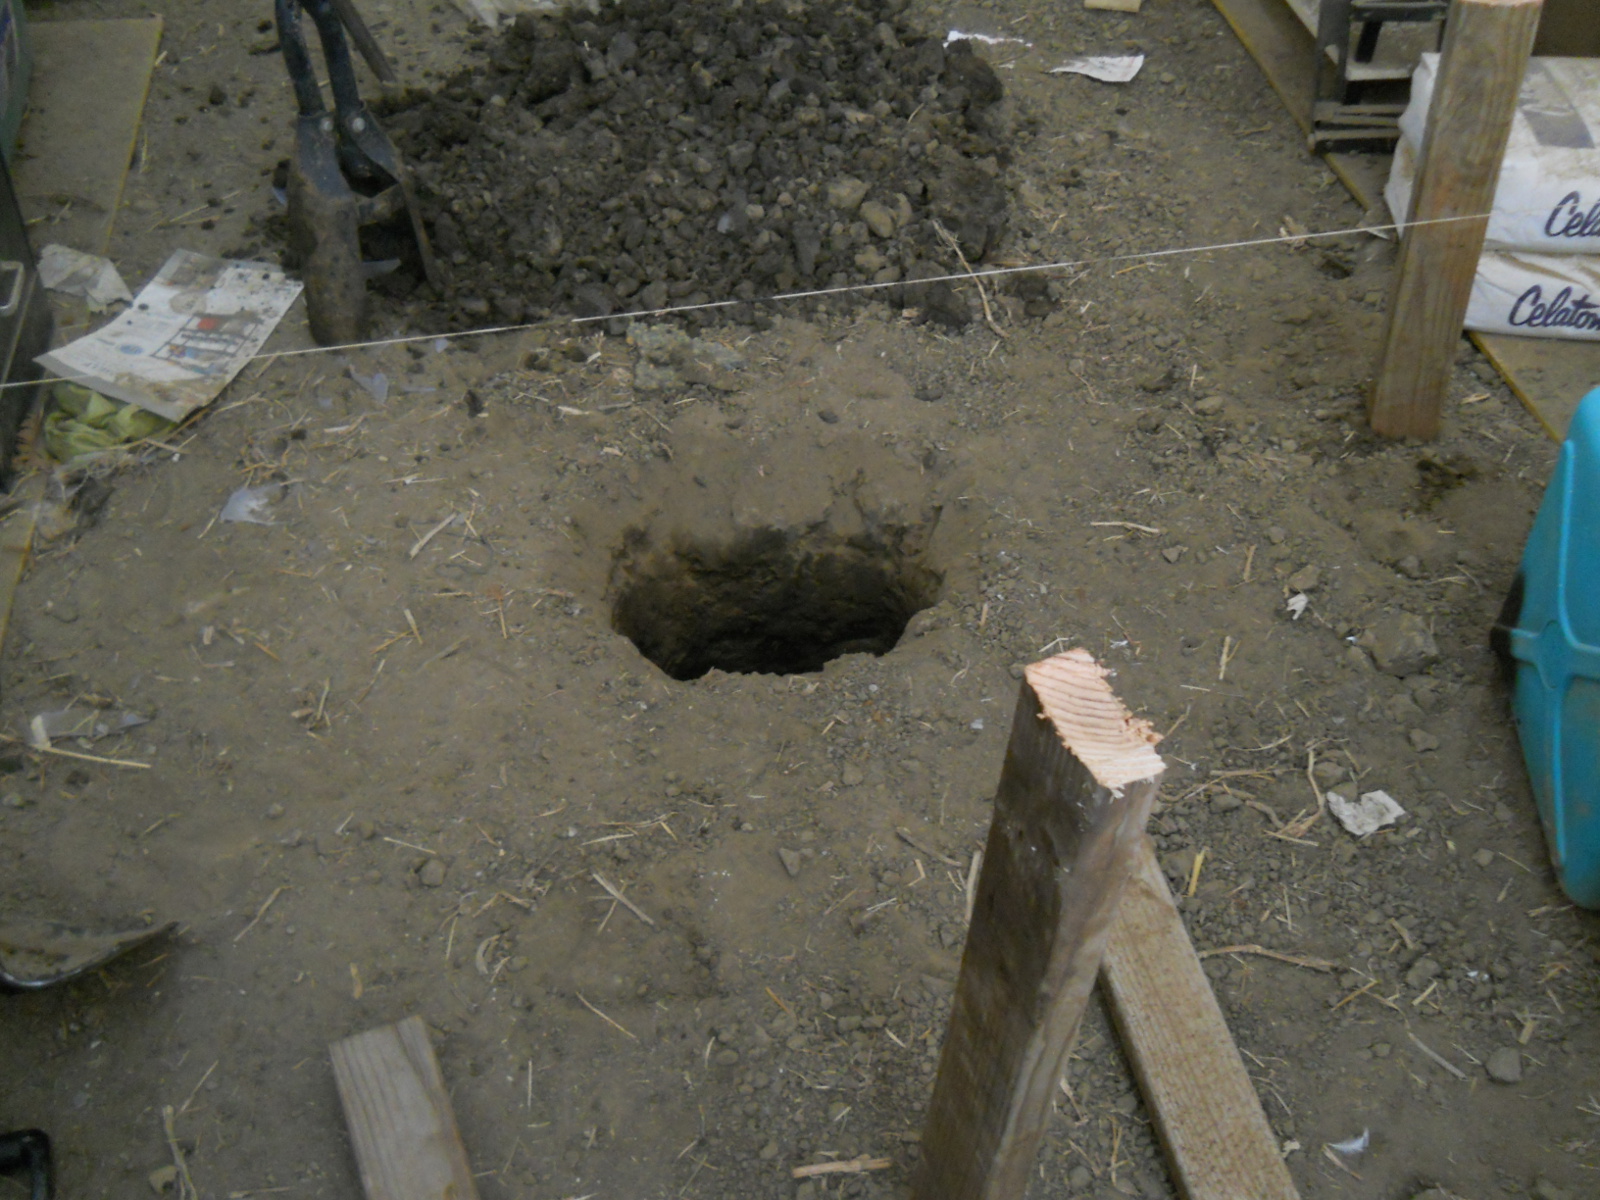
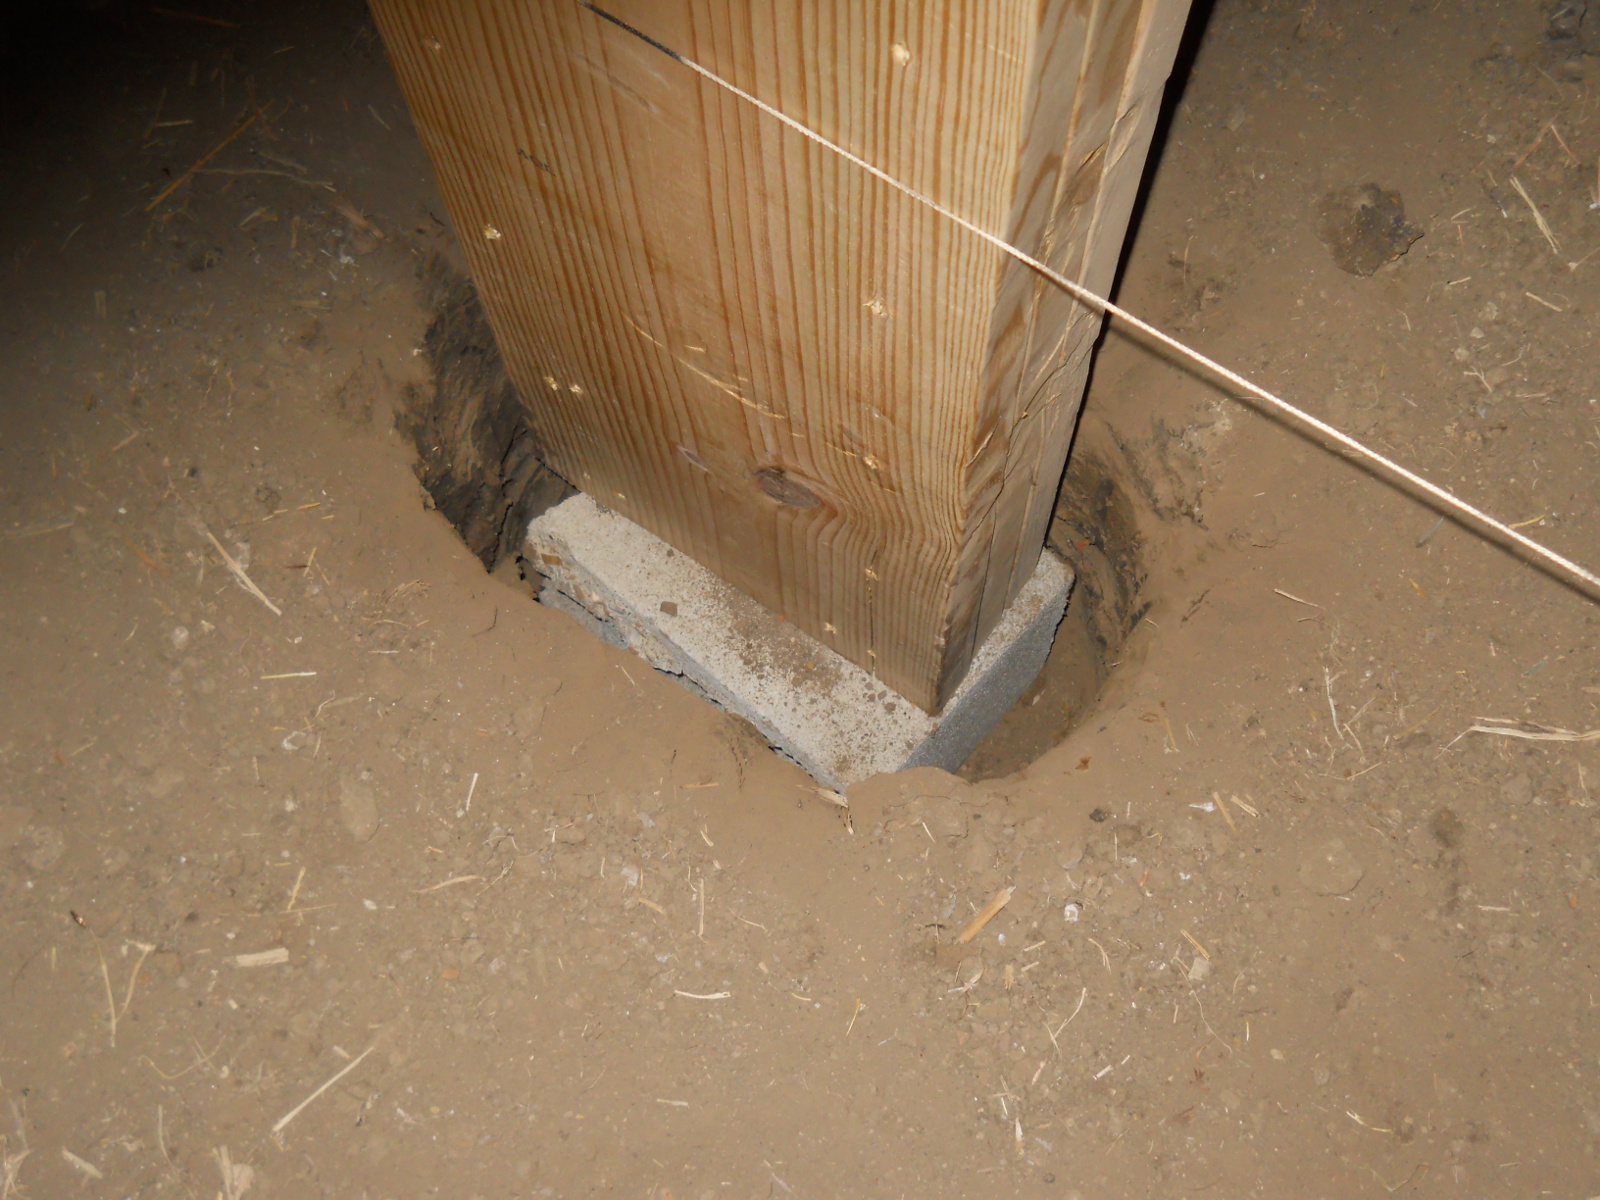
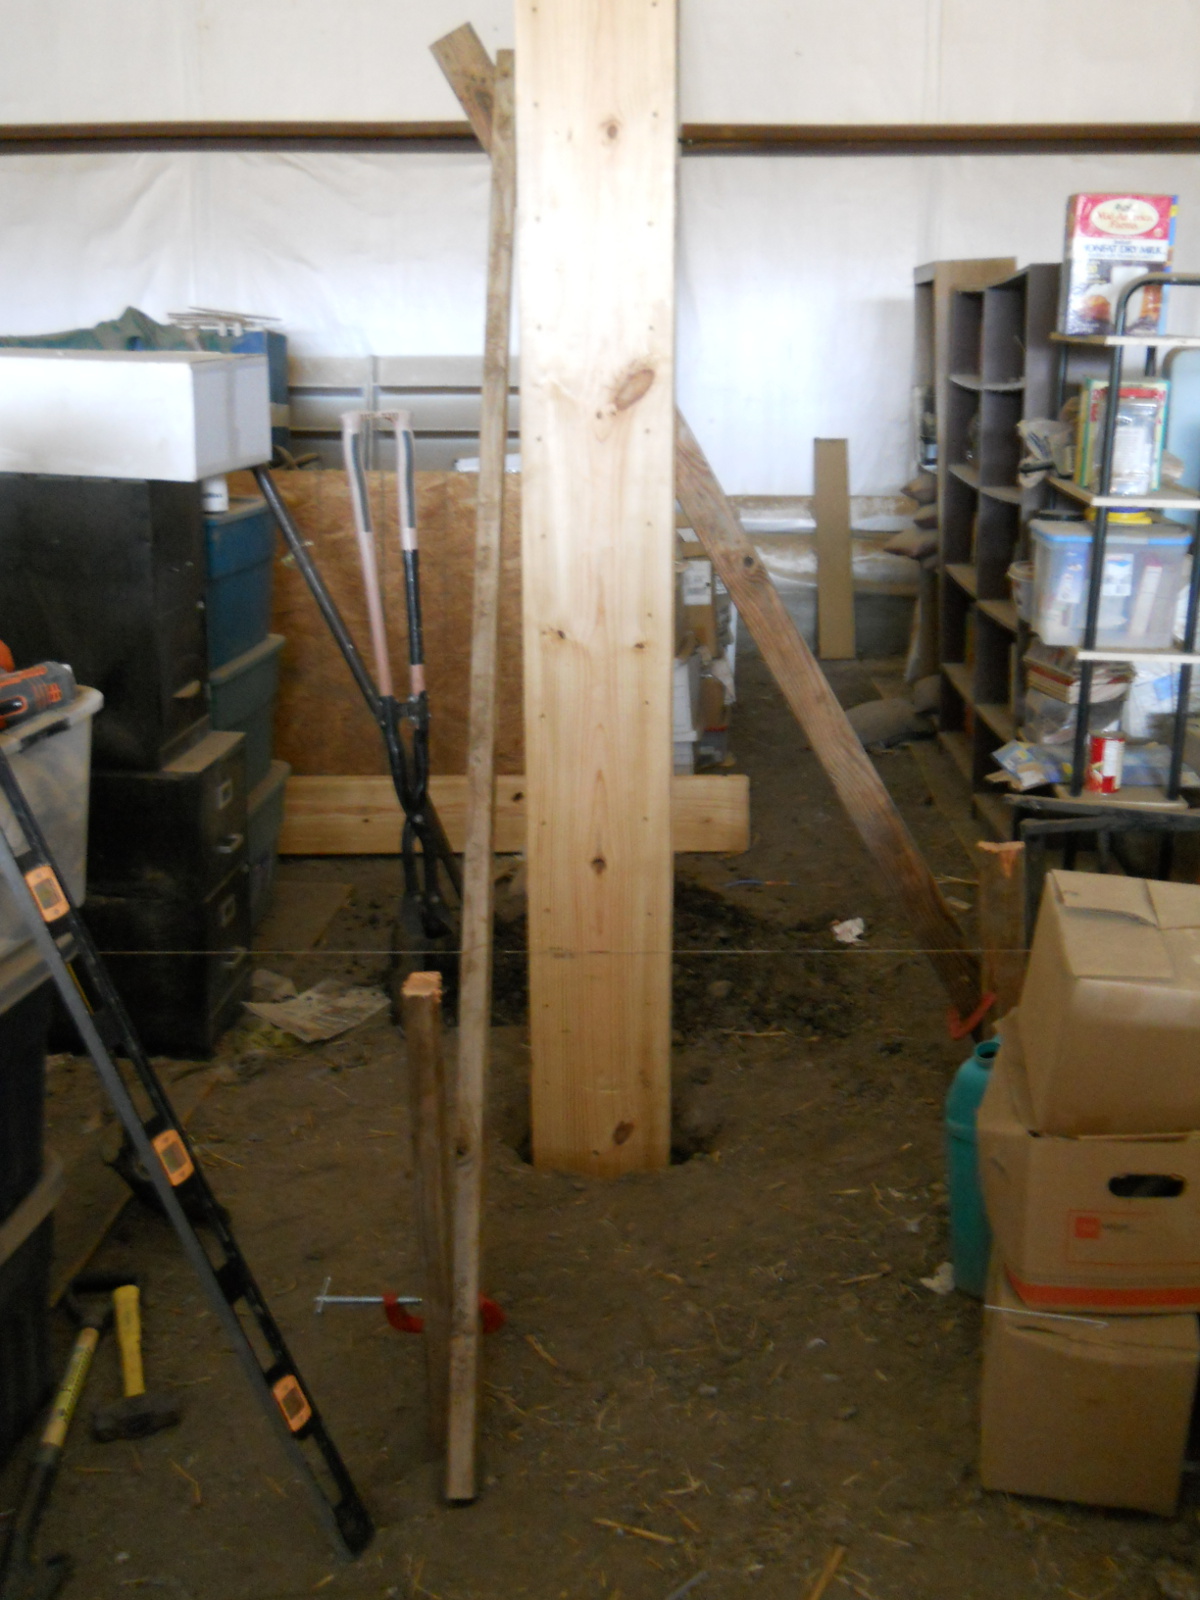
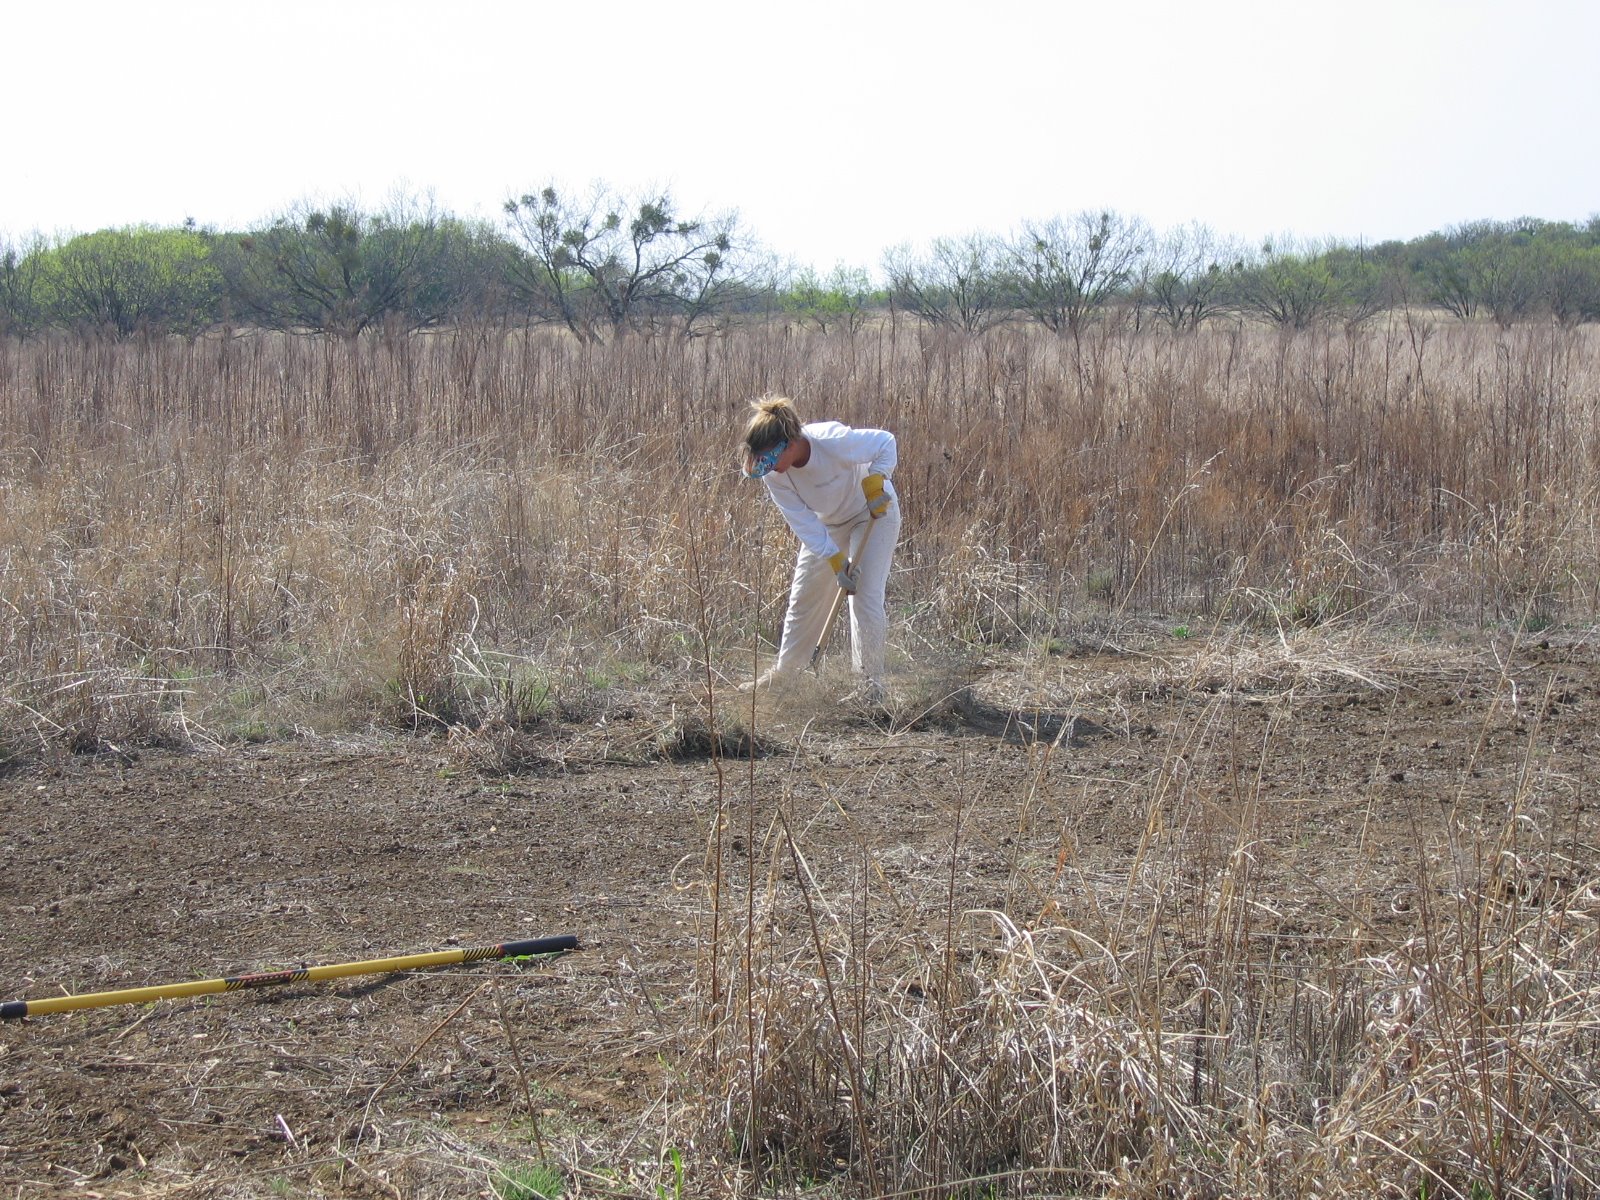
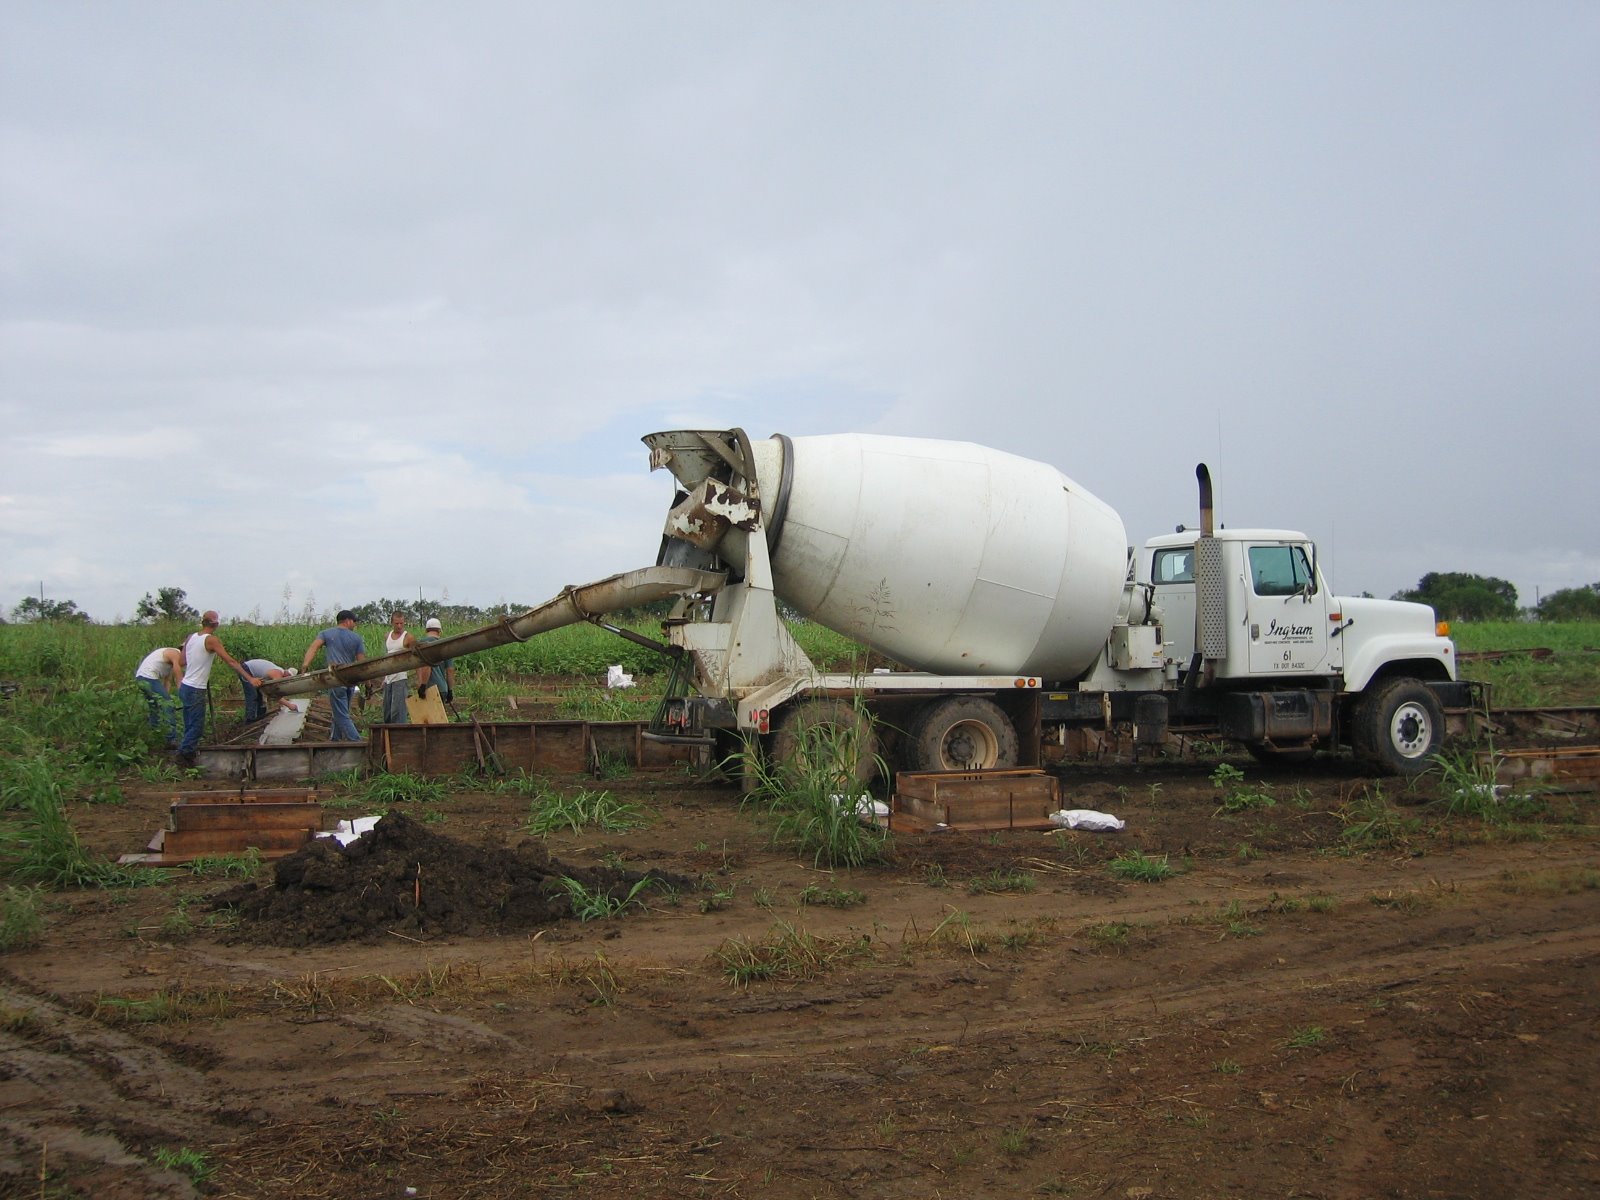
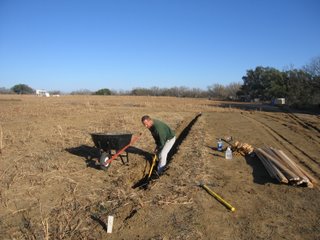
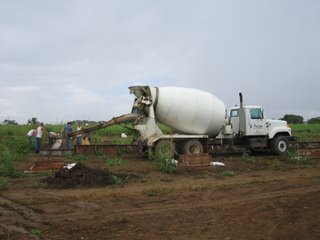
Here is some concrete prep:

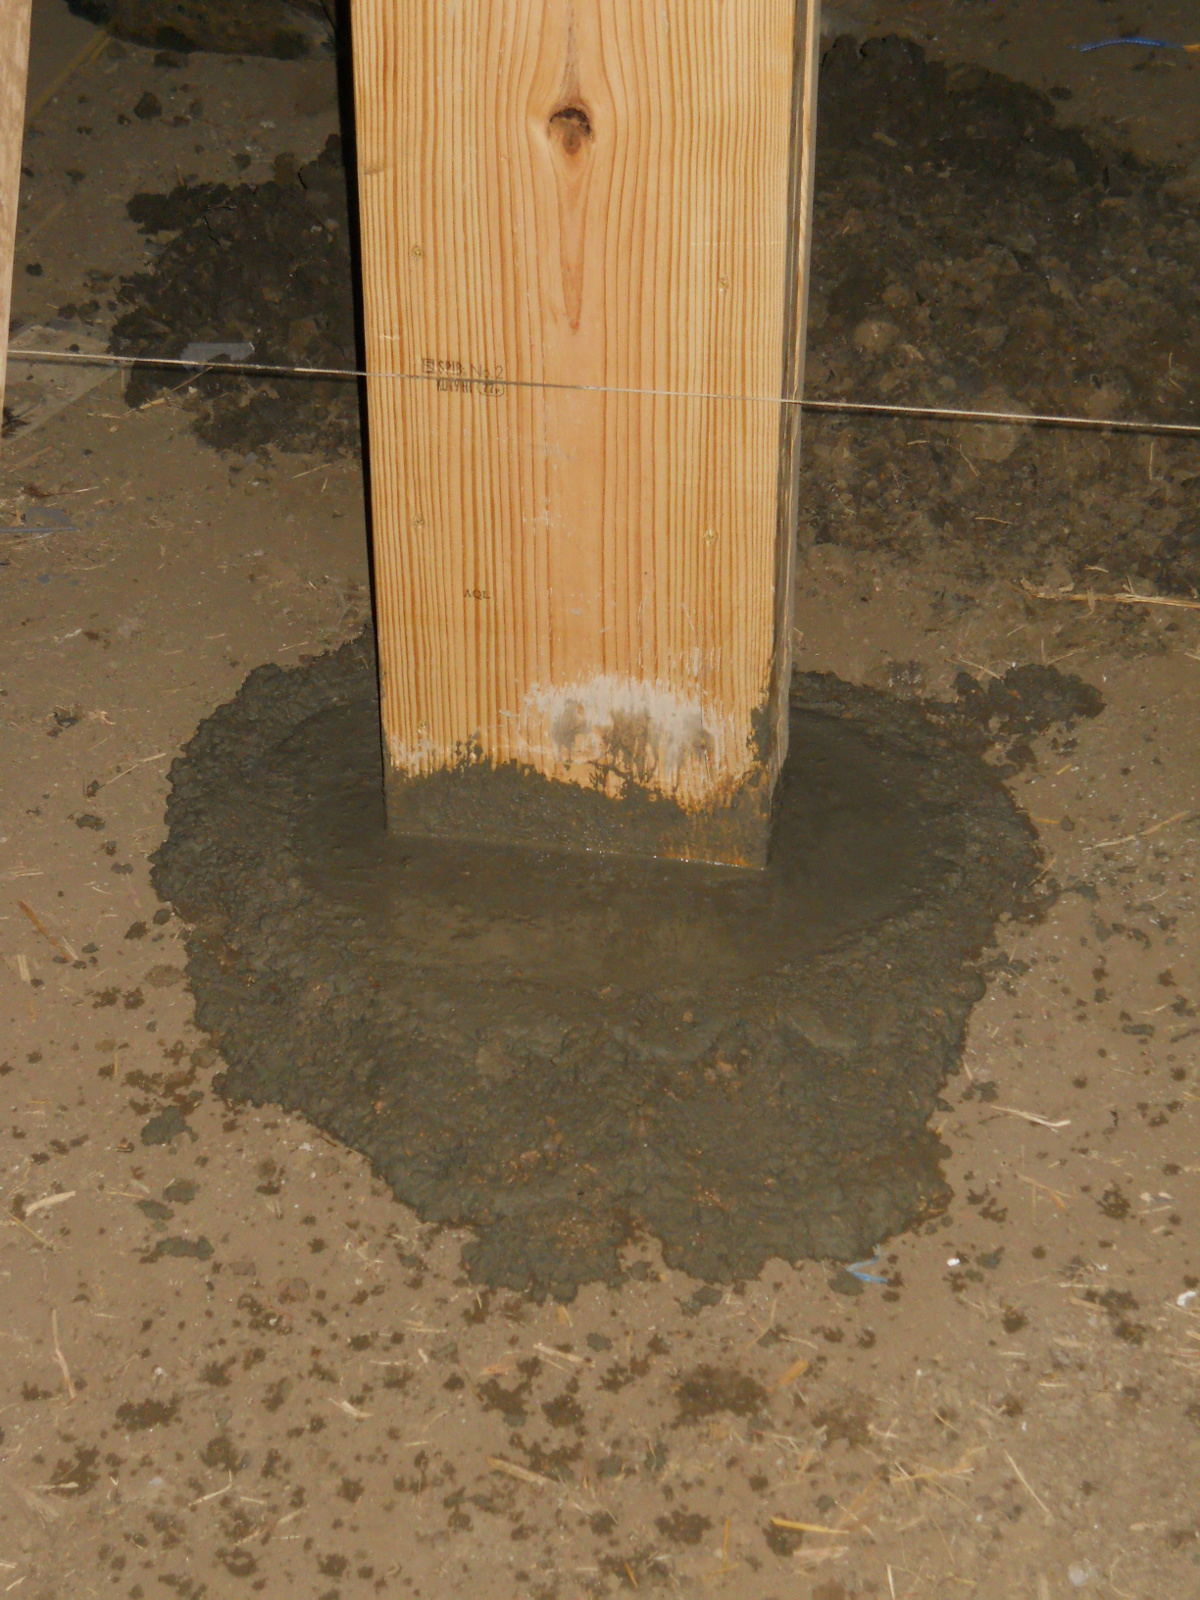
And the concrete pour:

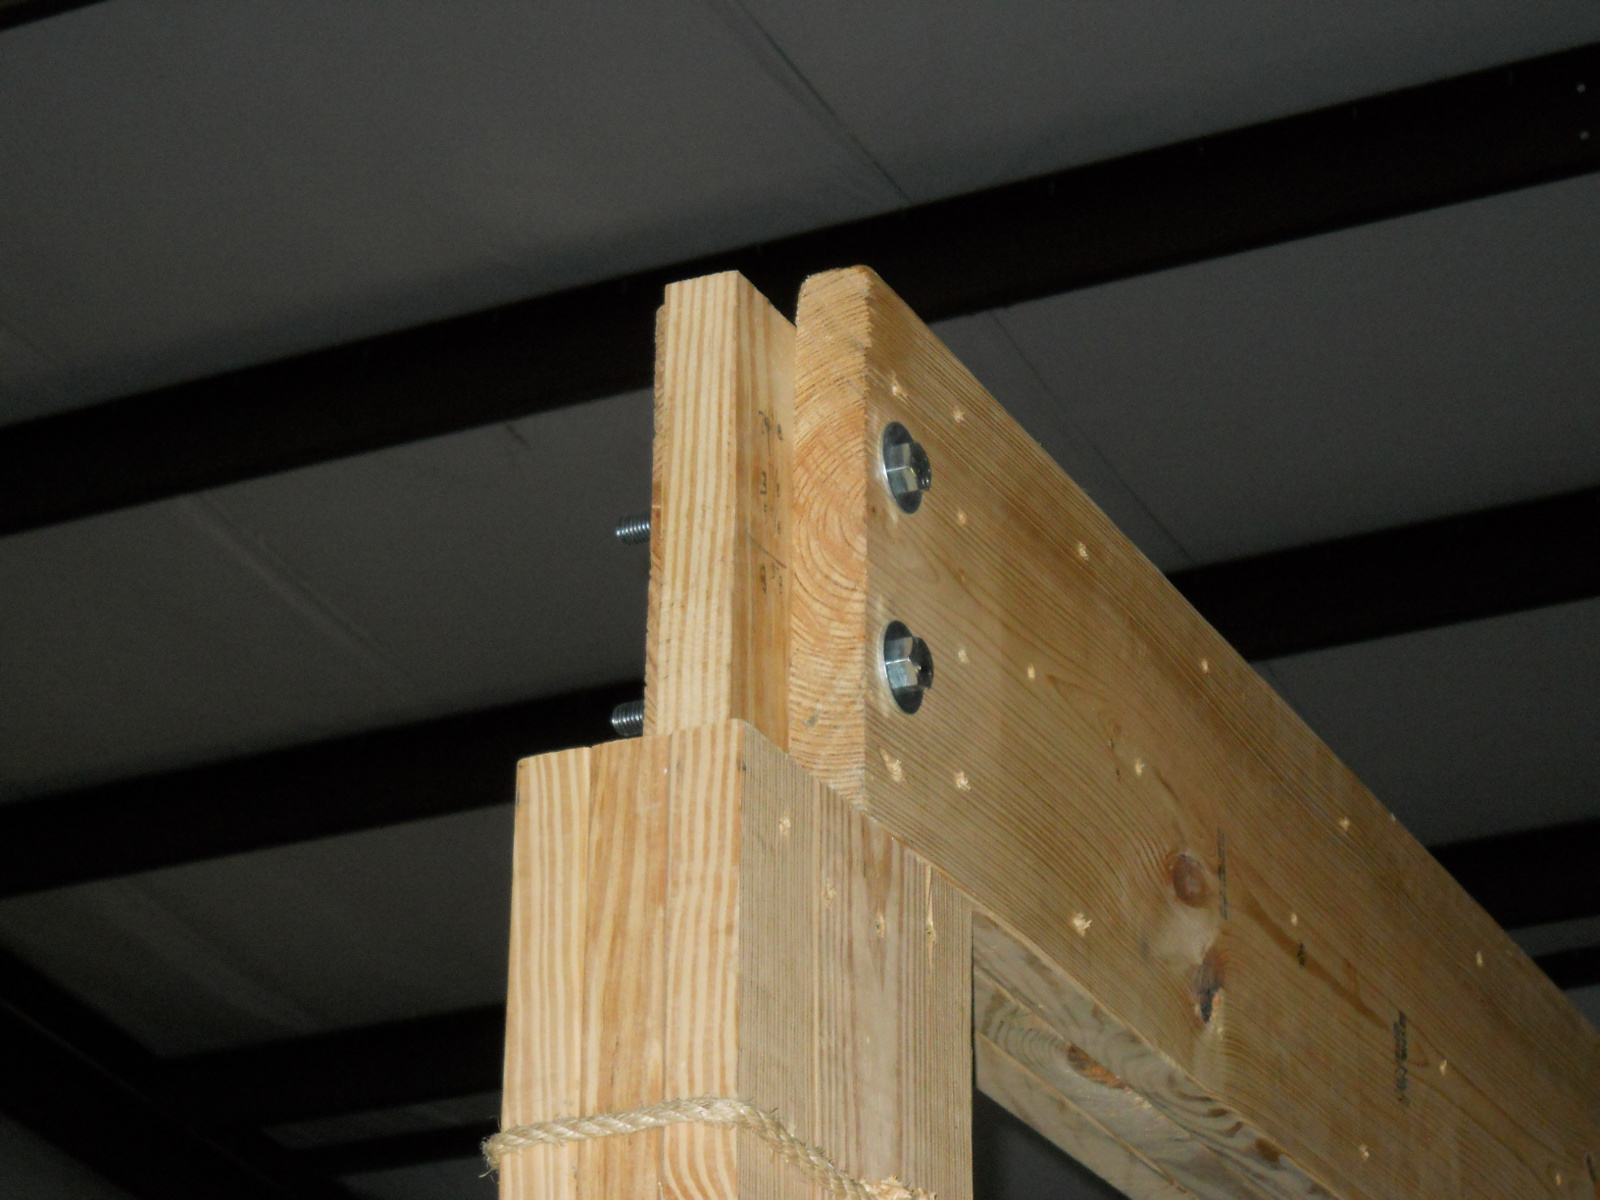
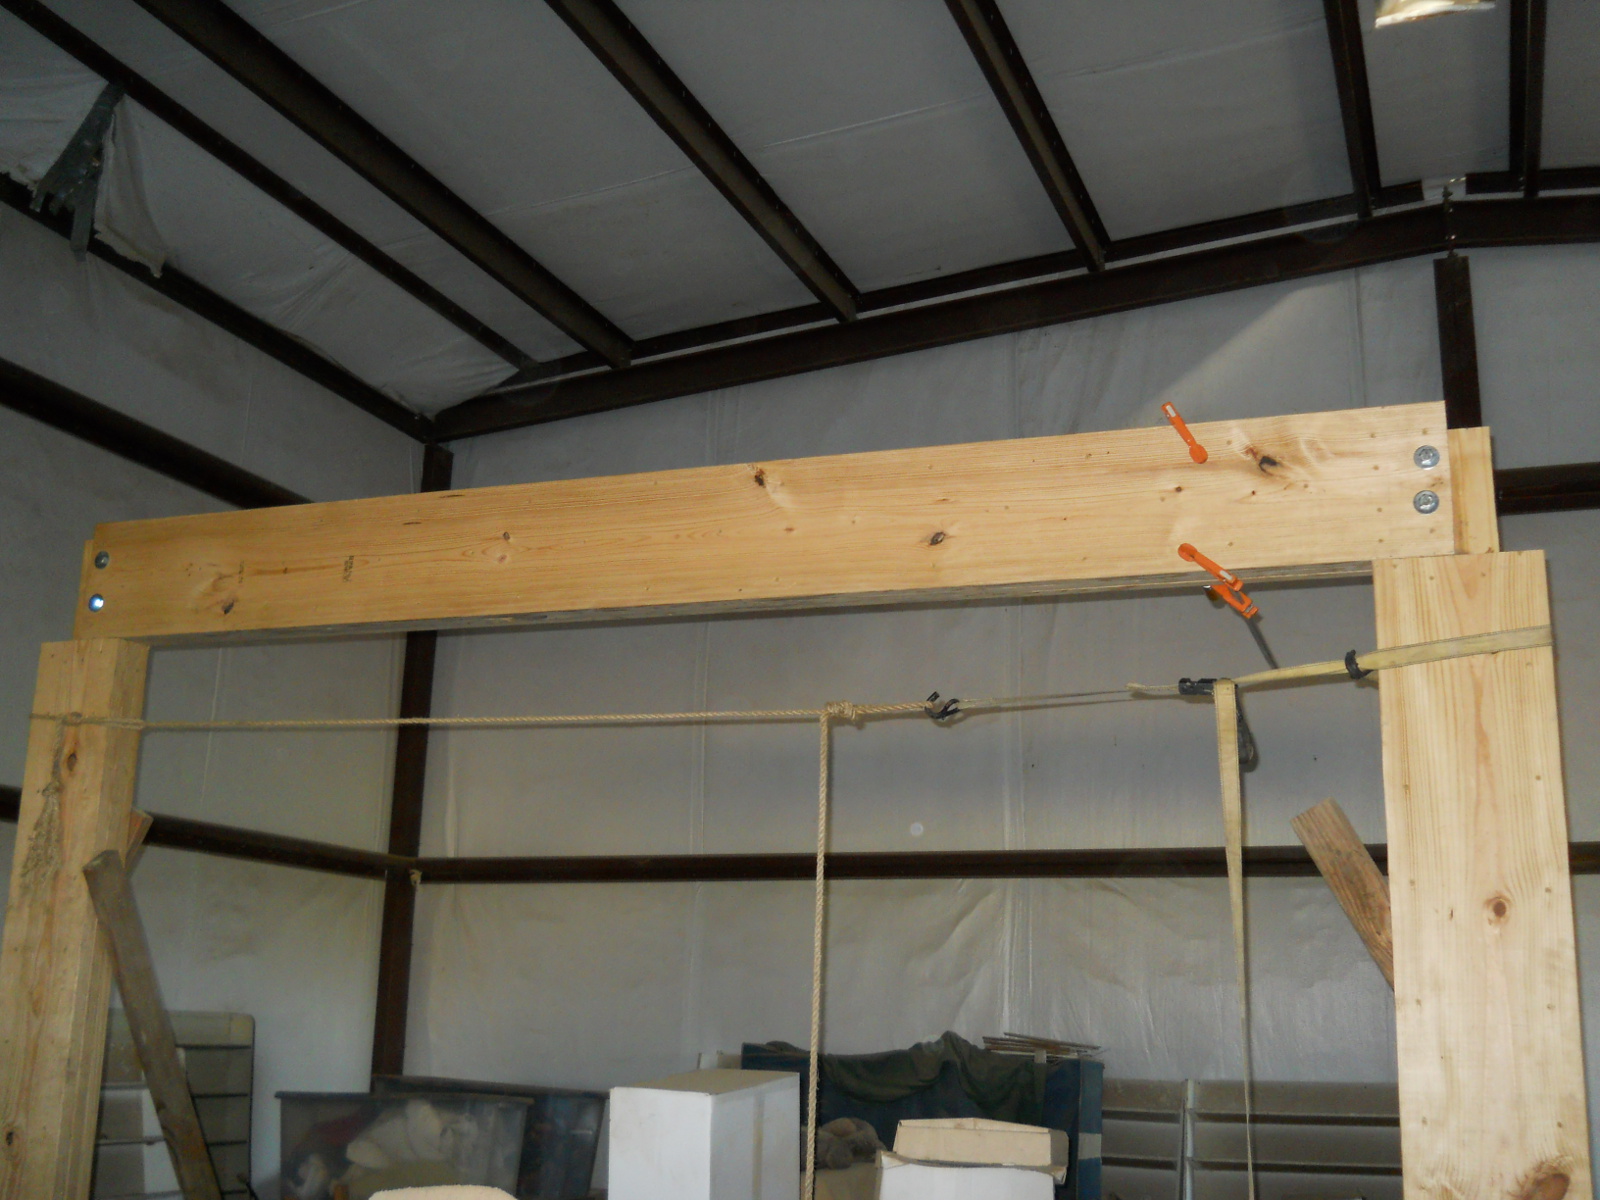
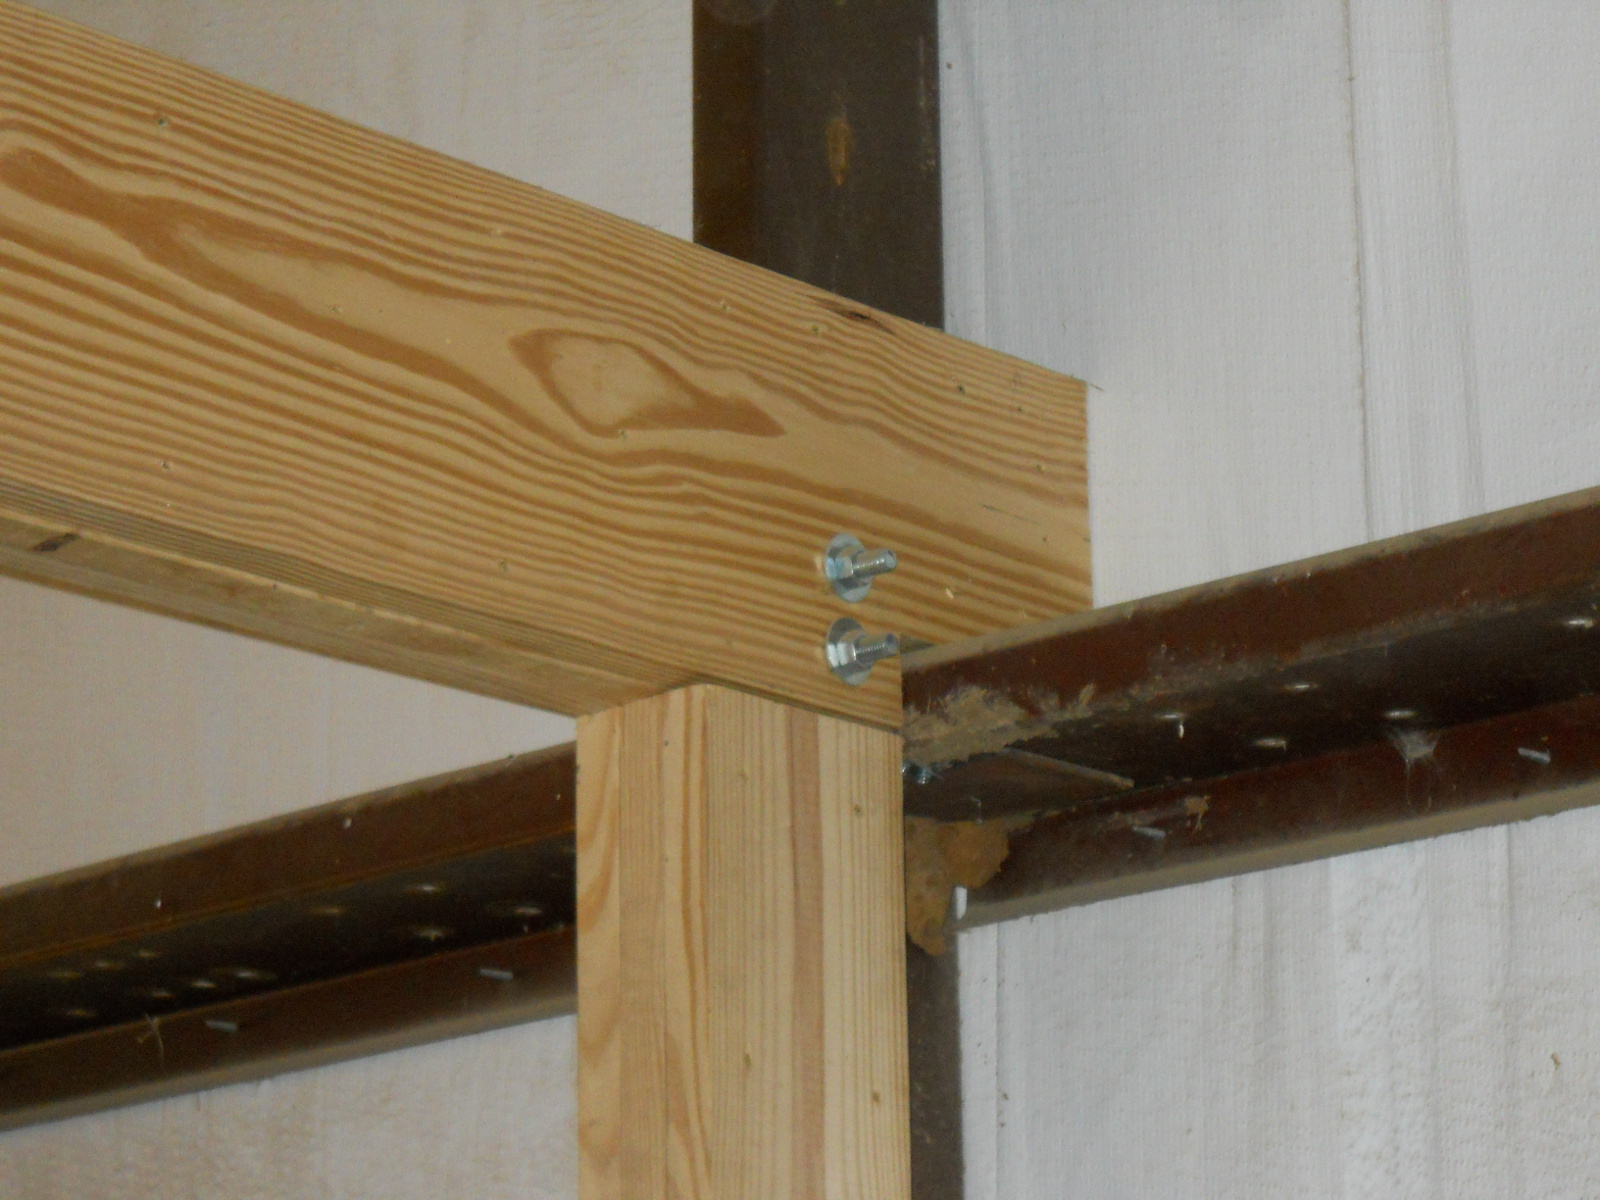
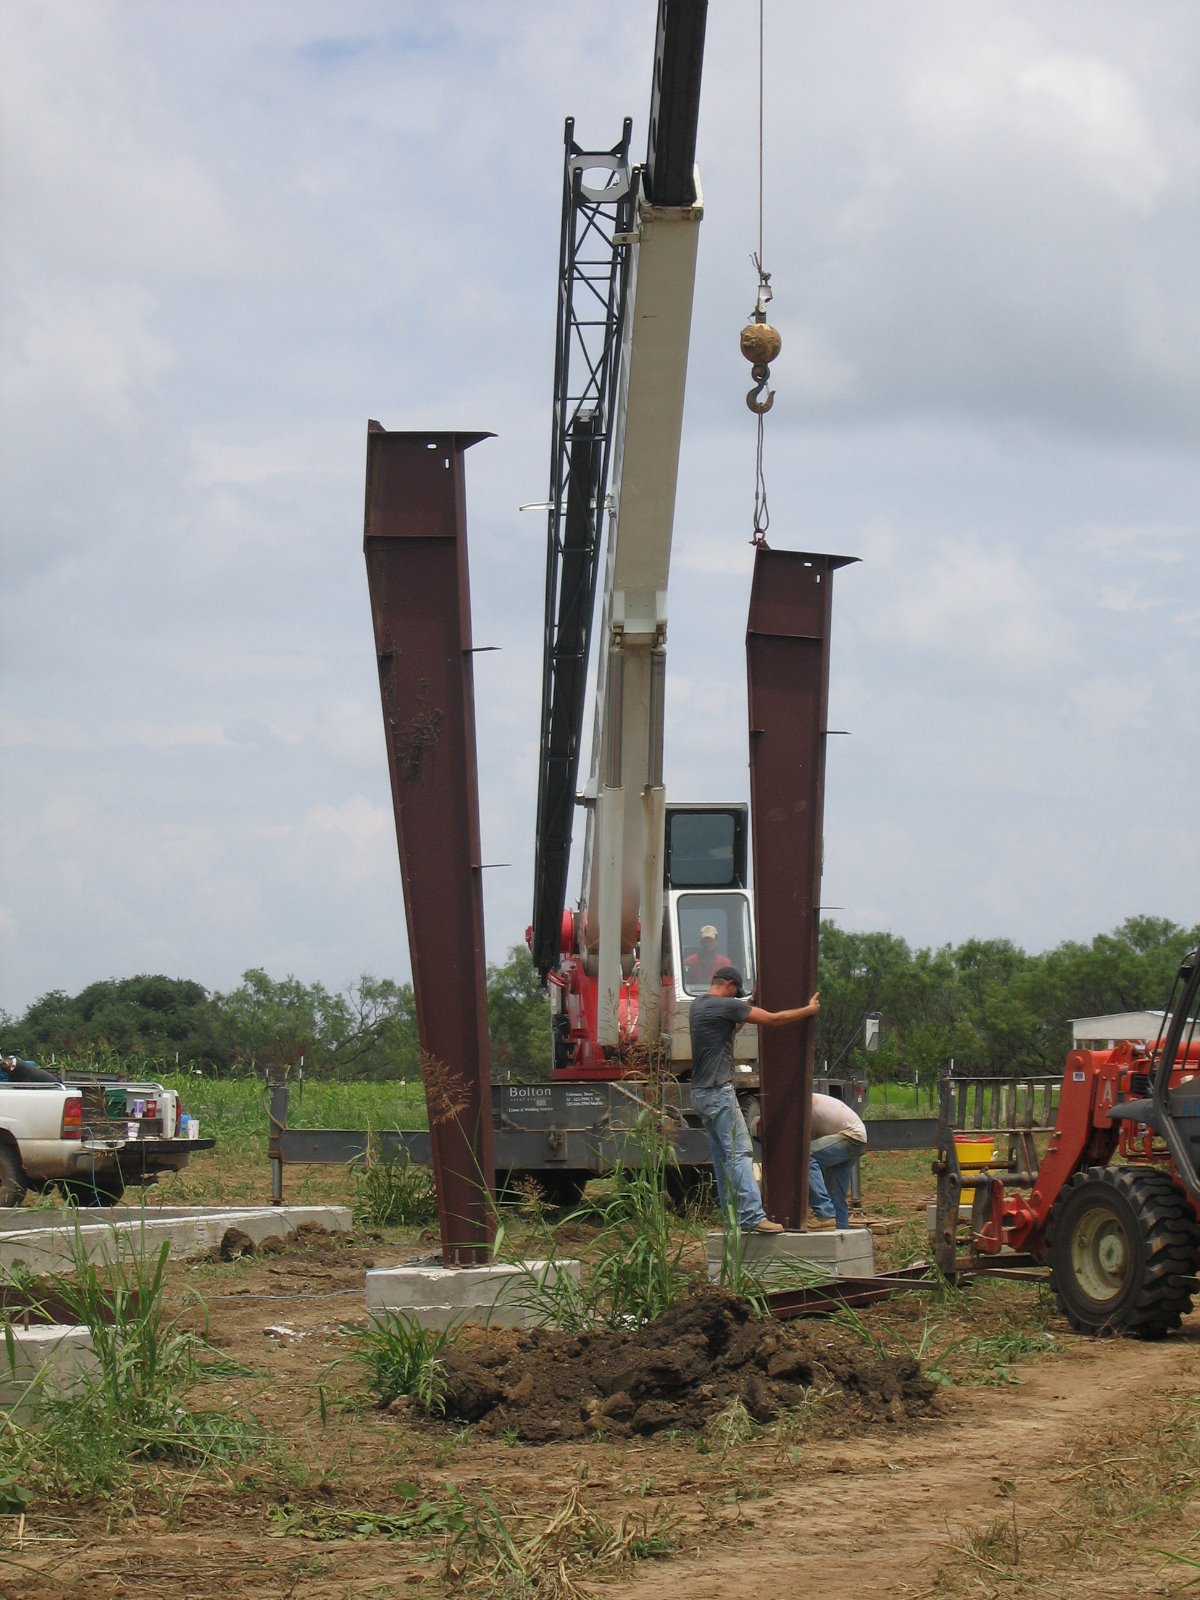
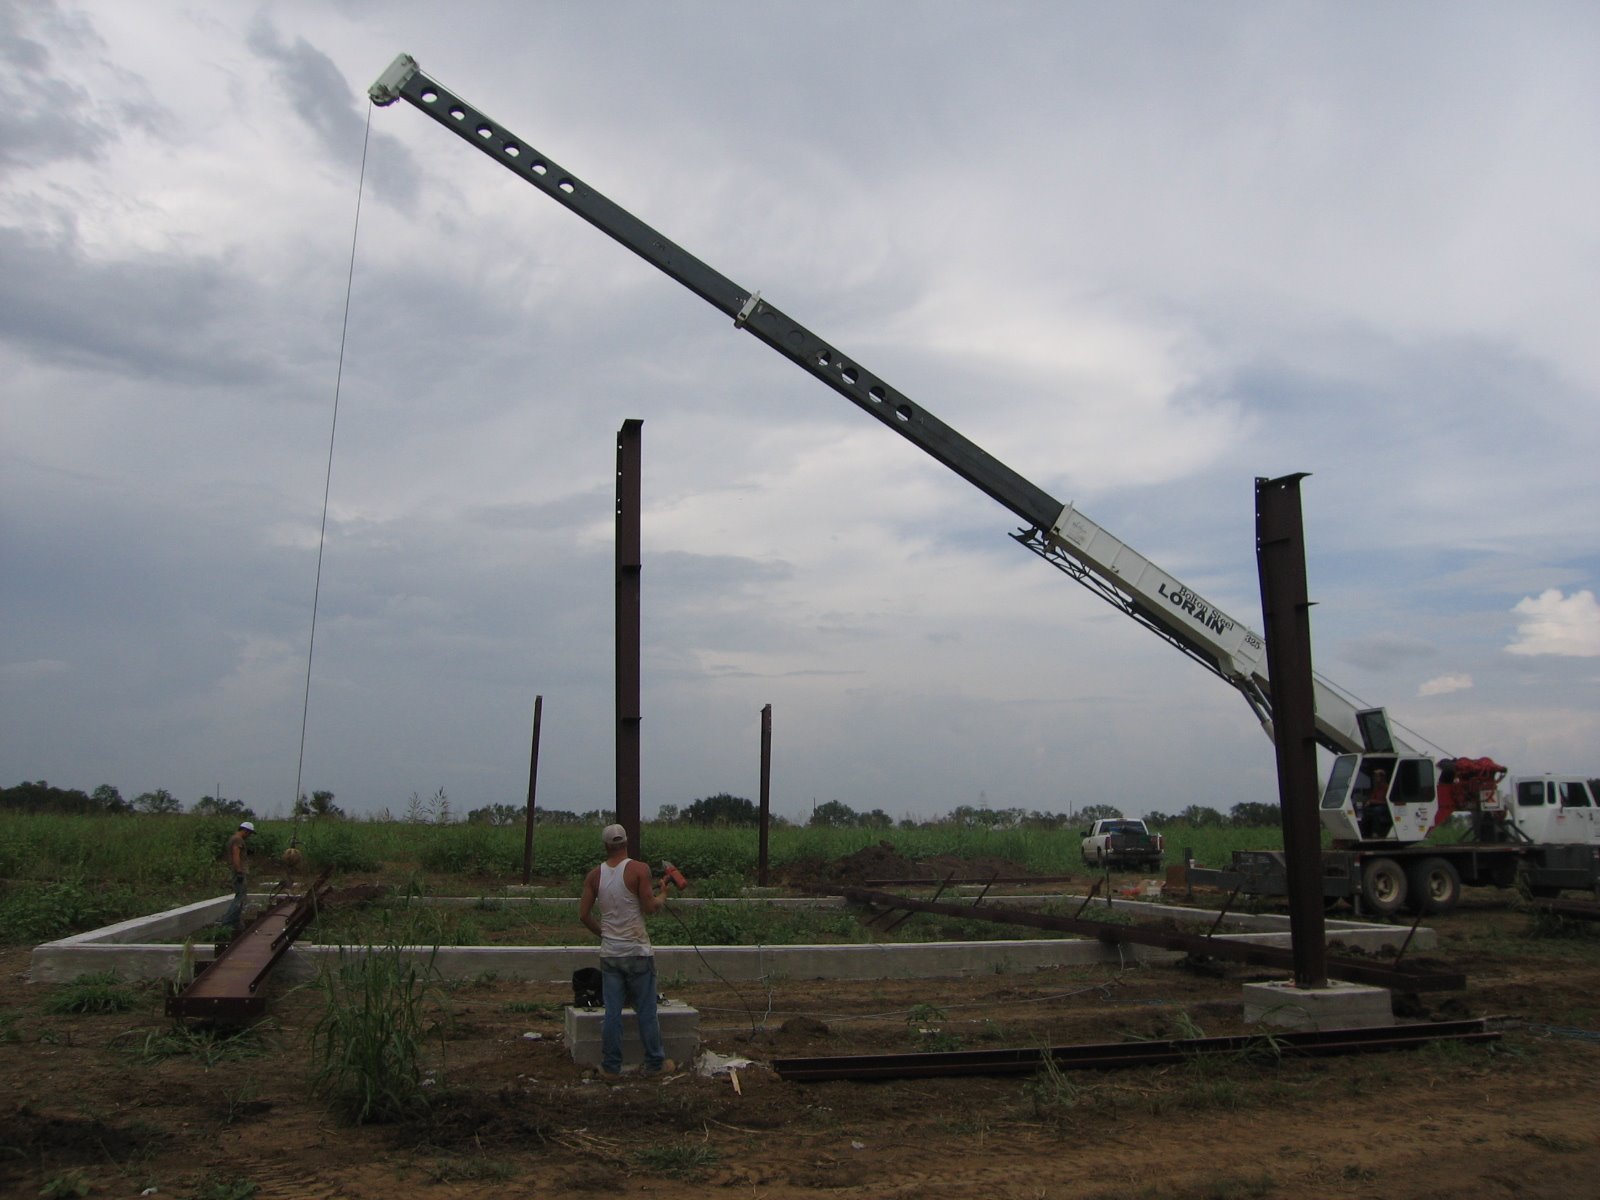
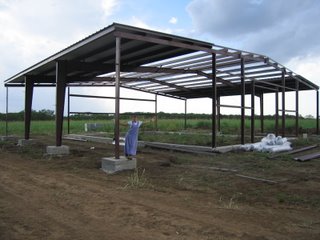
It’s just like Tinker Toys!


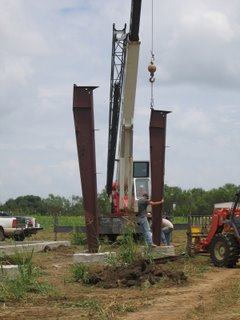
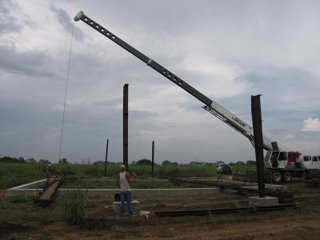
Or a jumbo Erector Set!

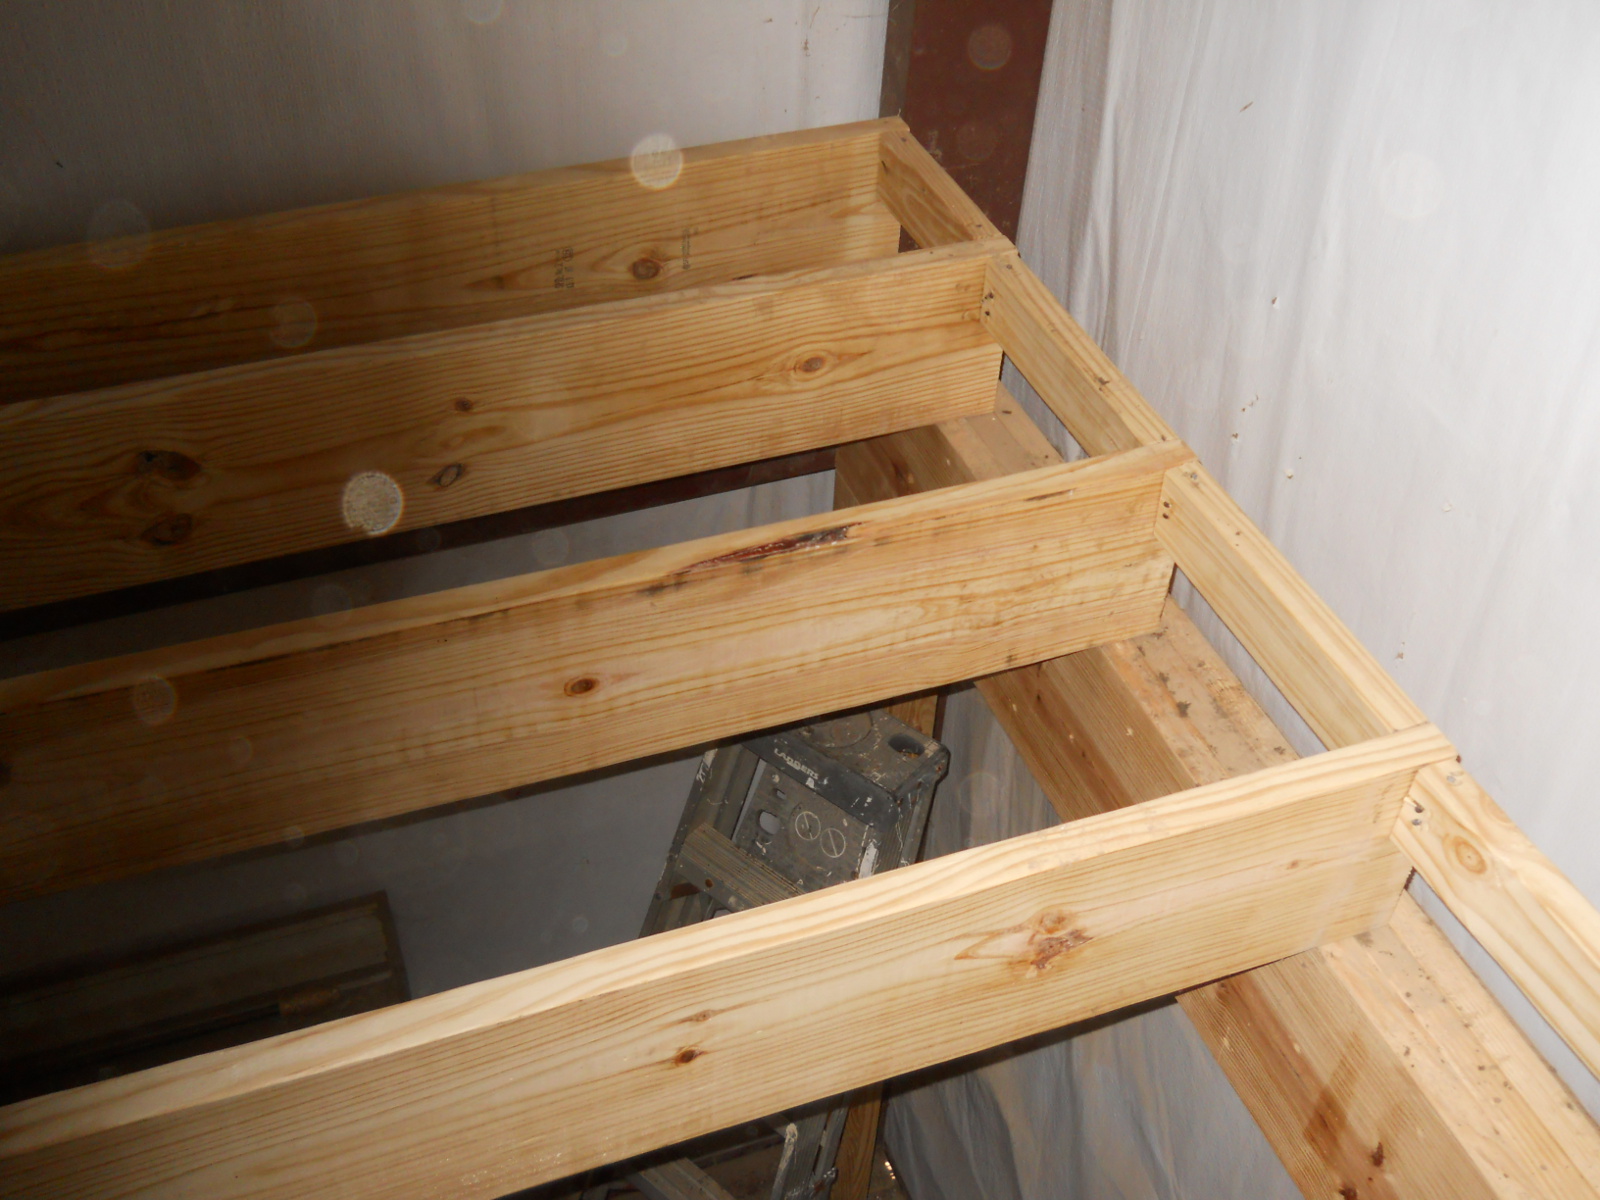
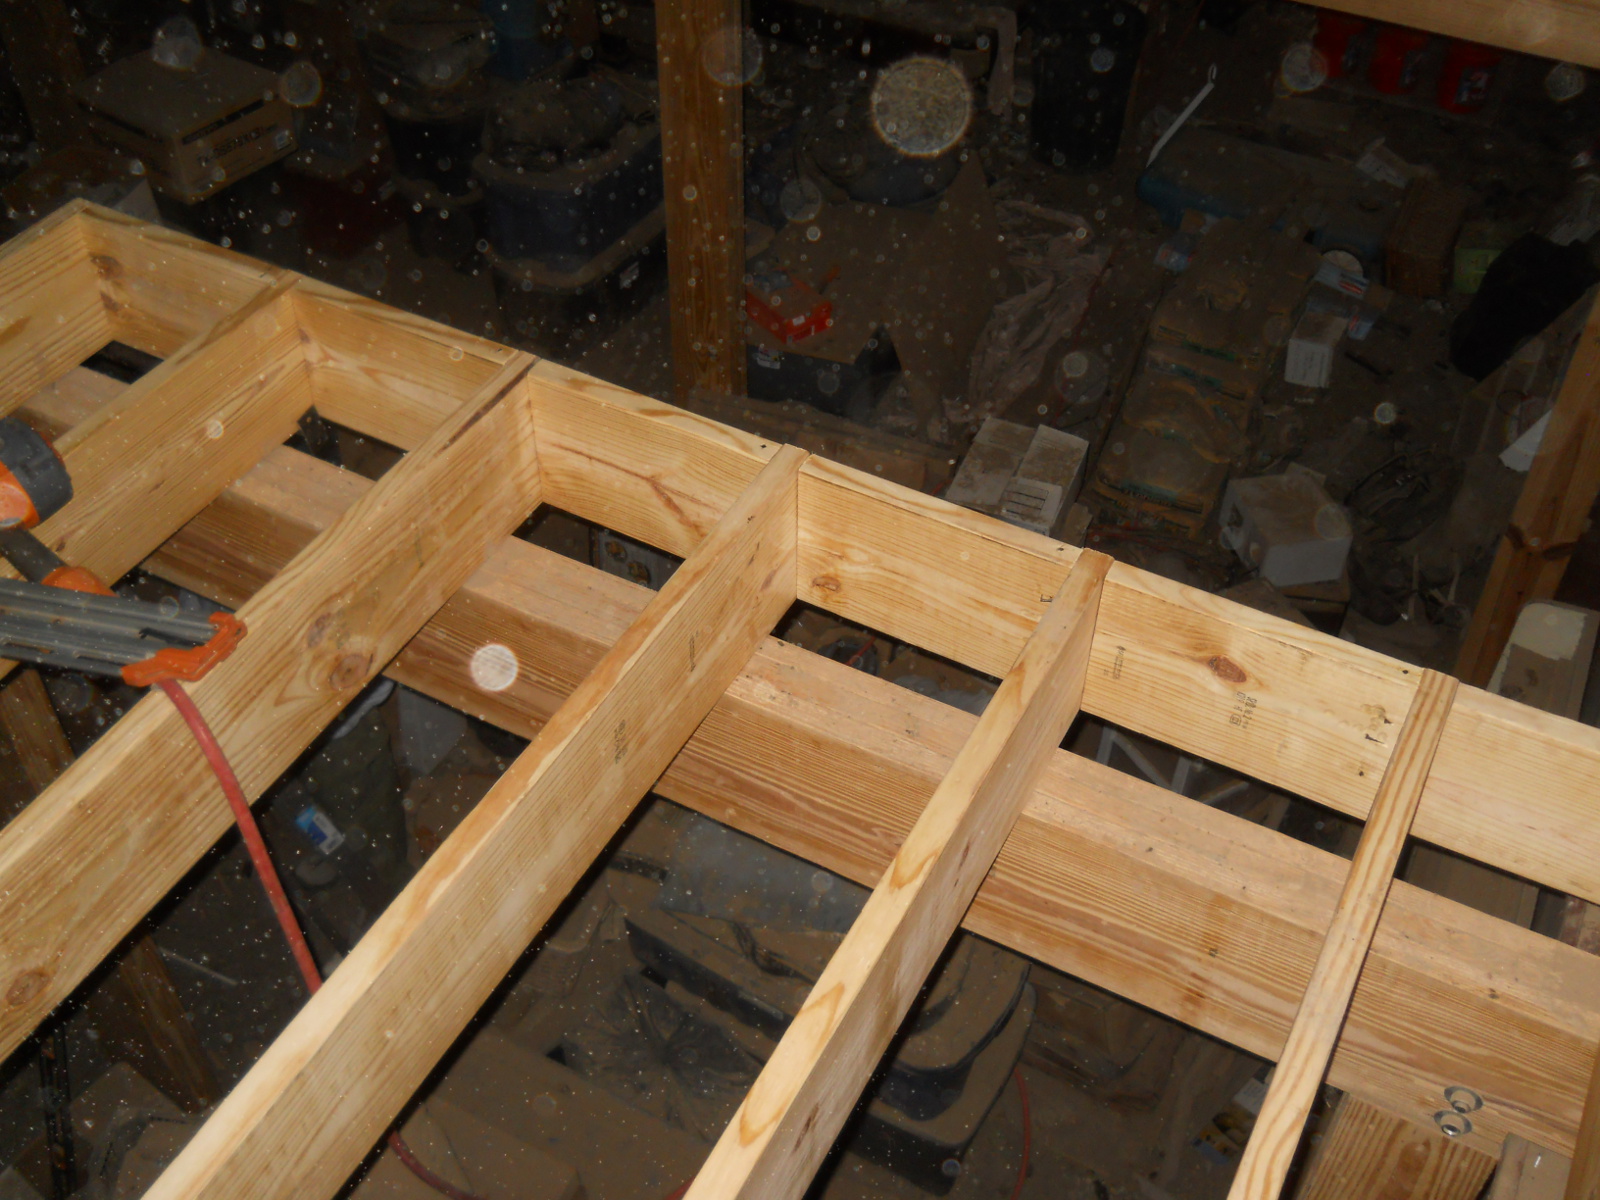
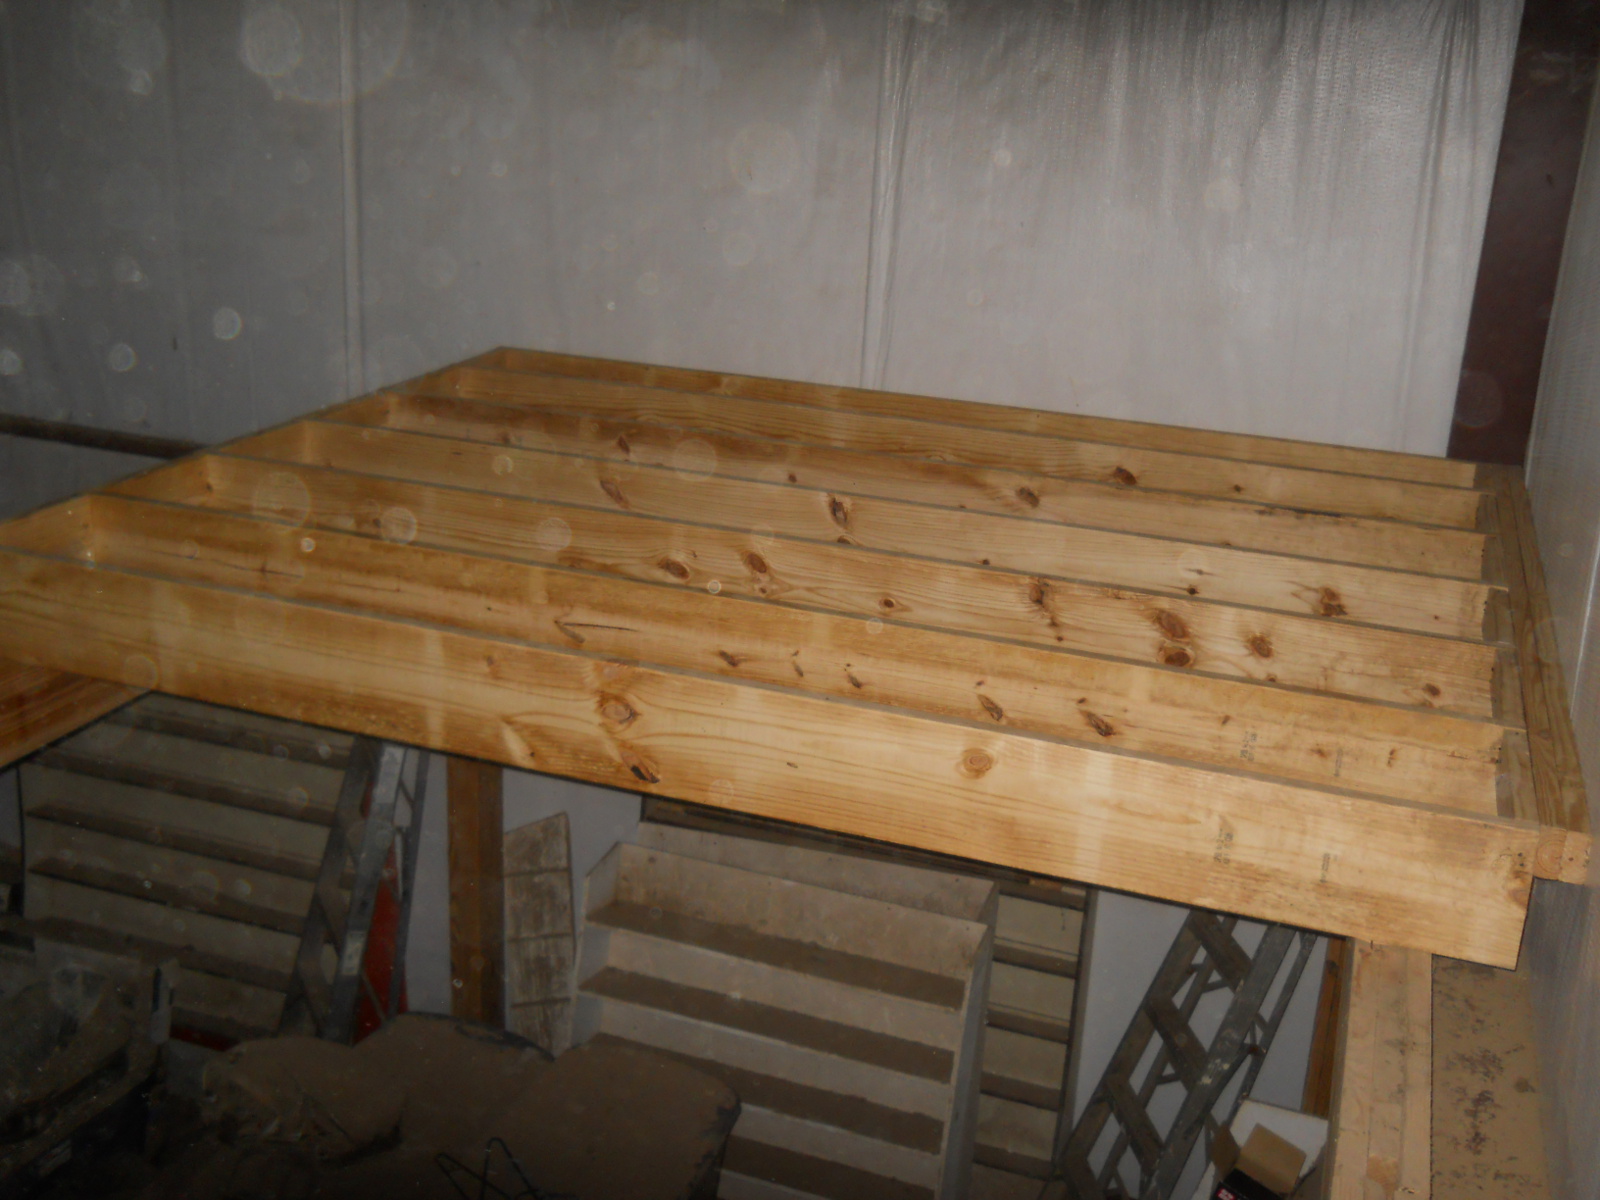
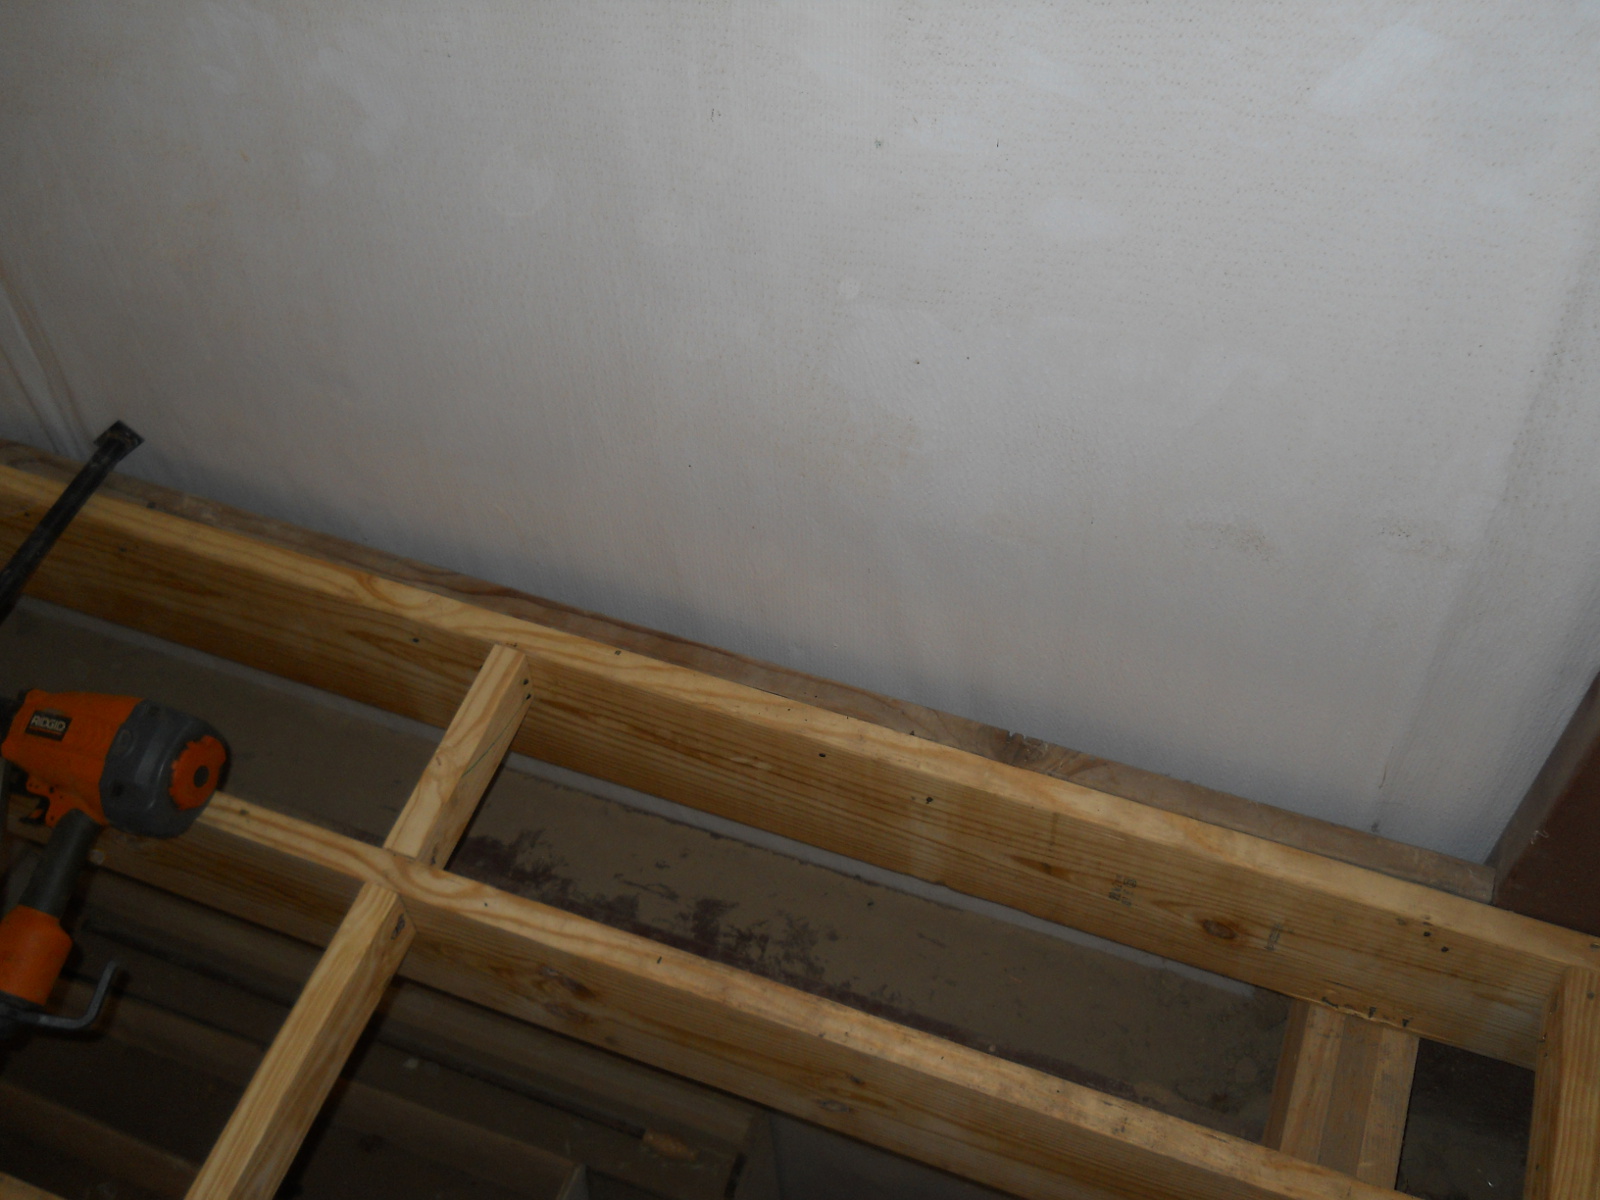
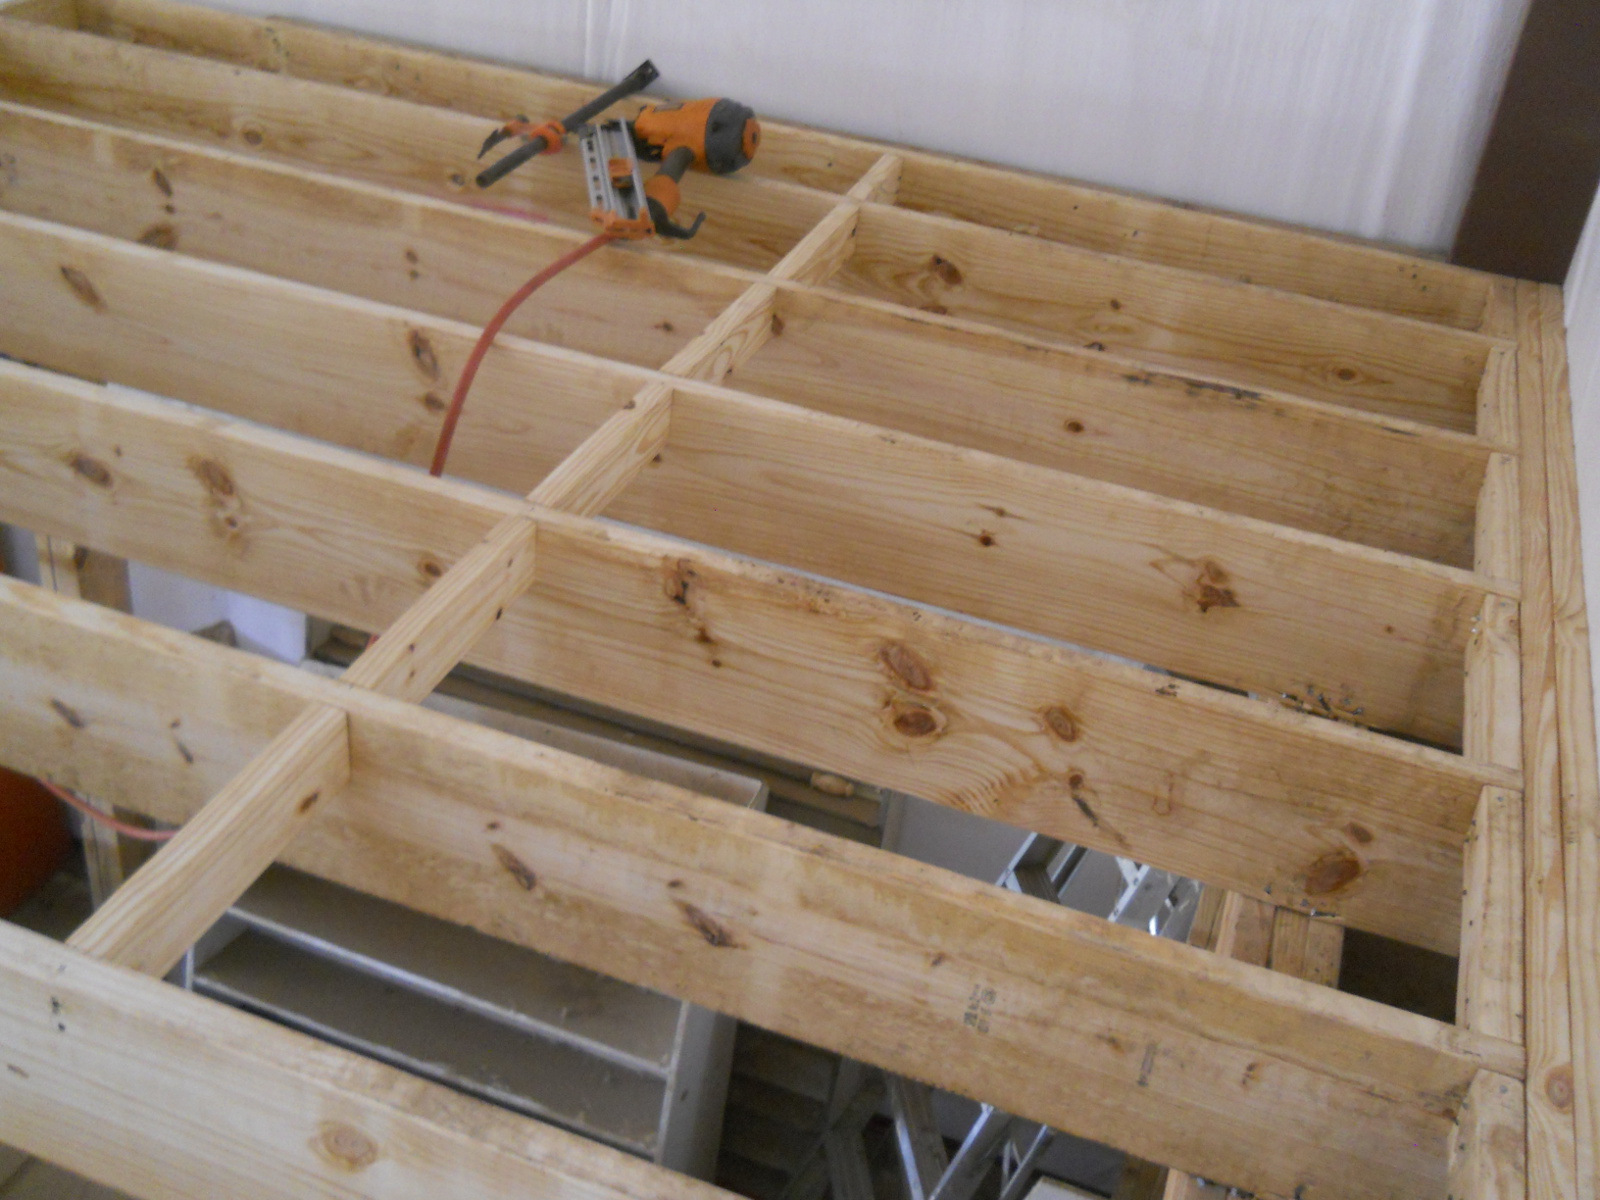
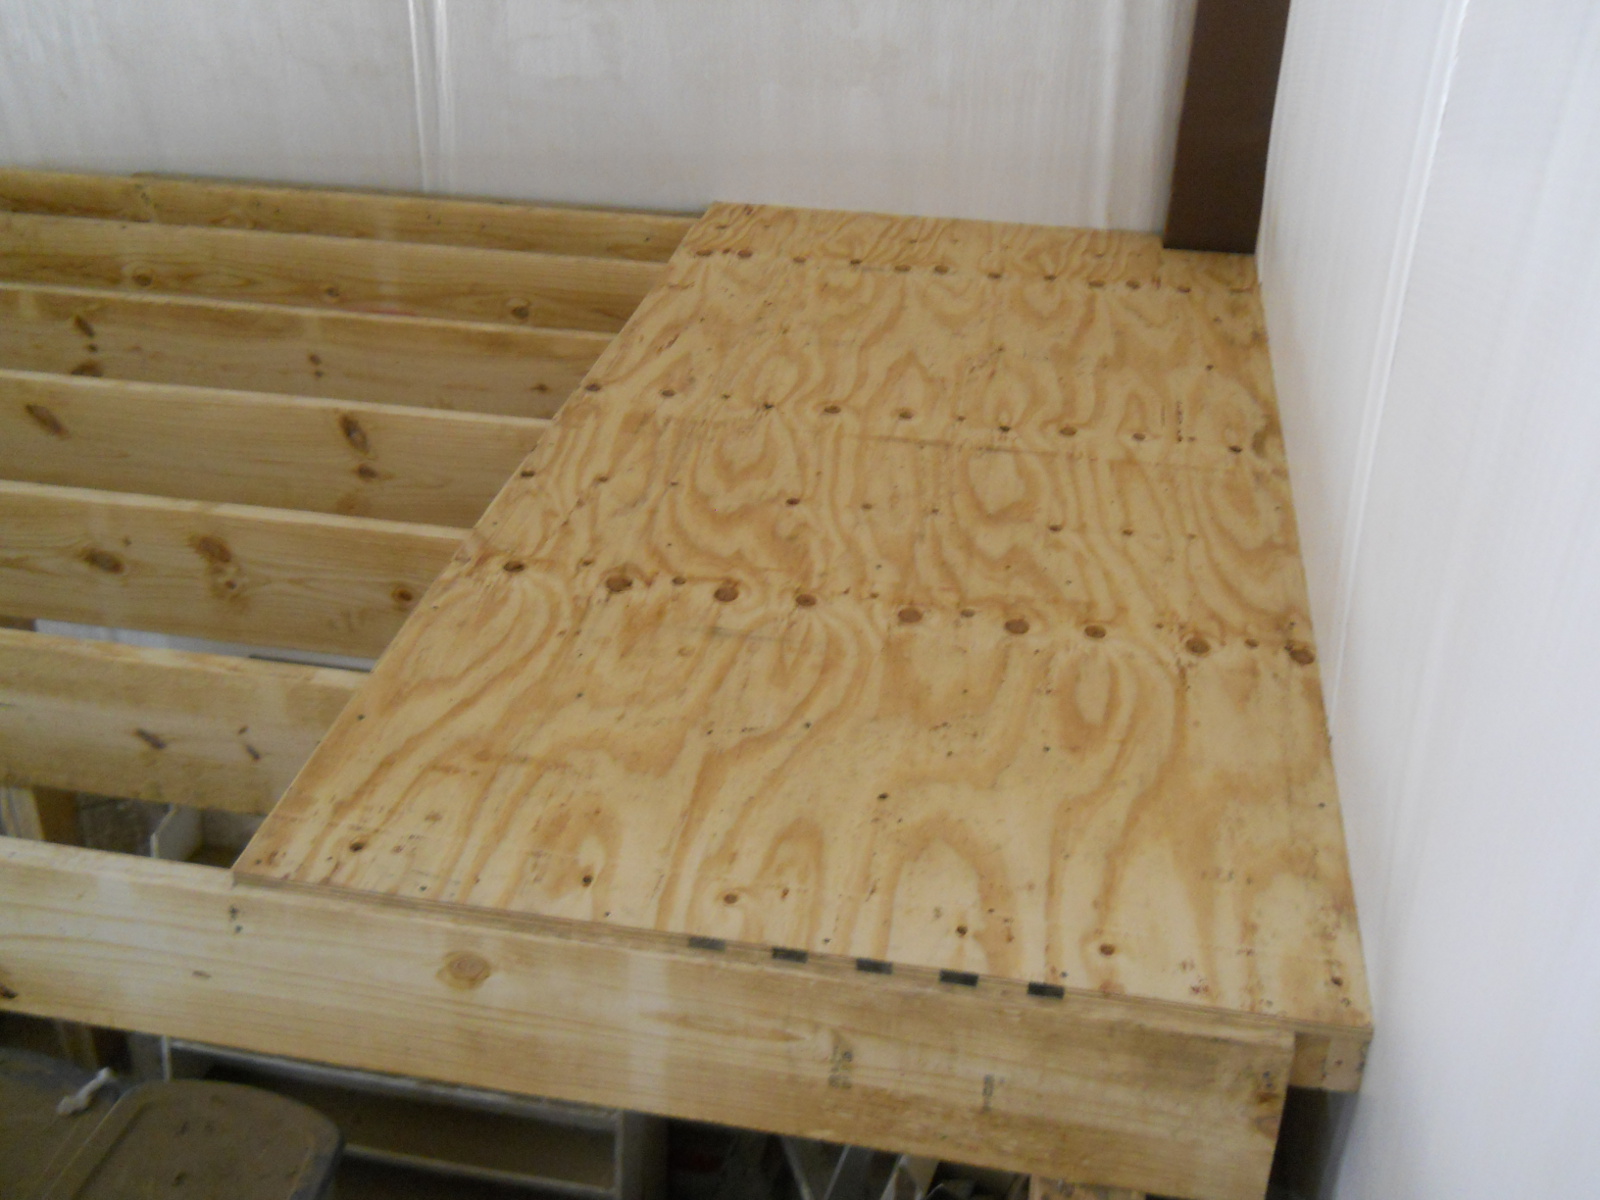
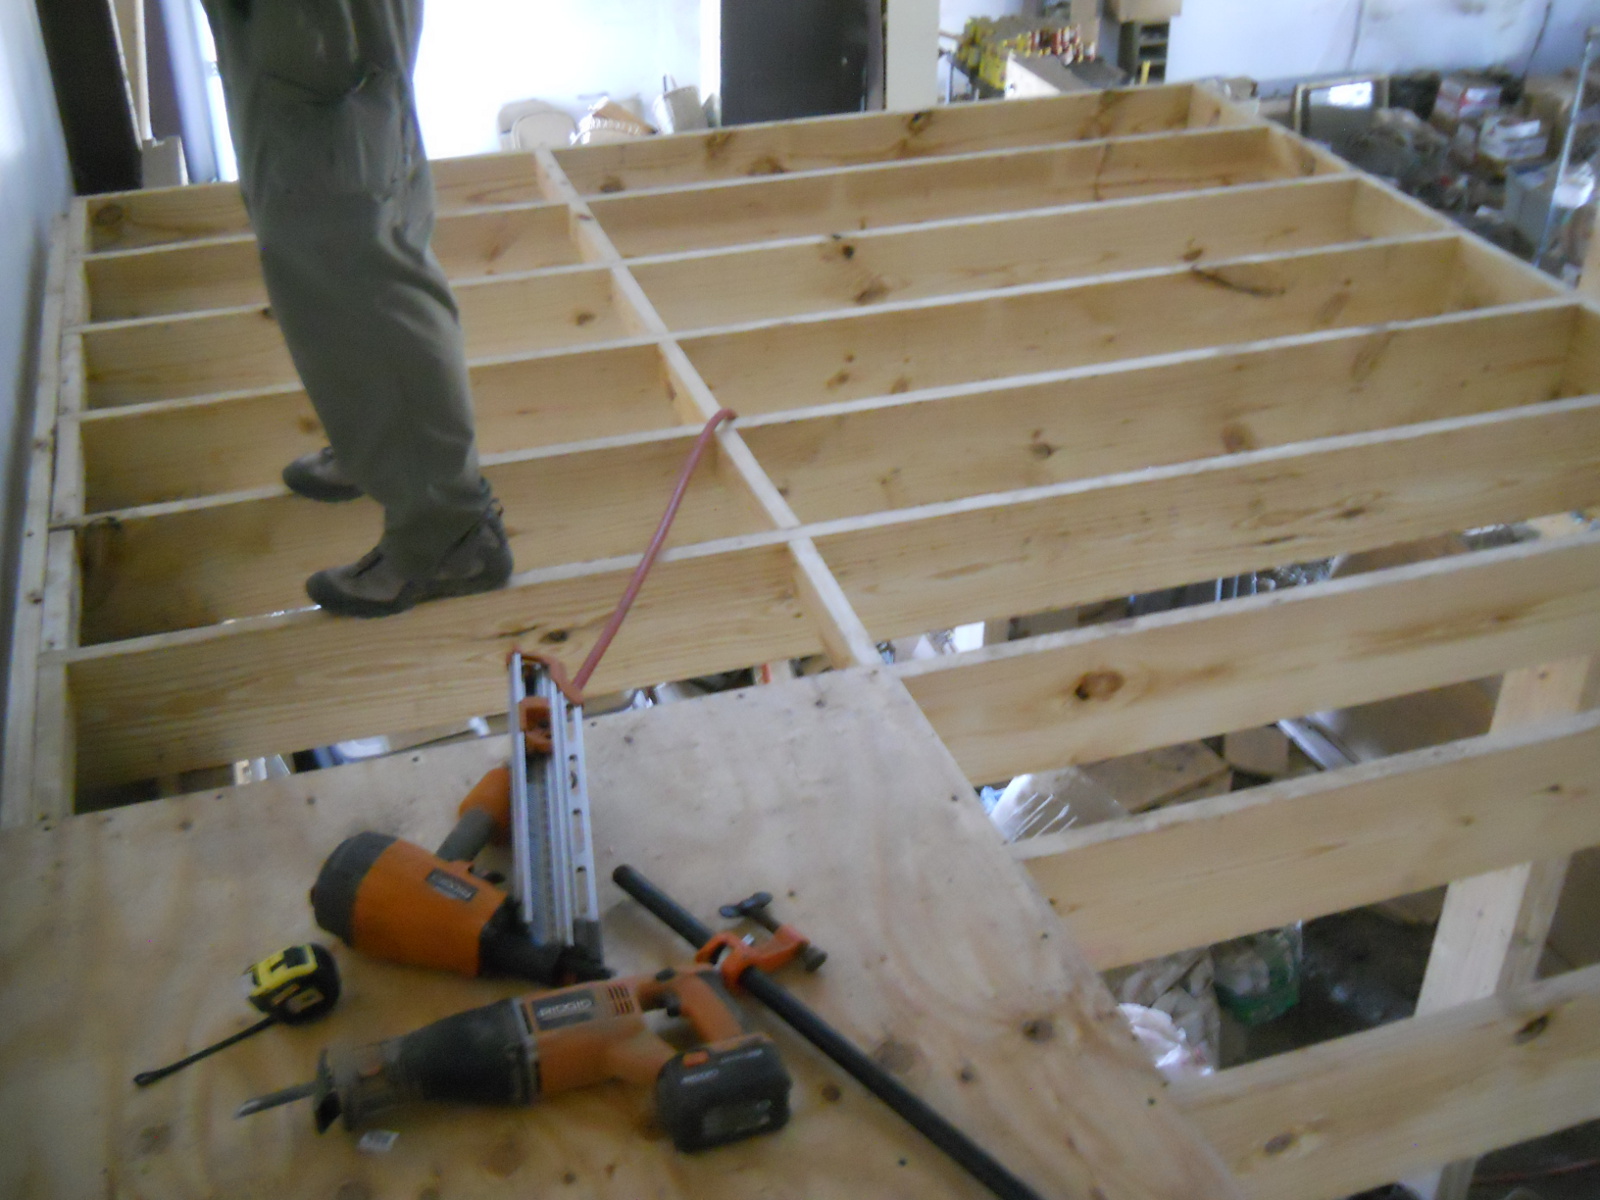
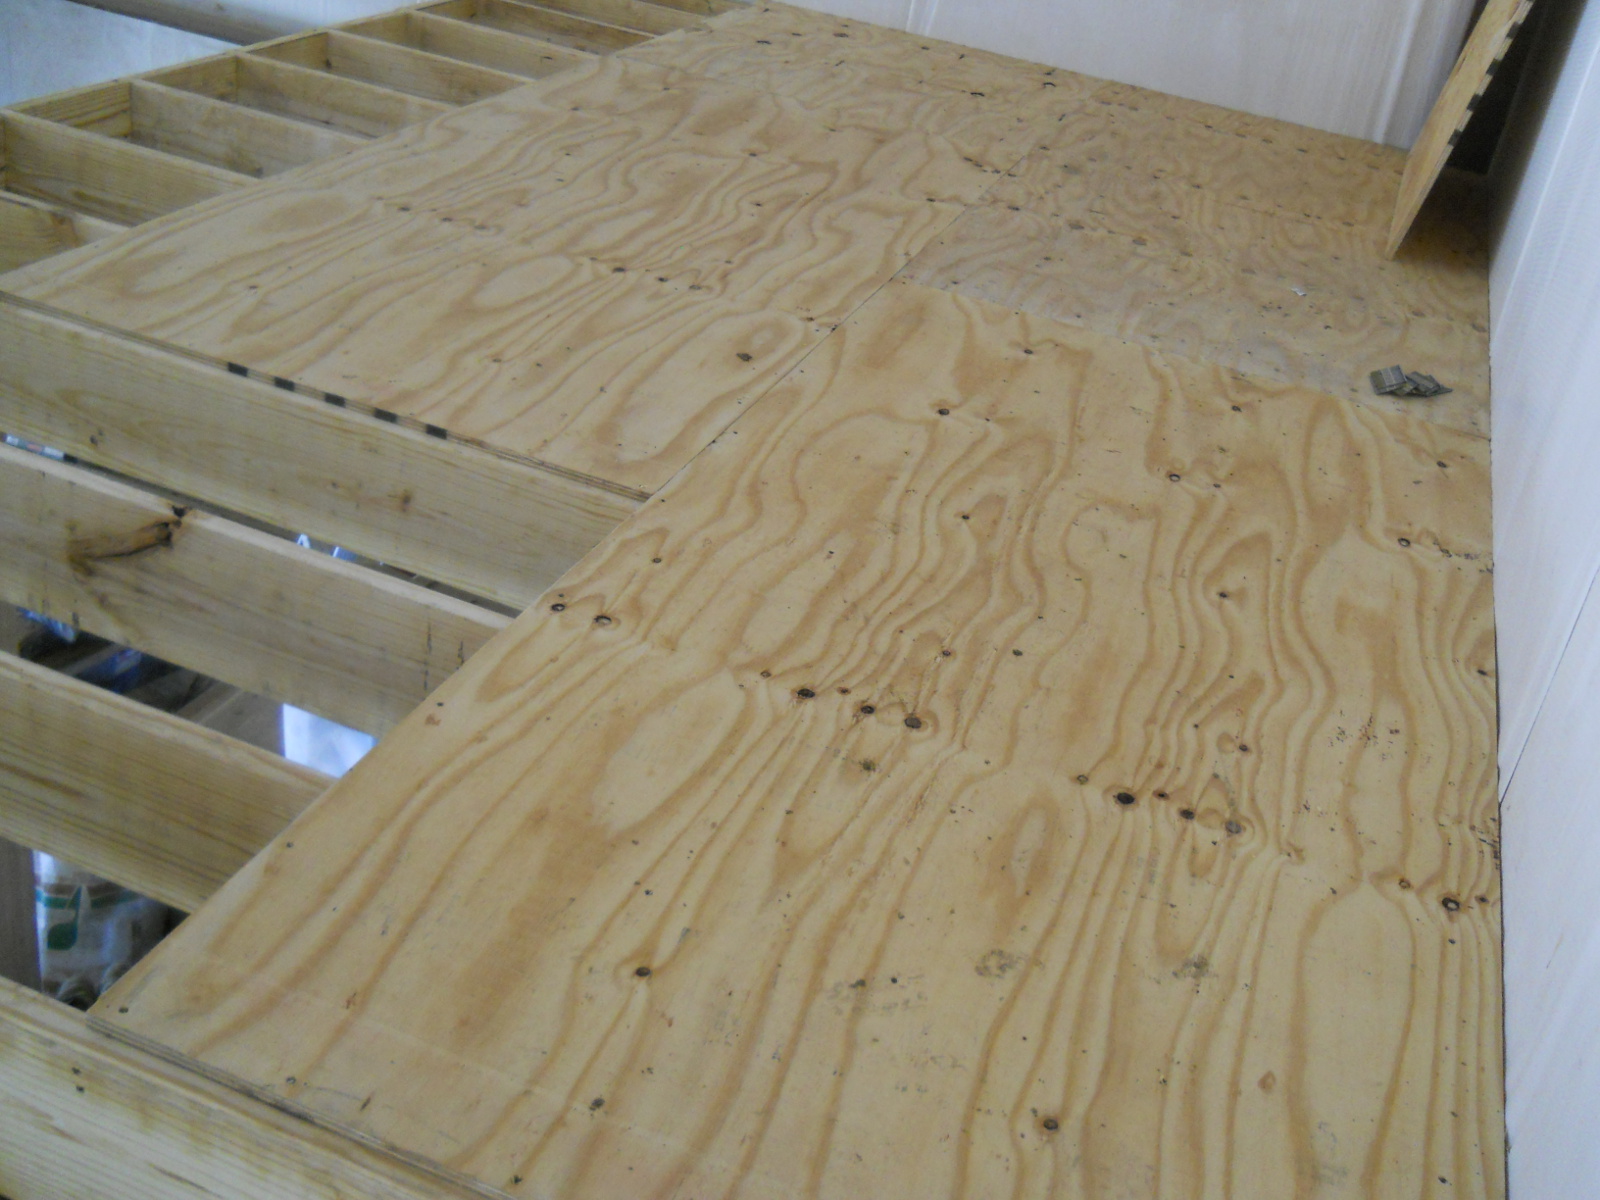
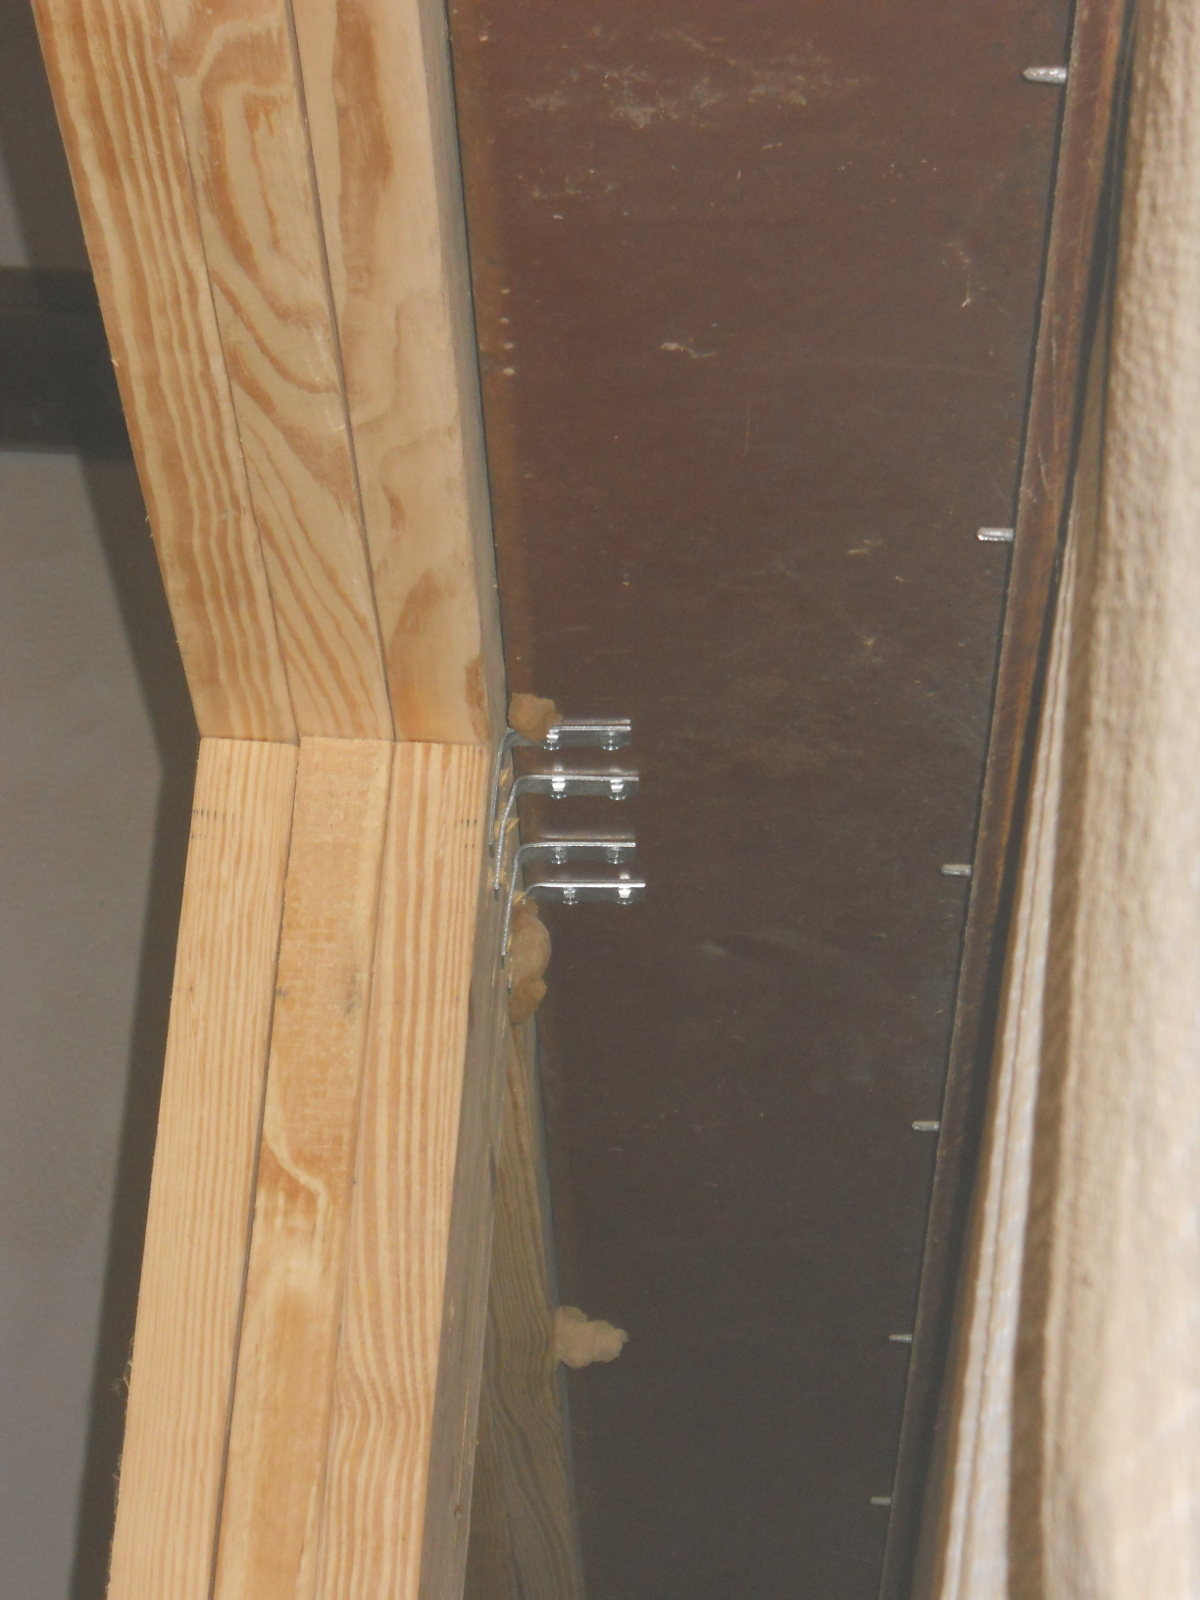
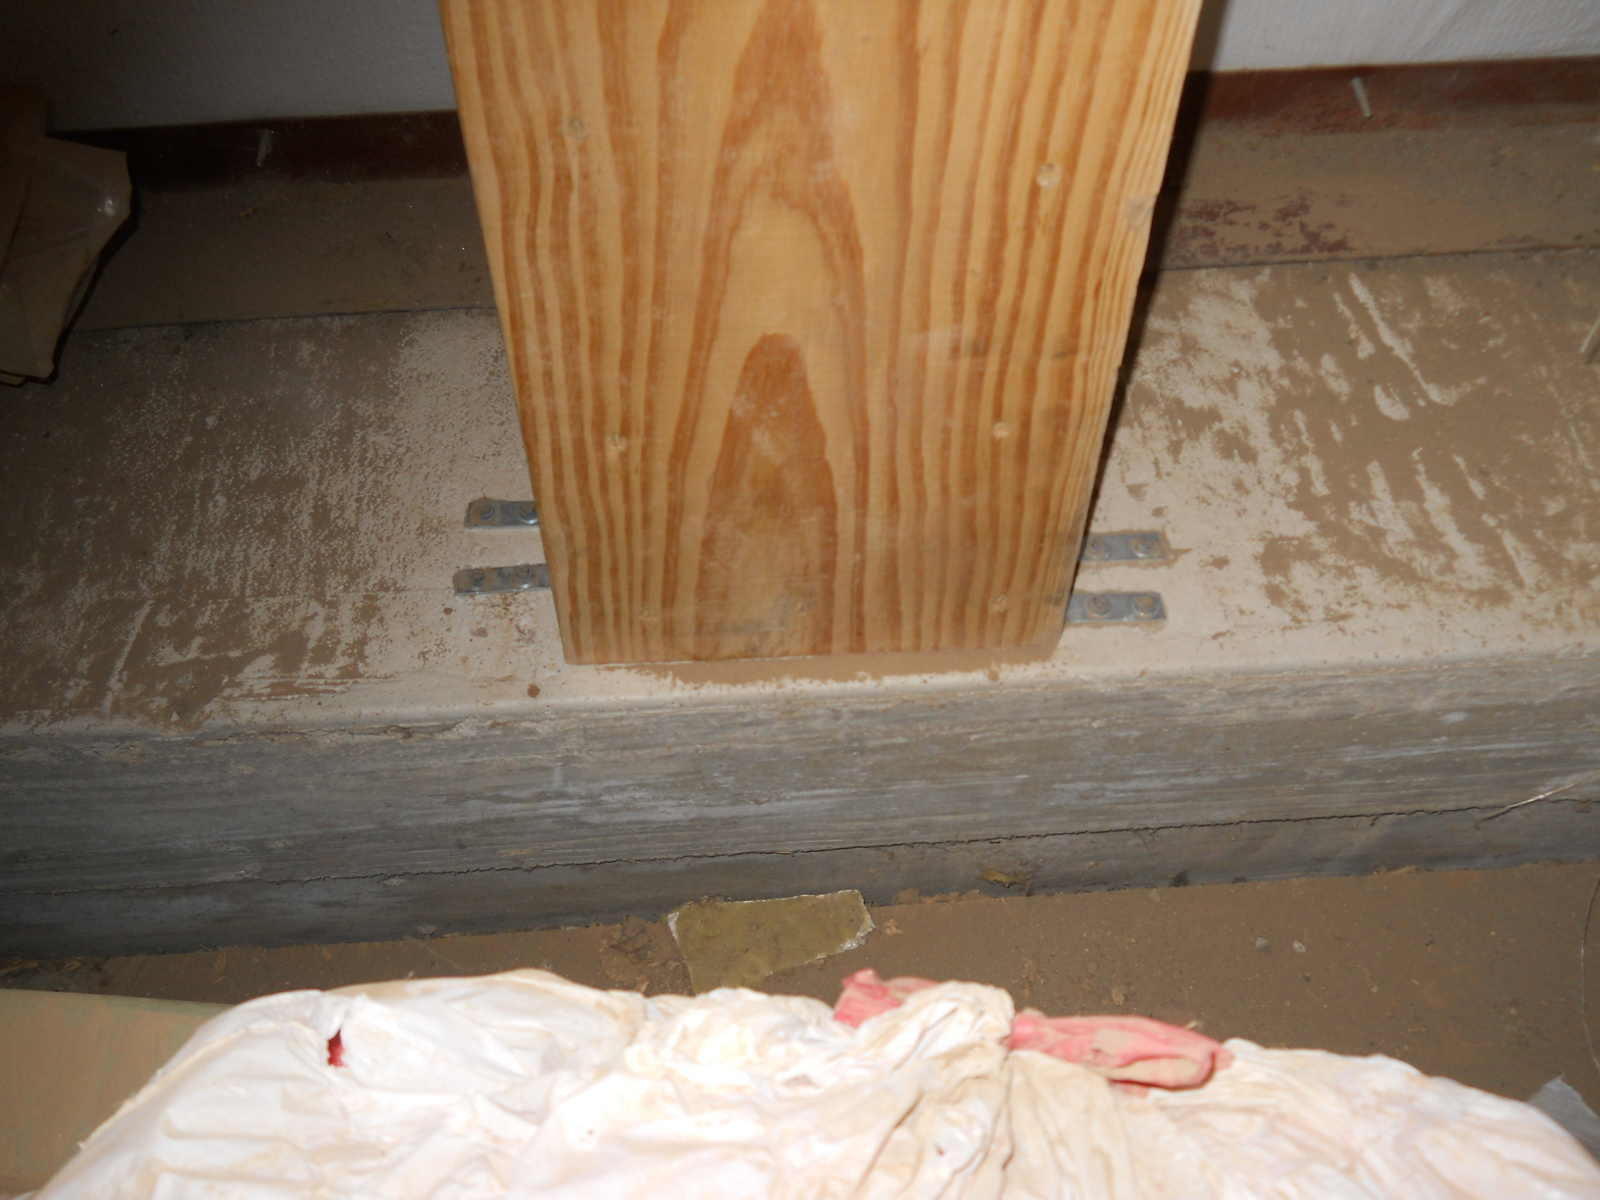
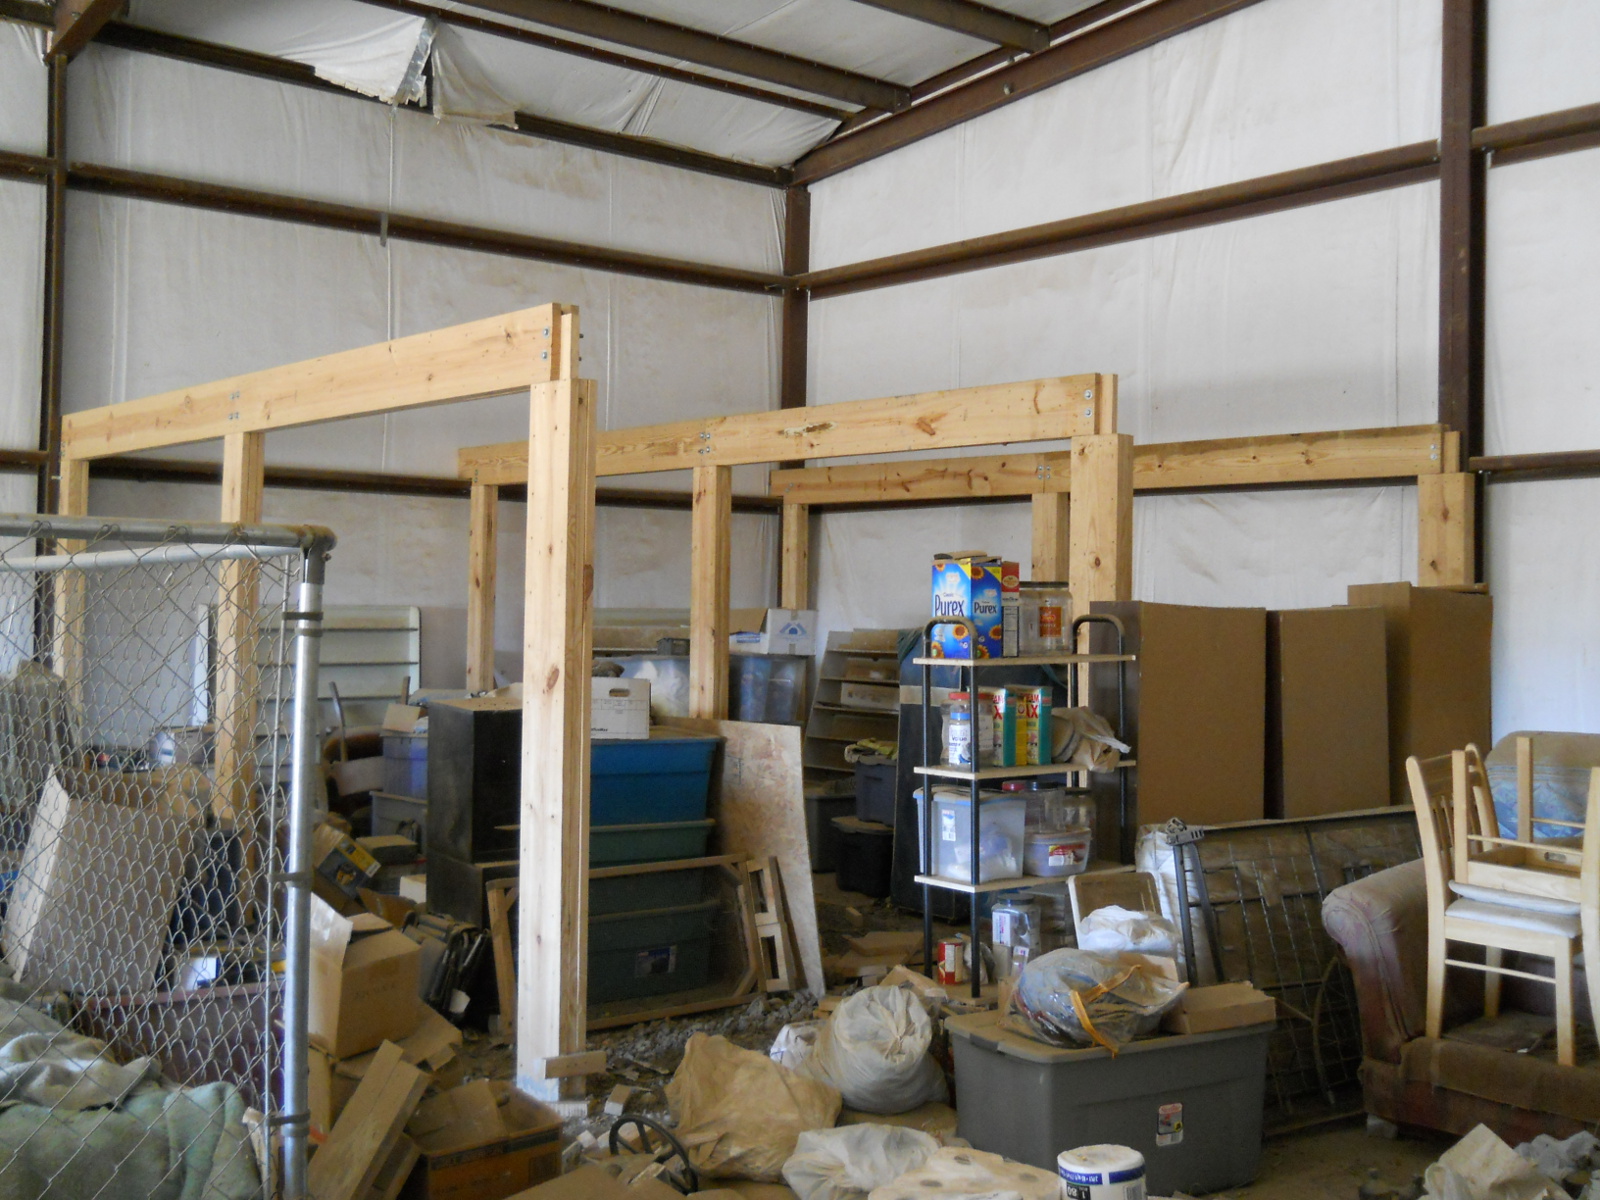
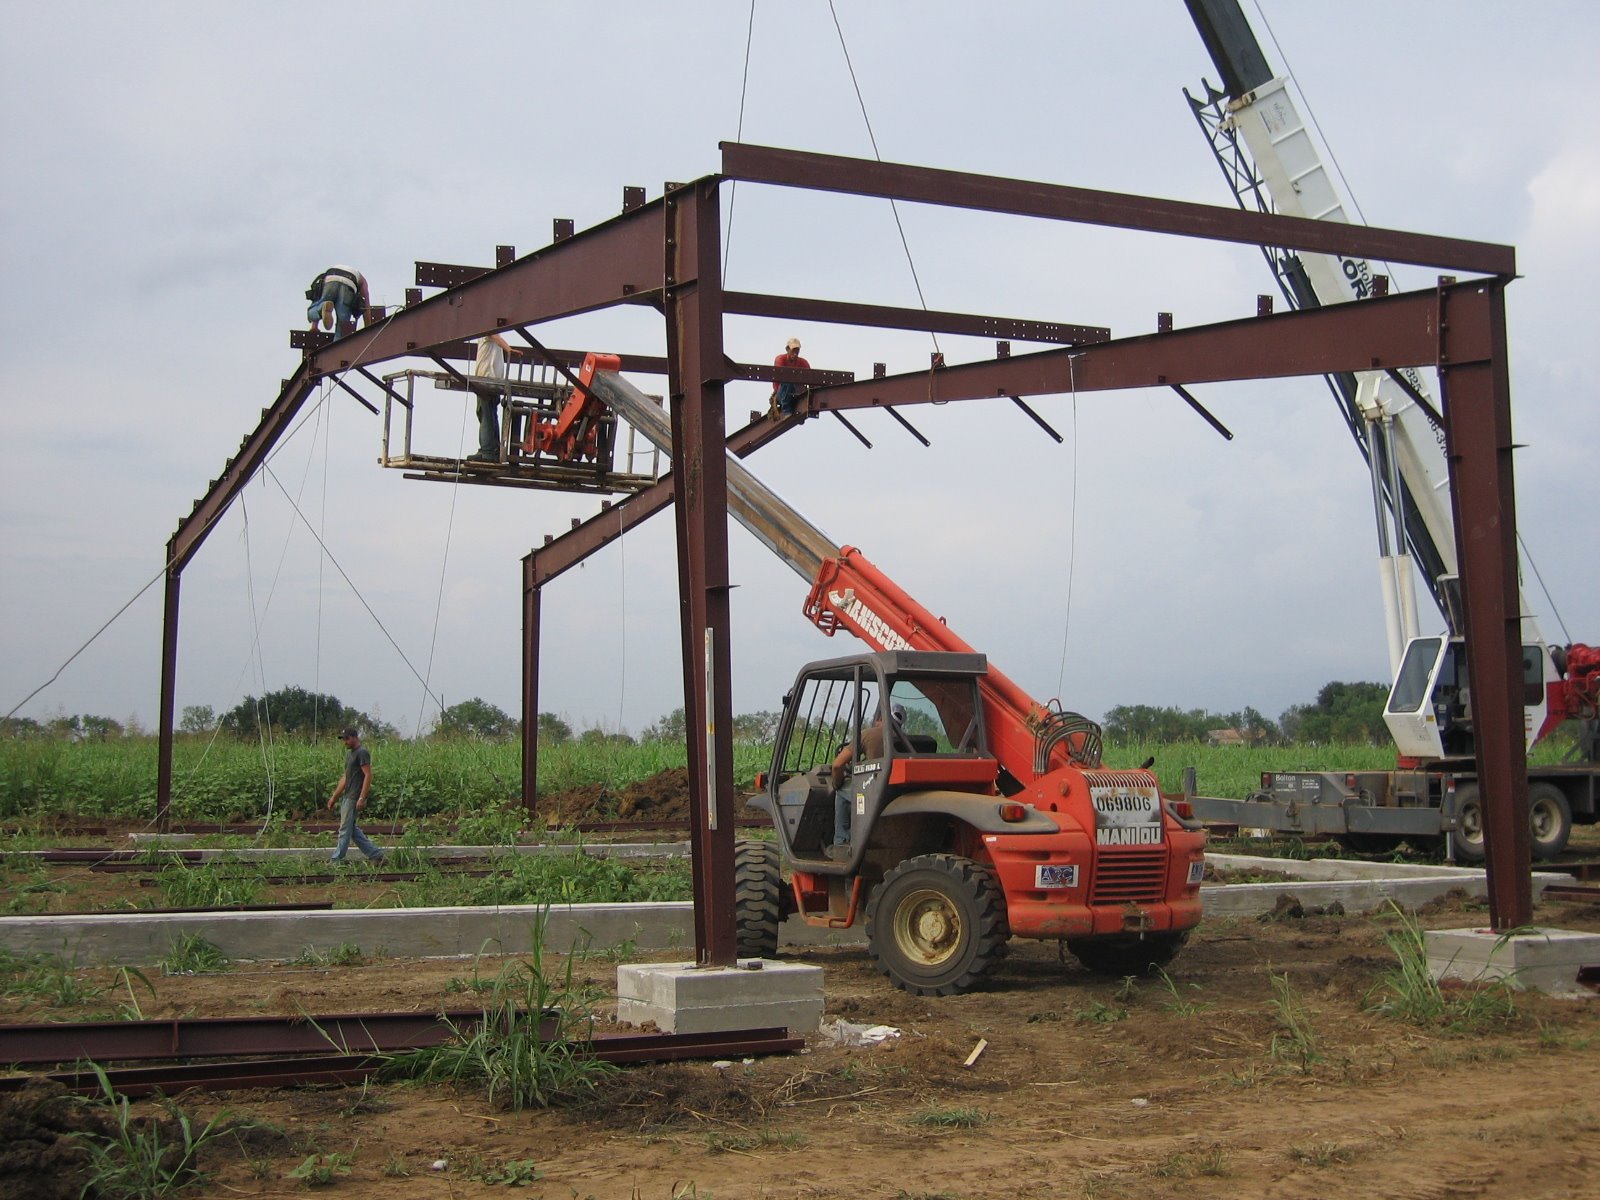
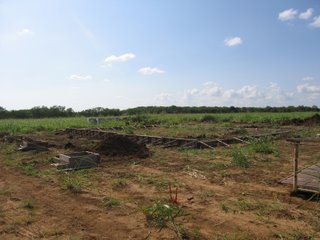
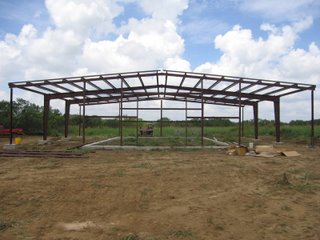
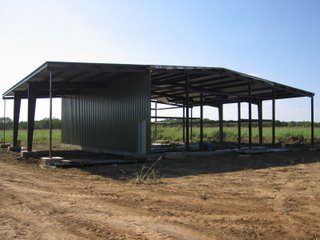
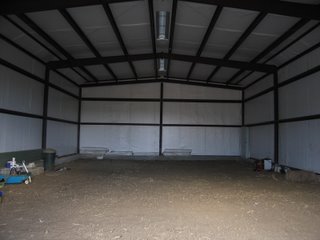
Here’s the building framed:

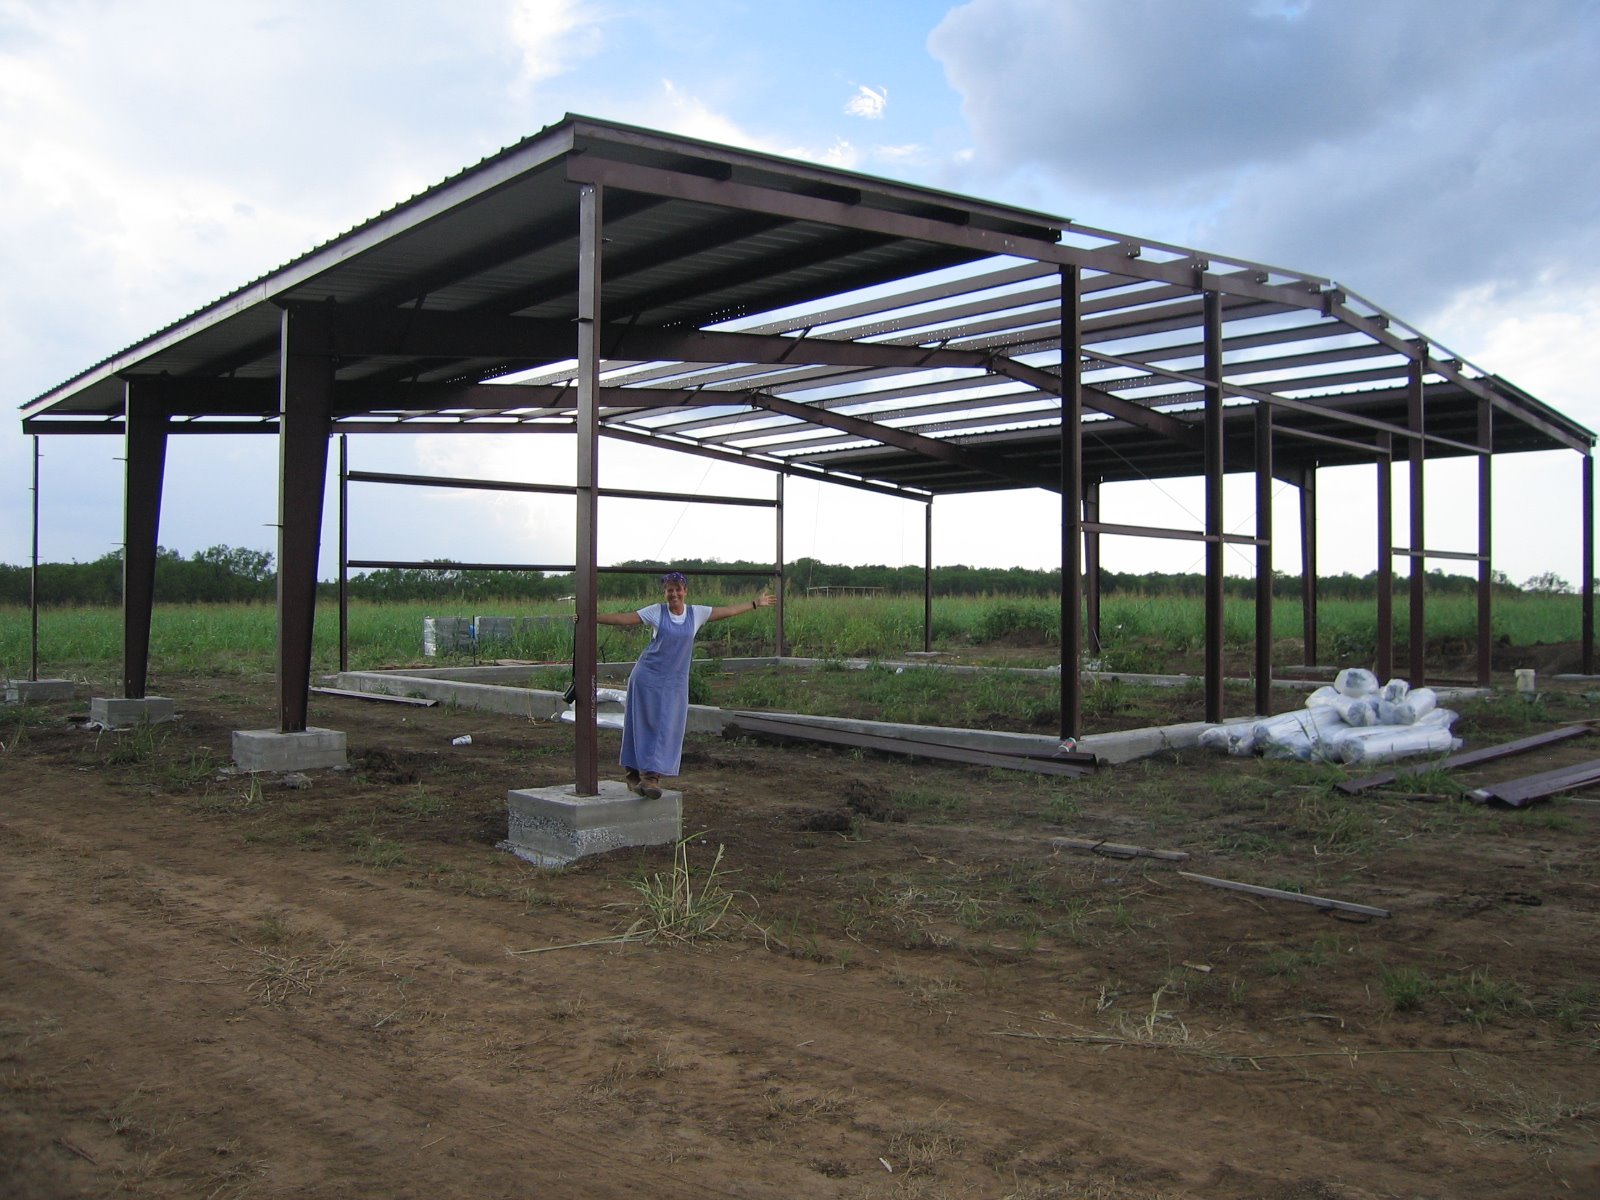
Here’s Sue giving everyone an early welcoming!
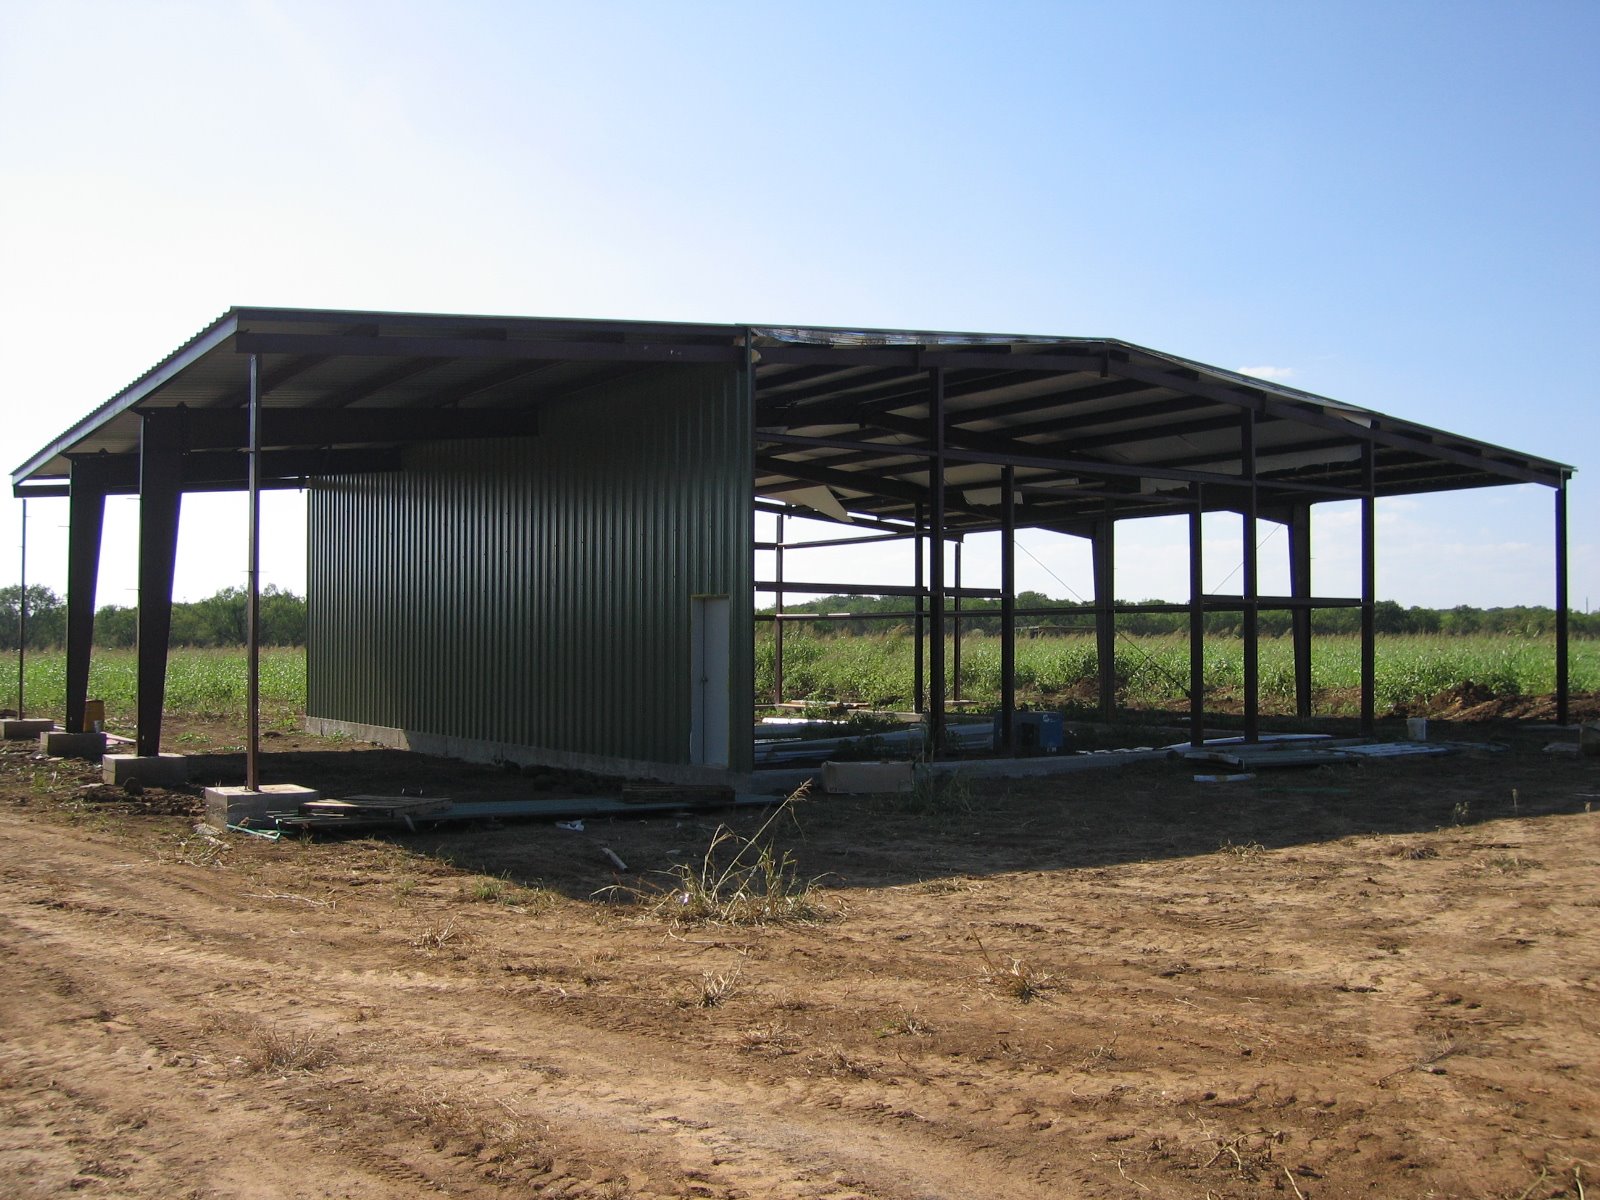
The home stretch…


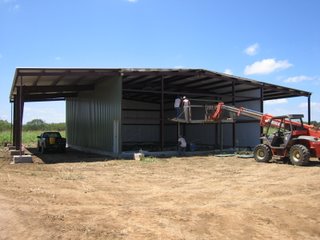
Thanks to the Lord for His provisions:

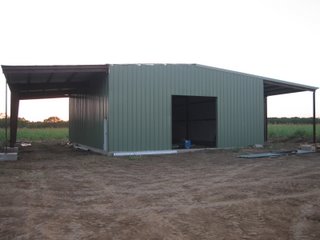
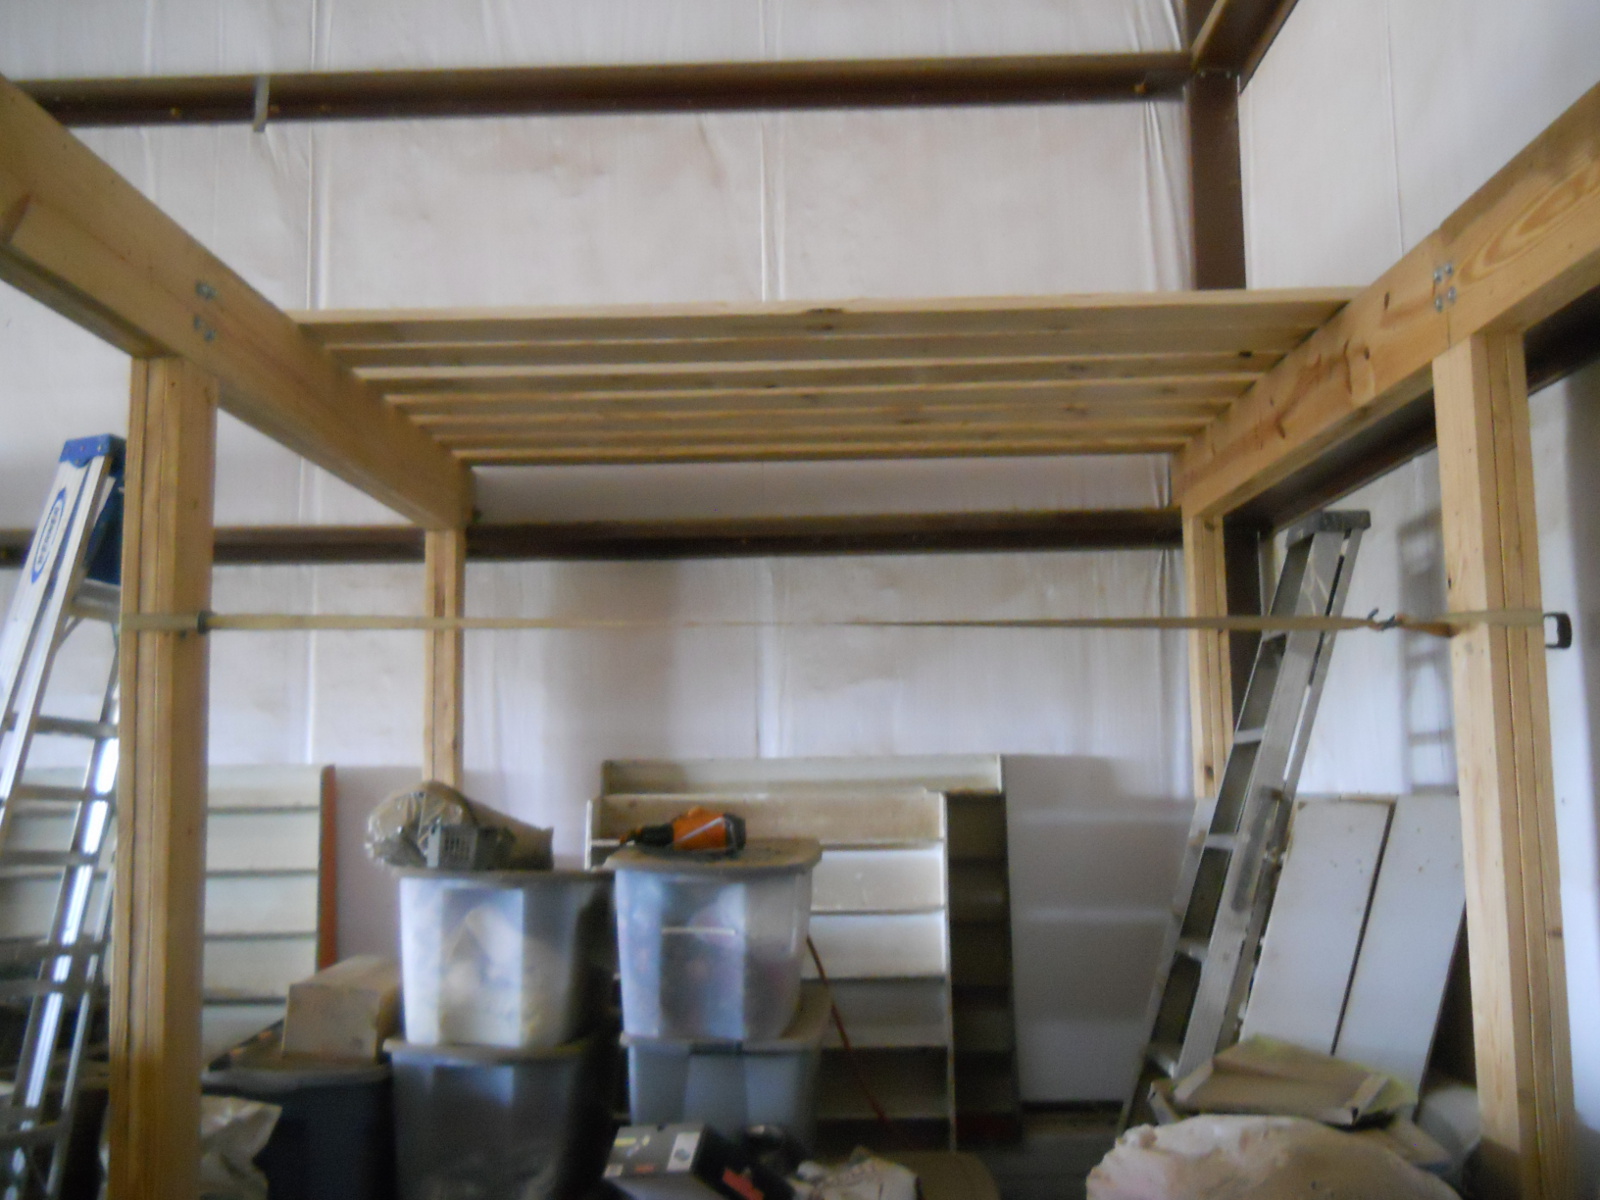
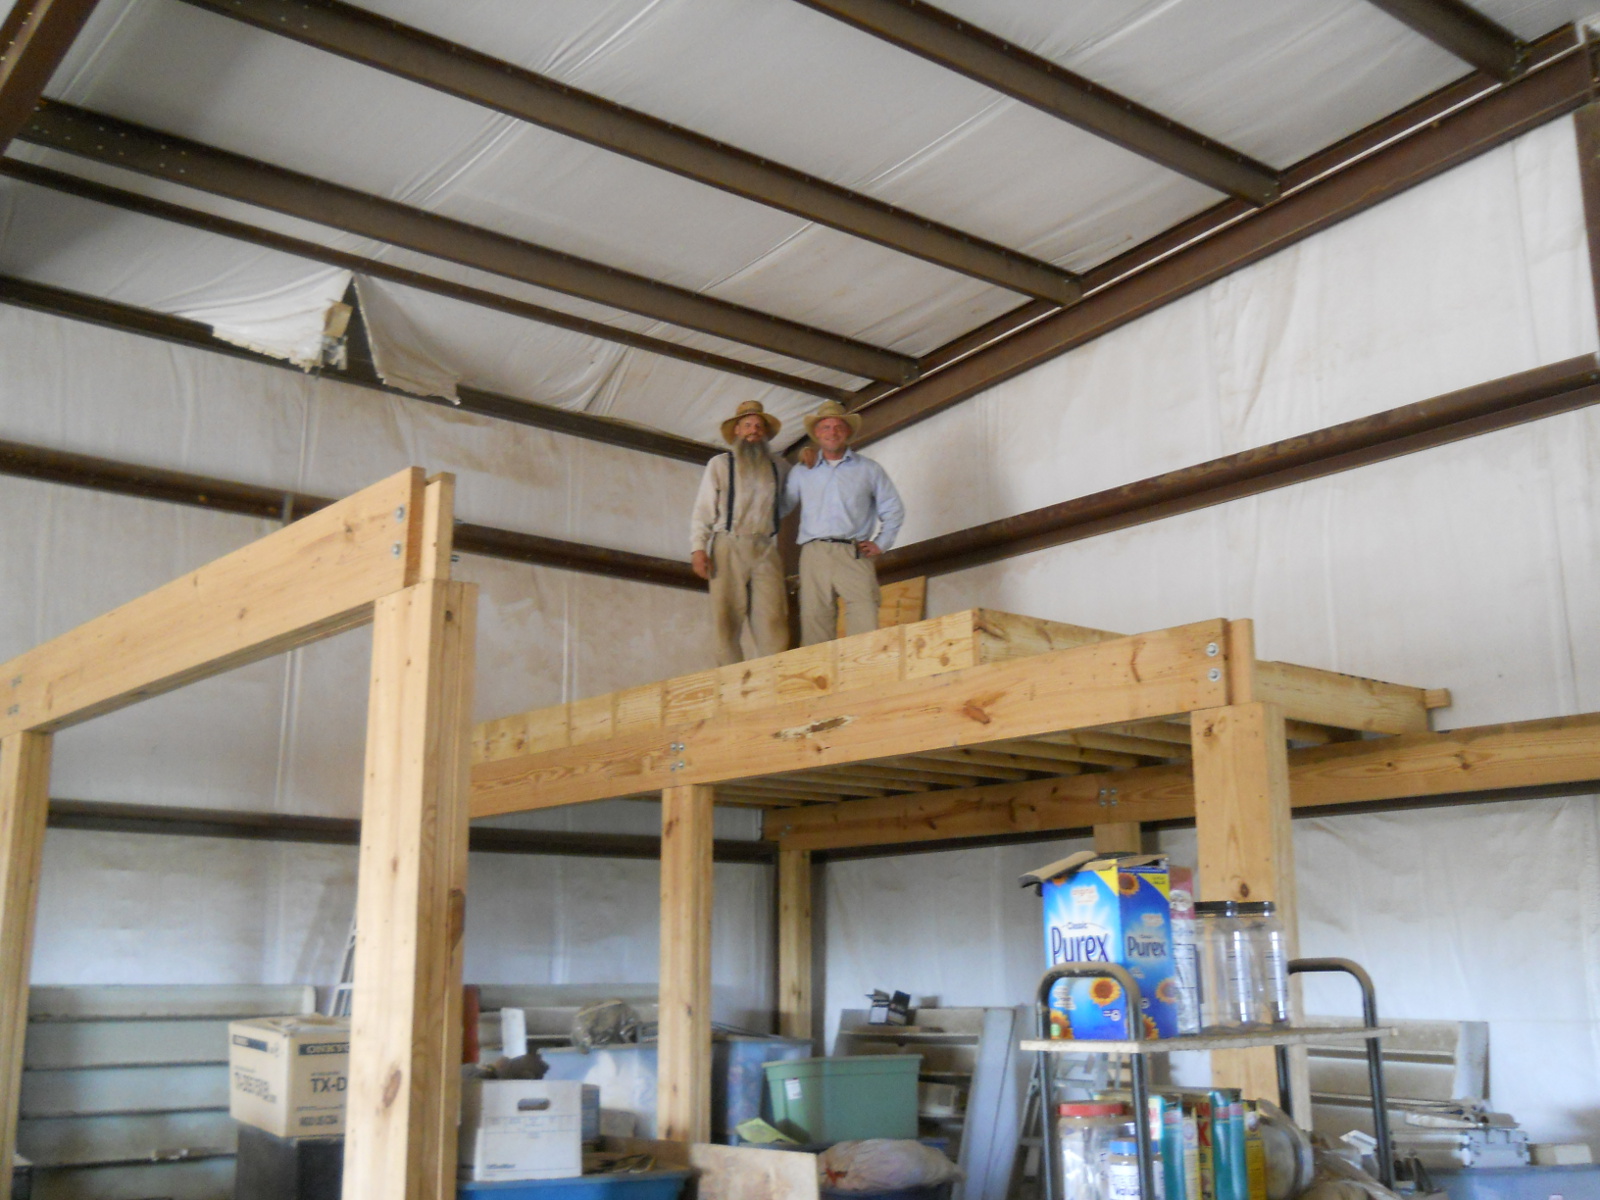
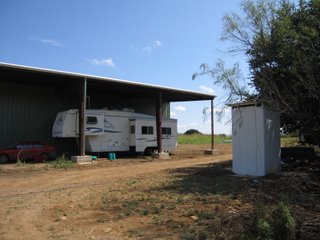
Apparently, the living quarters have been established!! (look carefully)
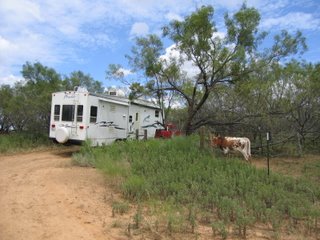
Move day!!!

How many people get to drive their house by their own heifer calf?


Ahhhh…..

We have been thankful to be able to host gatherings here and allow folks to fellowship.

This barn process took approximately 16 1/2 months from first dirt prep to our moving. It’s interesting to see the thought patterns throughout and how each seemed to invariably lead to a subsequent decision, which in the end brought us to where we ended up; but in looking back, this might not necessarily have been the path we would have taken given what we now know. It appears that if we were to go back to one of the original plans of having someone come out and just build it, it would have ended up costing about the same, and hopefully would have taken less time and caused less headache. There were points along the way where we stepped back to reconsider our current position with the idea of cutting our losses, selling the barn kit, and starting again; but between costs and time it appeared we needed to continue as it was going. Still though, through it all, we do not want to discount in the slightest God’s perfect will in things; and so we learned not to question delays or how this all turned out, and tried to learn what else the Lord might be teaching us, including continually questioning ourselves and our motivations, in the hopes, with God’s help, that our carnal man be subdued.

Amen!

We are grateful once again for the Lord’s provision, eternally, spiritually, and temporily. May we never rely on our own storehouses, but always and forever rely on His storehouse of graces and mercies.

— David

Newer posts »