This is our journal of what we pray is our sojourn of life (Hebrews 11:8-10) along the narrow way (Matthew 7:14), even the old paths (Jeremiah 6:16), submitting to the Bible as a light unto both (Psalms 119:105). It is our prayer that these documented moments in our earthly time benefit whom God might choose to edify, but ultimately that God glorifies Himself through them.

Category: DIY (Page 3 of 3)

Homemade Fat Lamp – Update I

After being able to fashion a homemade fat lamp with a wick consisting of one rope of a cotton mop head, I thought it would be interesting to see if I could form a wick holder that would hold multiple rope strands so that the wick would be more similar in width to a common lamp wick, and thus produce more light.

And here is my attempt to do just that. I bent a single, elongated loop to surround the rope strands:


Well, it appeared to work pretty well, and produces quite a bit more light!


With the extra light comes extra heat, so I tied a cord around the mouth of the jar; and now it functions as a lantern:

We thank the Lord once again for granting resources and provisions to continue to learn the old paths, may He increase His light within us daily, and may we shine brightly His light to the world.

— David


Shack Caddy

The initial plan for our goat sheds was to make them portable. On one I put some wheels; but on the subsequent ones, I decided it wasn’t worth the time nor expense. I am able to lift one side and shuffle them along, which is fine for moving them around inside an individual pen; but moving them from pen to pen would take some effort. I thought it might be nice to inexpensively throw together something on which to haul them around.

Here’s what I came up with: essentially it’s a shed tote made of landscape timbers, bolted together in a square, with the back cross timber on top of the skid timbers, and the front cross timber below, which would angle the skids up allowing for it to be more easily dragged along.

And here it is:

The next pictures show the process of a move:


And the goats check out the “new” place!

Thanks to the Lord for this idea and for the resources to be able to put it together.

— David

Homemade Fat Lamp

In doing a little more research on fat lamps, I decided to try making one myself using baling wire and a mason jar. Basically, the wire would be coiled and shaped so as to hold the wick (a mop head string), and a handle would be included to be able to pull out the wick and wick holder. Here’s how I did it:

I wrapped the wire around a pencil. For the mop string we had though, the coil ended up too large; and so, I bent the coils to make them smaller:

This is the completed wick holder:

And here it is with the lard-saturated wick in place:

This is the wick holder and the wick now in the jar. Before I placed them in, I put several table spoons of lard into the jar and mashed them with the spoon to flatten them out:

Finally, here the lamp is lit:

Thankfully, the wick holder handle doesn’t seem to get hot when using the fat lamp.

We again are grateful for the Lord’s provisions; for Christ Jesus, the Light of the world, the Light of life (John 8:12); and for His Word, a light unto our feet and a lamp unto our paths (Psalms 119:105)!

— David


On the Road to Agrarianism I Got a Fat Fire

In continuing on a path to the old ways, we are hoping to lessen our reliance upon electricity, which for us right now includes producing light. Typically in the old days light was generated by burning oil (Lev 24:2; Ex 39:37). Interestingly, one of the oils people would use was lard from animals. We have the rendered fat from our pigs that have been butchered; and so, I thought it might be interesting to see if using the lard might work for us.

I discovered that there are things that exist called “fat lamps”, and so I purchased one from over the Internet that was a double, hanging lamp. These don’t have a wick, but apparently a strings from a mop head can be used, a couple of which the neighbors gave me. I put a large tablespoon worth of lard in the little “pan” of the lamp, took a mop string and put it in the lard so that it would be completely covered (the lard needs to be melted just enough to do this), put the lard-coated wick in the spout of the lamp, and lit it. It worked!…sort of — it had a very small flame. I found that if I positioned the wick to stick up in the air a little like a candle, it worked much better. The lard melted as the wick burned; the wick became saturated; and with as much lard as we used, the flame lasted for about three hours.

Here are some pictures of it in action:


Here it is, set in its hanging partner lamp:

After the first test where all of the lard was used, I wanted to see if by just adding more lard the lamp would continue to work. And so, I took another bit of lard and put it in the lamp, trimmed the wick and repositioned it, and then lit it. It was soaked enough with the previous lard that it worked fine; and then as the new lard melted, the lamp continued to burn.

Here it is re-lit, and at night with the electric lights off:

We are thankful for the Lord showing us ways to do things that are fashioned from His direct provisions.

— David

Air It Out

In trying to continue to get away from dependency on the world, we have looked into preserving food without canning or freezing. One of the methods for doing this with fruits and vegetables is drying. There are food dehydrators available for purchase, some electric, some solar; but it seemed to me this would probably be pretty easy to construct. And so I searched for plans on the Internet and settled on these solar food dehydrator plans, partially because the design was very specifically laid out (which I need), and also because it appeared to be the most compact for the process behind the drying and still large enough to be able to dry quite a bit of food.

Here are some pictures of ours as I built it:


I decided to use 1″ wood screws and 2″ coarse drywall screws for most of it, and 1 5/8″ deck screws for the legs. I found that a 1/8″ pilot hole worked best with the 1x2s.

On the top I didn’t use a miter joint on the ends; I simply used butted joints and alternated them for the vertical vs. the horizontal frames. Also, for strength and longevity, I decided to use .93 plexiglas instead of 4-6 mil clear plastic sheeting. I tried to find a 48″ x 48″ piece but couldn’t; and so I thought I would use two 24″ x 48″ pieces with a support in the middle, but the store I was at was out of them. I went to another store, and they didn’t have 24″ x 48″ pieces; and so, I had to buy 30″ x 60″ pieces and a scoring tool. However, that was good because the distance from edge to edge of the top was for me 49 7/8″ (which means the other sizes would have been too small); and so, I was able to cut each piece to fit very nicely. Before I did that though and because of the extra plexiglas I had, I was able to practice scoring and drilling the plexiglas so as to not crack it when setting the real pieces in place. This was good because my first attempts did not work well. After practice though, I was able to get the hang of scoring and drilling, which worked pretty well on the final product:

I learned a few things with plexiglas: the scoring tool would cut into my 4′ level when using it to guide my scoring, and so I switched to a straight piece of wood; I would score only a few times with the wood guide in place and then would do it free hand as I was able to apply much more pressure causing the scoring process to be finished quicker; and I found that quick speed and light pressure was the best way to drill a hole. Also, the drilled hole should be at least the full diameter of the screw so the screw doesn’t put pressure on the hole, which I believe can cause the plexiglas to crack.

After the dryer was completed, I let it sit in the sun with the top off for a couple of days before putting food on the trays to allow the paint to bake in so the fumes would be hopefully removed.

Here is some food drying in it:

I added casters (swivel wheels) on the bottom of the legs to make it easier to move, and also added some handles which I attached to the sides where the inside food frame supports where located so that the handles would be more firmly secured and the handles’ screws wouldn’t be poking through the plywood siding:

And here are the banana and apple results. Quite tasty!

At this point they can be bagged and stored in the root cellar, and should last for some time.

We thank the Lord for His provisions in being able to make this food dryer, and for His provisions in creation to allow us to preserve in this way the food He grants us.

— David

Does Eat Oats, and a Kid’ll Eat Ivy Too

Dave and I had probably never even seen very many goats in our lives other than at a petting zoo here and there. And any goat cheese I had ever tasted I didn’t like at ALL! I never even ventured to taste goat milk thinking it would be horrible.

Well, since we’ve moved to Texas, we’ve obviously been more exposed to a whole new world of livestock and all kinds of farm animals. A family that lived up in Lubbock, TX who we have gotten to know had a herd of goats they milked daily. One day Dave and our neighbor Michael came back from a trip to Lubbock with some fresh goat milk and cheese in tow that the family had given them. I thought I would try a tiny bite of the cheese and sip of milk because they had graciously shared some with us. It was like nothing labeled goat cheese I had ever tasted. The cheese tasted like delicious cream cheese, and the fresh milk tasted just like cow’s milk, only better and a bit sweeter. I was hooked!

We have heard that fresh goat milk is much more compatible to the human digestive system than cow’s milk and very good for you, so we decided we might be interested in getting a dairy goat someday…… and that someday came sooner than we thought in the Fall of 2006 when our nice friends Judy (Tabletop Homestead) and her husband drove down from Oklahoma and gave Michael three goats, one of which he graciously gave to us. We got to pick Winnie:

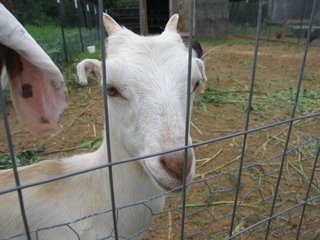
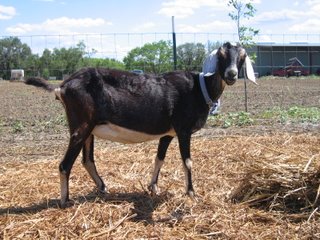
She is part LaMancha, and they are very social animals and get rather loud and whiny if they don’t have a playmate around to keep them company (play the video below at your own risk 🙂 ). She was very vocal from the beginning, even “whiny”, so we named her the closest thing to that term we could; but she has turned out to be a very friendly and hearty goat:


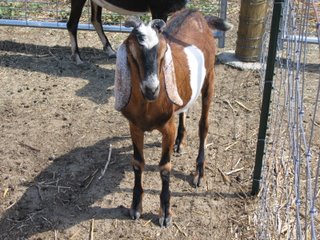
We then decided to go ahead and get a buck so Winnie could get pregnant and we could start milking her. So we bought our first Nubian billy goat, “Shatner” (after a famous “Billy”), in December 2007. Well, Winnie seemed to be in heat the day we brought him home; and he sure didn’t waste any time, so she had her first kid almost five months to the day after we got him. Here is Shatner:

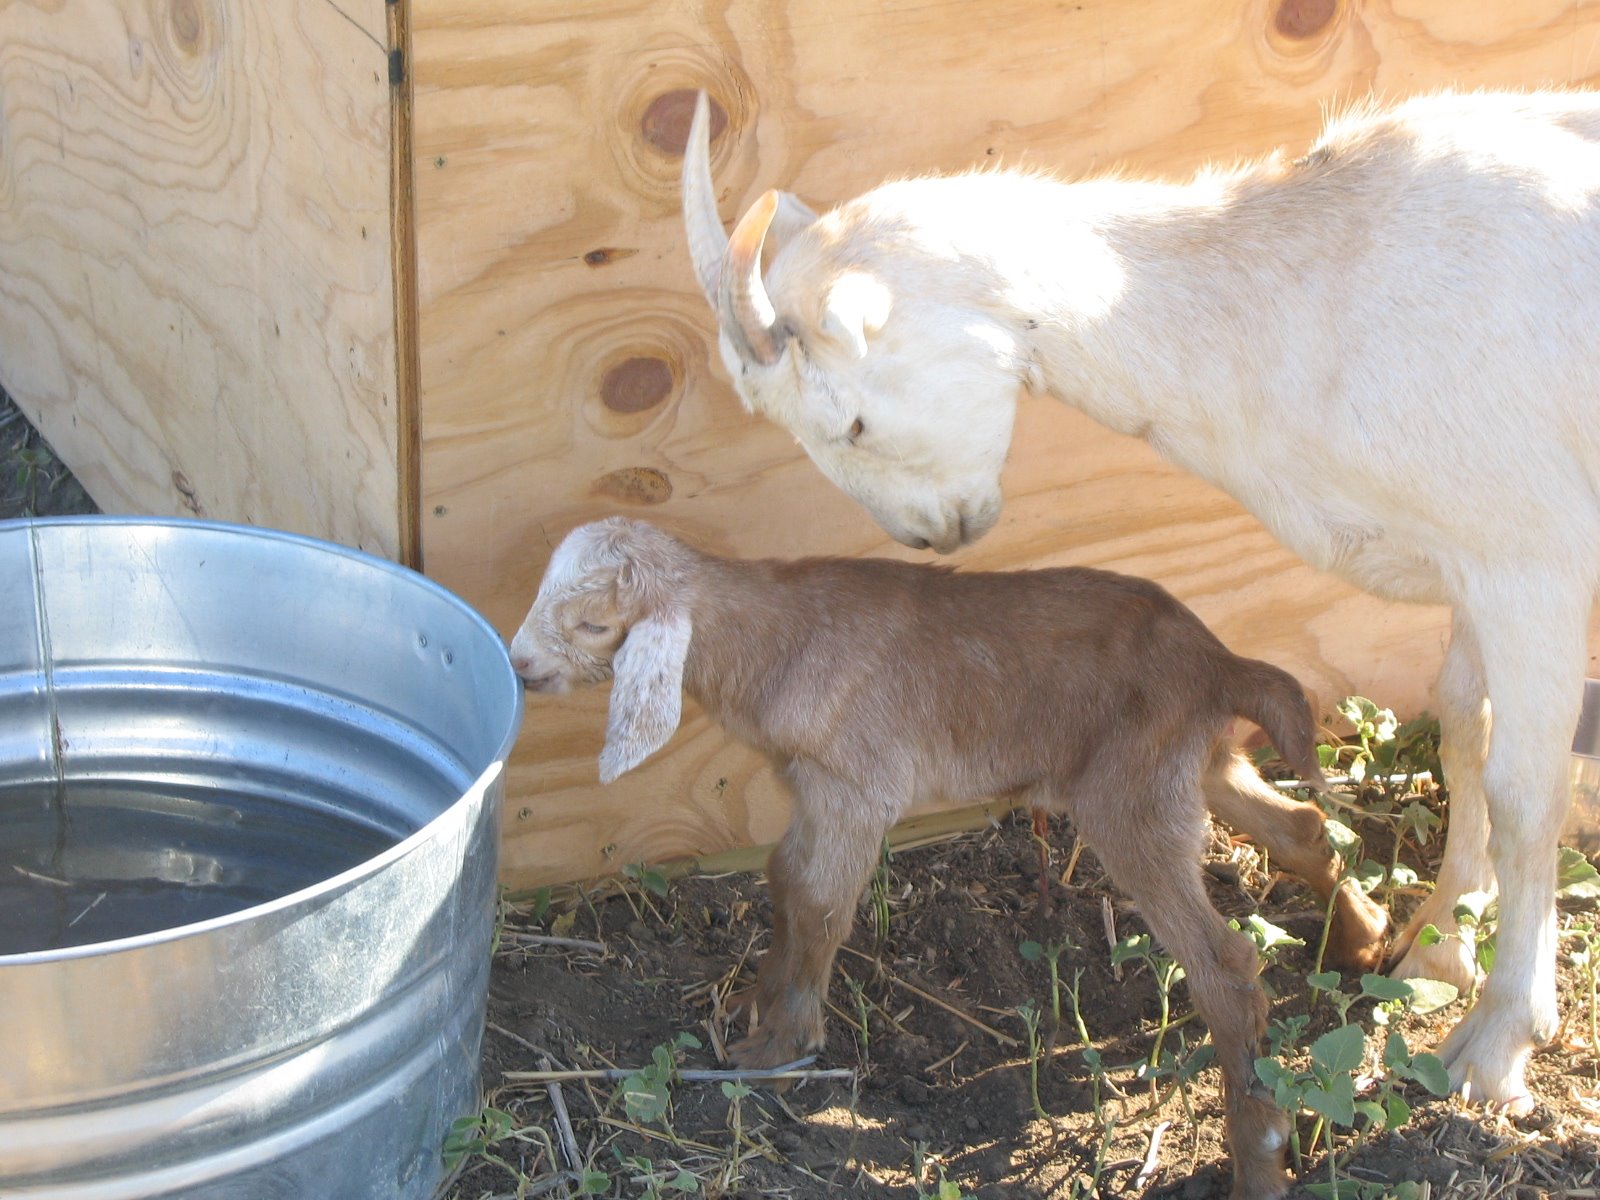
And we’d like to introduce their first kid born just two weeks ago in early June 2008! We’ve decided to call her “Minnie”:

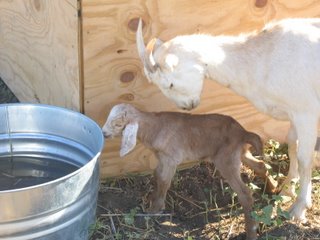
She seemed very fragile and small at first, but within a few days she was a champion nurser and running and jumping all around:


She has her mother’s lungs, too. She has a cute little bleat that will probably get much, much louder as she gets older. Oh, boy…..

Lastly, we were also able to obtain a Nubian doe. Please meet Betsy (we kept the name from her previous owners). We also considered naming her Julia because her bleat sounds a lot like you might imagine if Julia Child were a goat. Well, just take my word for it. 😉 Betsy and Shatner are roommates right now, so we think she might be getting pregnant sometime soon. Either that or we’ll have to build a third goat pen right quick for Shatner to keep him away from the does:

We look forward to starting to milk Winnie very soon as well as Betsy and Minnie someday. I hope to learn to make goat cheese as delicious as our friends do, among many other items, even soap.

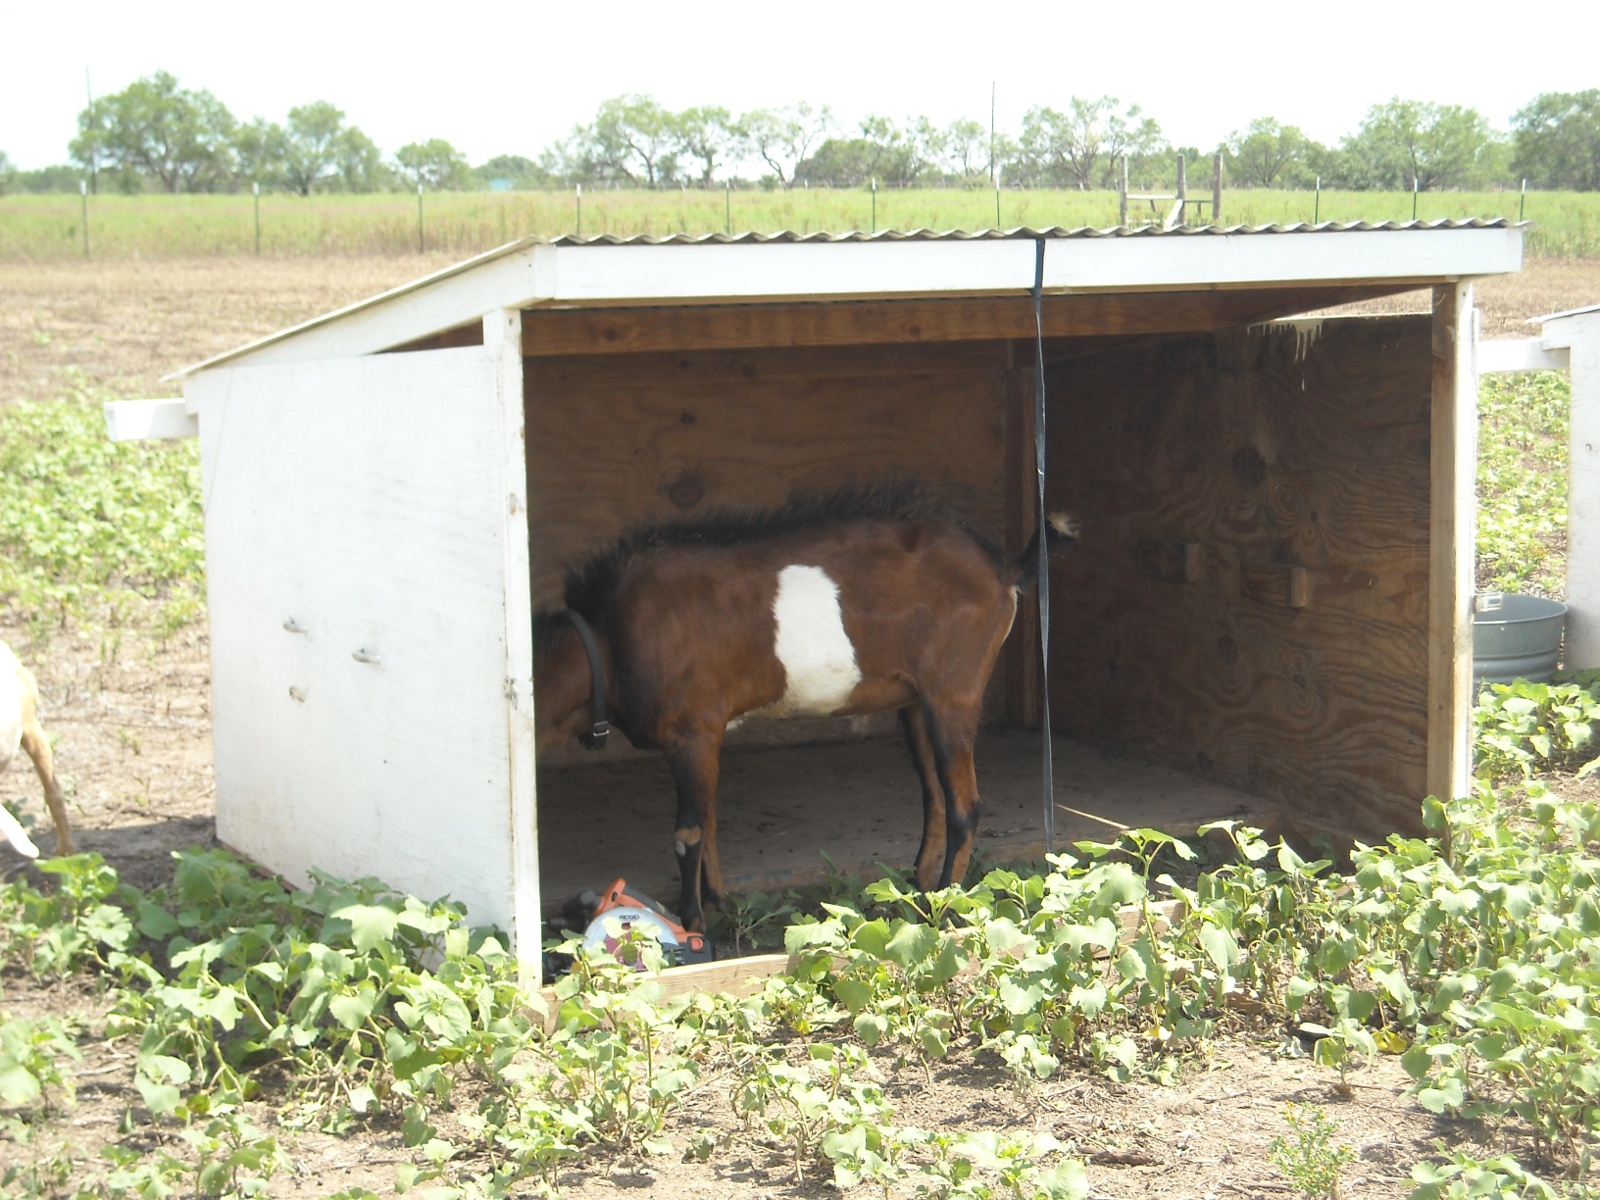
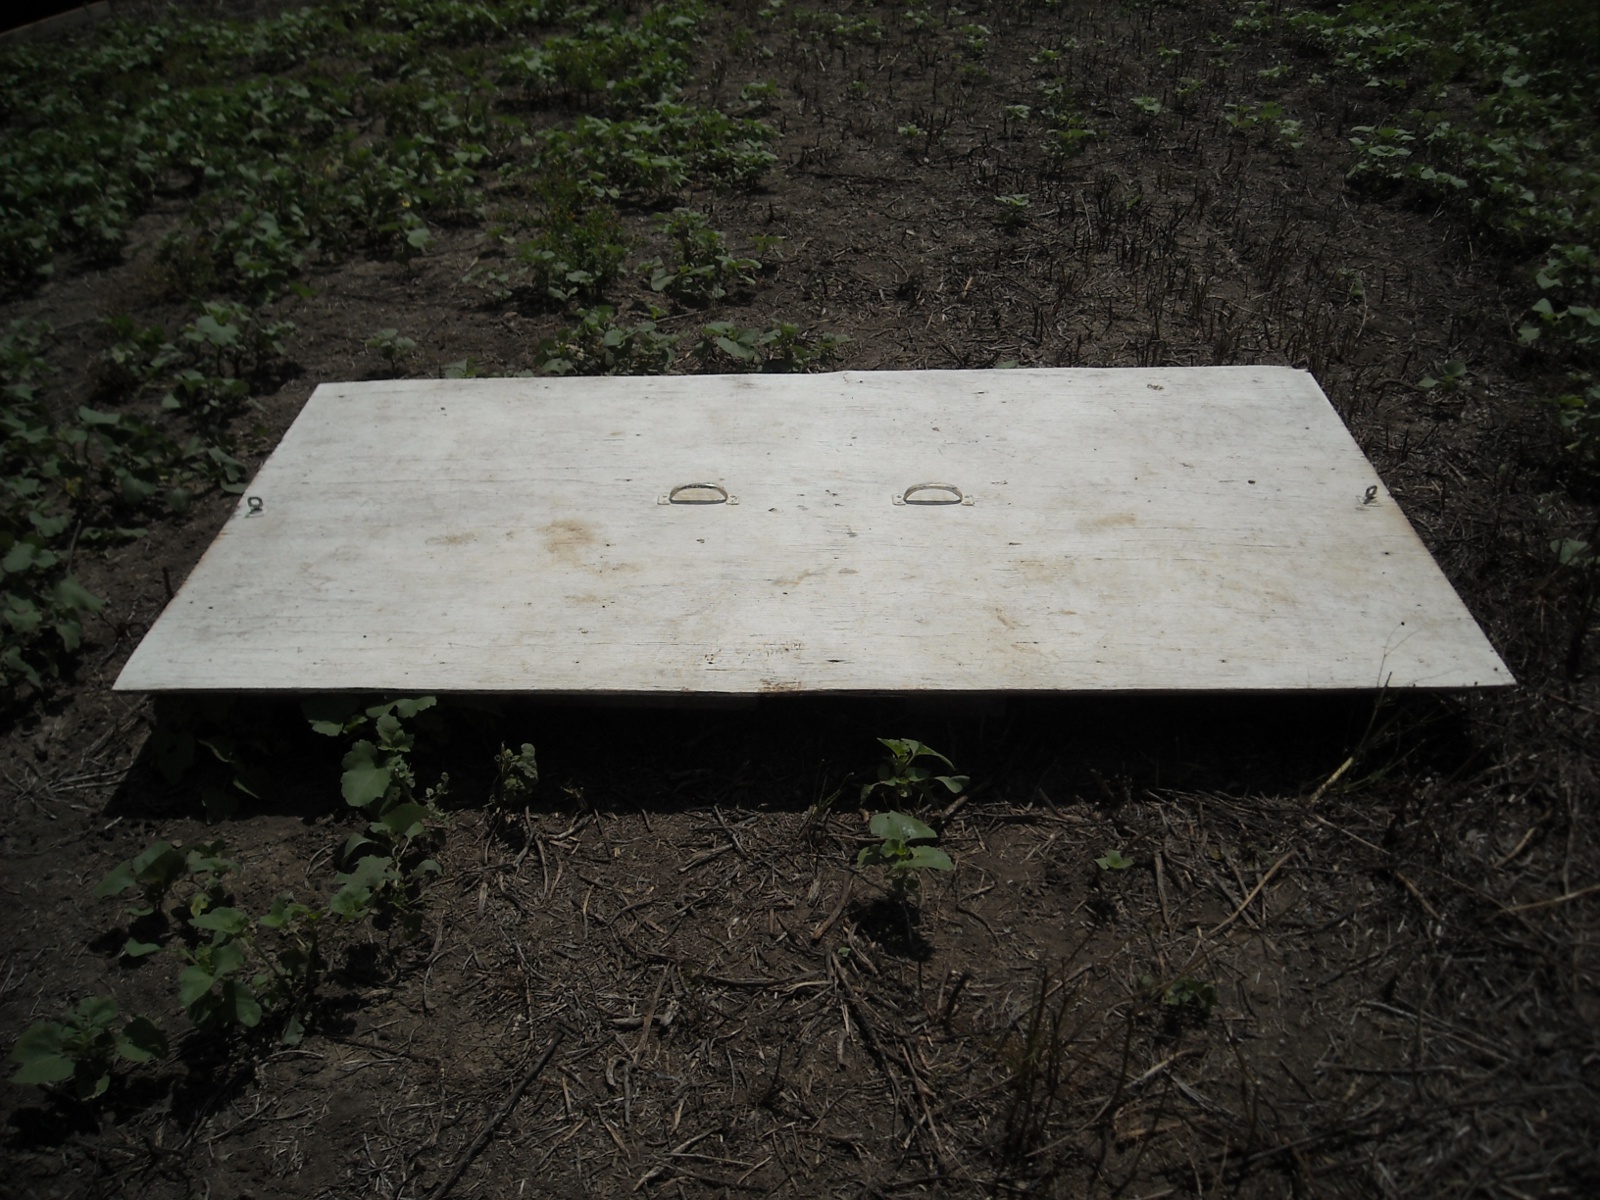
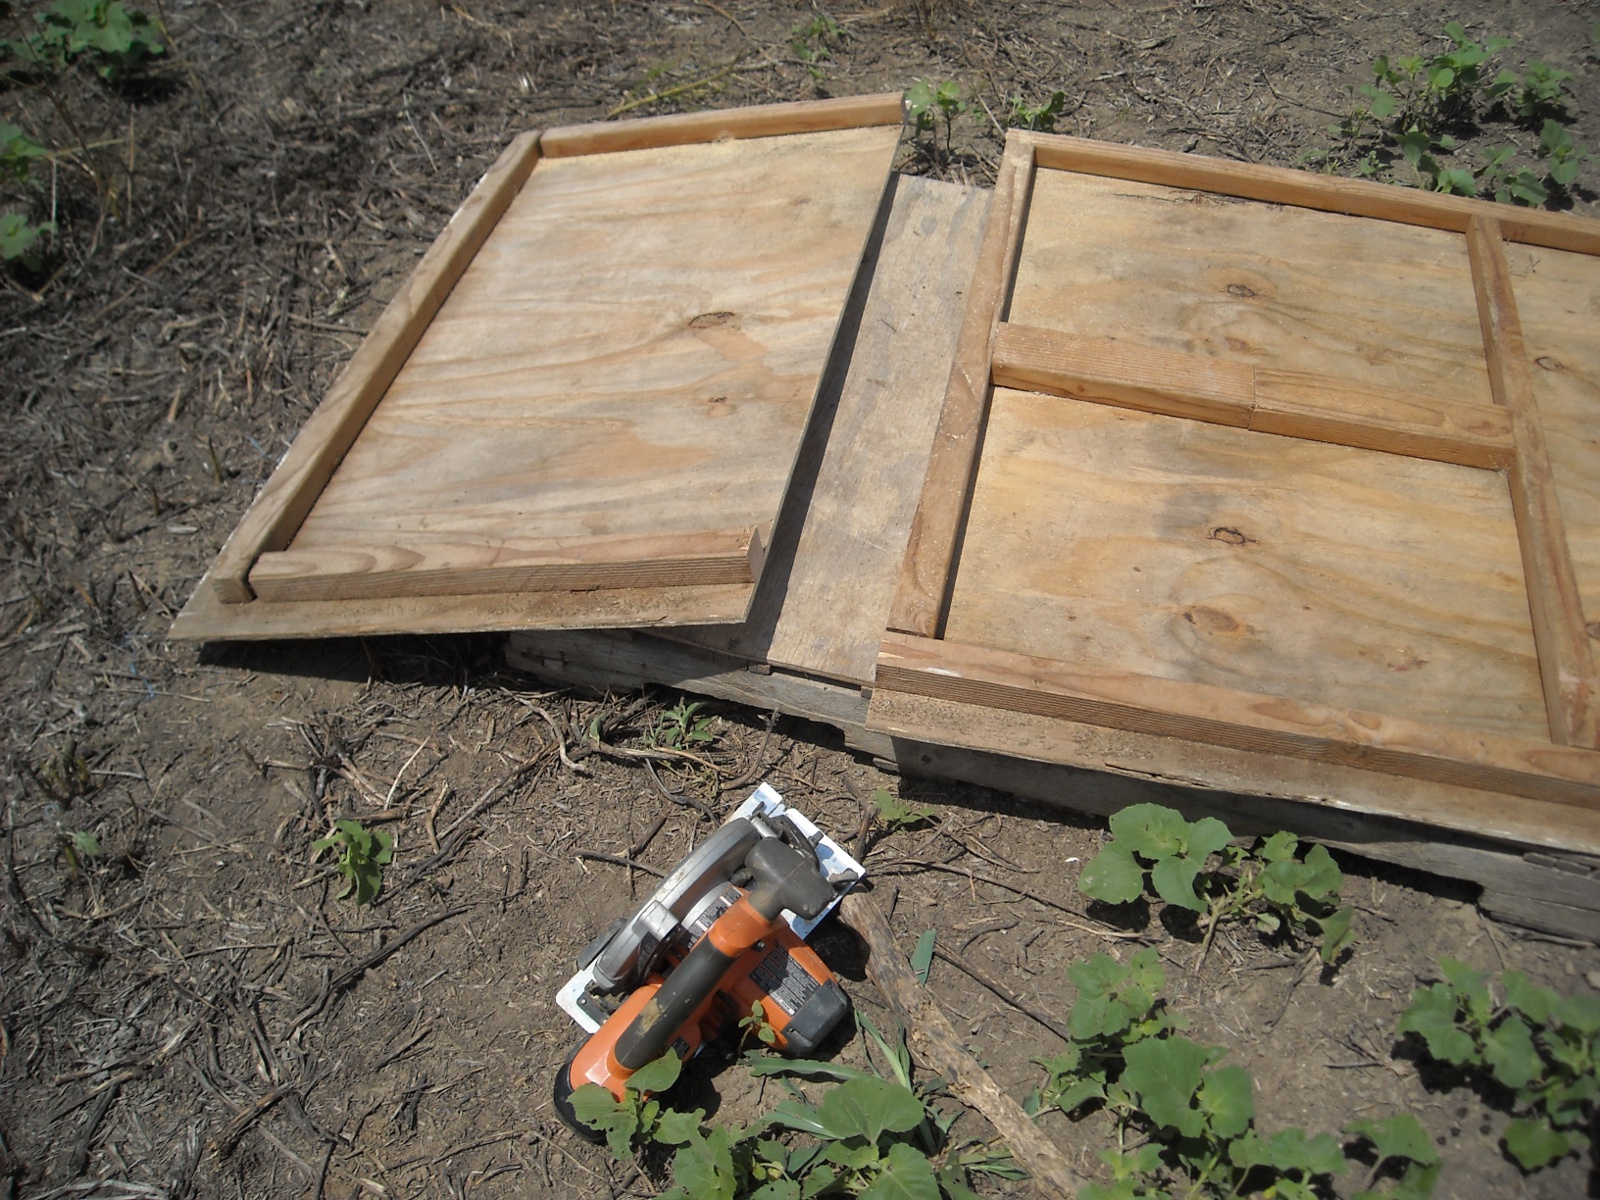
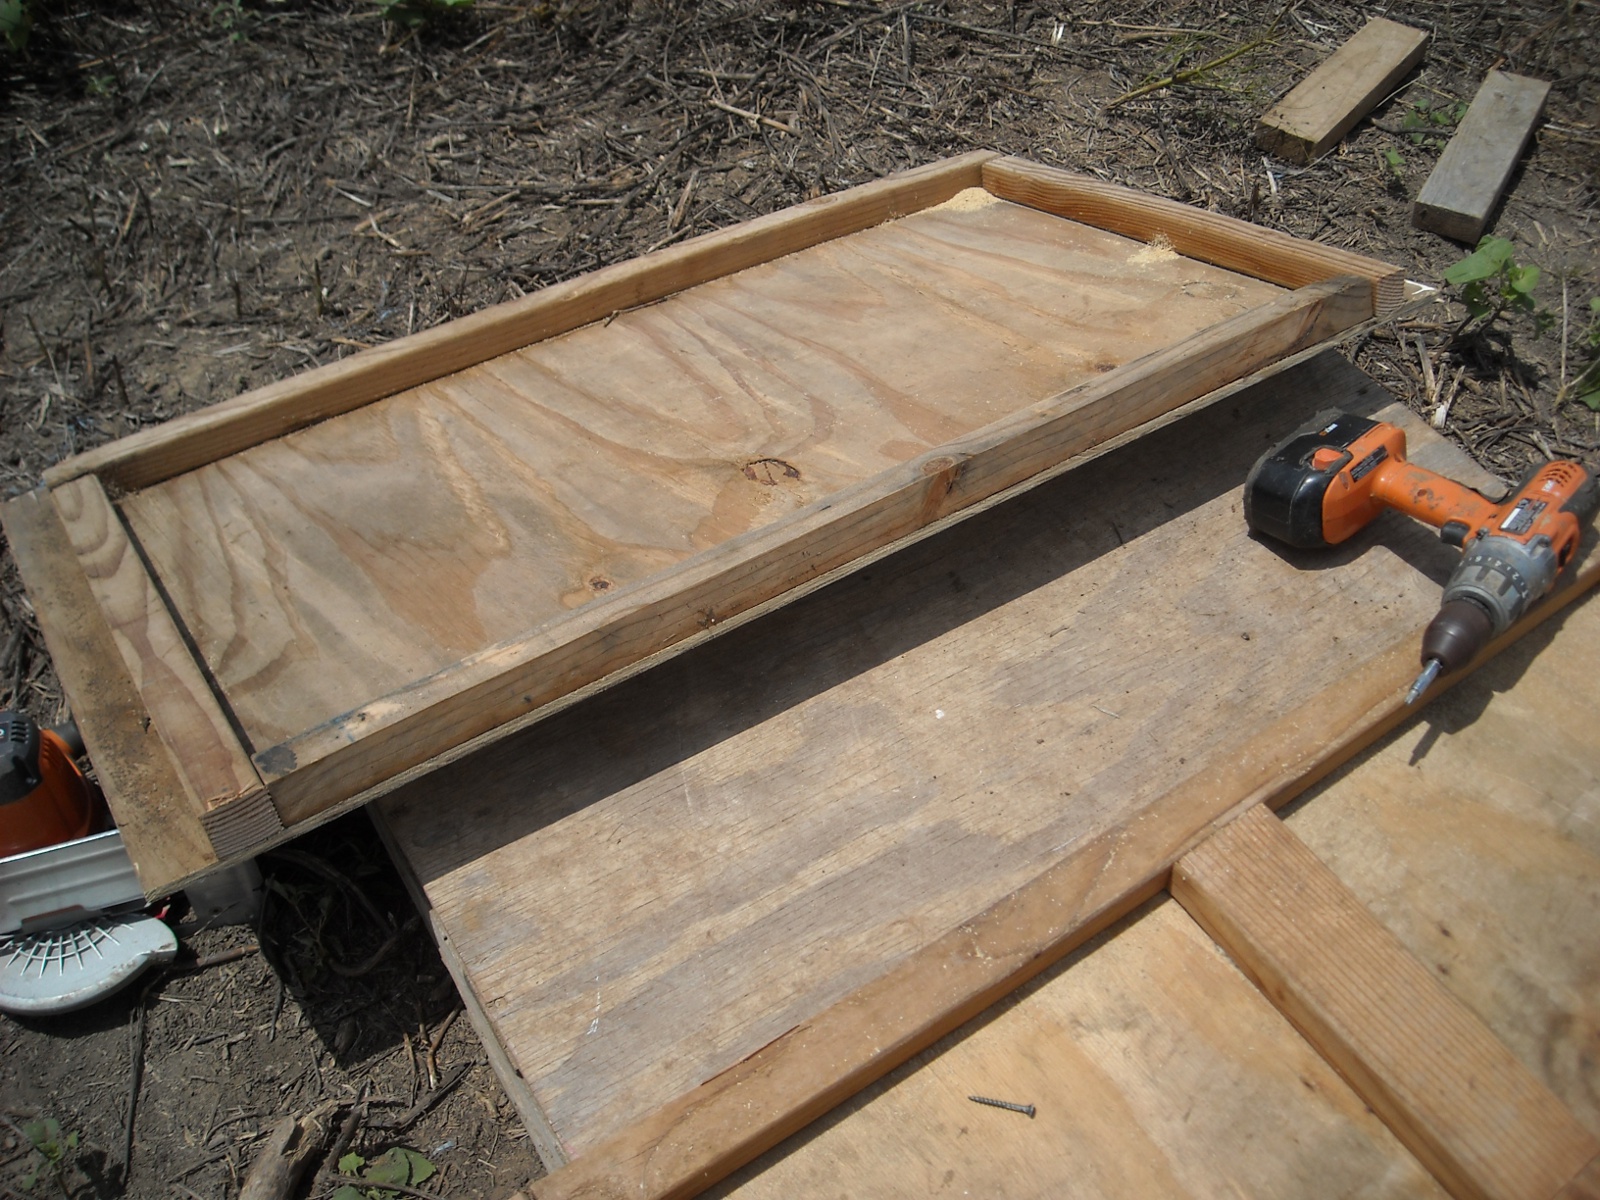
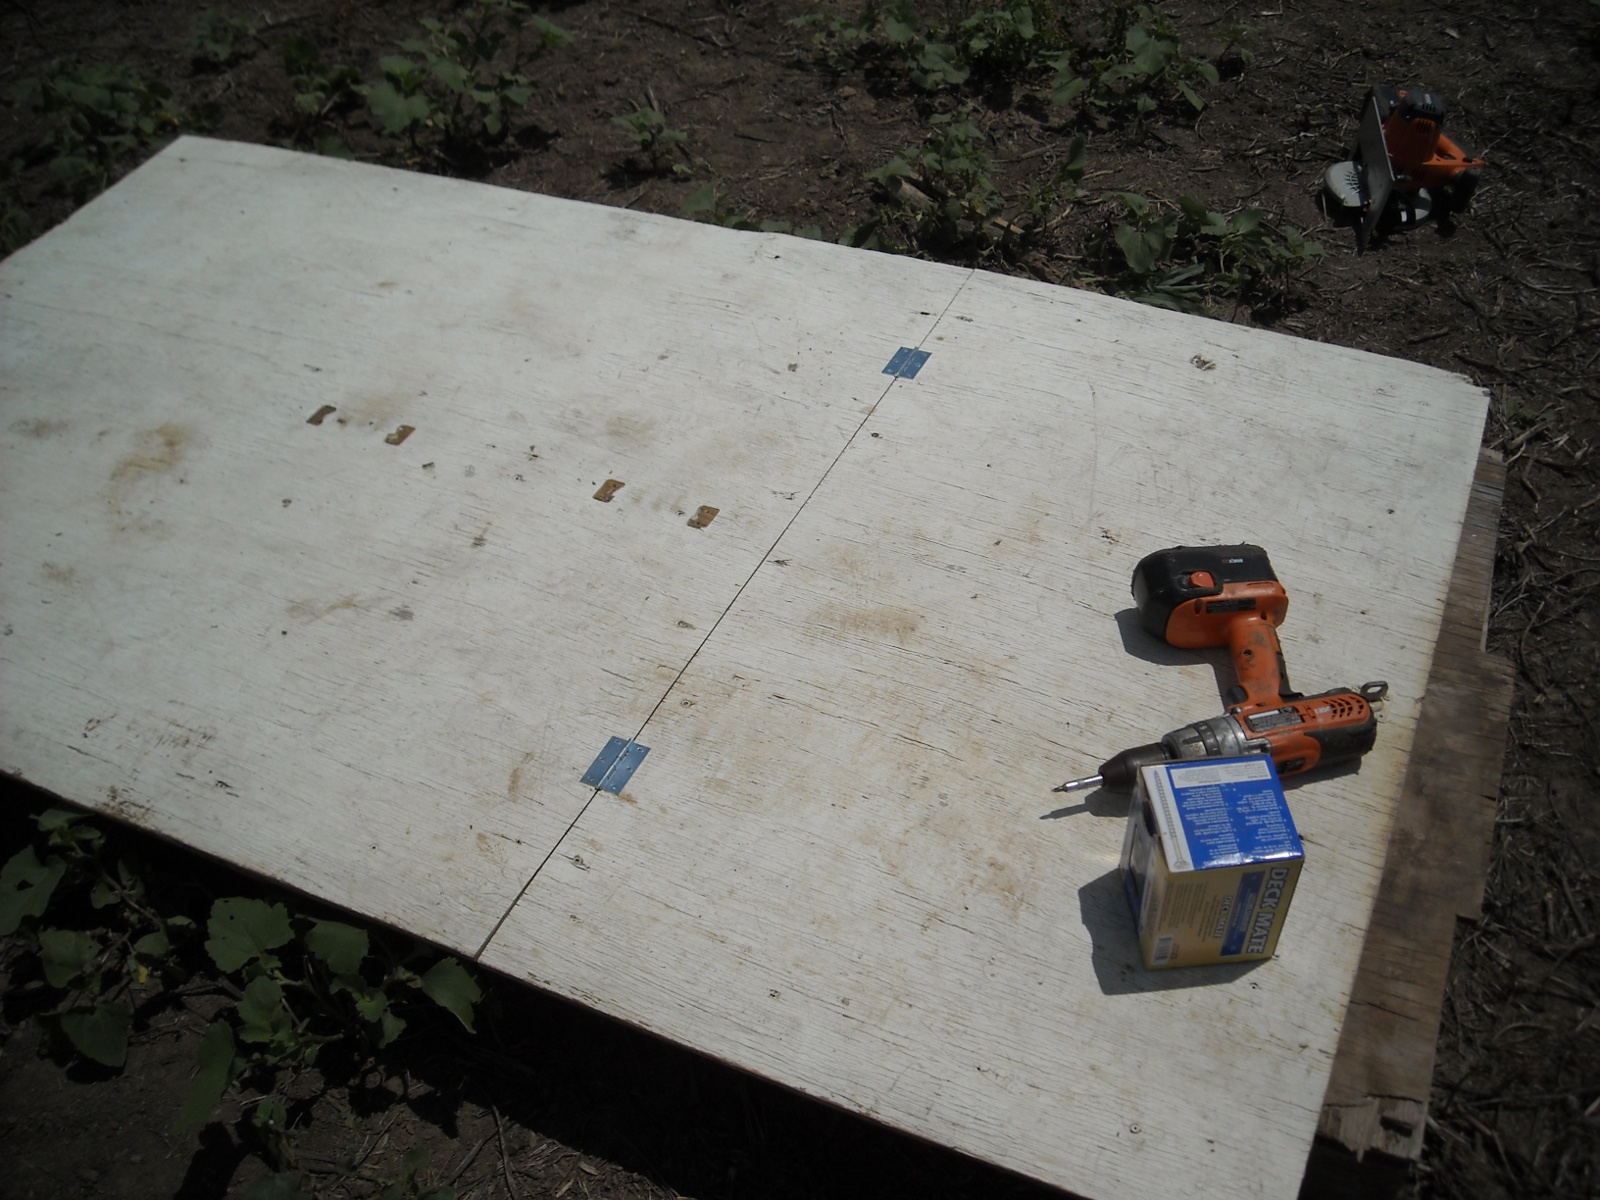
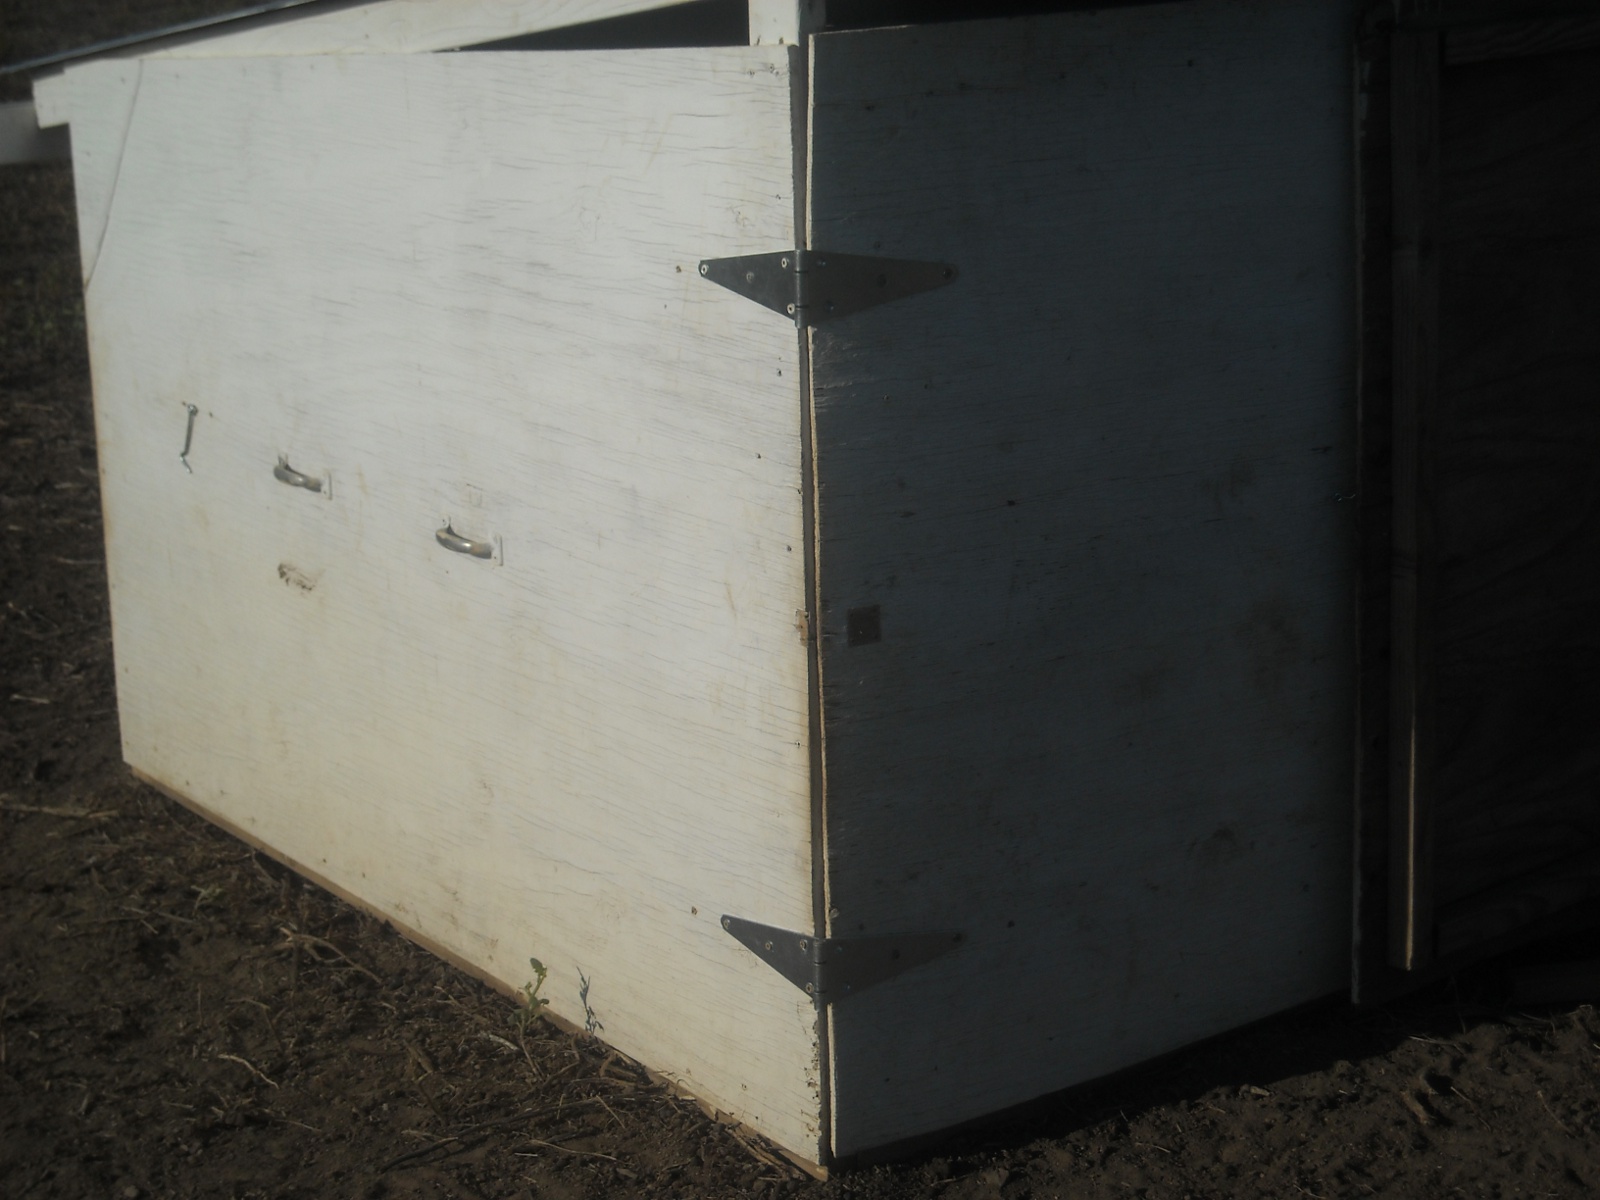
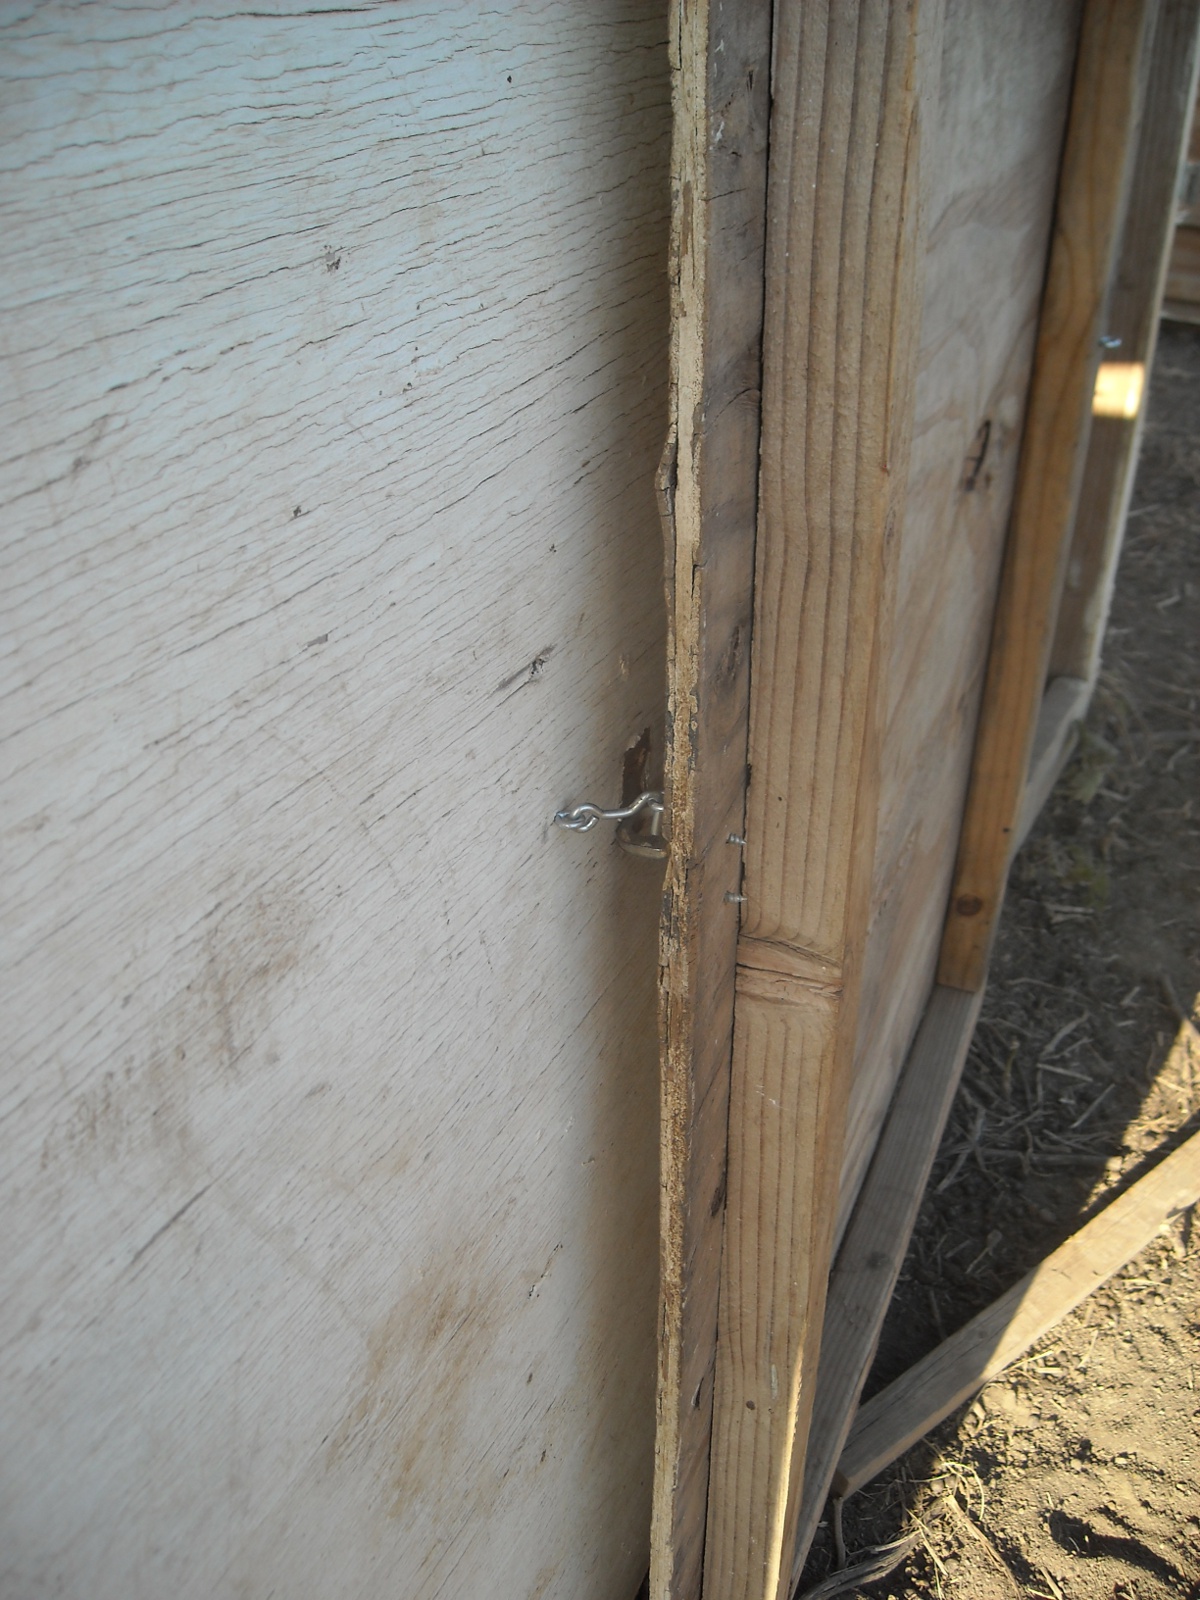
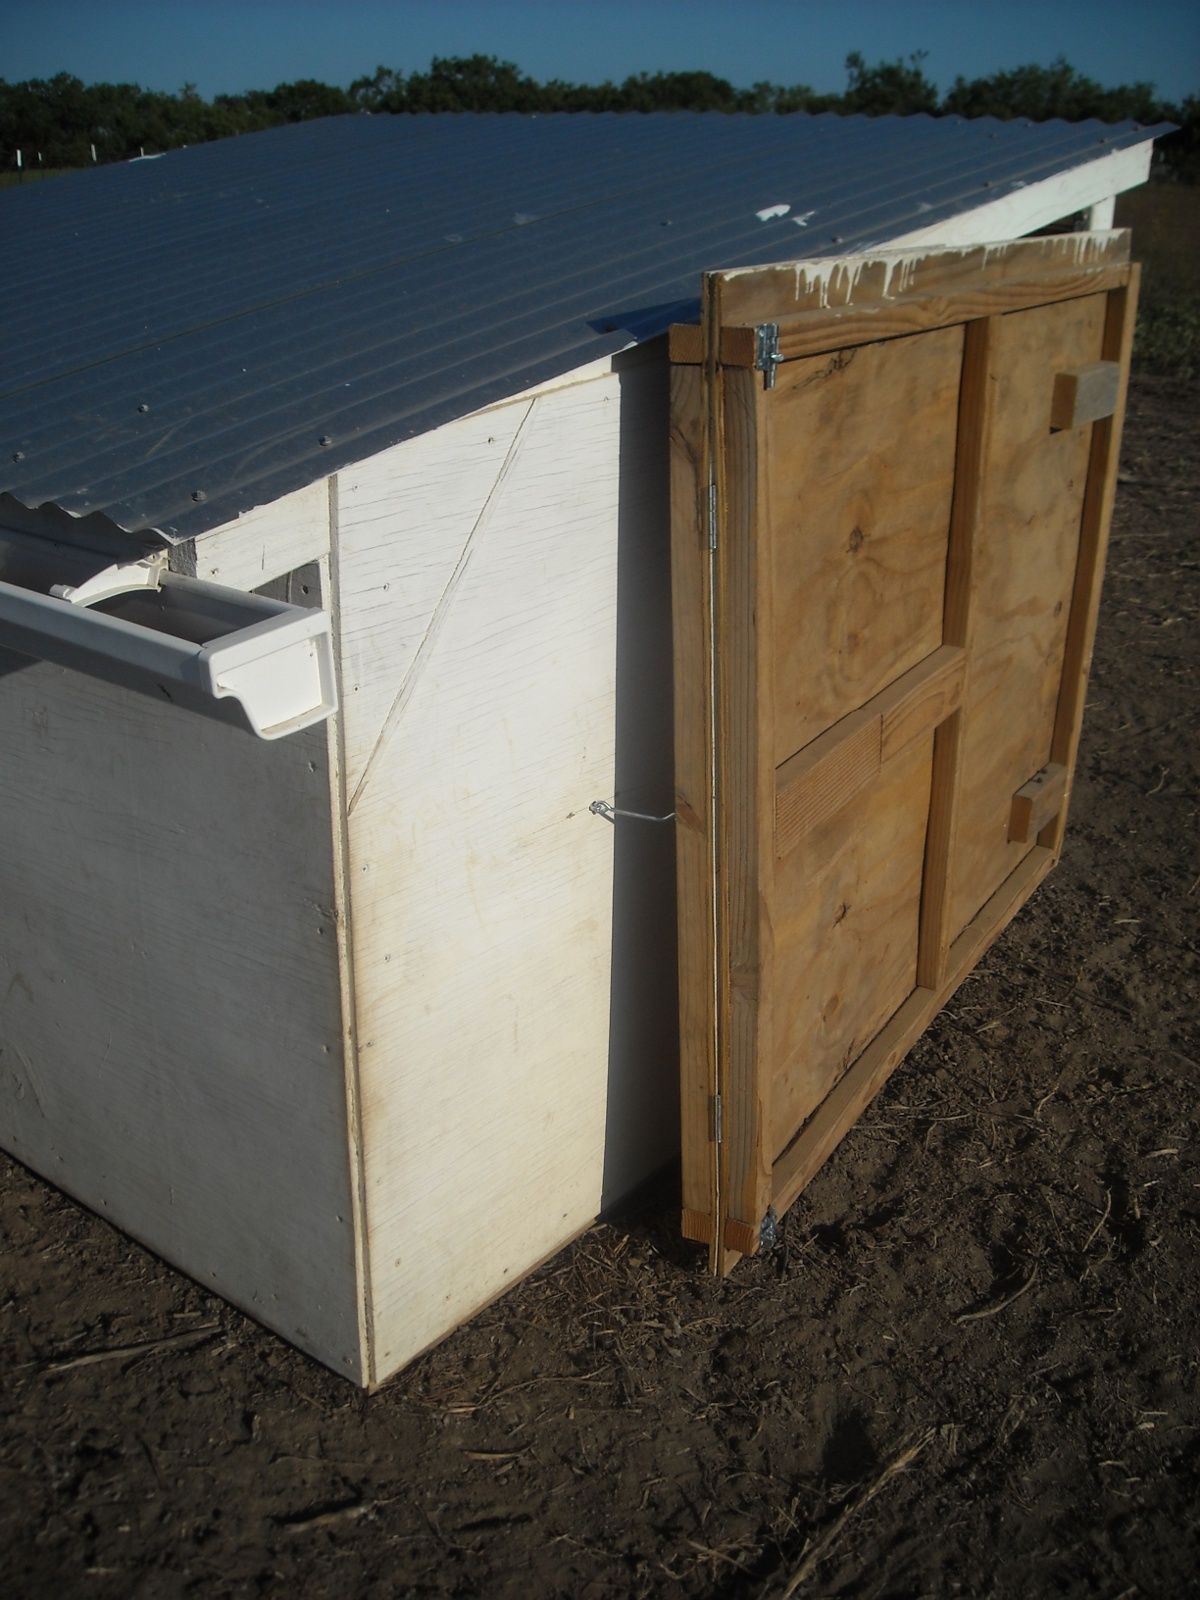
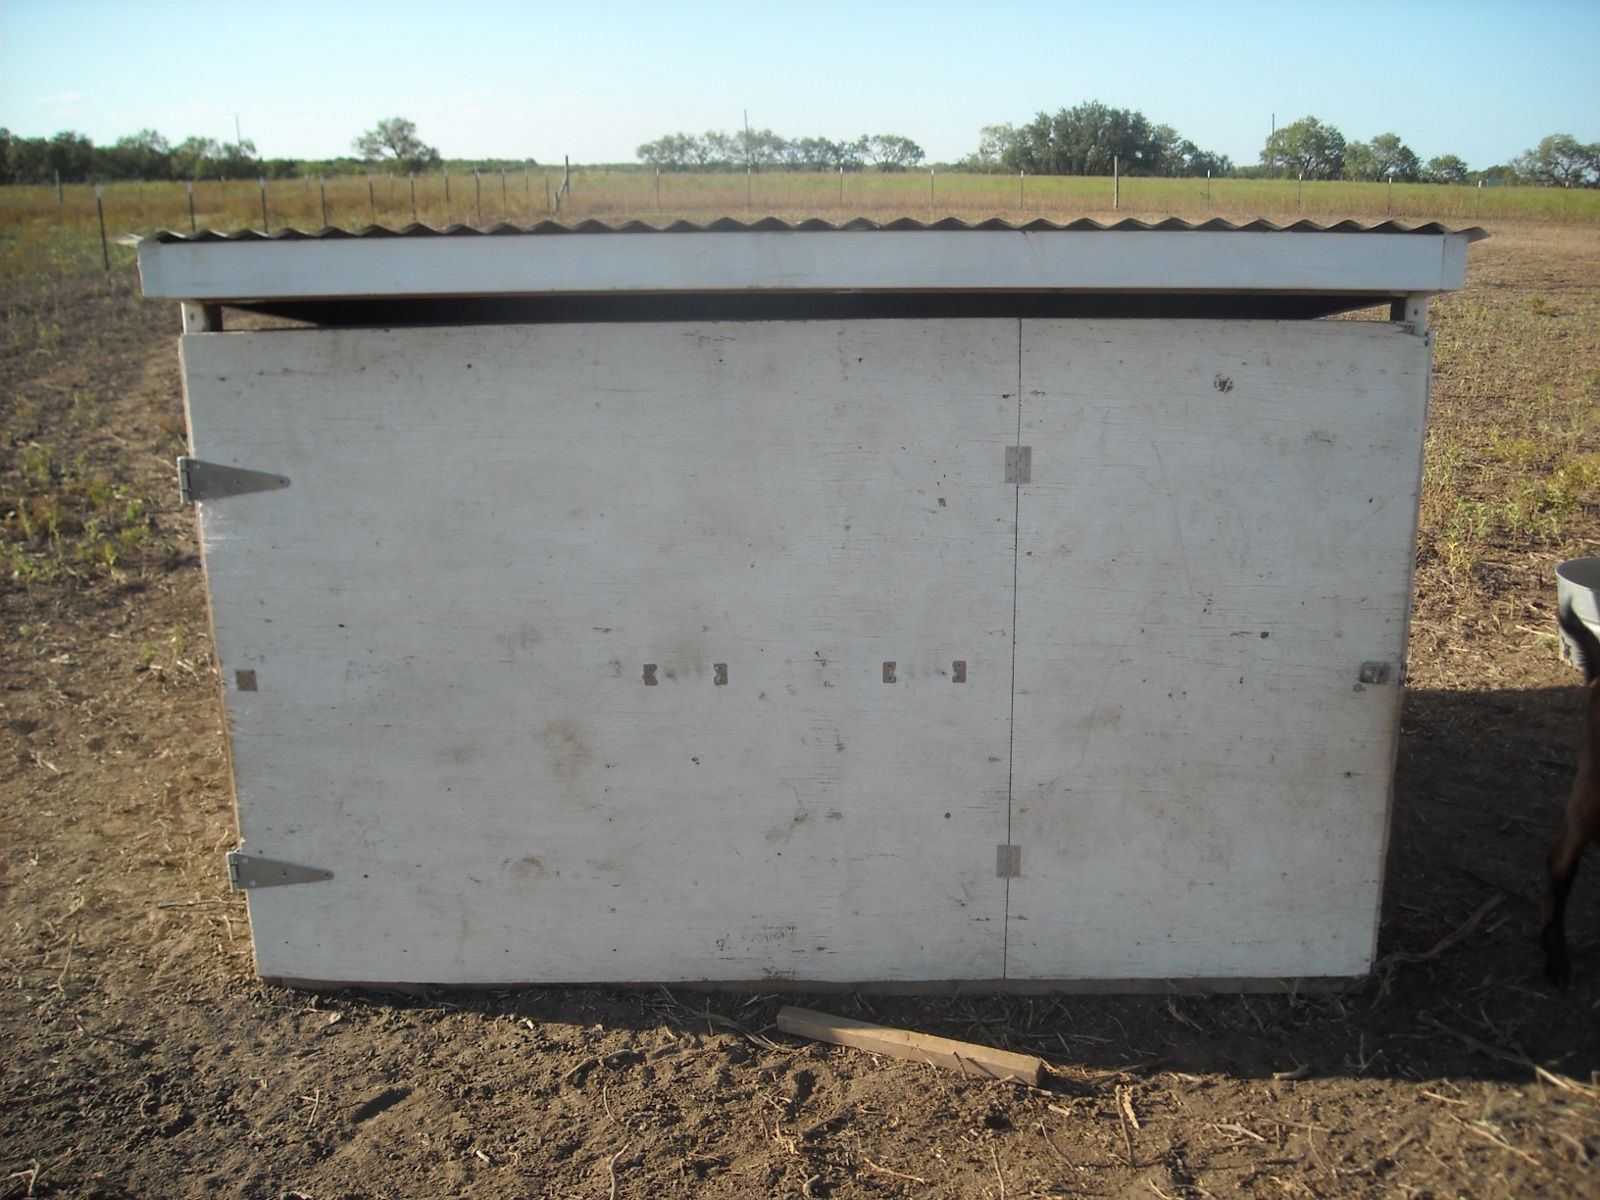
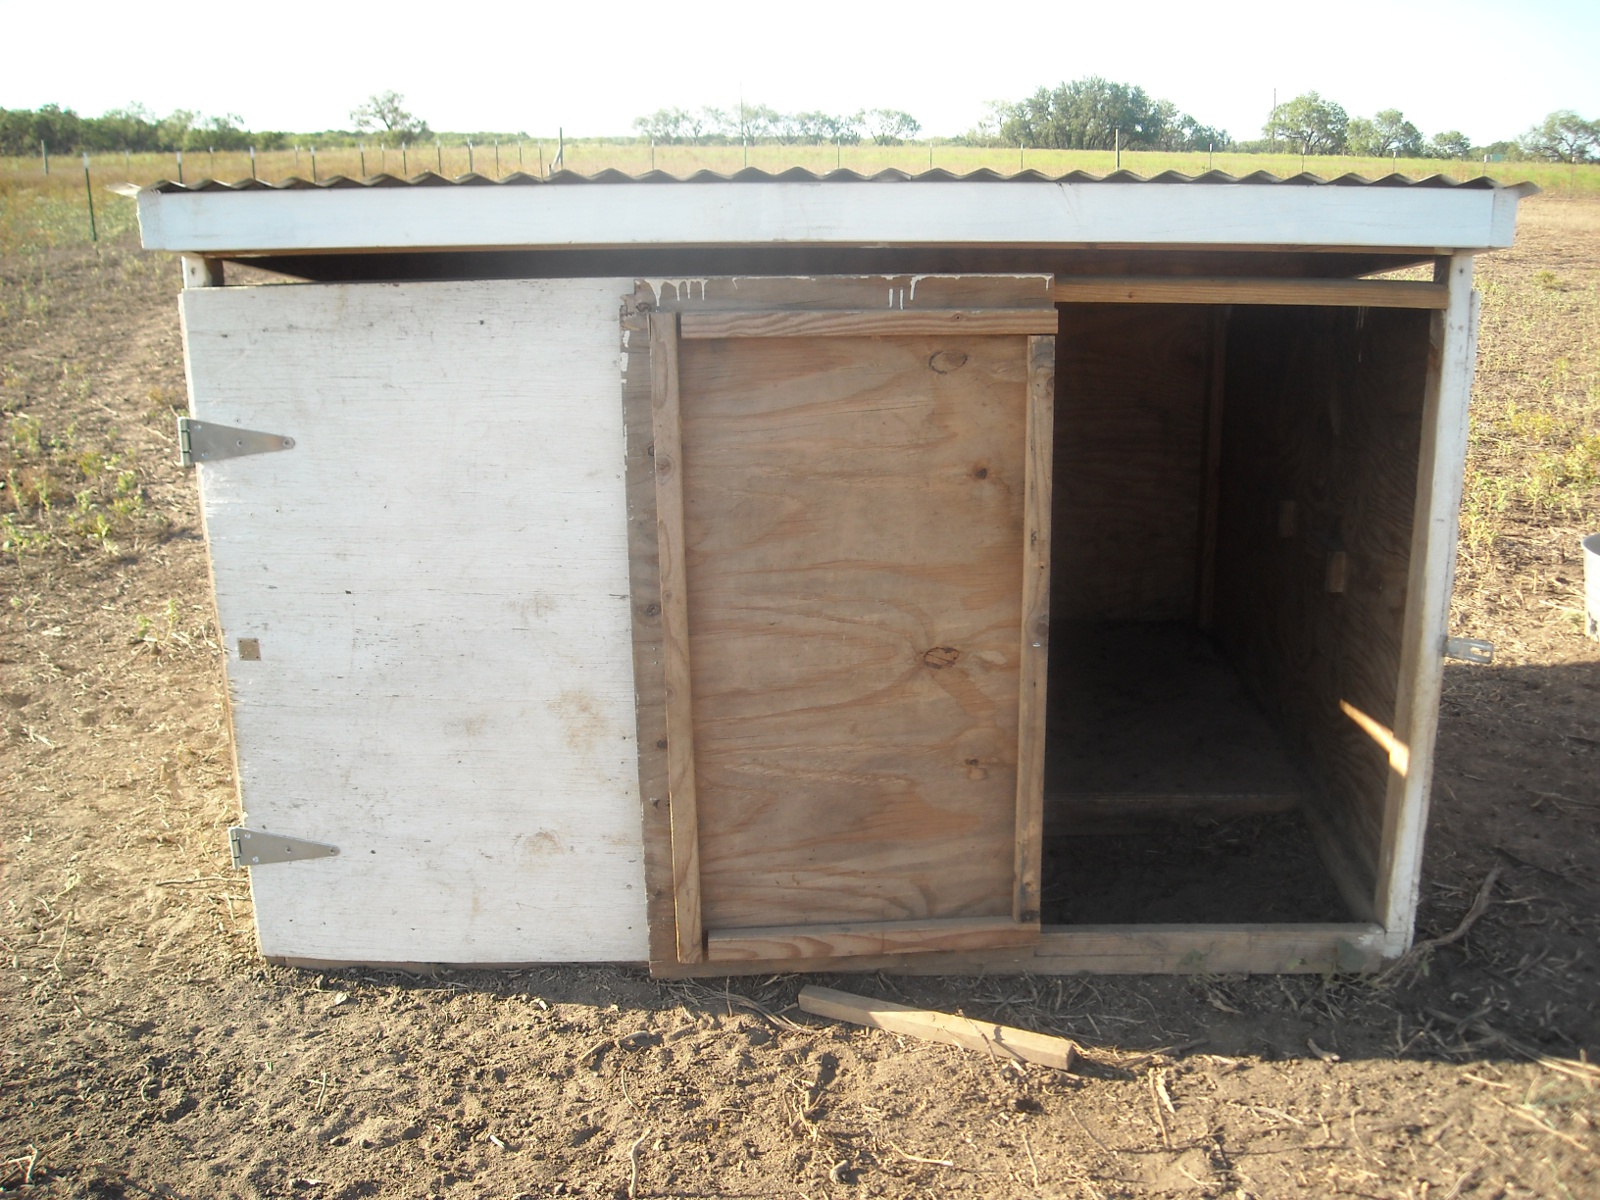
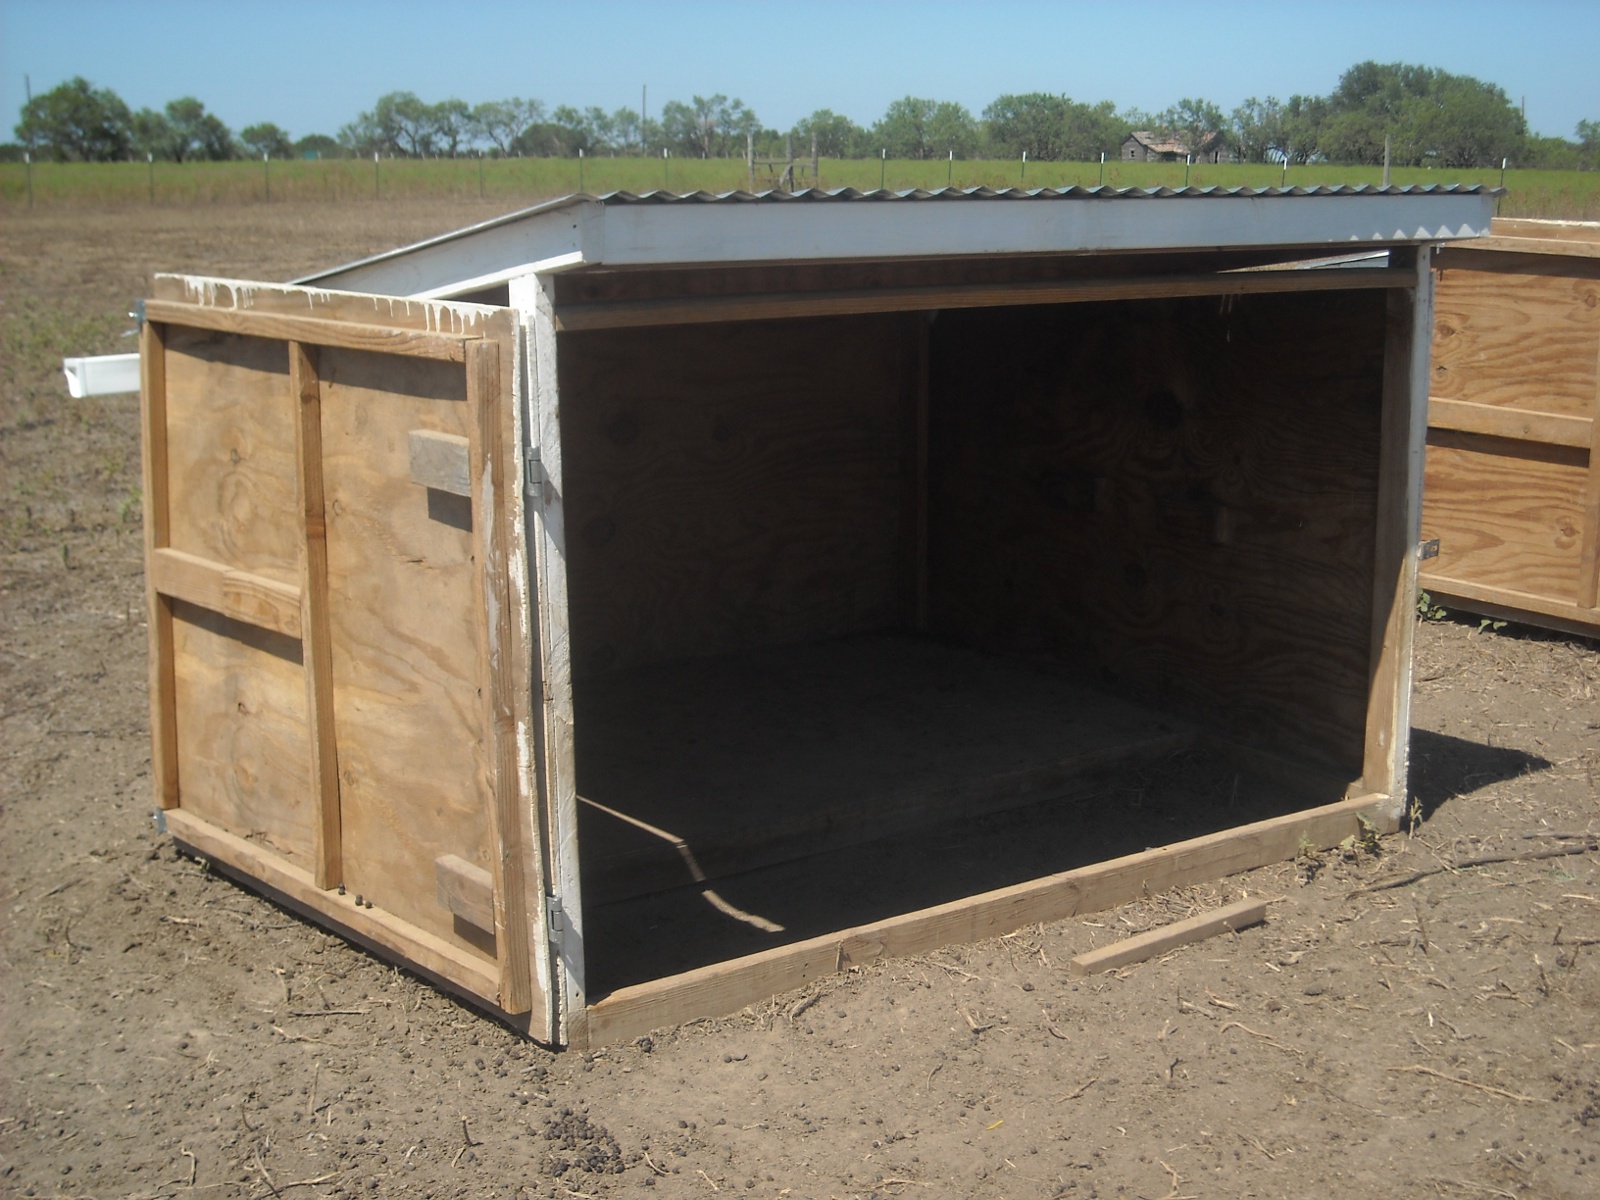
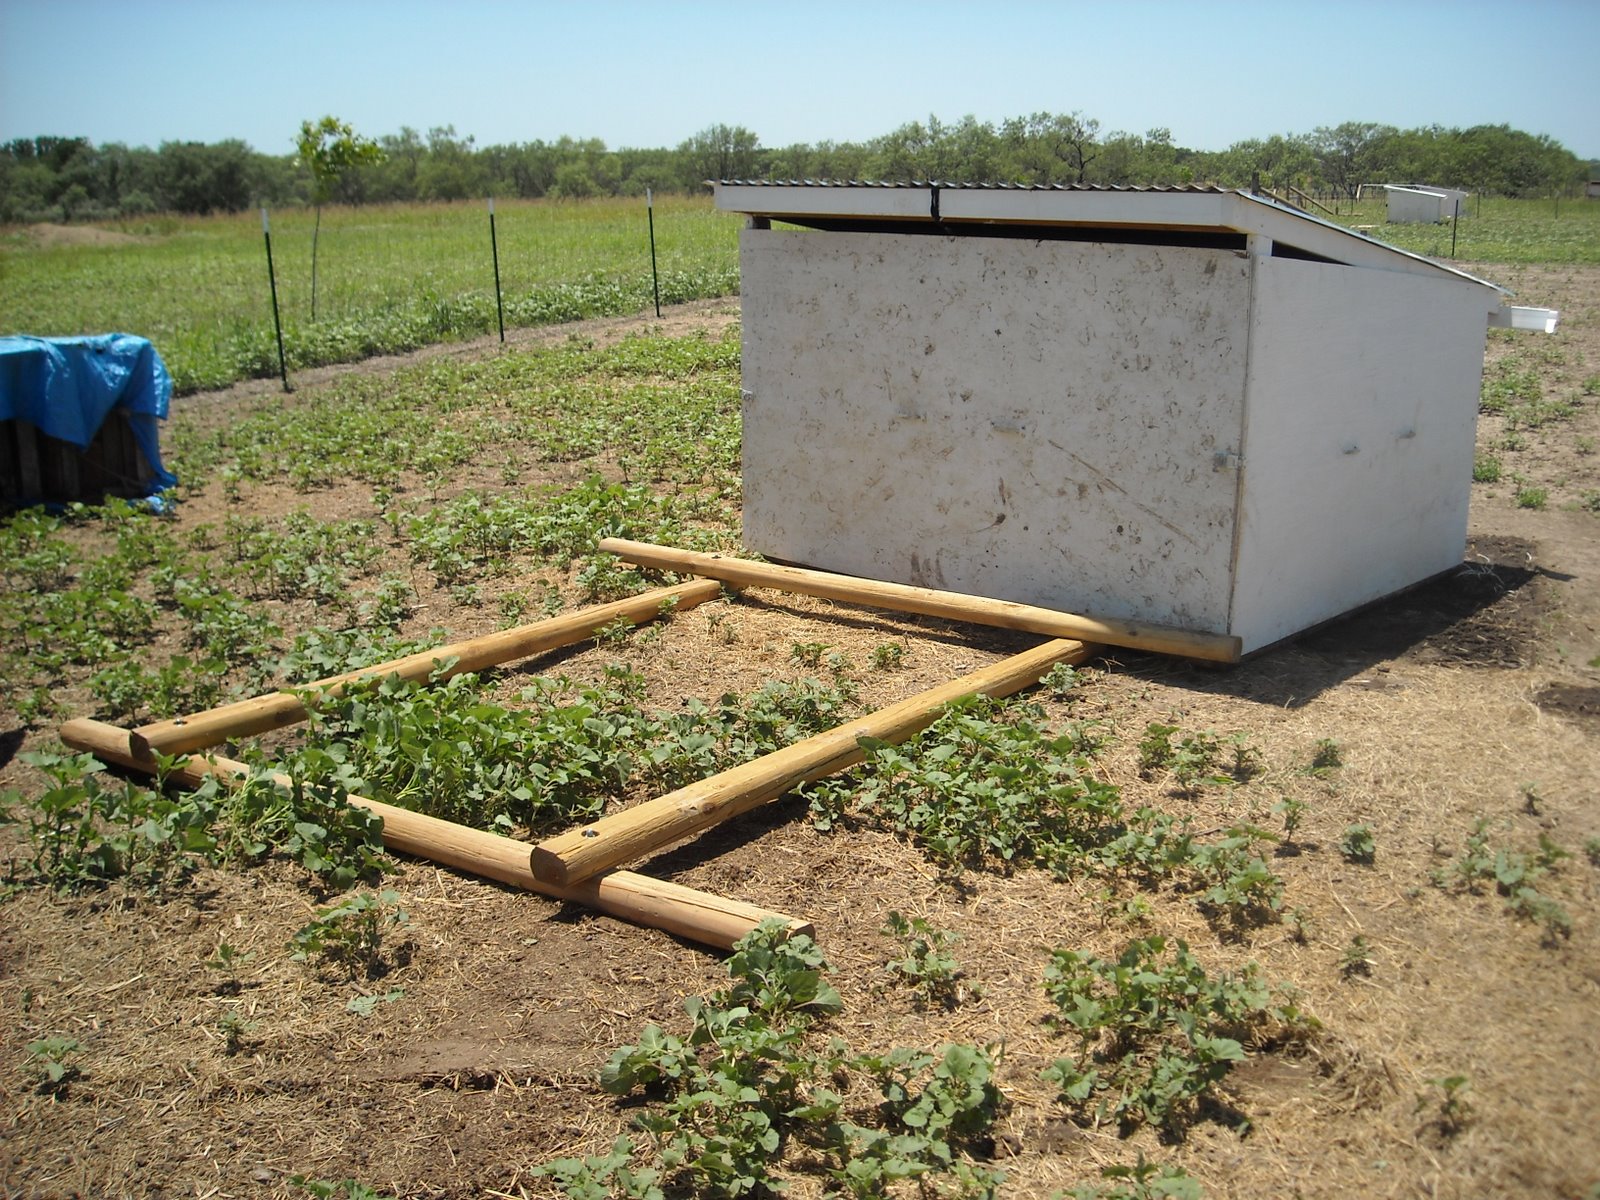
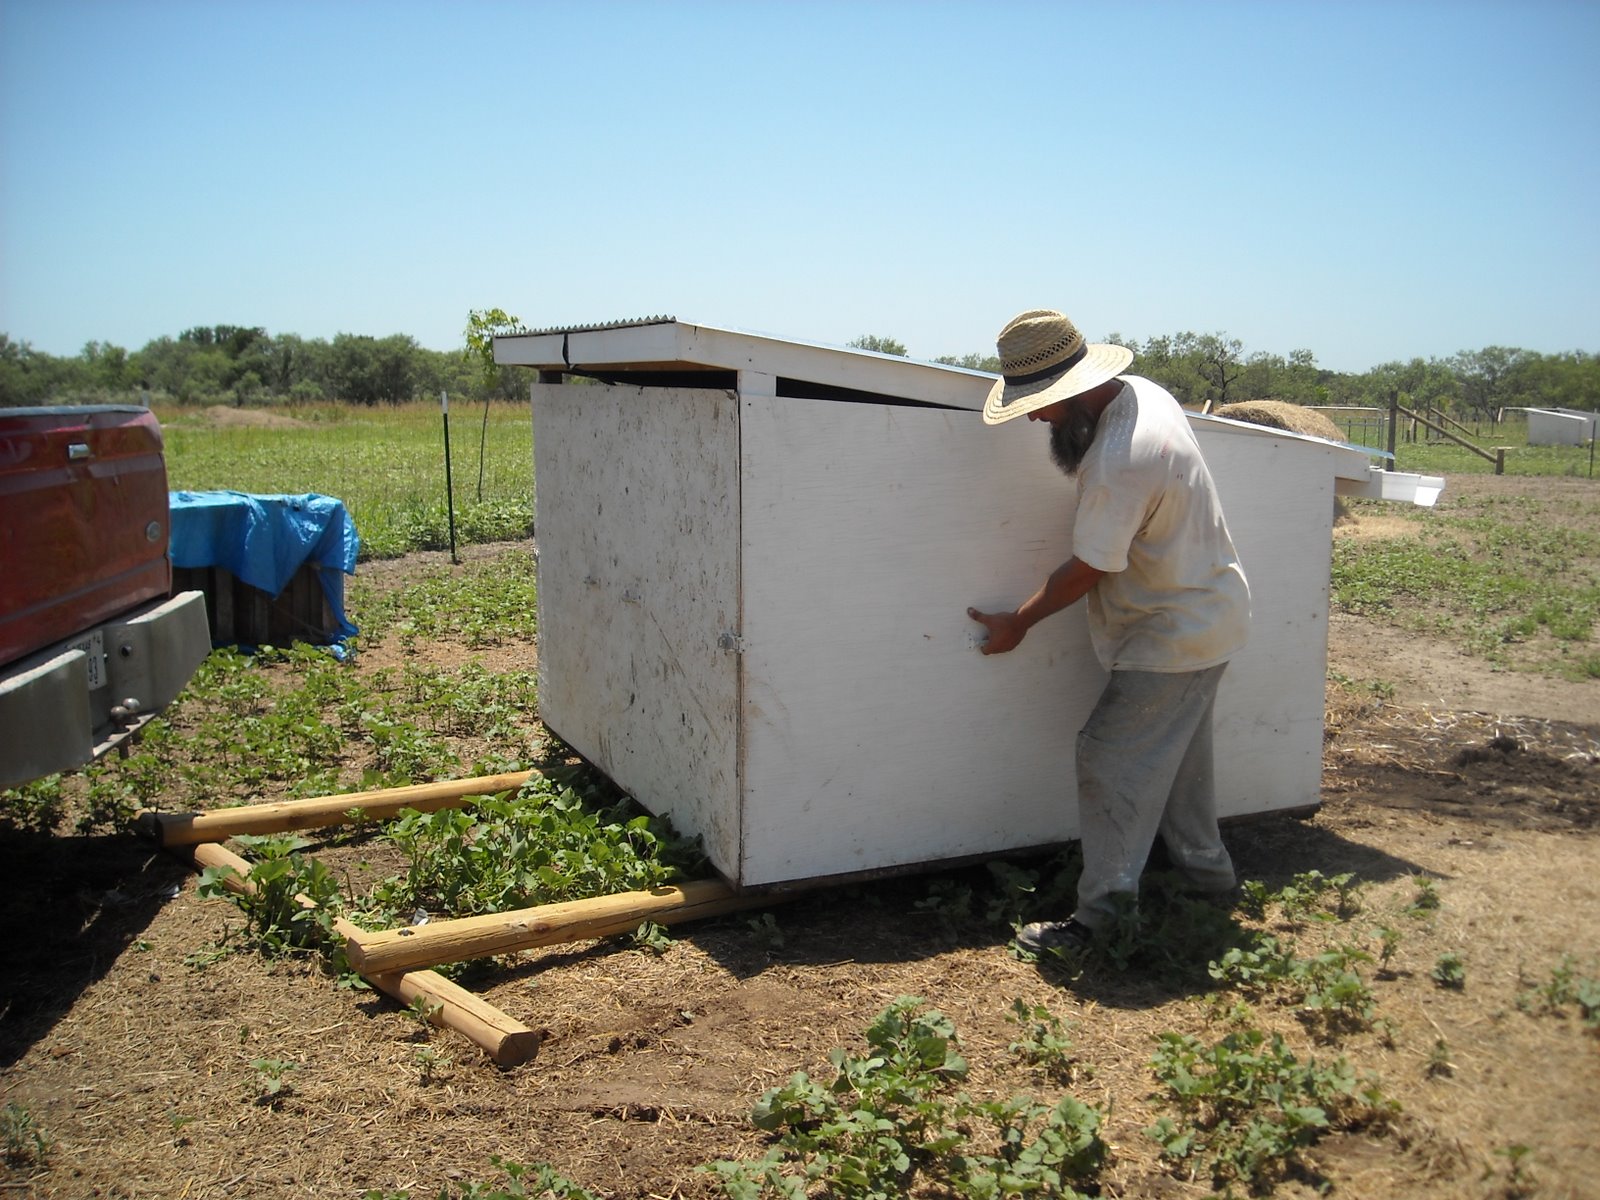
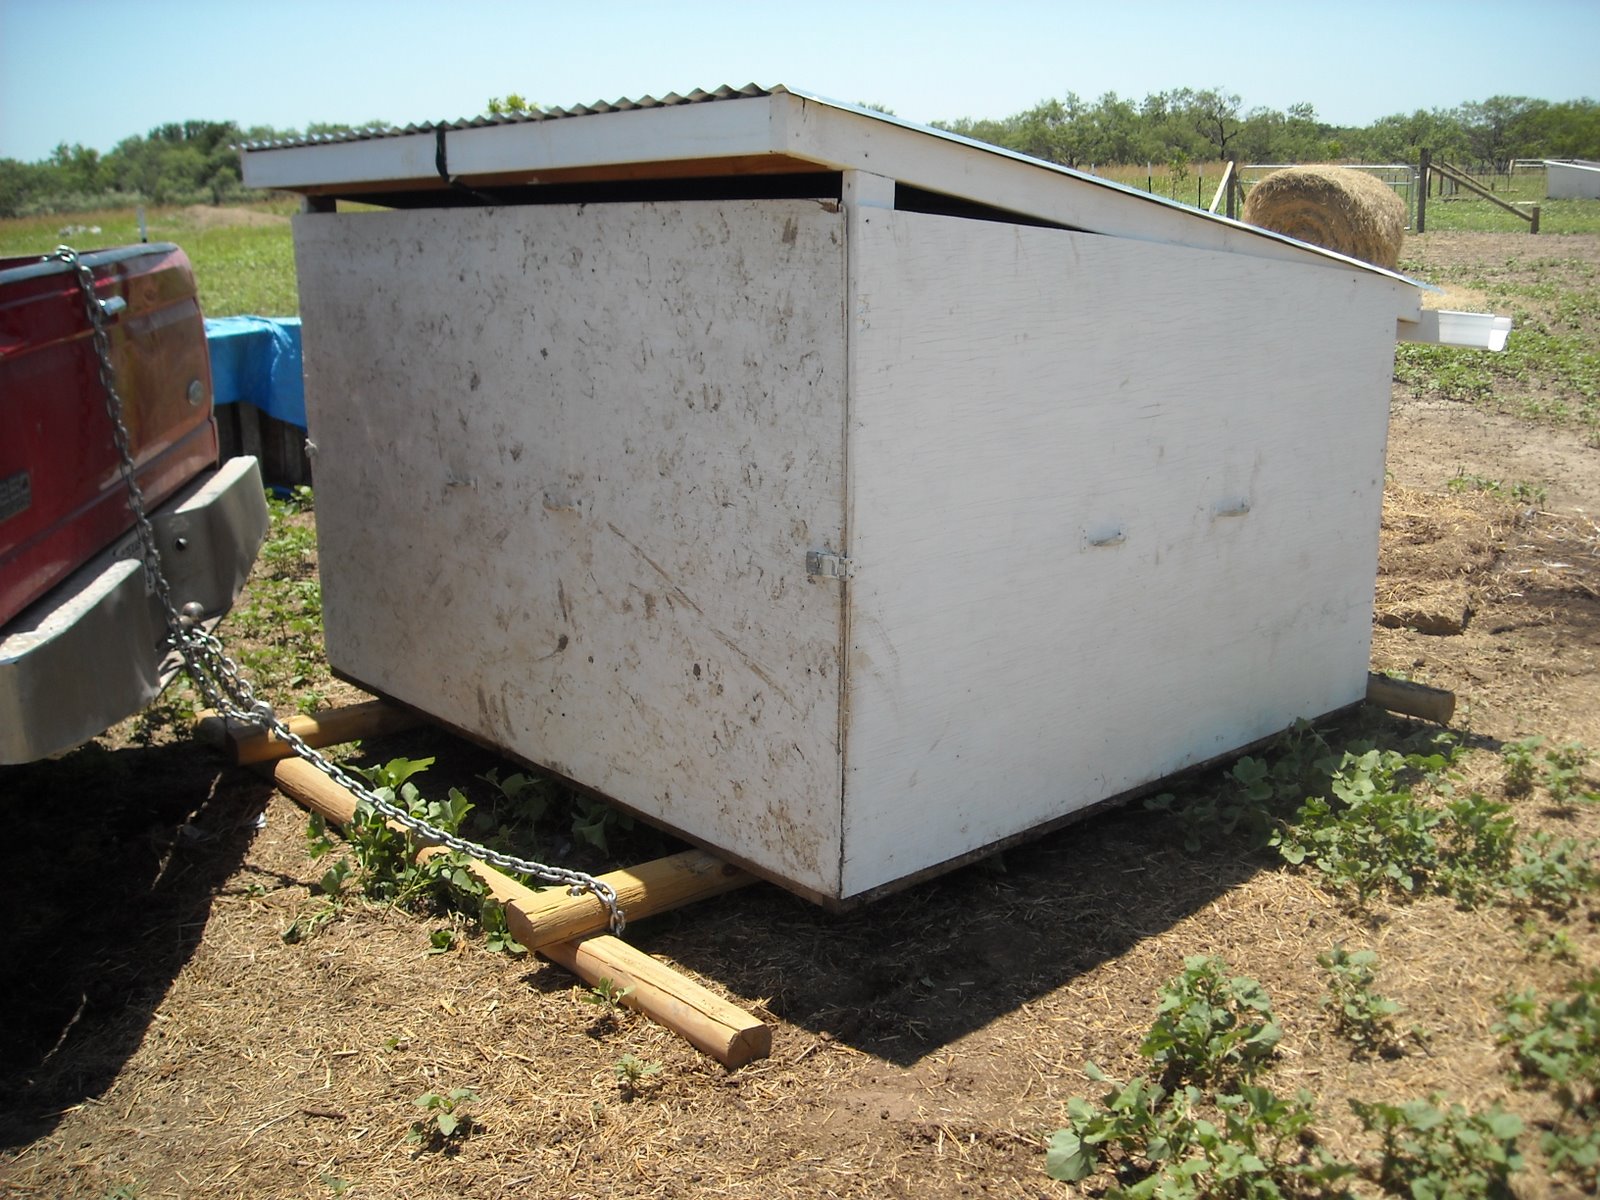
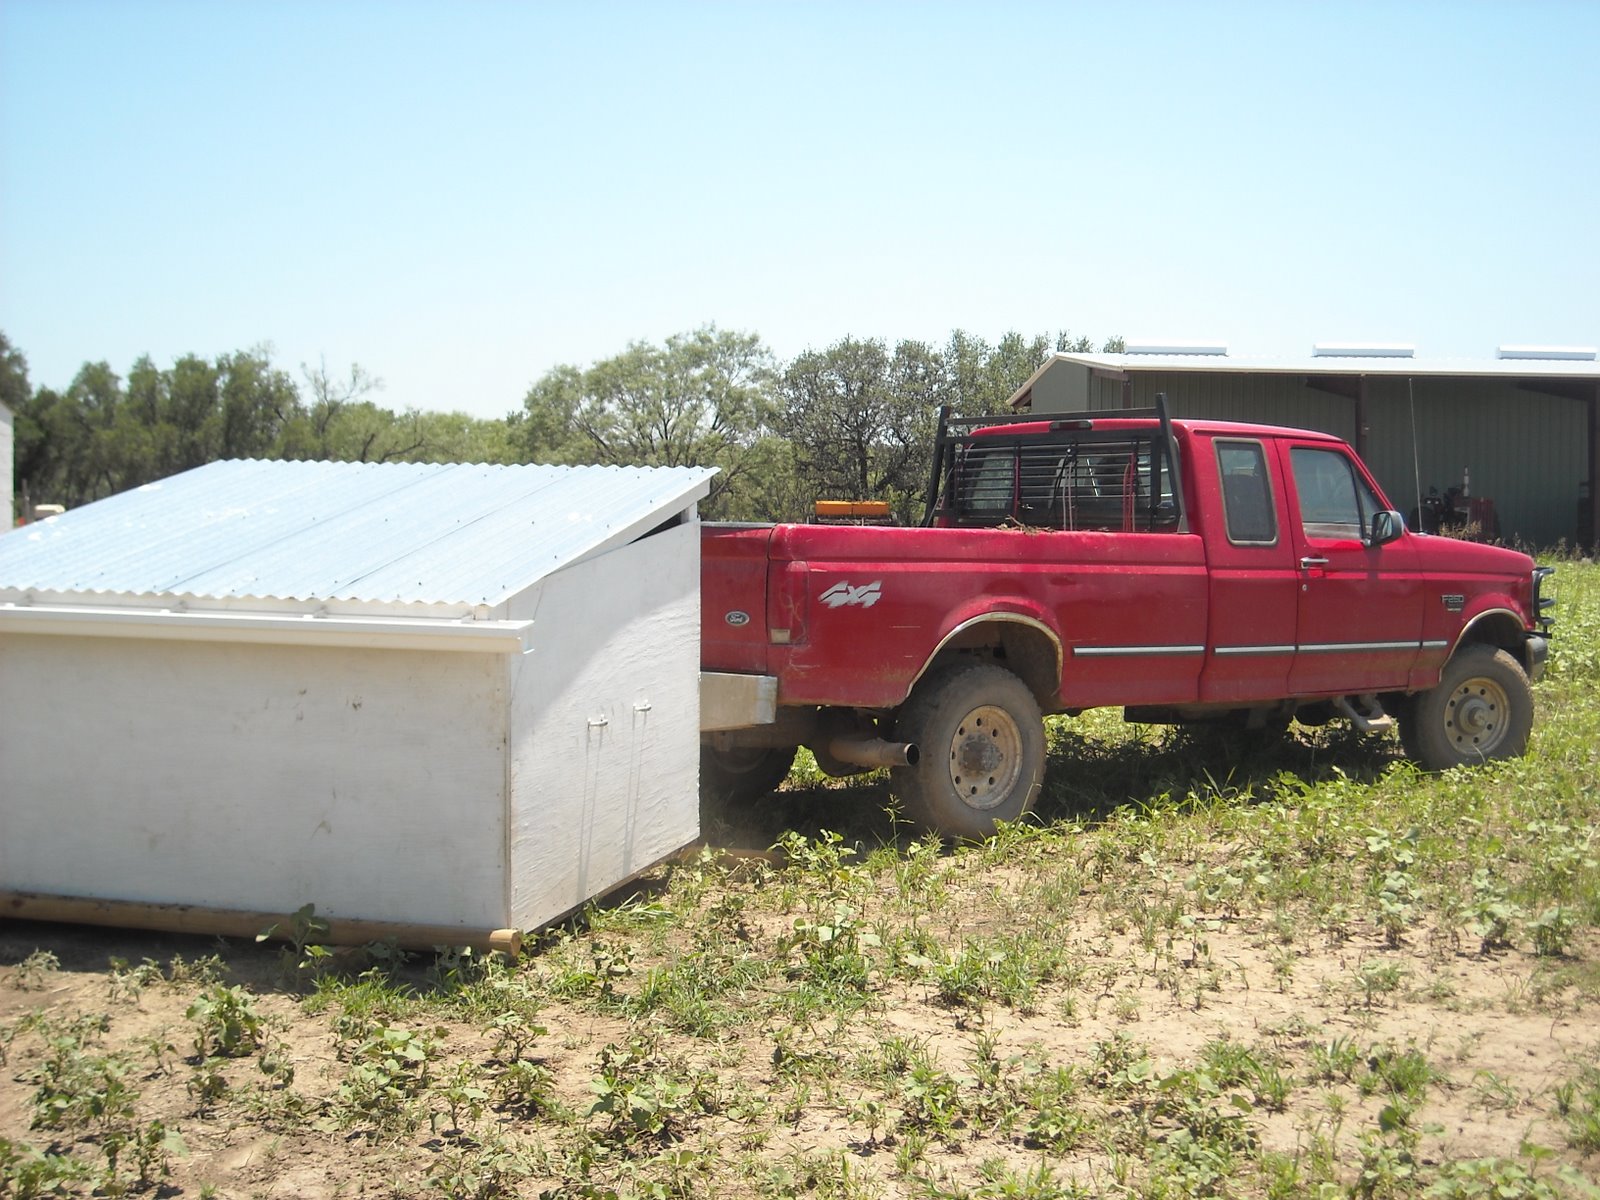
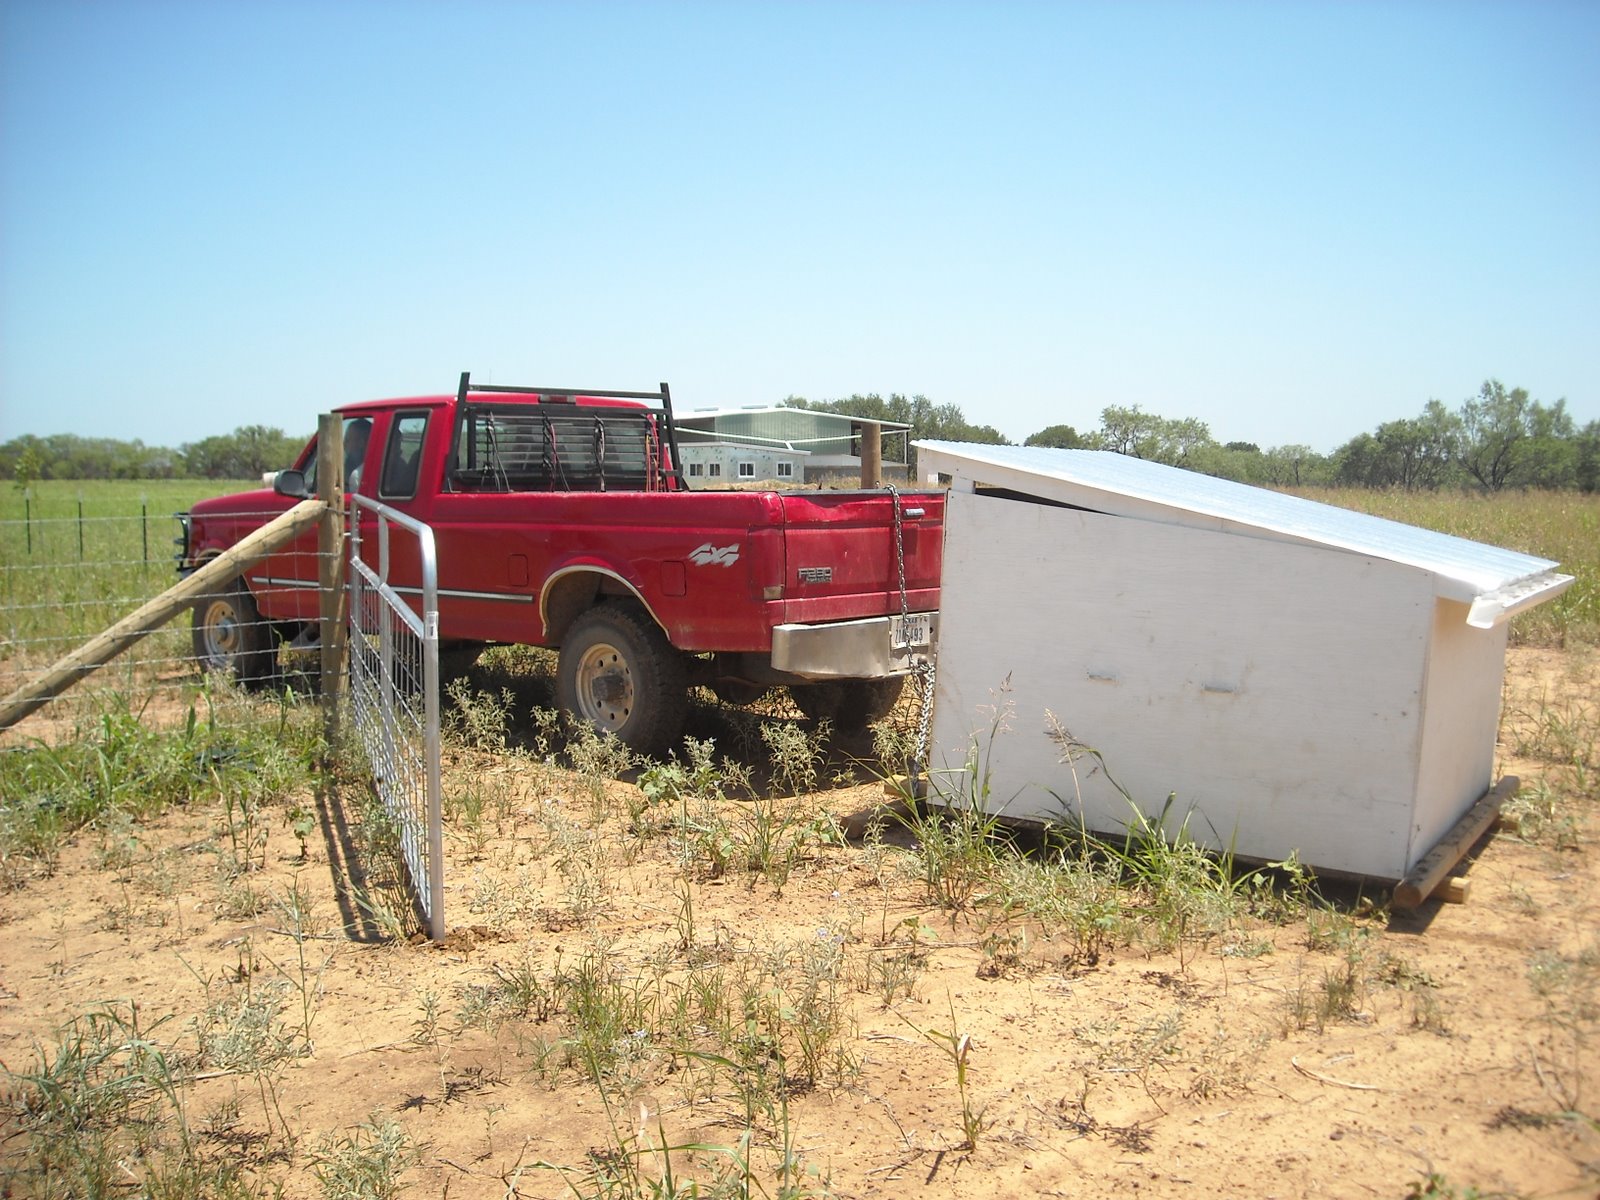
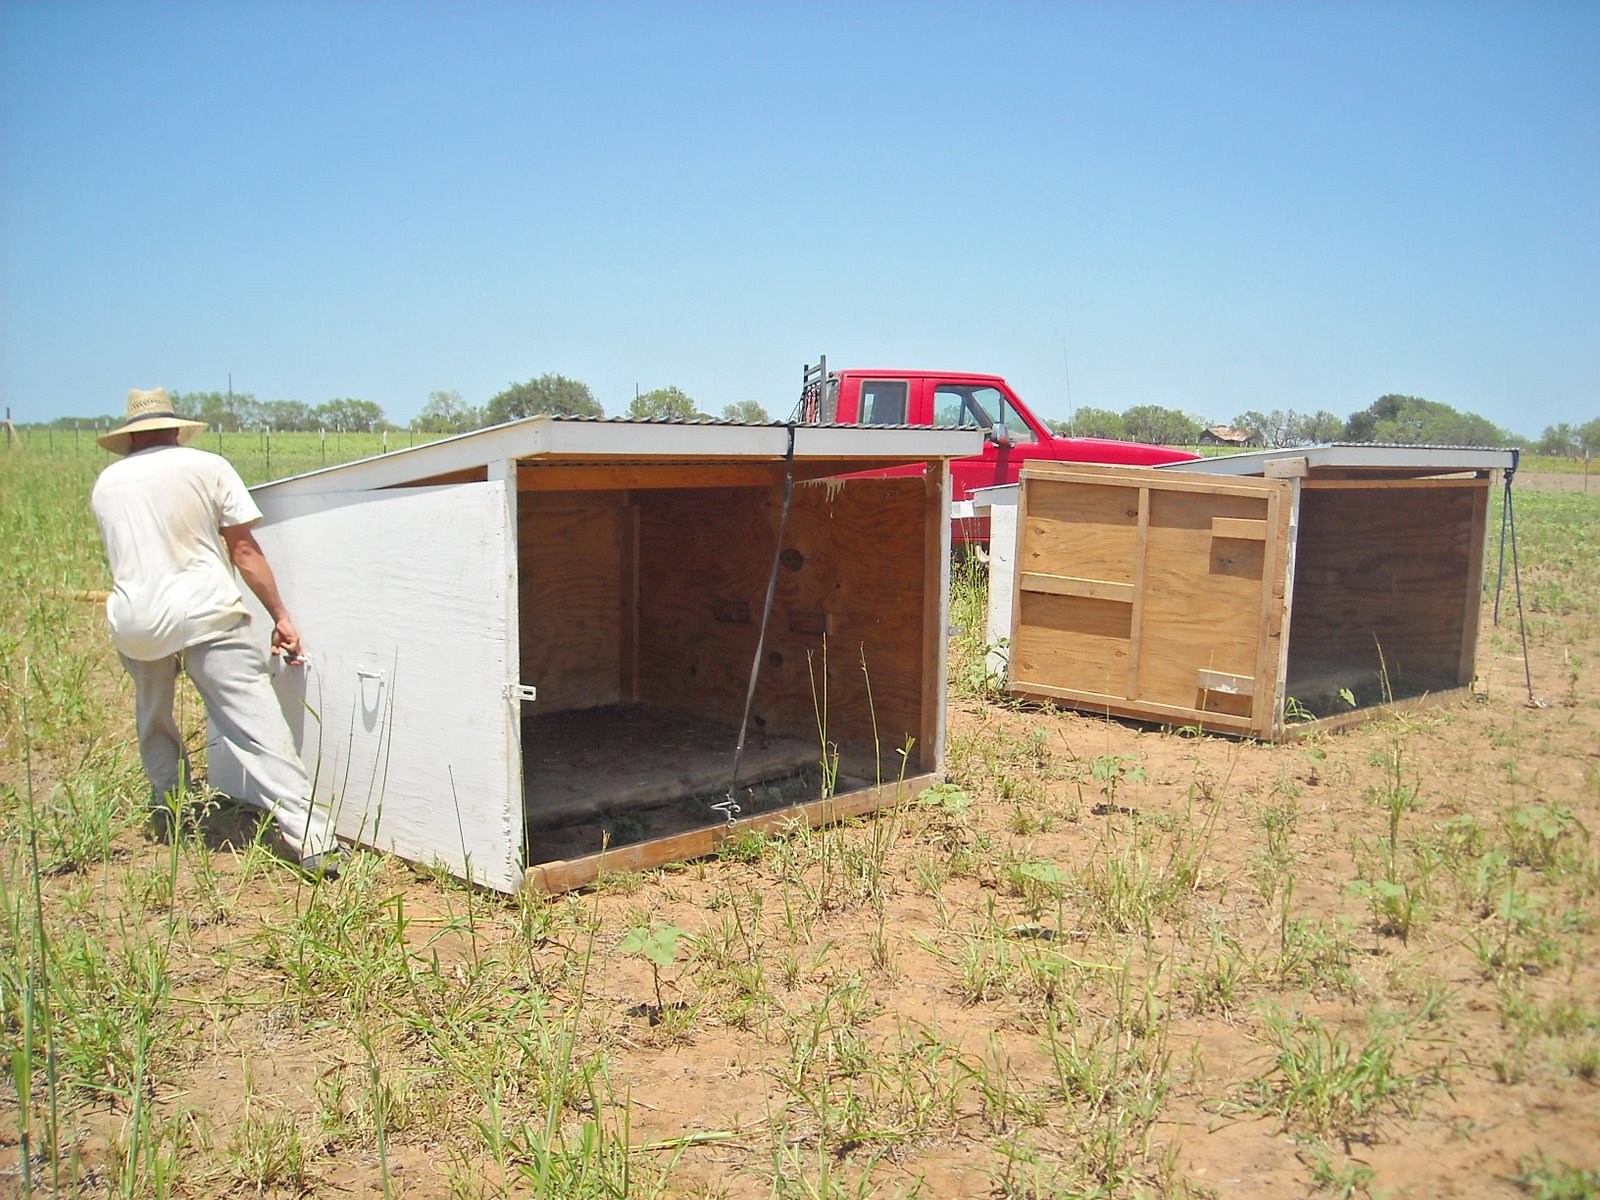
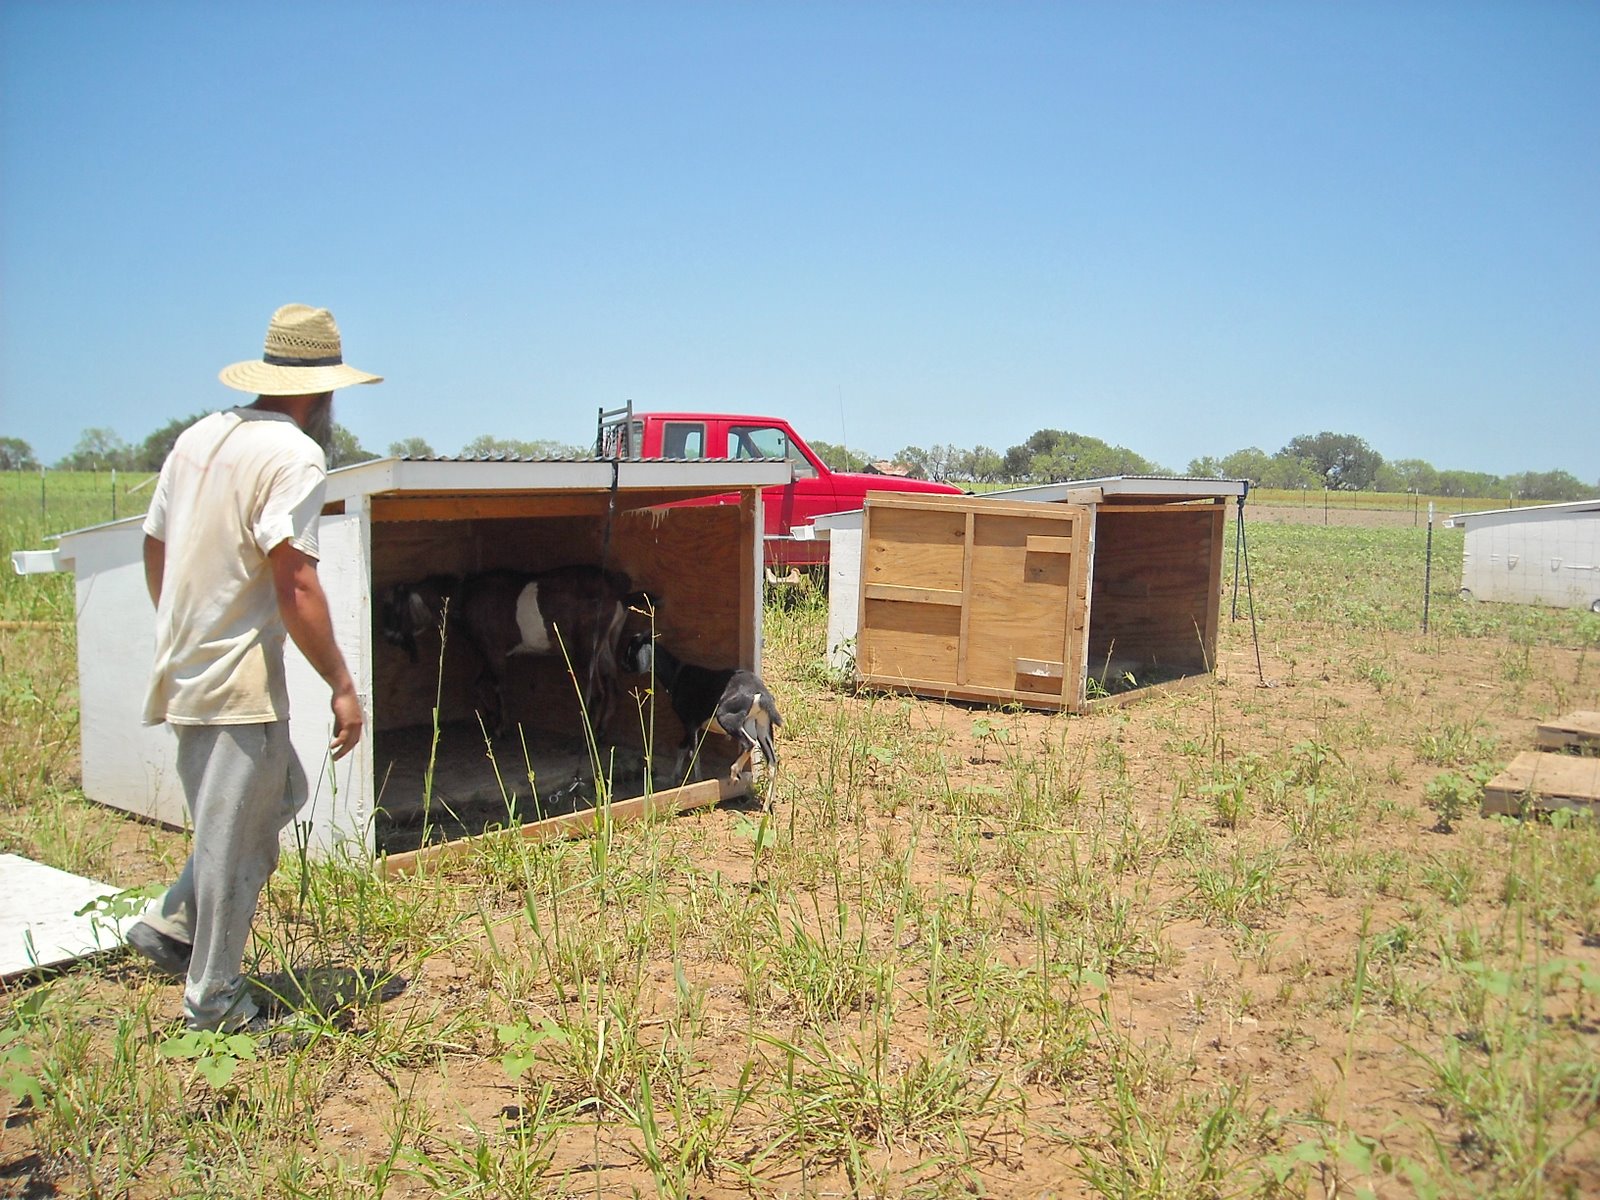
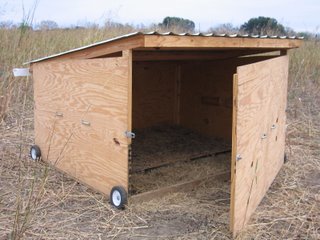
Dave had built a shelter for each of our two goat fields to house and protect our increasing number of goats from the elements and predators. Similar to the chicken tractor, the sheds are built to be portable to adjust to changing high wind patterns and other factors. We had some high south winds recently and one of the sheds was blown completely over. Thank God none of the goats were injured. One of the sheds blew over again and Dave was a bit frustrated. In the process of putting it back in place, Dave pulled up the pallets on which the goats rest in the shed and found that a cute little rattlesnake had been in cohabitation with our goats. Dave sent me running for the shotgun; and after I returned with it, he took it out in one shot. But we realized if the goat shed had not turned over we might not have discovered the rattlesnake, another reason to never question the circumstances God allows in our lives. Thank God. We have since found a way to anchor down the sheds but have them remain portable:

Another thing that has been interesting for us has been to watch the behavior of the goats. Winnie is our little diva who makes sure you know it’s all about her all the time. Goats are stubborn, selfish and determined much of the time, which is where we figure the term “kids” originated when referring to many children today. It reminds us that God refers to the unsaved as goats and the saved as sheep in the Bible: Matthew 25:32-33,34,41: “And before him shall be gathered all nations: and he shall separate them one from another, as a shepherd divideth his sheep from the goats: And he shall set the sheep on his right hand, but the goats on the left. Then shall the King say unto them on his right hand, Come, ye blessed of my Father, inherit the kingdom prepared for you from the foundation of the world…Then shall he say also unto them on the left hand, Depart from me, ye cursed, into everlasting fire, prepared for the devil and his angels.” Both were created, elect and unelect, to be what they are, according to God’s will: Rom 9:21: “Hath not the potter power over the clay, of the same lump to make one vessel unto honour, and another unto dishonour?” Goats are stubborn and will continue in their stubbornness, even to the end; whereas sheep, which are apparently gentle, compliant and easily trainable, will hear Christ’s voice when they are called: John 10:27: “My sheep hear my voice, and I know them, and they follow me.“. It appears that one of the reasons God, in all His wisdom, placed animals on the earth was to visually show us spiritual realities. Dave is thinking about getting some sheep someday, partially to use the wool for various items but also to have another visual reminder of God’s teachings.

We pray that, by God’s graces and mercies, we will be those who hear His voice and follow when He calls.

We are thankful for the Lord allowing us these daily observations and exposure to each of these species here on the farm as excellent reminders of the spiritual types in the Bible.

Susan


Chickens


Before we even left California but with the intent to come here, the neighbors graciously bought some chickens and raised them for us in preparation for us having some once we moved here. Farm fresh chickens make farm fresh eggs, and in the opinion of most people who have tried the difference between them and store bought ones, farm fresh eggs are MUCH better, in taste and in health (because we know what they’re eating!).

And so, with our chickens here on the land but being tended by the neighbors, we needed a place for them. I had a subscription to Countryside magazine at the time, and in one of the issues is plans for what’s called a “chicken tractor,” which essentially is a movable chicken coup, which conveniently includes fertilization of the area on which the coup is sitting at any one time. It had explicit instructions (which with my zero years of construction experience was drawn to 🙂 ), and so I proceeded to try to put one together.

Here are some pictures:


Hey, I had to make sure it worked!!

Here’s a final version picture:

While the idea of fertilizing an area with this chicken tractor is nice, it hasn’t been too practical for us, in that, 1) the area is a little small for the 20-25 chickens we have; and 2) we let the chickens free-range as much as possible (which we believe is better for them and takes less feed too), and so their fertilization ends up everywhere they go (and I mean everywhere!). Still though, the chicken tractor has been a nice chicken coup; and we can move it to anywhere we might need to as our homestead grows.

Over the last two Springs, the Lord has granted that some of our hens get “broody”, which means they want to sit on eggs to hatch them out. Our first year we had 5 chicks hatch; 3 made it to adult chicken status, and only 1 hen remains. From last year, all 3 hatched are still alive, thankfully to God for His mercies and provisions.

With having a broody hen and eggs to sit on with the possibility of new chicks, we needed a place in which to separate them out away from the other chickens. And so, I put together a mini-tractor for them:


Chicks!

Takin’ a ride on the Mama Hen Express!

Also, once they outgrew that area and became pullet size, we needed another area; and so, we put up this pen area with its own coup:


Now, beside eating chickens as food (which with ours we haven’t done yet), as I mentioned, chickens lay eggs.

Here is our first egg!

And here’s our first meal with our first eggs:

What has been interesting to watch is some of their behaviors. Every night the chickens, like clockwork, “come home to roost”, literally. Regardless of where they traveled during the day, they end up coming back to their “home”, whether that’s a chicken tractor or a chicken pen.

In moving the young chickens to a pen area, they and the older chickens can get a little more used to each other, with the idea that eventually the young ones will be merged in with the main flock. Getting them used to each other is somewhat important, in that, chickens are apparently pretty territorial, and “new” chickens to their area typically need to be shown whose turf they are on; and so, there is often fighting among the hens, and if you have an alpha male rooster with a younger rooster being introduced.

Now, what we’ve done in the merger is take the new chickens from their coup in the pen area and put them in the main chicken tractor at night to let them come down from it in the morning. This helps to old flock get used to them when they’re more calm, and helps to new ones get used to their new “home.” We leave the pen area open so they can go to it for familiarity. This can go on for several days, but eventually the new chickens start to get the idea that their new “home” is in the chicken tractor; and they head there, instead of the pen, when it’s time to roost.

Another behavior that I’ve found interesting is the following: if you throw feed on the ground in one place, and they run to it there, and then you throw feed down in another place, almost invariably they run to the last place you threw feed, even though they had perfectly good feed right where they were: they seem to need the “next thing.” It reminds me of a couple of articles regarding how people often do things because they are attracted to the “change” aspect of the thing, for various reasons and in actuality not be led by the proper motivations.

God has been gracious with the provisions of the eggs during our time here so far. We are very grateful for what He teaches us daily through His creation and how He provides for us daily in accordance with His will.

— David

Newer posts »