This is our journal of what we pray is our sojourn of life (Hebrews 11:8-10) along the narrow way (Matthew 7:14), even the old paths (Jeremiah 6:16), submitting to the Bible as a light unto both (Psalms 119:105). It is our prayer that these documented moments in our earthly time benefit whom God might choose to edify, but ultimately that God glorifies Himself through them.

Category: food preserving (Page 2 of 5)

The Orchard – Spring 2018

With the previous two Winters being somewhat mild weather-wise, there wasn’t much activity with our fruit trees. However, this past Winter had quite a few more cold days, and I’m thinking that really made a difference, because by God’s graces we’ve had a very nice fruit bounty this Spring!

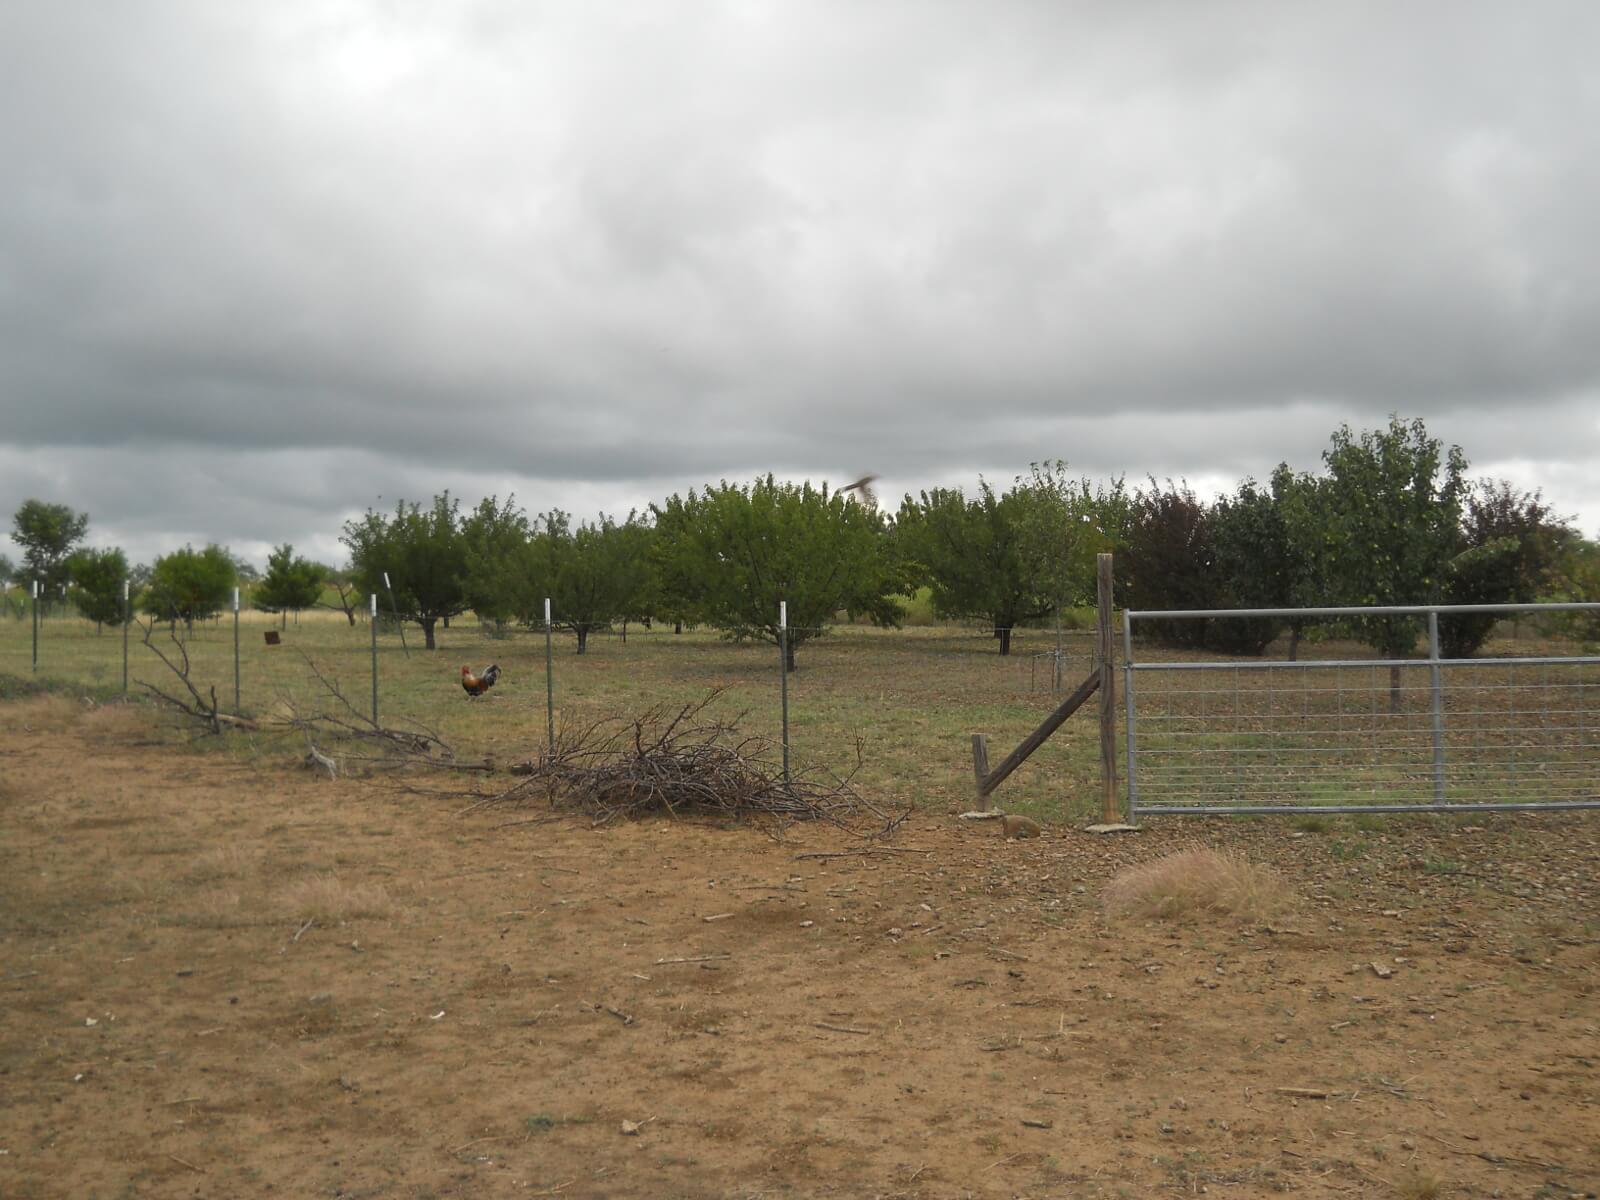
Here’s a current picture of the orchard, for which we are very thankful to the Lord:

Orchard Spring 2018

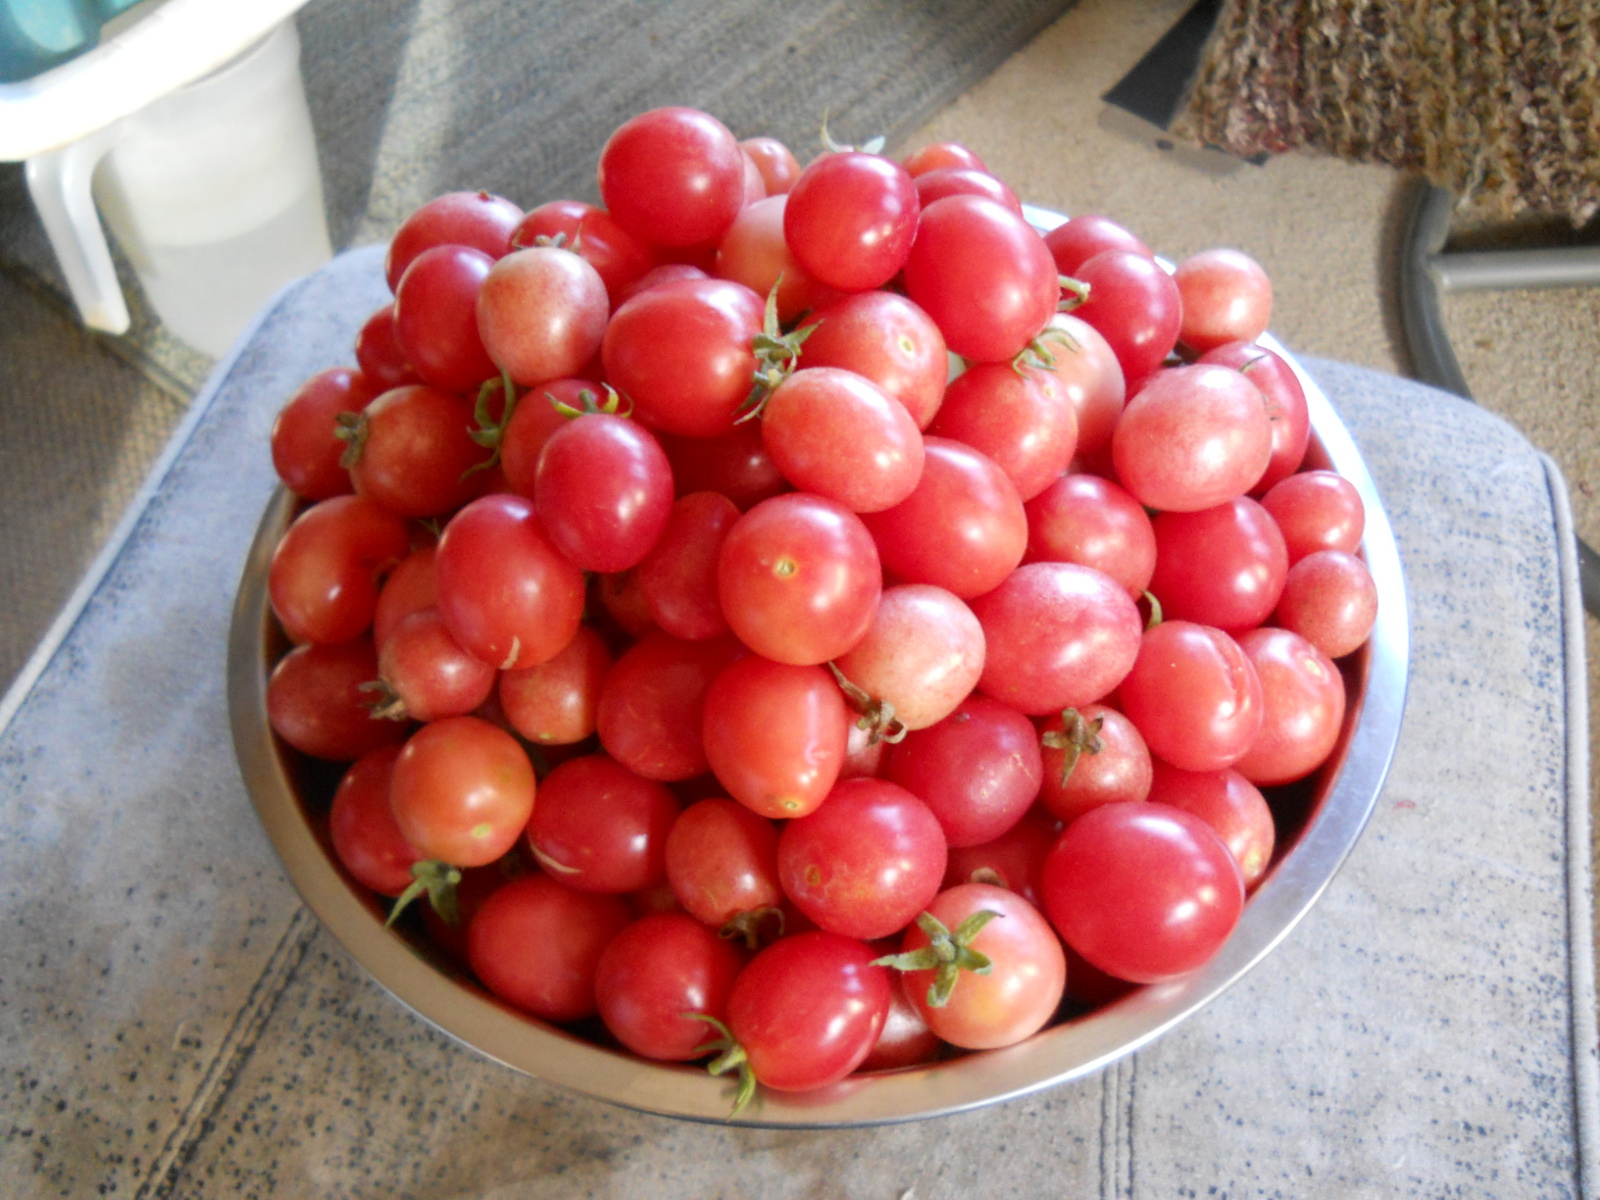
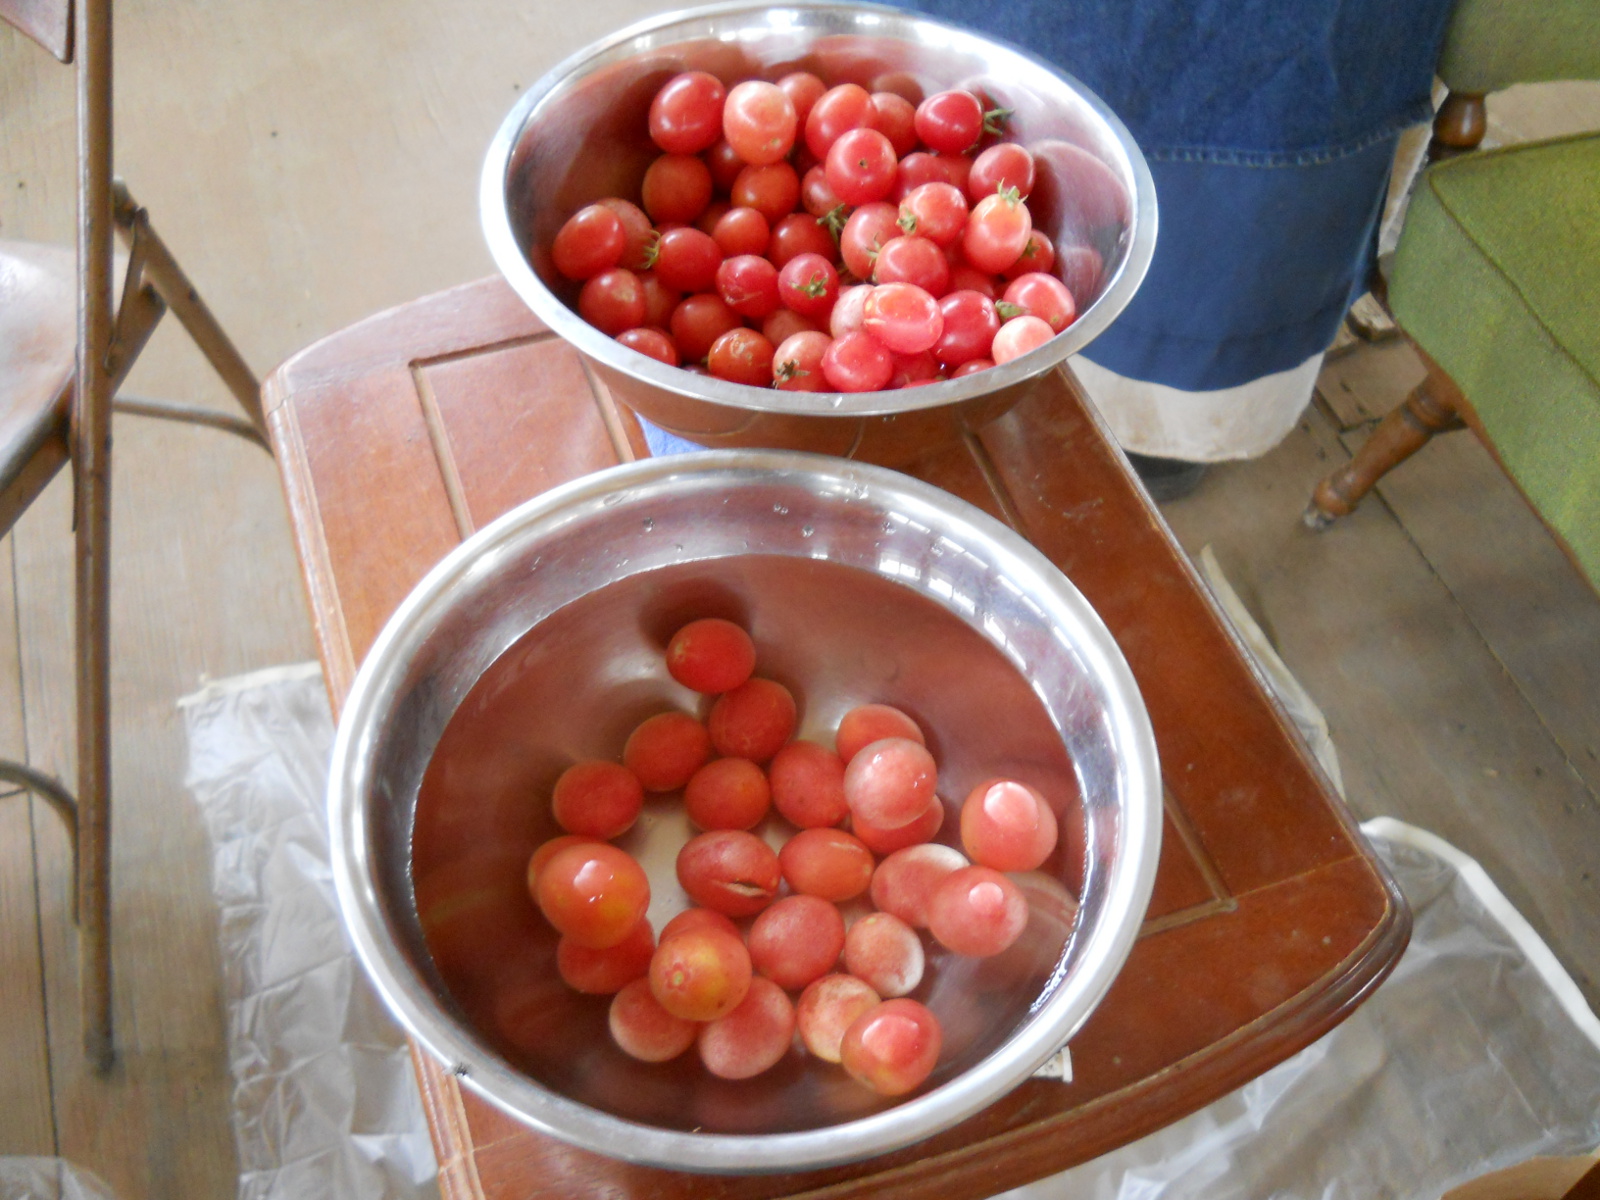
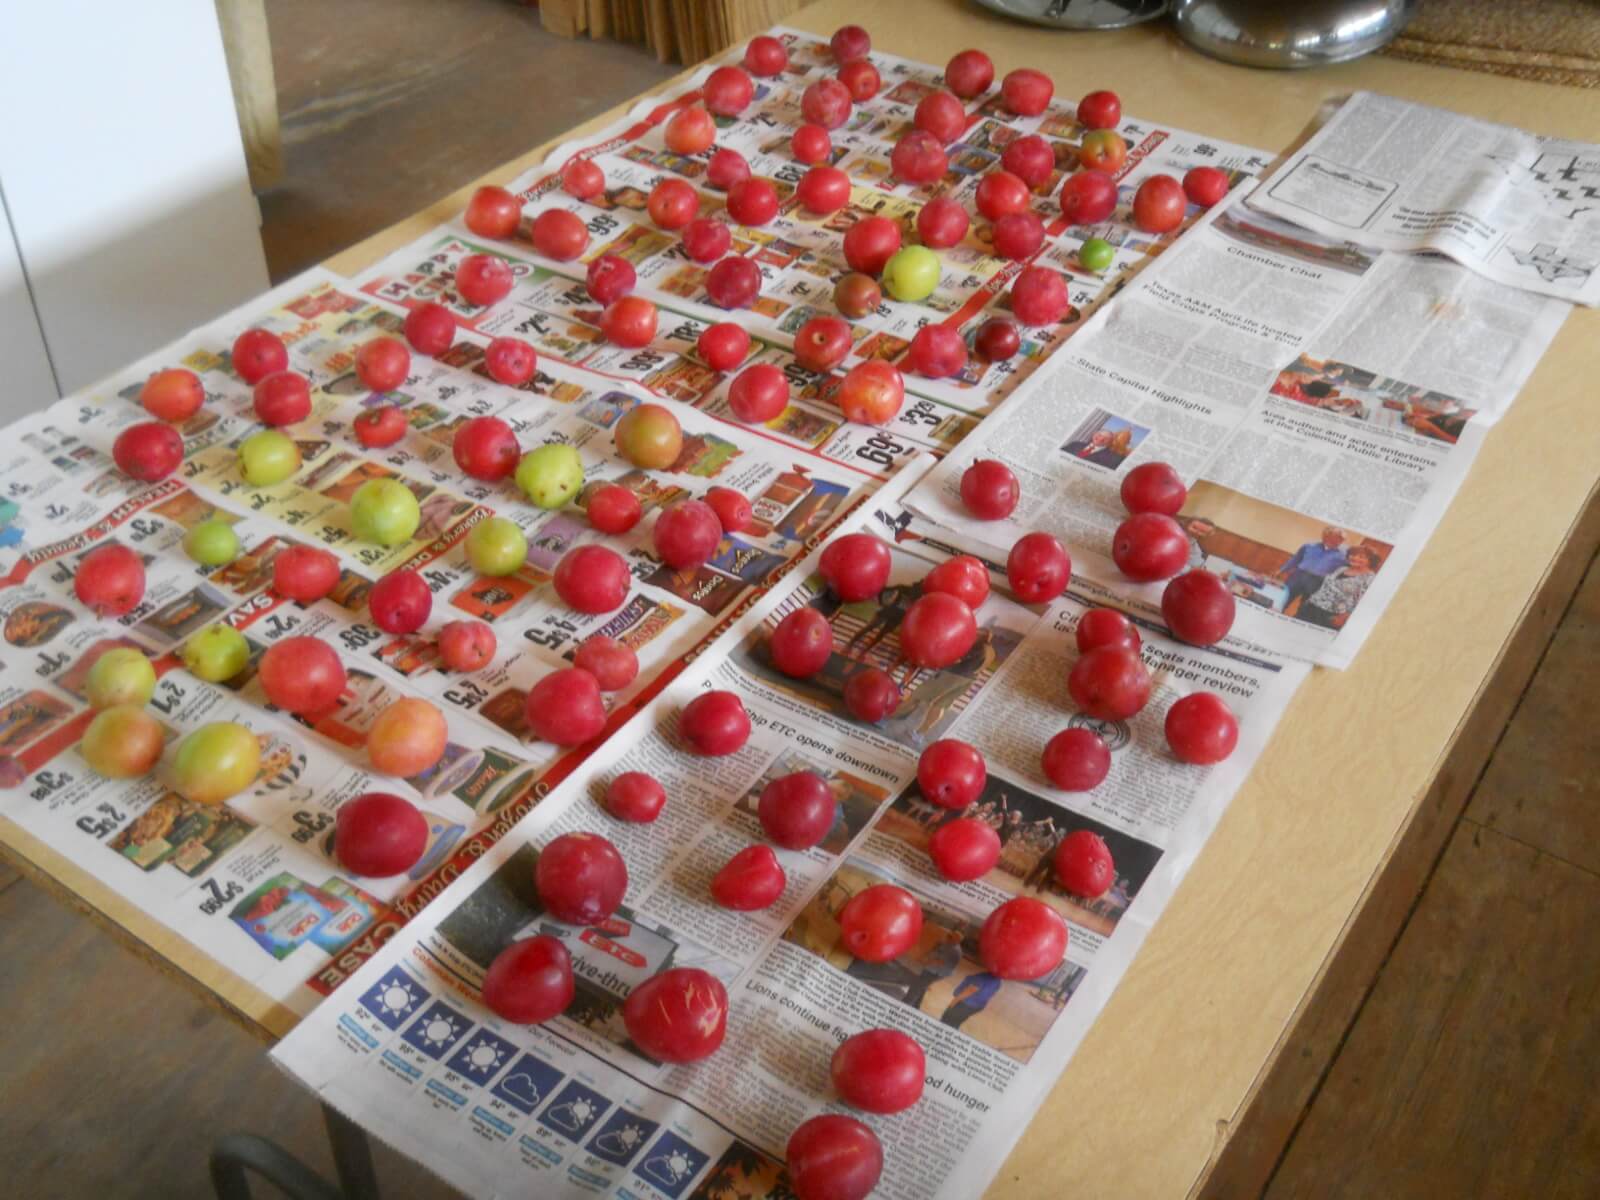
So far, God has granted plums and the first apricots produced from a couple of our apricot trees. We’ve been extra diligent this year in getting to the fruit before the birds do as we’ve had trouble with that in the past. Thanks to Sue for going out there 3 times a day! Here they are ripening:

2018 Plums & Apricots

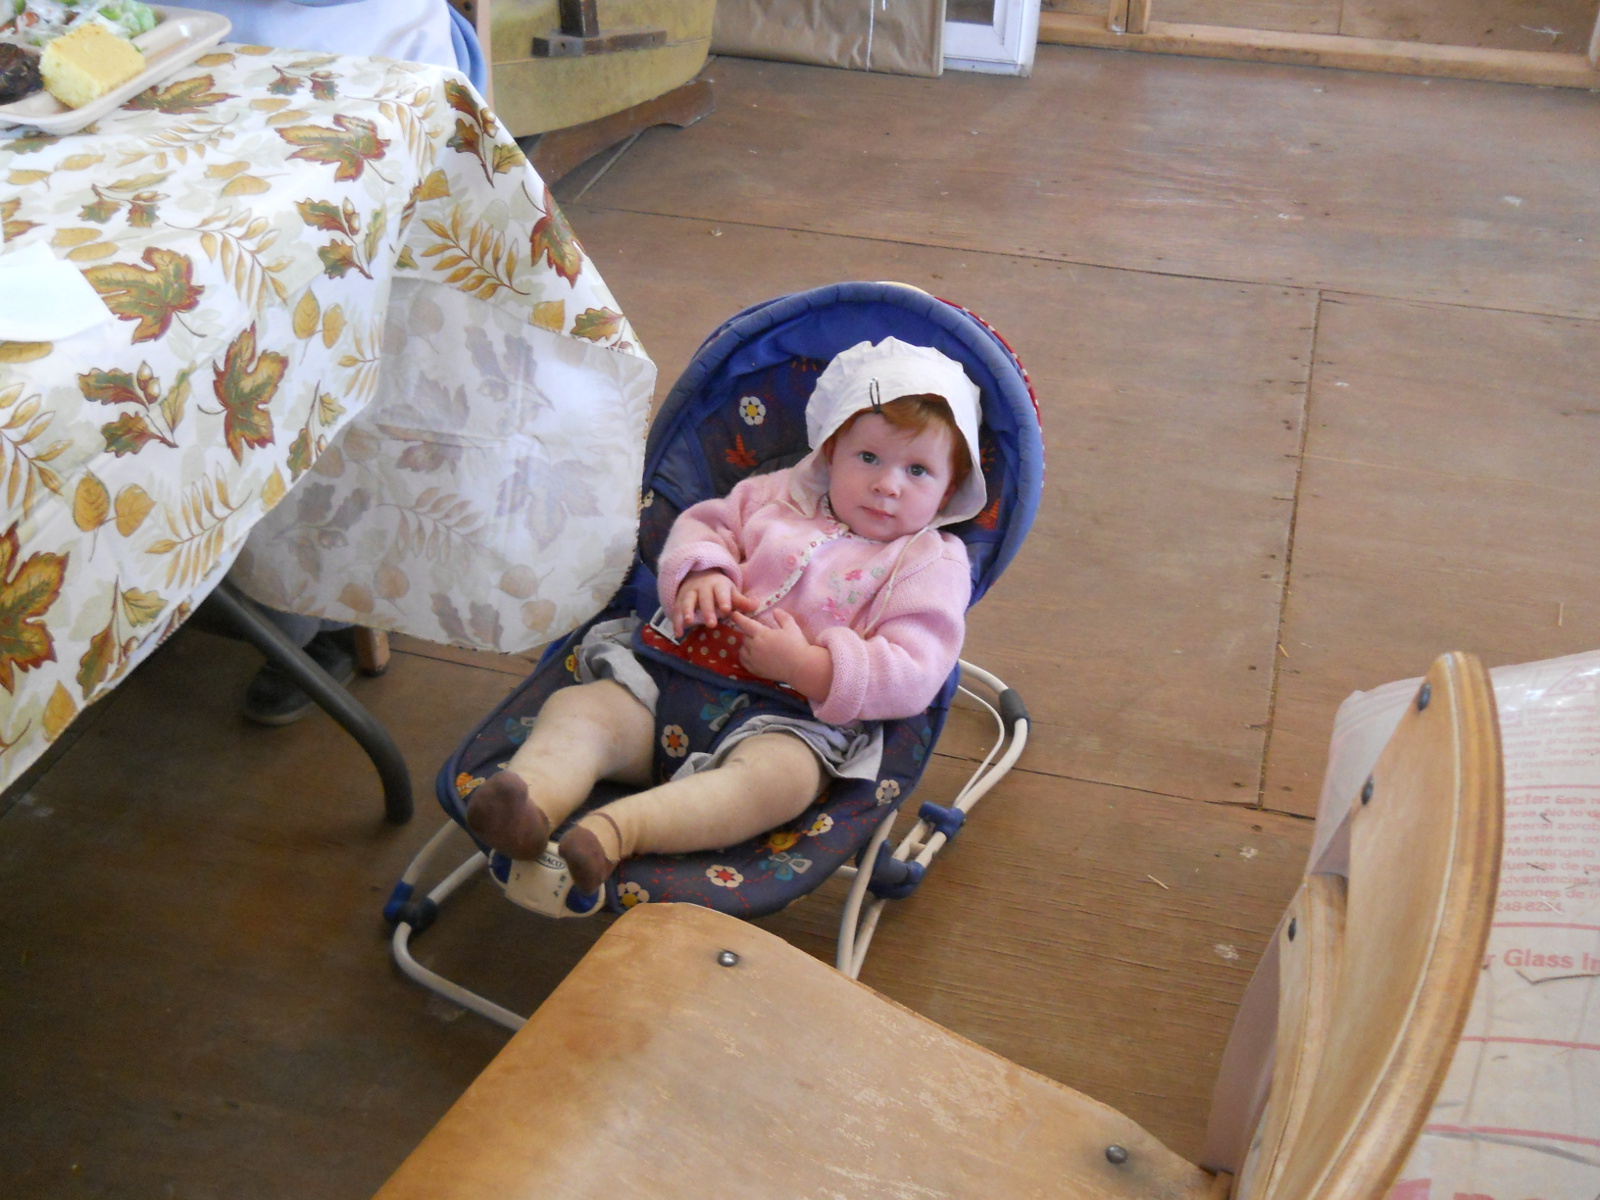
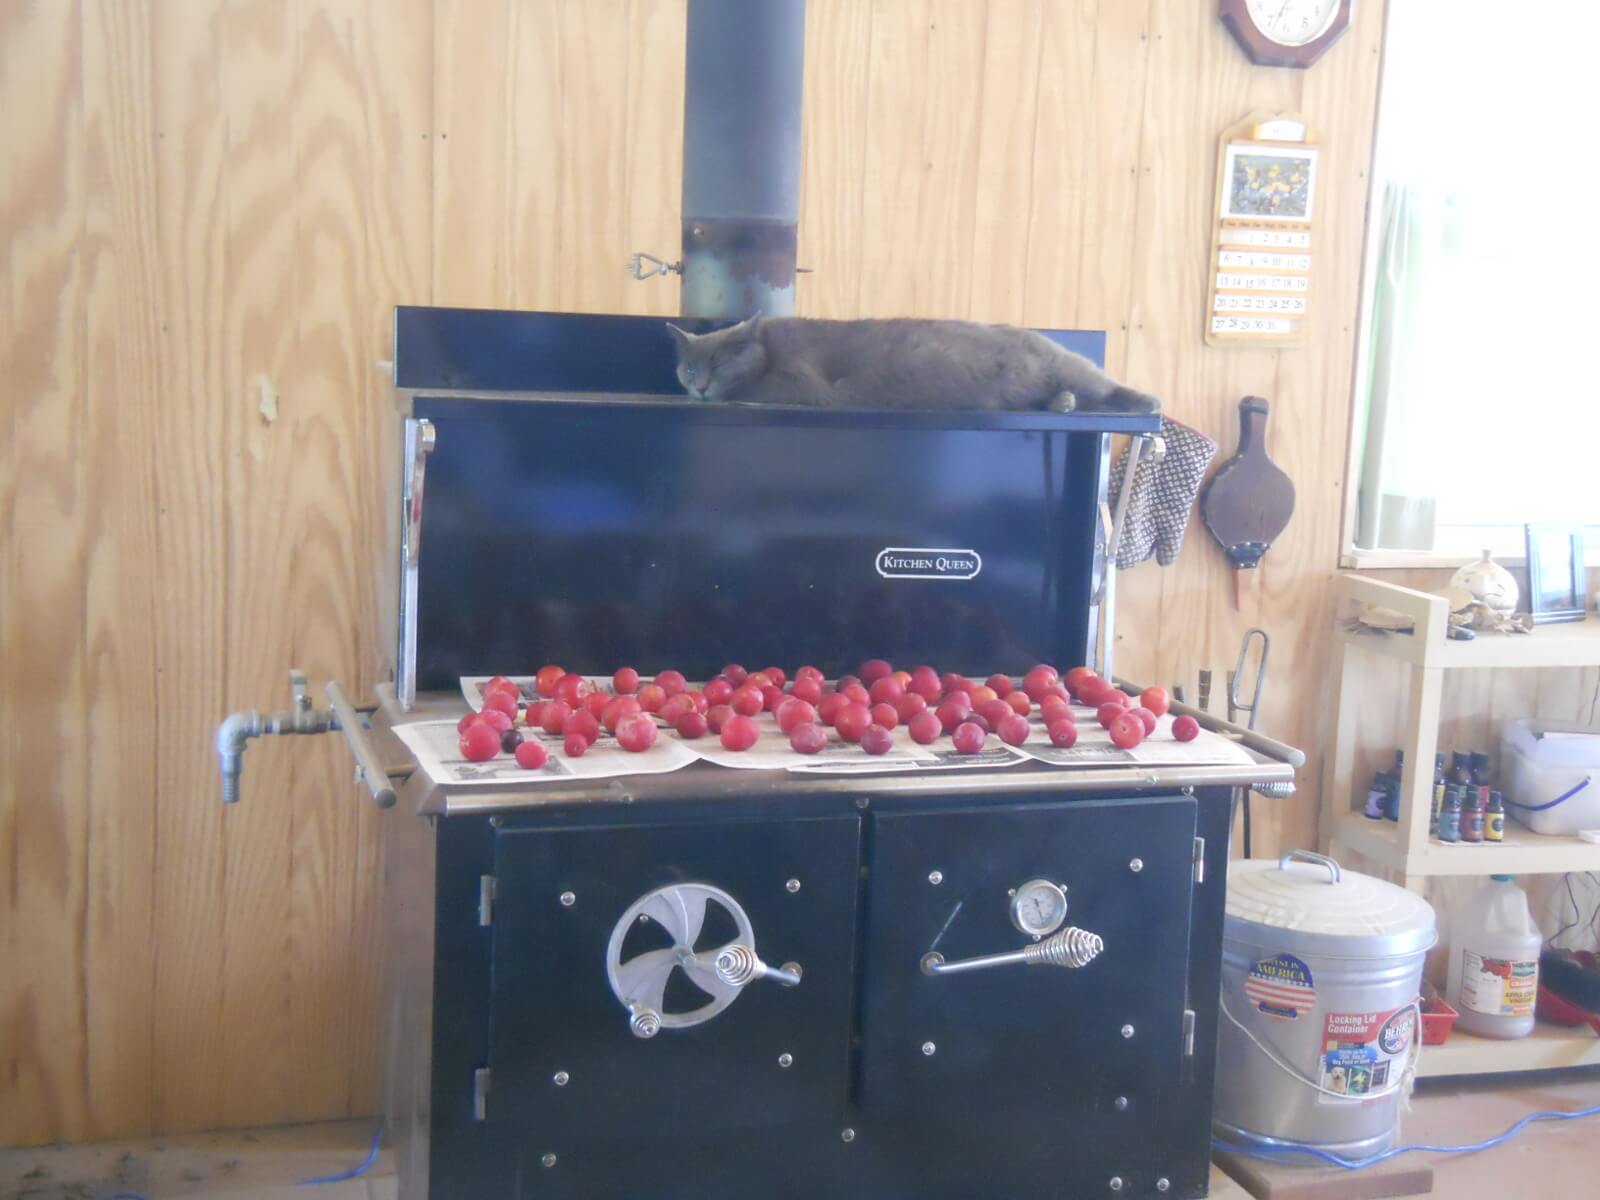
Here’s Mimi keeping guard over them….sort of. She’s really just keeping cool on a hot day! 🙂

2018 Plums Ripening on Woodburning Stove

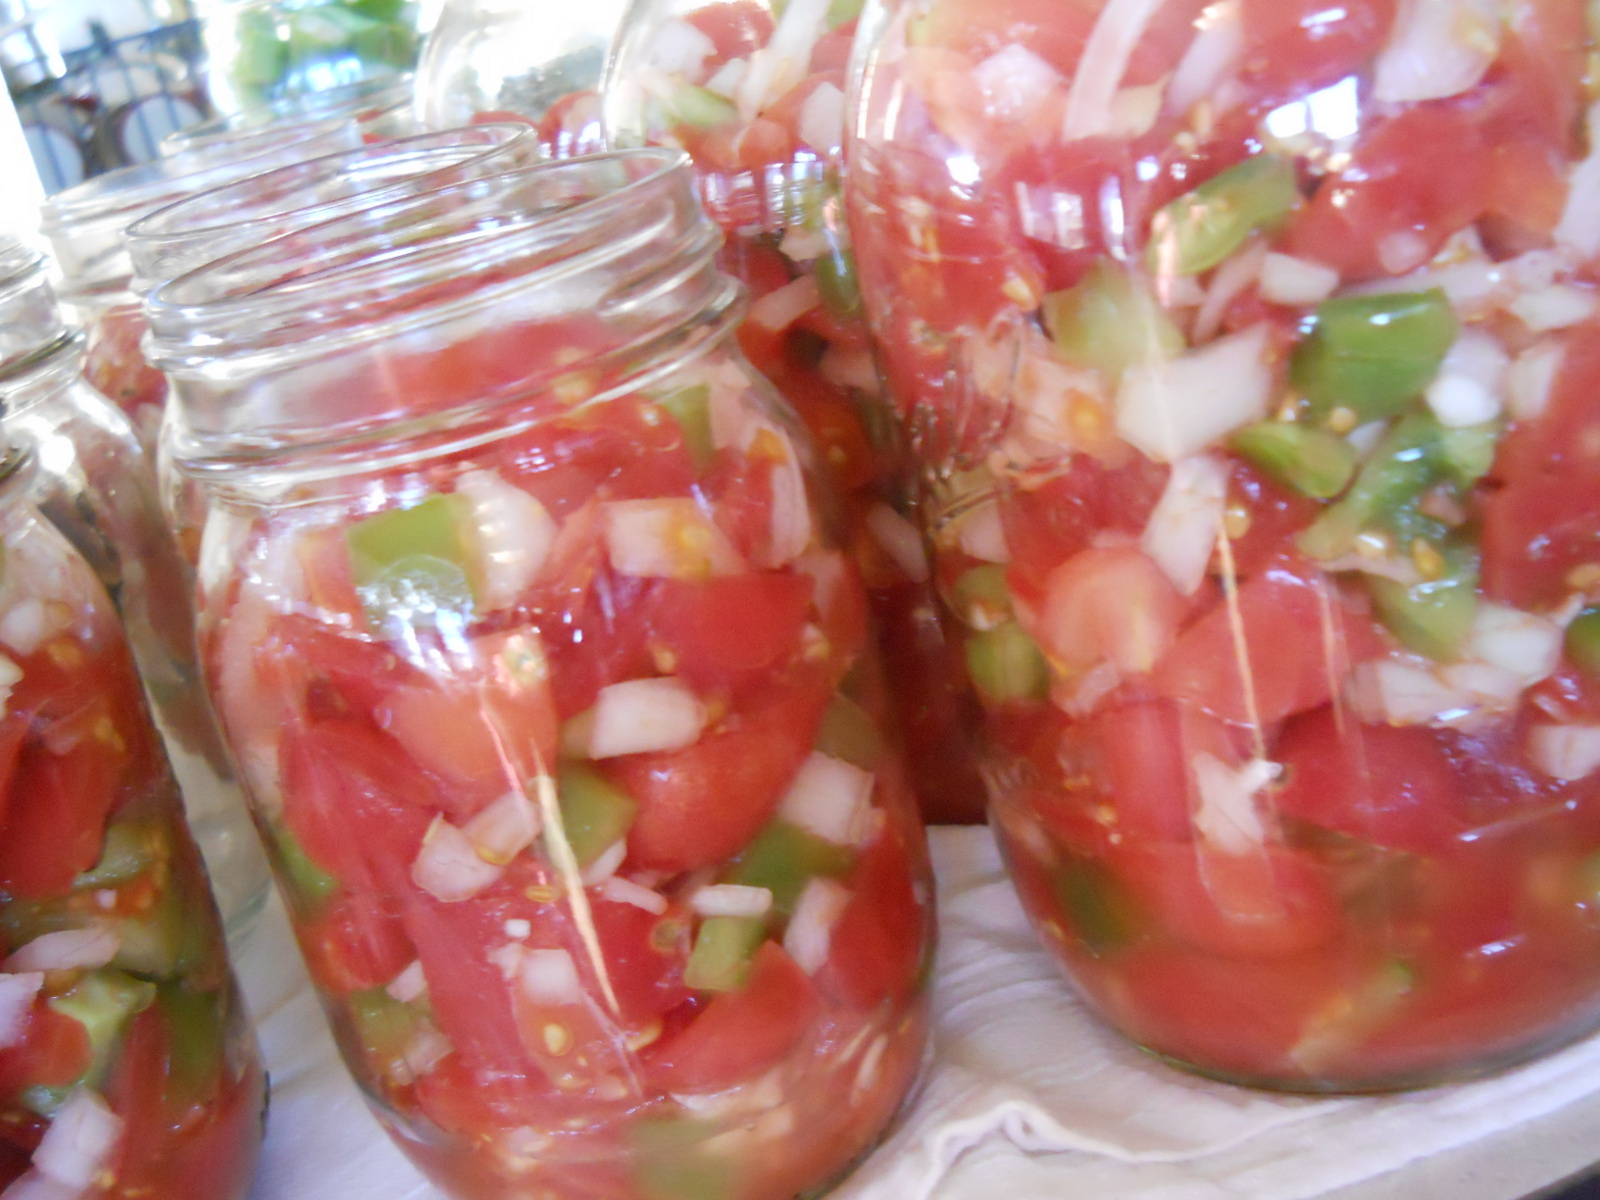
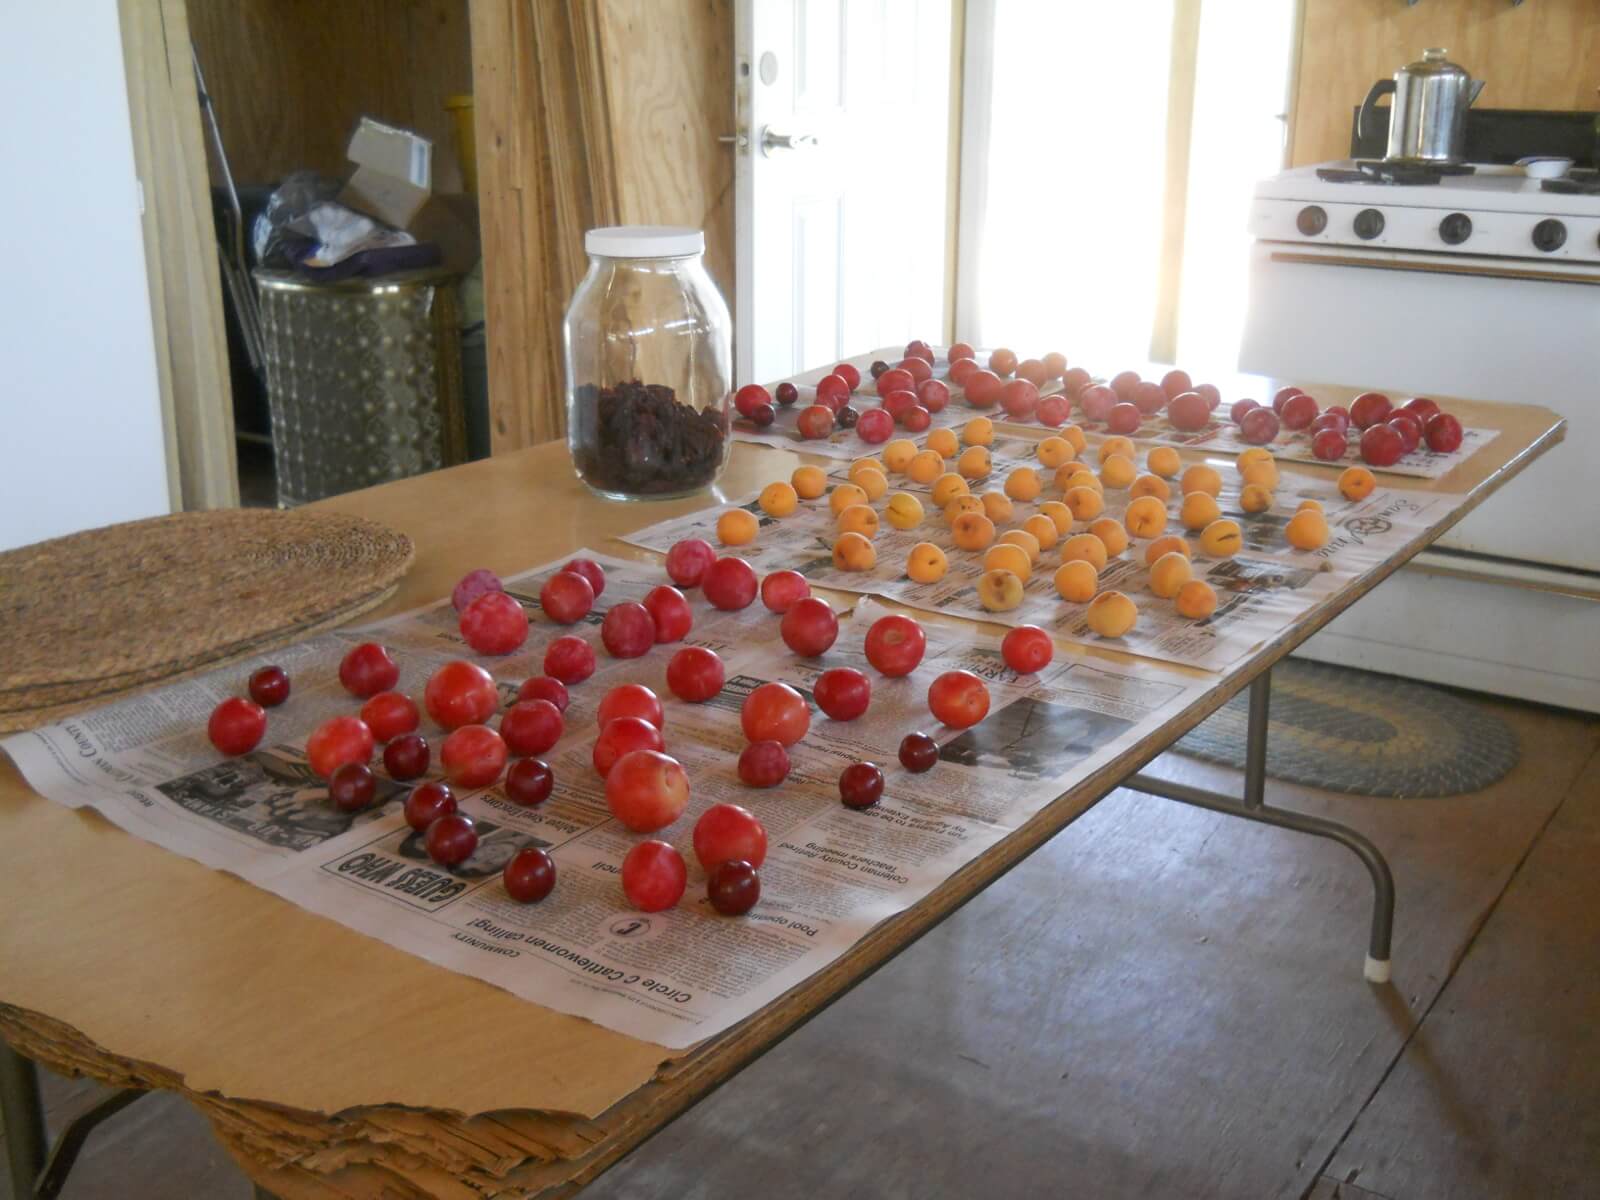
And here are more plums with apricots ripening:

2018 Plums & Apricots Ripening

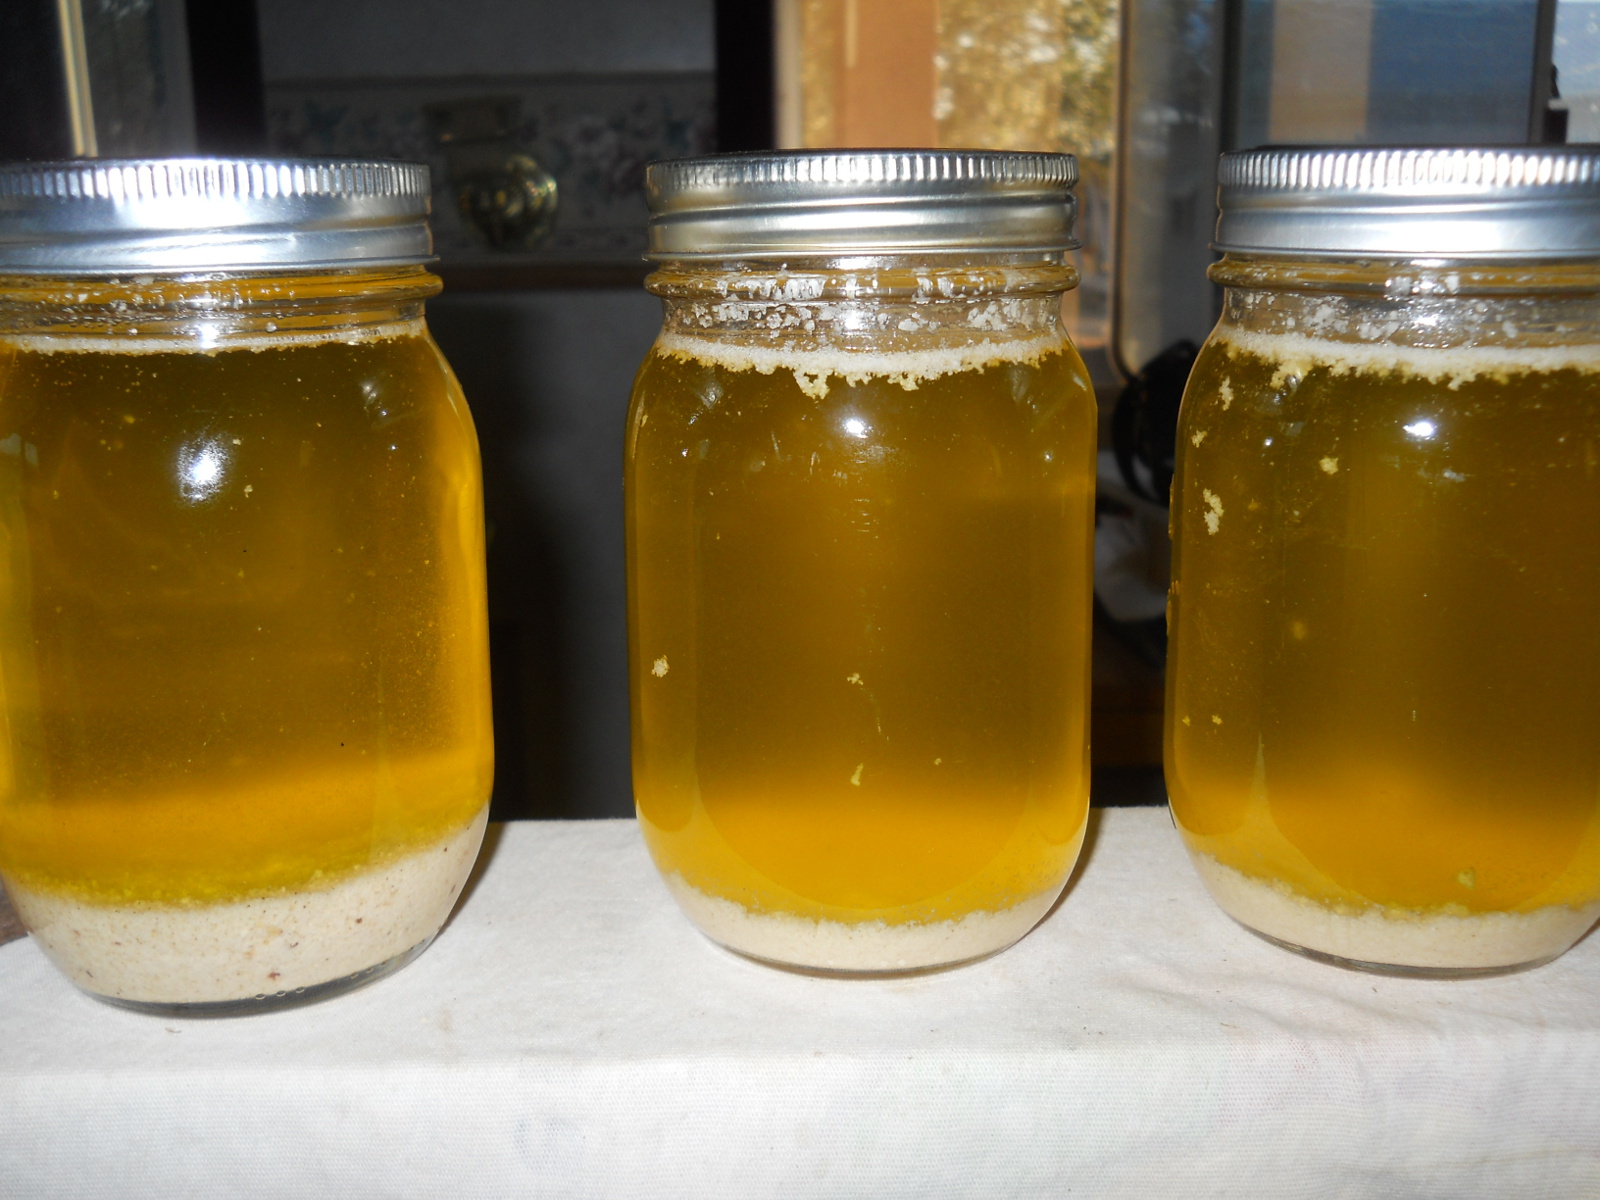
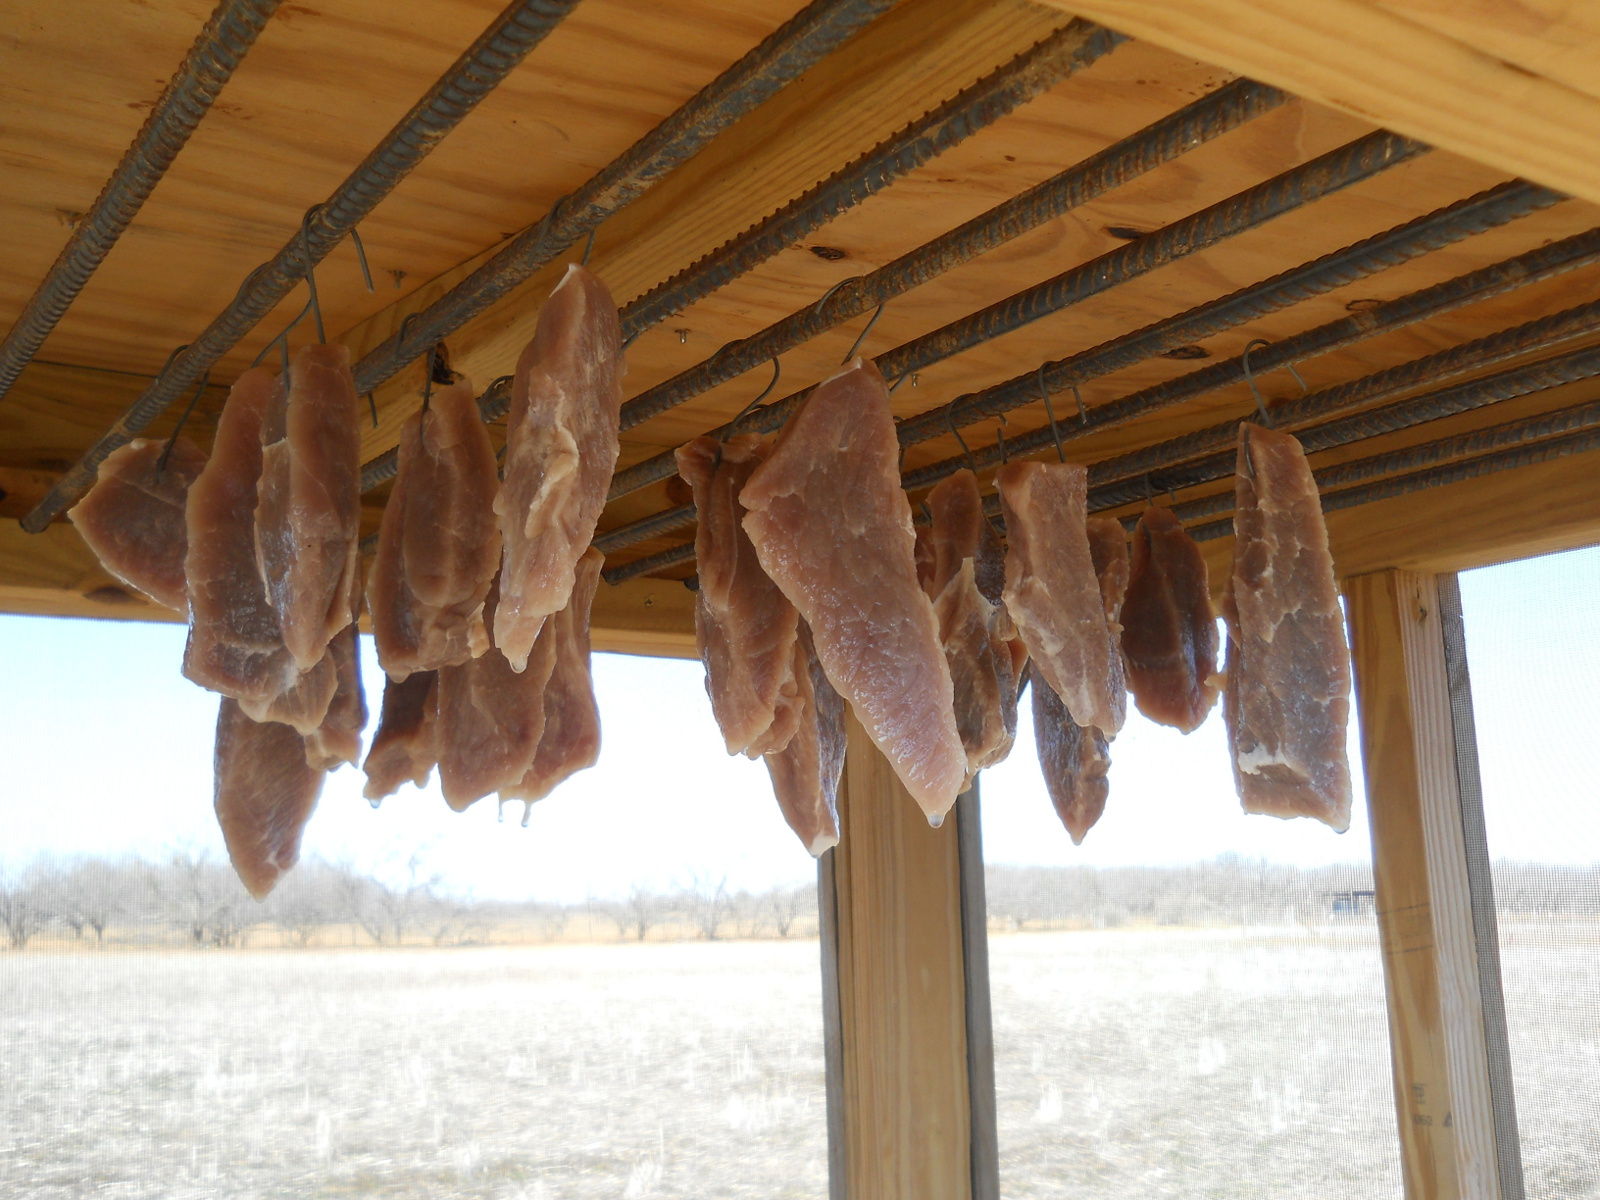
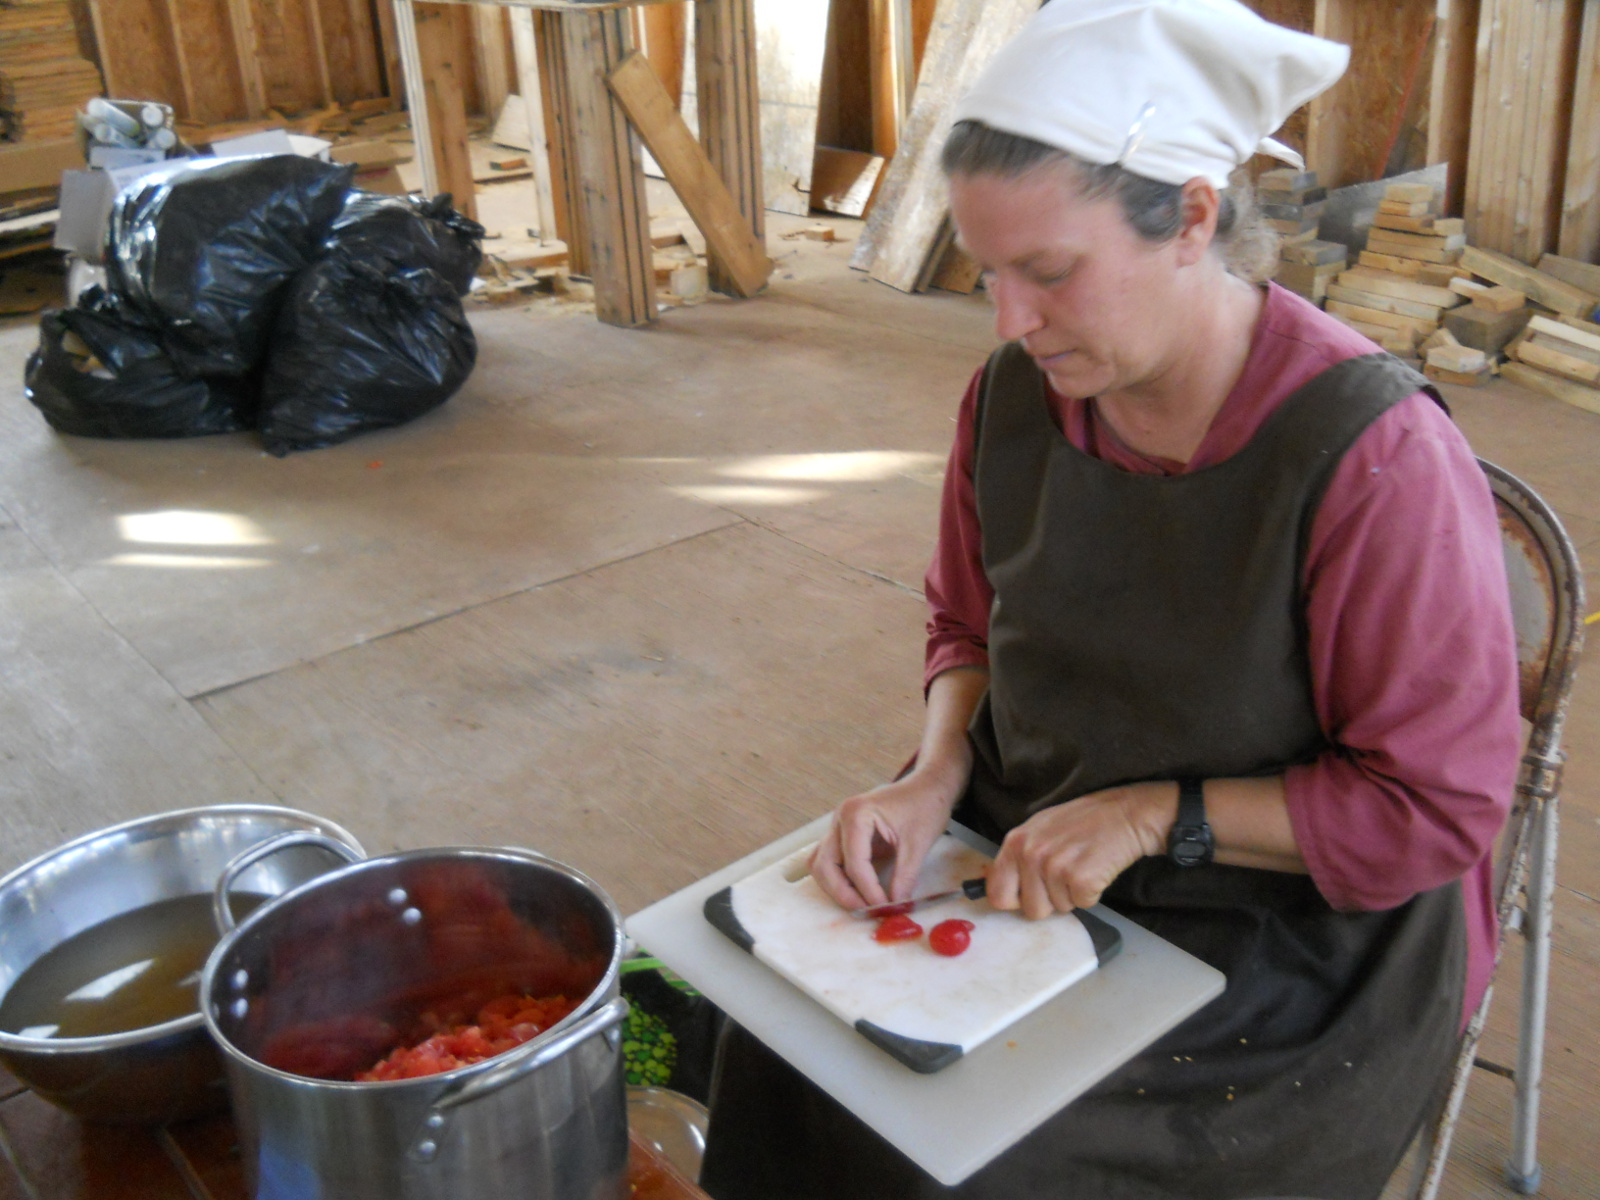
The easiest way for us to preserve the fruit is to dry them on our solar food dehydrator. It works very well, and we are thankful for it! In the past, we have ended up leaving the plums on too long, maybe to make sure they were dry, but they end up very stiff; and so, this year with them, we’ve made slices in the sides, to help hopefully dry them out thoroughly without going too far. It’s closer to what we do with fruit out of which we can remove the pit, like peaches:

2018 Fruit on Solar Food Dehydrator

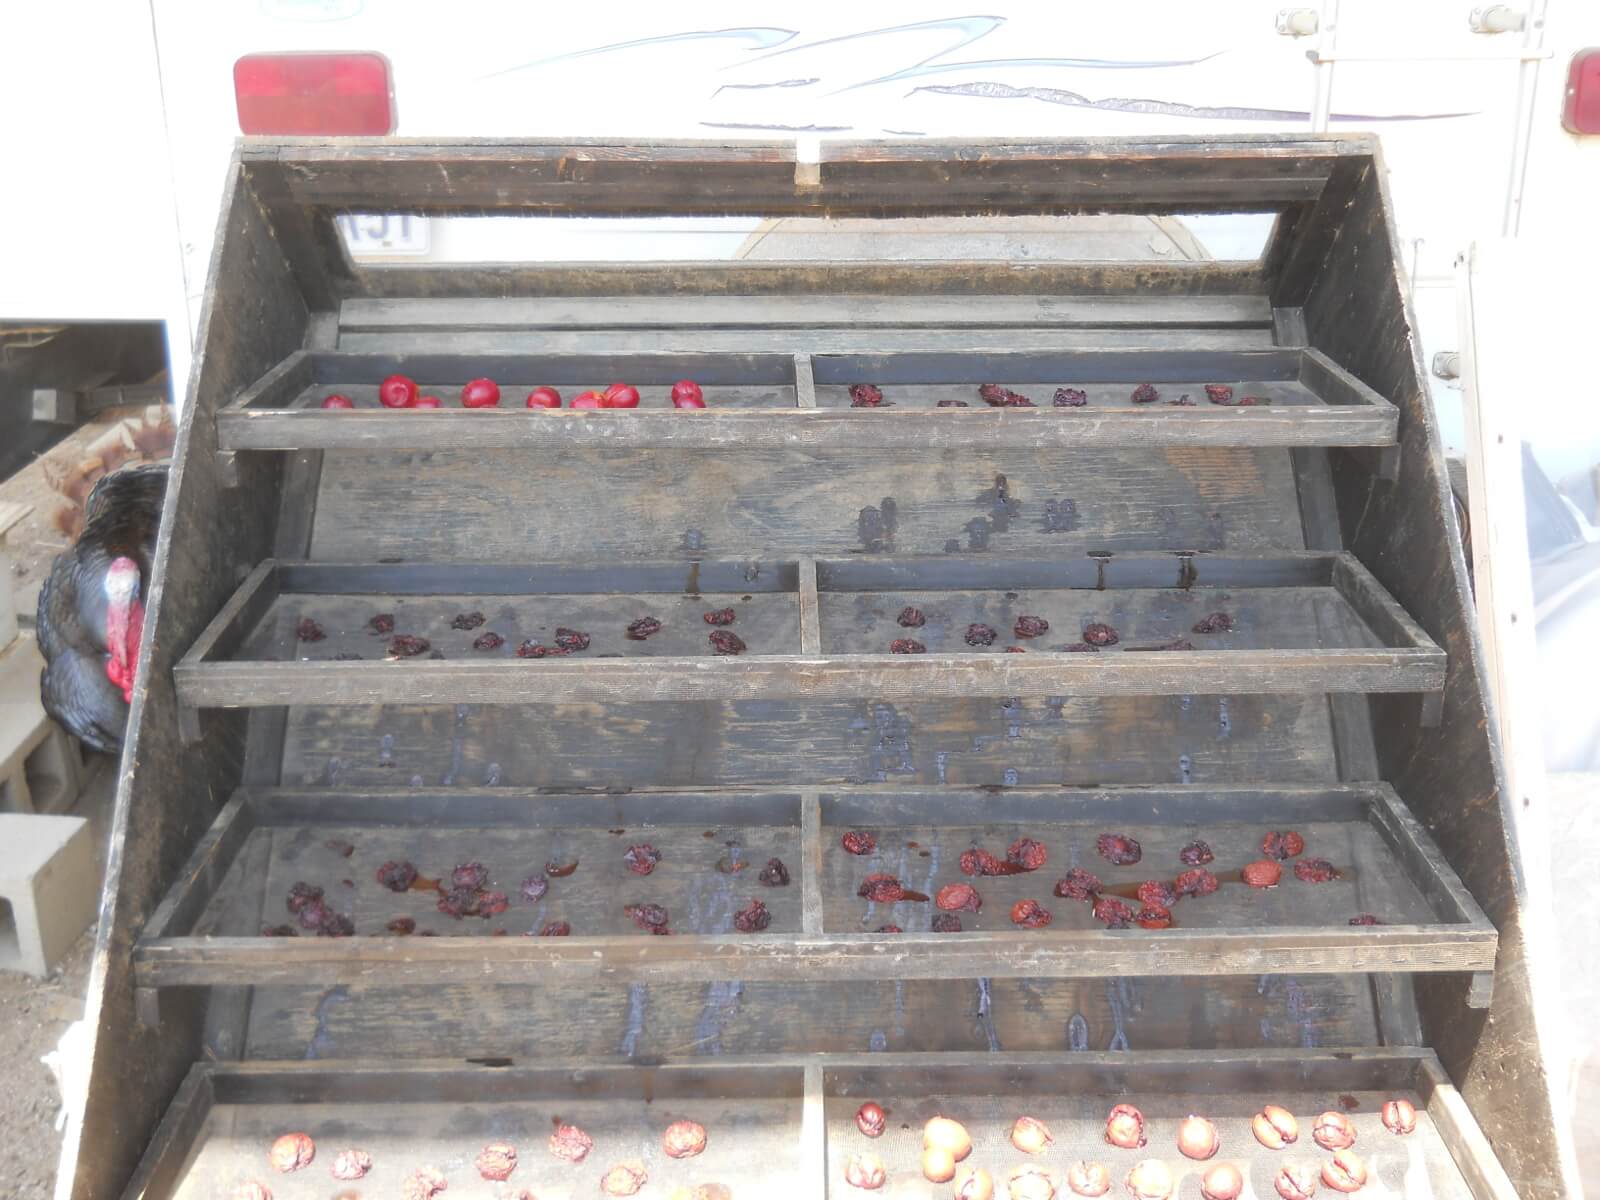
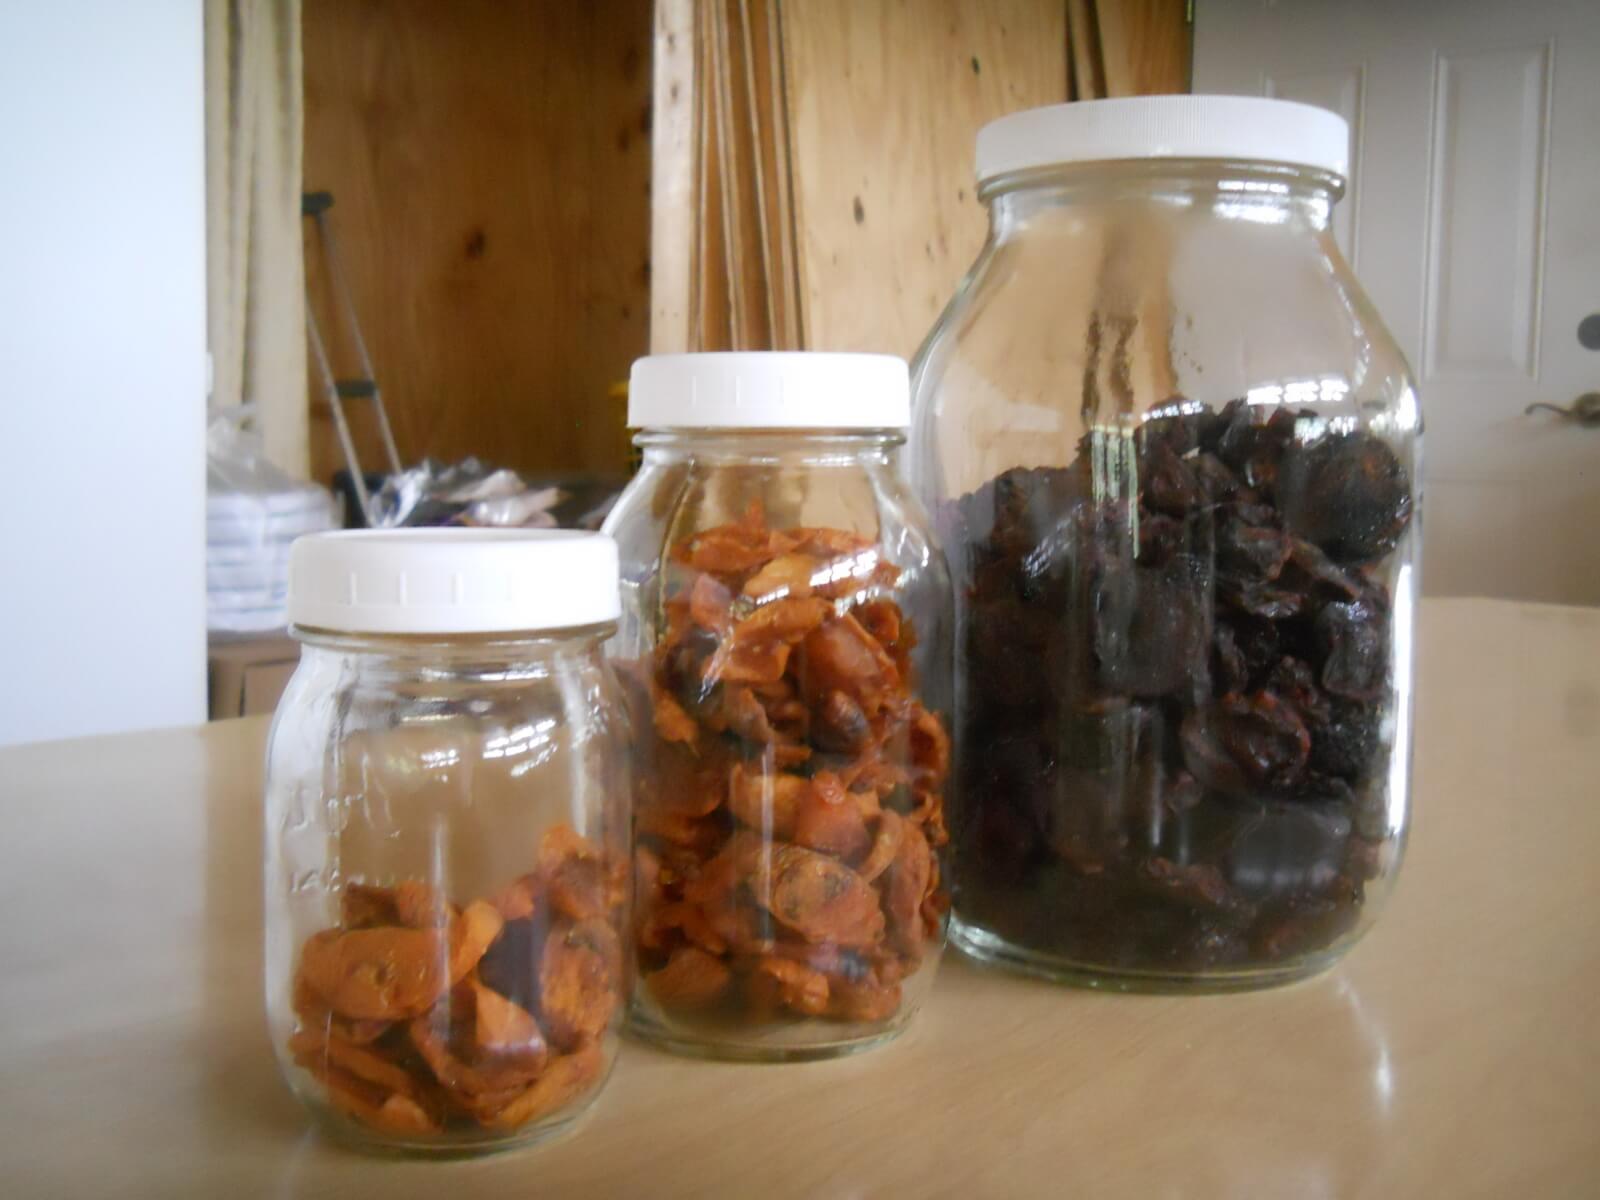
And here is basically all of the dried fruit so far. We are very thankful to God for granting these provisions!

Orchard Spring 2018 Dried Fruit

Finally, and sadly, earlier in the year, a storm knocked over one of our bigger trees:

Fallen Fruit Tree

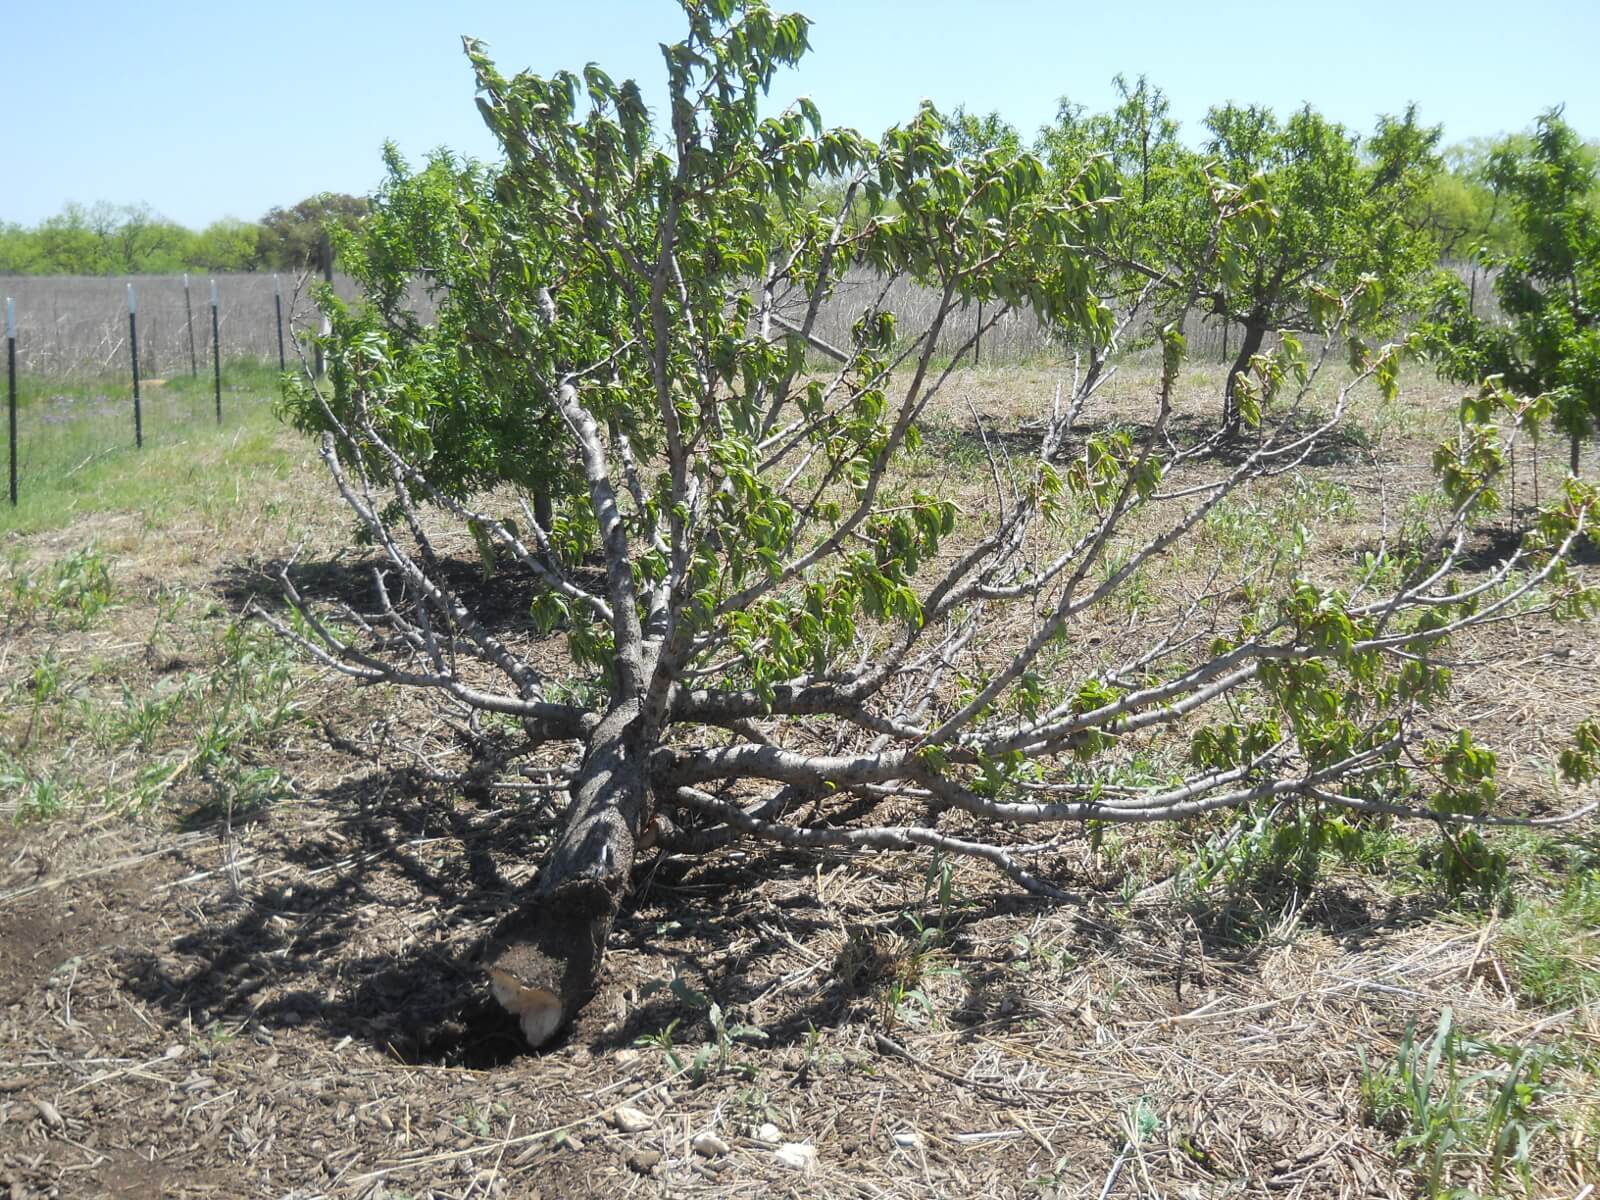
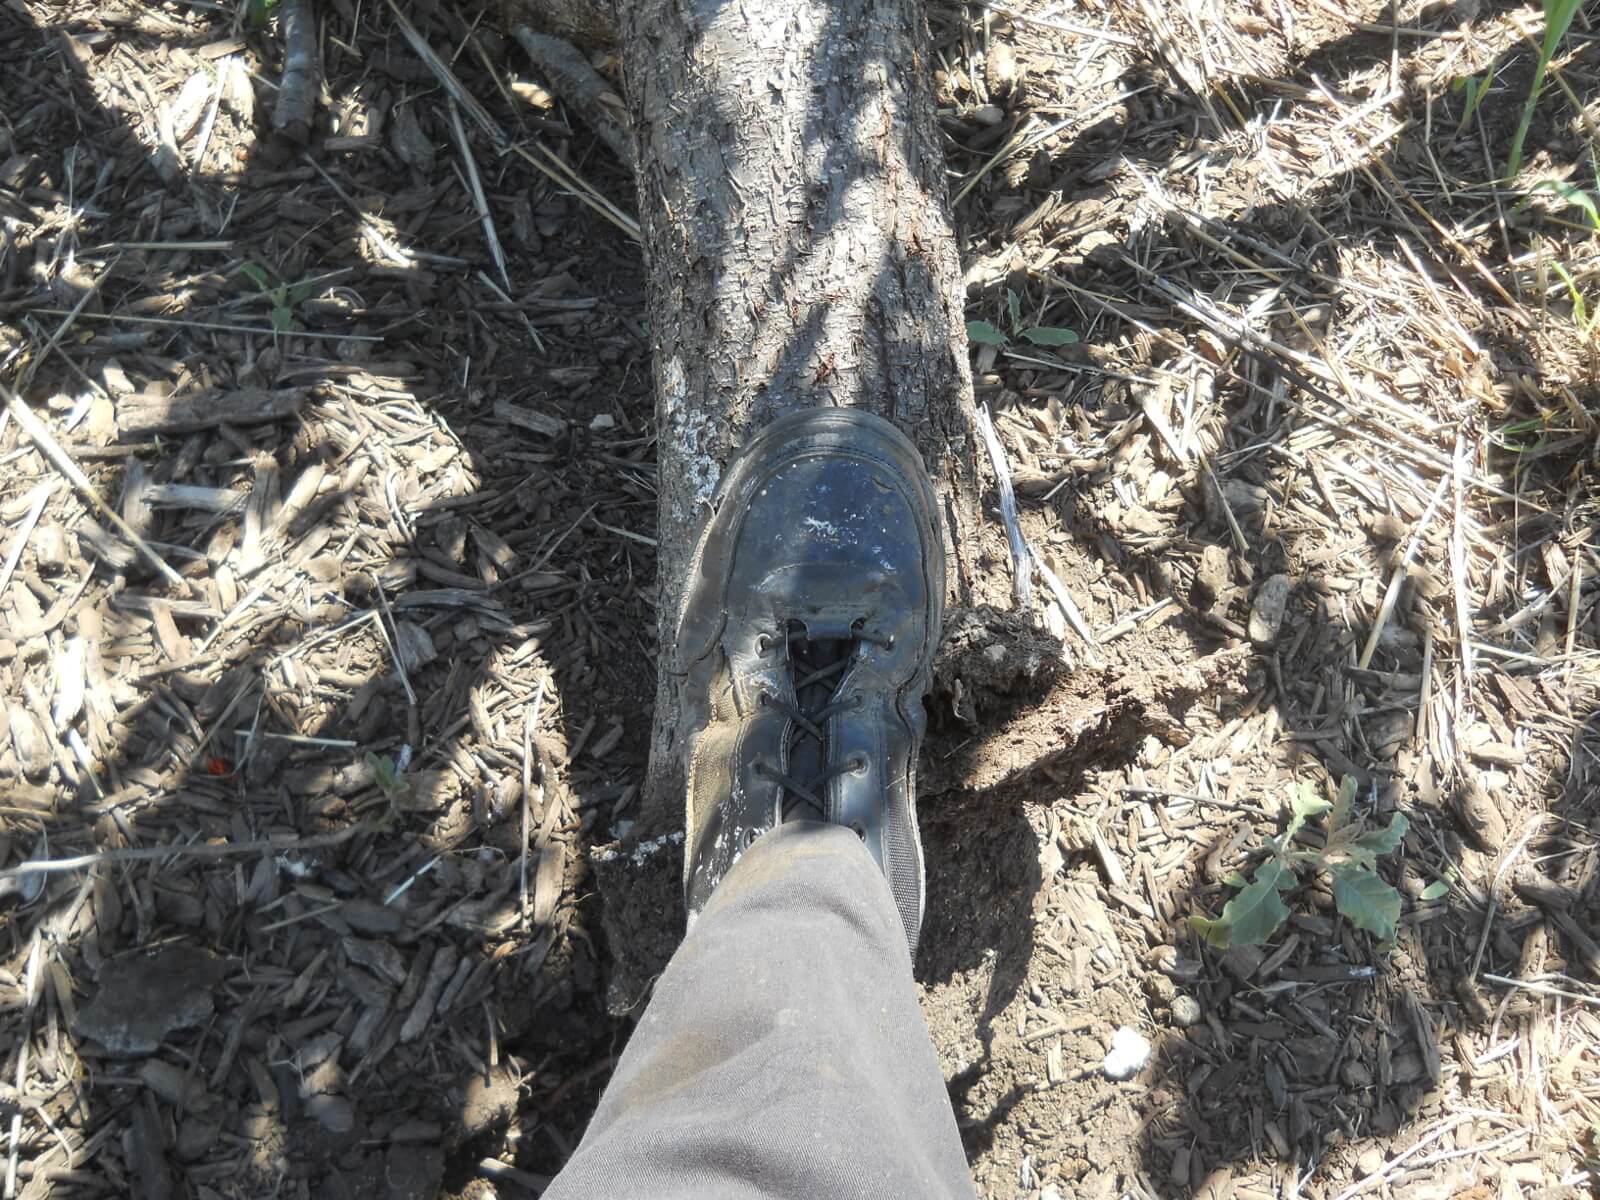
You can see the size of it:

Size Perspective of Fallen Fruit Tree

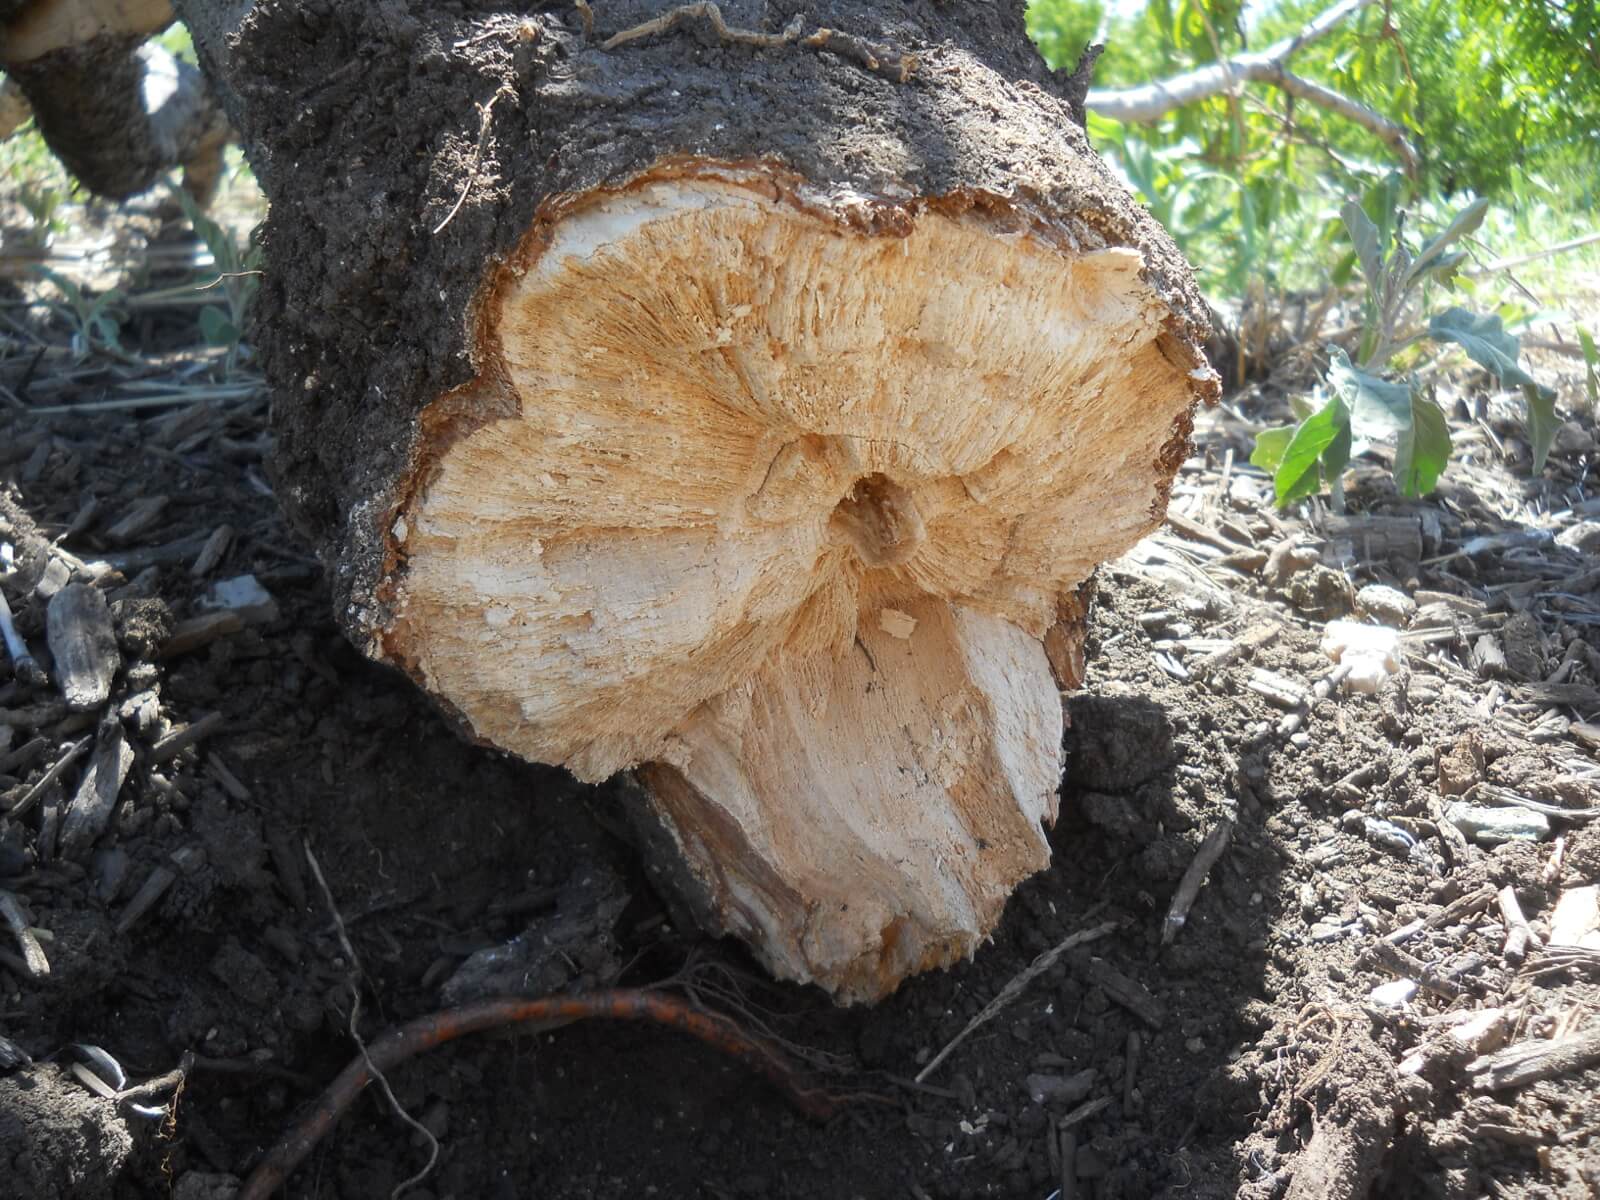
The inside of the trunk was almost like paper. I assume some sort of disease got to it. But, not much around here goes to waste typically, so it has become firewood for Winter time. We are thankful to the Lord for all of the fruit He has granted from this tree over time!

Cross Section of Fallen Fruit Tree

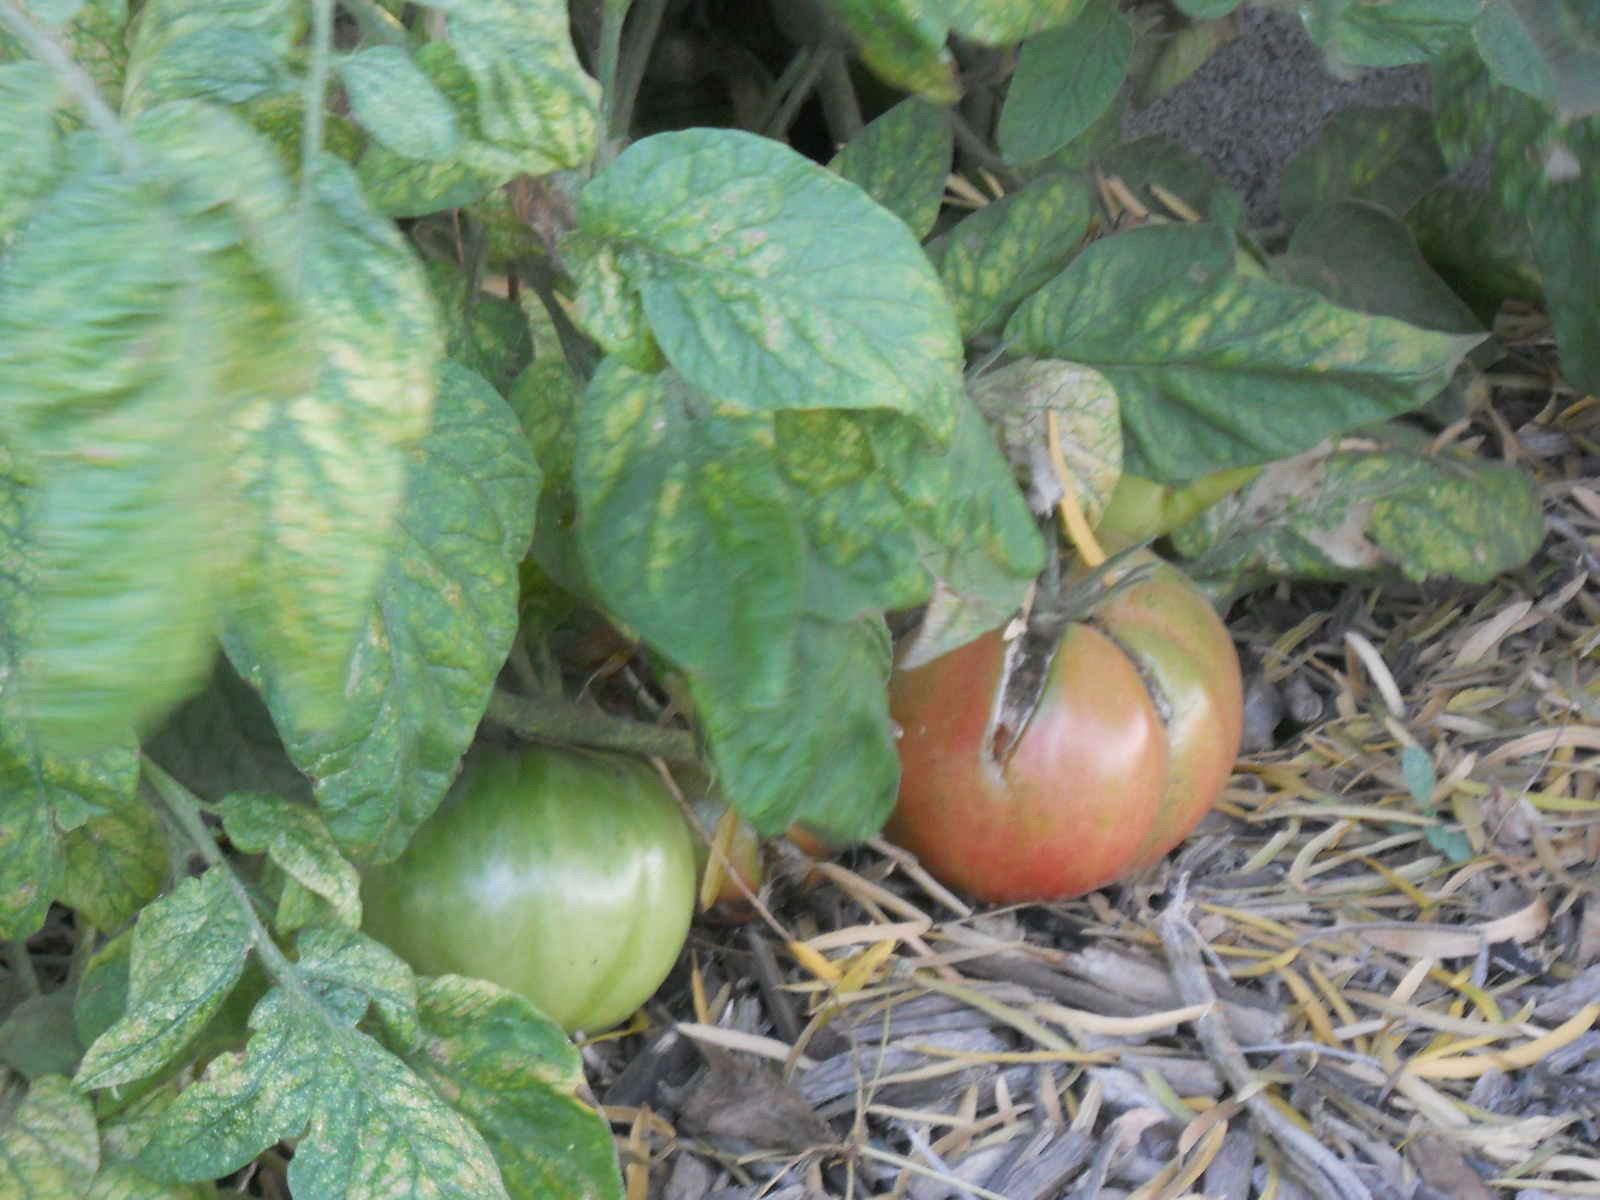
The peaches and nectarine trees have many fruit on them, and so we pray God keeps them and allows us to harvest them in due time. Interestingly, one of our newer trees has had probably 100 peaches on it, but I believe in keeping Lev 19:23-25, which says:

23 And when ye shall come into the land, and shall have planted all manner of trees for food, then ye shall count the fruit thereof as uncircumcised: three years shall it be as uncircumcised unto you: it shall not be eaten of.

24 But in the fourth year all the fruit thereof shall be holy to praise the Lord withal.

25 And in the fifth year shall ye eat of the fruit thereof, that it may yield unto you the increase thereof: I am the Lord your God.

And, besides this being in the Bible, Puritan commentator John Gill, on the end of vs 23, says:

which was a provision partly for the benefit of fruit trees newly planted, whose fruit, when they first bear, gardeners frequently take off immediately, and do not suffer them to grow to any perfection, by which means a tree will grow stronger, and will bear more and better fruit another year; and partly for the health of man, which physical reason is given by Aben Ezra, who observes that the fruit that comes unto the third year there is no profit by it, but is hurtful; and chiefly because, as it is proper that the first fruits should be given to the Lord before any is eaten, so it is right that it should be given seasonably, and when it is brought to its perfection: three years were to be reckoned, as Jarchi and Ben Gersom say, from the time the tree was planted.

And Matthew Henry says:

3. We are hereby taught not to be over-hasty in catching at any comfort, but to be willing with patience to wait the time for the enjoyment of it, and particularly to acknowledge ourselves unworthy of the increase of the earth, our right to the fruits of which was forfeited by our first parents eating forbidden fruit, and we are restored to it only by the word of God and prayer, 1 Tim. 4:5

Now, since the priesthood is no more, some might argue the whole command has gone away, but for me, I look at it as the 4th year going away, and we still wait for after 3 years to harvest from a tree, discarding any fruit during those 3 years. Needless to say, it has been a little difficult to toss down so many, but we pray God glorifies Himself through these things.

Again, we are very thankful to the Lord for granting these provisions! May we bear much fruit, the fruit of His Spirit, by the graces He supplies to us!

— David

Preserving Okra in Cheap Apple Cider Vinegar

Having lived in Texas over ten years now I can see why okra is so popular in the South. In our personal experience with hot Texas summers, we have found that okra is one of those crops that thumbs its nose at the hot, sweltering Texas sun and says “Come on, is that the best you got?” It is an extremely prolific, heat/drought tolerant crop that has done well for us every time we have planted it so far, thank the Lord.

This has presented a problem, albeit a good problem, for me in terms of the best way to capture and preserve it. You can certainly pressure can it but that is not our preference because we like to preserve it with all of its nutrients and freshness. Okra is a nutrient powerhouse, so we are excited and very motivated to incorporate it into our diets.

The last couple of years I cut it up and lacto-fermented it in a salt brine but found I didn’t prefer it for a couple of reasons. For those of you who don’t know, okra has this “snotty”, “mucusy” stuff inside each pod that is really healthy and beneficial but kind of gross. And, for some reason, I still haven’t nailed the salt brine recipe and have had a lot of hits and misses.

Thankfully, some time last year my friend and neighbor, Shannon, and I were talking about okra and she mentioned lacto-fermenting it leaving the okra pod in tact and not cutting it up. I was very excited when she mentioned that and was eager to try it. First of all, it meant a lot less prep time and also, maybe a reduction of the “snot” factor.

Fast forward to mid-summer and our okra plants were starting to produce each day. If you’ve ever grown okra, you know that it grows measurably every day. You could probably sit and literally watch it grow if you had the time. At first, I cut them up and put them fresh in our salads each night, which is crunchy and delicious, by the way, and the “snotty” factor is virtually non-existent in fresh, cold okra. But then the floodgates opened and a big okra surplus started to mount up. I remembered I had preserved garlic cloves in apple cider vinegar and really liked the flavor so I decided to do the same with okra. I went out and bought a really cheap jug of apple cider vinegar at the store and off I went!

Here is our beeeeeautiful okra, probably just one days worth:

Okra in a Bowl

So I quickly rinse them and, it’s not necessary but I like to cut off the stems so they fit in the jars better:

Cutting Ends Off of Okra

Then I just shove them in the jars however they will fit:

Putting Whole Okra in Jars
Jars of Whole Okra

You can usually get a gallon jug of cheap apple cider vinegar for under three dollars. Even though it is not organic with “the mother” in it (a colony of beneficial bacteria promoting good gut health), cheap apple cider vinegar is still a great preservation vehicle and a pre-biotic, which means it feeds probiotics. So it’s still a great way to preserve. It also provides a really nice pickling-like taste:

Apple Cider Vinegar for Preserving Okra

I just pour in the apple cider vinegar and leave about 1″ space at the top:

Pouring Apple Cider Vinegar into Jars of Okra

A very important step that I had forgotten but a friend reminded me, is placing in the jars something that contains tannin. This keeps the okra nice and crunchy, where it would otherwise become soft and mushy over time. Thankfully, we have oak and mesquite trees right outside our house, so I just place a few leaves of one or the other in each jar.

Another step worth noting is that you may find you need to burp your jars for the first few days to release the buildup of any CO2 (carbon dioxide) gases. But since you are not waiting for an official fermenting process, you can eat the pods as soon as you like!

Jars of Preserved Okra

All in all, we preserved over 50 quarts of okra this garden season, all thanks to God for bringing the increase! I went ahead and numbered each jar so we can be sure to eat the oldest ones first. Since the pickle taste can be pretty tangy, I quickly rinse the pods before I put them in salads, etc., and it leaves a really nice pickled okra taste. You may wish to add in any other spices/flavors to customize your preserved okra to your liking. If you want to tone down the tang, just soak the okra in filtered water over several hours before you want to use it.

This way of preserving should keep for many months, although your experience may vary.

Jars of Preserved Okra Marked for Organization

We are extremely thankful to God for His bountiful okra harvest and a very quick and simple way to preserve it!

Susan

How to Pressure Can Bacon Pieces

Back in June we took in our large pig boar, Ardy, to the meat processor. I still have a wrist strain injury from browning all of the ground meat, but that’s another story…… 🙂

While we here are always looking to learn ways to preserve food without freezing or canning, in the mean time, I learned how to pressure can bacon several years ago and, since it is so easy, I thought I would share it with you in case it might be helpful to anyone. The price of bacon has seemed to skyrocket over the years (at least in actual prices). Wouldn’t you love to “pounce” on a good bacon sale and be able to preserve it in bulk without using up freezer space or risking freezer burn? AND, it would already be pre-cooked! Real bacon! Well, below is a simple tutorial as to how I process and pressure can bacon pieces. (Sorry, if you want to can entire pieces there are other tutorials on line). Investing in a canner and some jars/lids is really not very expensive at all compared to the savings over time when you find great sales. You can pressure can just about anything.

Okay, let’s go!

Here is how the bacon comes from the processor:

Shrink-wrapped Bacon

So, I just take it out of the package and lay it on a cutting board with my preferred knife ready to cut it into strips. REALLY, REALLY IMPORTANT NOTE: Make sure the bacon is still partially frozen for nice, clean cutting. As it thaws, the fat gets greasy and slippery and becomes increasingly difficult and more dangerous to cut. You may as well put it back in the freezer at that point:

Bacon Ready for Cutting

I cut it into approximately 1/2″ strips. If you want smaller pieces, cut to your preferred width:

Bacon Cut in Cross Strips

Then I cut the strips cross-wise into several small sections, again, approx. 1/2″ (cut to your preferred size). Don’t worry about trying to separate each layer; it will all separate in the cooking:

Bacon Cut Into Pieces

Yeah, Ardy was a big boy…..

Bowls of Bacon Pieces

Okay, then I just lightly cooked the bacon in frying pans, about half-way or more cooked, and the fat is released from the meat:

Pan Cooking Bacon Pieces

I then strained out the meat with a slotted spoon. If you want less bacon grease in your jar, use a colander or more thorough straining method:

Straining Out the Bacon Grease

Here is the big bowl of bacon grease I strained, which will be canned in separate jars along with the bacon. This way, the grease will be preserved indefinitely until I’m ready to use it, and it won’t become rancid:

Bowl of Bacon Grease to Pressure Can

The yield: 22 pints of delicious bacon pieces!!!

Jars of Bacon Ready for Pressure Canning

I strained the bacon grease to get out the little remnants of bacon for a clean, clear lard result:

Straining the Bacon Grease

Four and a half pints of bacon grease – not bad!

Jars of Bacon Grease Ready for Pressure Canning

I processed the bacon and grease in pint jars at 15 lbs. pressure for 75 minutes in my trusty pressure canner (don’t be intimidated, if I can do it, anyone “can” 😀 ), dutifully following the canning book instructions. We live about 1,100 feet above sea level so please can according to your own altitude and guidelines:

Jars of Bacon Pieces in Pressure Canner

And the finished product! It may not look that appetizing, but here is delicious pre-cooked bacon, ready to be poured out of the jar and used in your recipe of choice. You can heat it up and get all of the grease out of it, or include the grease to fry with, etc. When bacon is called for in recipes, it usually takes time and planning. This way, it’s all ready right away!

Jars of Pressure Canned Bacon Pieces

Here is a closer look:

Closeup of Jar of Canned Bacon Pieces

We are so very thankful to God for these provisions and a way at this time to preserve and be good stewards of them. Bon appetit!

Susan

Preserving Garlic with Fermentation and Its Health Benefits

Preserving Garlic - Garlic Bulbs

Last year the neighbor family invited us over for supper. It was a nice time of great food and fellowship. Over the course of the evening, they offered us some preserved garlic to try. It was basically garlic that had been aged in vinegar – that’s it. But it was delicious! I had two all by themselves and really enjoyed them. Apparently, the preservation process makes the edgy/hot garlic taste much milder and easy to pop into the mouth and eat raw. This jogged my memory to several months ago when we originally harvested our very first garlic crop. Our friend, Mrs. Bowman, had commented that she preserves her garlic cloves in cider vinegar, honey and salt. When her husband had a case of swine flu, eating a couple of cloves a day kept her healthy to be able to care for him.

For some reason, our 2012 garlic harvest just didn’t cure correctly and most of it was unusable (that’s another blog post altogether). So when the local market had a great sale on garlic I “pounced” and bought a bunch to preserve using apple cider vinegar:

Preserving Garlic - Bowl of Garlic Bulbs

So, we separated the cloves from the bulbs and peeled them completely. Before I go on I should mention that in order to retain the full health benefits of garlic you should leave them whole and not cut or crush them when preparing for preservation. There is a component in garlic called allicin that provides its health benefits and is released when the clove is crushed or cut open. So you will want to leave the clove whole until eaten if possible:

Preserving Garlic - Peeled Garlic Cloves

I included this picture because one of the ladies here, Shannon, always puts such great, artistic, professional pics on her blog so I thought I’d try it. 🙂

Preserving Garlic - Peeled Garlic Cloves Close-up

When we first started experimenting with fermenting garlic, we used a salt brine, and either didn’t wait long enough for the garlic to mellow or we just plain made a nasty batch. It tasted awful. Don’t get me wrong; using a salt brine is probably a fine way to proceed, and I’ve included a link to a great and simple recipe here. But in our home we have found that simply immersing the cloves in cheap apple cider vinegar from the store is the quickest and cheapest way to preserve garlic and have it taste great. And there is lots of room for experimentation with herbs and seasonings, but I like to keep things ultra simple. Like Mrs. Bowman, you can add honey and salt as well. Raw, organic apple cider vinegar with what is called “the mother,” like Bragg’s, is a a prebiotic, a naturally fermented food, which supports and feeds the probiotics existing in the flora of our gut, contributing to a healthier and synergistic environment in the body. But for preserving purposes we use the cheap stuff because it can get pricey otherwise.

One of our readers has provided clarification since I first posted this, in that, you achieve lacto-fermented garlic when you place the cloves in a salt brine solution. When you preserve garlic in vinegar, it basically is a pickling process. In either case, you are preserving the powerful benefits of the garlic.

Now pay attention, it gets REAAALLLLY tricky! We put the peeled, whole garlic cloves into a pint jar……..

Preserving Garlic - Garlic Cloves in Jars

Covered to one inch head space with cheap apple cider vinegar……then closed it up with the lid and screw top. Ummmmm, THAT’S IT!!

Preserving Garlic - Garlic Cloves in Apple Cider Vinegar

Mrs. Bowman said the cloves would turn blue (or green, Dave says my sense of color is kinda wacky 🙂 ) And then after a couple weeks, after they turn white again, they are good to eat. I’m glad she said that because these started turning blue-green within a day or so, and I might have thought there was something wrong; but, apparently, it’s quite normal.

Here are the cloves after one day:

Preserving Garlic - Garlic Cloves in Apple Cider Vinegar On Day One

And on day two:

Preserving Garlic - Garlic Cloves in Apple Cider Vinegar On Day Two

Again on day three:

Preserving Garlic - Garlic Cloves in Apple Cider Vinegar On Day Three

Day five:

Preserving Garlic - Garlic Cloves in Apple Cider Vinegar On Day Five

And finally on day seven:

Preserving Garlic - Garlic Cloves in Apple Cider Vinegar On Day Seven

You can see there is an interaction dance that takes place between the acidity in the vinegar and the garlic. Then after several days at room temperature, you can move the jars to continue aging in a cool, dark, dry place like a cellar or cool room in the house. It seems that the longer it is left, the more mellow the taste. You’ll probably want to wait at least 2-3 weeks before eating, but you can experiment with time and ingredients in order to find out your personal preferred taste.

I pulled a jar from the root cellar that I prepped in February of this year, and this is what it looks like after about 3+ months. William decided he wanted to do his Vanna White impression and “present” the garlic:

Preserving Garlic - Garlic Cloves in Apple Cider Vinegar After Three Months

Dave and I have been trying to eat a clove every day with supper (sometimes I forget, but we average probably five a week). At first he was the only one eating them, and I was kind of eyeing him when he wasn’t looking to see if he got sick or keeled over dead. He was the royal food tester and didn’t know it. 🙂 But he loved the taste, AND I noticed with delight that there is something in garlic preserved this way that does not create a lingering odor on the breath. You can sometimes smell it when the person is eating it, but that’s about it. There don’t seem to be ANY lingering breath issues!

So, we either just eat a whole clove with supper, or I cut them up and put them in our salads or other dishes (delicious!)

I am very excited with the health possibilities this provides. In my research, I have found that garlic is purported to have anti-viral, anti-bacterial, anti-oxidant properties, is effective in lowering blood pressure as well as bad cholesterol, and also provides a great general boost to the immune system. I suggest you do your own research, but Dave and I have not been sick this past flu season — I’m just sayin! (There was a day this past winter where I could tell something was trying to get at me like a cold or flu. But it just never materialized. It just kind of phhhtttffft out. I was feeling a little taxed for a day or so, but nothing serious came of it like having to miss any work or go lie down, etc.)

This is one of those cheap, easy, natural and healthy ways to keep your immune system in better shape. I would encourage you to try it! You can even use any kind of glass jar with a lid (peanut butter, mayo, etc.)

As always, we are so thankful to God for providing everything we need for good health found in His creation. And for granting us this information so we may continue to pursue a sustaining lifestyle with His help.

Susan

Preserving Butter Without Refrigeration, Canning or Freezing

I continue to be pleasantly surprised to find out just how many things can be preserved without refrigeration, canning or freezing. Recently our local market had a great sale on butter, so I bought several pounds to preserve and keep in our root cellar. But the great thing about this preservation method is that you don’t need a canner! And since we don’t run a large storage freezer, this is a great alternative way to preserve large amounts of butter!

I love our goats and the milk God provides through them and have made a little butter from their milk. But the amount of cream contained in goat milk is a fraction of that found in cow milk, as well as more difficult to extract from the milk. A cream separator is low on our “to get” list, so I usually end up buying butter from the store at this point in our lives (although we do use lard as well). I keep a keen eye out for a sale on butter at the local market and then “pounce” and buy several pounds if I am able in order to stock up our pantry in a cost effective way.

The process to preserve butter is so easy and quick that if you blink before you read this entire blog post you might miss it! I started to type out my own instructions but found online the butter preserving recipe I had been given and have posted it below along with my own pictures and a few added notes.

1. Use any butter that is on sale. Lesser quality butter requires more shaking (see #8 below), but the results are the same as with the expensive brands:

Salted Sweet Cream Butter

2. Unwrap all the butter quarters and place them in a pot large enough to easily melt and process your butter:

Blocks of Butter in Pot

3. Place pint jars in a cold oven without rings or seals and turn the heat to 250 degrees for at least 20 minutes. Place the jars directly on the rack or you may find a roasting pan works well for holding the pint jars while in the oven. One pound of butter slightly more than fills one pint jar, so if you melt 11 pounds of butter, heat 12 pint jars:

Warming Butter Preserving Jars

4. While the jars are heating, melt the butter slowly until it comes to a slow boil. Using a large spatula, stir the bottom of the pot often to keep the butter from scorching. Reduce the heat and simmer for a minimum of 5 minutes. A good simmer time will lessen the amount of shaking required (see #8 below):

Melting Butter in Pot

Here’s what it looks like if it gets scorched a little:

Scorched Butter in Pot

5. You will notice a thick foam form at the top. You’ll need to continue stirring for several minutes until this foam begins to dissipate. The foam can get pretty thick:

Foam on Melted Butter
Stirred Foam on Melted Butter

And here it is with the foam dissipating:

Dissipating Foam on Melted Butter

6. In the meantime, place the jar lids in a small pot with water and bring to a boil. Then turn the heat to low and leave them simmering in hot water until needed:

Boiling Canning Jar Lids

7. After most of the foam has dissipated, stirring the melted butter from the bottom to the top with a soup ladle or small pot with a handle, pour the melted butter carefully into heated jars through a canning jar funnel. Leave 3/4″ of head space in the jar, which allows room for the shaking process. Carefully wipe off the top of the jars, then get a hot lid from the simmering water, add the lid and ring and tighten securely. Lids will seal as they cool:

Melted Butter in Canning Jars

8. Once a few lids “ping,” shake while the jars are still warm, but cool enough to handle easily, because the butter will separate and become foamy on top and white on the bottom. In a few minutes, shake again, and repeat until the butter retains the same consistency throughout the jar.

9. While cooling and hardening, shake again, and the melted butter will then look like butter and become firm. This final shaking is very important! Check every 5 minutes and give the jars a little shake until they are hardened in the jar:

Hardened Butter in Canning Jars

10. Preserved butter should store for 3 years or longer on a cool, dark shelf. Preserved butter does not “melt” again when opened, so it does not need to be refrigerated upon opening, provided it is used within a reasonable length of time.

DISCLAIMER: There is information found on the internet claiming this is not a safe way to preserve butter because there is no official supporting information. But if the butter is kept in a cool dry place, it should be kept preserved for a long time. We have had no problems with it in our experience. However, these are my own personal thoughts and opinions. I would encourage you to do your own homework and proceed at your discretion.

NOTE: This form of preserved butter may taste a little more salty because of its condensed form. Use unsalted butter and add salt to your taste if this is of concern to you. I have had much success using it as-is in recipes and in our everyday uses for butter.

We have found this to be a great way to preserve butter in a cost-effective way for any lifestyle!

Susan

Pebbles Pork Chop Party

In our last round of pig breeding, we decided to keep, raise and eat the offspring of our sow Pebbles, and breed her again because she had a good disposition and because we had a soft-spot for her, given she was the lone piglet from the difficult birth her mother had, and we had bottle-raised her on goat milk ourselves. But, as the piglets eventually turned into decent-sized pigs, and with the possible difficulty of finding a large enough mate for Pebbles, I decided to change the plans and revert back to the old way of doing things, where we process the mother as well and keep an offspring to continue the pork perpetuation.

Here is Pebbles and most of her offspring before taking Pebbles in (she’s on the left, one female had already gone to the Bunkers as a next breeder for them):

Our Sow Pebbles and Her Offspring

And this is Pebbles next to the offspring we are keeping for the next round of breeding, which we decided to call Lulu. We decided to keep her because she has more of the Duroc characteristics:

Our Sow Pebbles and Our Next Breeding Mother Lulu

With these previous blog posts, you can follow Pebbles’ interesting story from the beginning:
Providence’s Perpetuation Provisions: New Piglet “Pebbles”
Animal Update – Pebbles and Fred
Providence’s Perpetuation Provisions: New Piglets of 2012

And so, we took Pebbles and two of the males in to the butcher (two other of the offspring also went to the Bunkers).

Once getting the meat back, we wanted to continue to practice preserving without canning or freezing, so we had some strips of meat cut from one of the younger pig’s hams, and put them in the salt brine:

Brining Pork Ham Meat

And then I hung them in the meat dryer:

Drying Brined Pork Ham Meat

Then, it was time for the Pebbles Pork Chop Party fellowship meal! We held it on a Lord’s Day fellowship time, so every household contributed to the meal.

Here is all of the eating goodness:

Pebbles Pork Chop Party Dinner Meal

And the group communing together around the table:

Pebbles Pork Chop Party Communing Around the Table

And young Annabelle enjoying the time:

Pebbles Pork Chop Party Young One

We are so very grateful to the Lord for His provisions of the pig meat, and the opportunity to gather in His name and share His beneficence together.

— David

Garden – Spring 2012 – Update III

Our Texas gardens seem to be like snowflakes, there are none alike. This year we planted what we thought were to be large tomatoes, but they came out the size of cherry tomatoes. Cherry tomatoes are like candy to me, so they were a treat nevertheless. And we also planted an heirloom tomato plant that didn’t produce one solitary tomato until mid-Fall. Go figure. But it almost seemed fitting because Dave and I both are late bloomers ourselves and always root for the underdog, so we were excited when we started seeing little yellow blooms starts to form 🙂 So I thought I’d give an end of the garden “Where Are They Now” update:

God blessed us with an abundance of these cherry tomatoes. We enjoyed them on our salads and in pasta and other dishes all through the summer:

Spring Garden 2012 Tomatoes in a Bowl

I decided to make some lacto-fermented salsa with some of the tomatoes by adding chopped onions, garlic and green peppers, and then adding a salt brine (1 1/2 Tbsp. salt to 1 pint water) to let it ferment for a few days. This stuff is great with tortilla chips or on salads!

Spring Garden 2012 Lacto-Fermented Tomatoes

One of the ladies in the community, Shannon, came over one day to help me chop up some tomatoes in preparation for making my first ever batch of tomato sauce. Here the tomatoes are being rinsed and readied to be chopped:

Spring Garden 2012 Tomatoes Ready to Process into Tomato Sauce

Shannon took an “action” shot of the tomatoes being cut up. Can’t you just feel the excitement in the air?! (By the way, her young boys did a great job of helping pick up construction debris in our new house that day as you can see by the garbage bags in the background – thanks, boys!)

Spring Garden 2012 Cutting Tomatoes for Tomato Sauce

Here are the tomatoes all cut up (thanks again, Shannon!) and ready to be made into tomato sauce:

Spring Garden 2012 Cut and Ready to be Simmered into Tomato Sauce

I added other ingredients per the recipe below, and here it is simmering and being prepped to pour into hot jars in order to be pressure-canned:

Spring Garden 2012 Tomatoes Simmering to Become Tomato Sauce

I think the yield was three and a half quarts; but by the time I took this picture, we had already used half our yield! It is pretty tasty stuff!

Spring Garden 2012 Tomato Sauce

As you may know by now, I am all about keeping things simple. So I looked for a really simple recipe. I think next time I may keep it even more simple by adding only garlic and onion, but this recipe is great too. It is titled “Italian Tomato Sauce” in the Ball “Blue Book of Preserving”:

ITALIAN TOMATO SAUCE:

Yield: About 7 pints or 3 quarts

  • 4 quarts chopped (about 24 large), seeded, peeled, cored tomatoes (uh, yeah, right – I only cored and chopped mine and threw the rest in as-is)
  • 1 cup chopped celery (about 2 stalks)
  • 1/2 cup chopped onion (about 1/2 medium)
  • 1/4 cup chopped green pepper (about 1/4 medium)
  • 1 Tbsp. Basil
  • 1 Tbsp. Oregano
  • 1 Tbsp. Minced Parsley
  • 2 tsp. crushed red pepper (optional – I didn’t use it)

Combine all ingredients in a large saucepot. Cover and cook 10 minutes, stirring occasionally to prevent sticking (cook longer if you want to cook out some of the juices and make a thicker, less watery, sauce). Ladle the hot sauce into hot jars leaving 1-inch headspace. Remove air bubbles. Adjust two-piece caps. Process pints 15 minutes, quarts 20 minutes, at 10 pounds pressure (depending on altitude) in a steam pressure canner. SIMPLE!!

This past Lord’s Day we made the decision to pull the remainder of the garden due to a long, hard freeze that was expected to hit on Monday night (we’ve been covering one of the black-eyed pea beds and the tomatoes with blankets up to this point, for light freezes, which has worked very well; but we covered other black-eyed peas beds with a tarp, and that didn’t work so well). As you can see, the tomatoes were going strong into December:

Spring Garden 2012 Cherry Tomatoes on the Vine in December

The growth seemed to flourish after the temperatures dropped a bit when Fall kicked in:

Spring Garden 2012 Tomato Plants in December

This is the lone, late-blooming, heirloom plant (we had originally planted two, way back in the Spring):

Spring Garden 2012 Heirloom Tomato Plant with Tomatoes

It’s too bad we had to stop it in its prime because it put out some beauties:

Spring Garden 2012 Heirloom Tomatoes

You wouldn’t know it from this picture, but the width of the basket is about 17 inches! Thank the Lord for the tomato bounty! I plan to ripen most of these little pretties in our summer kitchen and make more salsa and tomato sauce. Also, our neighbor made a delicious mock apple pie with green tomatoes (don’t judge until you taste!) for our community Thanksgiving meal, and I was very impressed. So if she’s willing to share the recipe, I plan to make a pie with some of our green tomatoes and share the recipe and process with you all, Lord willing:

Spring Garden 2012 Basket of December Tomatoes

Lastly, but certainly not least….ly (? 🙂 ) We picked the last of our black-eyed peas dried pods. (You can learn more about our other black-eyed peas experience when we picked from the Bunker’s field of black-eyed peas.) We plan to extract the little dried peas from the pods and save them for re-planting in a future garden, or rehydrating them for soups, stews, etc.:

Spring Garden 2012 Basket of Dried Black-Eyed Peas

Even continuing this year on the heels of one of the worst droughts in Texas history last year, we are very thankful to God, our Provider, for granting us water and a bountiful garden enabling us to eat and preserve vegetables for the future. May He receive all the glory.

Susan

« Older posts Newer posts »