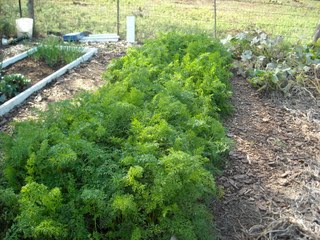
Boy, if there was any doubt carrots grow well in West Central Texas, may it be forever removed. We planted carrot seeds in one entire bed this year; and, wow, the carrots took advantage of every bit of space in that bed. This blog post reflects the second round of thinning of the carrots; and I still have one, maybe two, rounds to go!
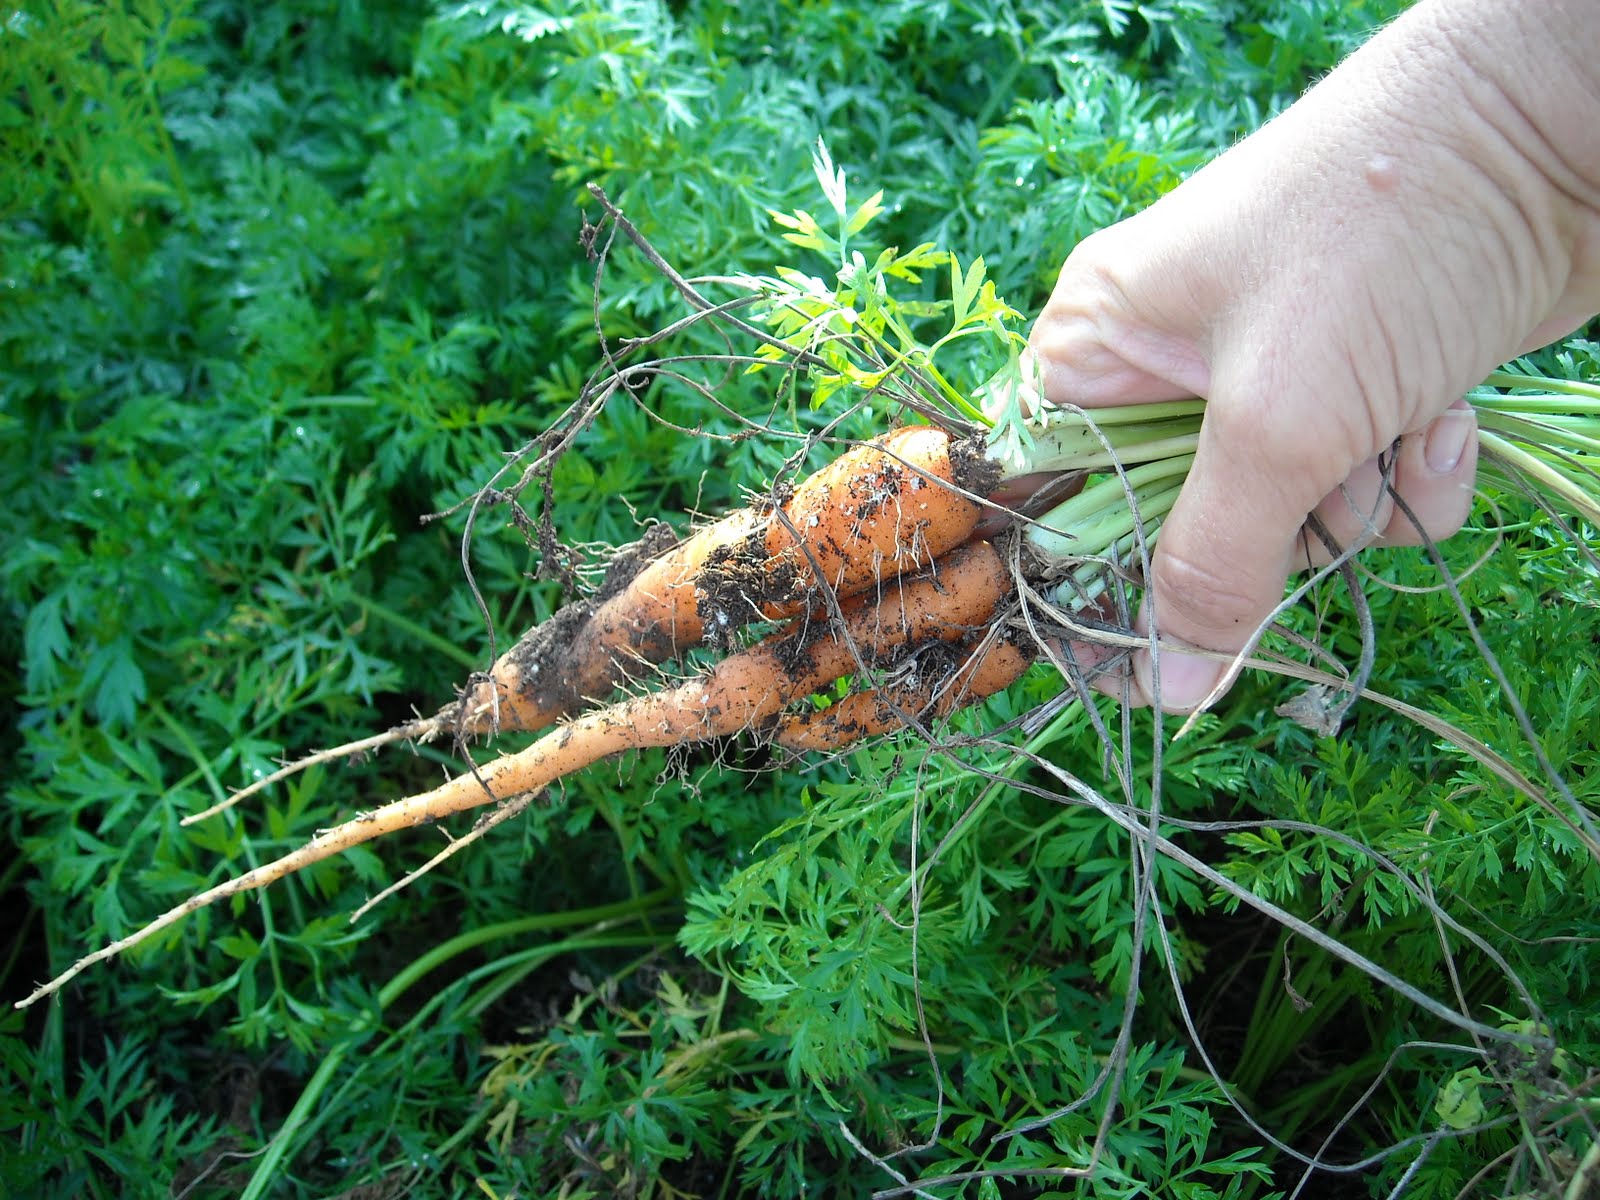
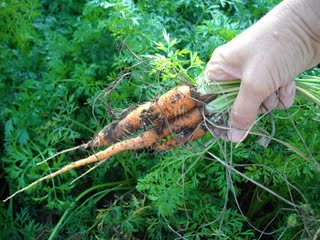
The carrots grew very densely because there was so much depth for them to grow in the double-dug, raised bed. So each pull of the greens revealed a handful of carrots:
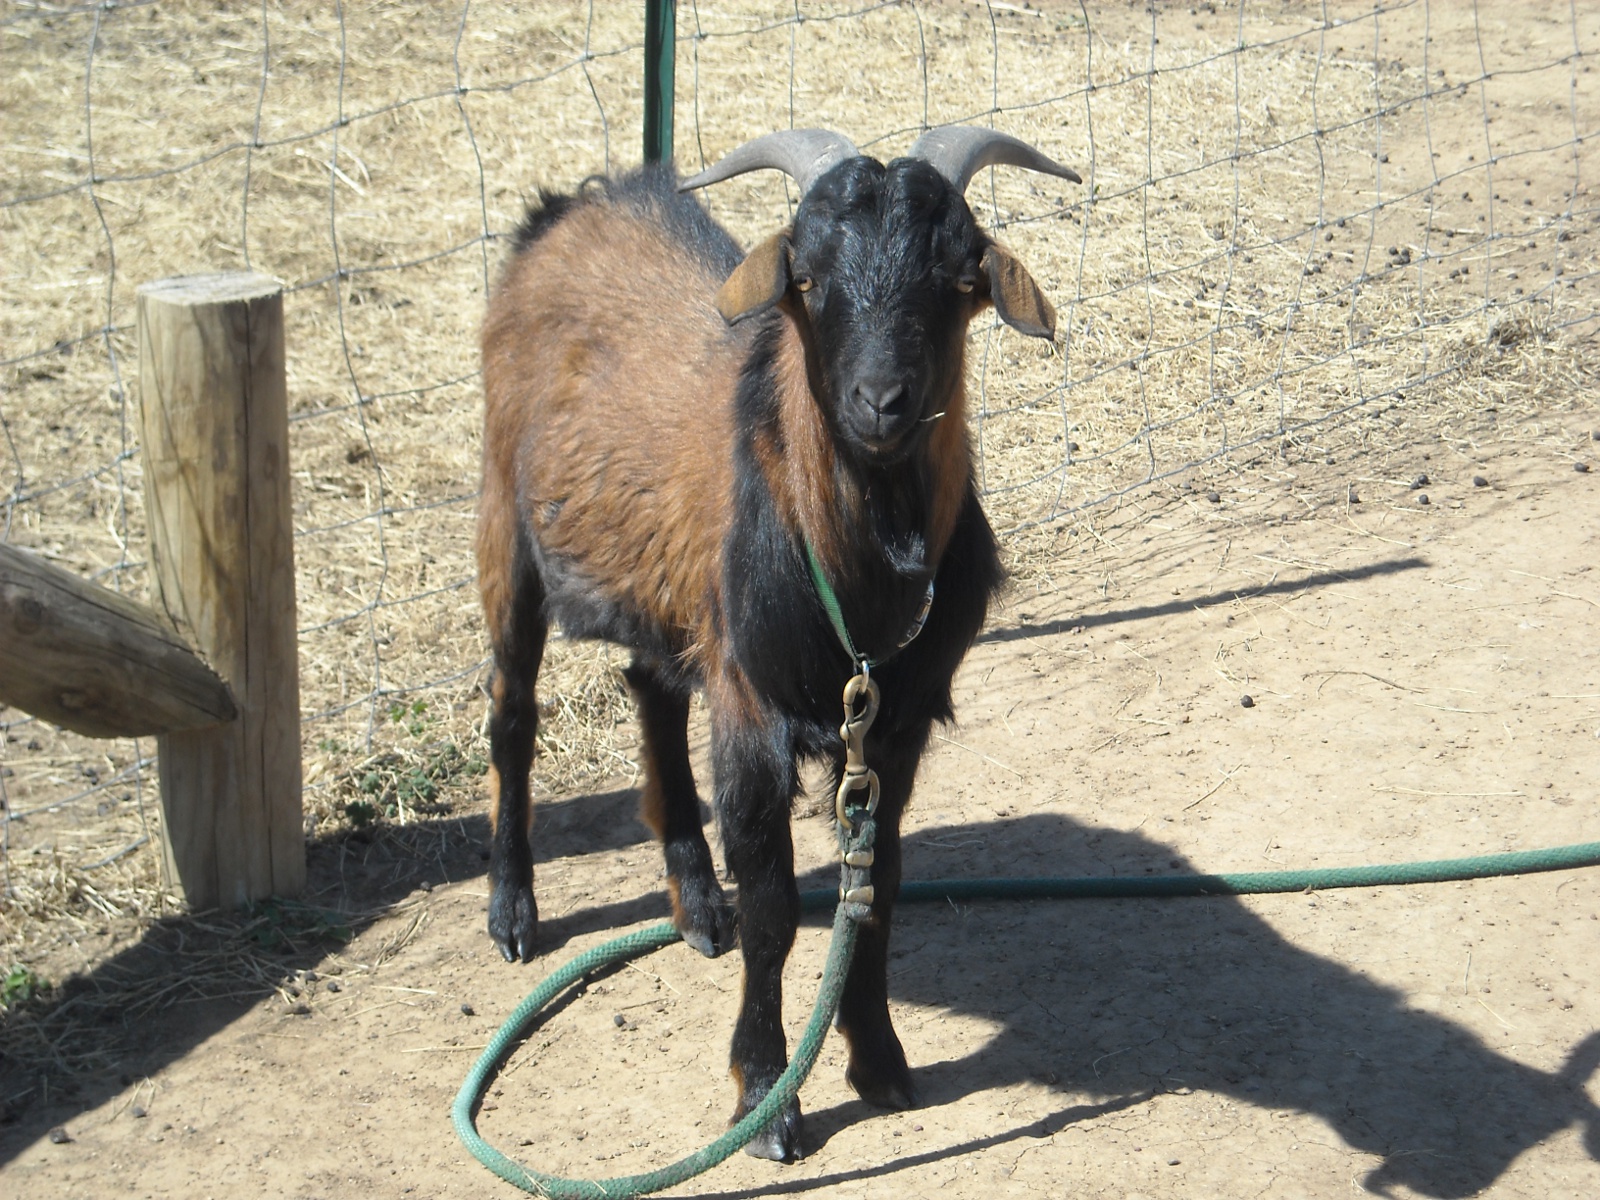
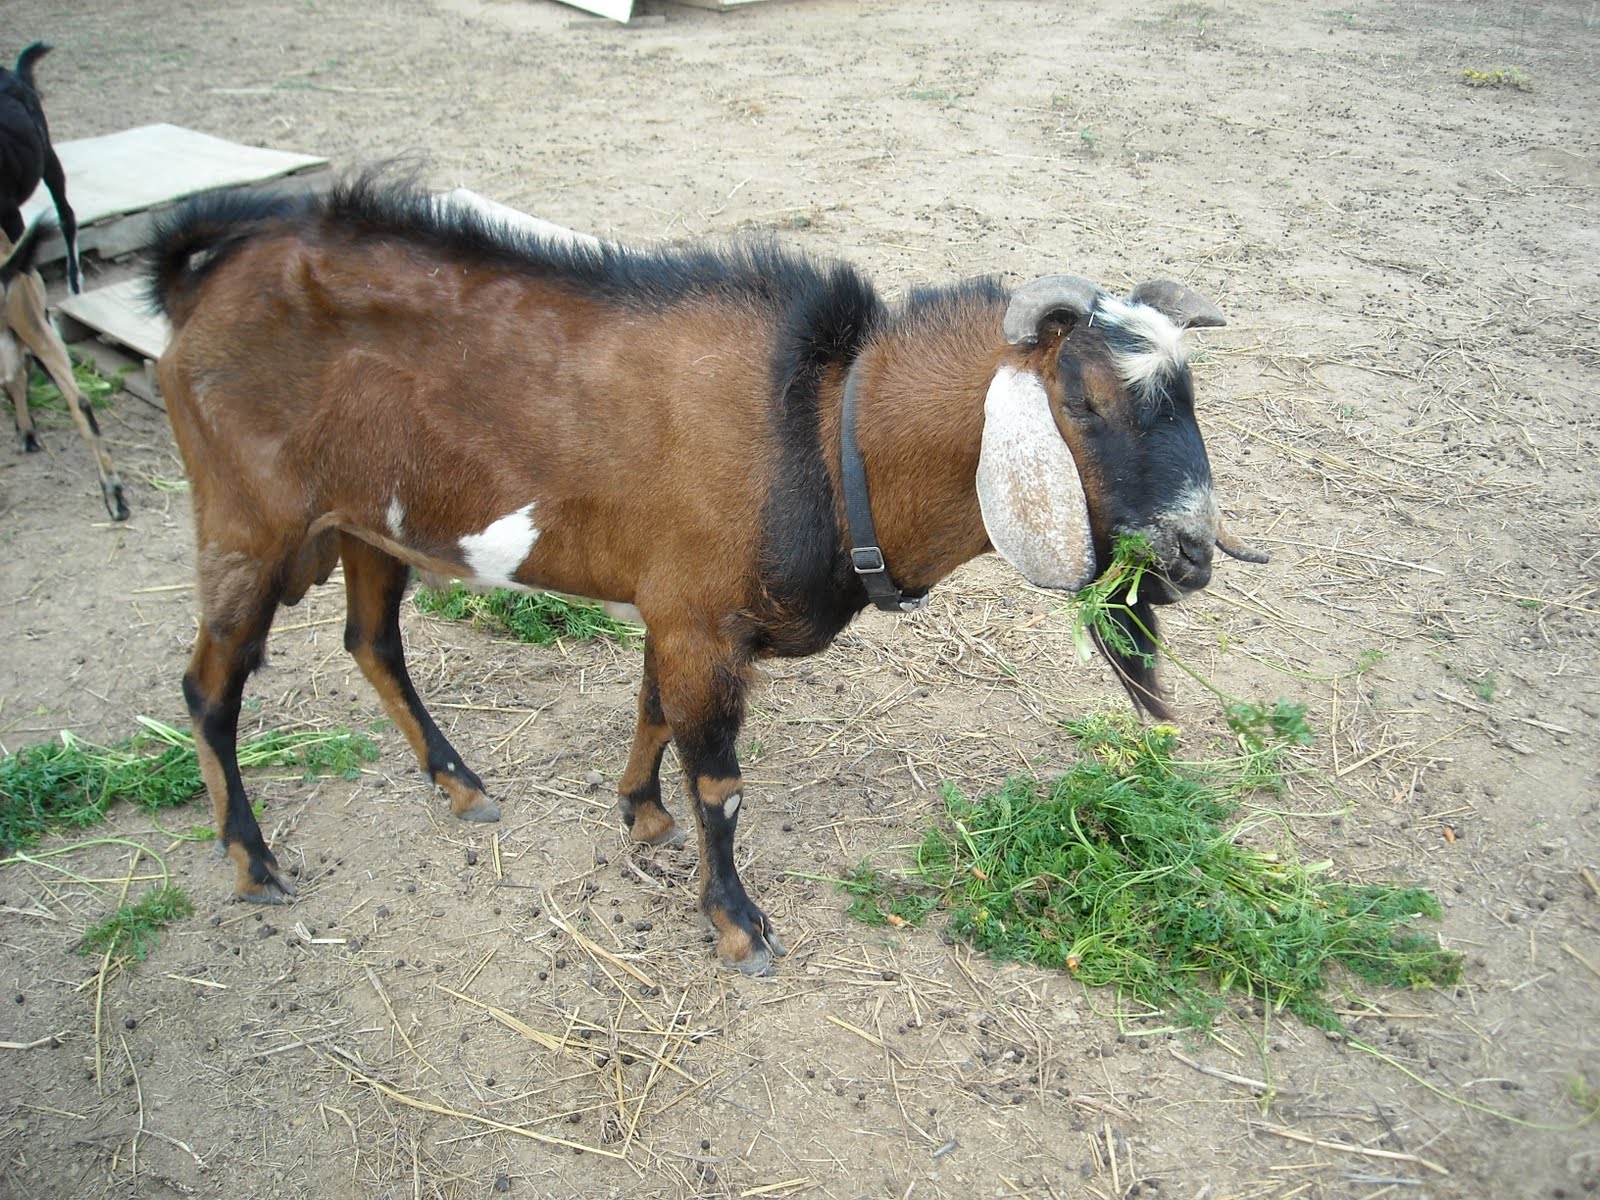
“Ehhhhhh……what’s up, doc?” Gary loves carrots. The greens, eh, not so much:
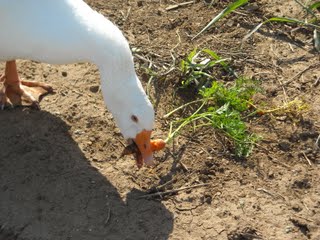
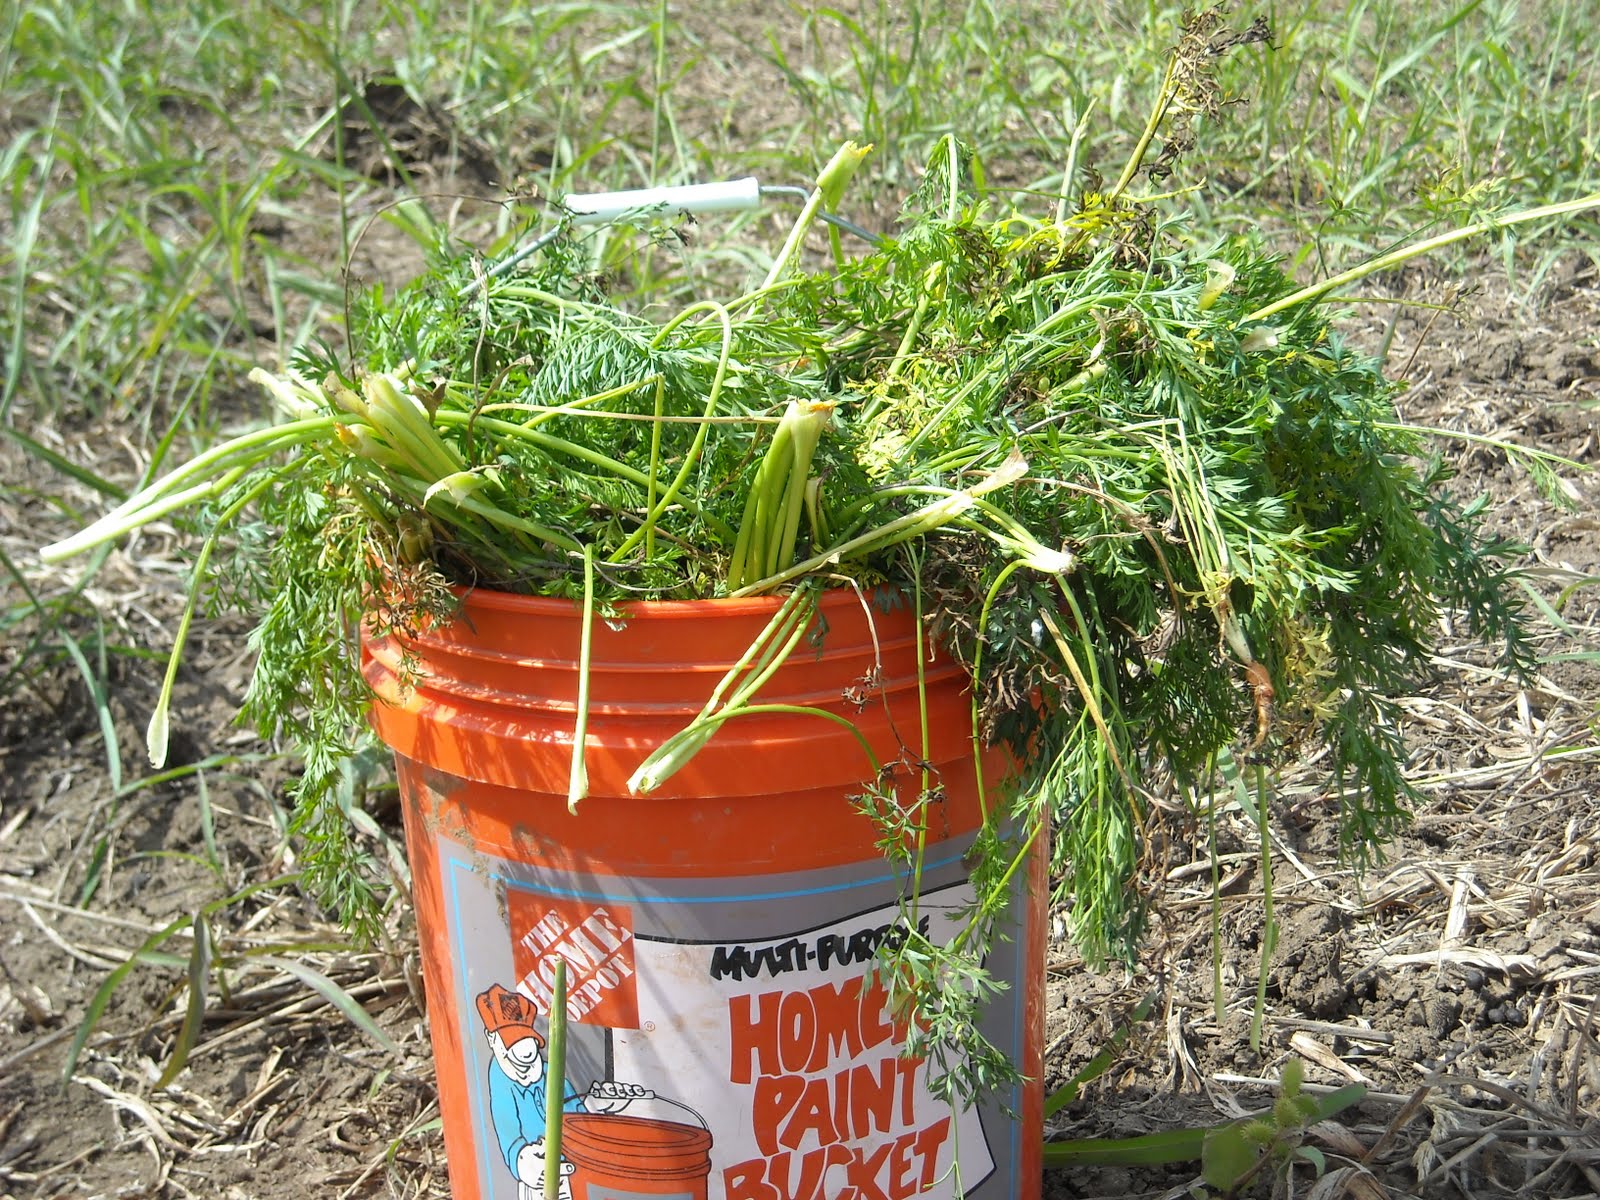
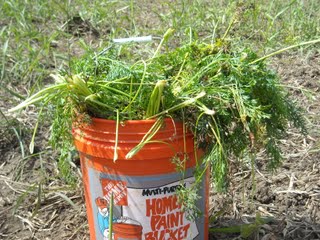
So I filled the bucket with greens knowing they would be appreciated somewhere else……
Shatner, on the other hand, loves carrot greens. (In a high-class maître d’ French accent…”Taybelll for one, Monsieur?”)

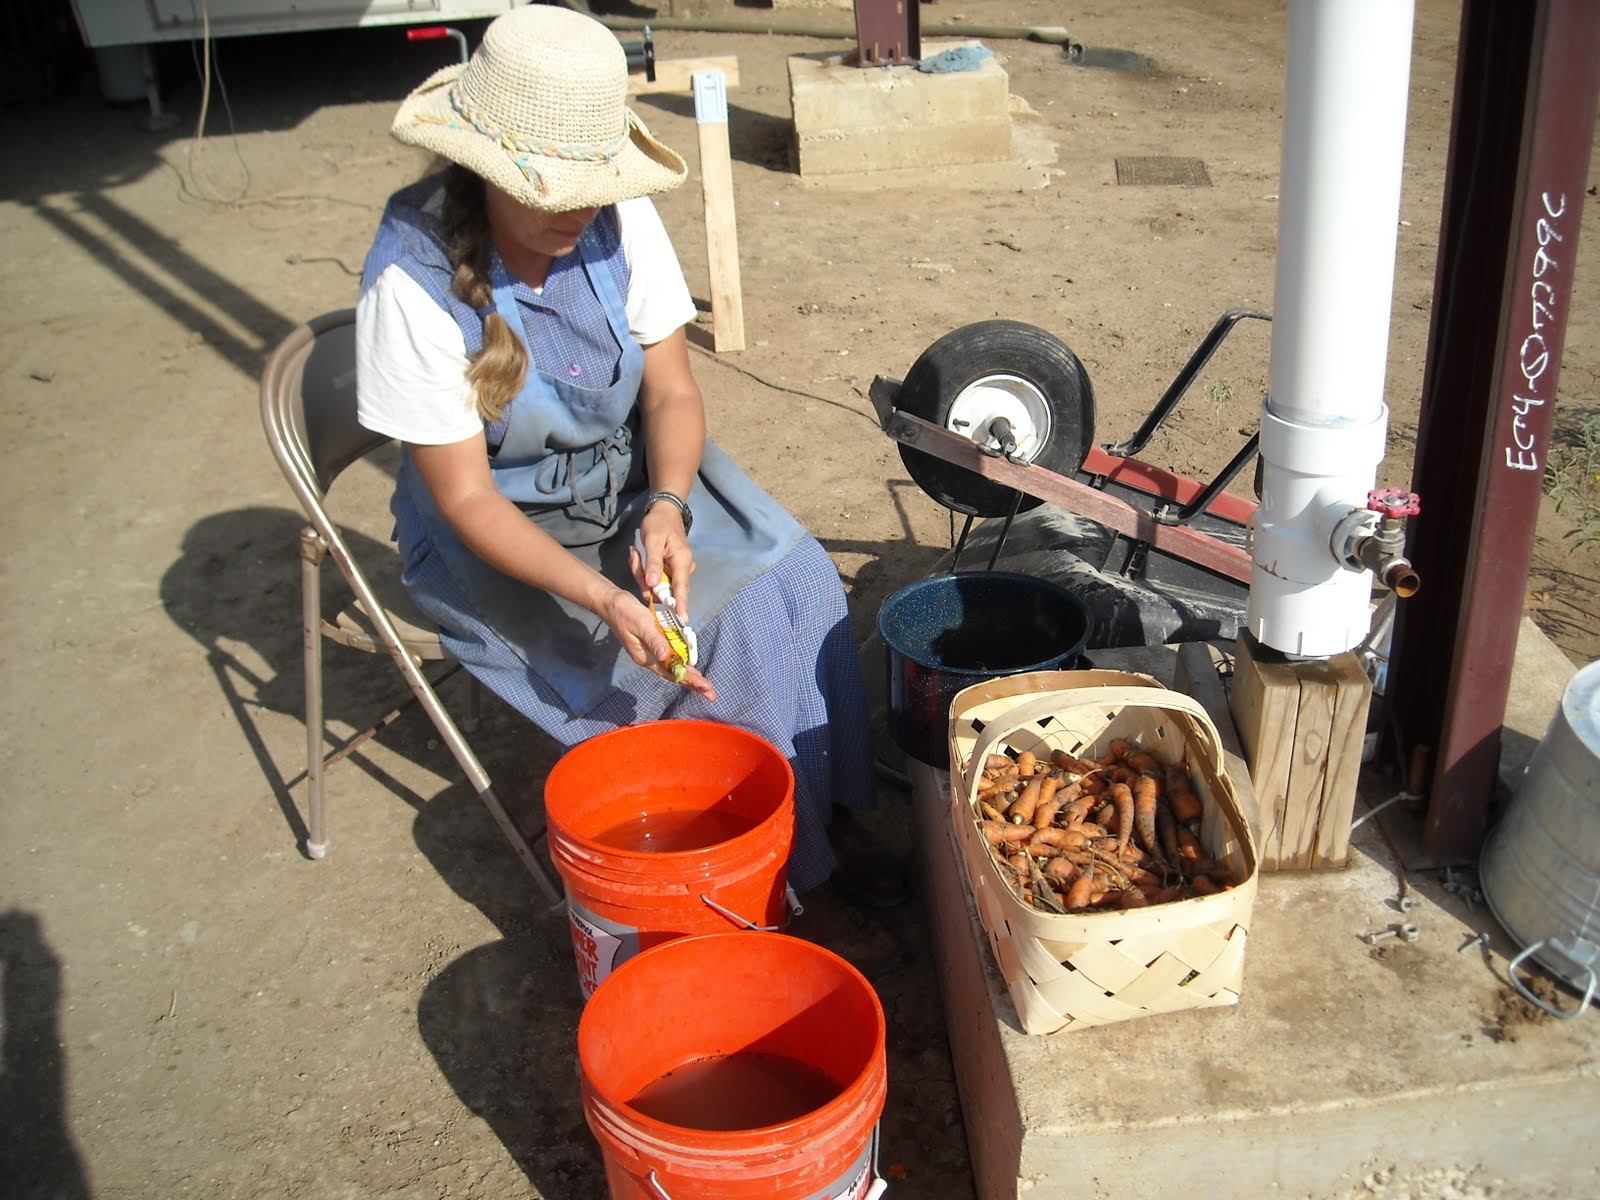
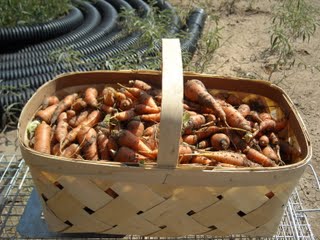
I stopped pulling carrots when the basket was fairly full, knowing this many would take several hours to prepare for canning:
What a blessing to sit out in the fresh air and sunshine to work at my “day job.” I had two buckets for the initial processing of the carrots: one was for a first rinse to get the major dirt off, and the other was to give them a good scrub with the vegetable brush to get them as clean as possible:

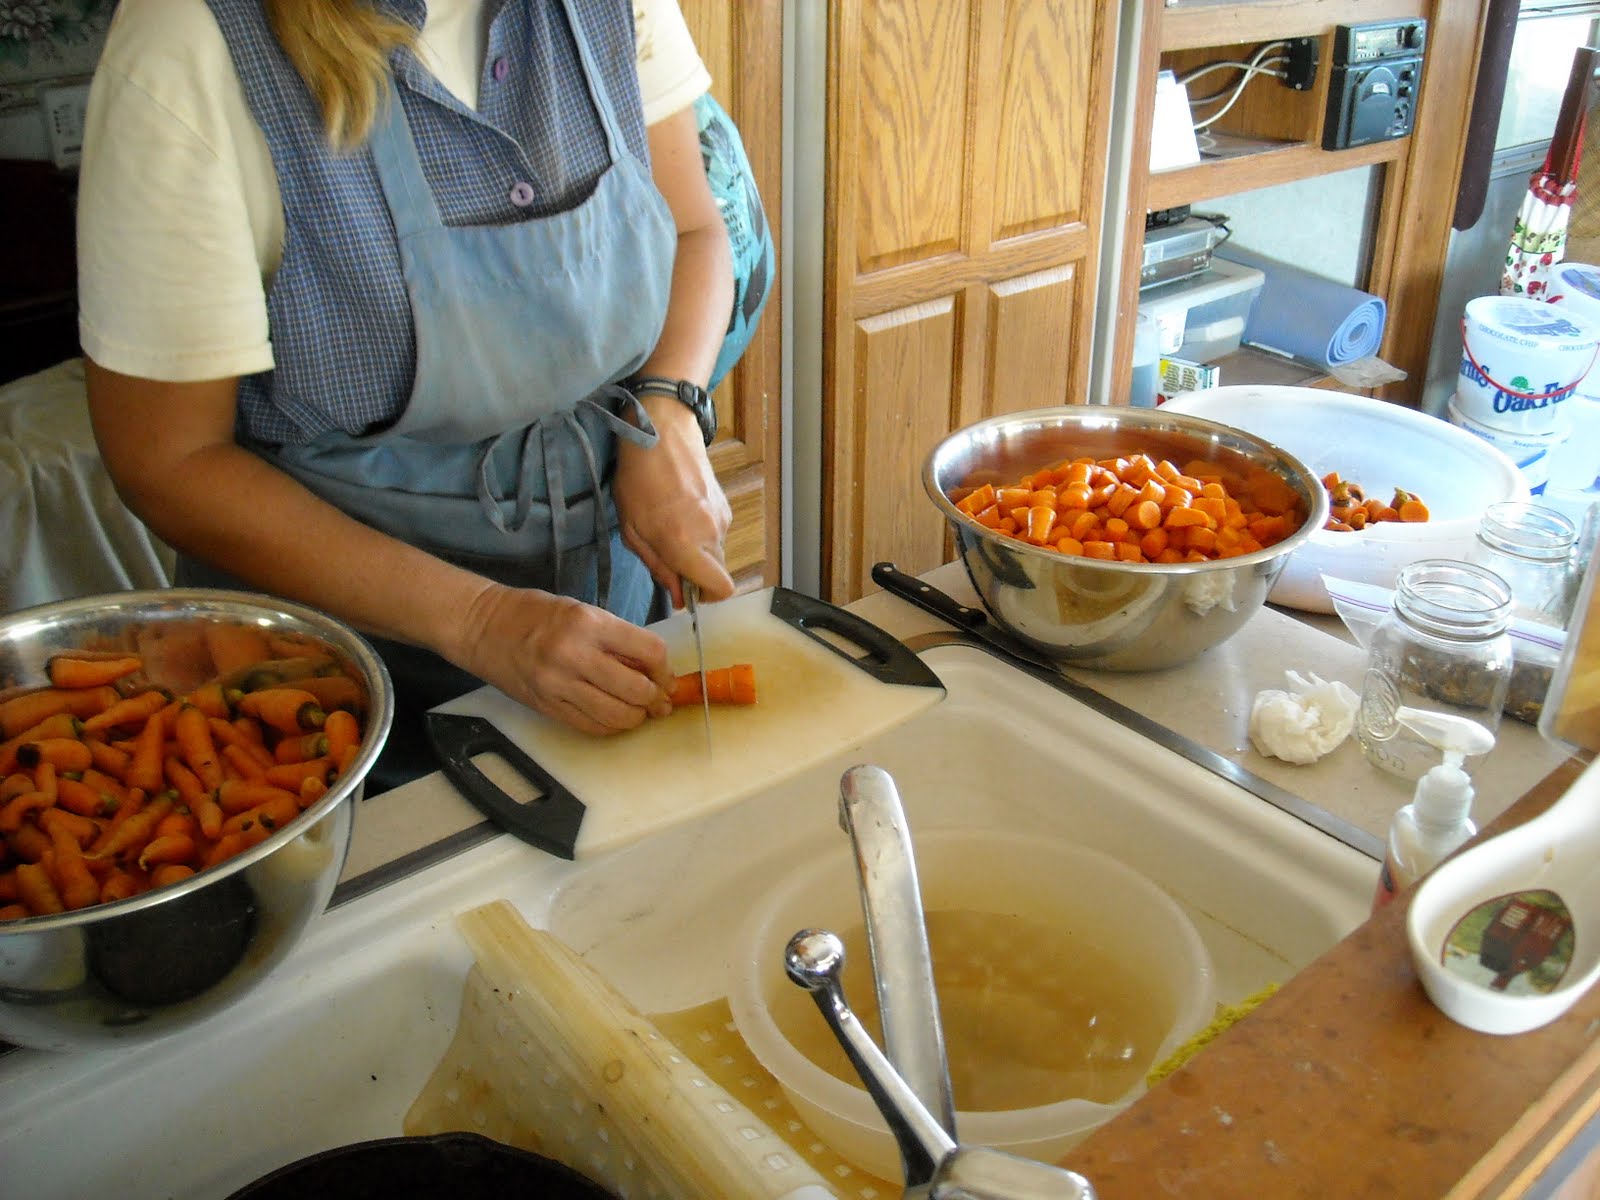
Next, I gave them a final rinse, cut off the ends, and cut up the carrots into smaller pieces. I munched along the way and loved knowing these carrots are God’s direct provision, and that any middle men and chemicals have been eliminated:

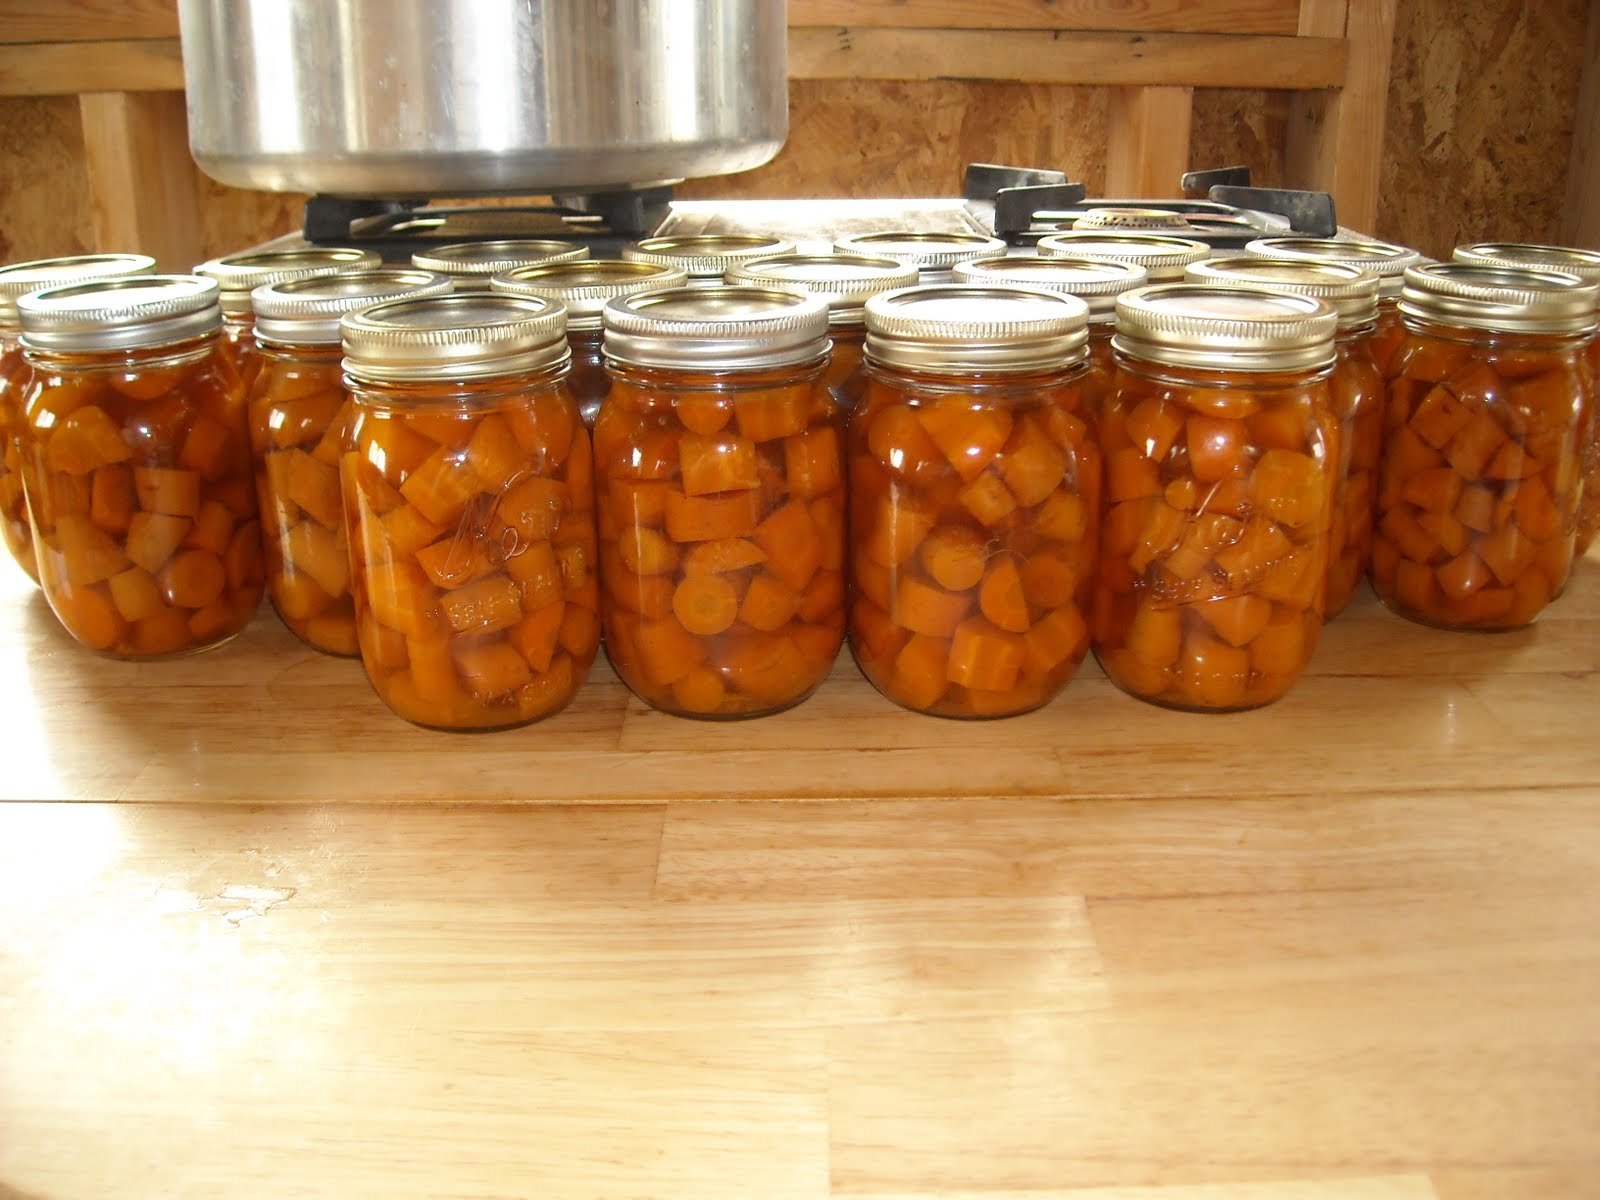
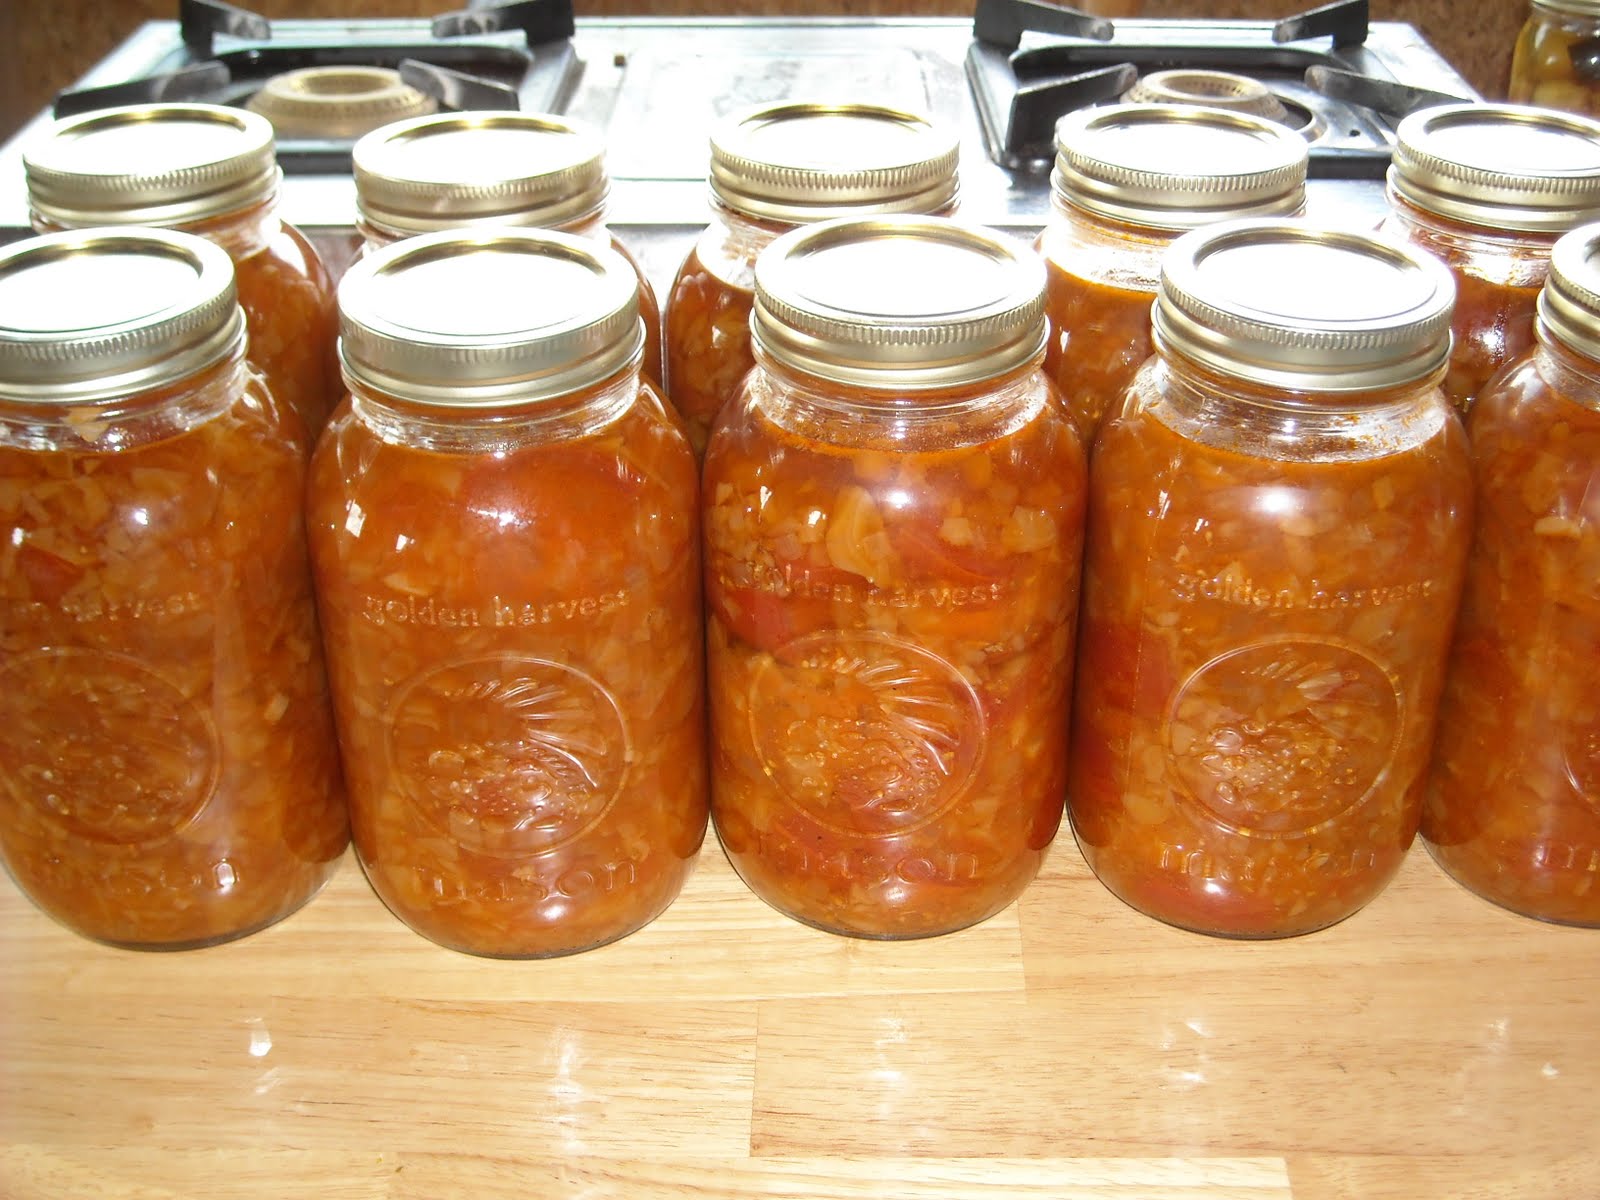
Here they are in the jars ready to go into the canner:
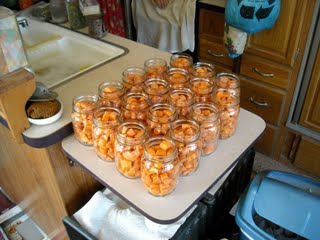
And, yippeeeee! Fresh garden carrots preserved to be used in many delicious dishes:

And speaking of delicious things for meals, I thought I’d provide an update on our other garden adventures.
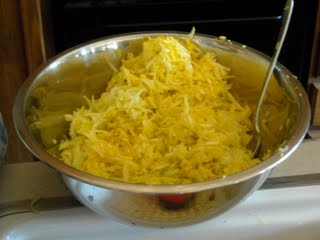
In addition to our abundant yield of Zuchini, we were blessed with an abundance of summer squash:
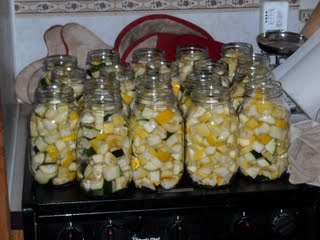
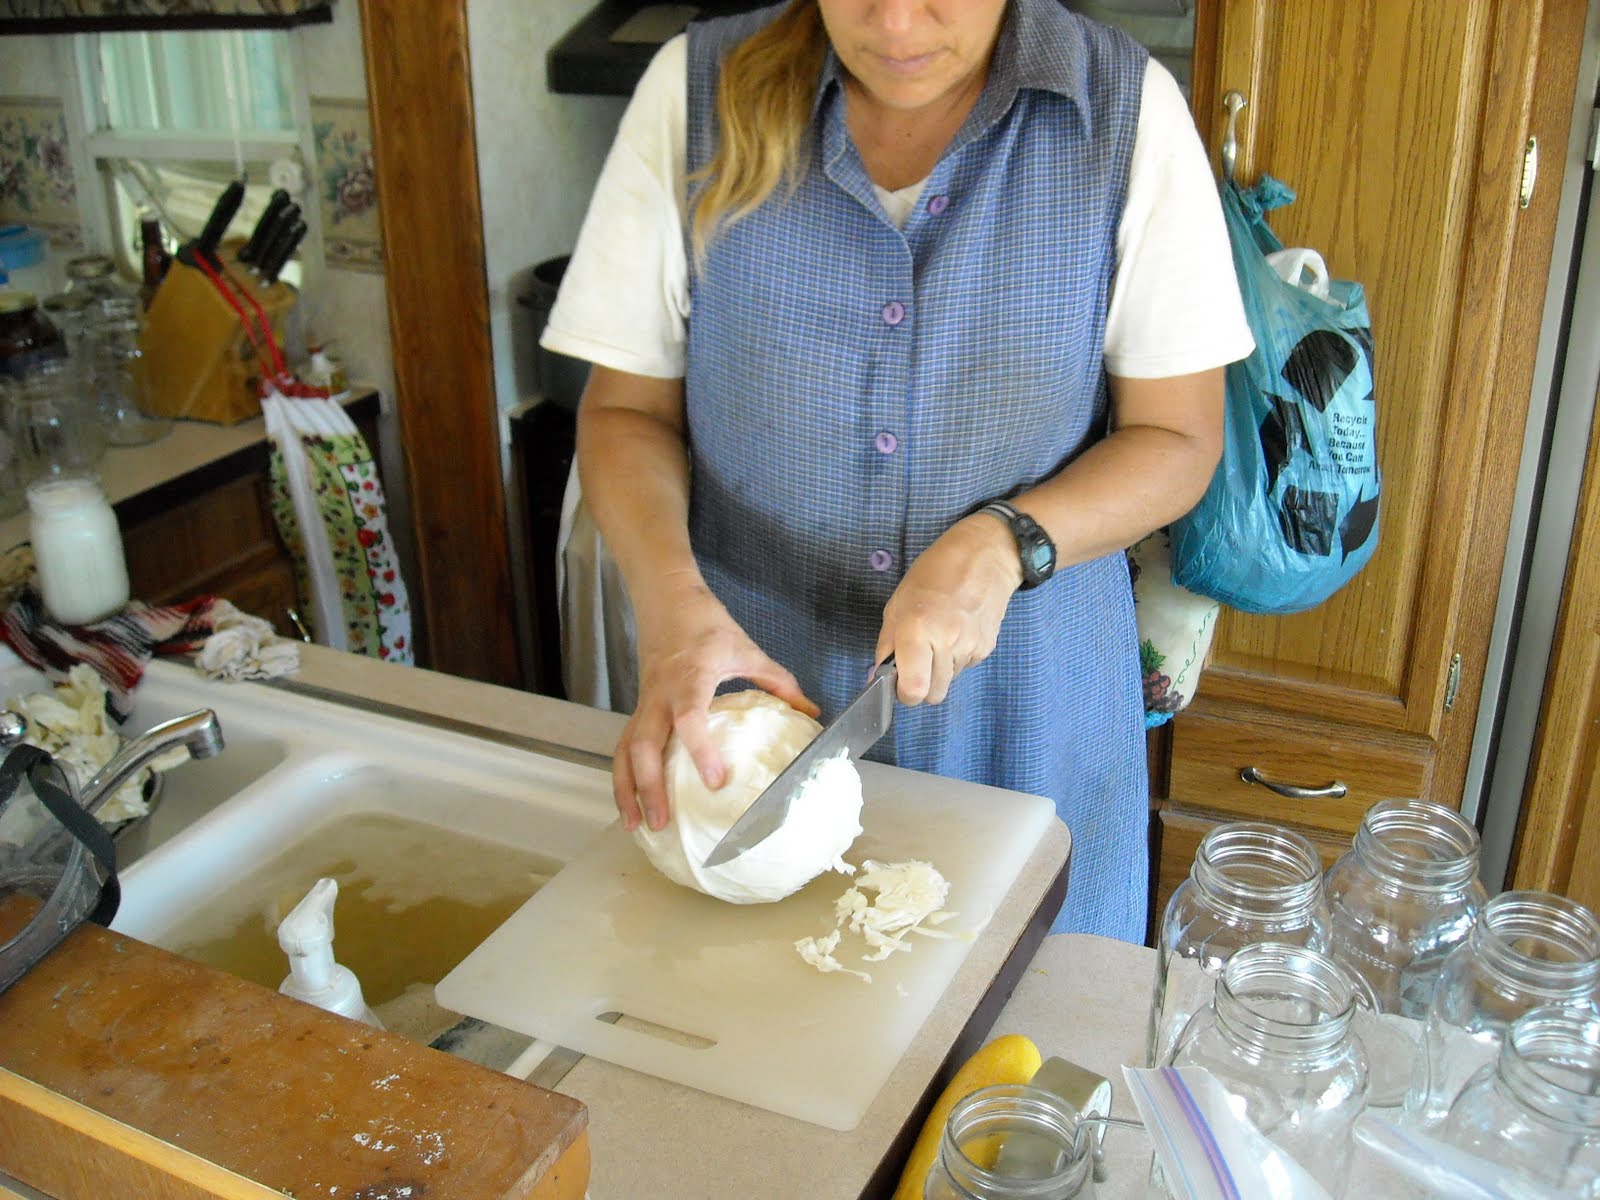
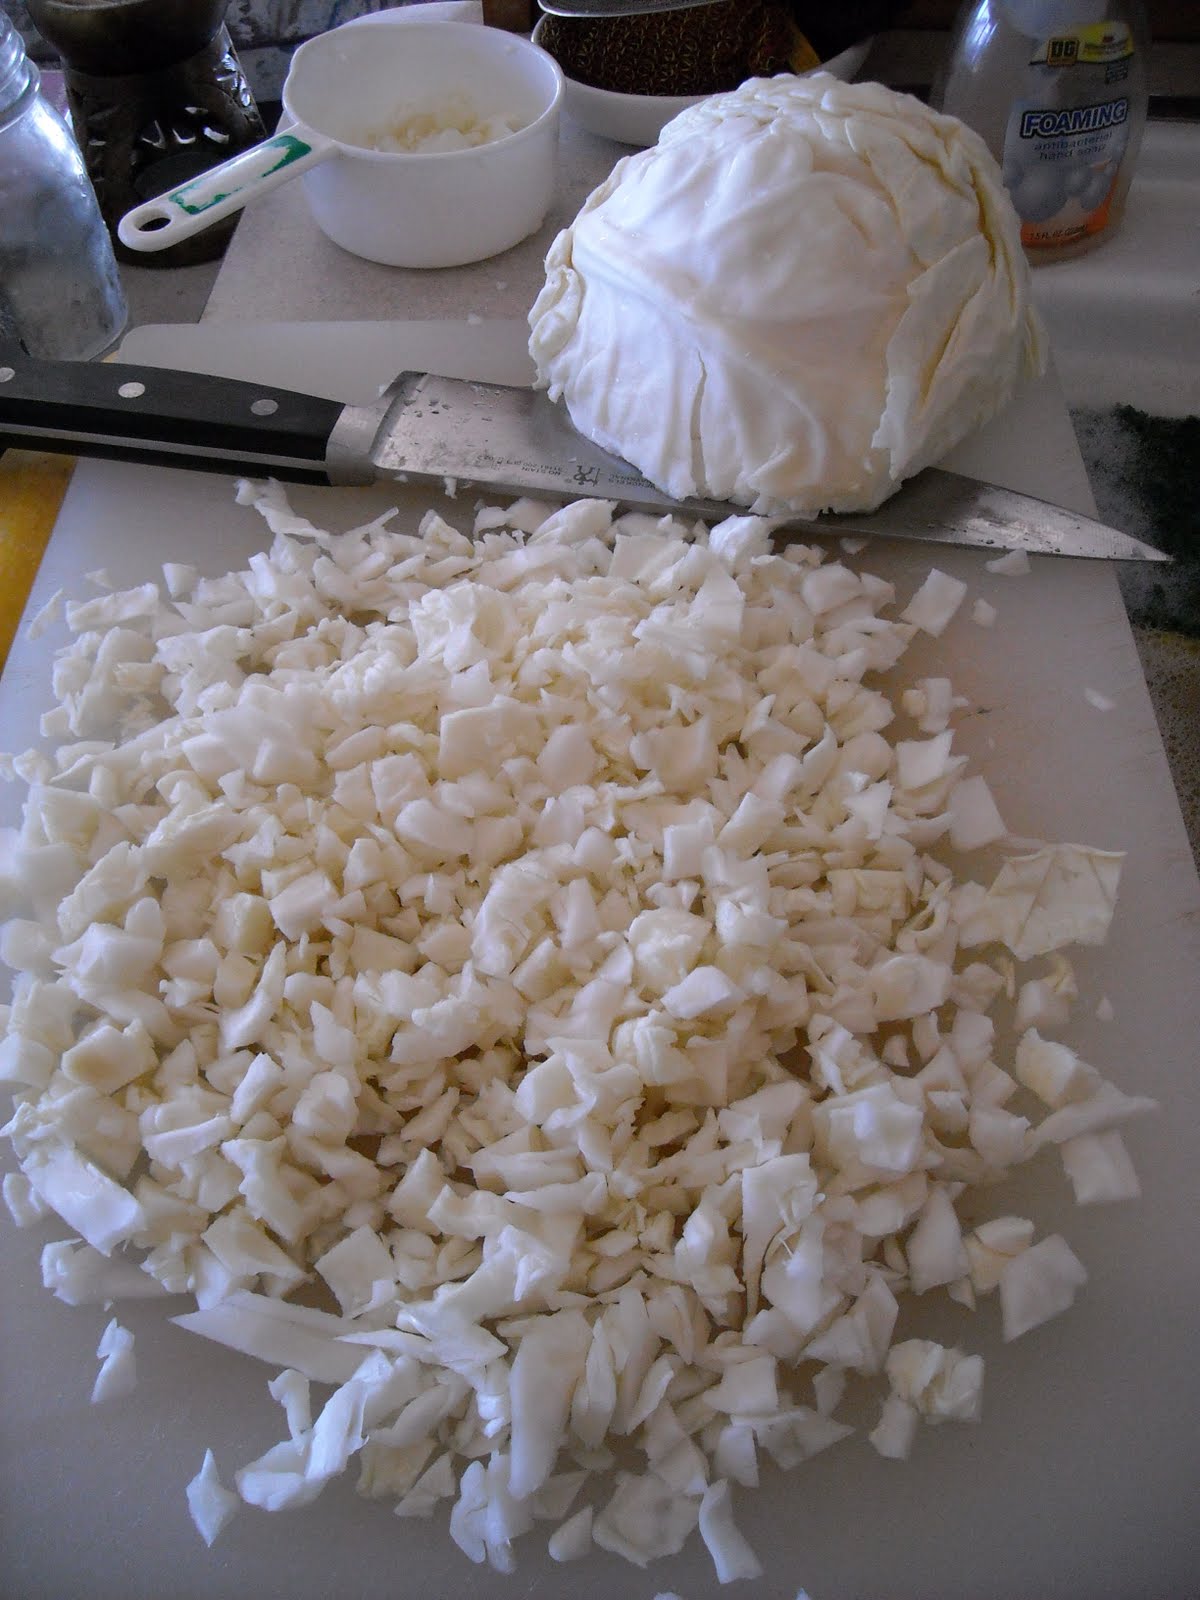
We also shredded up much of the summer squash and put it in jars with salt for lactic fermentation, and placed them down in the root cellar. It tastes great – just like sauer kraut. And it makes a very flavorful and healthy salad when you add cucumber and tomato:
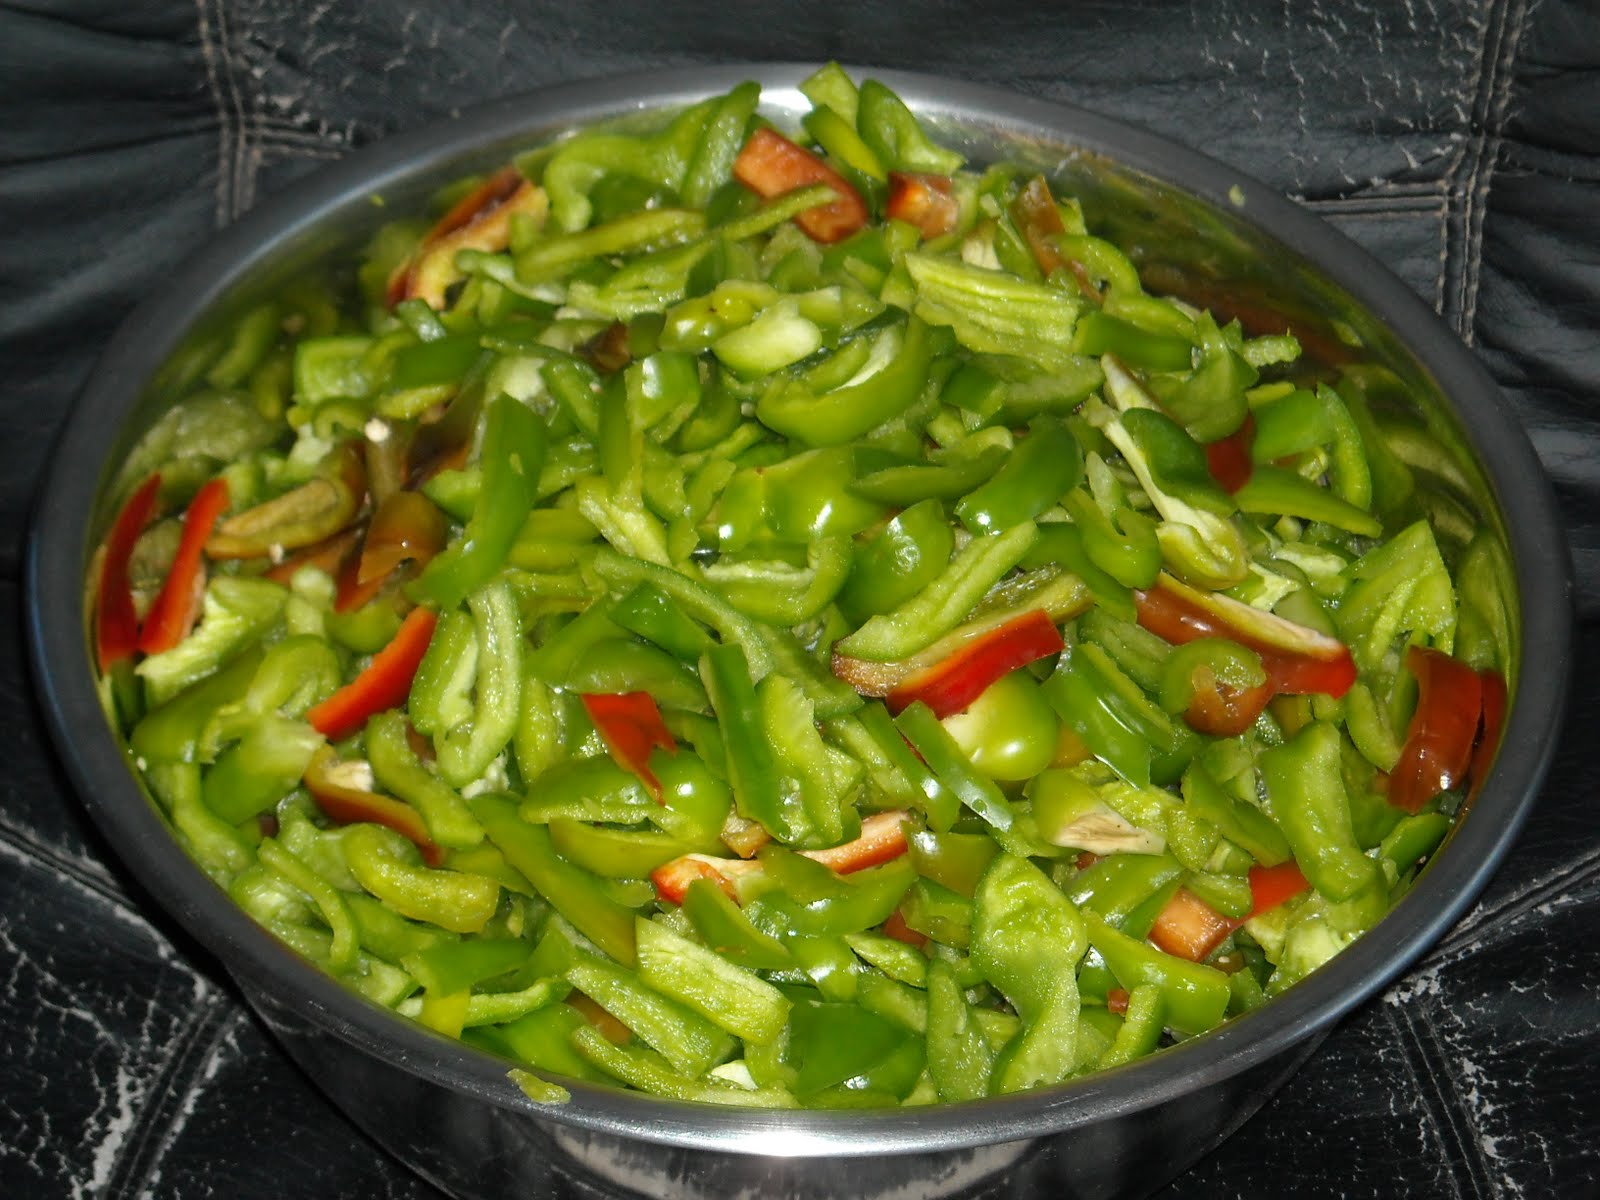
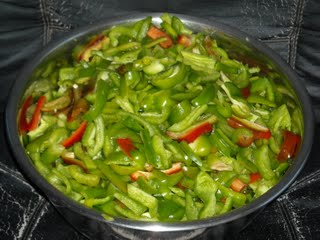
Our peppers are still going gangbusters. Here is a bowl of freshly cut peppers ready to be put in jars. I have found it to be very handy to grab a jar of these off the shelf and saute them with onions when I’m making fajitas. Thanks to one our readers, Ginny, we also got the idea to cut them up and dry them in our solar dryer. They are great to add into recipes, and I was very pleasantly surprised at how much taste is packed into even one of these small pieces:
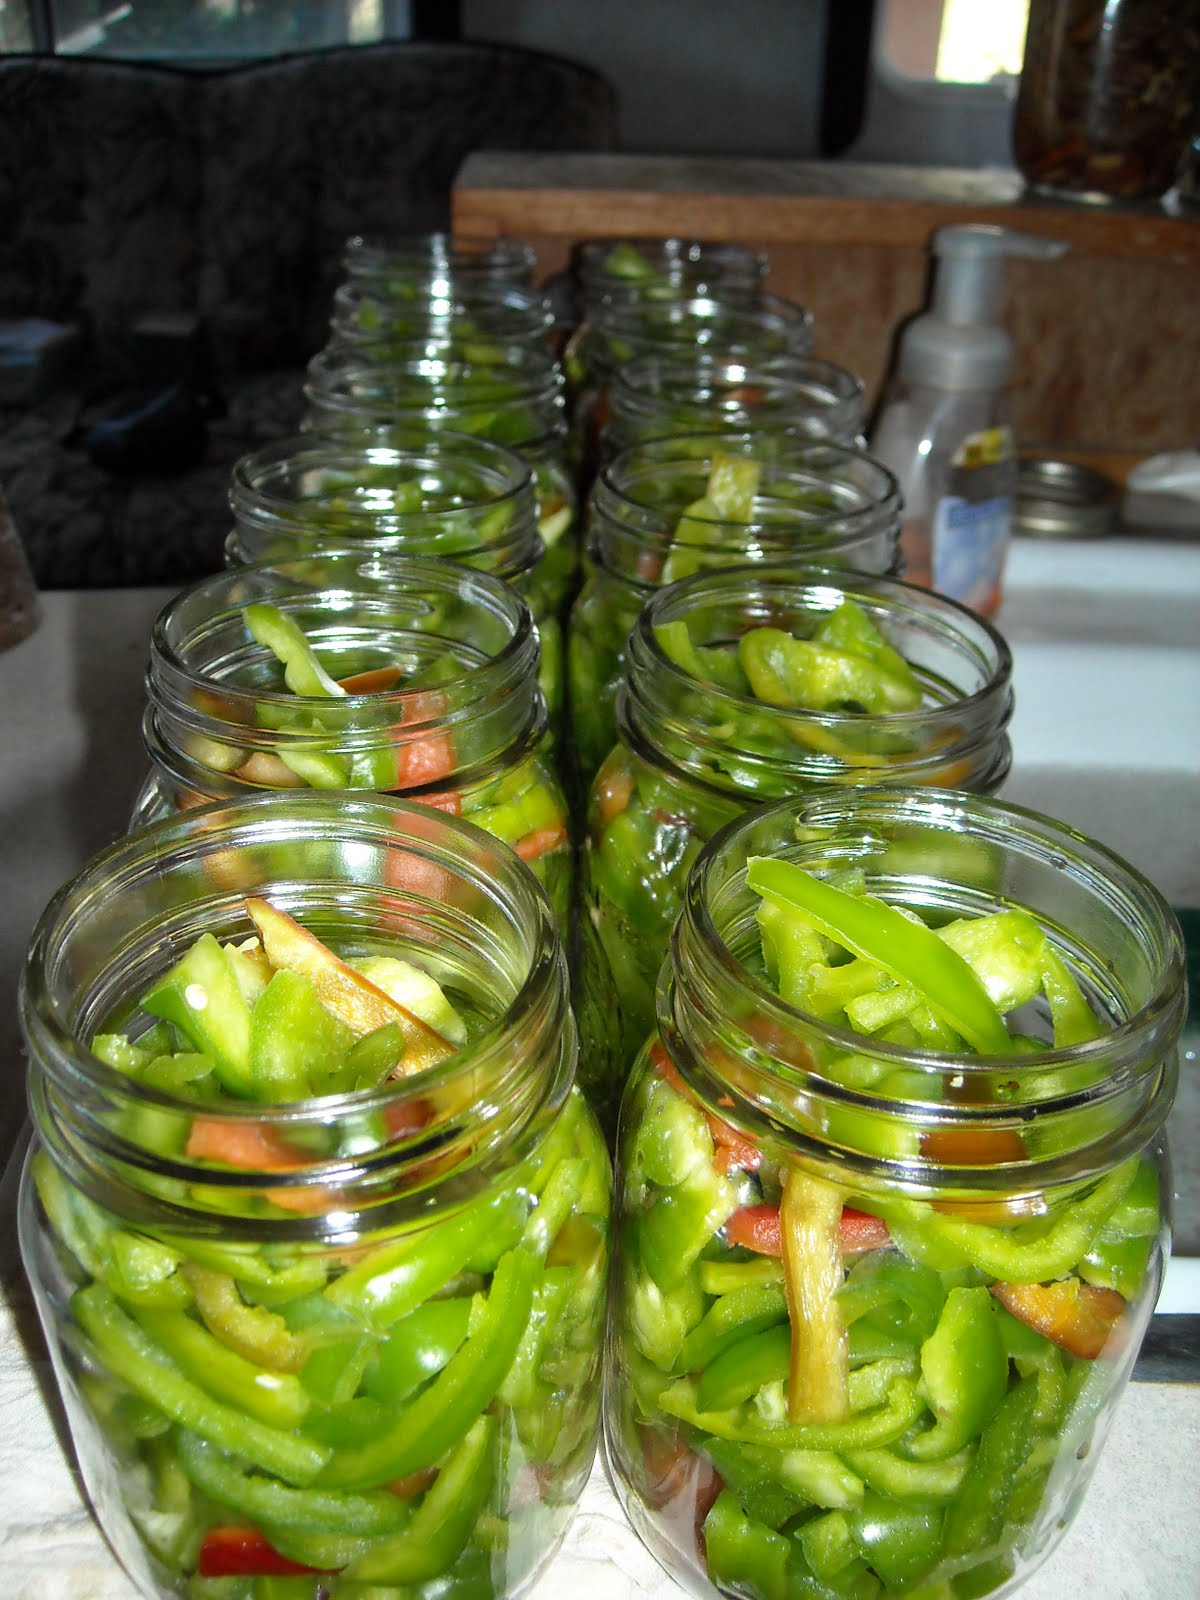
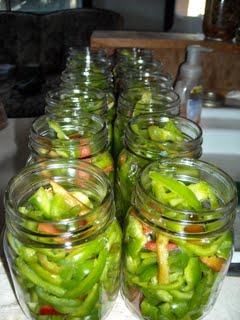
Here they are ready to be canned. As I was going through the pepper plants harvesting the ripe ones, I found that a plant with smaller red and green peppers resembling chili peppers had popped up. (Imagine, if you will, what the Chili’s Restaurant pepper logo looks like.) Well, I haven’t been canning those because Dave likes to eat them raw here and there. HOWEVER, we have found that somehow these peppers were rubbing elbows with some of the other peppers; and sometimes when we bite into a sweet red or green pepper, we’ll get a HOT surprise! So some of these jars are packed with more taste than we bargained for! 🙂
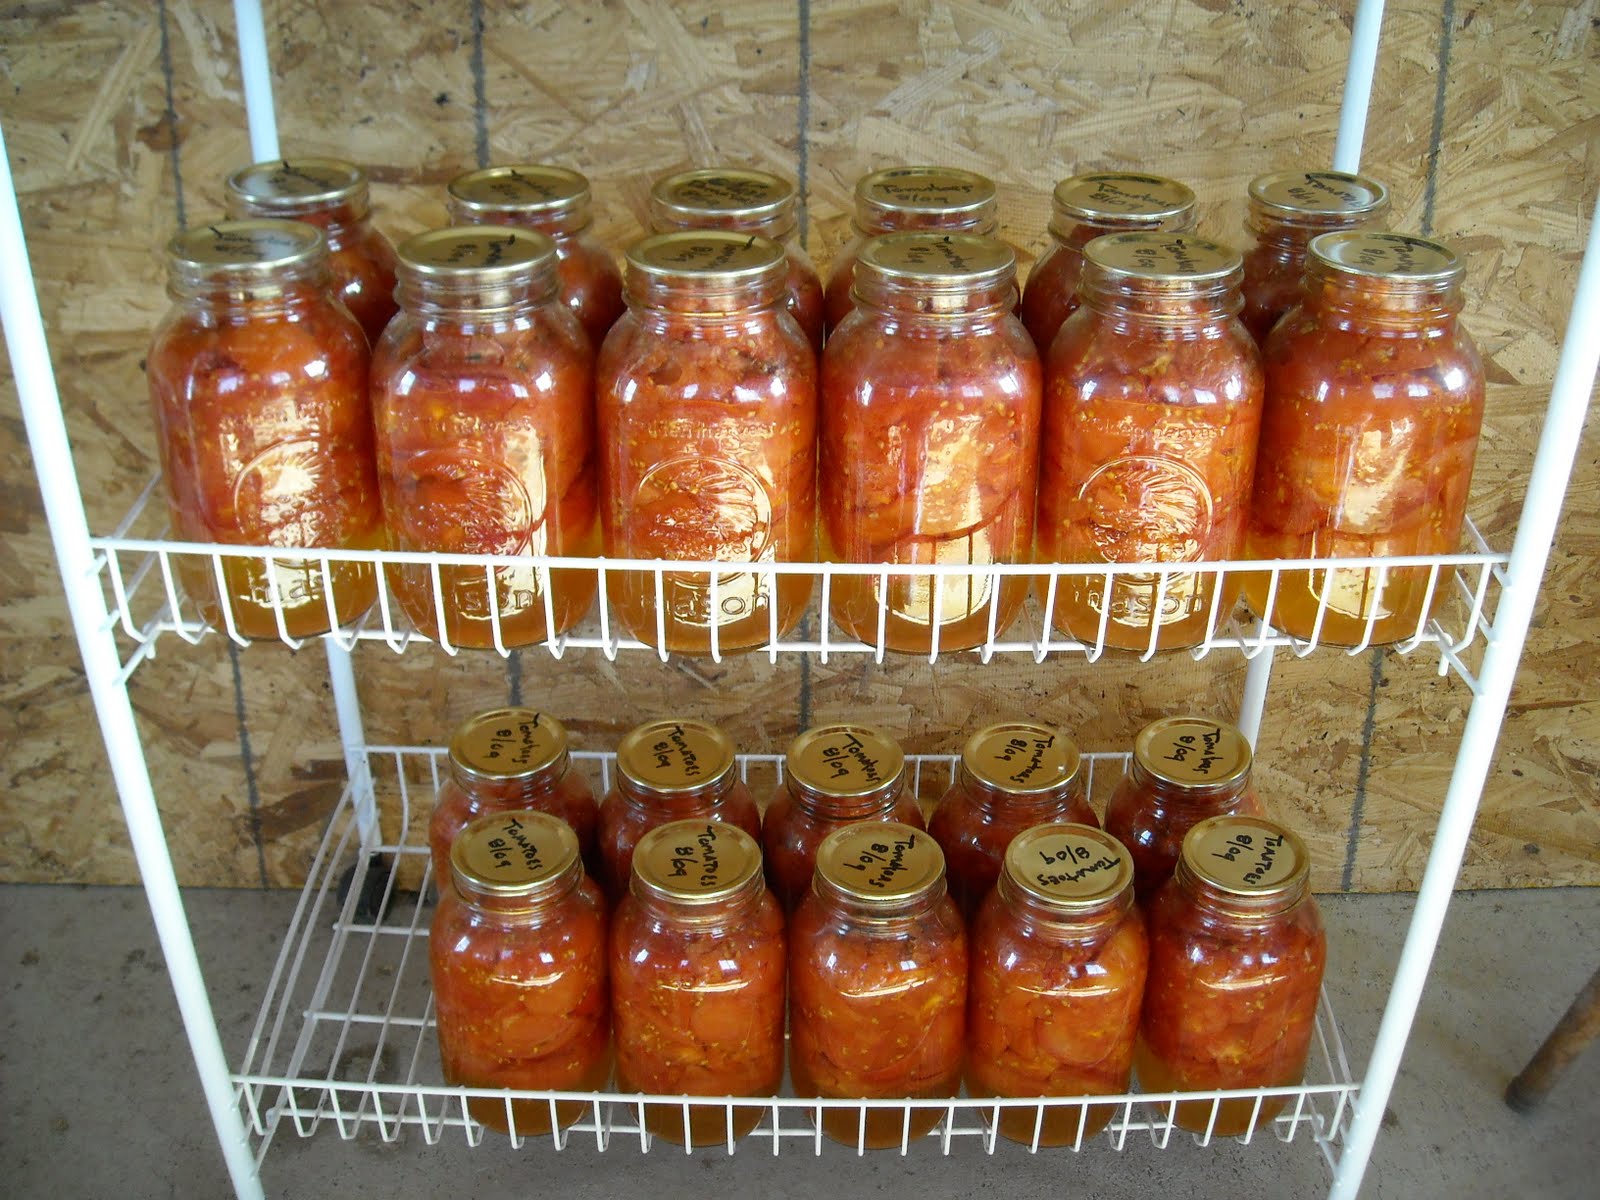
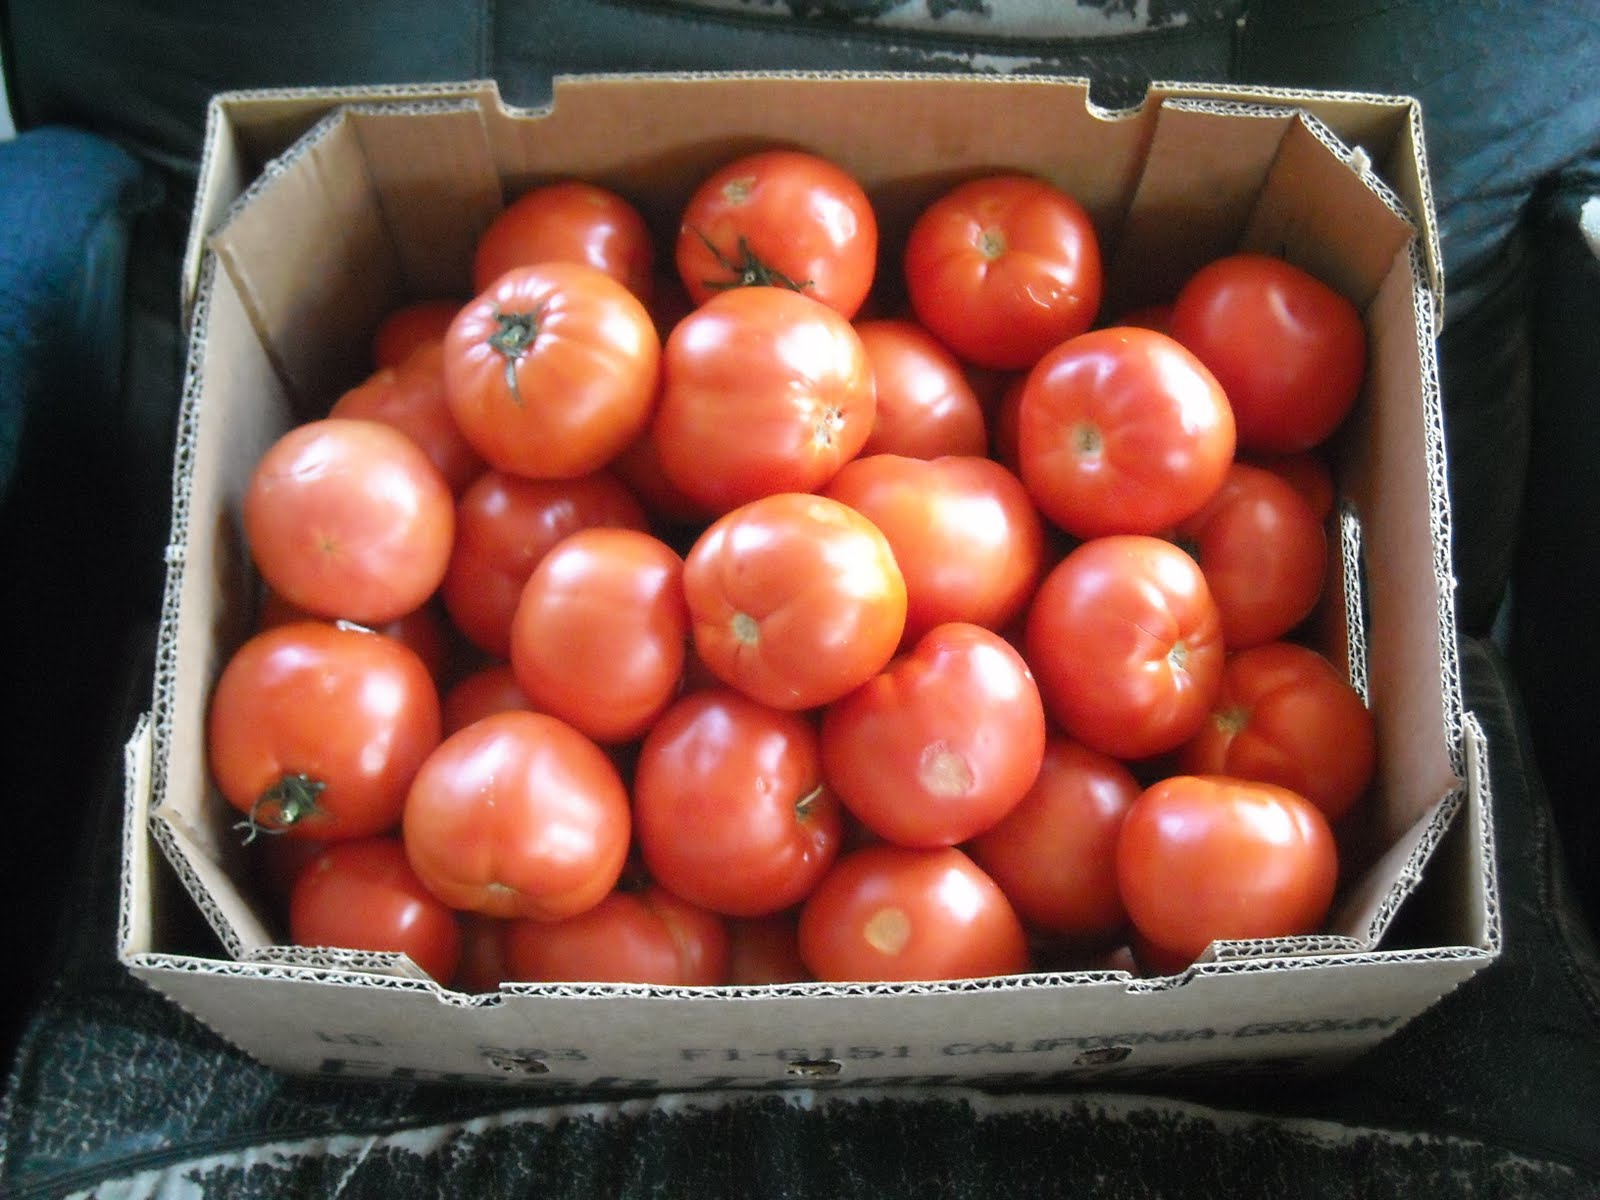
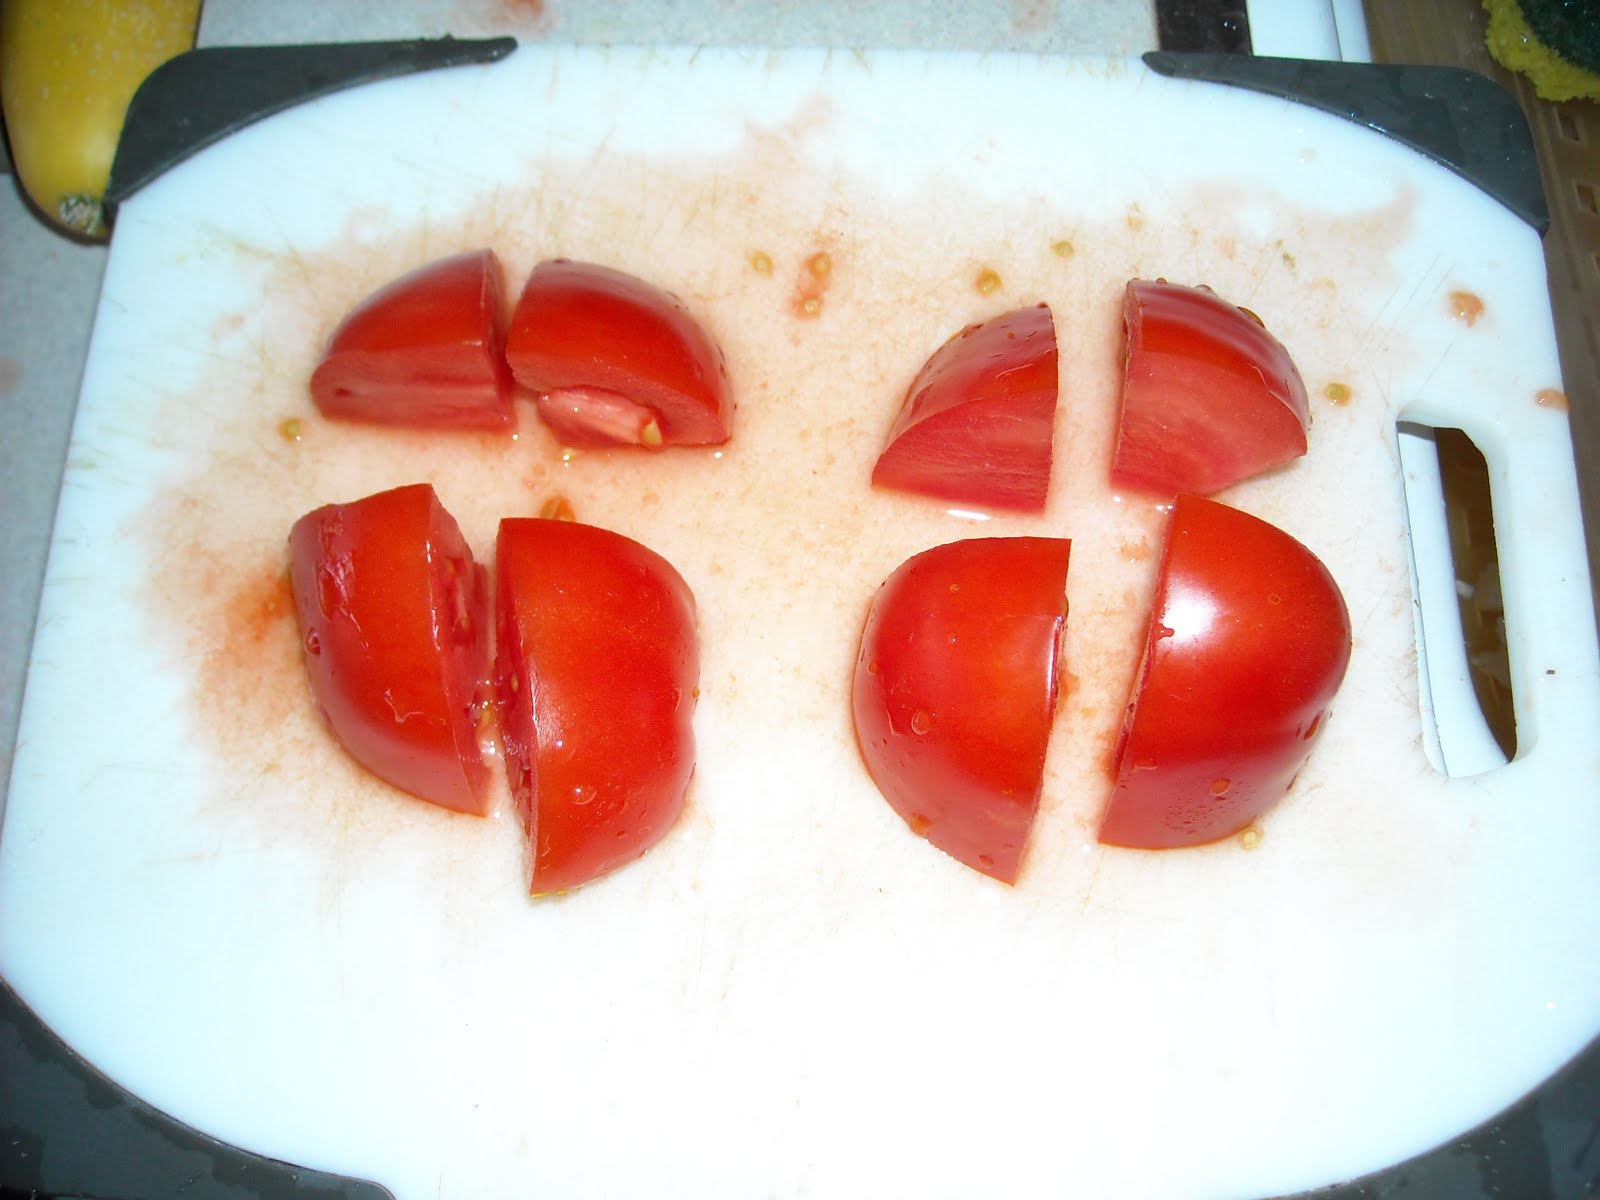
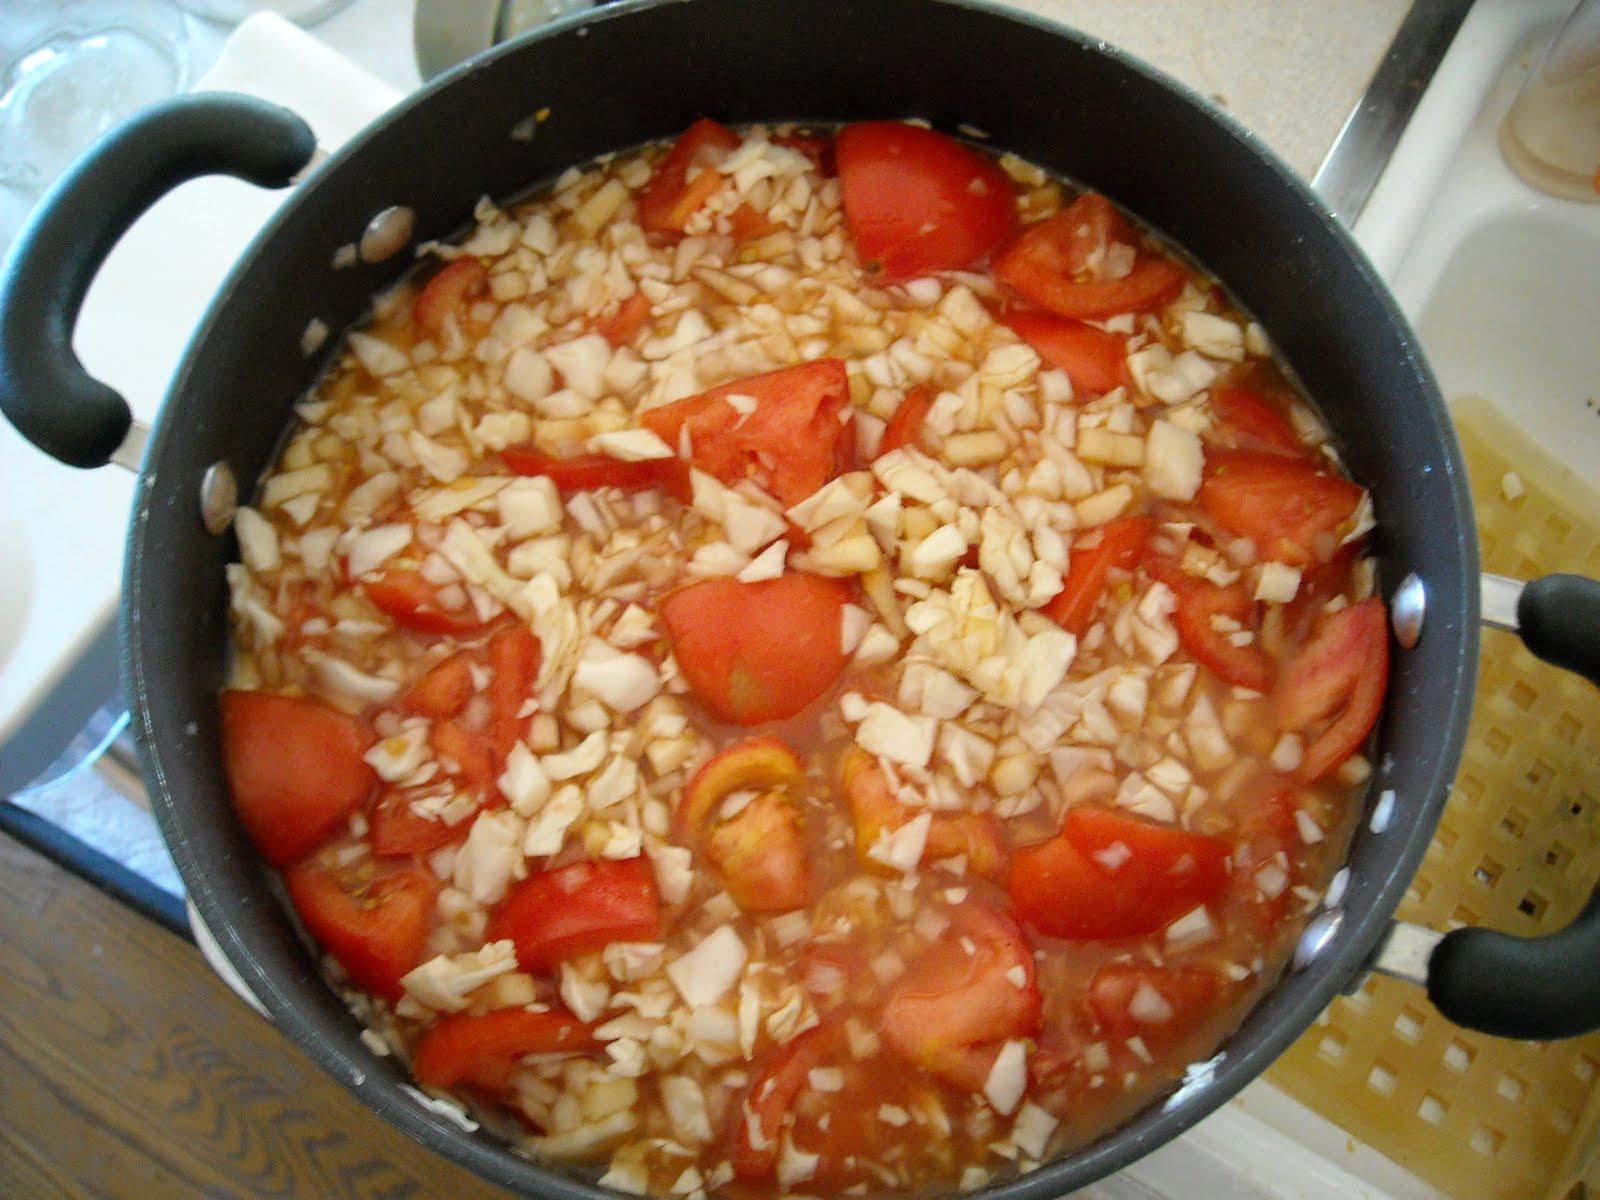
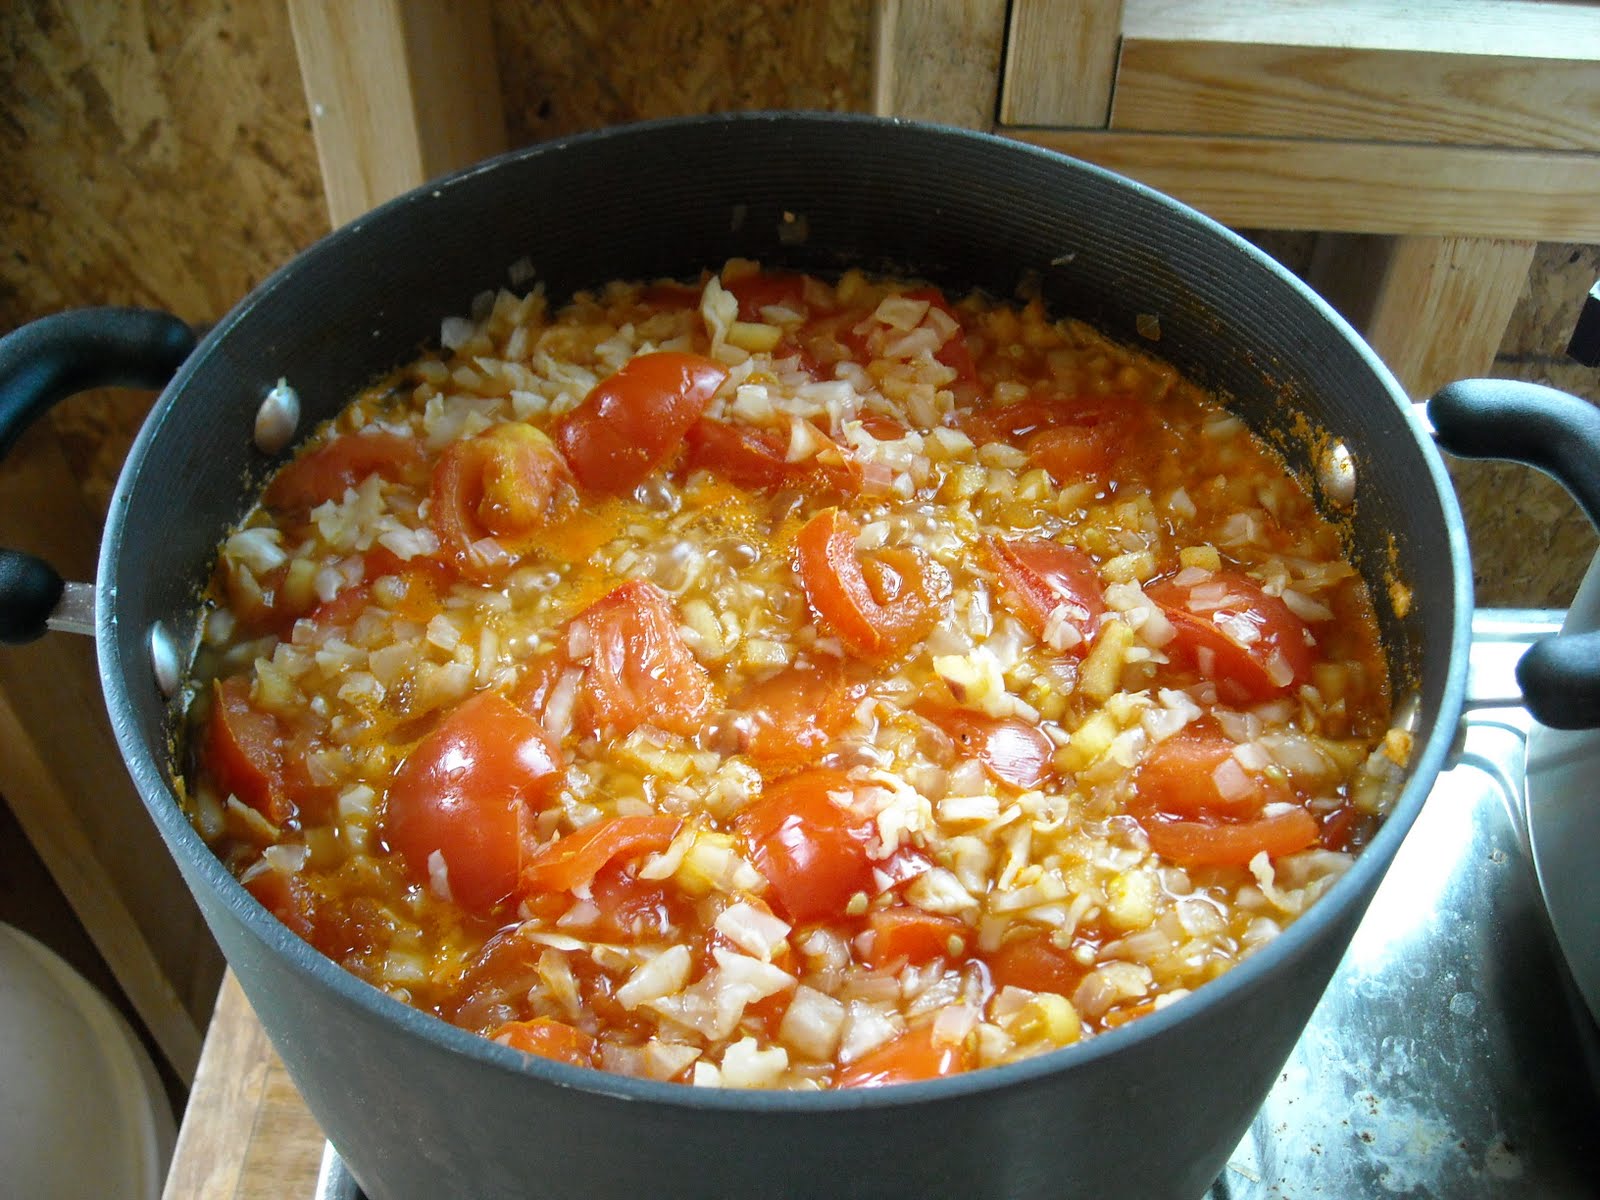
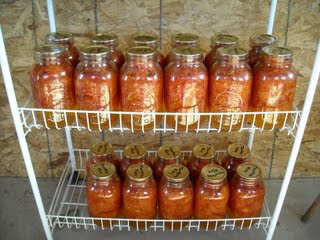
We planted 17 tomato plants this year hoping that we might have a successful crop; but for some reason, none of them did well at all. We have harvested probably fewer than 40 tomatoes the entire summer. Not sure what happened. But, thankfully, the local produce market was selling fresh tomatoes at a fraction of the normal price to keep them moving. We paid a whopping $5.00 for these tomatoes and got 22 quarts! Thanks to the Lord!
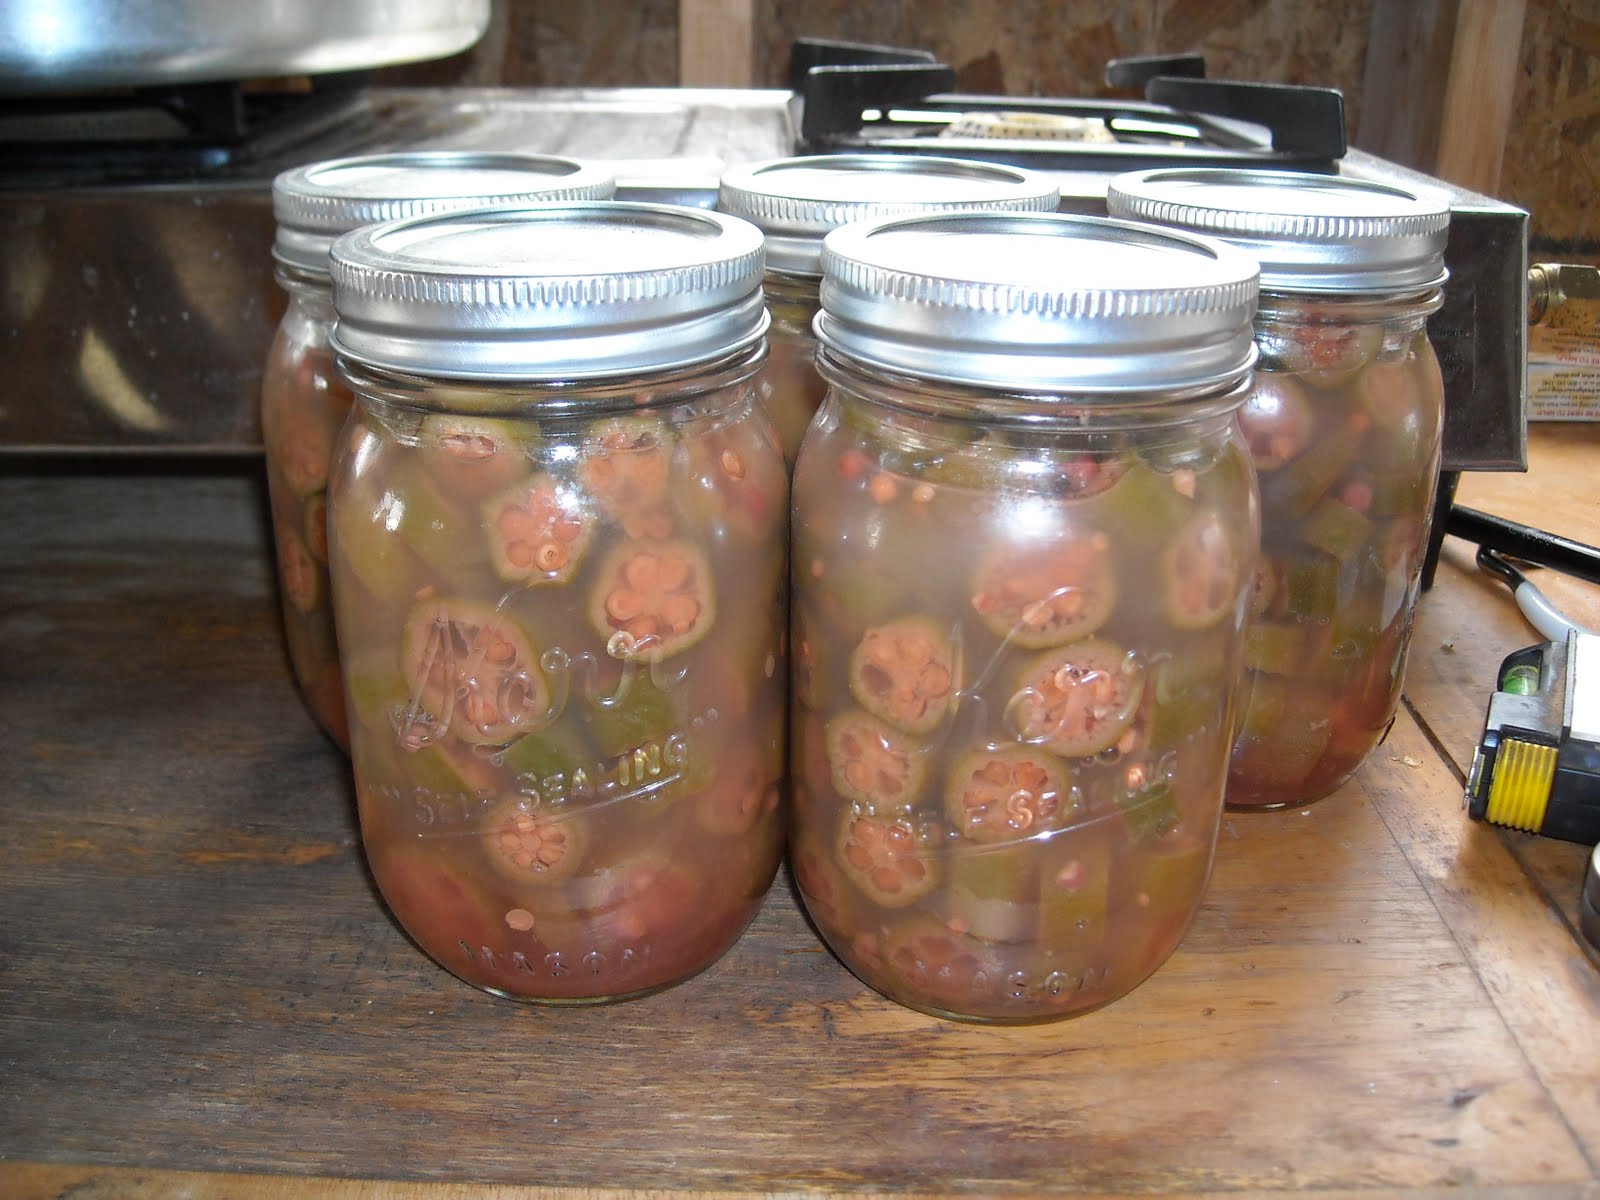
Hmmmmmm, then there is okra (not to be confused with Oprah). Okra and I are still getting to know each other. Coming from the West Coast, I had never eaten okra and don’t believe it is on any menu I’ve ever seen in California. So I’m still becoming acquainted with these Southern crops. To be completely honest, okra and I have a kind of love/hate relationship. They are SO prolific, I could not keep up with them. Do you know that okra can grow to maturity in four days?! It’s almost too much of a good thing. They are fibrous by nature; so if you don’t catch them when they are young and tender, they can get pretty tough and stringy. However, in the canning process, they do soften up and are very edible. I only tried to fix fried okra once but had to put doing that on the back burner (no pun intended) after that until I have more time to experiment with the seasonings. For now though, we are very grateful to have several jars of nutritious okra put away in the root cellar. They’re actually quite tasty when I process them with lemon juice and a little salt:

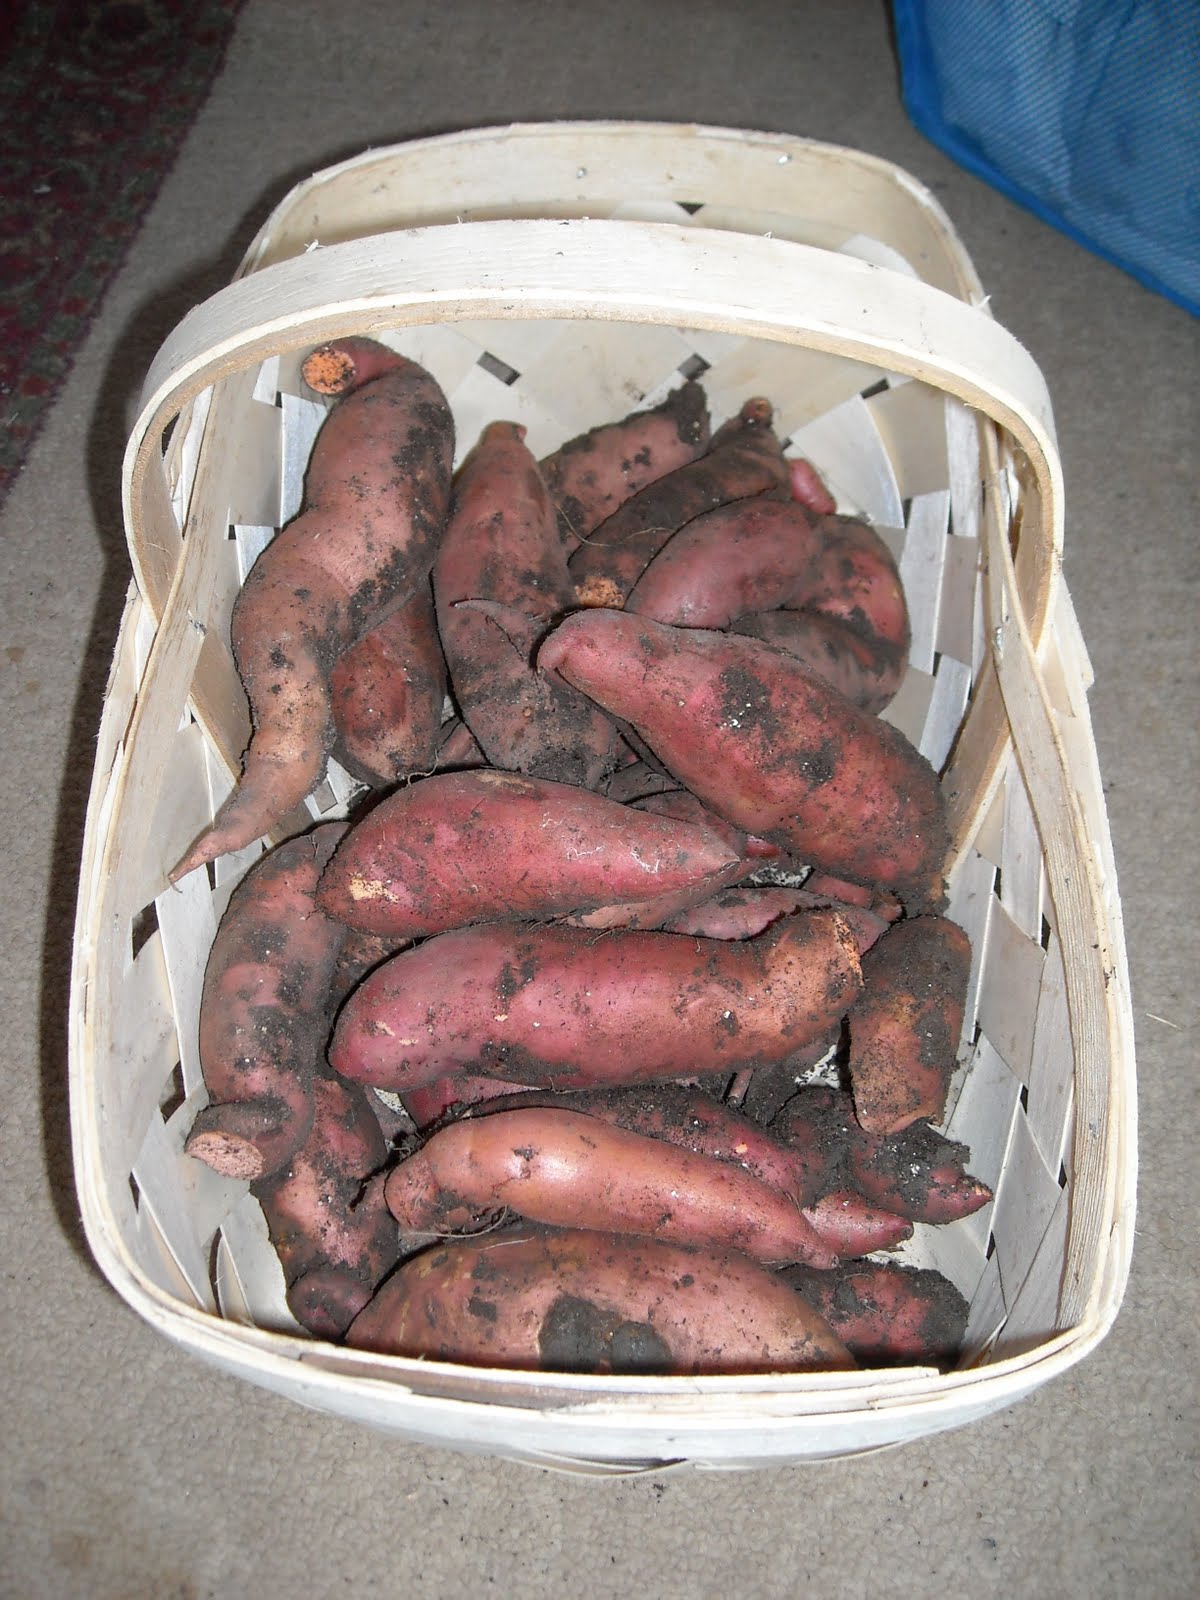
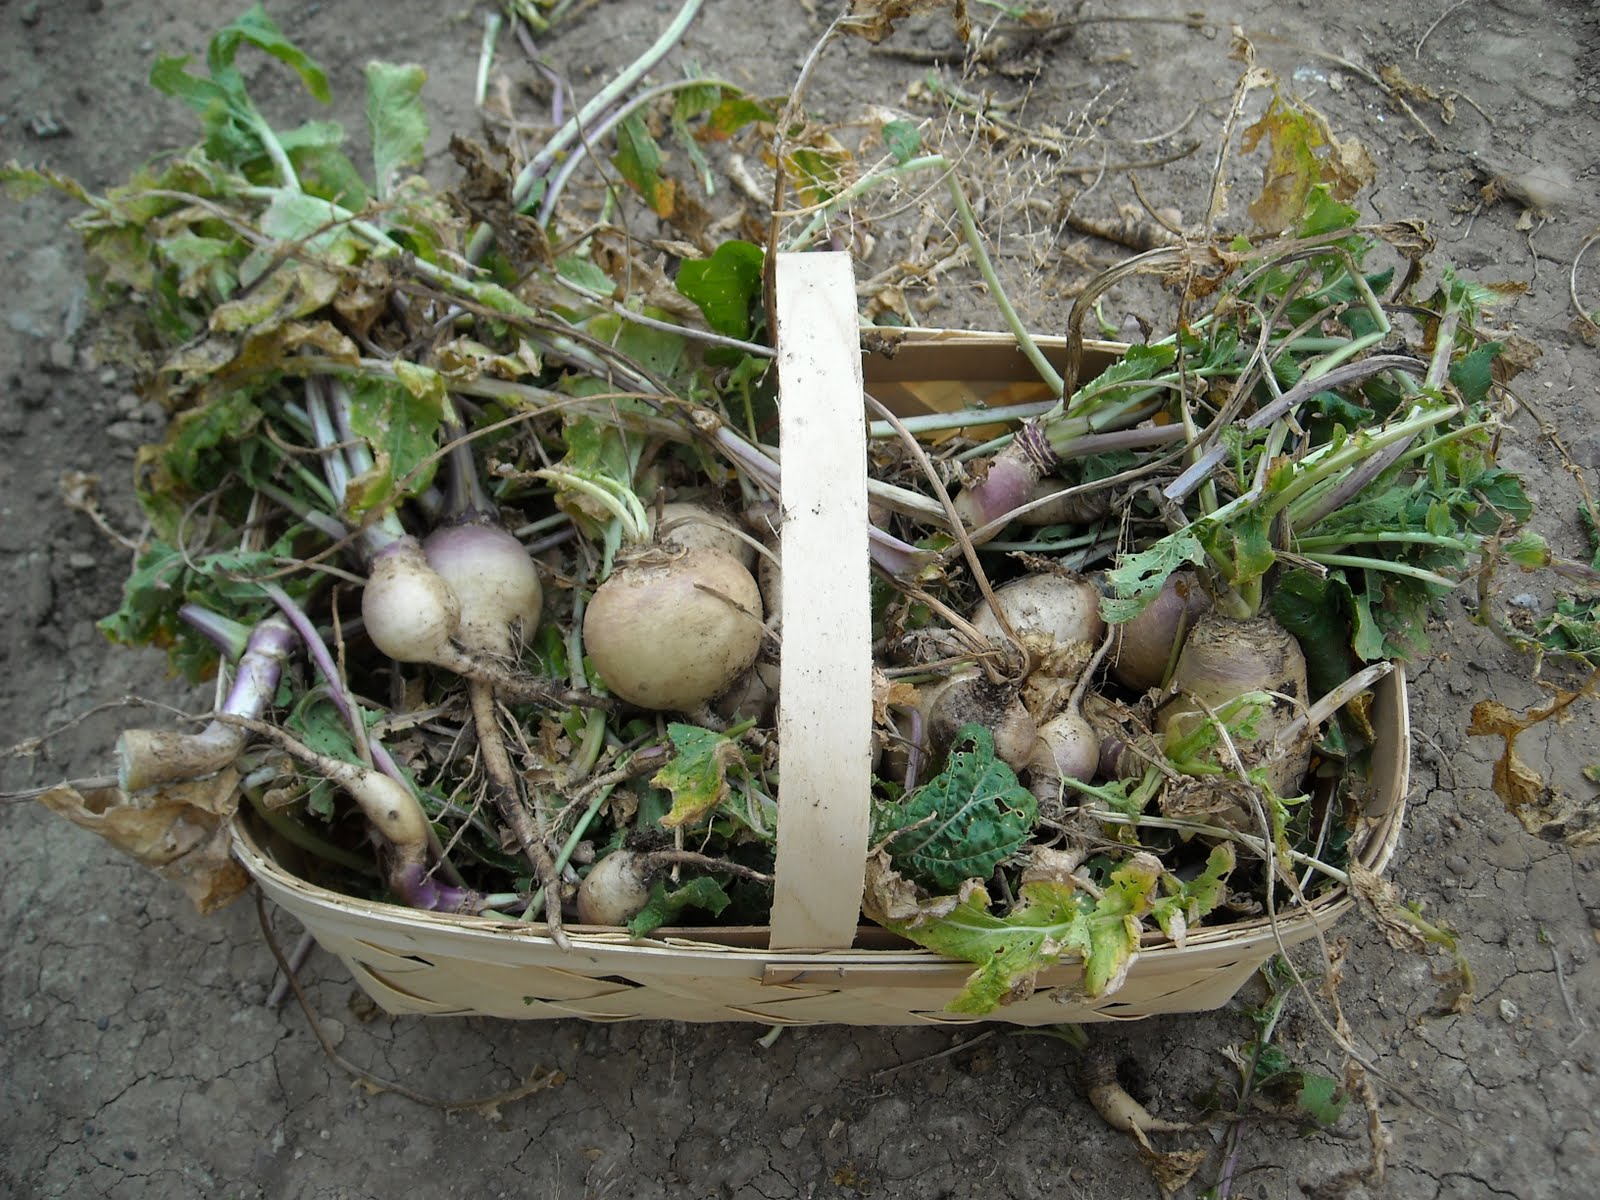
We planted a half bed of turnips this year as a kind of experiment to see how they would grow. They did very well, and we had many great salads with turnip greens. The greens are a bit misleading because the actual number of turnips that were harvested were not that many. But we were very thankful to have this basket full of them:

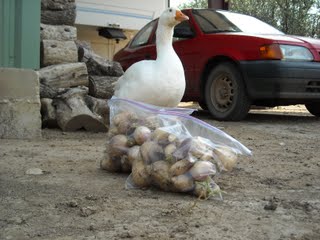
Dave put them in freezer bags to be kept in our large freezer (which we had running because I was in the process of canning our two butchered hogs at the time) until I could get around to canning them. Here, we paid Gary a couple carrots to guard them until Dave could put them in the freezer:
Sadly, they thawed just enough in the freezer that they started going bad by the time I could get to them. So our turnips were, instead, enjoyed by our hog, Missy. Maybe next year…….
We also have gotten some great green onions and red onions from our garden, of which I don’t currently have pictures. I still haven’t gotten used to knowing I can just walk outside over to the garden and pick a bunch of fresh produce to put into our meals. What an amazing blessing for which we are so thankful to God.
Susan
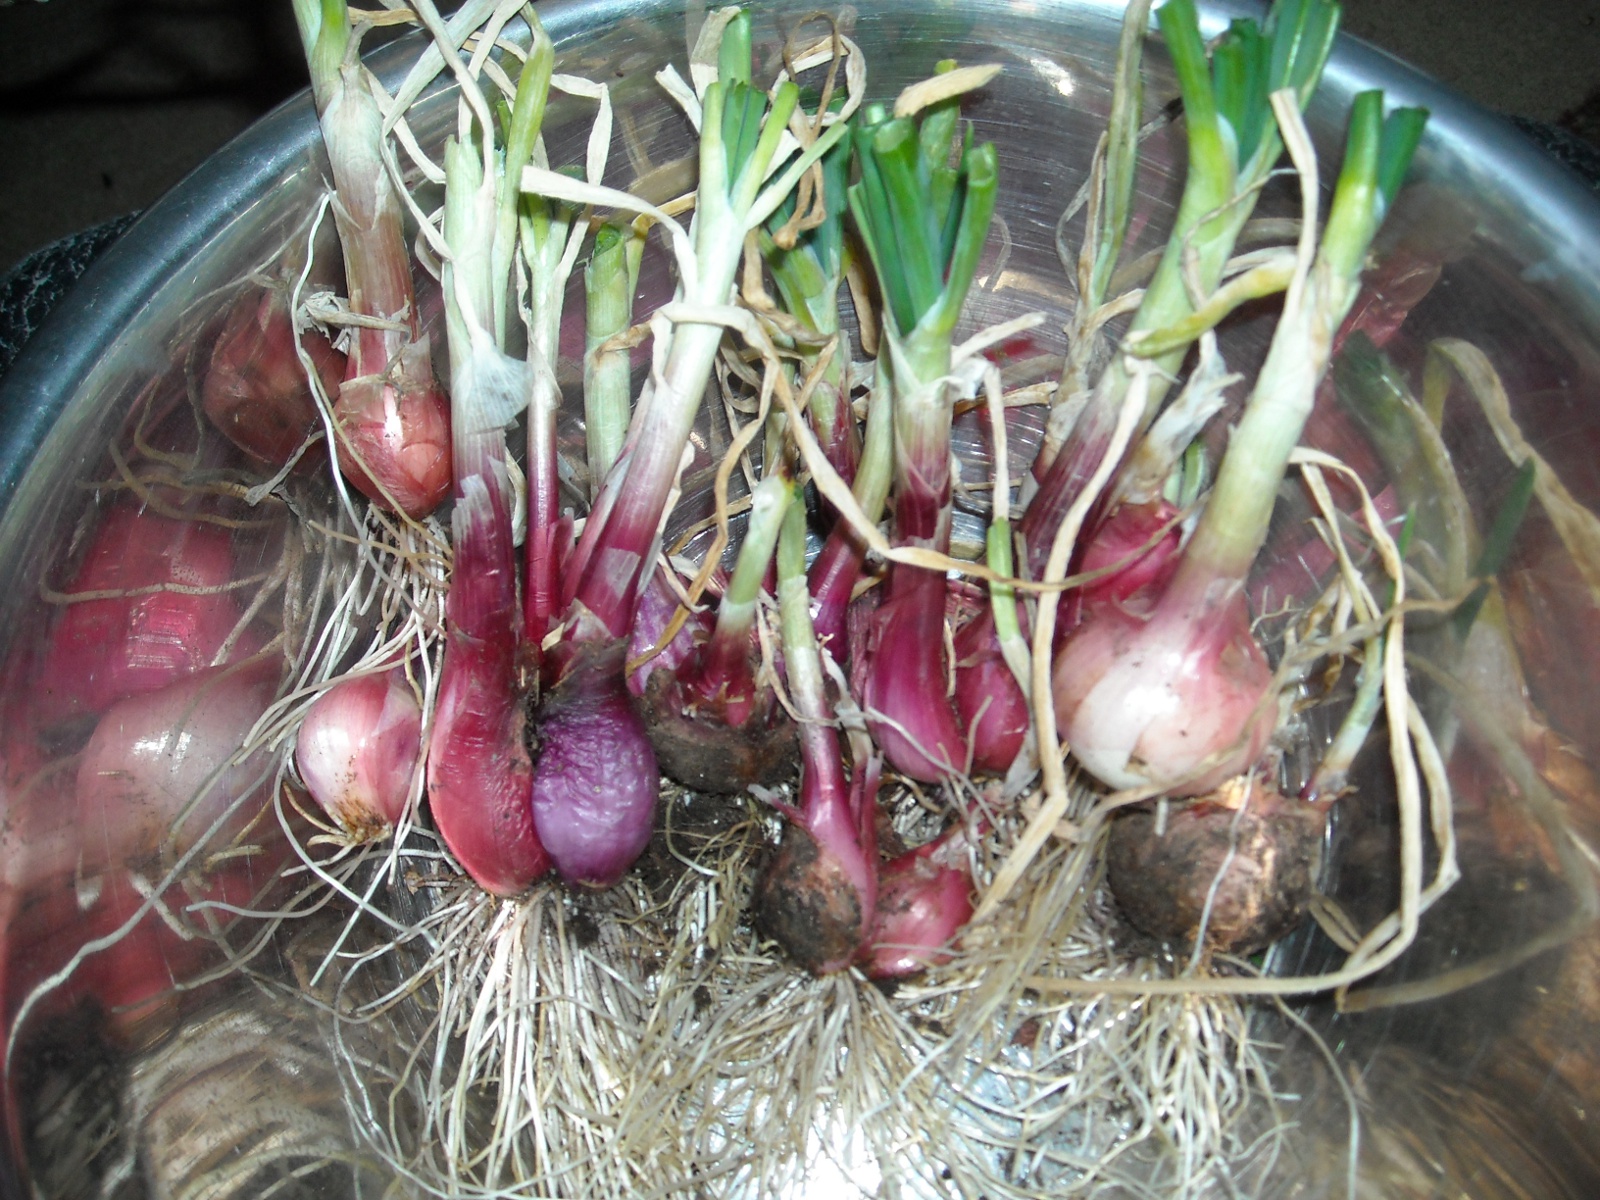
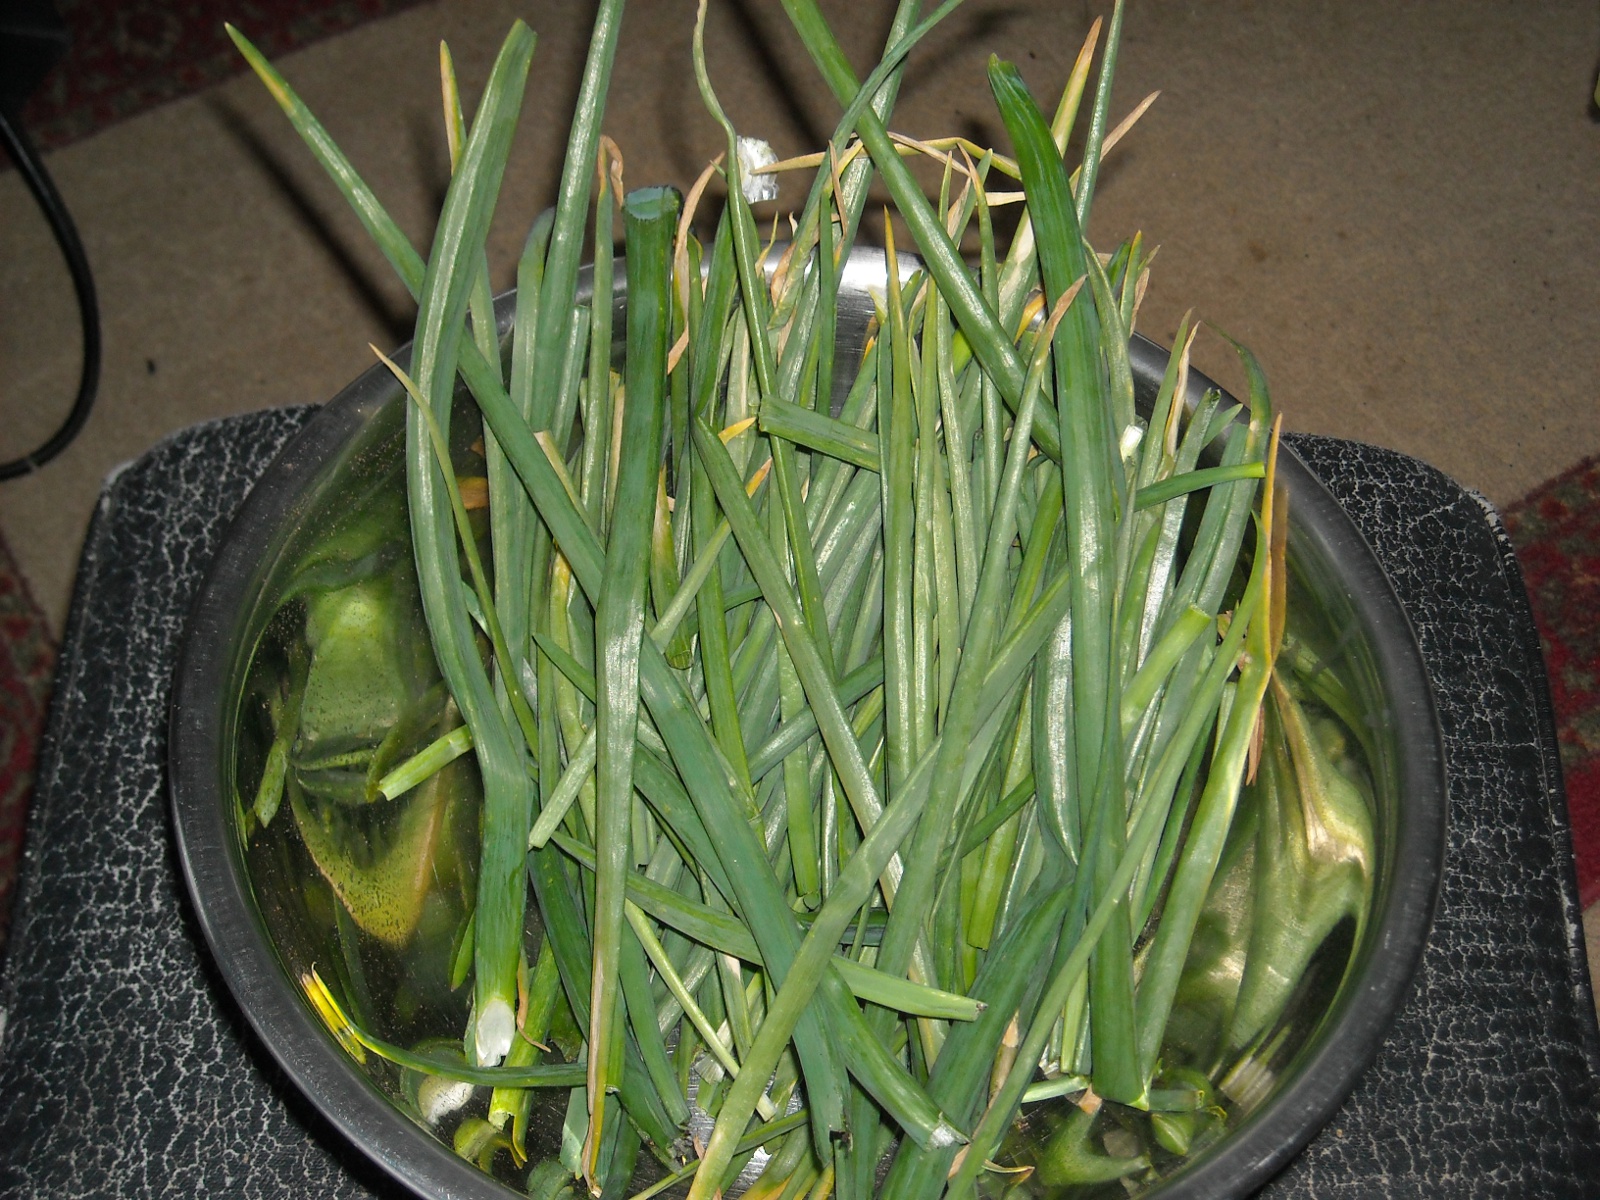
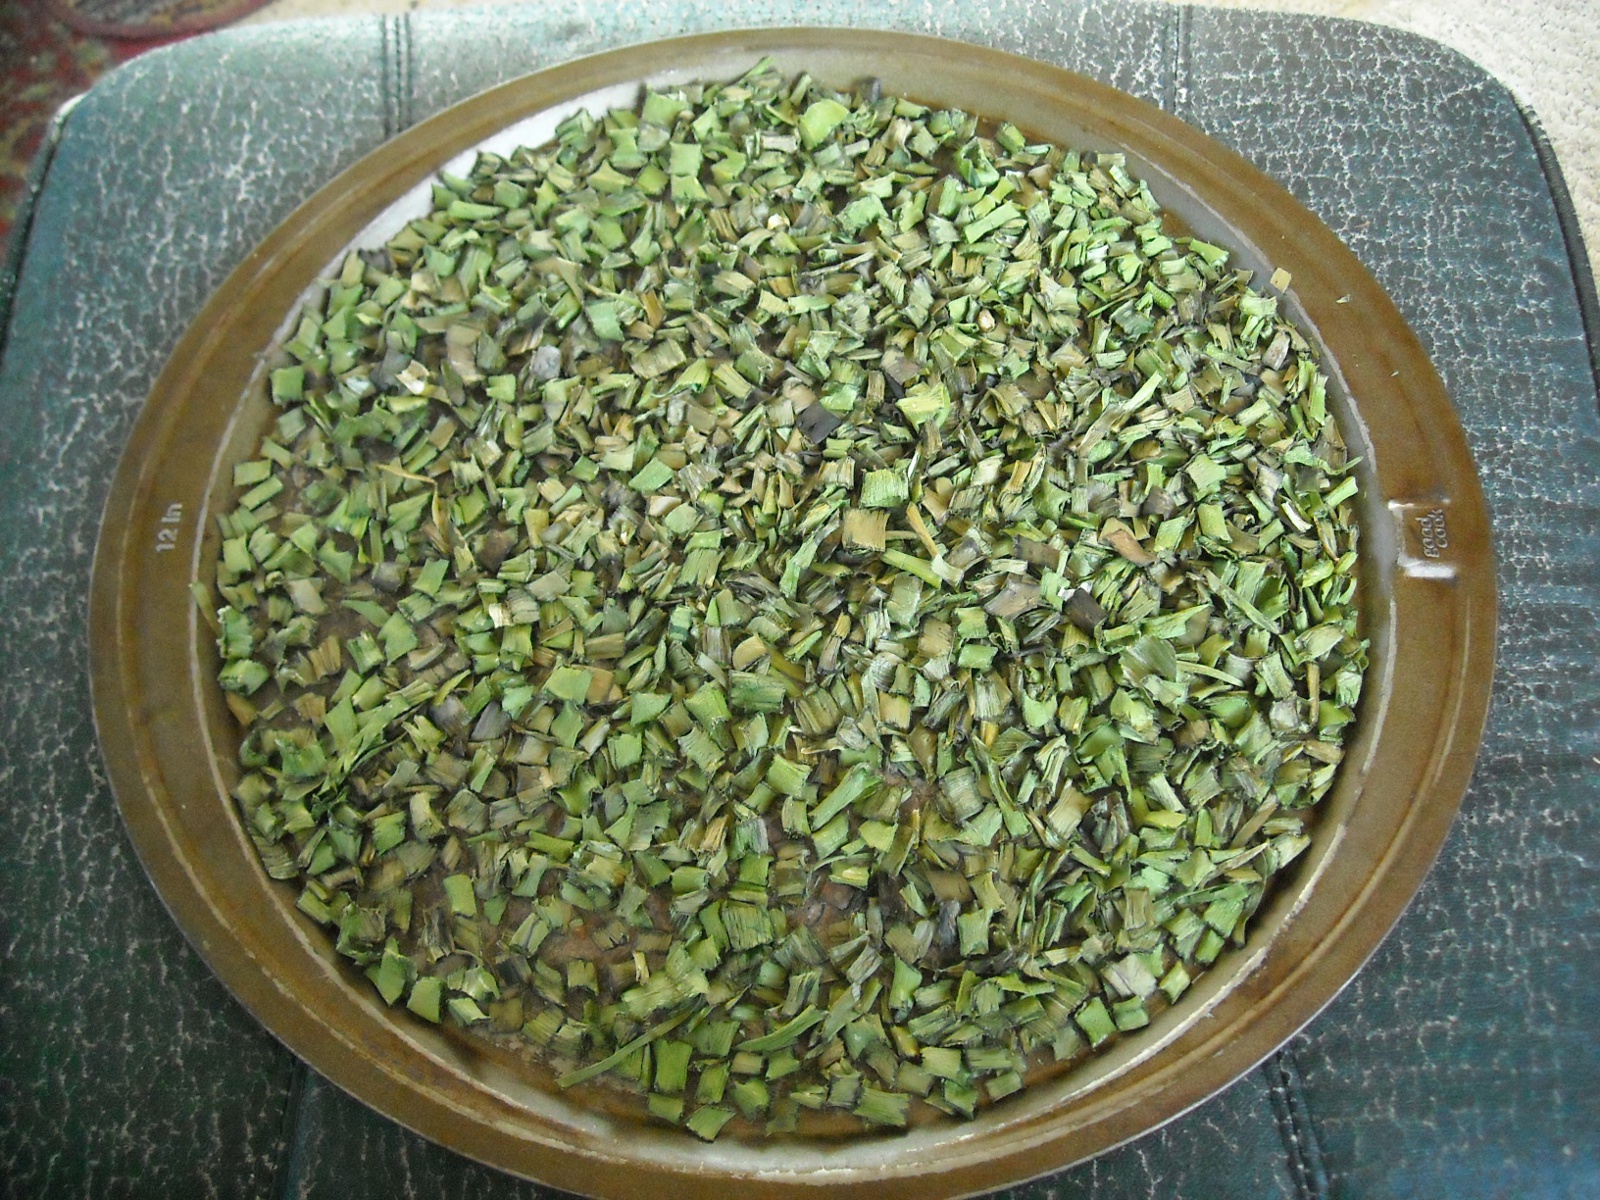
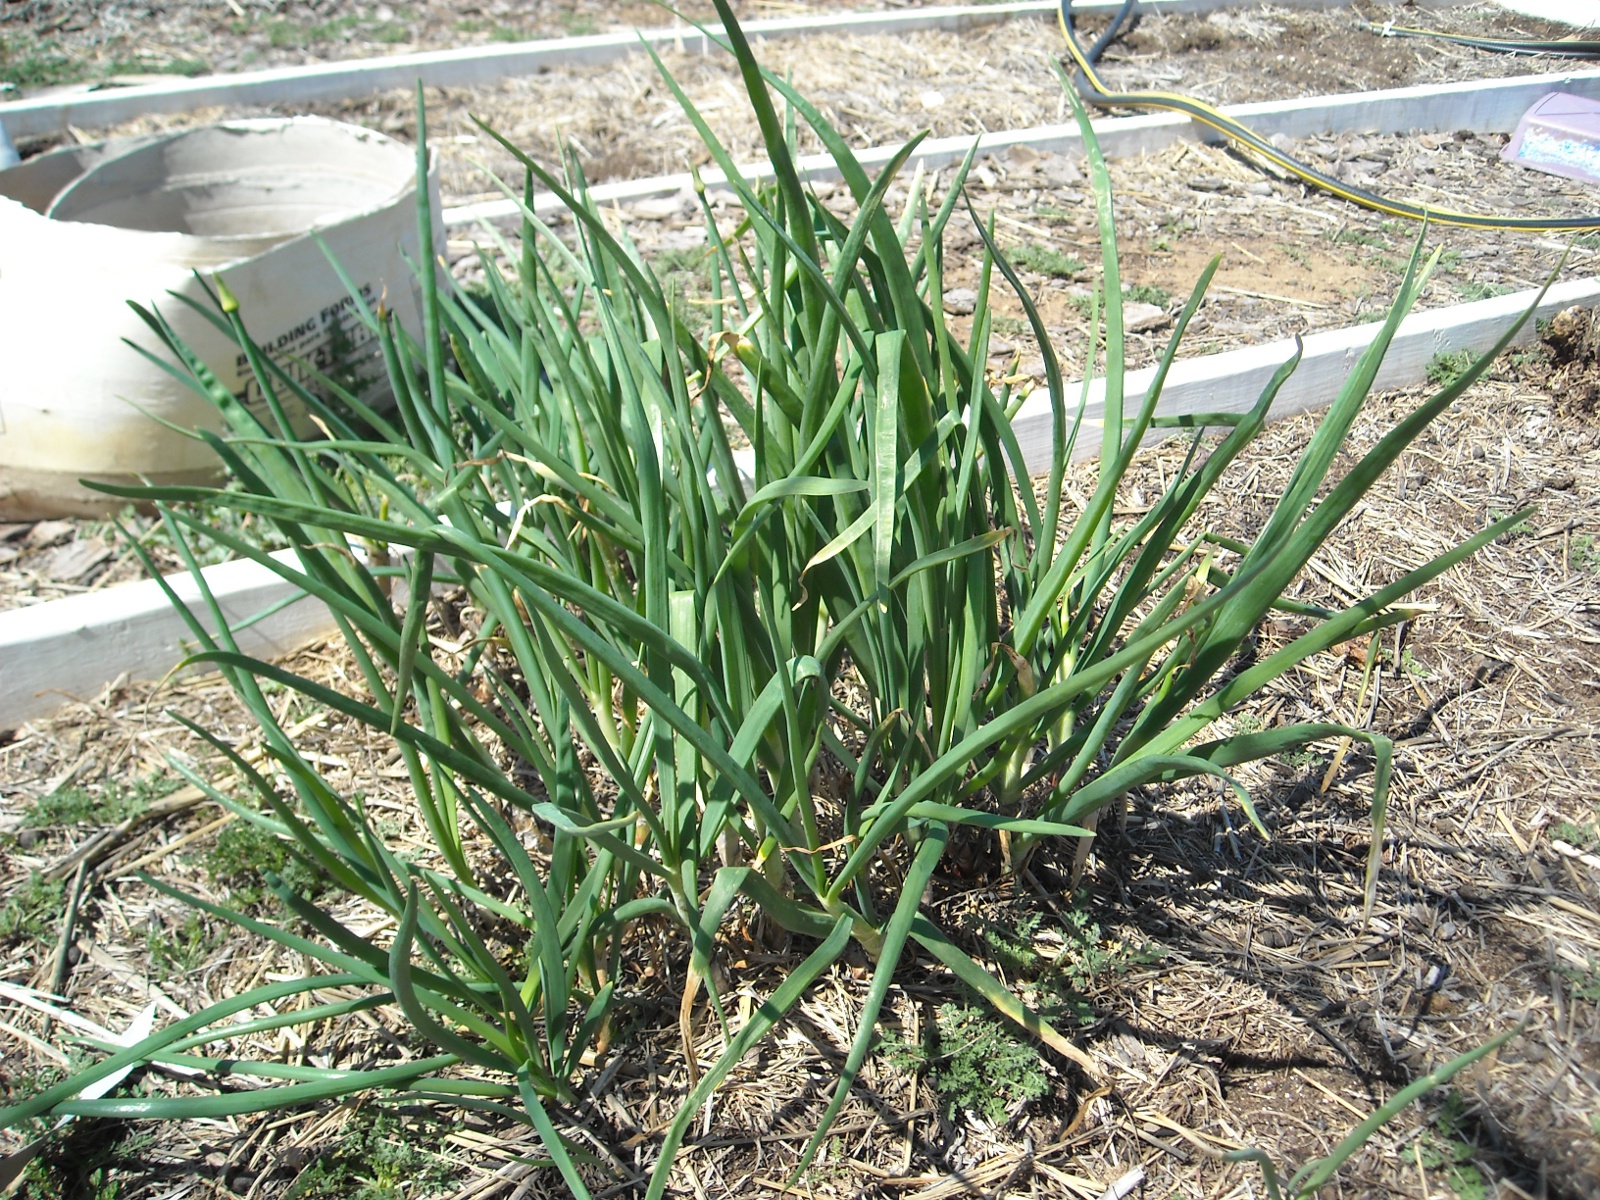 I sit here writing this blog post on the first full day of Spring 2010. Wow, I never thought I’d still be writing about our Spring 2009 garden! In it, we planted onions; and they have been going strong through the wettest, harshest winter we’ve had since we’ve lived here in Central Texas. I had picked all of the green onion stems off of the onions last summer in order to dry them in our solar food dehydrator, and decided to leave the remaining onions in the ground and pick them as needed as we entered into Fall. In actuality, once everything else in the garden had come to its natural end, I forgot to go out and pick the onions much of the time. Then, mid-way through winter, Dave noticed there were green onion stems (aka: scallions) that had grown back long and healthy. Boy, talk about a gift that keeps on giving!