This is our journal of what we pray is our sojourn of life (Hebrews 11:8-10) along the narrow way (Matthew 7:14), even the old paths (Jeremiah 6:16), submitting to the Bible as a light unto both (Psalms 119:105). It is our prayer that these documented moments in our earthly time benefit whom God might choose to edify, but ultimately that God glorifies Himself through them.

Category: homestead (Page 3 of 13)

A House – Update L – Lower Siding, Update I

In our last house update, we had started on the lower external siding. Well, God has graciously granted we be able to continue with the process, this time on the west side!

Here it is with the porch ledger board, drip edge, and half the tar paper up:

House West Side Lower Siding Ledger Board & Partial Tar Paper

Another of the House West Side Lower Siding Ledger Board & Partial Tar Paper

And then half the siding:

House West Side Lower Siding Half of the Siding Up

And then the siding complete!

House West Side Lower Siding Complete

We are very thankful to the Lord for granting the continued progress on the house! And thanks to those who continue to make it possible for us to do this in resources, and thanks to Sue for the help putting up the tar paper! 😀

On to the south side!

— David

A House – Update XLIX – The Porch, Lower Siding, & Window Sills

It’s been a while since our last house update — June of last year in fact — and so, we thought we’d catch you up on the progress on the house the Lord has graciously granted!

The Porch

It was finally time to start getting going on some external siding, but before that, we needed to be able to figure out where the porch was going to attach to the house because siding placement would be determined by that. Plus, the stairs we had in front of the house leading into the front door were a little unstable, and so I wanted to get into place a temporary set up that was a little less rickety as well.

We started by going around the outer porch beams along the porch posts to find the highest point so we could level the porch all the way around off of that. We used the water level we used when leveling the foundation piers, which works great for long distances.

Once that was figured out, it was time to put up the siding tar paper:

Lower East Siding Tar Paper

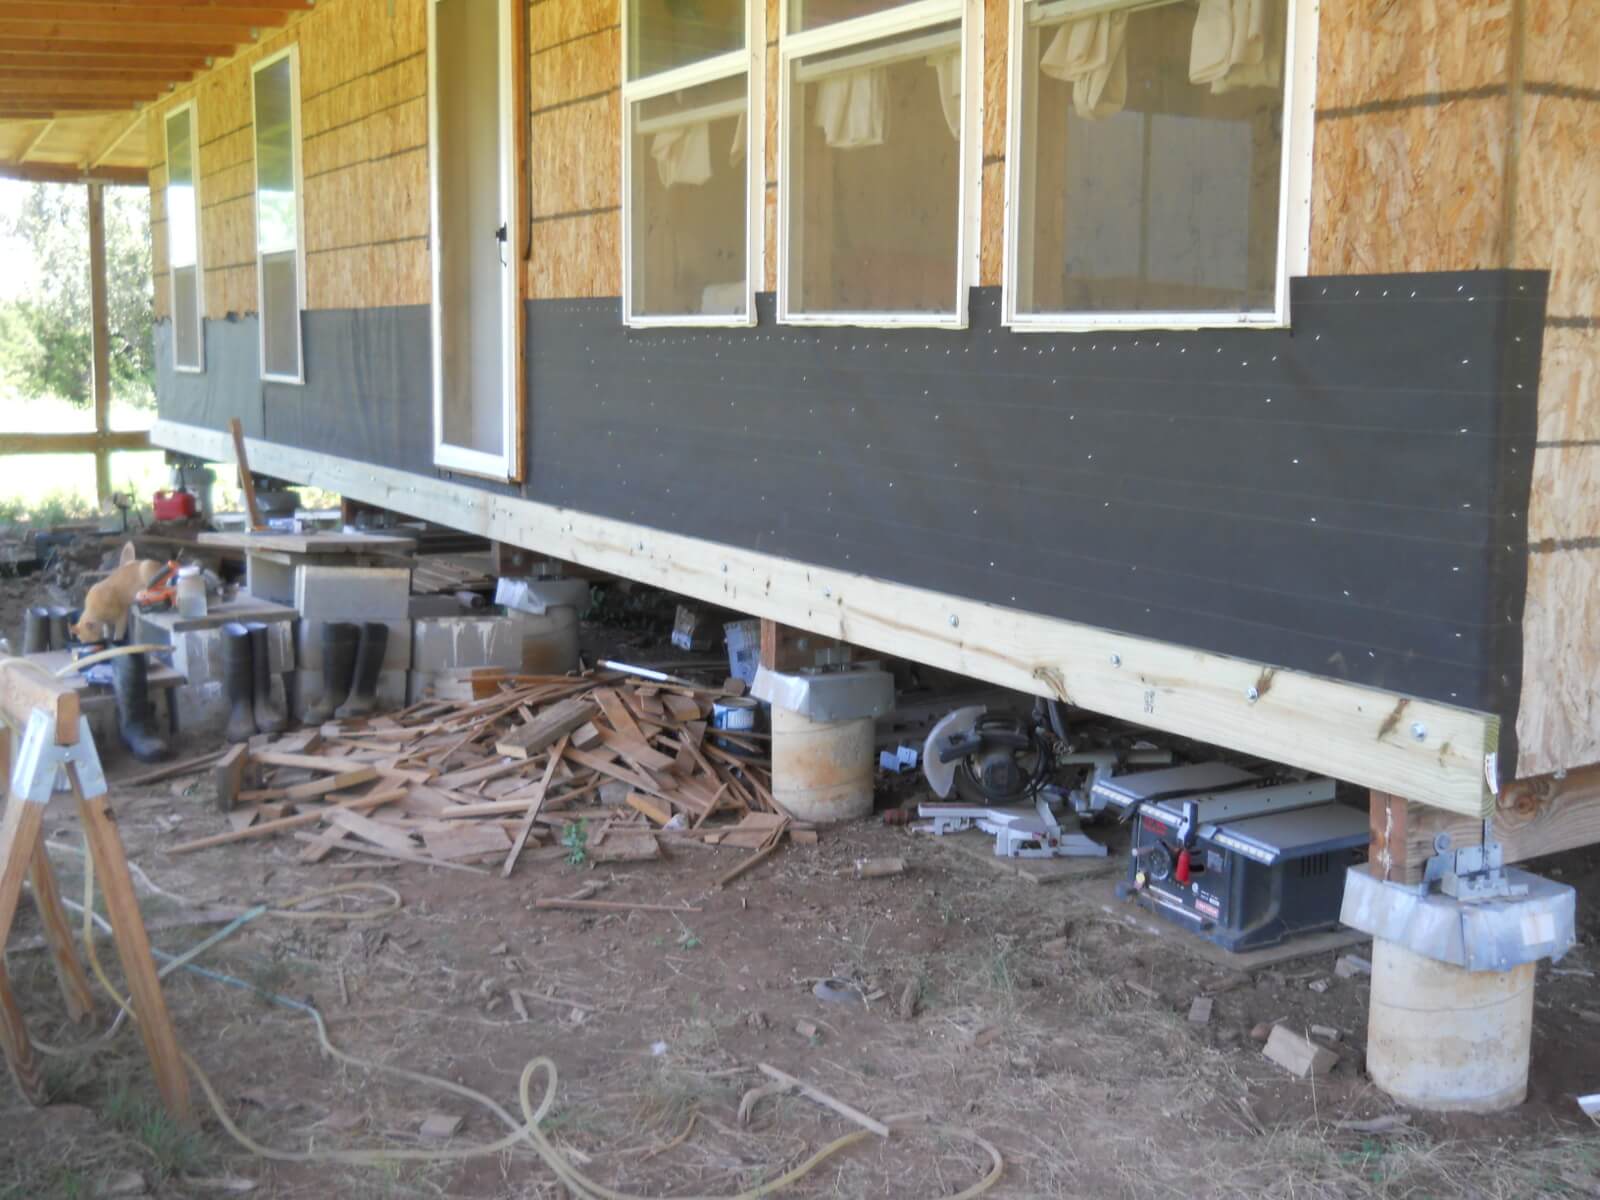
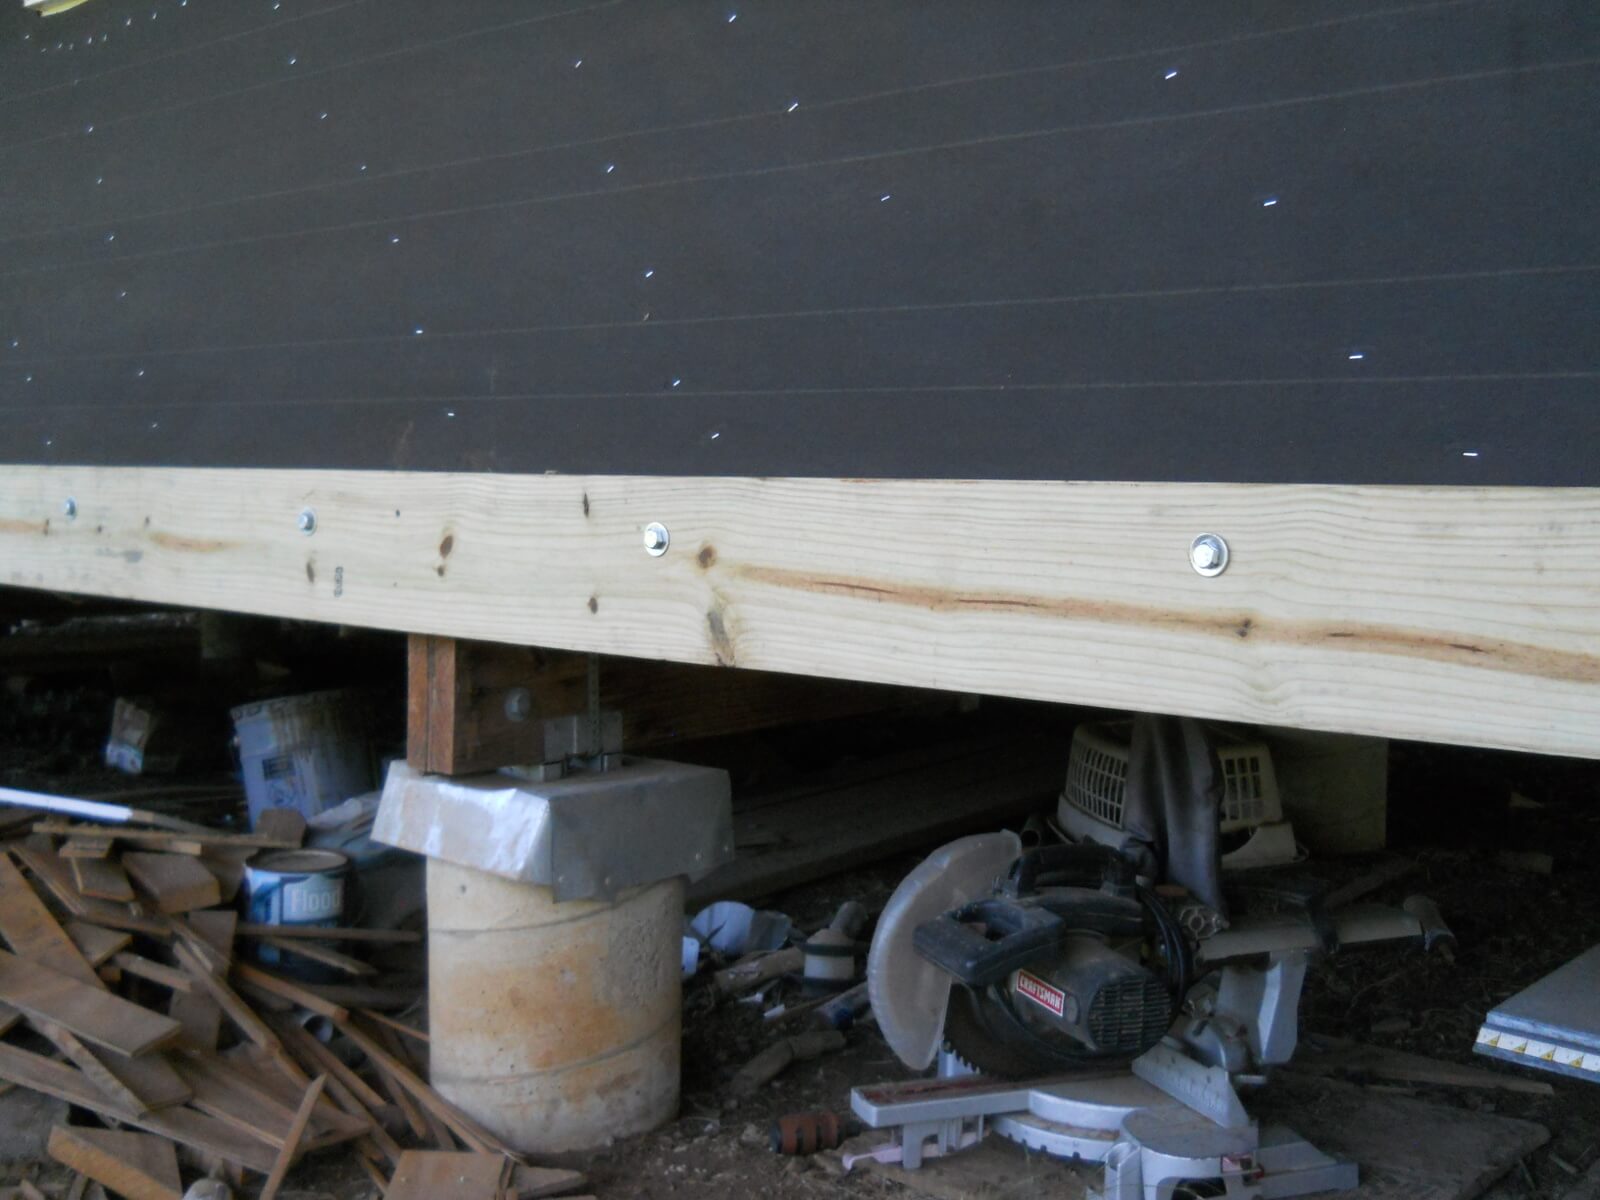
And then the porch ledger board…

Lower East Side with Porch Leadger Board

…bolted to the outside main structure floor joists (which are doubled up on the east and west sides, since walls are sitting on them):

Porch Ledger Board Bolted to Joists

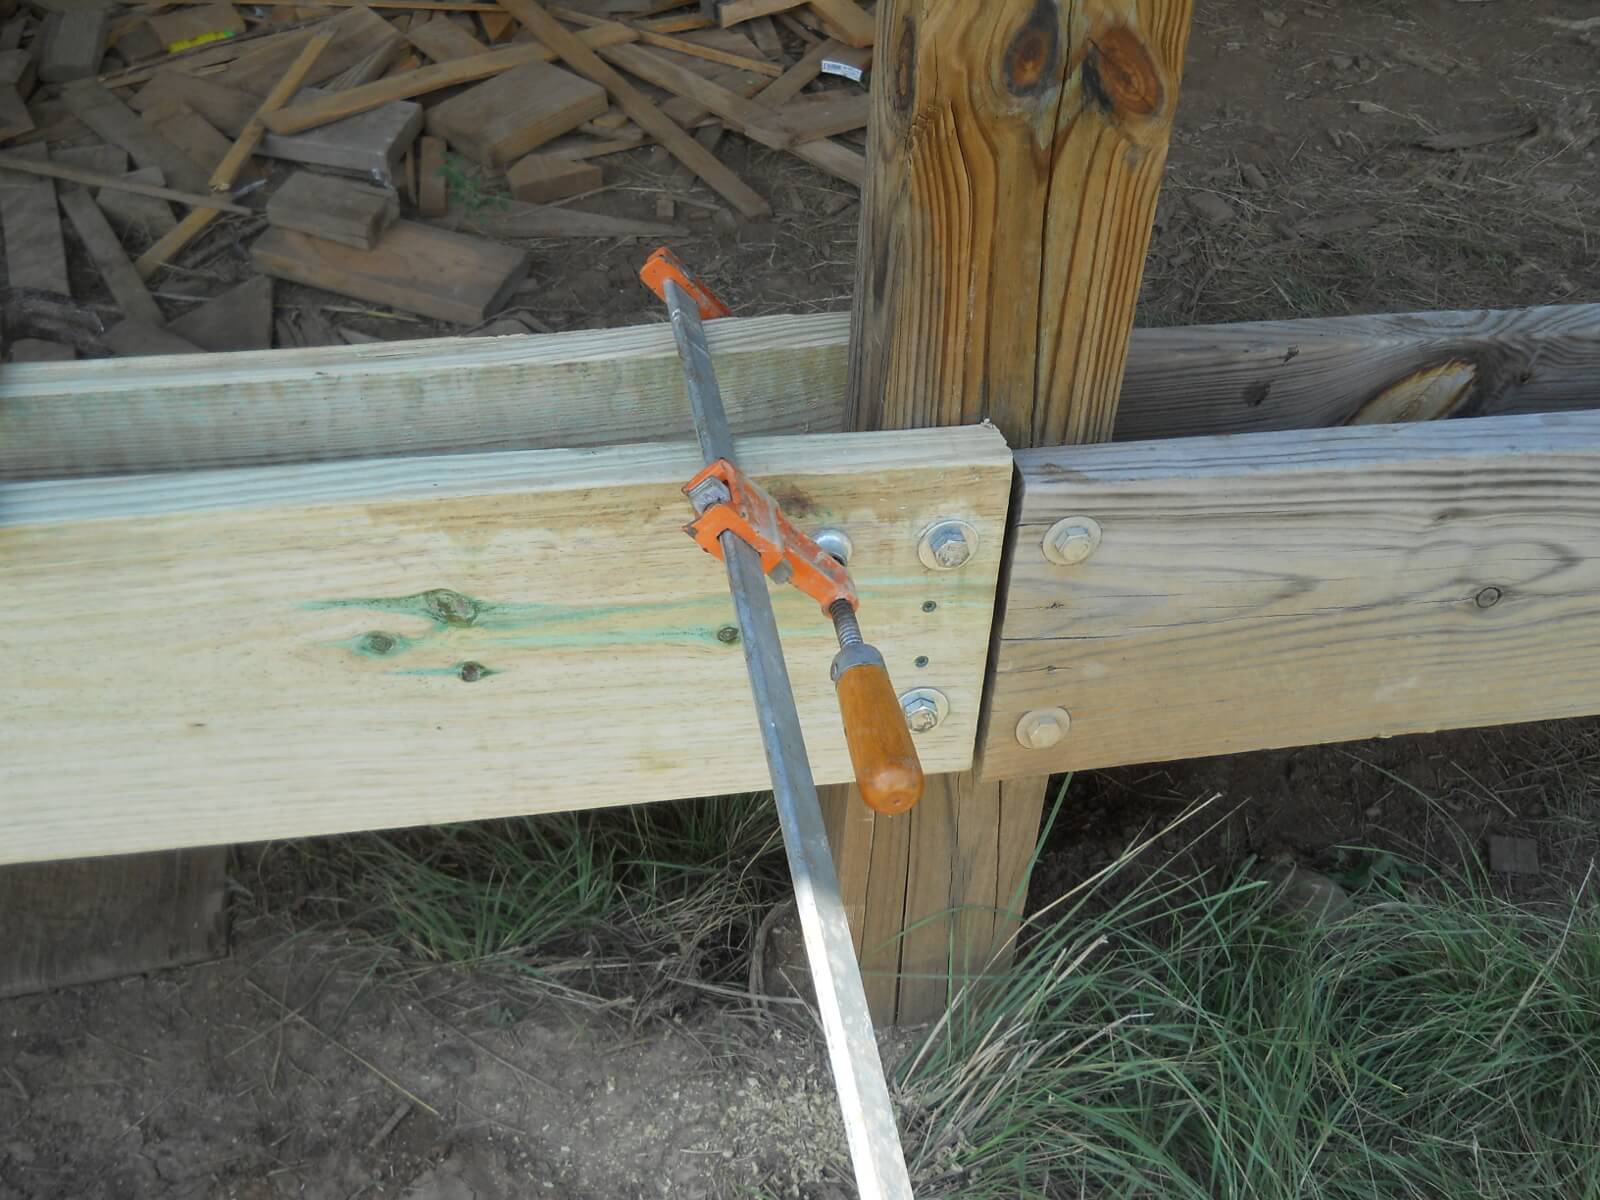
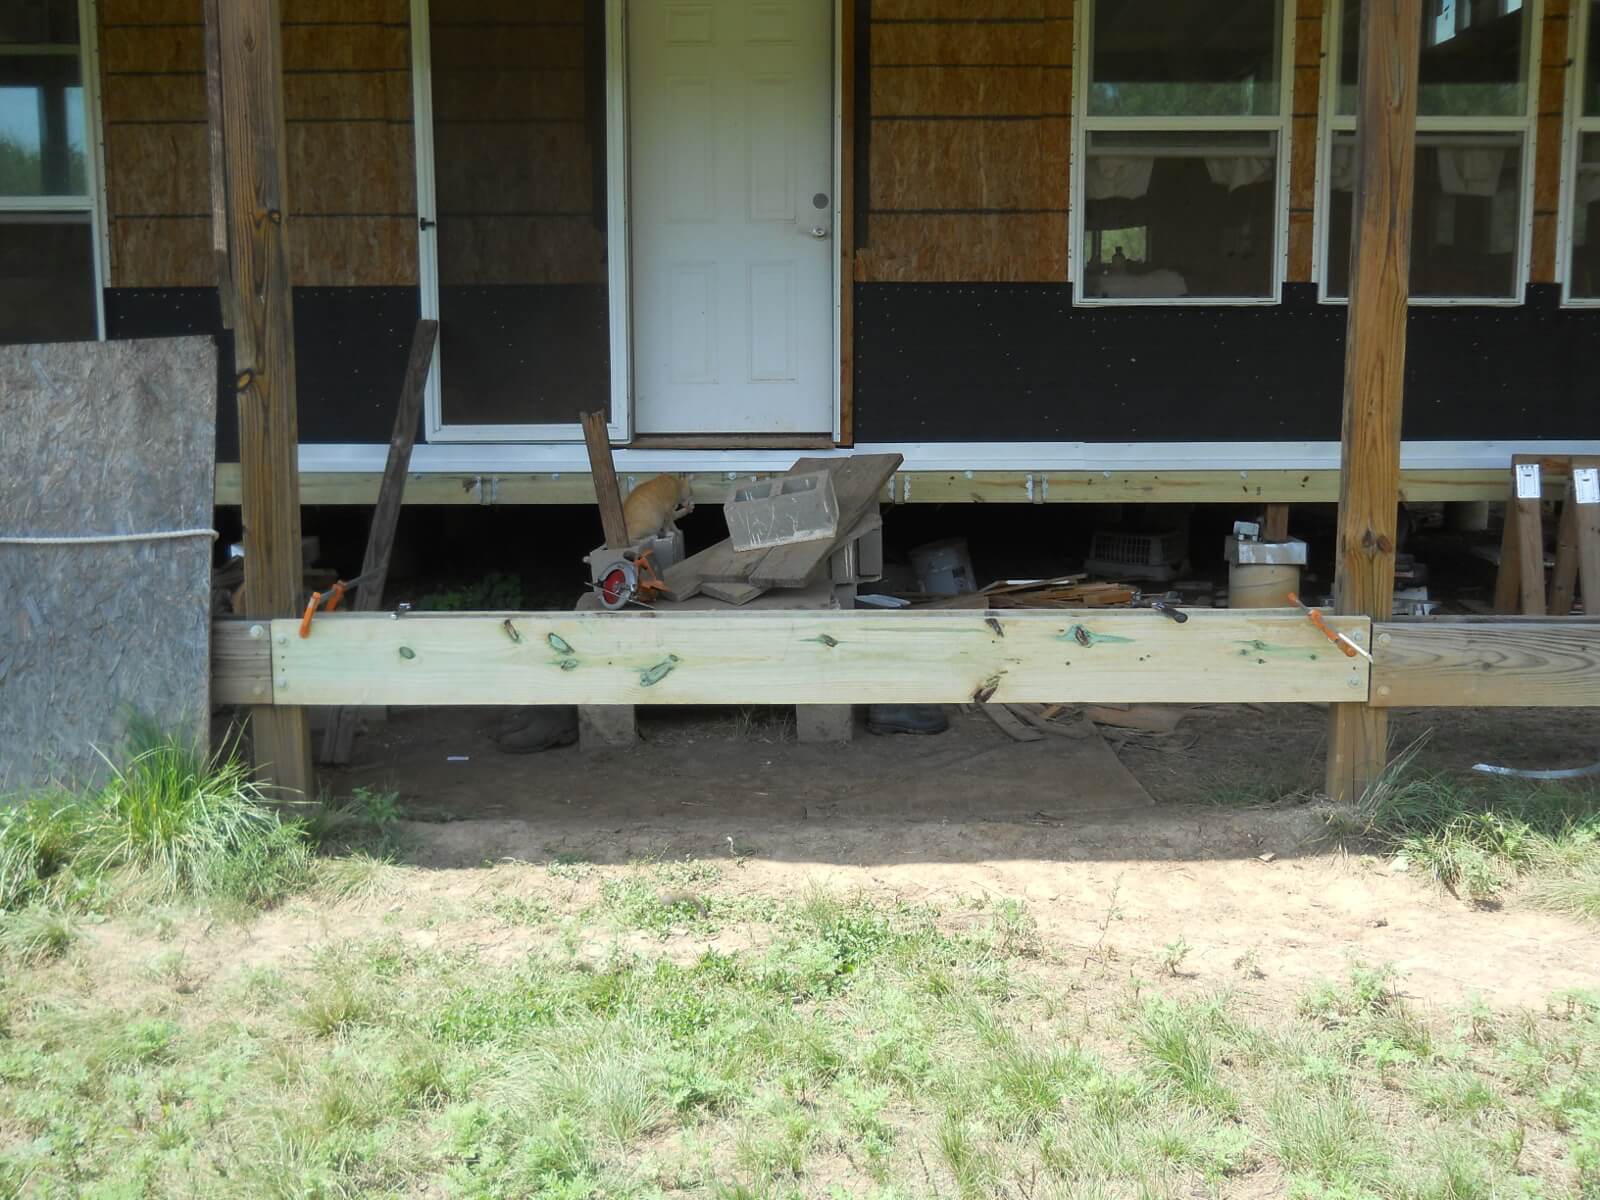
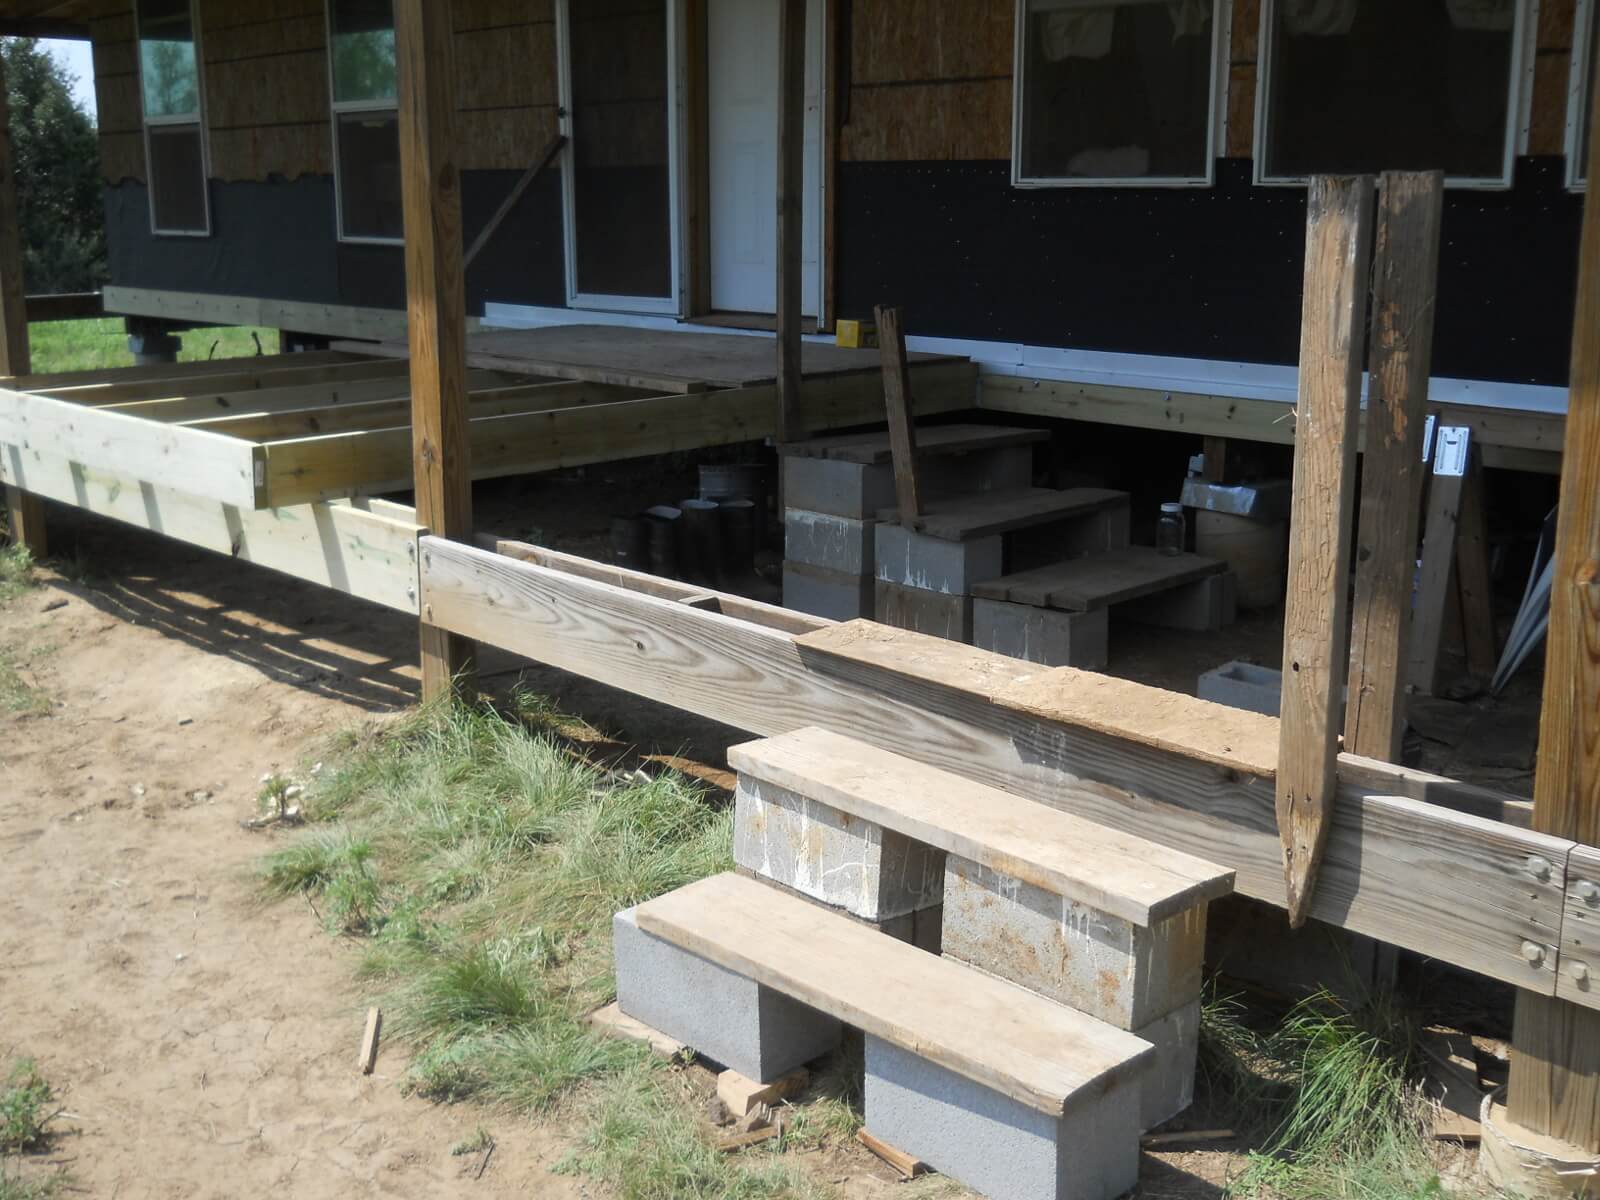
We also needed to put the final porch beams in place. You’ll notice the one side isn’t even with the porch beam next to it. This is because I discovered when trying to find the porch leveling point that the north east corner of the porch is probably 3 inches or so lower than it should be. Oops. I’m not sure how I managed that, but as we go around installing the porch joists, Lord willing, I’ll have to raise the beams to get them more level:

Installing New Porch Beams

And here they are installed:

New Porch Beam in Place

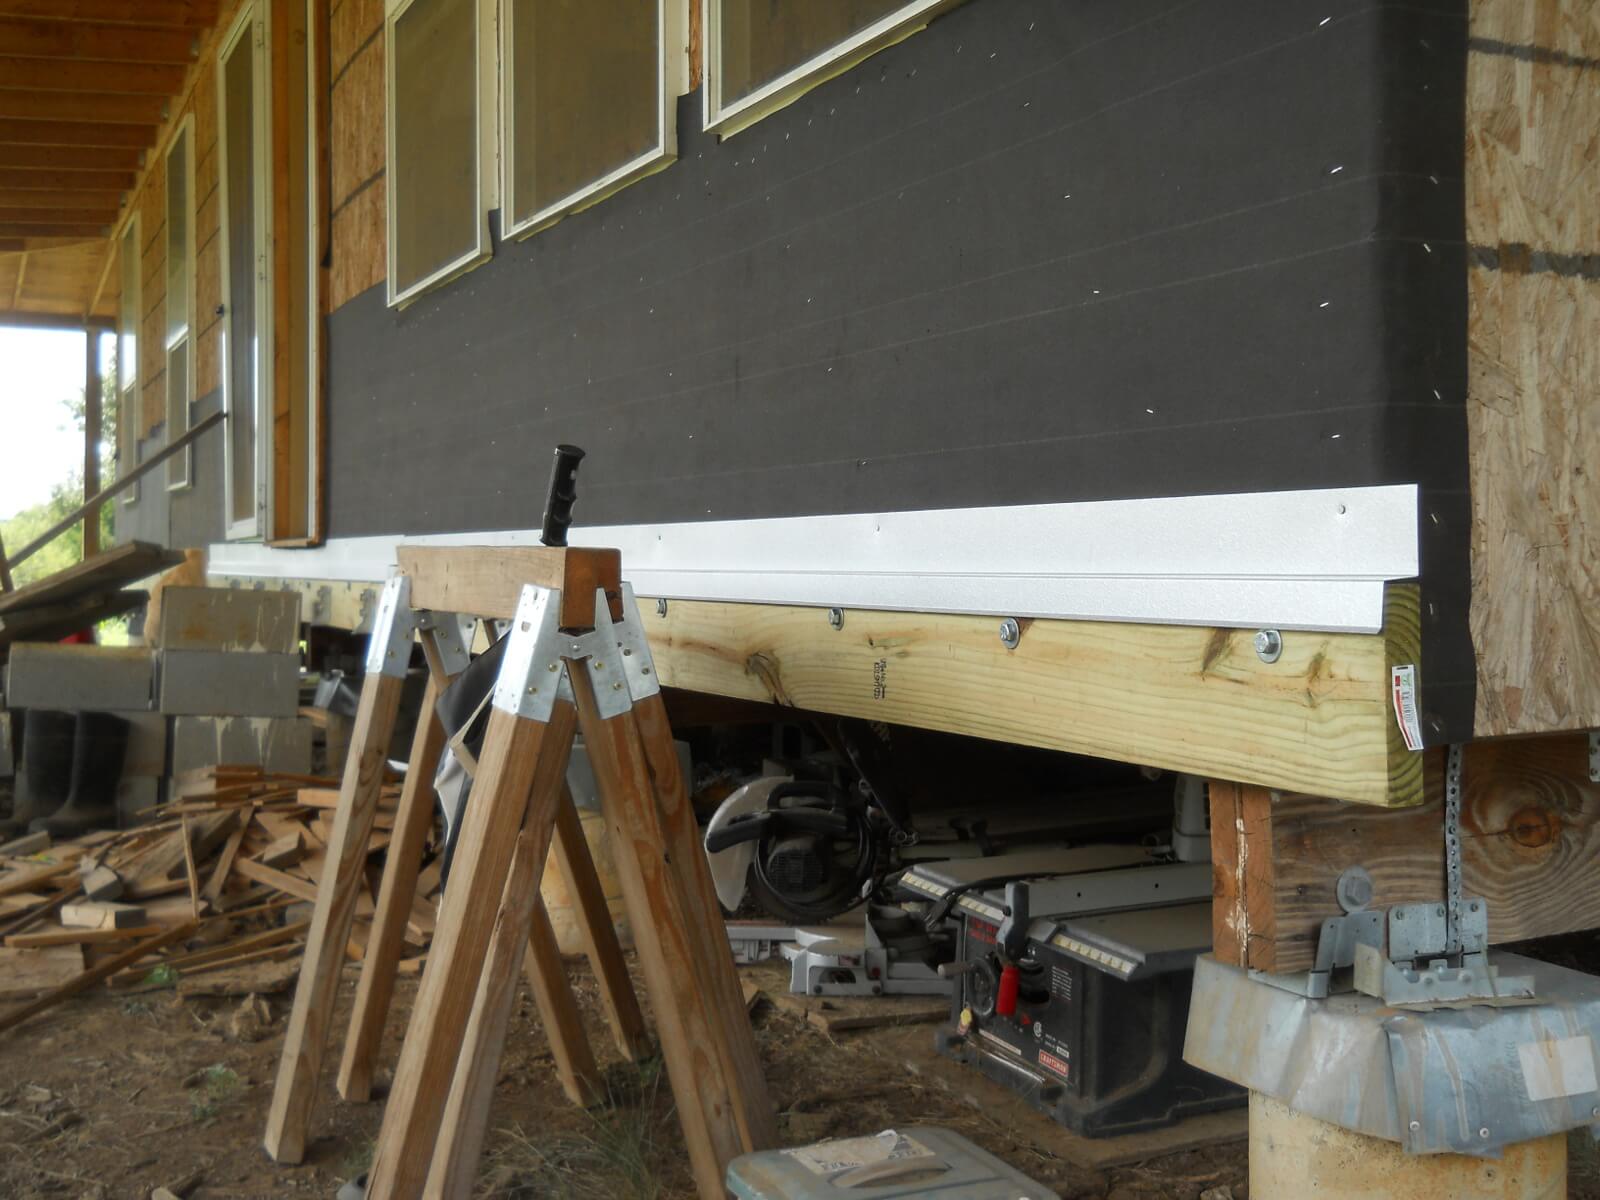
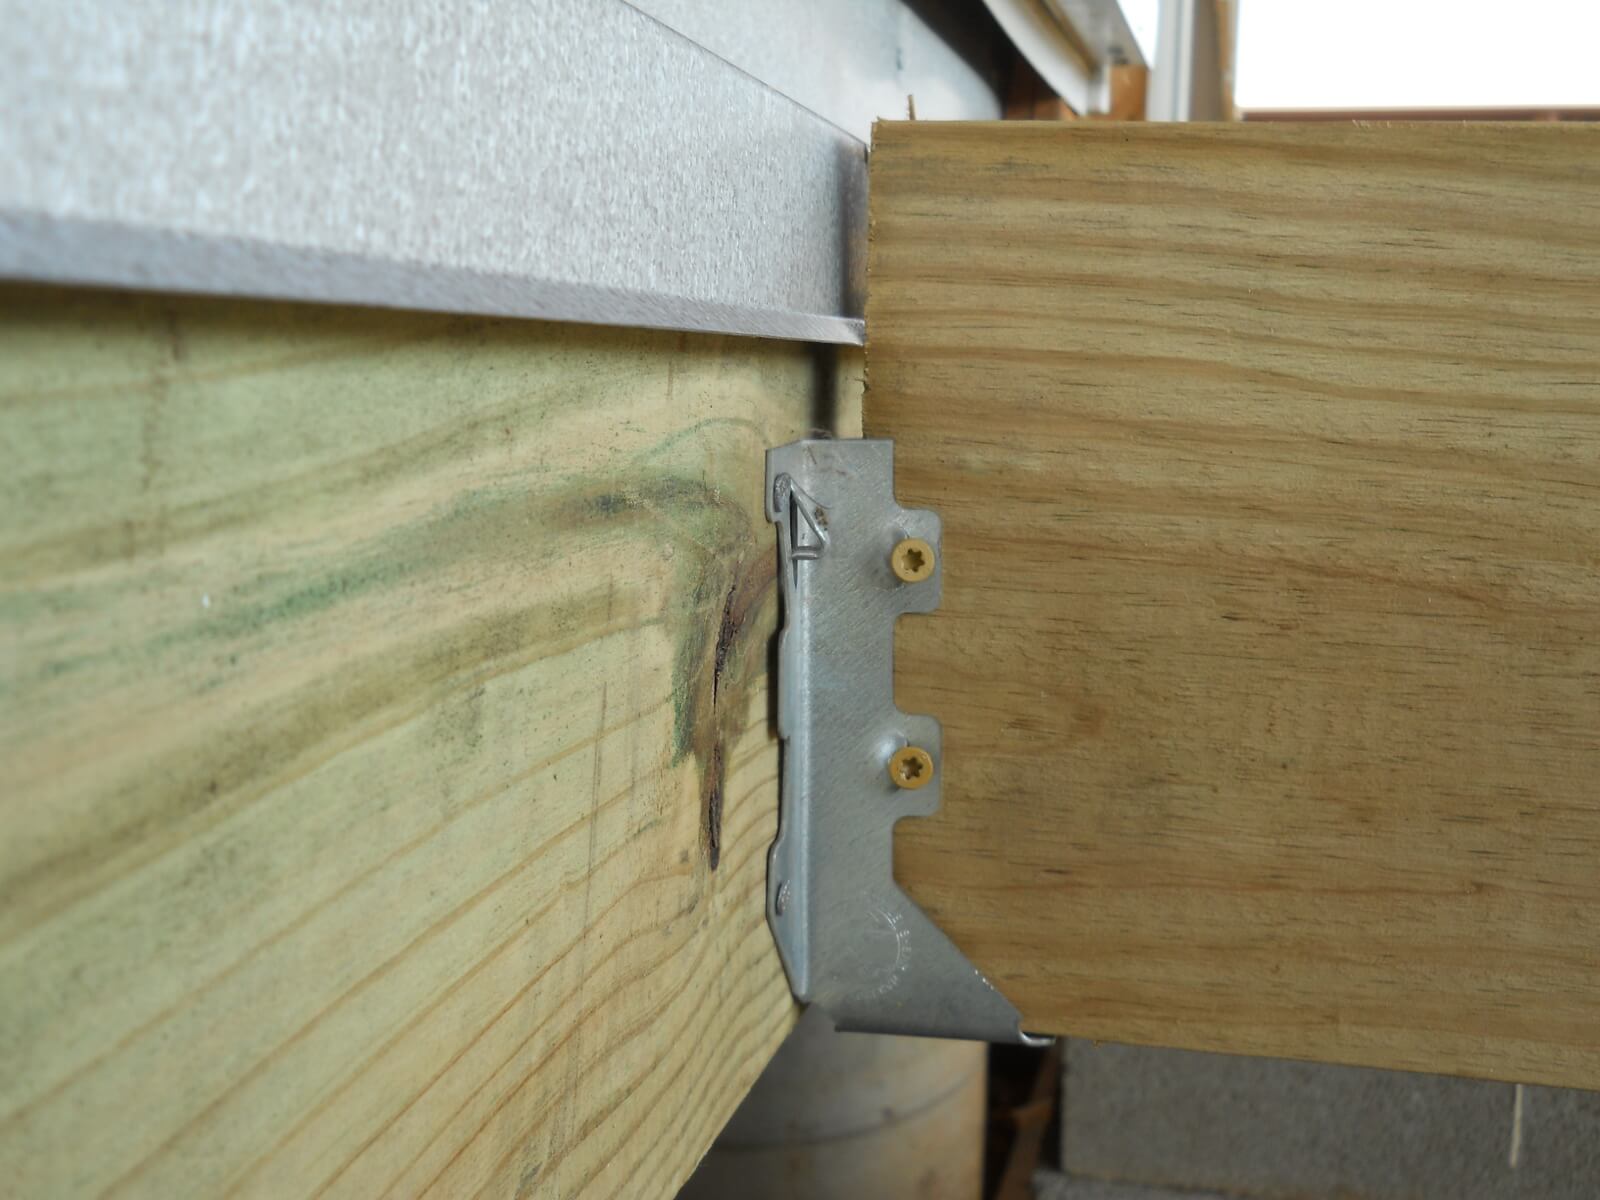
I did some research on how to do the flashing over the ledger board, and this YouTube video is the one I went with. It’s z-shaped with a little lip that juts out from the ledger board, forcing a space between the joist and the ledger board preventing water from being kept next to the joist potentially causing future rot:

Porch Ledger Flashing

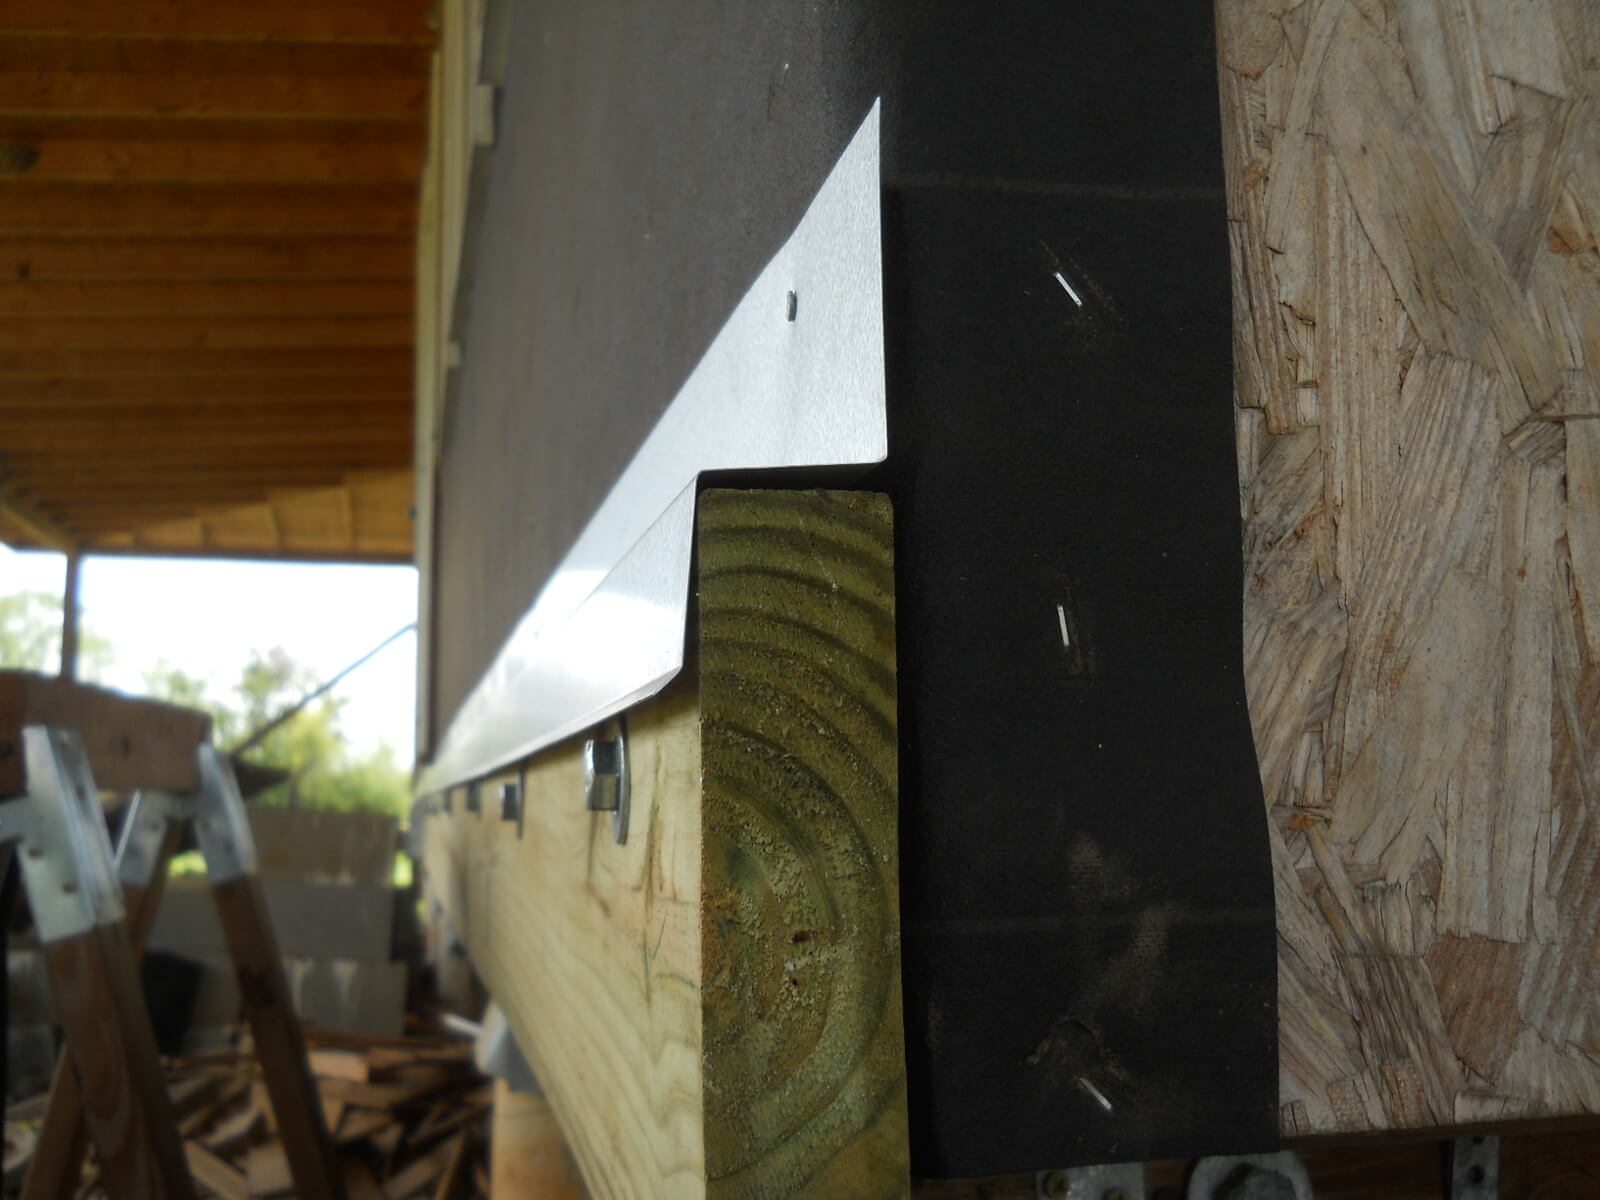
And here’s a side view of the flashing:

Porch Ledger Flashing Side View

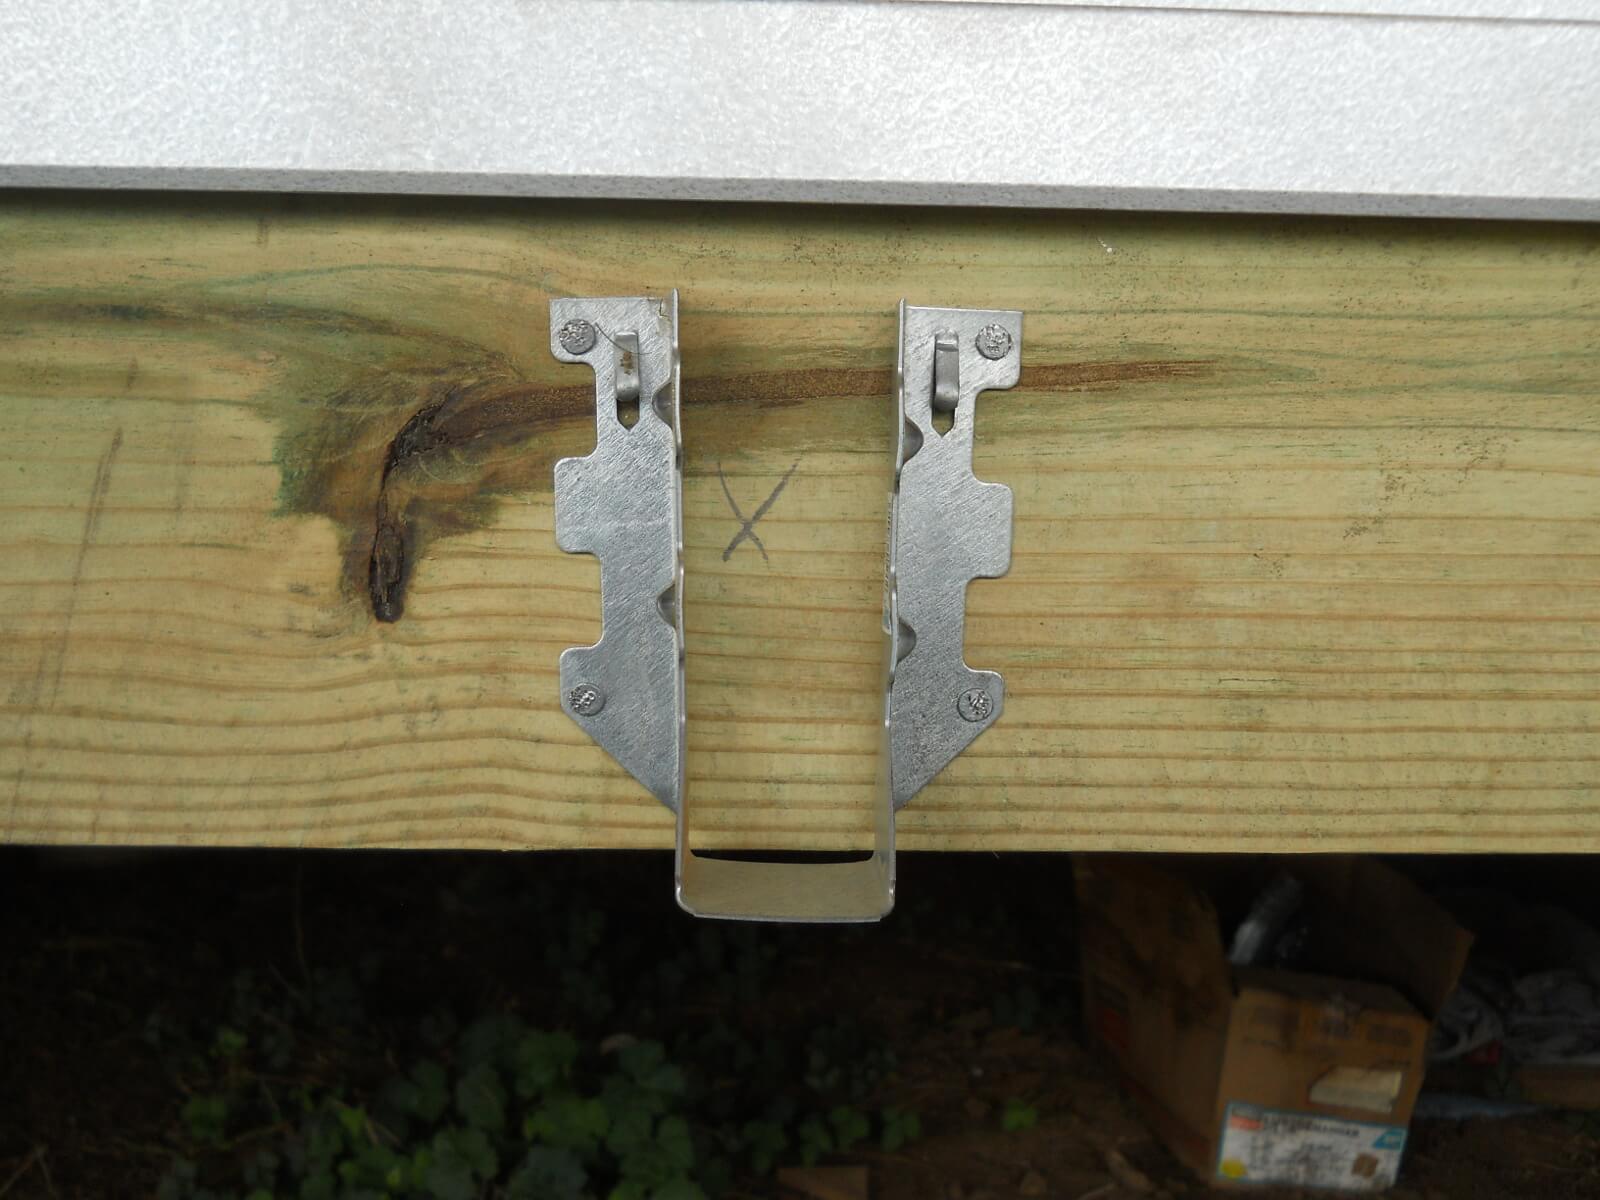
Here is a joist hanger in place, nailed in with hanger nails:

Porch Joist Hanger on Ledger

And with a joist attached:

Porch Joist Attached to Hanger

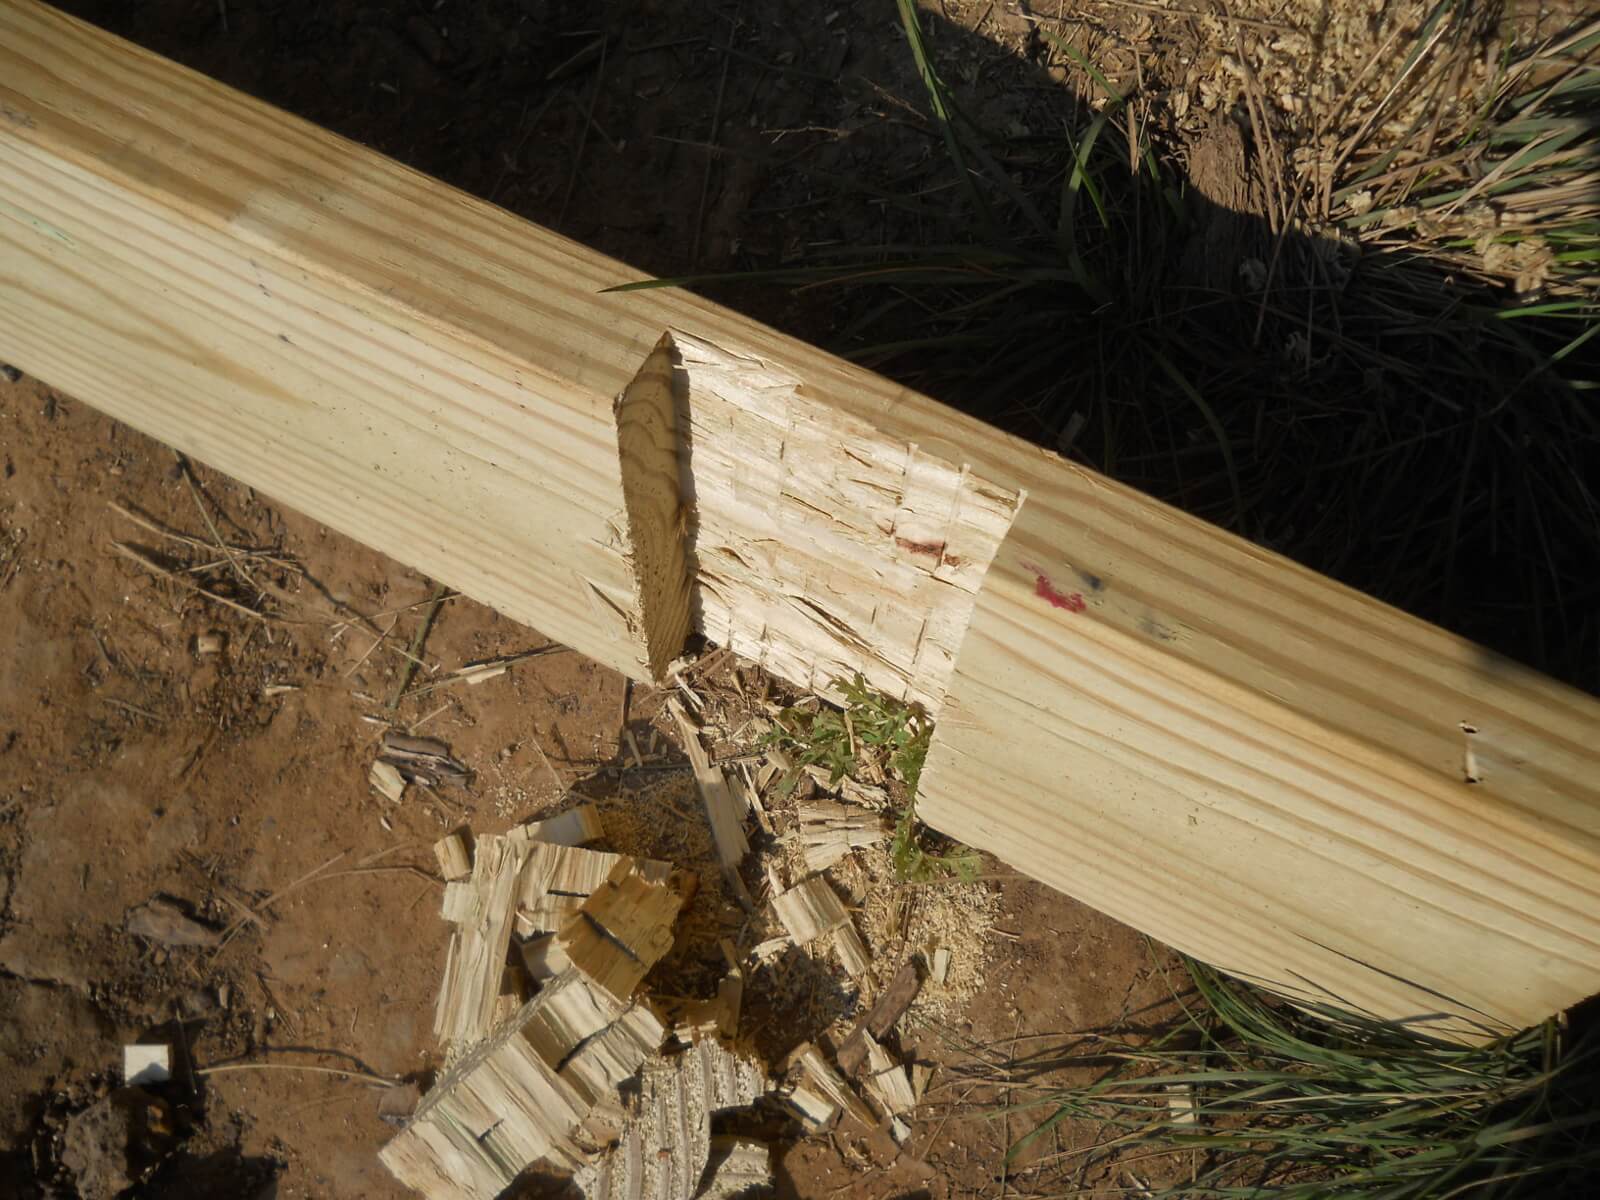
This joist I had to notch to get around a porch post:

Porch Joist Notched to Go Around Porch Post

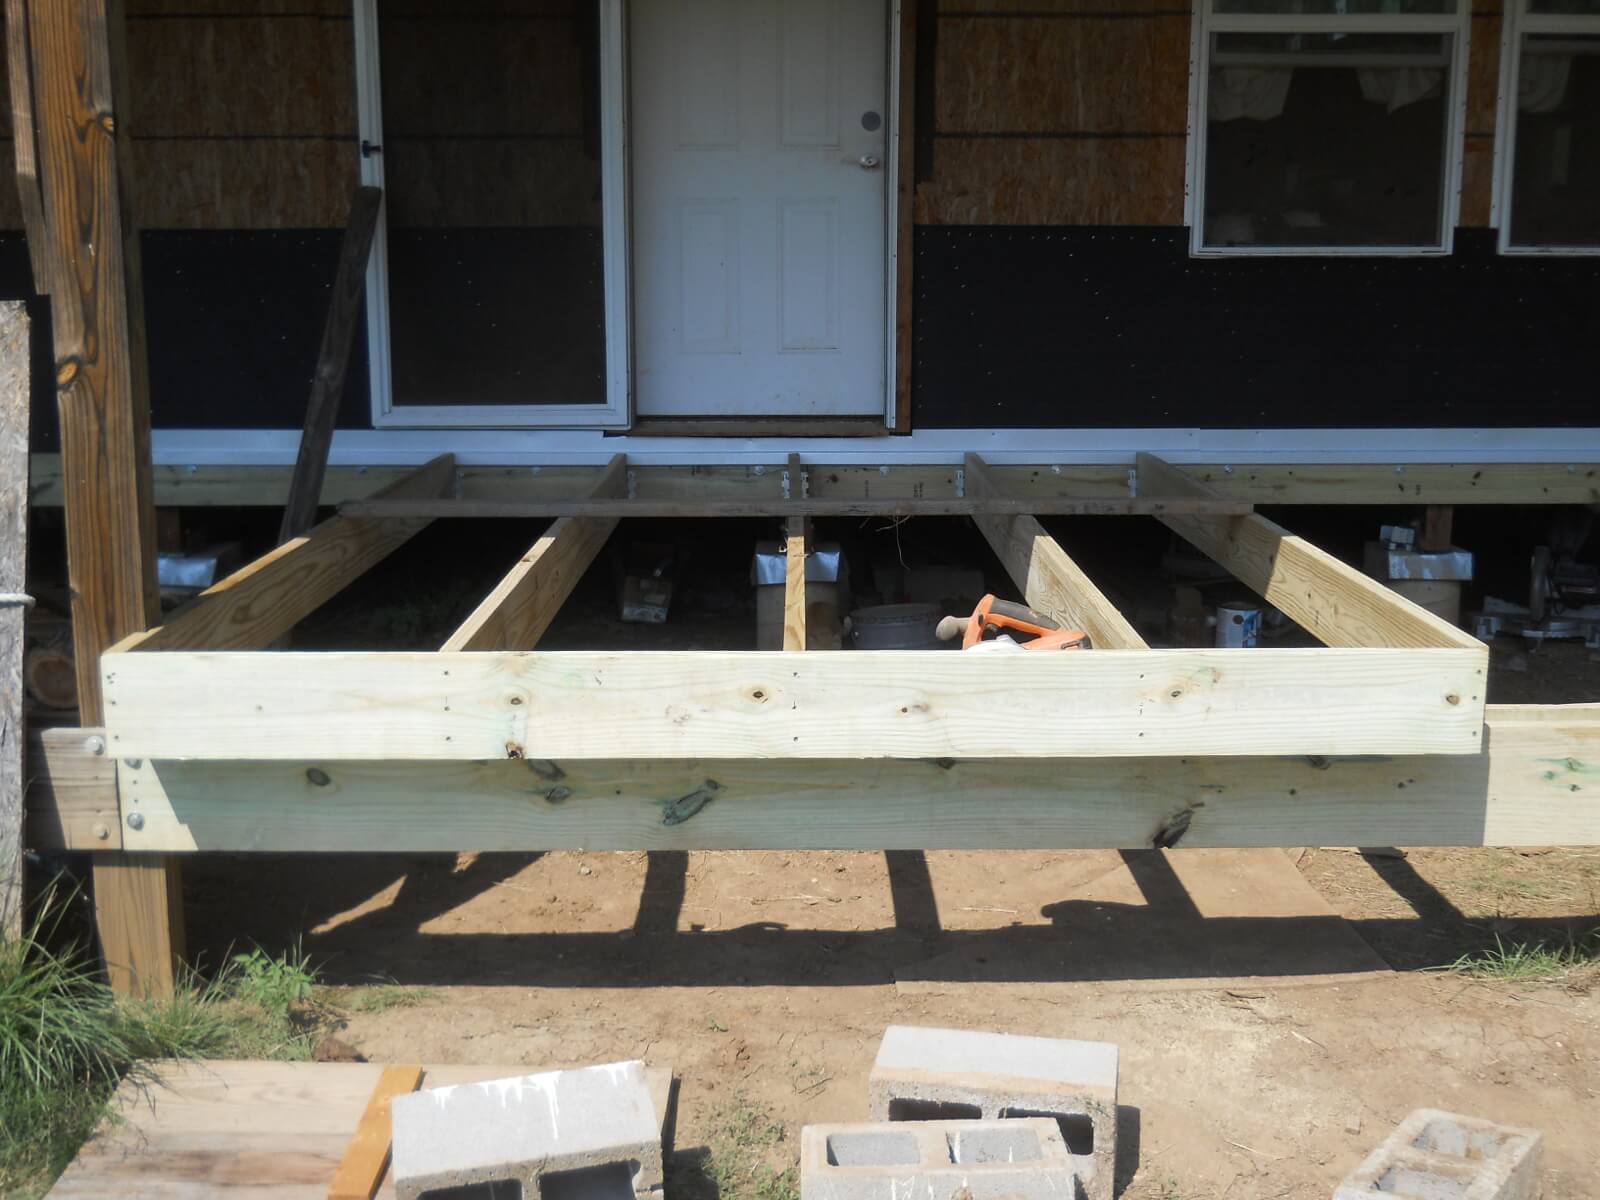
And here is the first set of porch joists in place. I used the 3-4-5 rule to get the first joist square with the house:

Porch Joists in Place with Outside Header

I put this board in place just so the joists would maintain correct separation:

Porch Joist Spacer Board

And then I tacked down a couple of leftover plywood pieces for now, moved the steps to the side of the porch, and added a set of steps to be able to walk over the beams. It’s much easier to get into the house now! 🙂

Temporary Porch with Stairs Over Beams

Lower External Siding

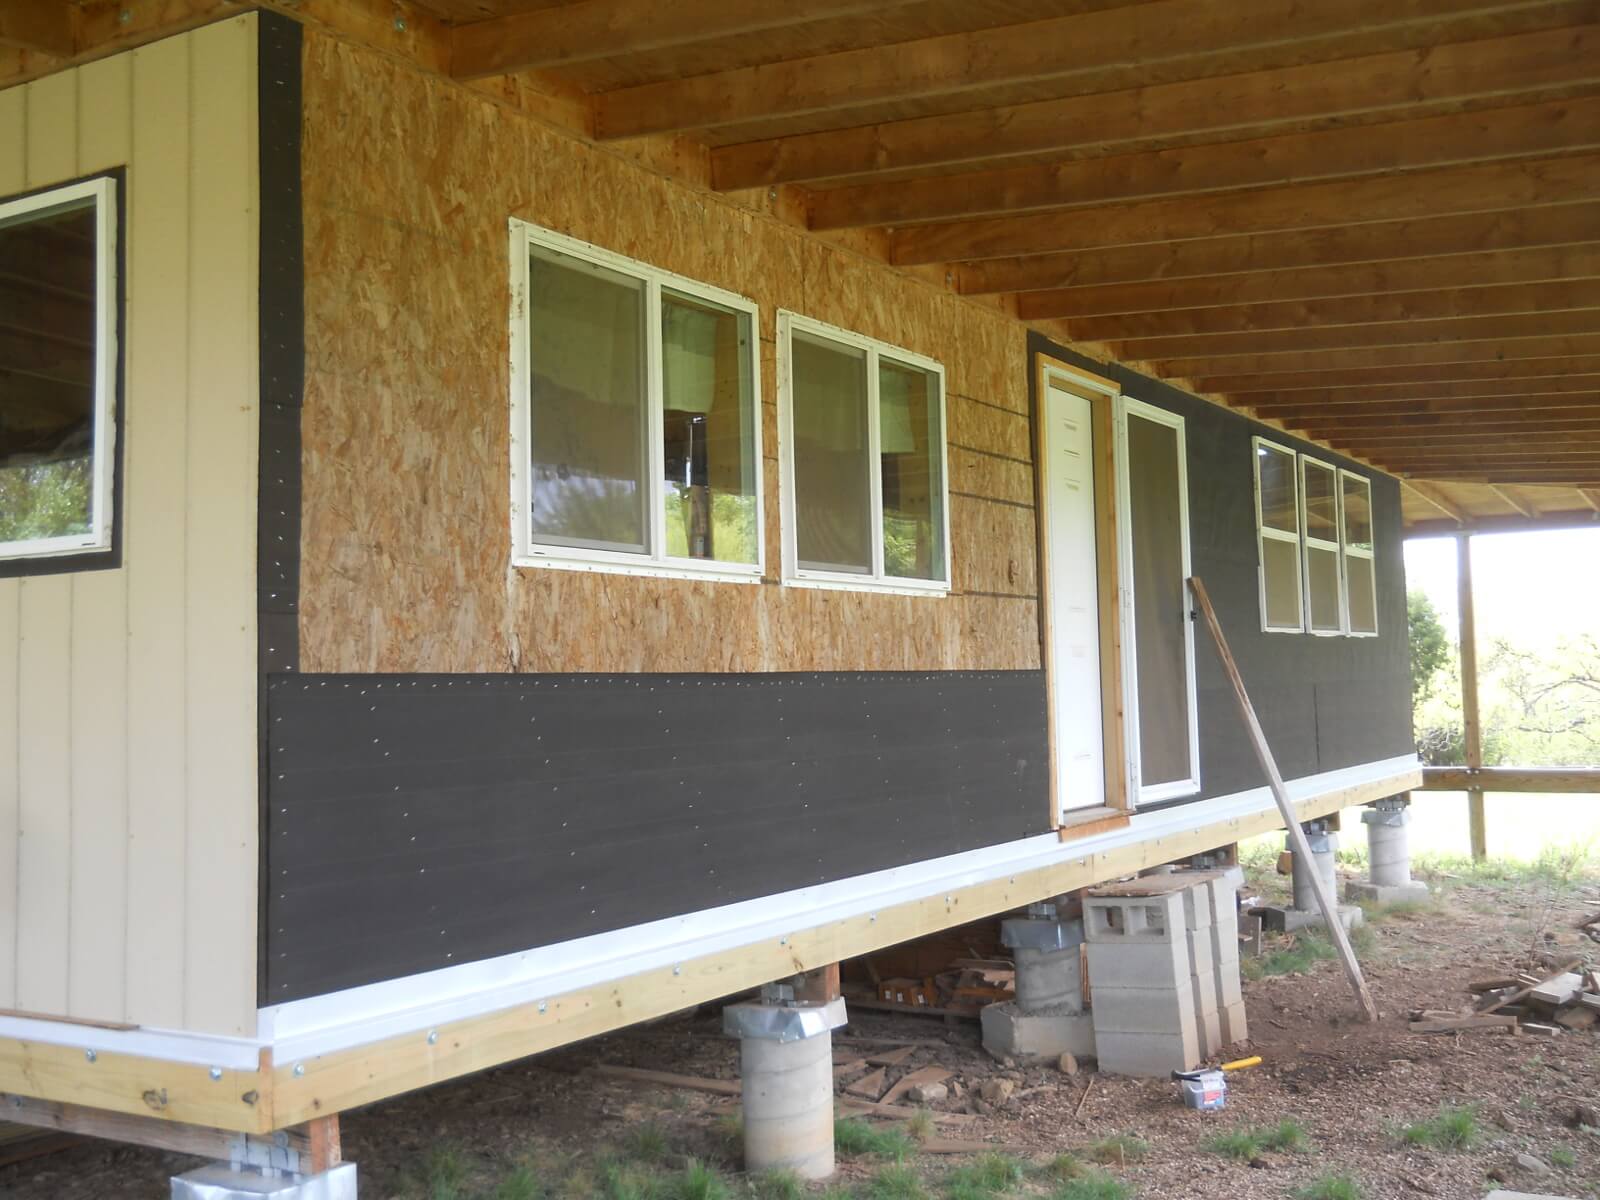
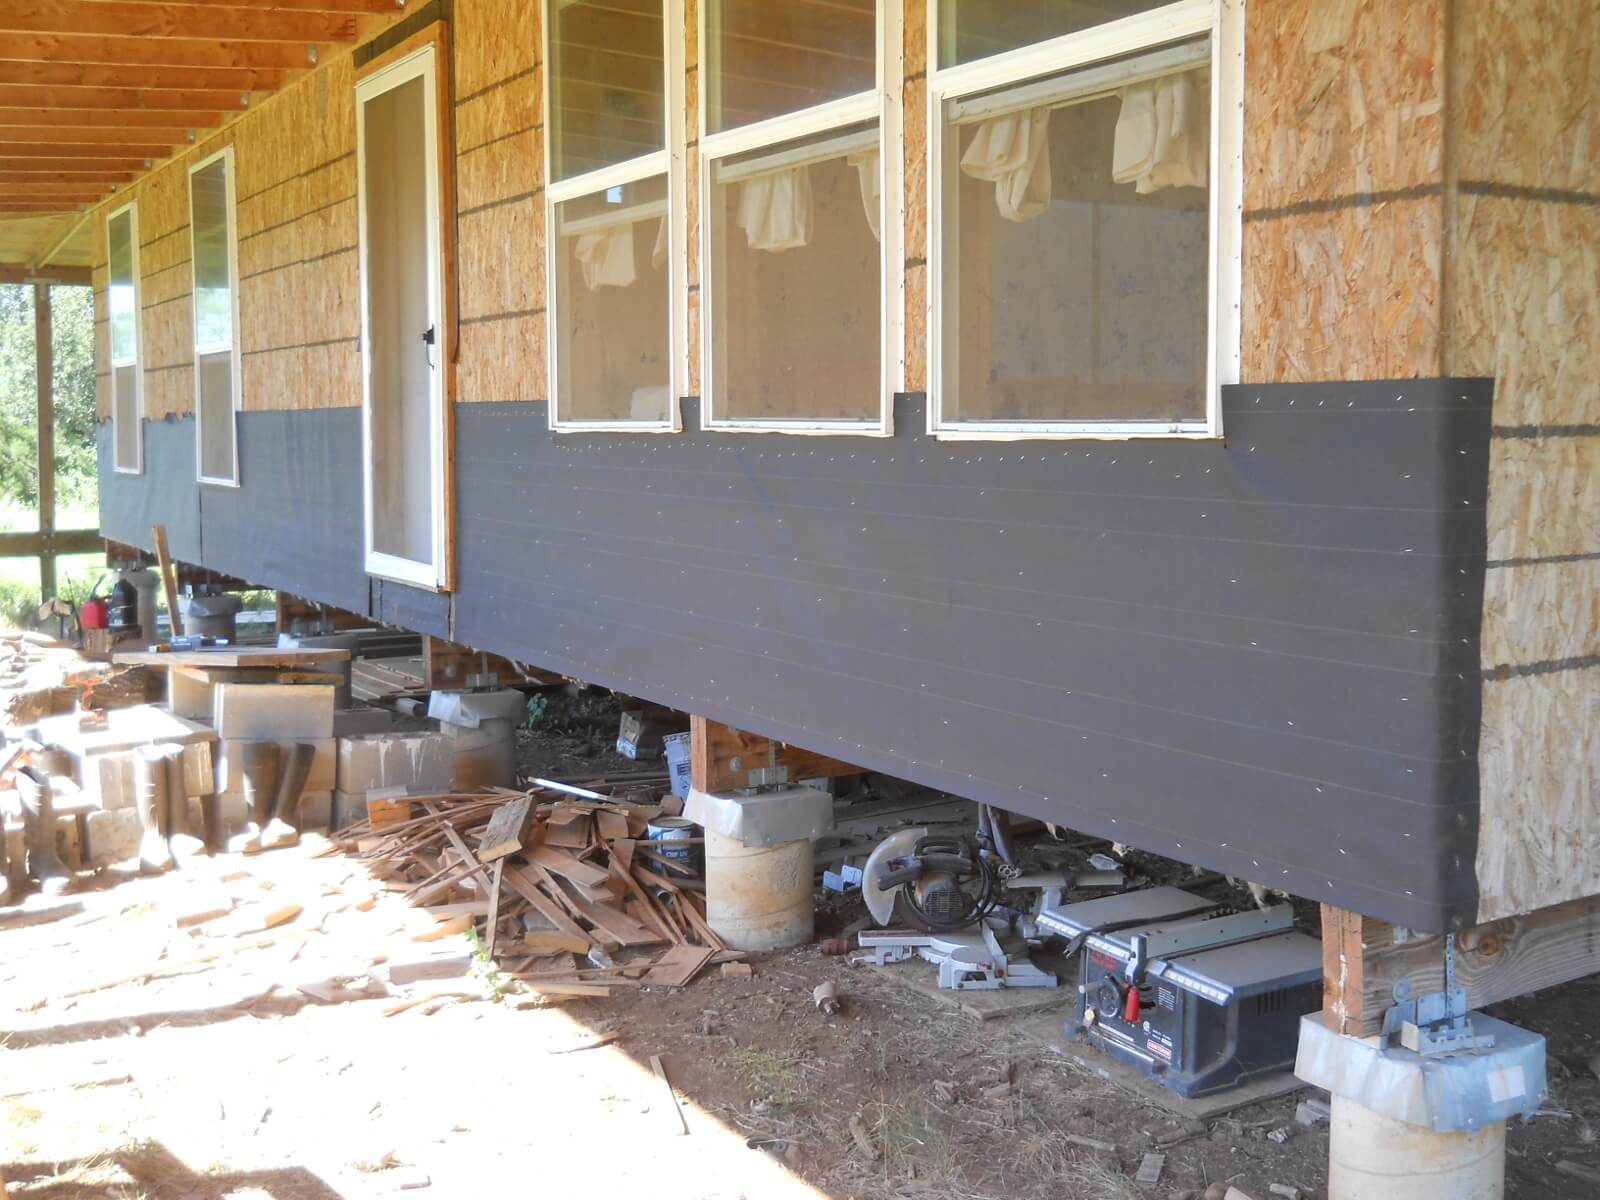
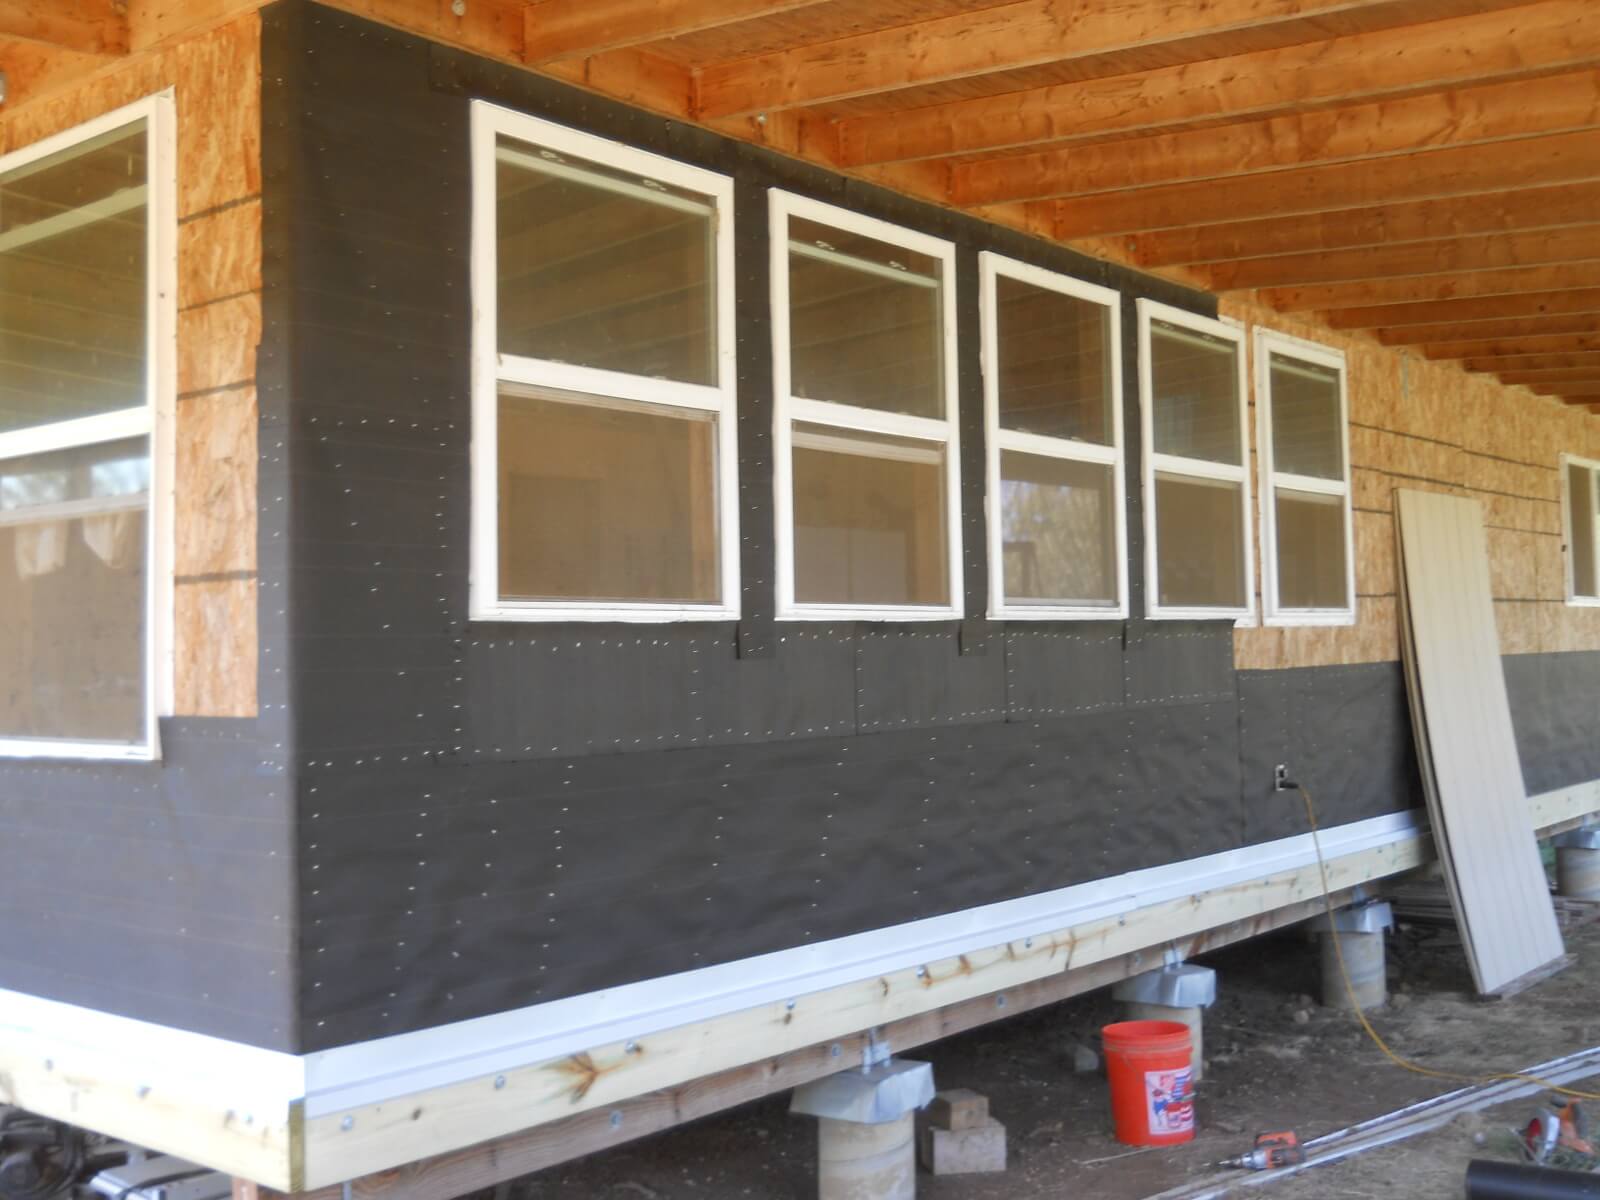
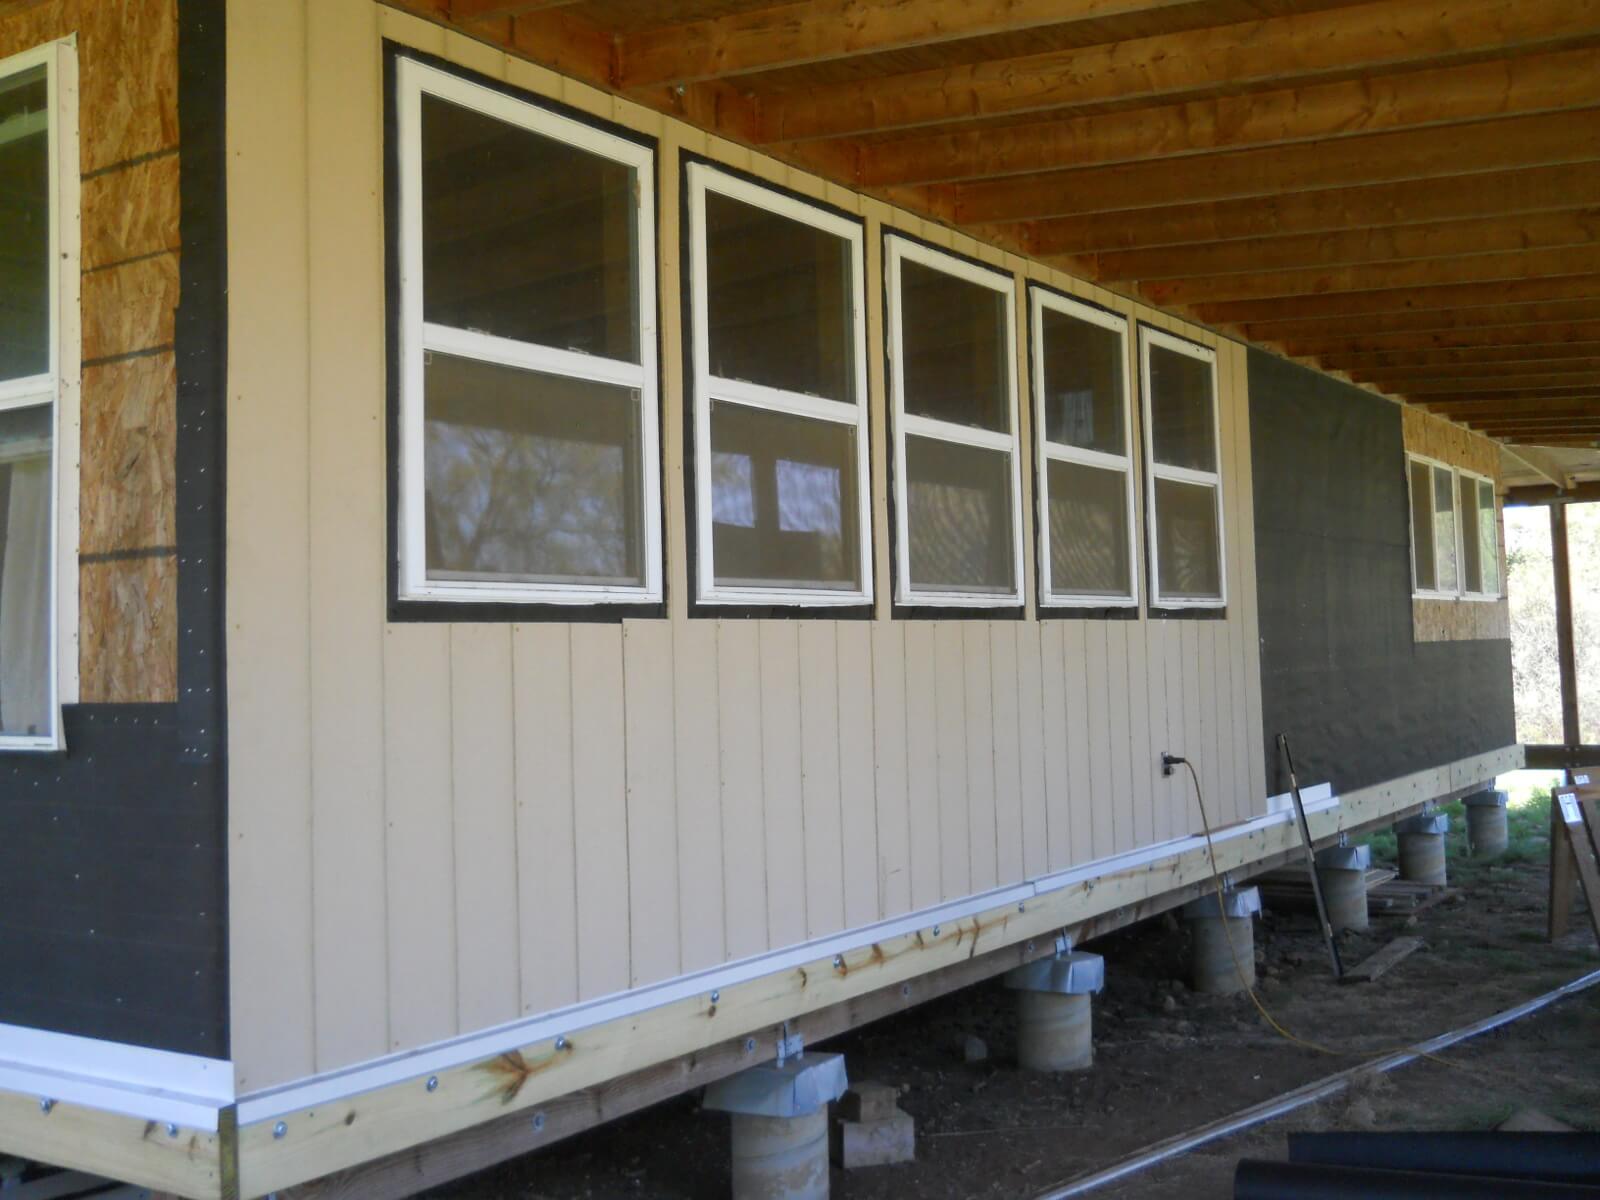
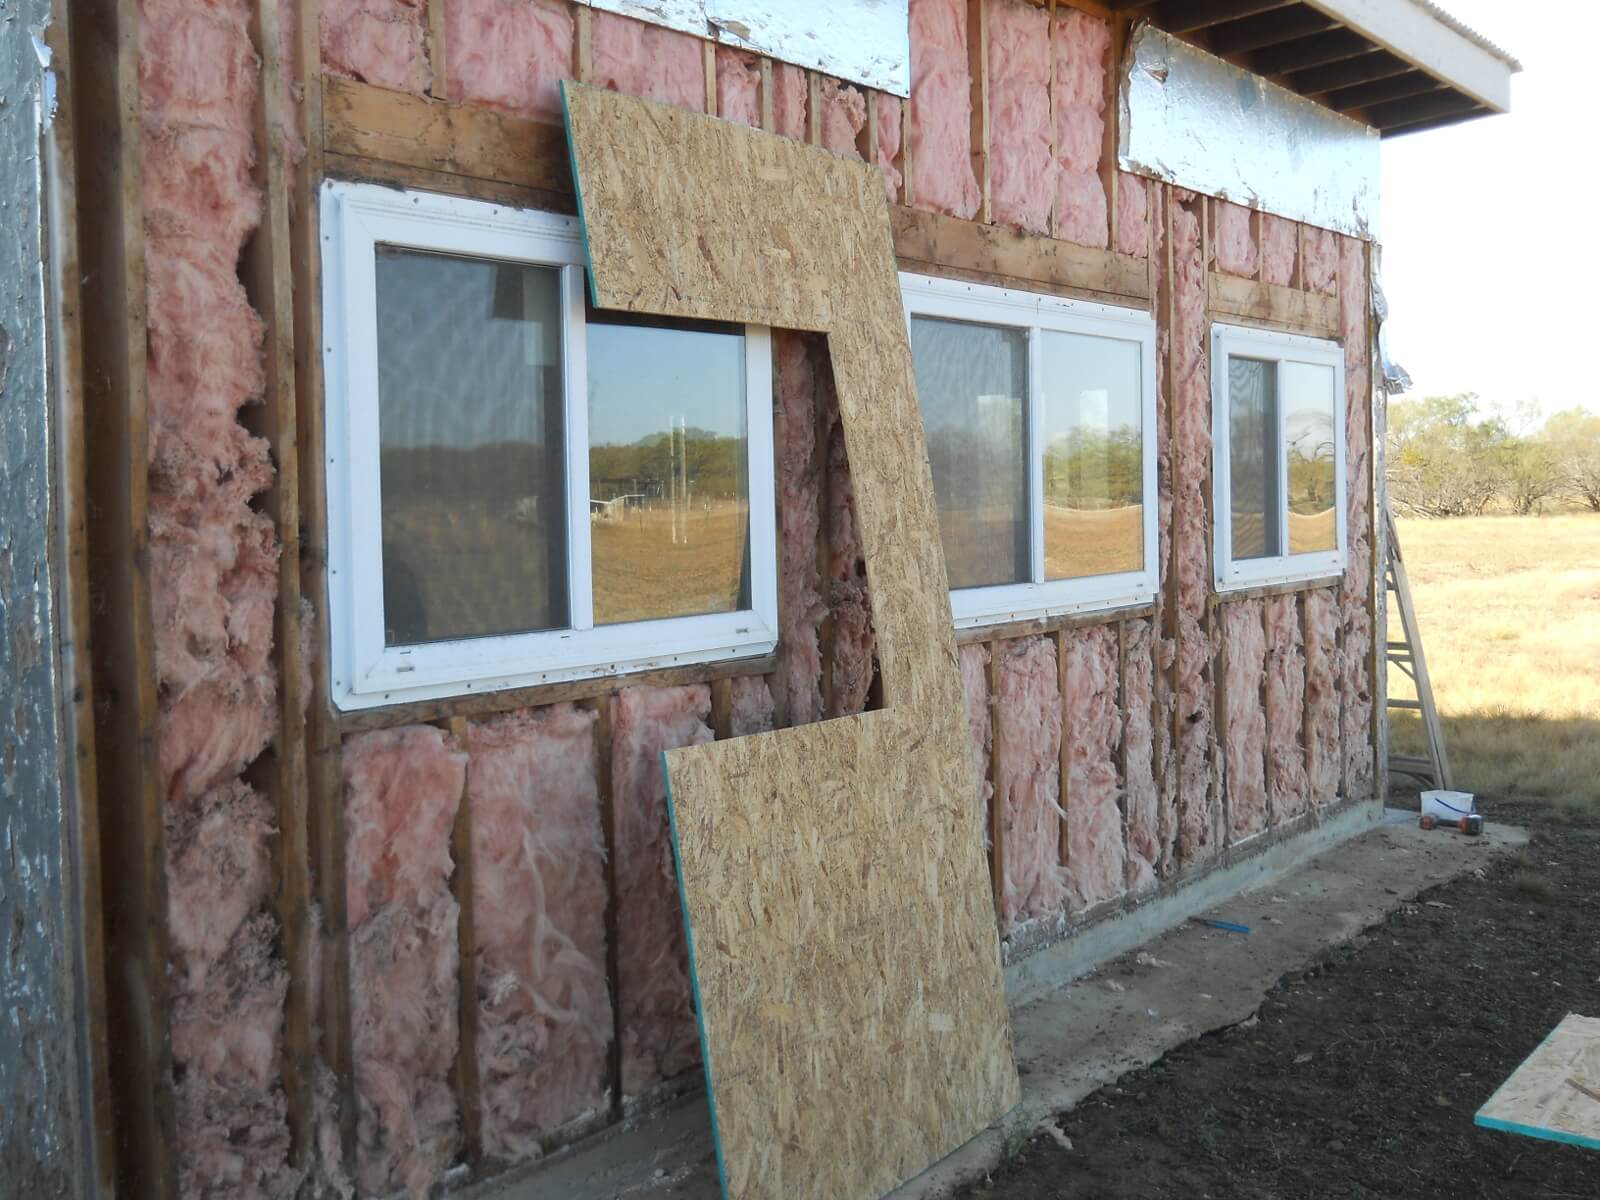
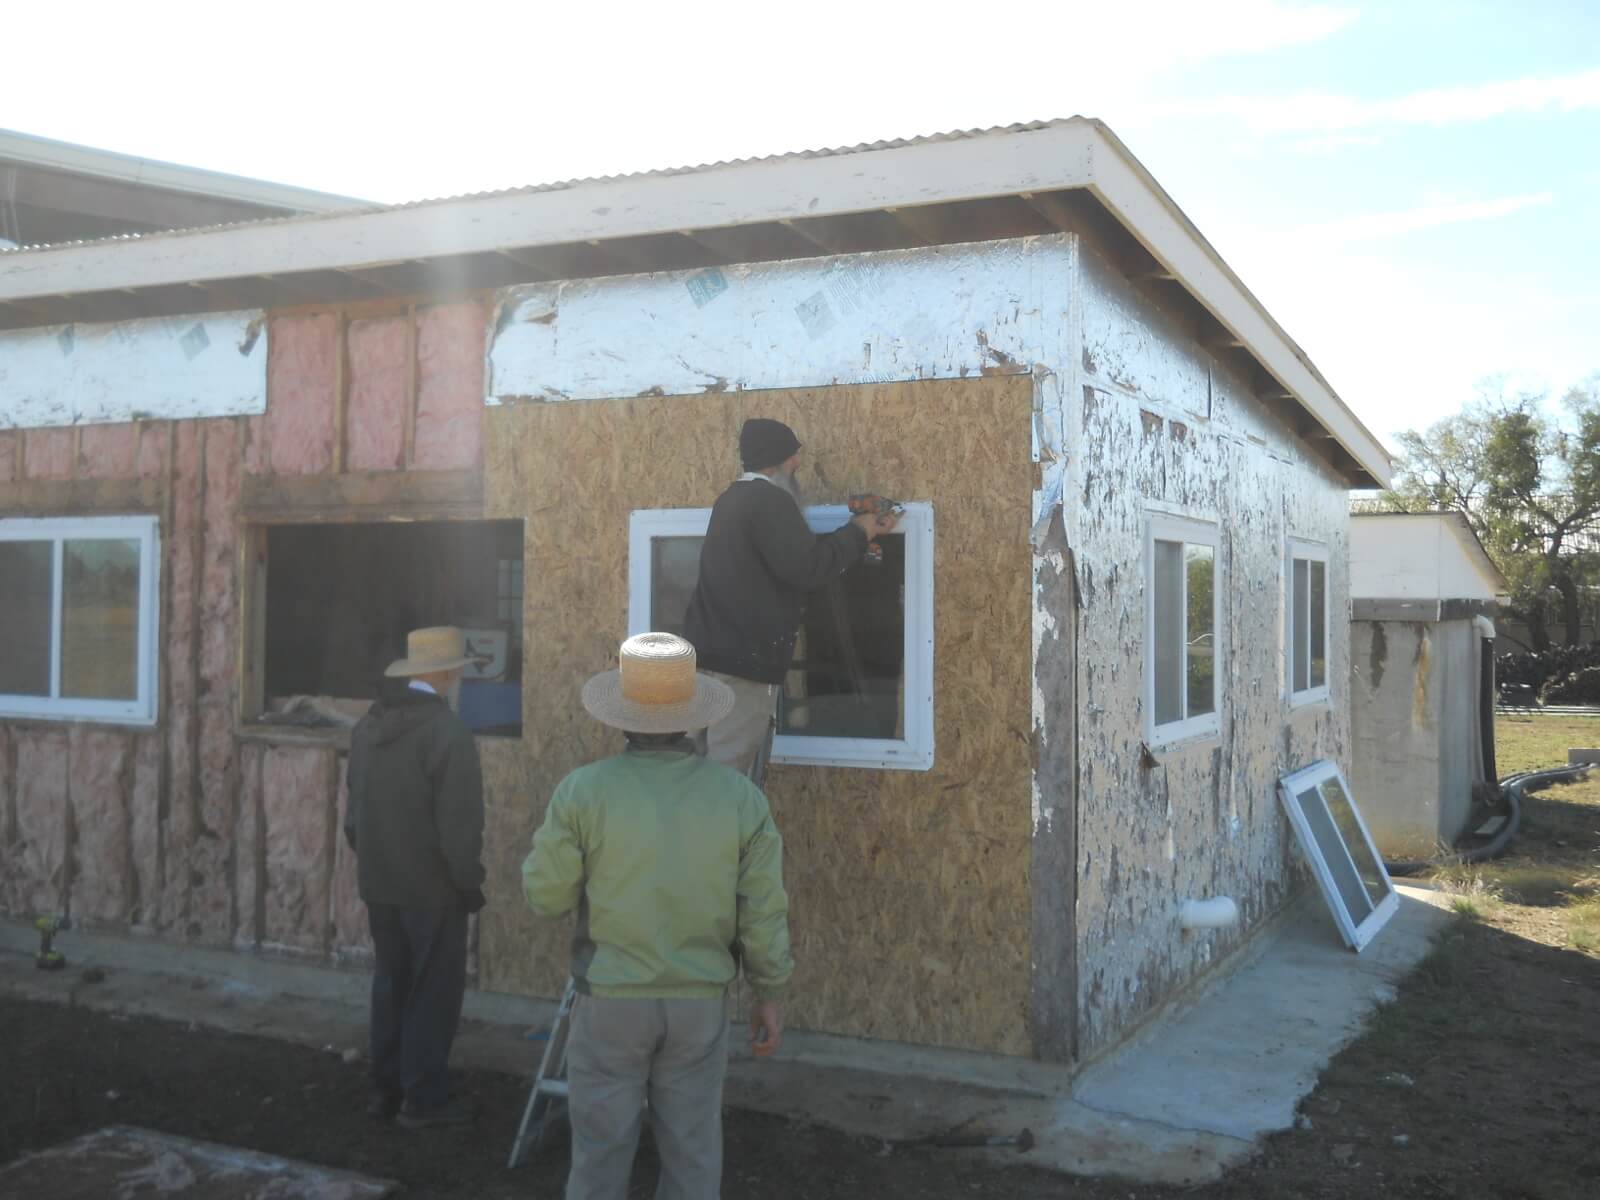
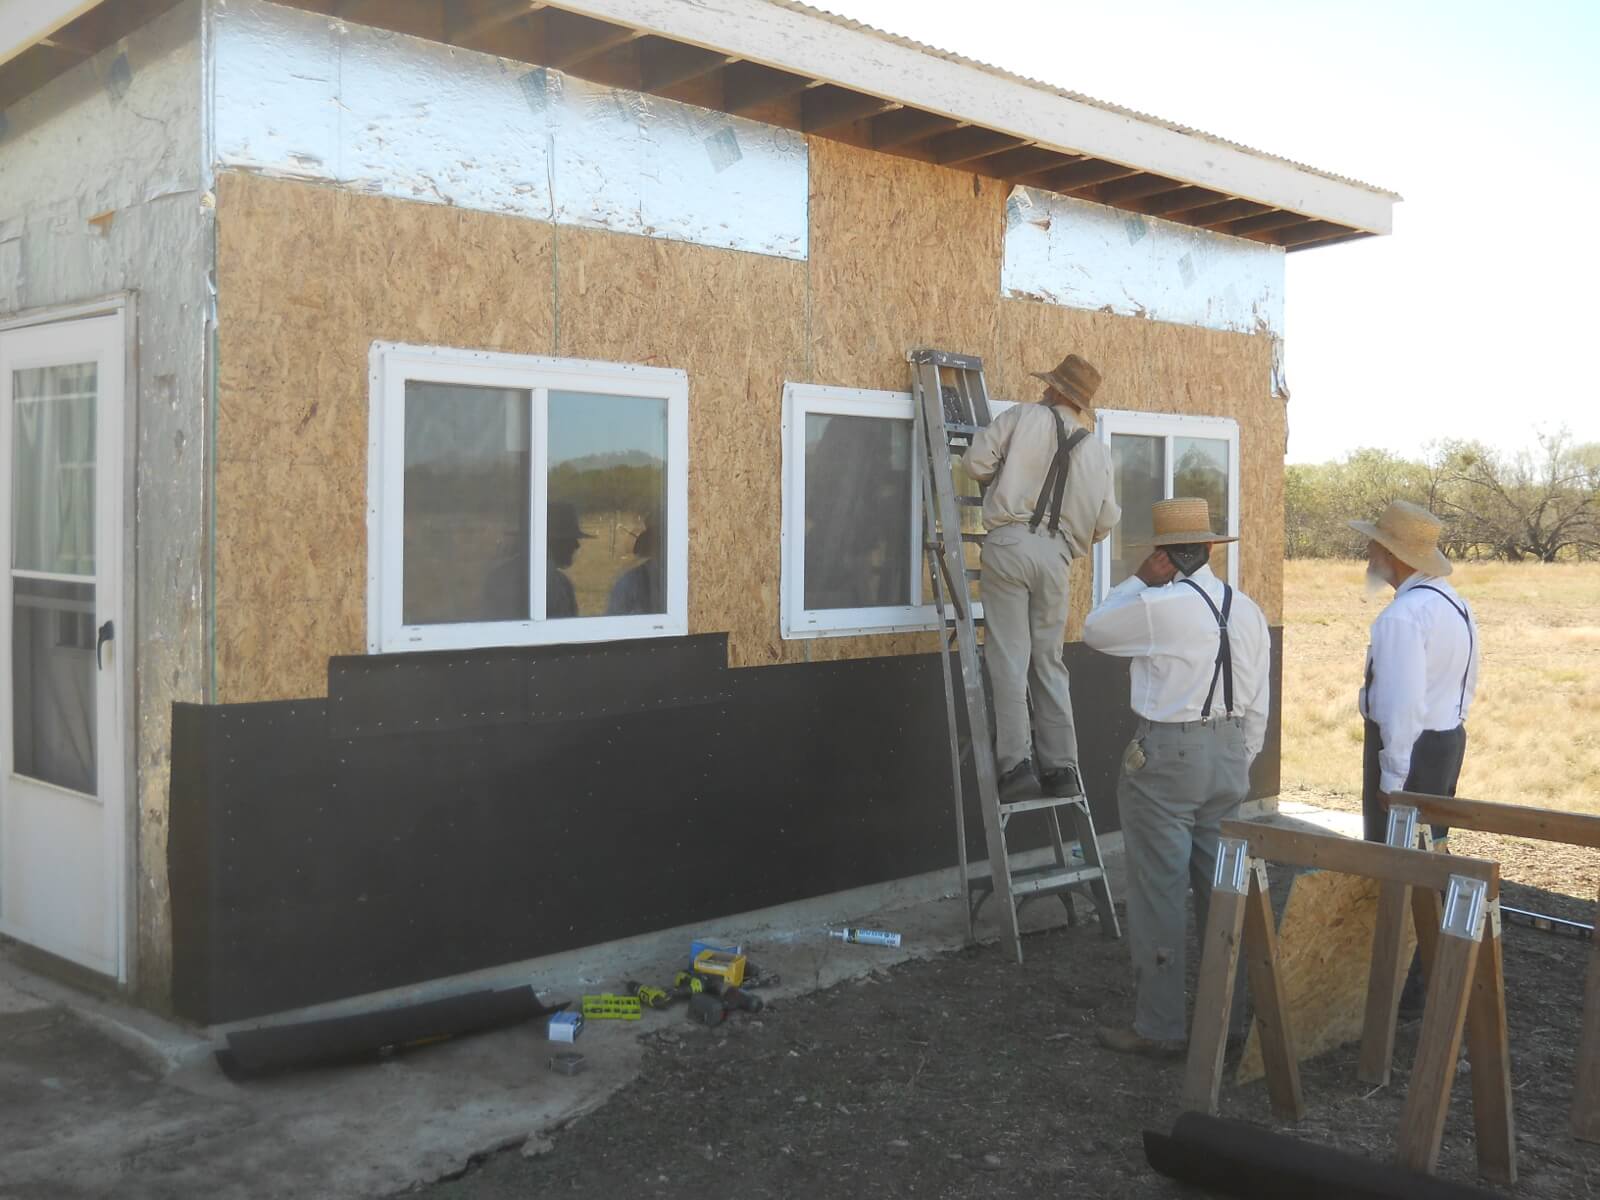
Thankfully, the lower OSB siding is somewhat protected from the elements being under the porch roof, but eventually that won’t last, so we have started putting up siding on the lower external part of the house, beginning with the north side, which seems to see the most weather activity.

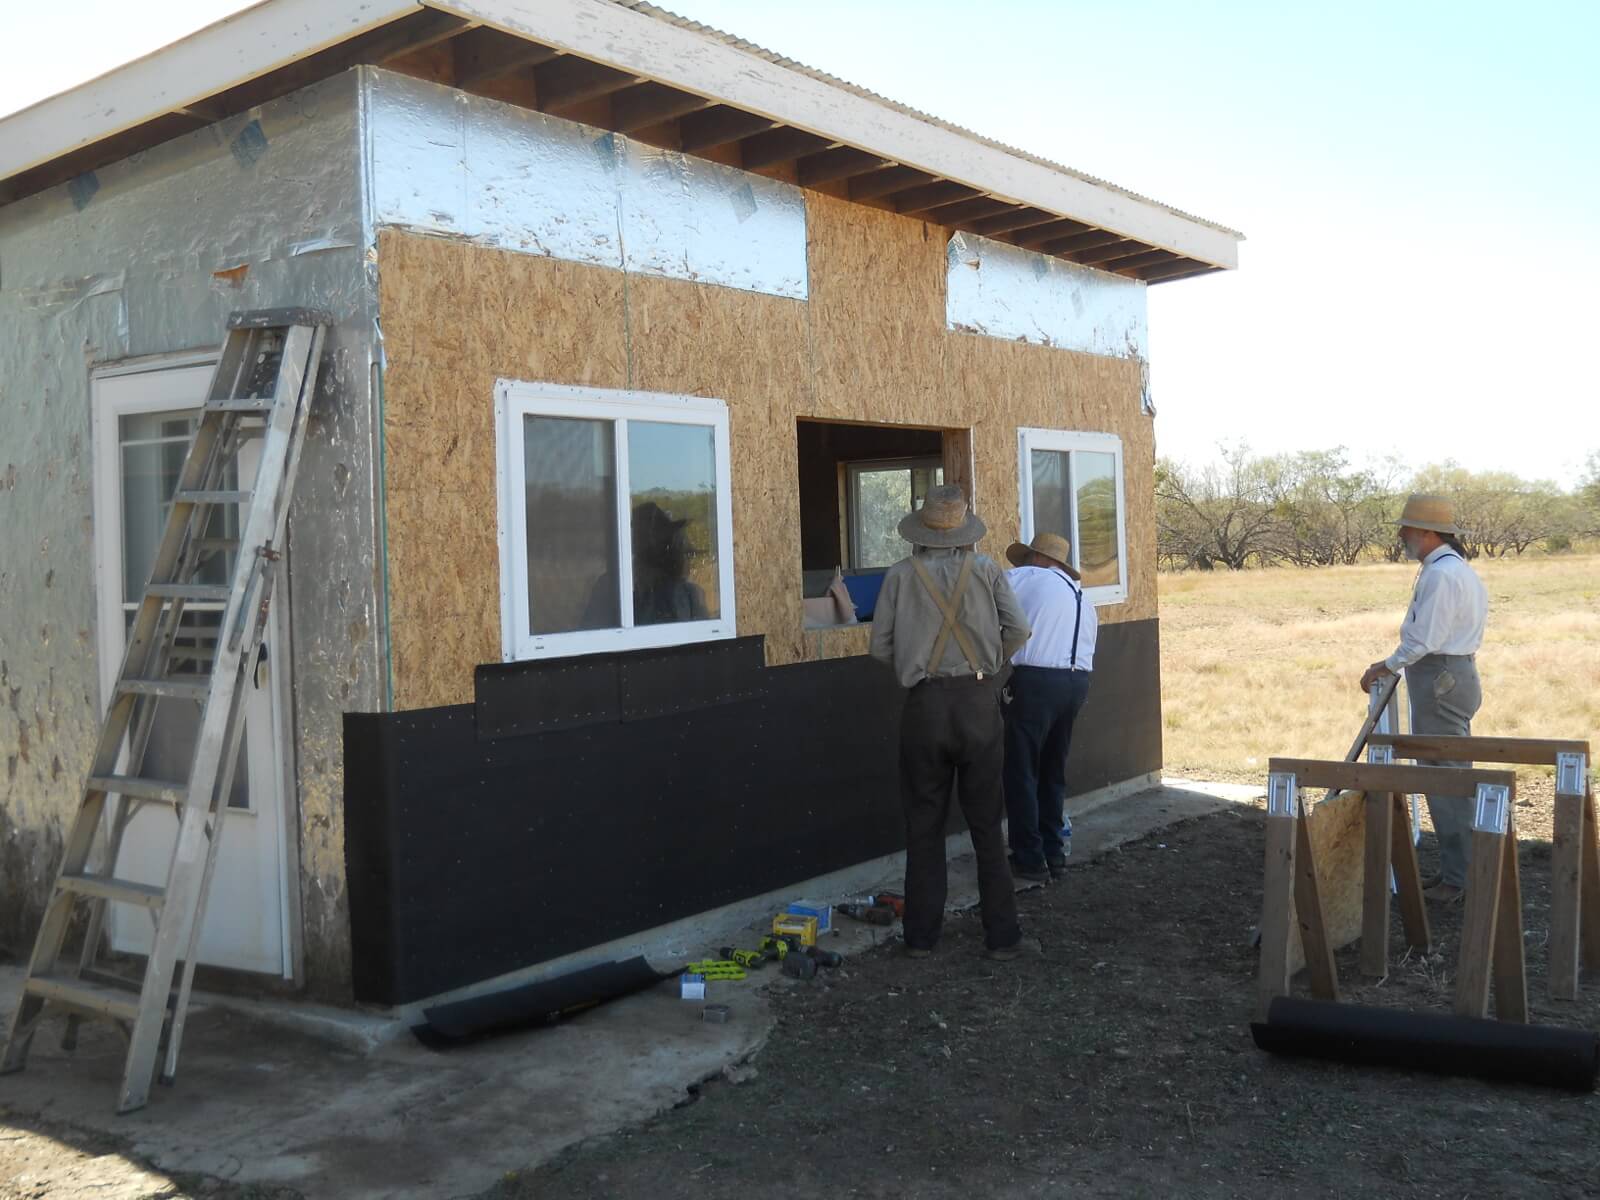
Here is some of the tar paper in place behind the porch ledger board:

Lower North Siding Tar Paper

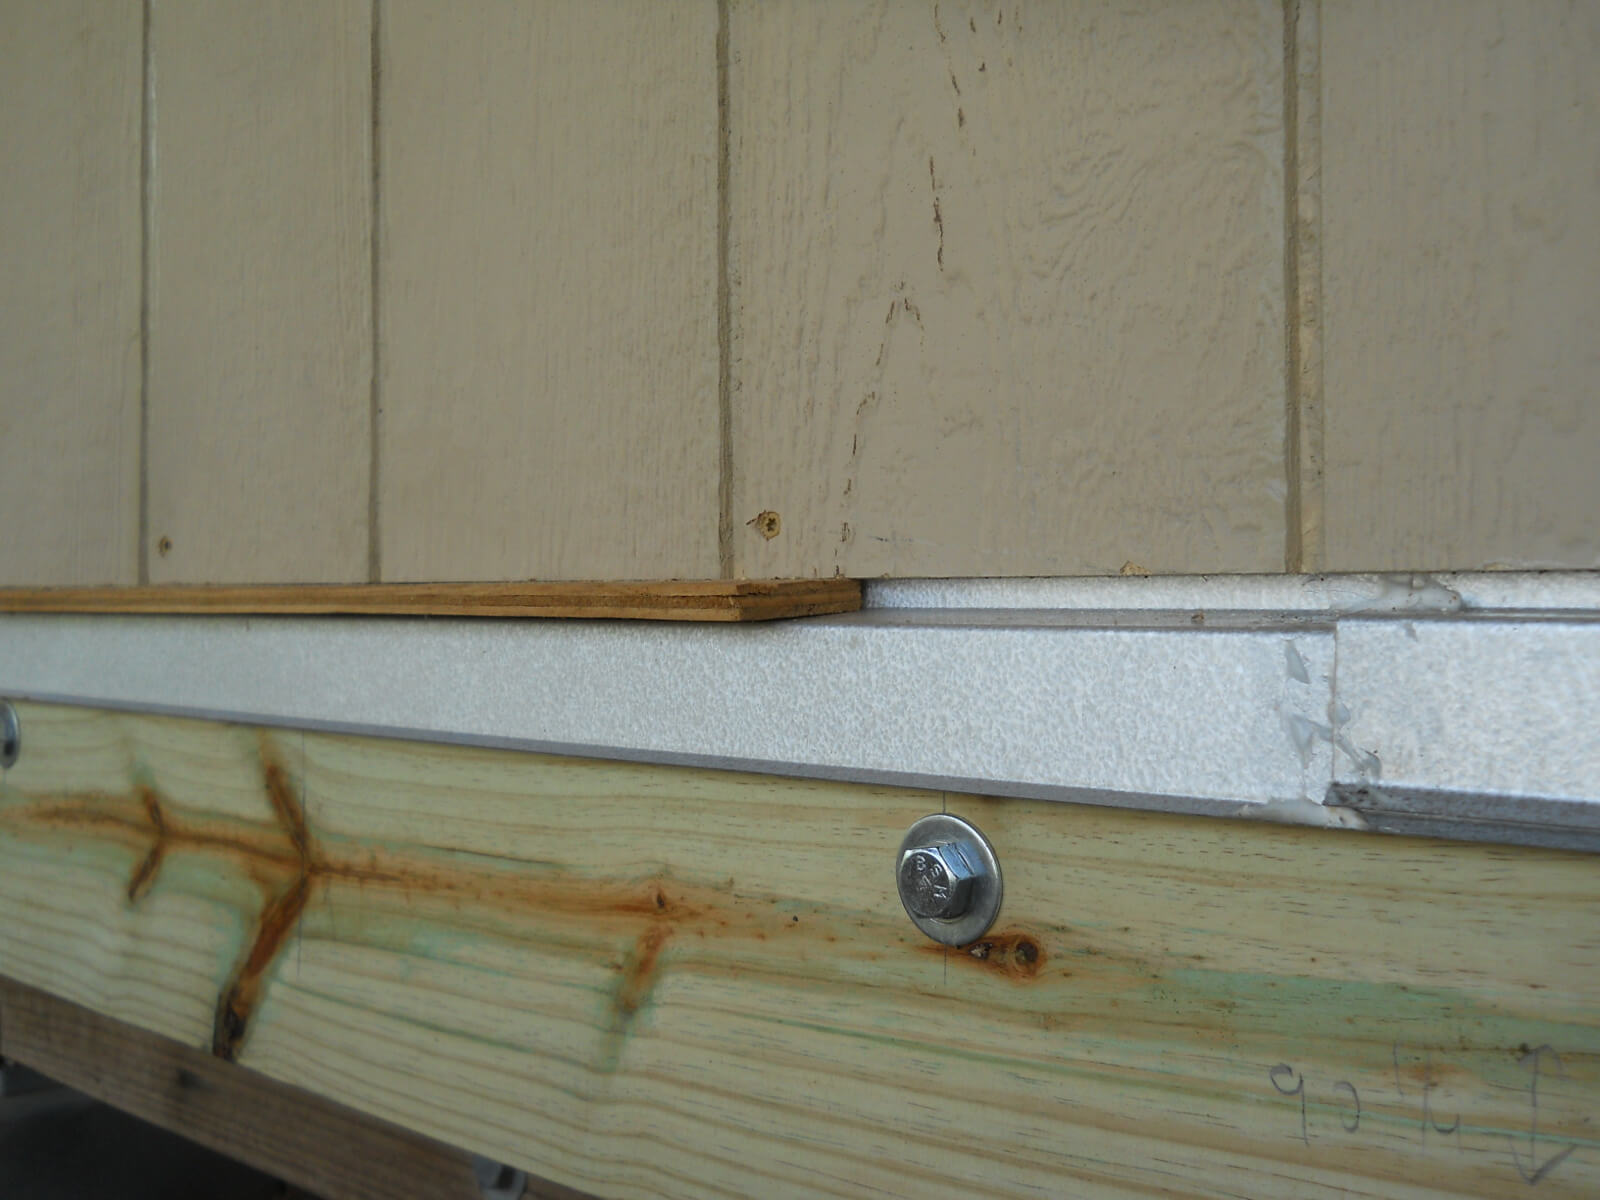
And this what I used to elevate a piece of siding so it doesn’t set directly on the flashing, once again to keep things out of sitting moisture:

Siding Spacer

And here is some of the siding in place:

Lower North Siding Begun

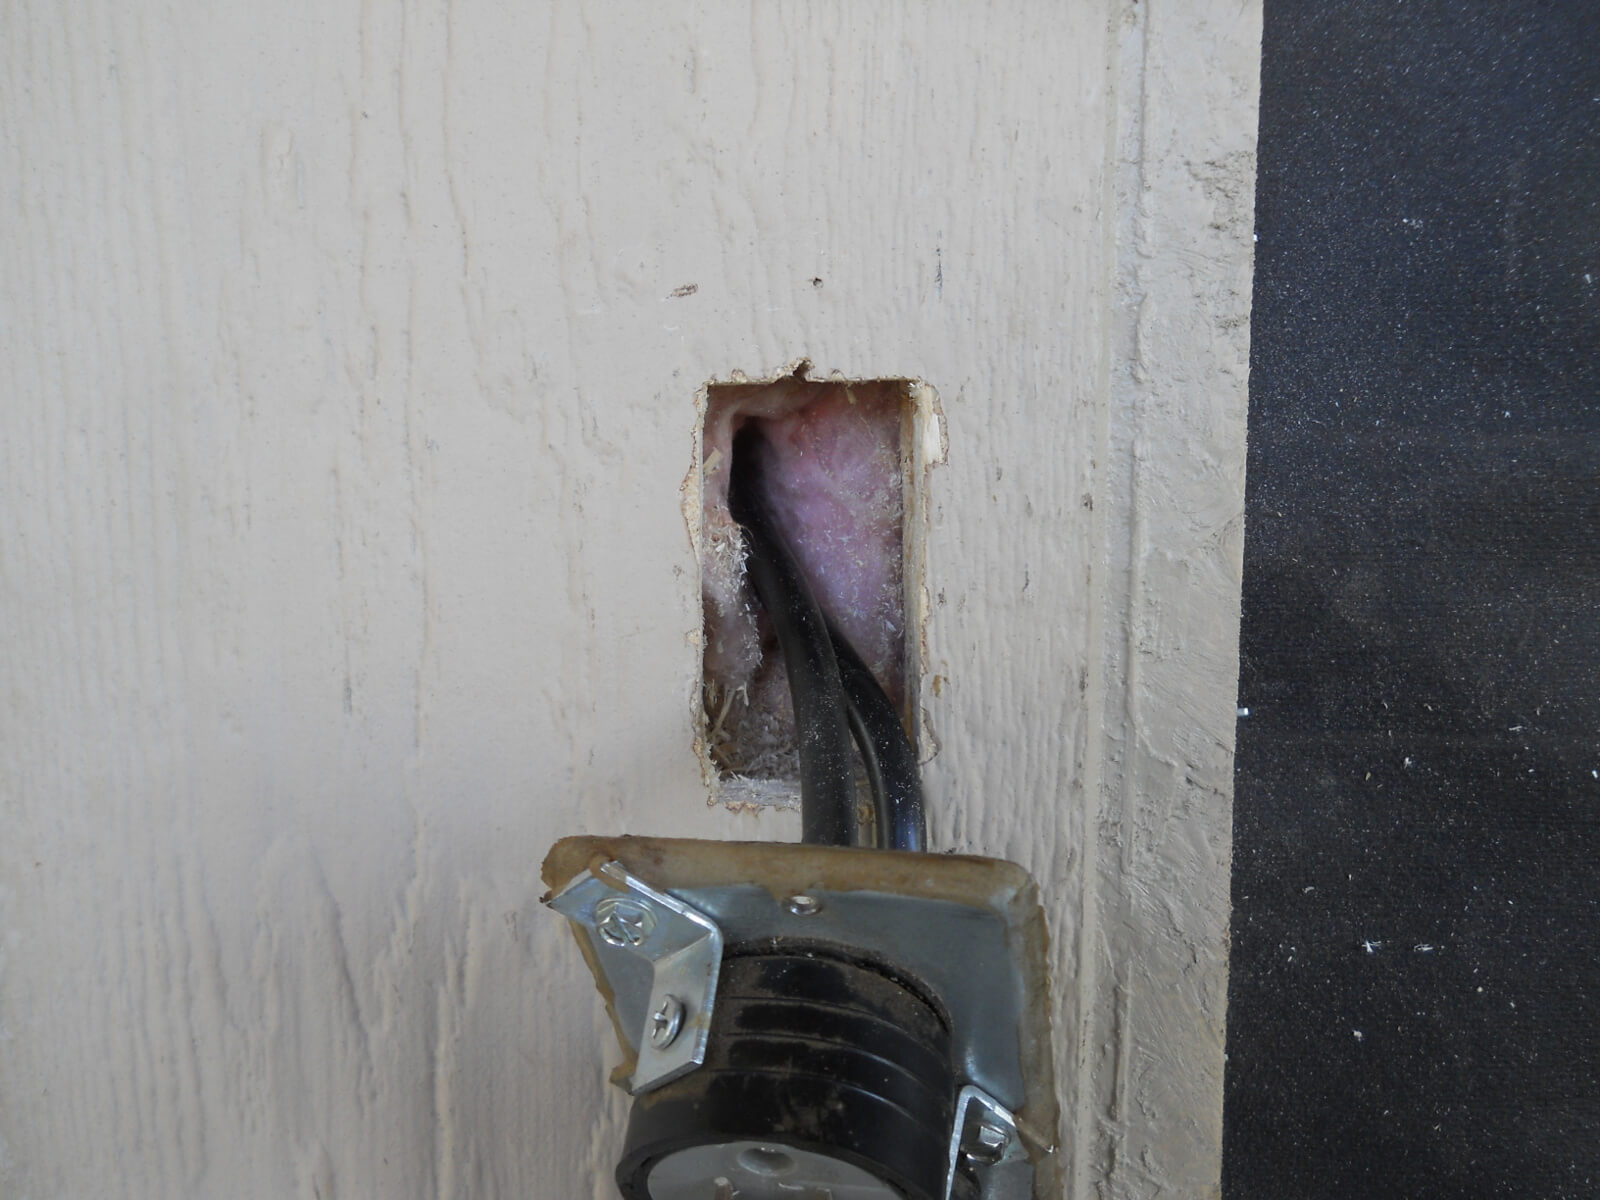
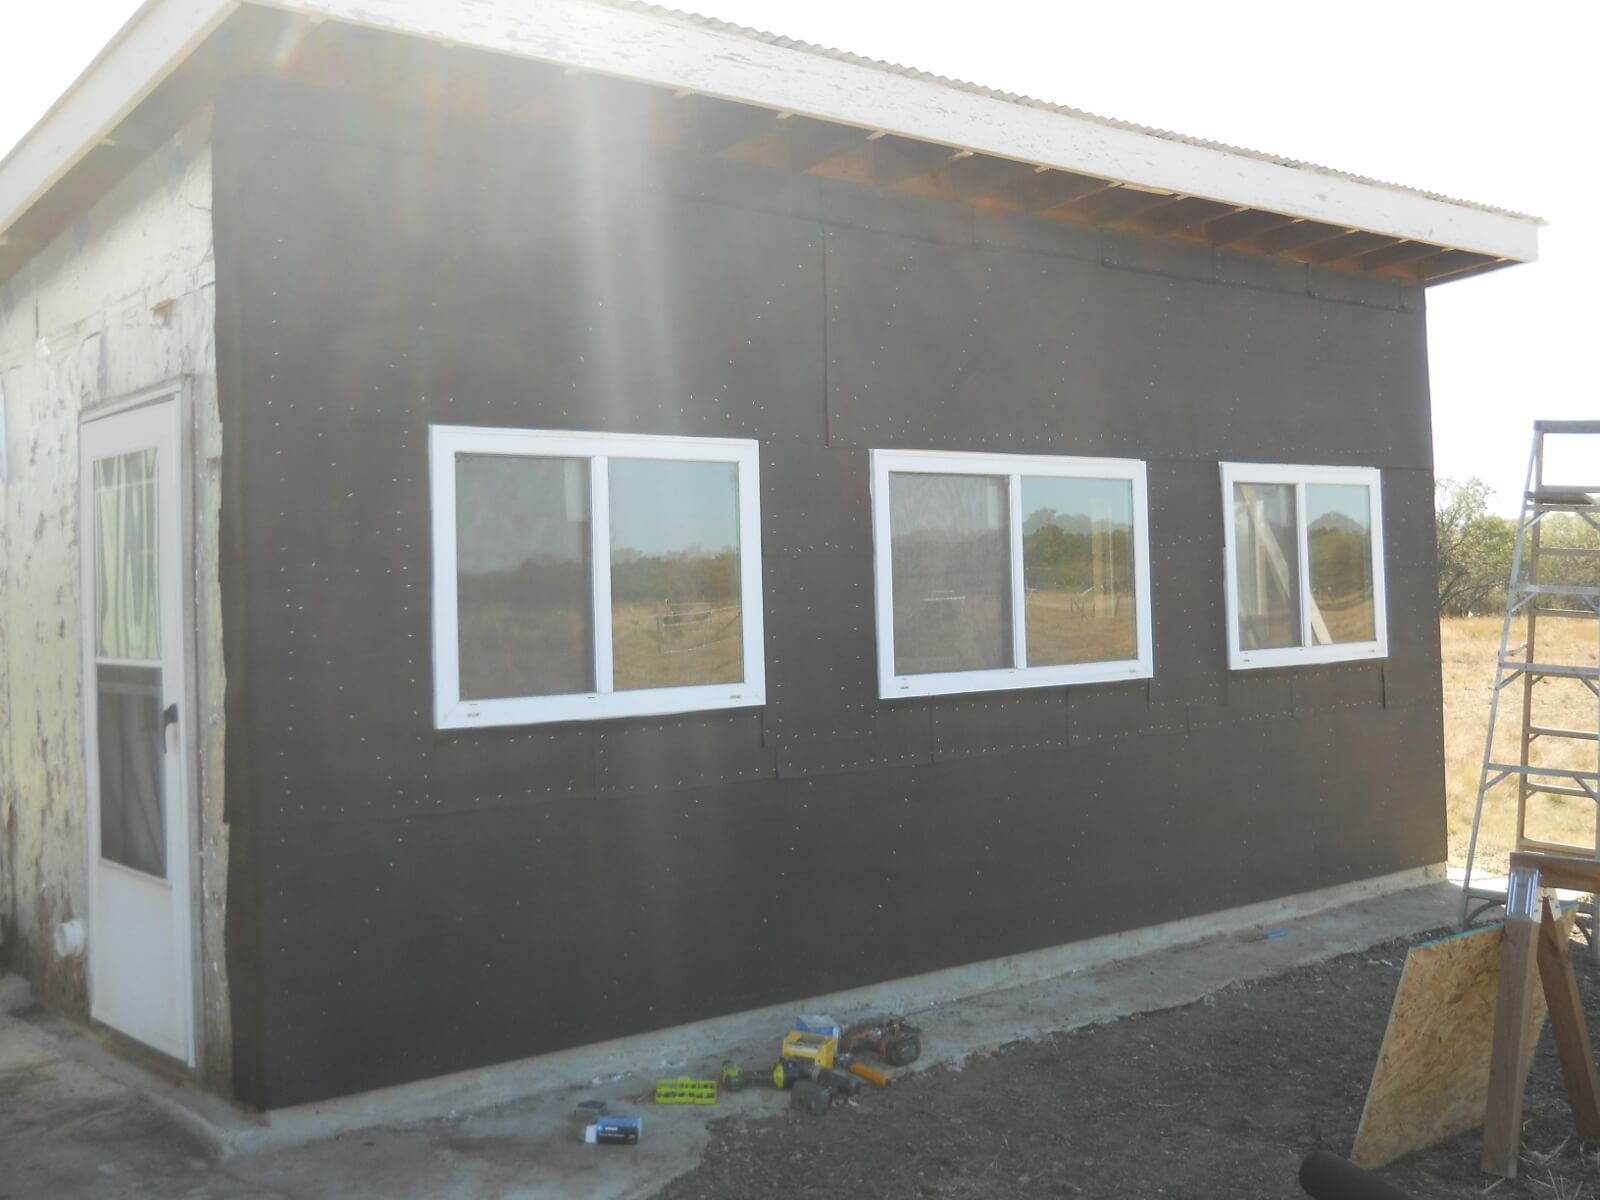
I had to cut a hole in the siding for the electrical inlet:

Lower North Siding Electrical Inlet

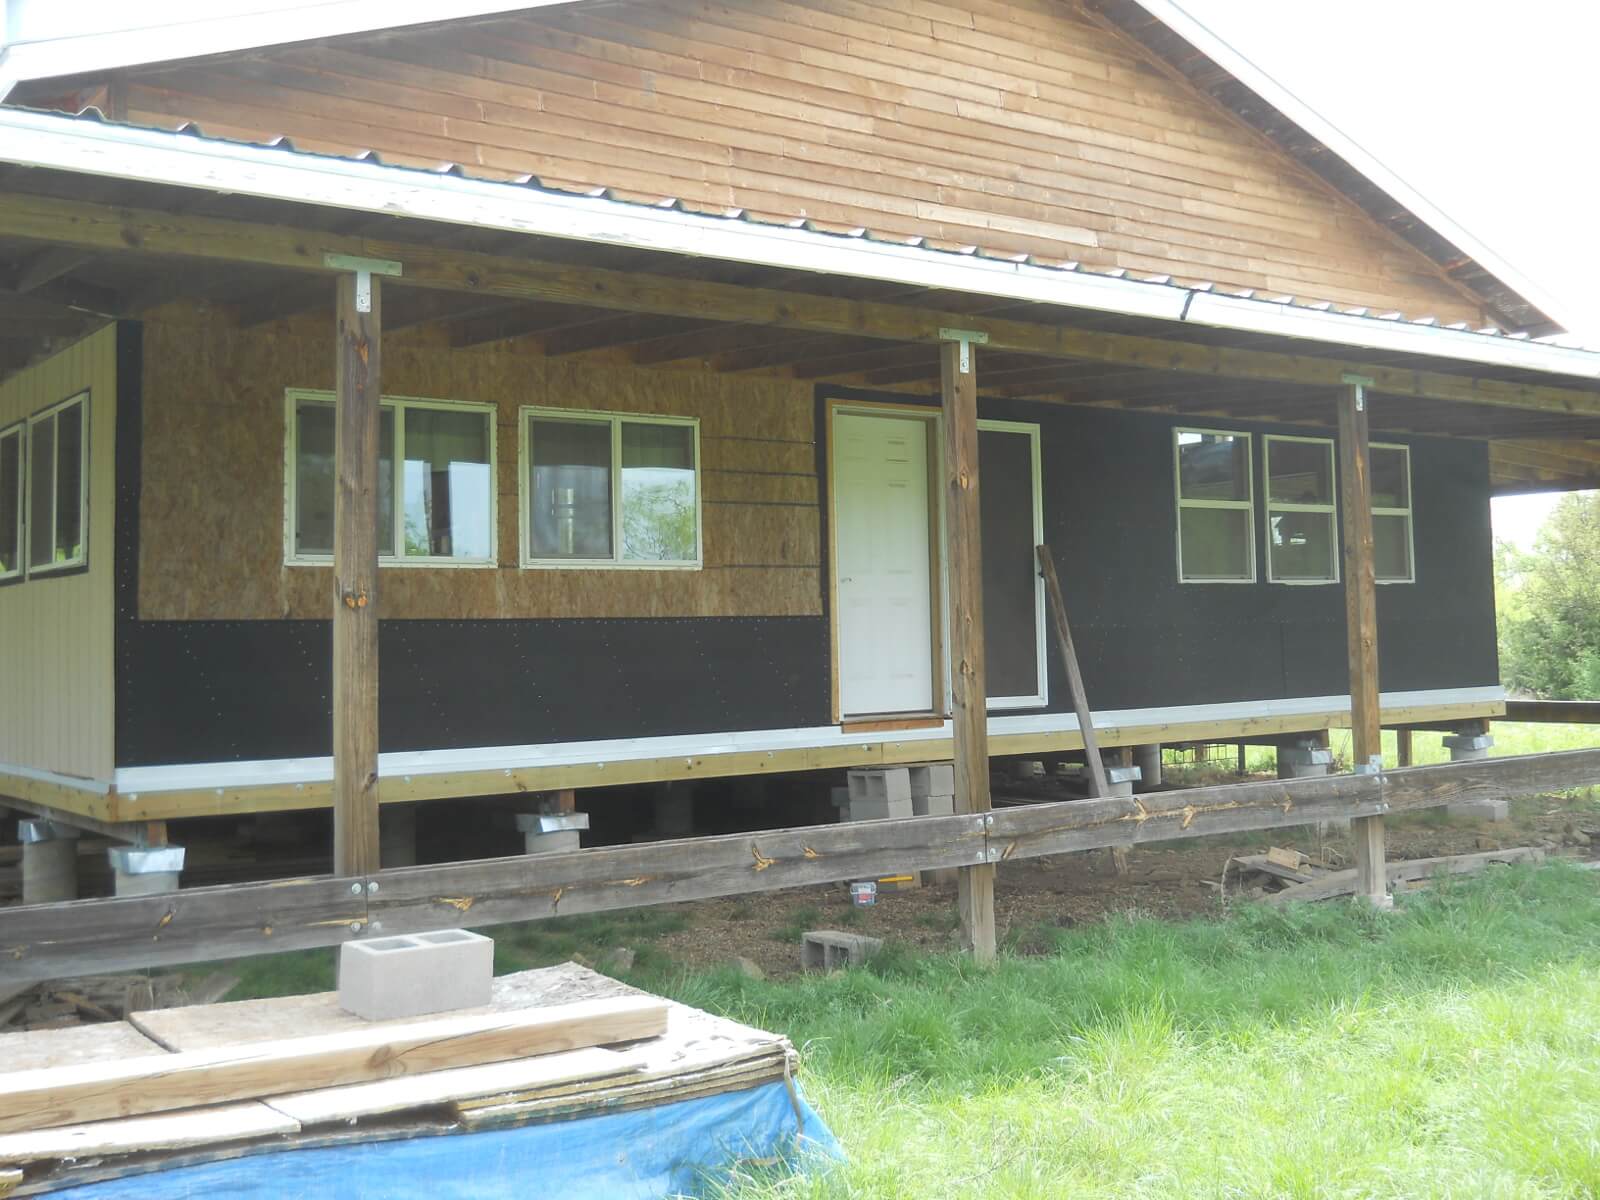
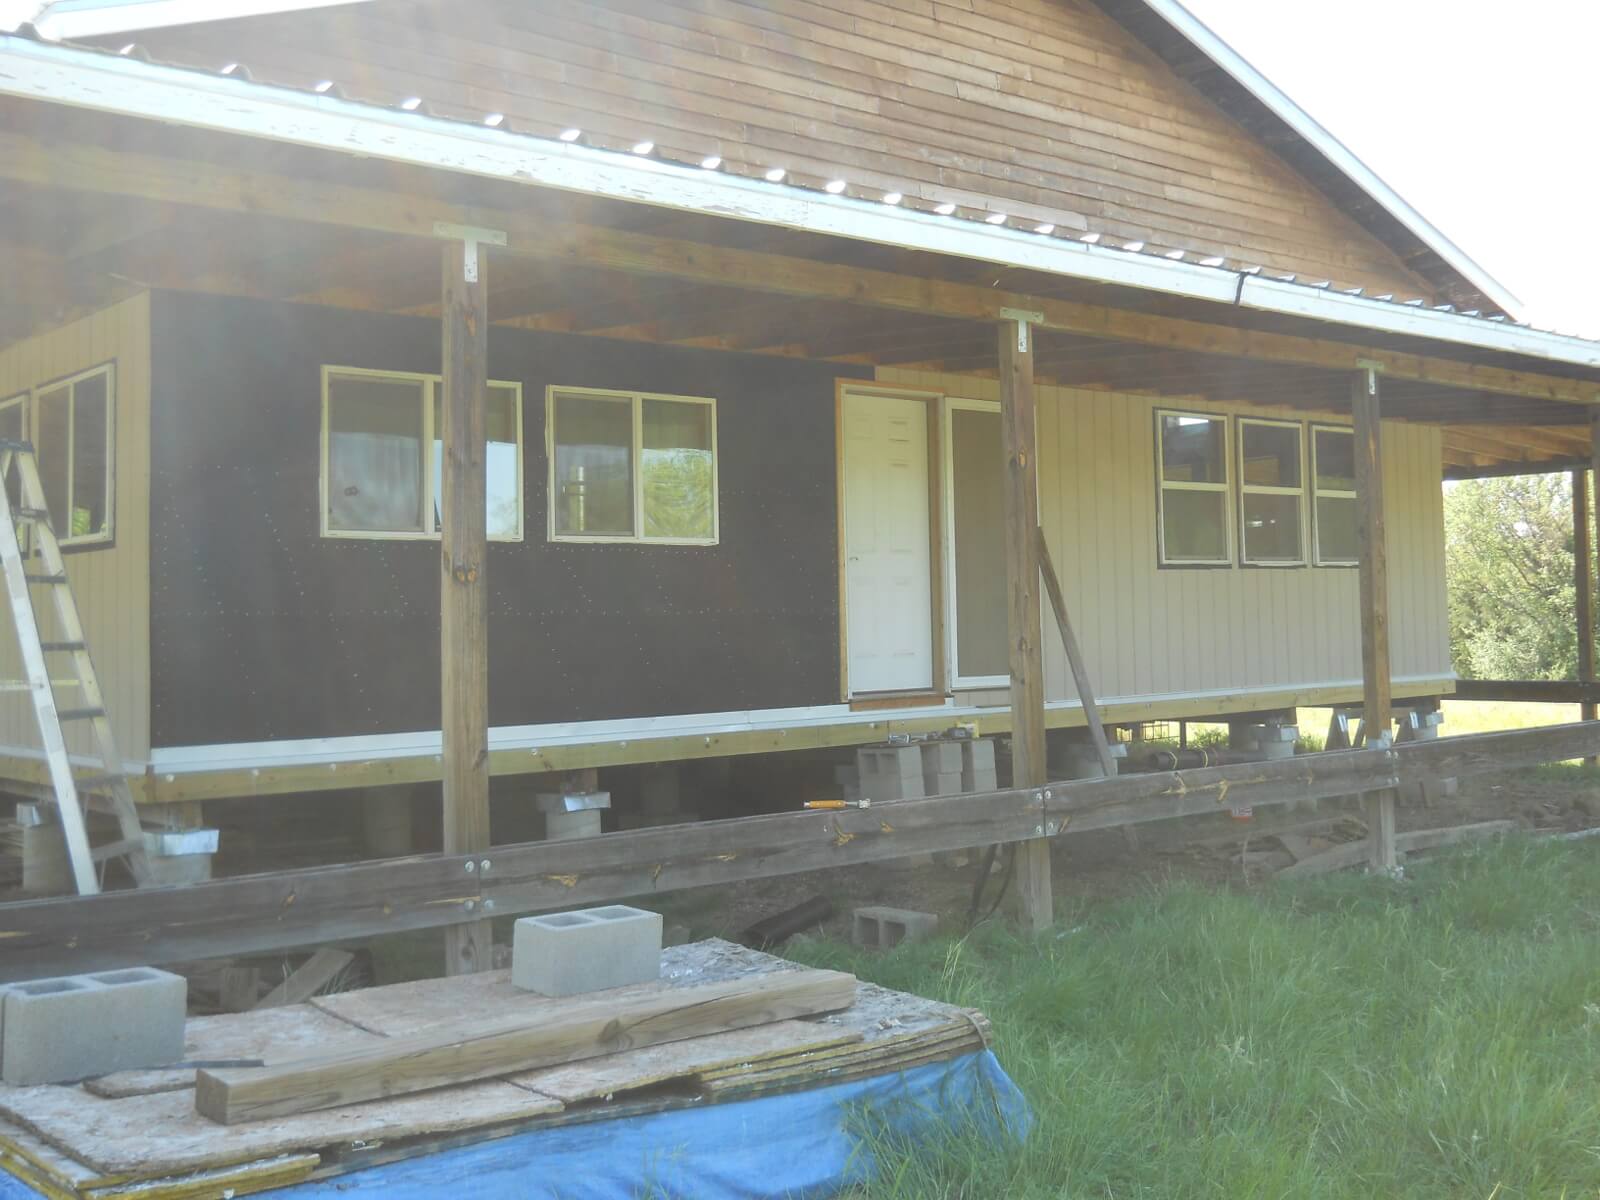
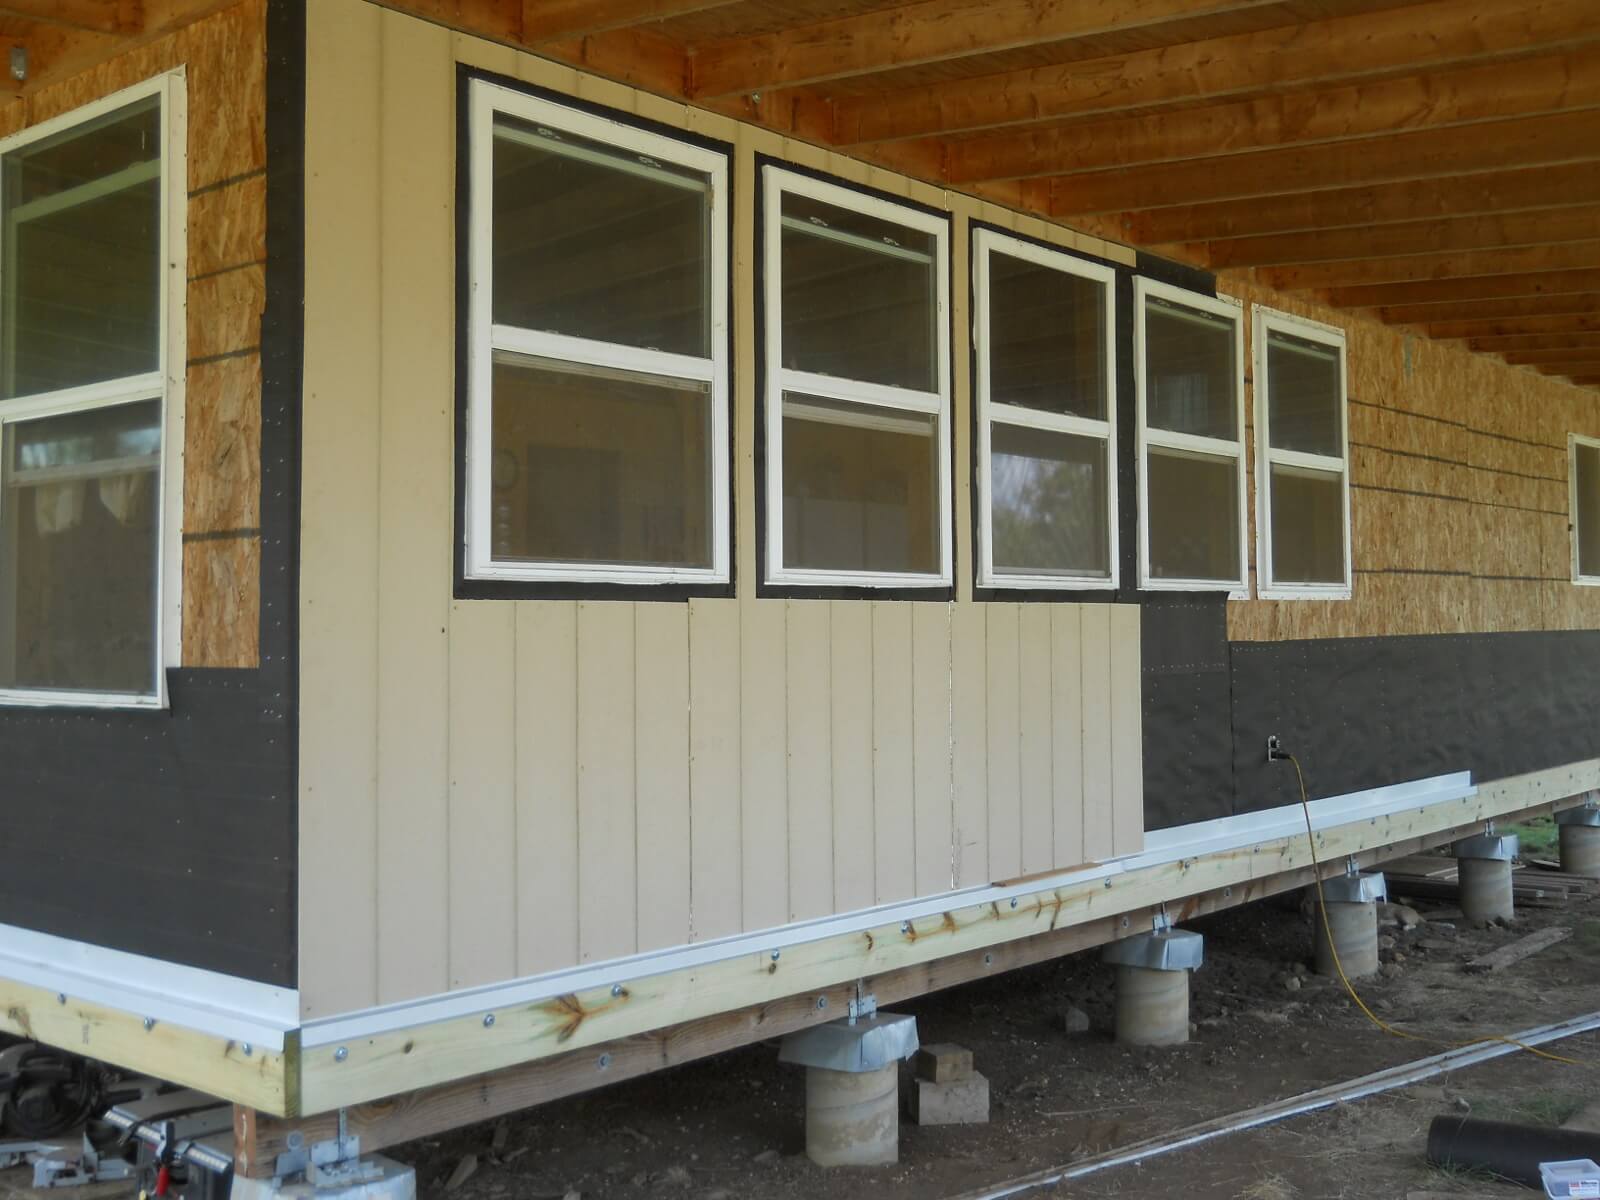
And here is more siding done:

Lower North More Siding Done

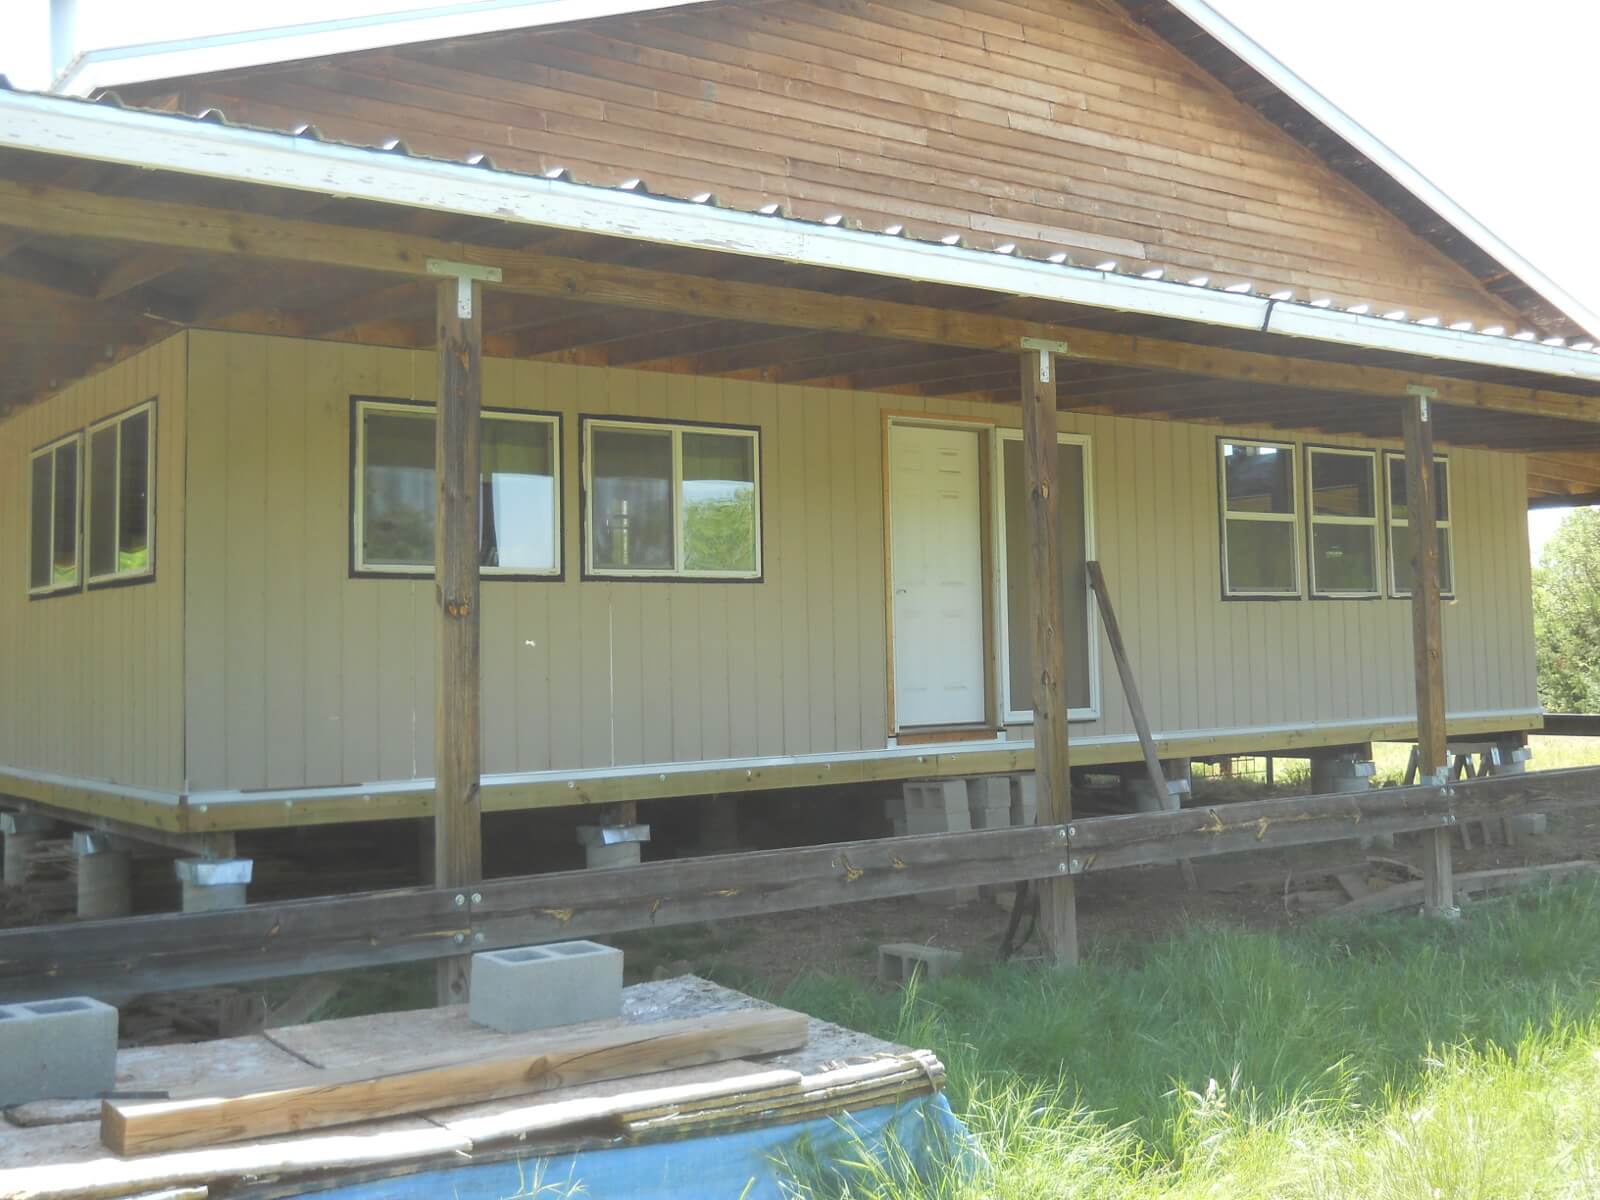
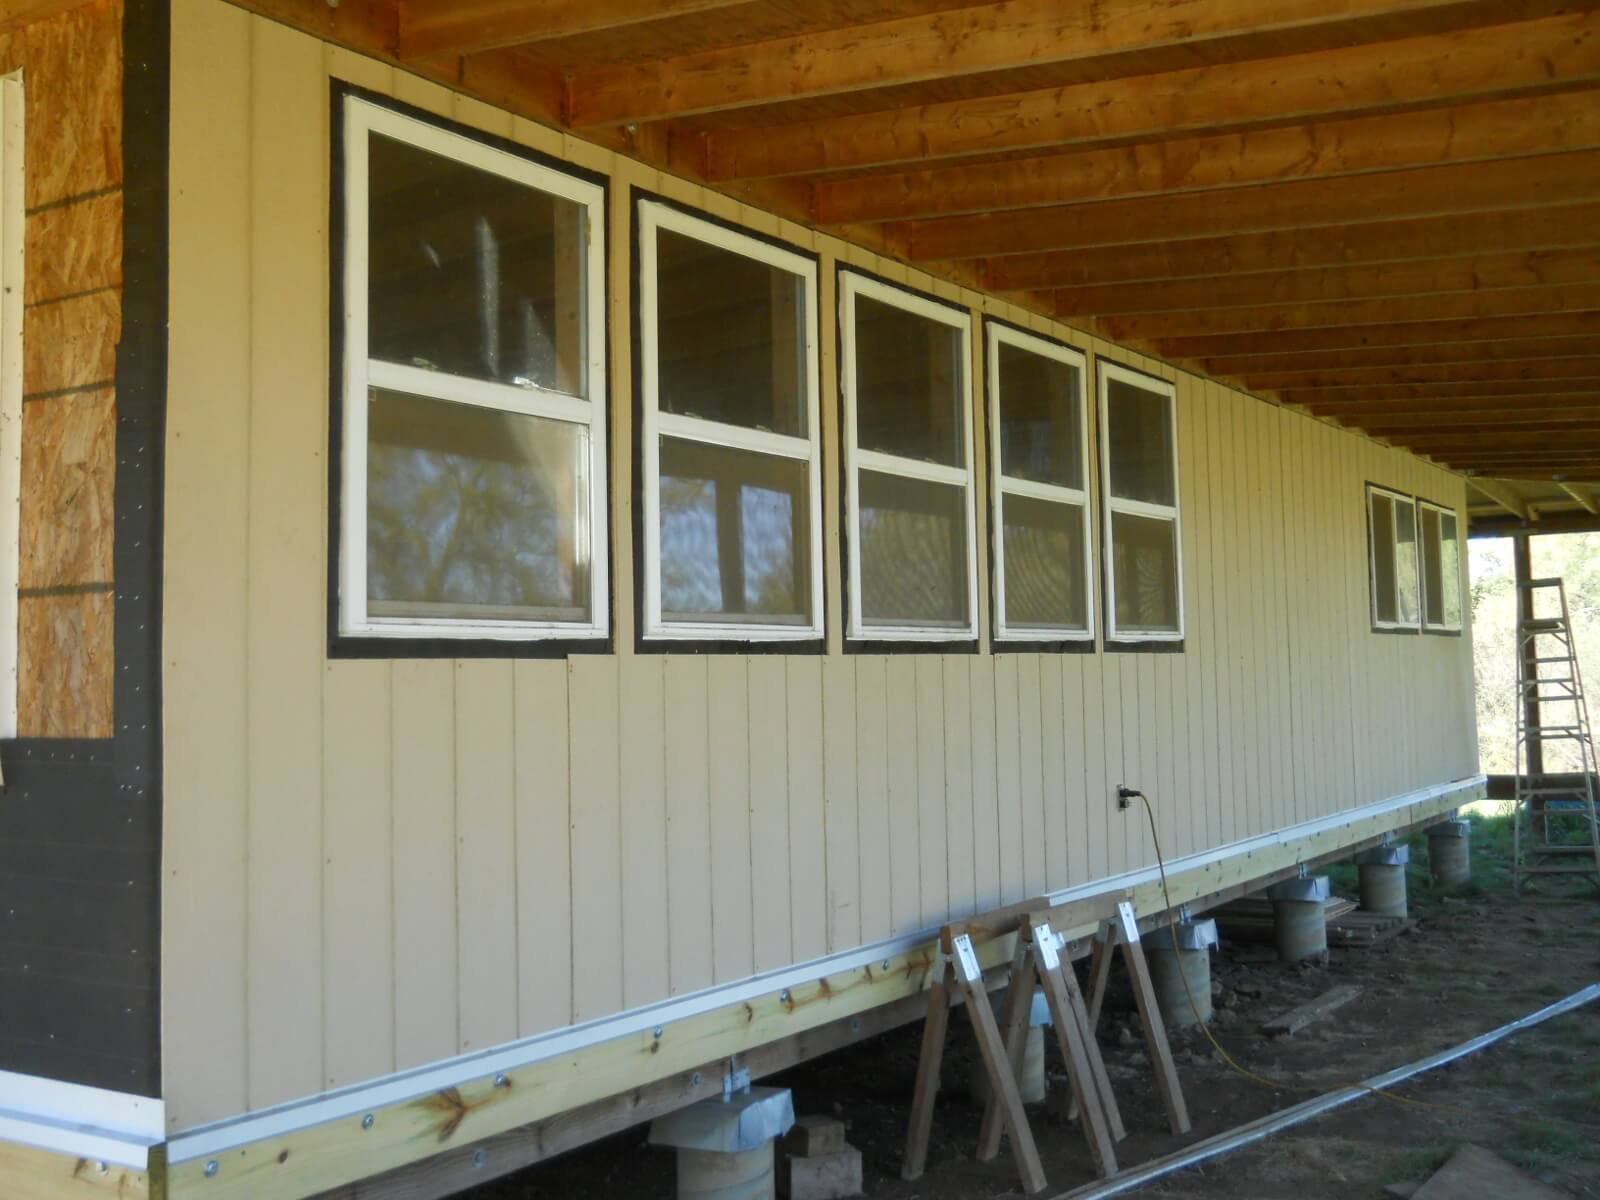
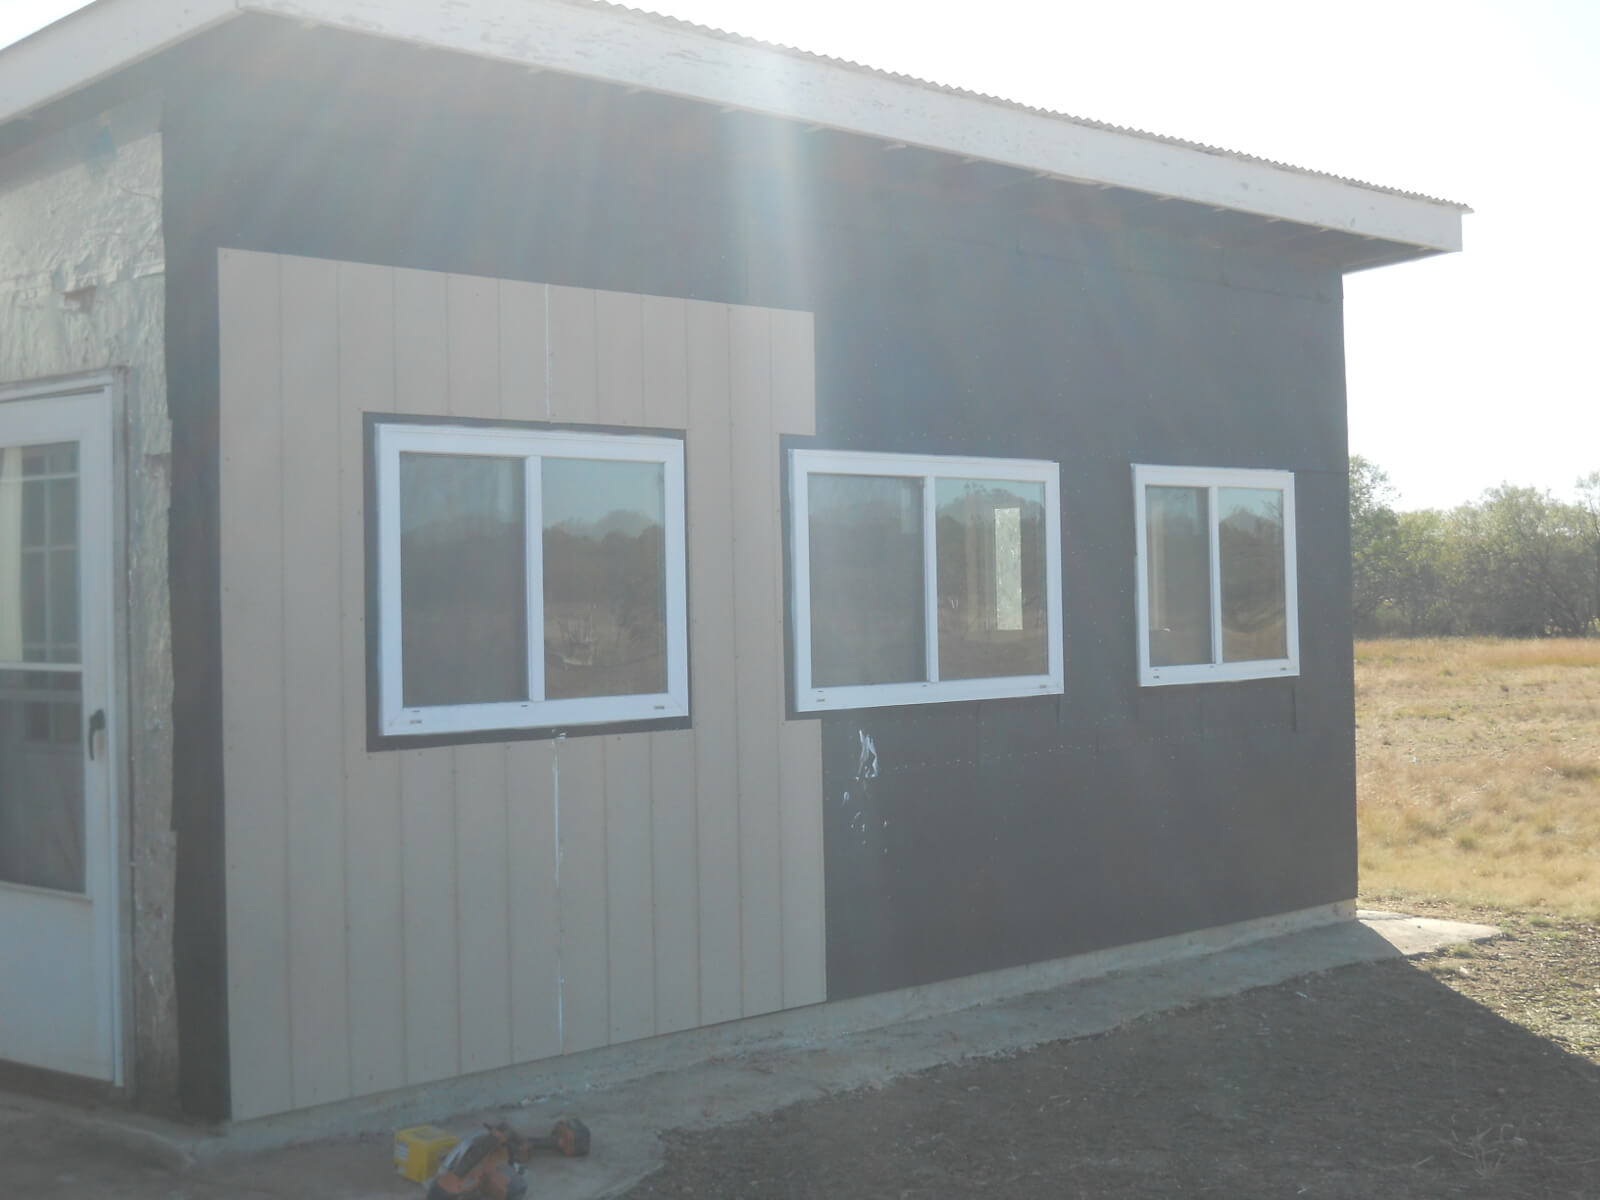
And then the whole side complete!

Lower North Siding Done

Now, we need to choose a color, paint it, and add window trim, and then it should be all done.

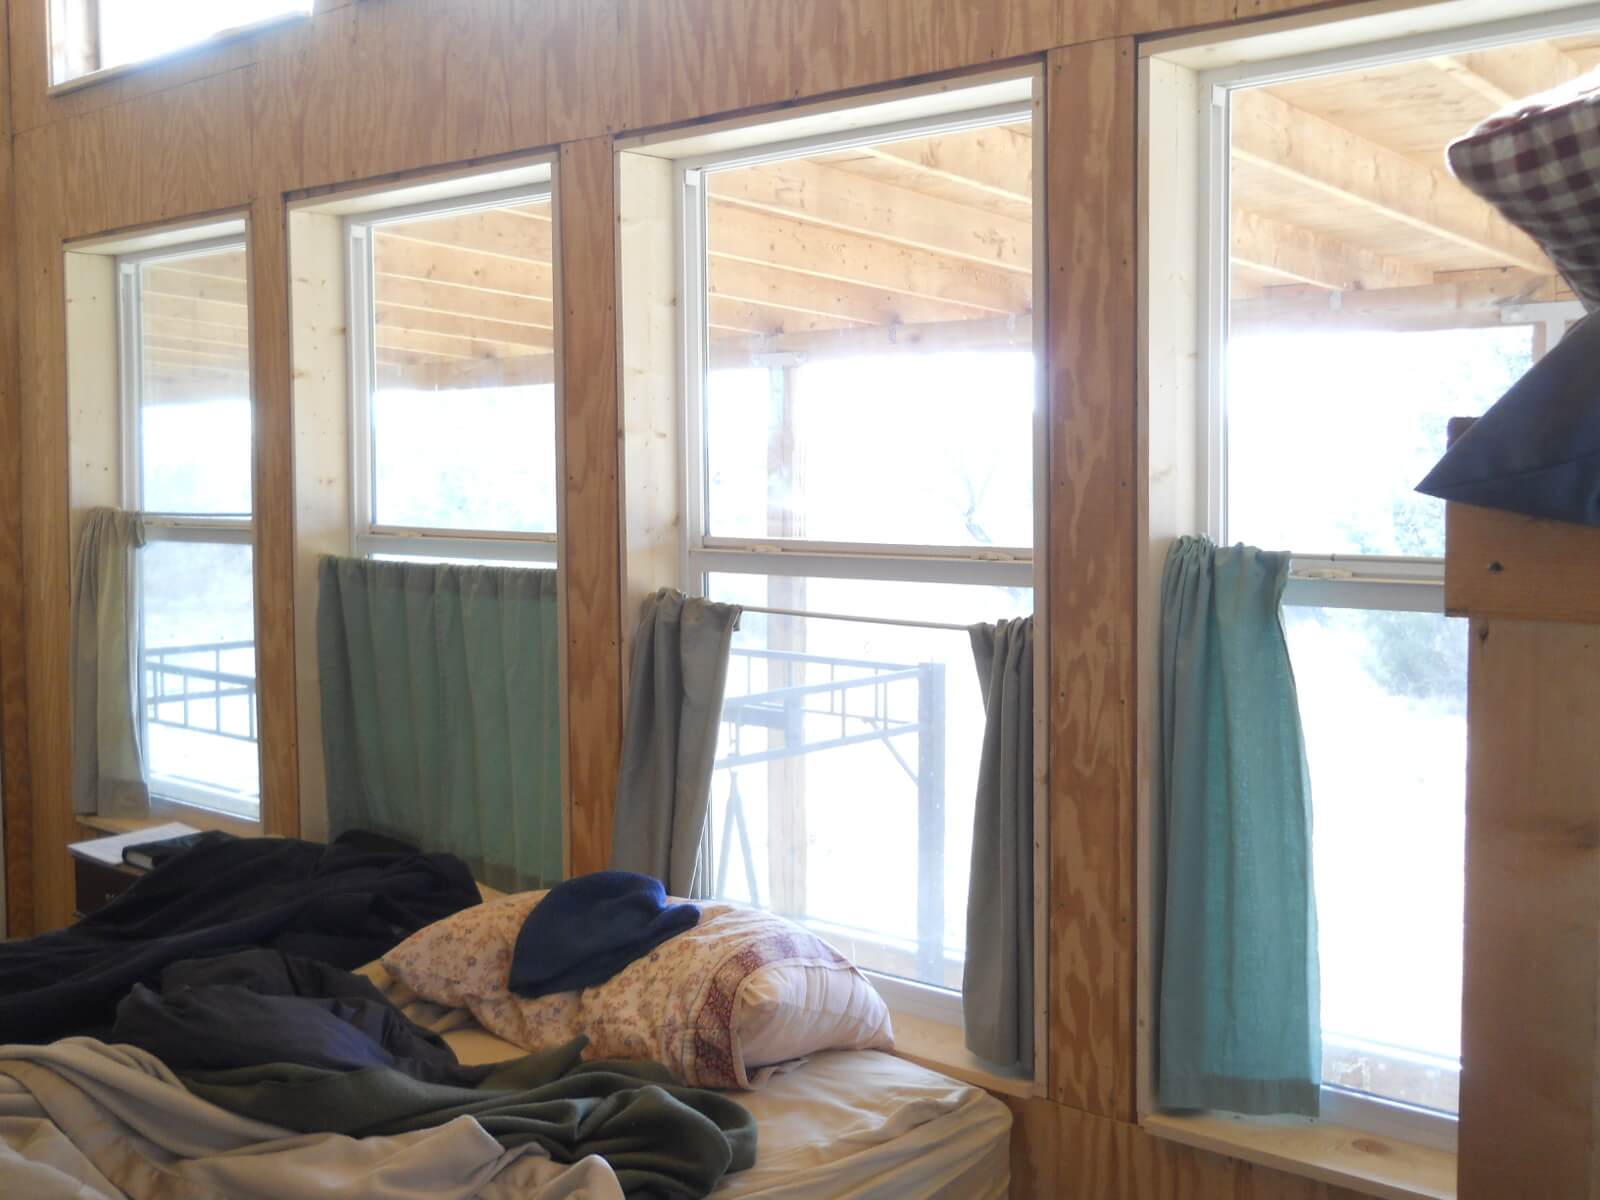
Internal Window Sills

In an attempt to continue to seal in the inside of the house from air leaks to help keep in the warmth, I’ve started putting up boards on the inside of the window sills with the plan to eventually come back and finish the front part of the sills later.

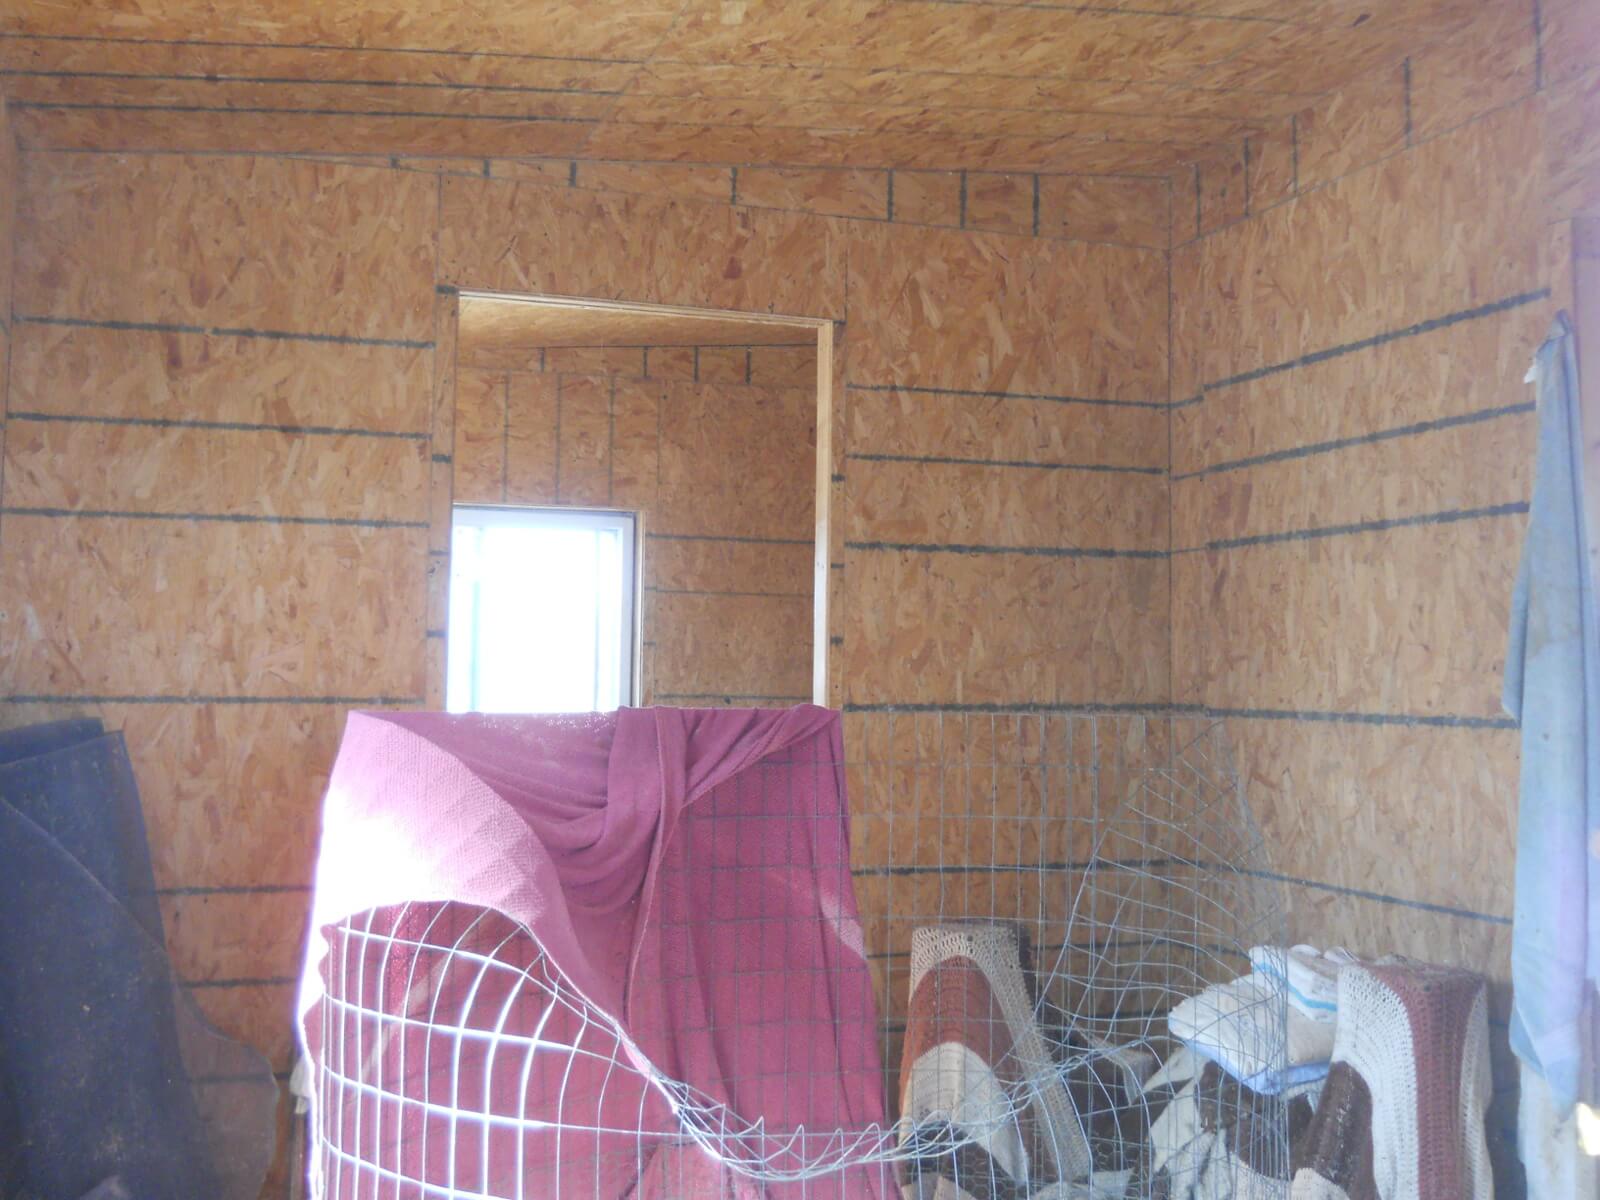
Here is lower bedroom:

Bedroom Lower Windows Inside Sills

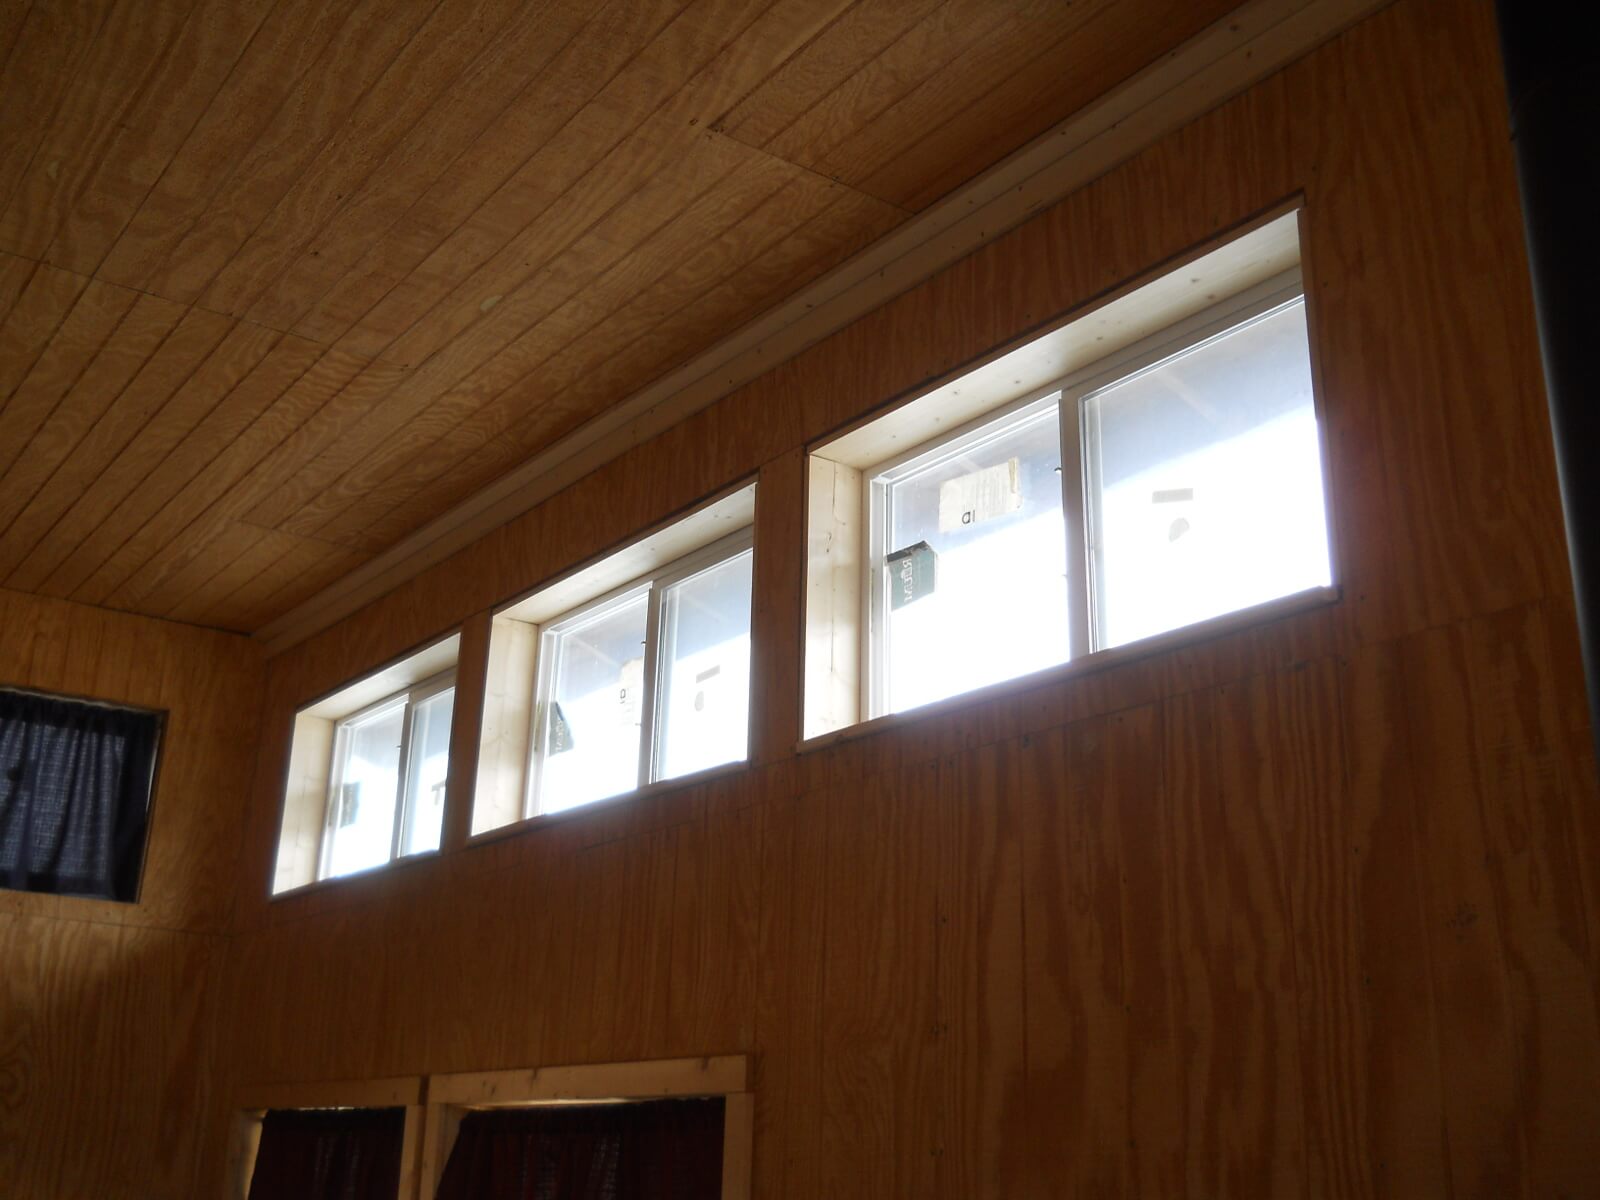
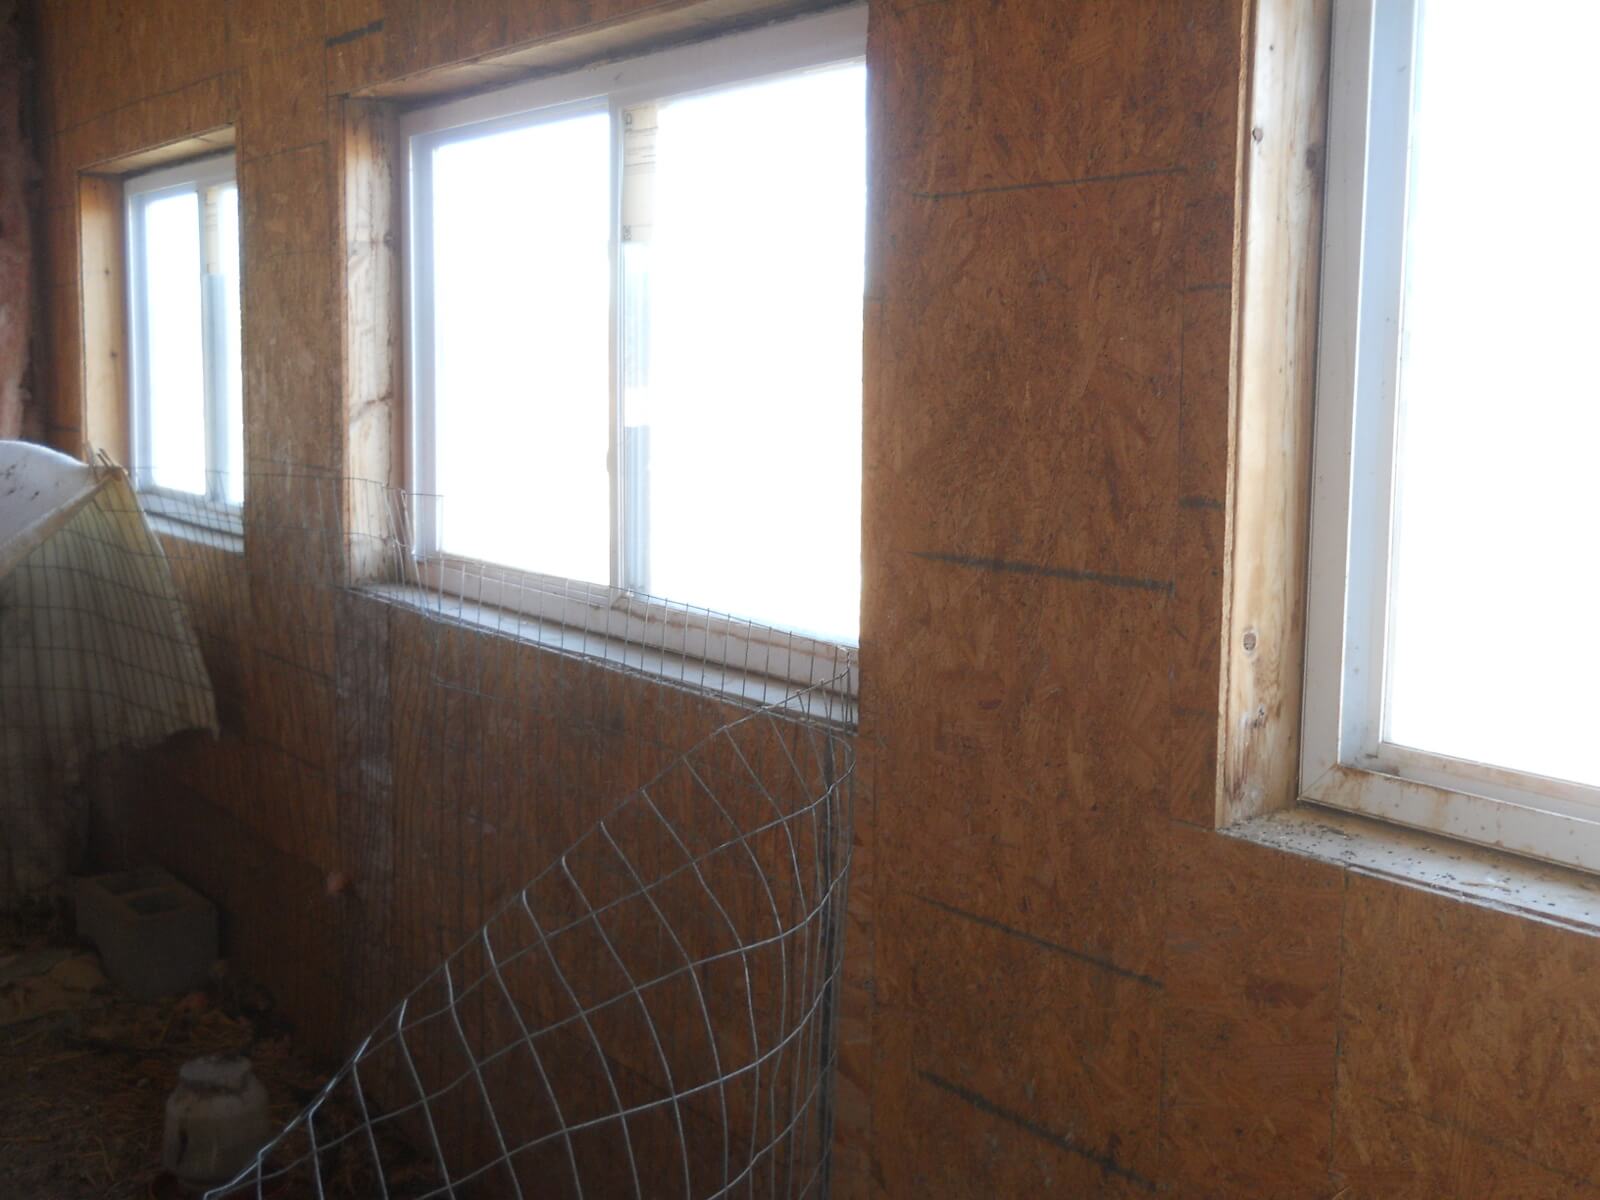
And upper kitchen. During one of our recent cold fronts, Sue could see the cobwebs moving, and so it was important to get them done, especially on these upper north-facing ones:

Kitchen Upper Windows Inside Sills

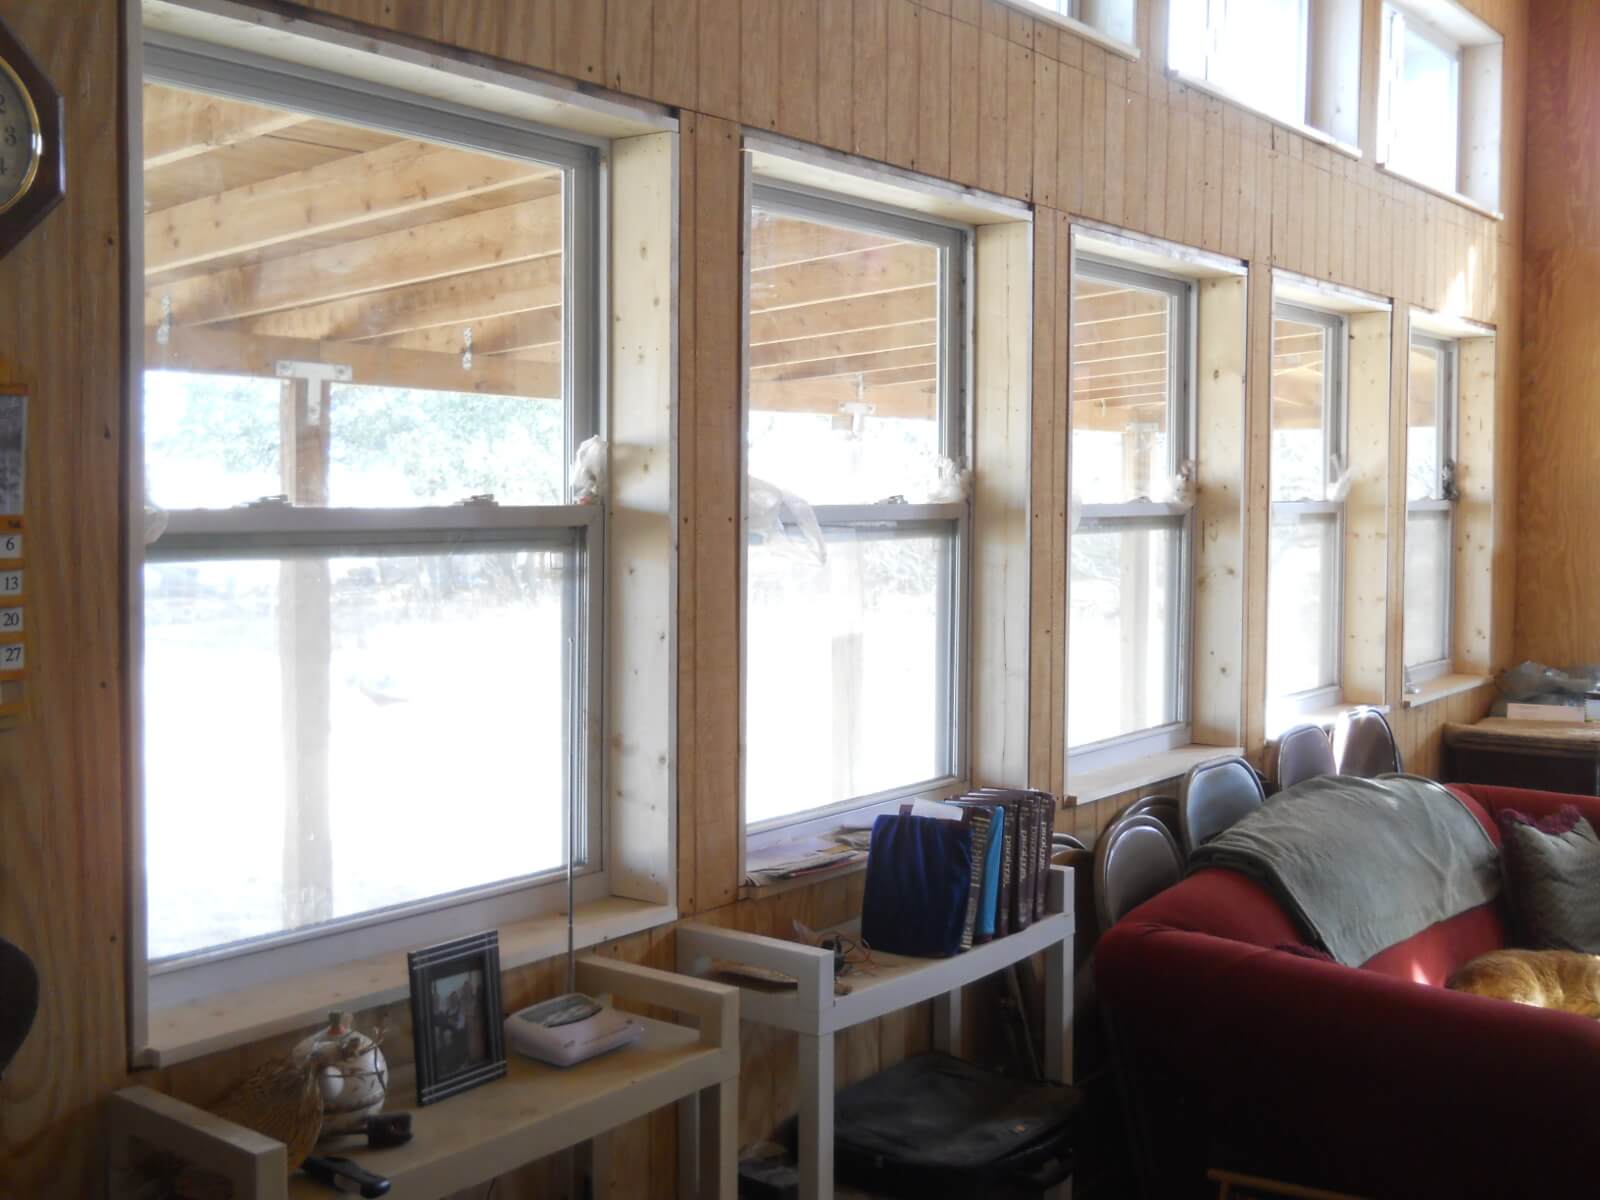
Here is lower great room:

Great Room Lower Windows Inside Sills

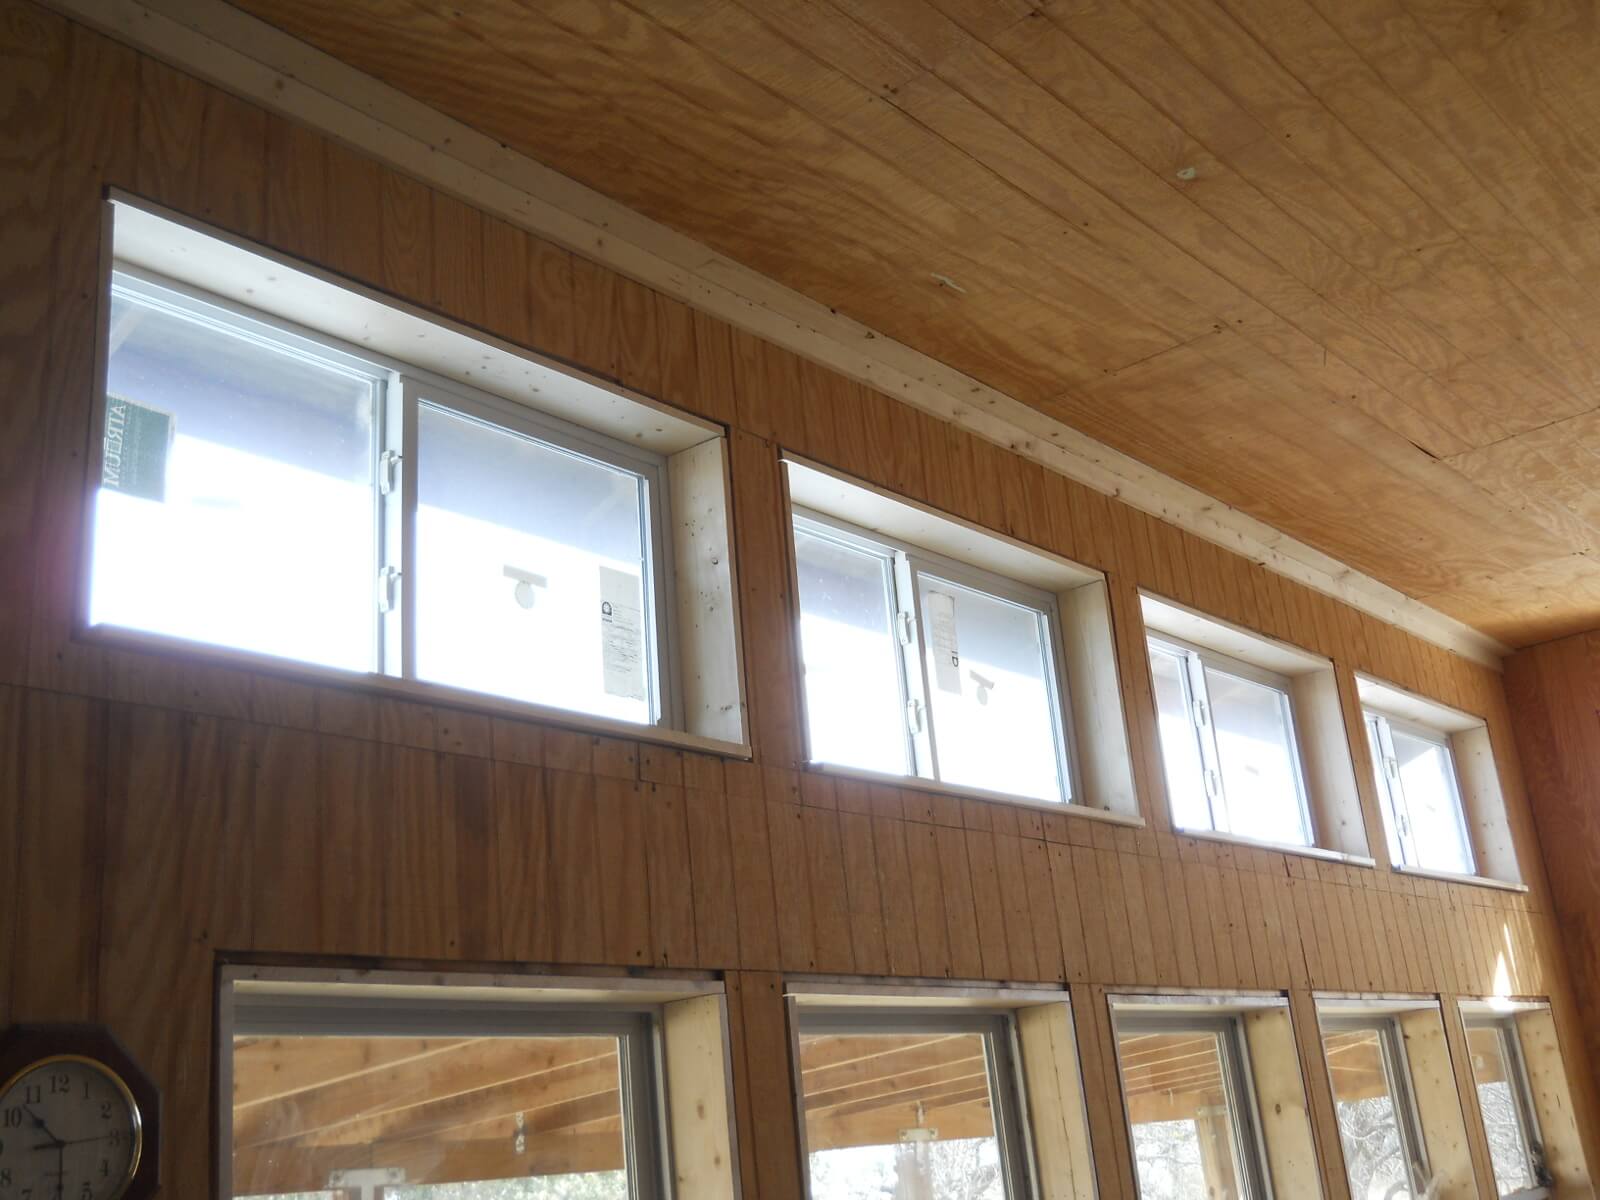
And finally, upper great room:

Great Room Upper Windows Inside Sills

As always, we are very thankful to the Lord for granting the provisions to be able to continue on the house. We always pray it’s a place of worship and a nice gathering place for His Church.

— David

Summer Kitchen – Update III – External Siding, Community Work Day & Acorns

This past Wednesday was our first-Wednesday community work day, and this month it was at our place. The men worked on our summer kitchen, and the women and children washed house windows, shelled pecans, collected acorns, and sewed aprons and dresses!

Summer Kitchen External Siding

It has been 6 years since our last summer kitchen update. Wow!

Over the years I have done a decent amount of the internal siding, which you can see here:

Summer Kitchen Internal Siding

More Summer Kitchen Internal Siding

You can see what the mice have done to the insulation at the top:

Still More Summer Kitchen Internal Siding

And more here. We have traps in there, but they still do the damage:

Still More Summer Kitchen Internal Siding

Even with some work on the internal siding, the external siding has been sitting unfinished, with just the OSB, for 9 years, shown in this blog update!

And then, as one might imagine, the weather has taken its toll on it. With the Lord graciously granting resources to do so, we were able to do some work on the north side with the men helping…

Here is with the old siding off:

Summer Kitchen North External Wall Removed

The mice have been busy! 🙂

Insulation Removed by Mice

Here is removing calked windows. This worked pretty well, thankfully! (I have had a previously unsuccessful attempt before 🙂 )

Removing Summer Kitchen Window

Bending the outside away was the best approach:

More of Removing Summer Kitchen Window

Here’s with the first window out and first new OSB board in place:

Summer Kitchen Window Removed, First OSB in Place

And then putting the first window back:

Summer Kitchen First Window Installed Back

Here’s with some of the tar paper up:

Summer Kitchen First Row of Tar Paper

And then all the windows and boards in place:

Summer Kitchen All Windows & OSB in Place

Here’s with tar paper on the entire side:

Summer Kitchen Tar Paper on Entire Wall

And finally, with a couple of the external siding boards in place, which is how far we got on this work day:

Summer Kitchen Two External Siding Boards in Place

Excellent! Thanks to the guys for all of the help!

Acorns

While the fellows were working on the summer kitchen, the ladies helped shell pecans and make some aprons and a dress for Sue, and the children washed house windows and collected acorns for our pig!

Here are buckets of acorns they collected!

Buckets of Acorns

Thanks to the ladies and children for all of their help too!

We are very grateful to the Lord for granting us the opportunity to be a part of the fellowship! We always pray we love Him in part by loving and serving each other, and we thank the folks here again for all of their help and willingness to serve!

— David

Hogs, Hogs on the Range – Update III & Bye to Ardy

The Lord has graciously allowed us to continue putting up new pig fencing sections, around our pig pen area, and in extending the expansion area!

But first, after introducing Ardy to Penelope back in October 2016, it was time to move him along to the processor, as I figured if she hasn’t become pregnant by now, she probably just isn’t going to be.

And so, here’s a final video of that day, including extreme close up! He was a big boy! 🙂


We thank the Lord for the provisions of Ardy!

Going back to the fencing…

In our last pig expansion area update, we had put in place cinder block and cattle panel fence sections, which have really worked out great. And then, in our last pig update, we had started on re-doing the fencing of the pig pen area.

Well, here is a video update of the pig pen area and a new extended area on the expansion. I also demo how it is to move around the fence sections with just one person:


Eventually, we need to enclose the entire pen area, and Lord willing, I’ll be able to continue on that over time.

As always, we are grateful to God for continued ideas and improvements on the homestead, and the strength and resources to be able to further things!

— David

A House – Update XLVIII – Kitchen/Great Room Cabinets, Kitchen Island Carts, Pantry Shelves & Cook Book Shelf

It’s been some time since our last house update, but since then, the Lord has granted we be able to collect great room and kitchen storage items, to be able to continue to move in and function more completely in the house.

Here are a couple of great room cabinets:

Great Room Cabinets

And with a stow away catching a nap: 🙂

Mimi in Great Room Storage Cabinet

And the kitchen cabinets:

Kitchen Cabinets

And with Sue’s grandmother’s china, which is very special to her!

Grandmother's China Dishes in Kitchen Cabinet

These are a couple of kitchen island carts:

Kitchen Island Cart

Kitchen Island Cart

And then some more pantry shelves:

More Pantry Shelves

And finally, a little cook book shelf I put on top of the paper towel holder:

Cook Book Shelf

As always, we are very thankful to God to be able to continue on the house and for these provisions! We always pray this place will be a house of worship to Him, for the gathering of His people, and where He might glorify Himself!

— David

The Barn – Update VIII – Second Animal Stall

After mostly finishing the barn loft platform, and then doing so after putting in some steps, we were finally able to move more ground-floor stuff we’ve had in the barn up to the loft so we could get the second barn stall in place. This was the plan all along, since we have two sets of goats during breeding time, which is during the winter when we would most likely need for them to have extra shelter.

What was nice was I was able to essentially copy exactly the first barn stall, and when I bought the materials for that one, I had just doubled the materials in preparation for the second, and so I already had all of the supplies needed.

You can see more details of the process in that first barn stall blog post, but here a few pictures from this one. The long boards had been standing on the ground so long, some of them getting moist, that termites had eaten out at least one of the ends, but it was still usable after cutting off the bad part:

Second Barn Stall Side
Second Barn Stall Side from Outside
Second Barn Stall with Gate
Second Barn Stall Gate Closeup
Second Barn Stall from Inside
Second Barn Stall Side Cross Brace

As I mentioned, the purpose of these stalls is to bring in our goats during cold or extreme weather. I added large eye hooks along the side boards to be able to hook each of them up to hopefully keep the chaos to a minimum, and here is a video during one of our fairly drastic (for us) cold snaps we recently had, with them all hooked up in place. Thankfully, it appears to have worked out very nicely, and we are thankful to the Lord!


We are very grateful to God for granting we be able to finish this part of the homestead and barn, and to have a better place of refuge for our goats. Their exposure up in the fields has been a concern for us over the years, and it’s a relief to be able to bring them into the barn now.

— David

A House – Update XLVII – Kitchen Pot Hooks, Utensil Drawer, More Pantry Shelves & Indoor Elevated Water Tank

With some of the kitchen accoutrements being added, the Lord has graciously granted we continue to add some more things in getting it more functional…

Sue liked a utensil drawer and pot hooks idea, so we bought a set of drawers that fit under the counter, and I added some hooks:

Kitchen Pot Hooks & Utensil Drawer

And here are some more pantry shelves added, on the opposite side of the others this time, and with the potential for more levels:

New Kitchen Pantry Shelves

Lastly, all along the plan for the area on the north wall between the counter and the stove was to install an indoor elevated tank for water flow into the kitchen sink. After some research, I settled on a 6 gallon one with a 3/4 inch outlet, that also happens to have a self-venting cap (which I didn’t realize until we got it — bonus!).

And so, I put up a platform, put the tank on it, and ran the tubing and garden hose. On the end at first, I put a hand-squeeze garden sprayer, partially because you could set it to flow automatically, but the outlet was too small, and the flow was minimal. I then replaced that with a valve that is the diameter of the hose, and now it flows nicely, even spraying across the sink when the valve is about 3/4 open.

Here are a couple of pictures:

Indoor Elevated Water Tank

Indoor Elevated Water Tank Hose Valve

And here is a video of it in action:


We are always grateful to God for granting continued progress on the house, and for the ideas He gives us. We always pray this house will be a place of worship to Him!

— David

« Older posts Newer posts »