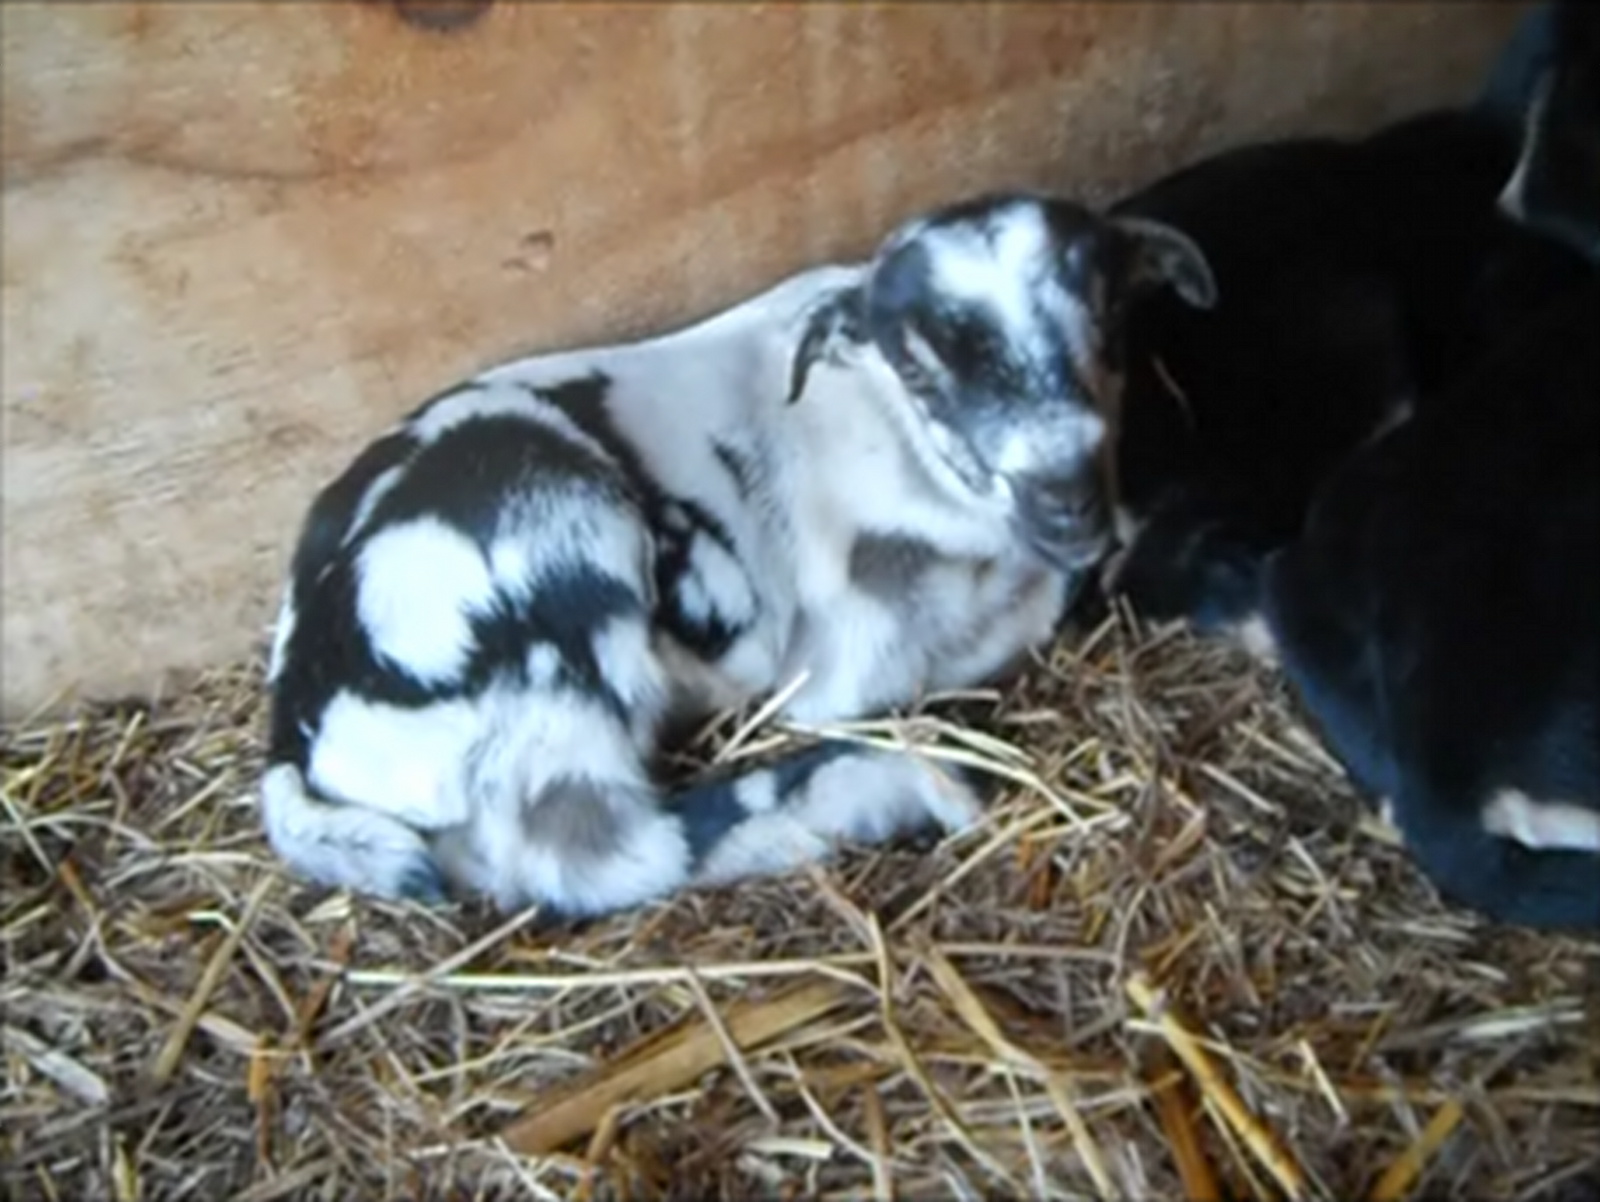
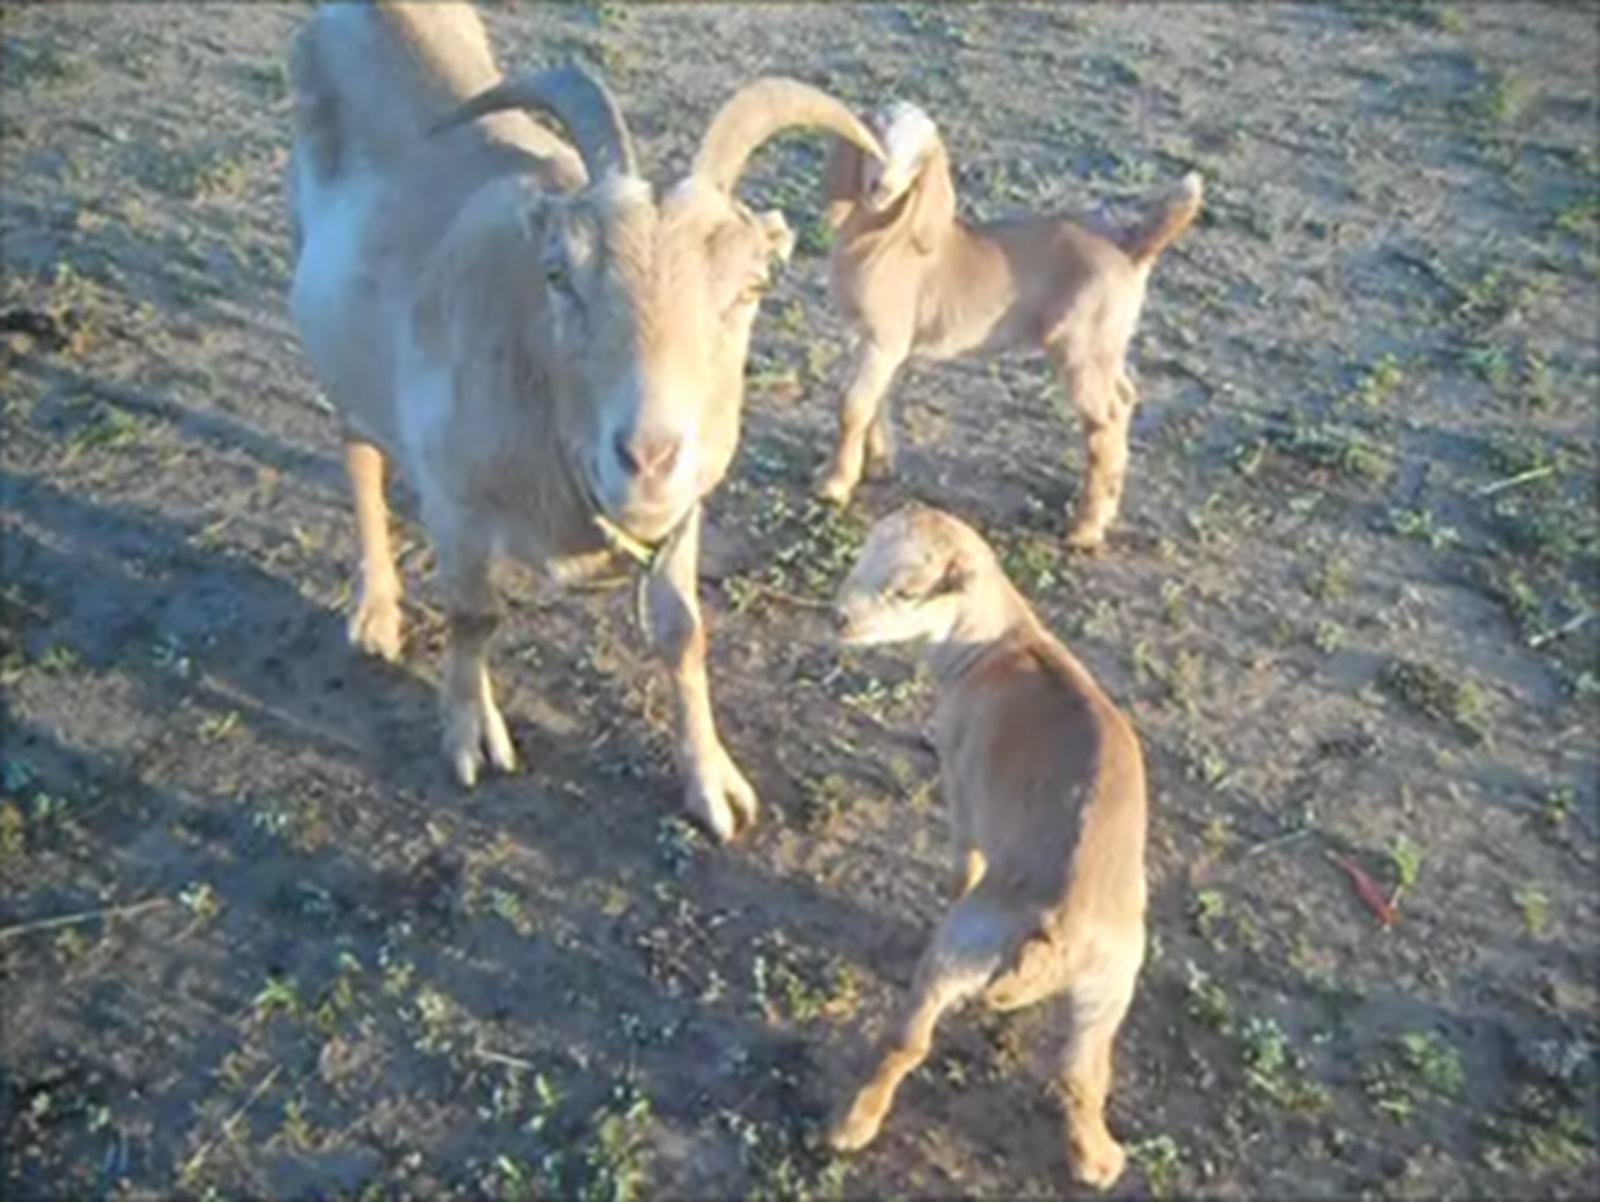
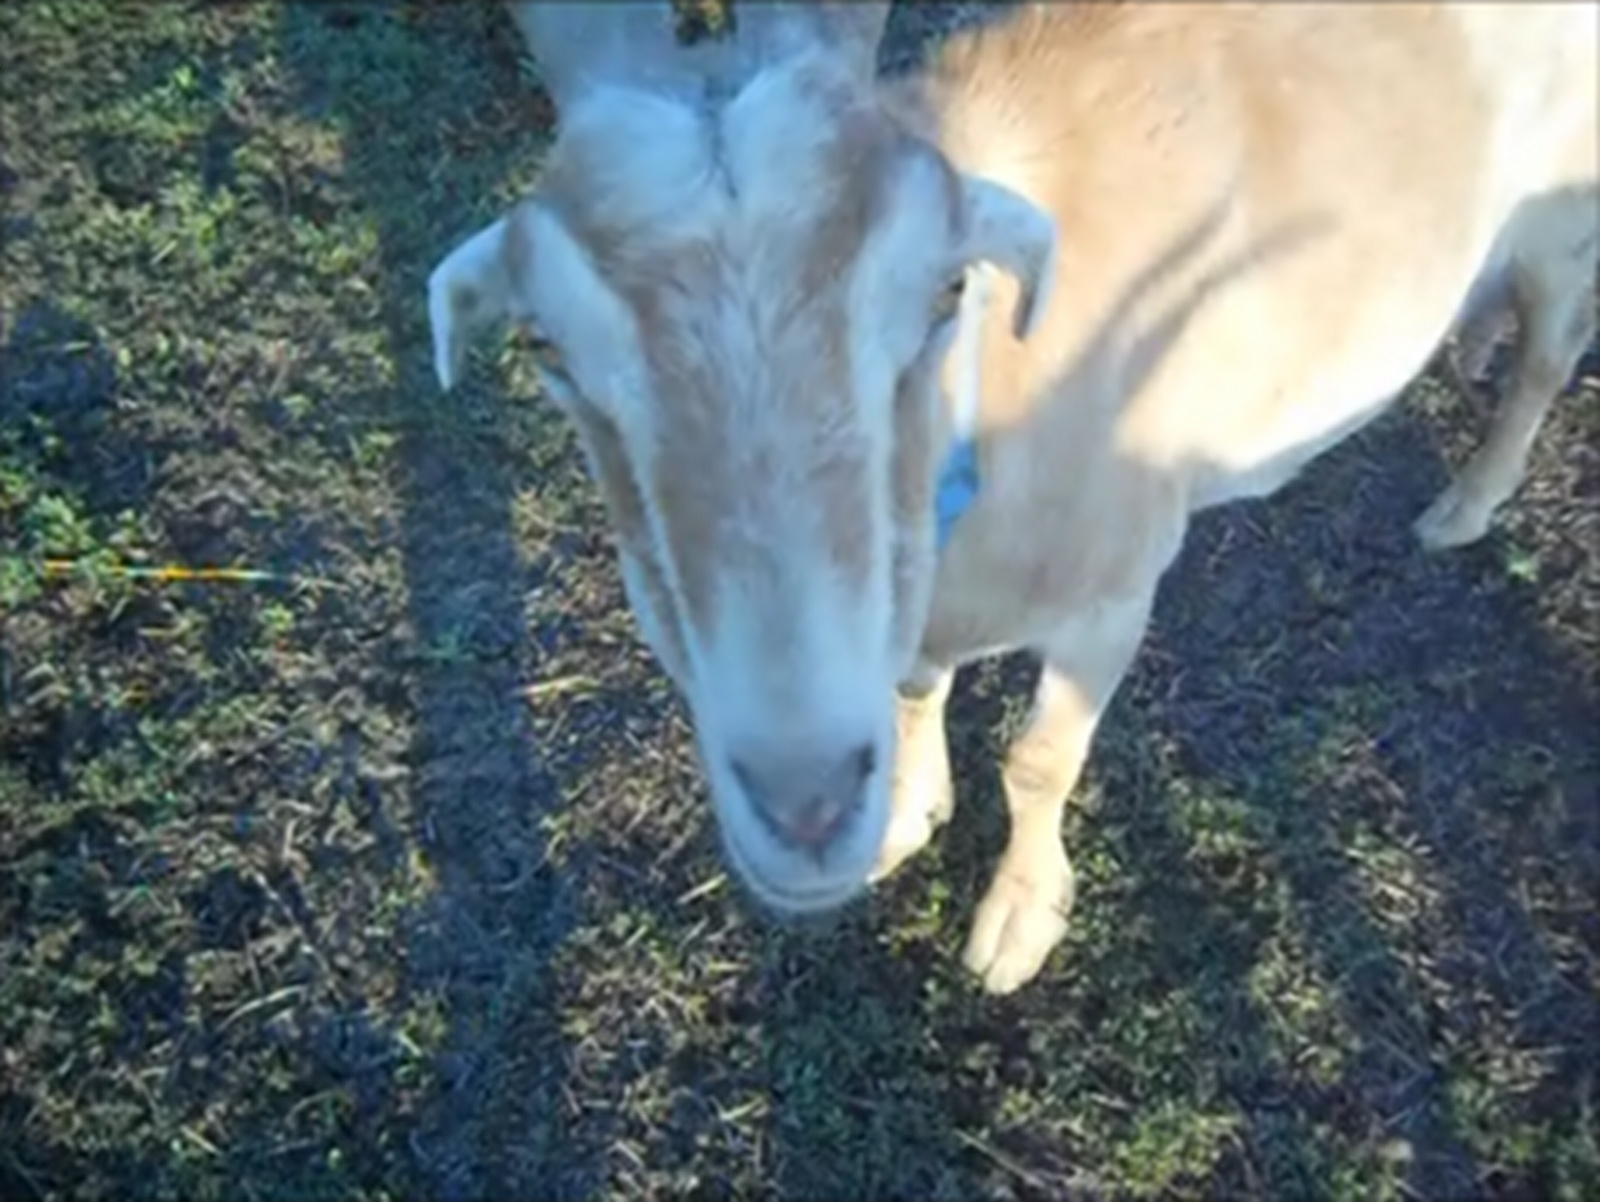
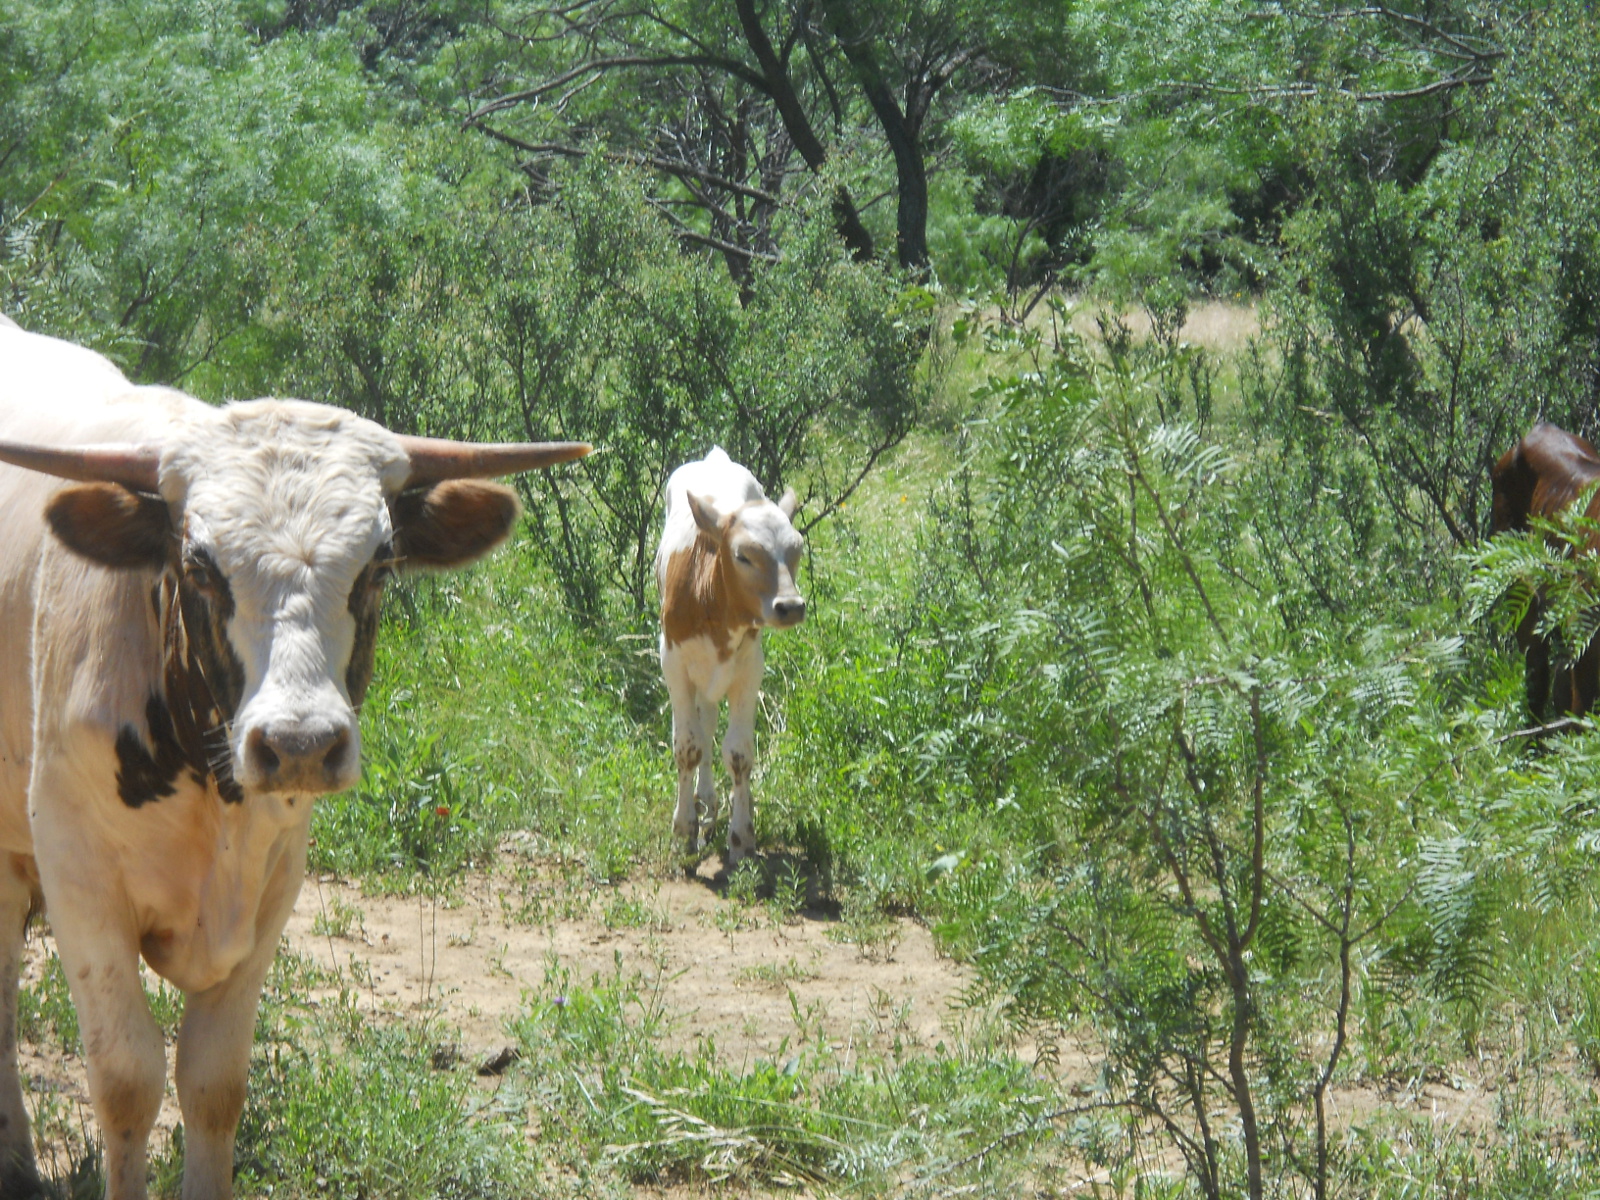
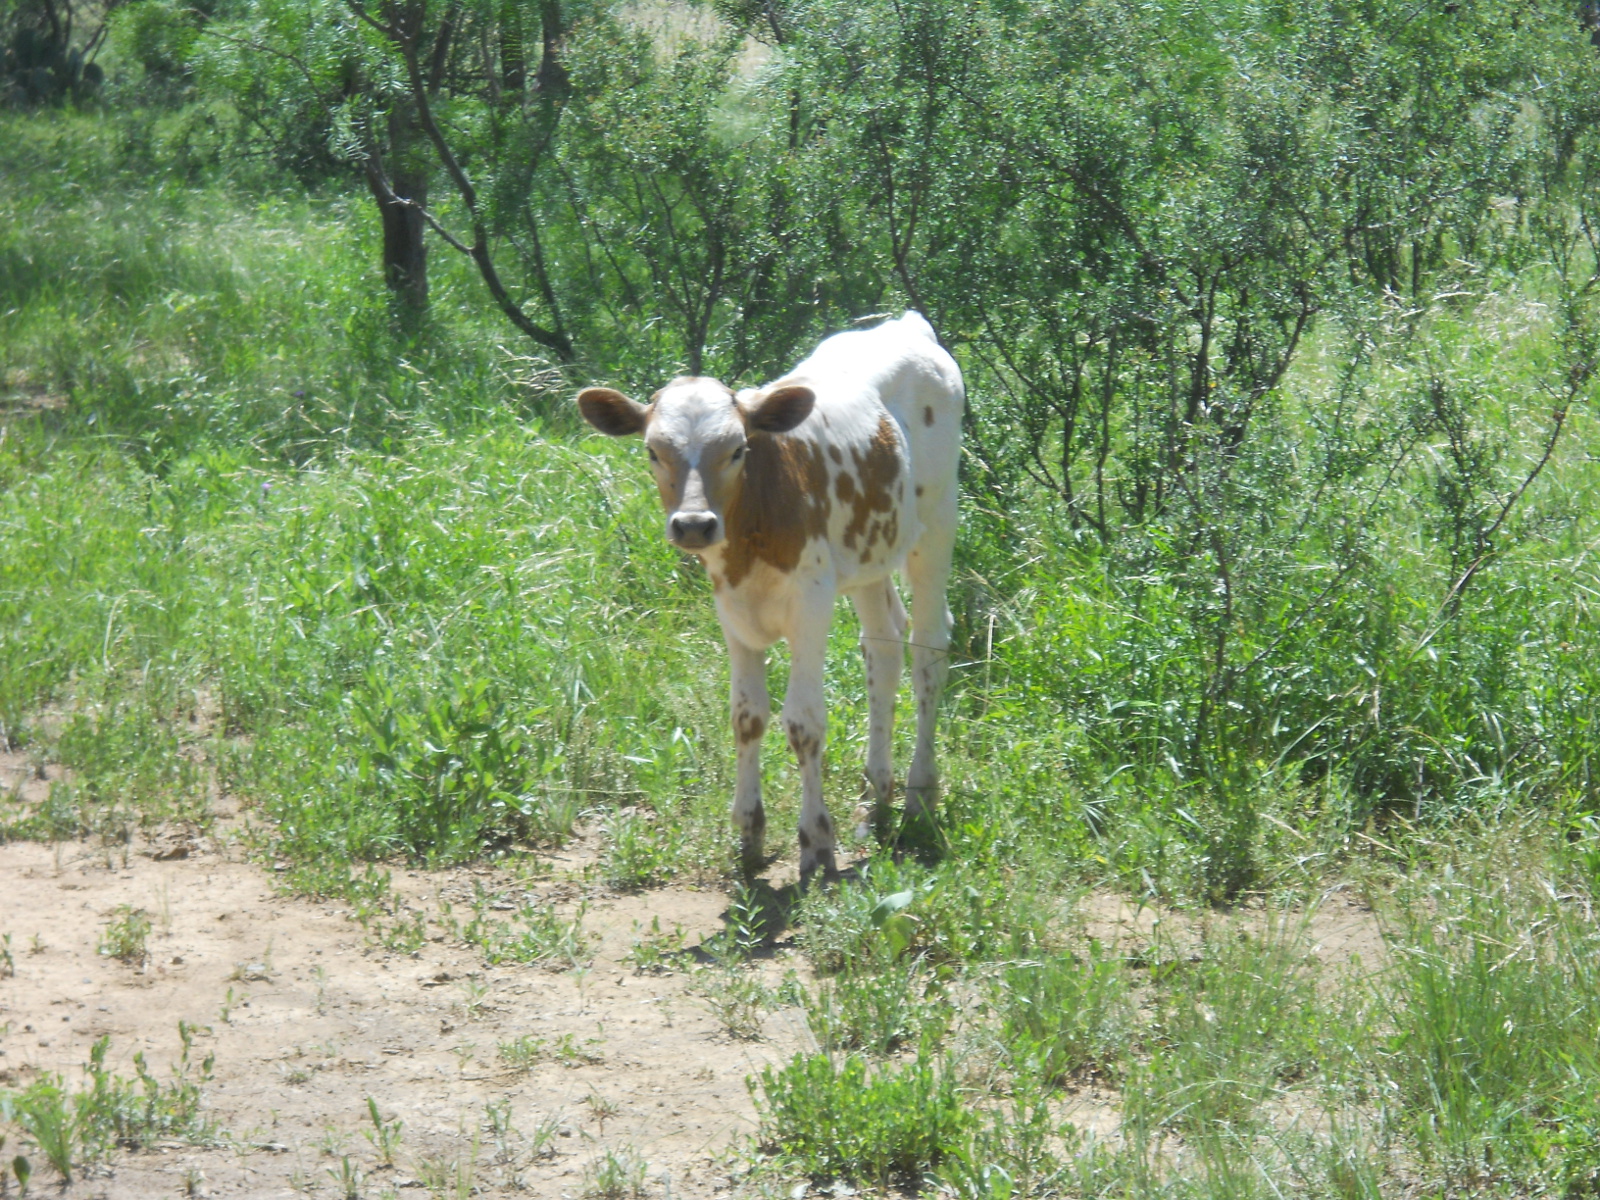
The Lord graciously granted our fifth and final calf to be born in 2015! This time, a little heifer calf, born to our cow Casi Blanca!
And here she is:
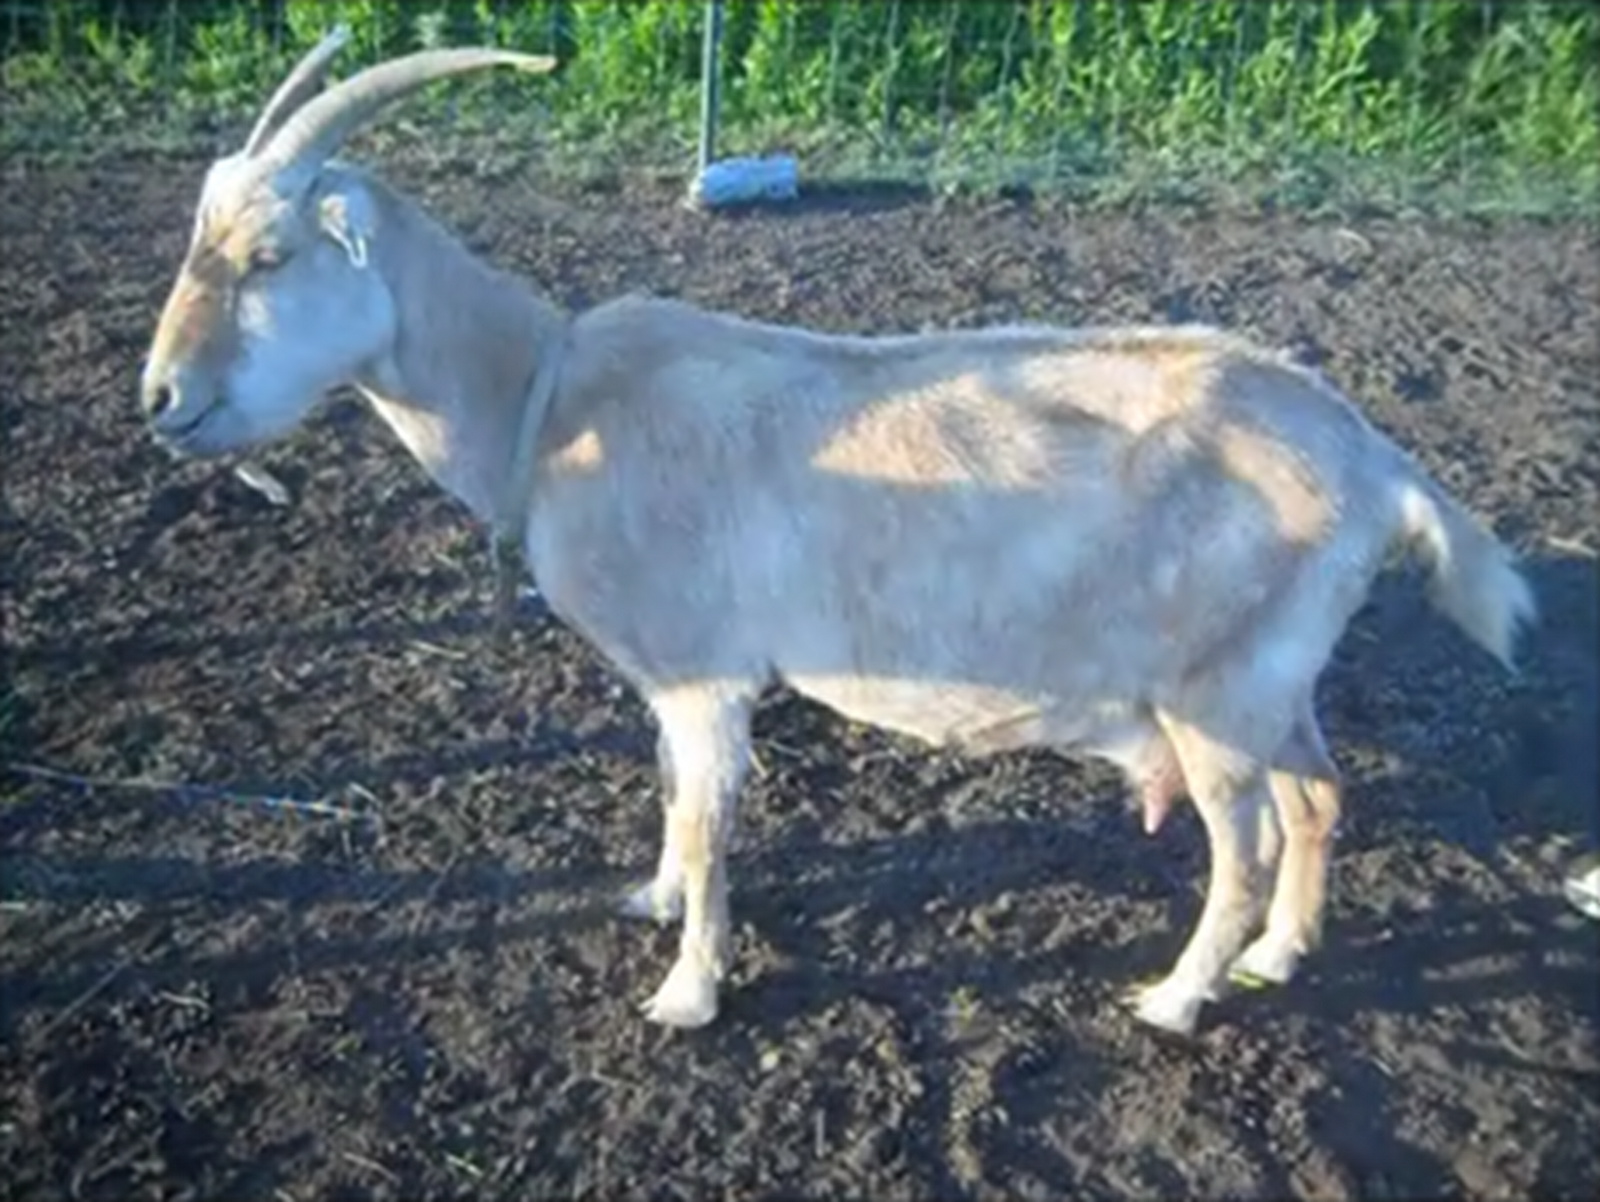
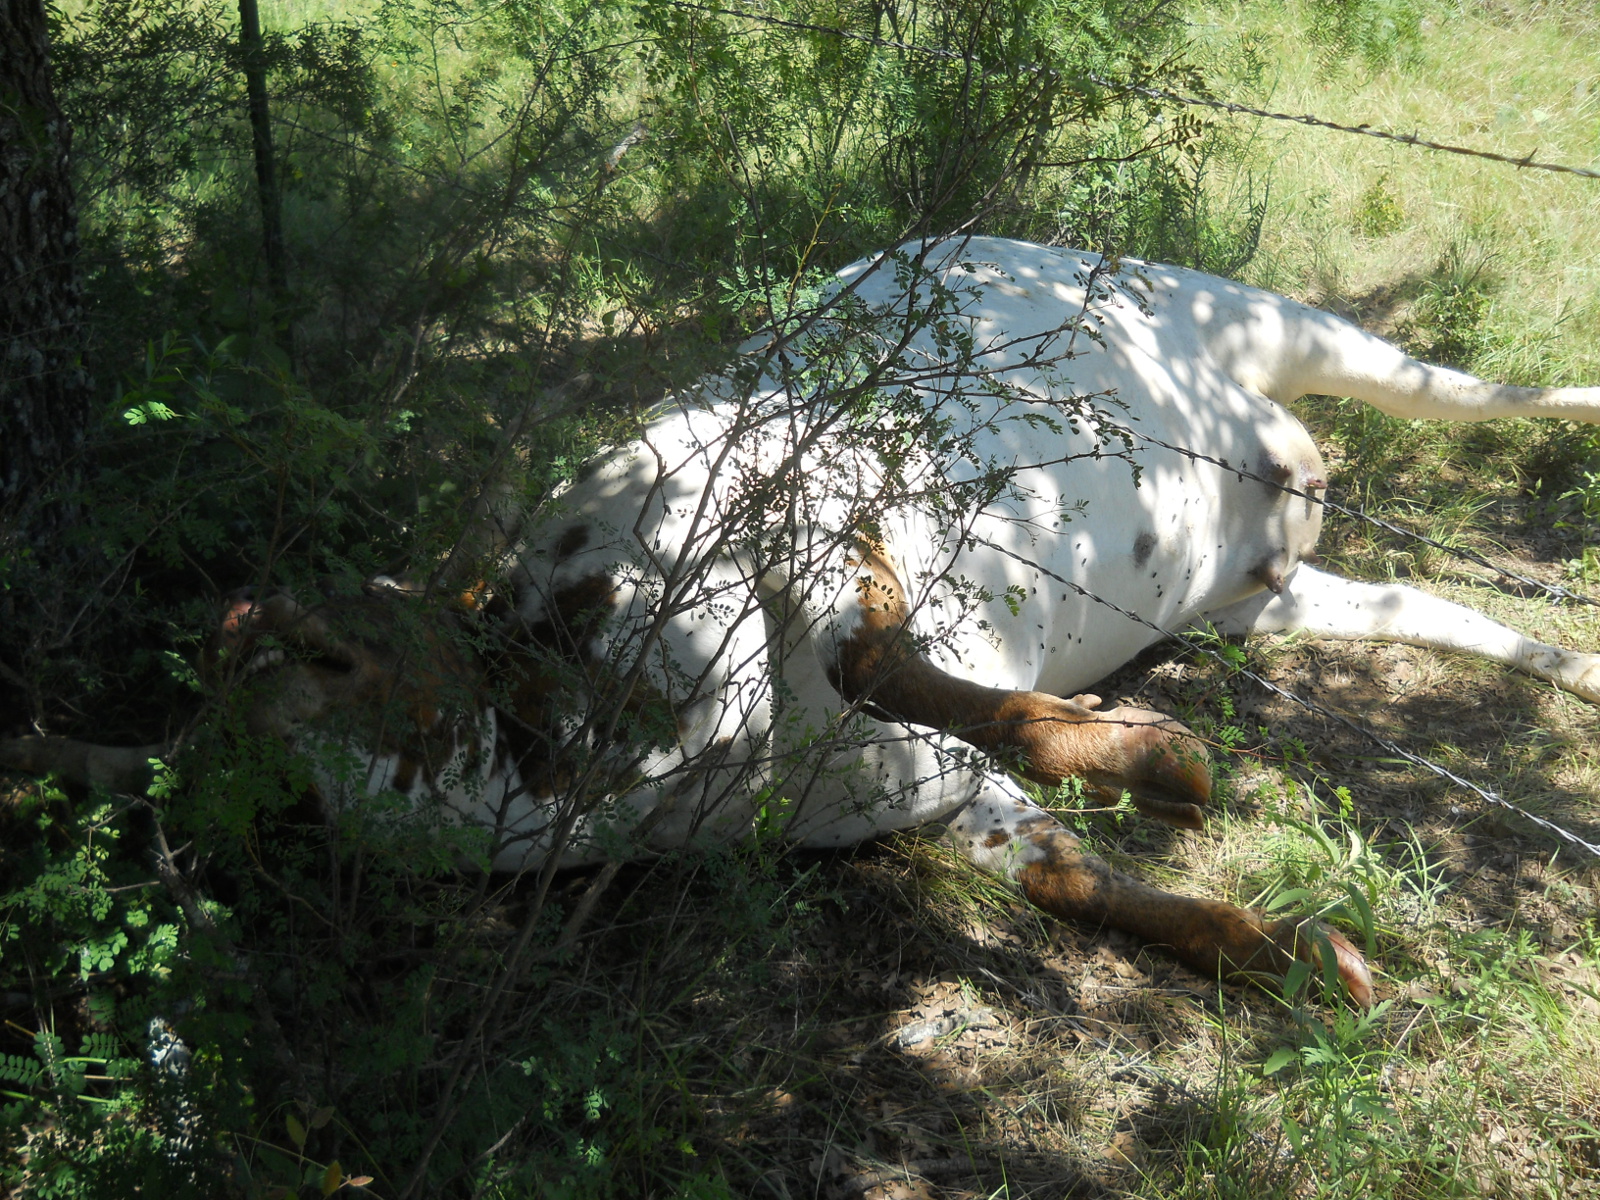
When I went to video her, all of the cattle were there…except for Casi. Strange, and worrisome. So, Robert and I headed on out to look for her. We drove down one road, and suddenly two of what looked like owls flew away from the trees above, and then we saw turkey vultures flying above, and then one over to the left….and that’s when we saw Casi. We got out of the vehicle and walked up to her, and she was quite dead, on her side, very bloated. Sigh. She didn’t appear to be stuck in the fence, nor did I see any trauma to her:
But, these are God’s decisions, and His cattle, quite frankly.
From A.W. Pink, “Our Attitude Toward God’s Sovereignty”:
A true recognition of God’s Sovereignty will exclude all murmuring. This is self-evident, yet the thought deserves to be dwelt upon.
It is natural to murmur against afflictions and losses. It is natural to complain when we are deprived of those things upon which we had set our hearts.
We are apt to regard our possessions as ours unconditionally. We feel that when we have prosecuted our plans with prudence and diligence that we are entitled to success; that when by dint of hard work we have accumulated a ‘competence,’ we deserve to keep and enjoy it; that when we are surrounded by a happy family, no power may lawfully enter the charmed circle and strike down a loved one; and if in any of these cases disappointment, bankruptcy, death, actually comes, the perverted instinct of the human heart is to cry out against God.
But in the one who, by grace, has recognized God’s sovereignty, such murmuring is silenced, and instead, there is a bowing to the Divine will, and an acknowledgment that He has not afflicted us as sorely as we deserve.”
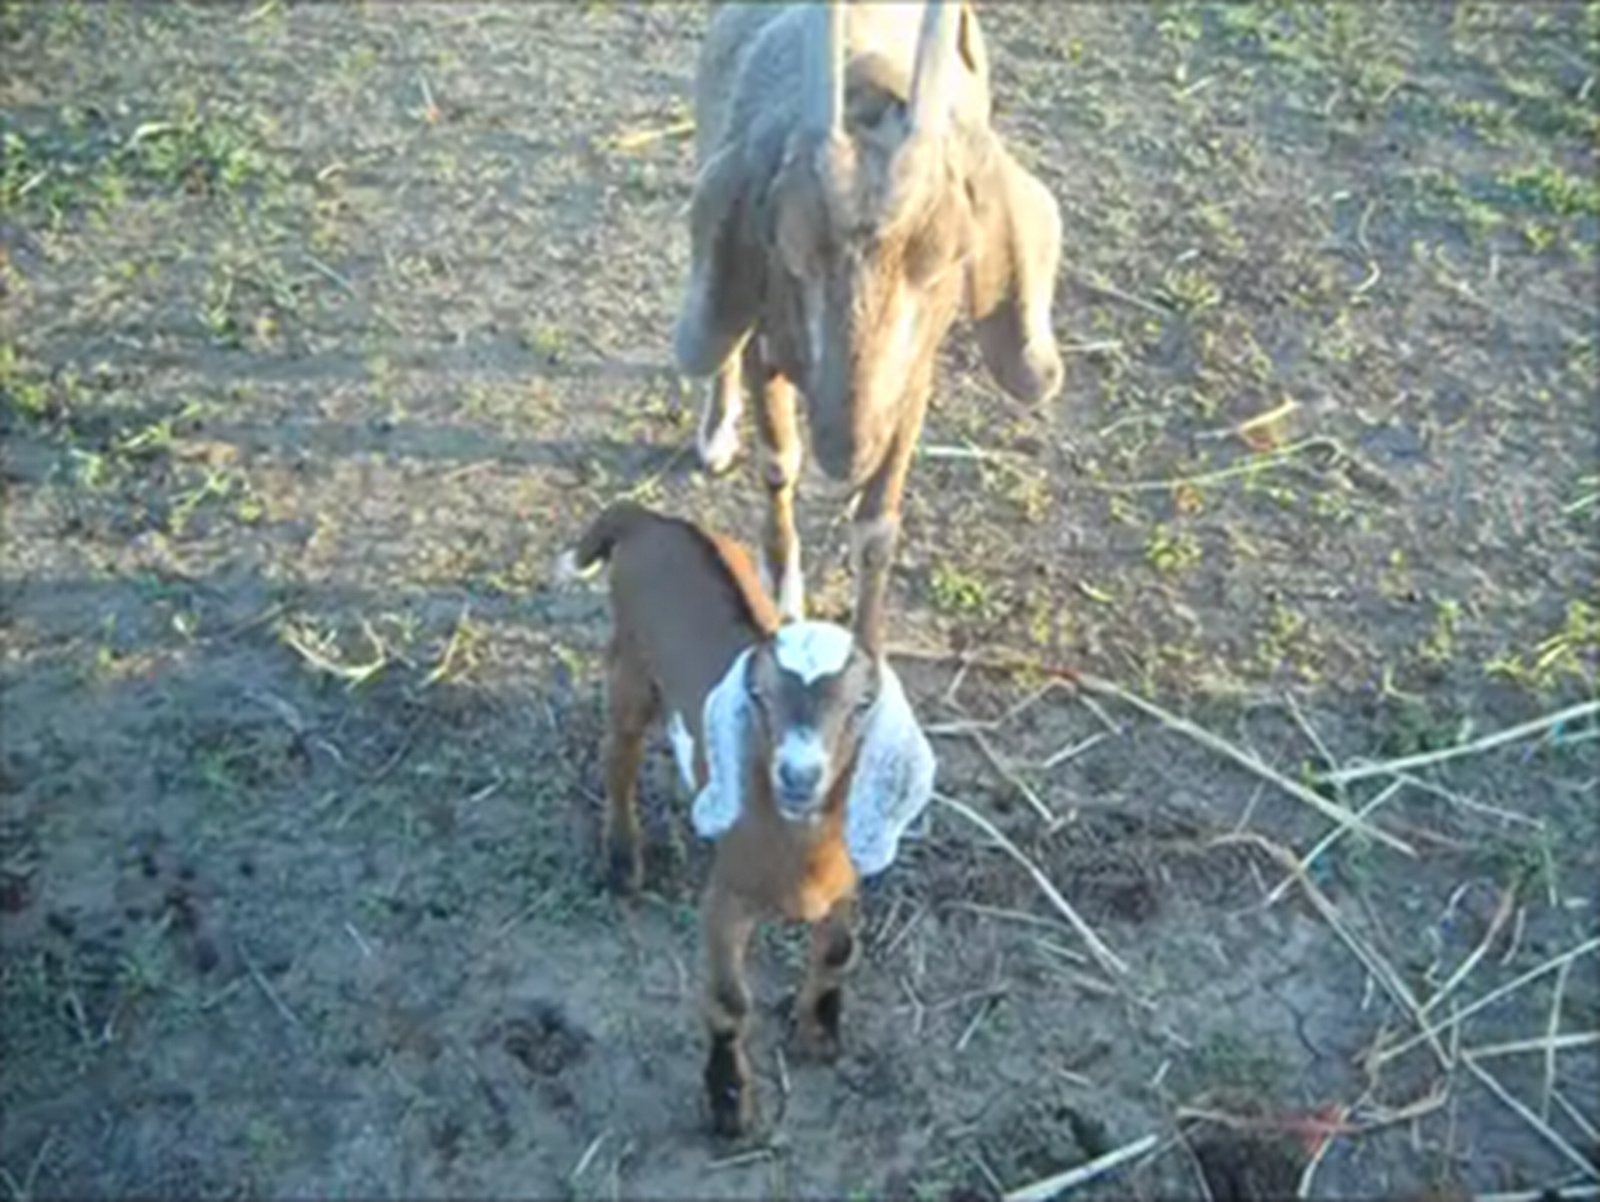
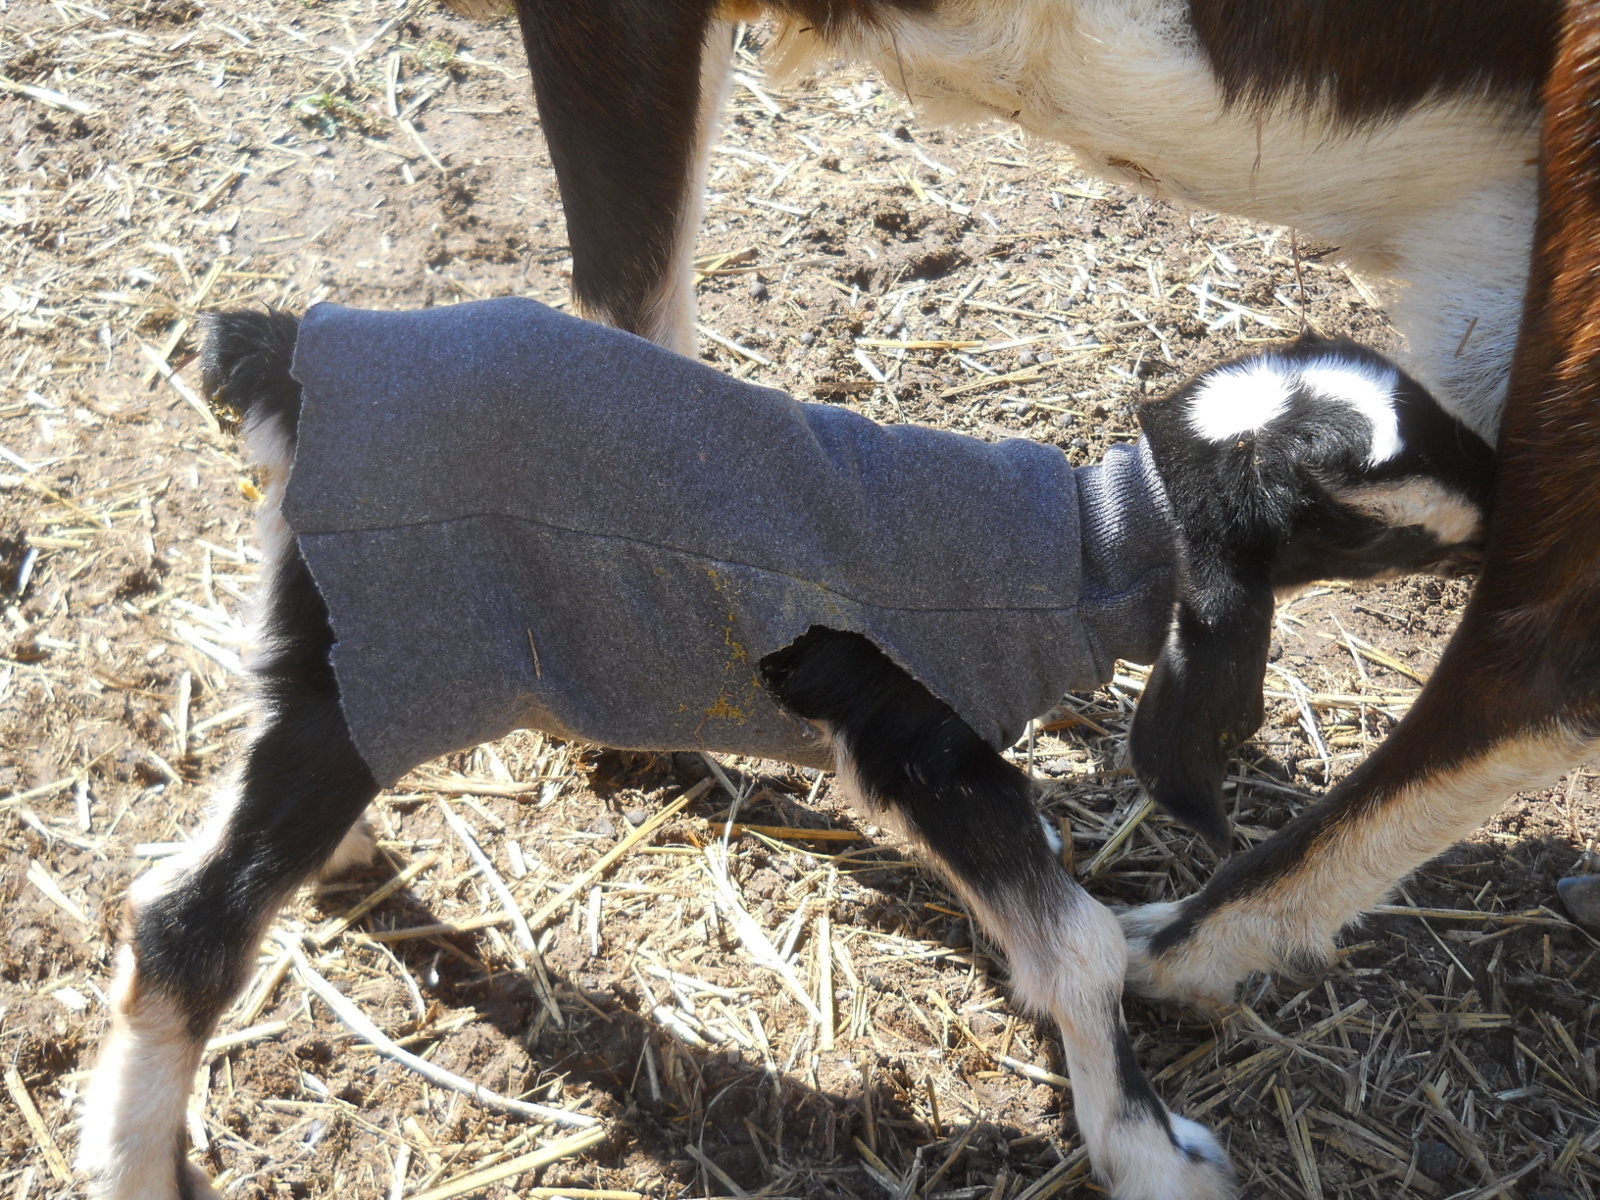
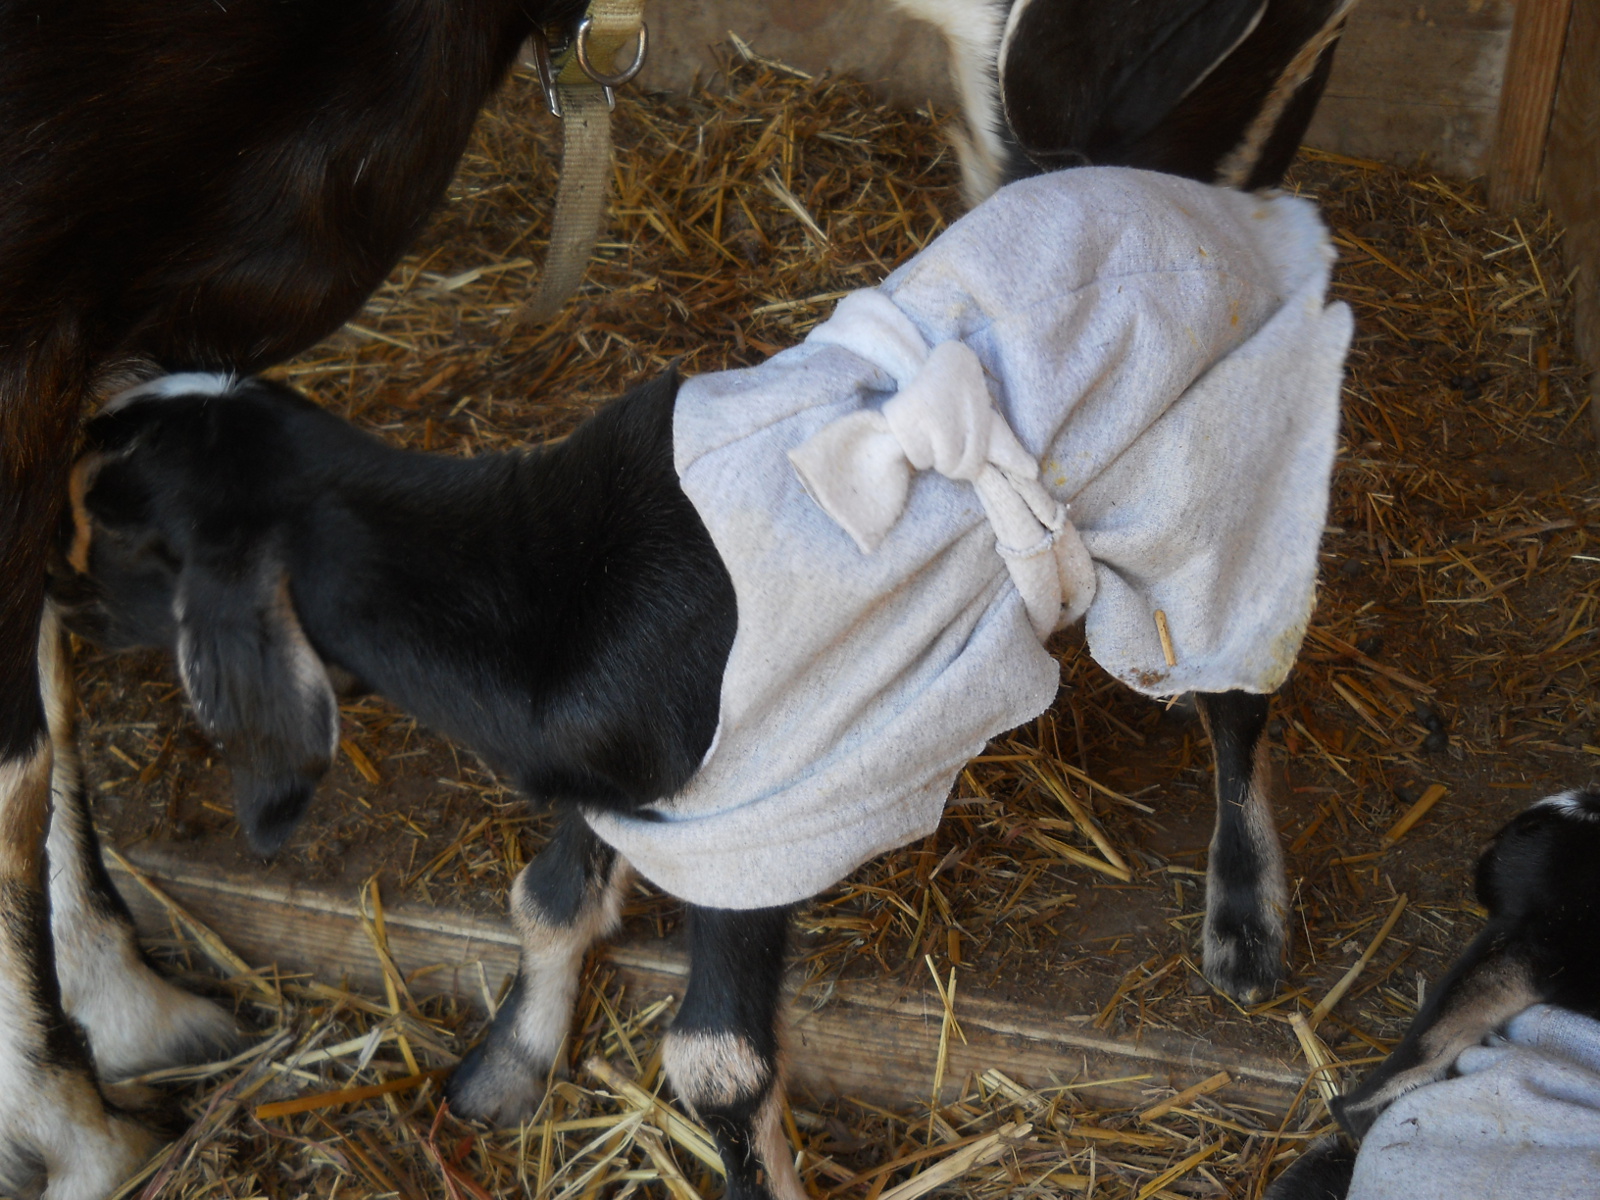
We are thankful for the provisions He has granted from Casi; and we decided to call her calf Casilita, in memory of her mother.
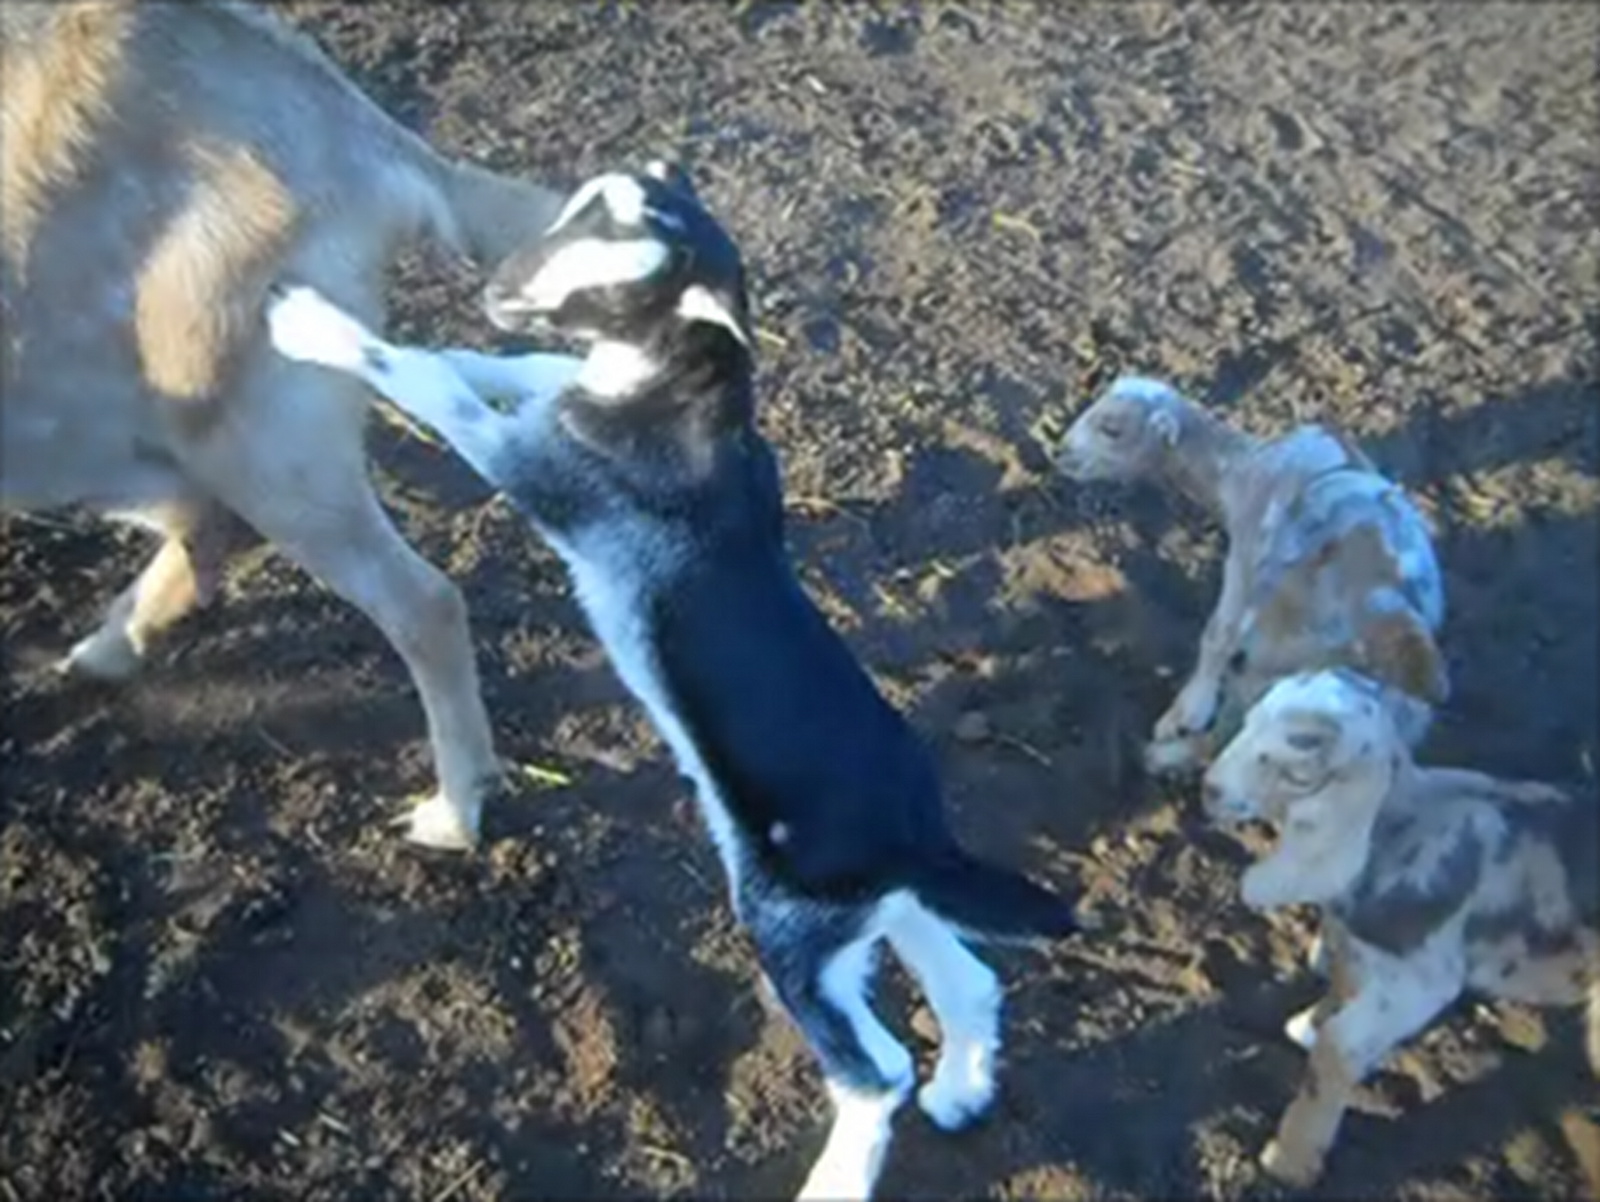
The little one appears to continue to be doing well, and it’s been told to us that her granddam Amistosa is letting her suckle off of her. That’s a gracious gift from God if so!
Here is Casilita’s video, and just to warn you, I did include the video of when we found Casi:
We are once again very grateful to the Lord for granting this new little provision of cattle!
— David