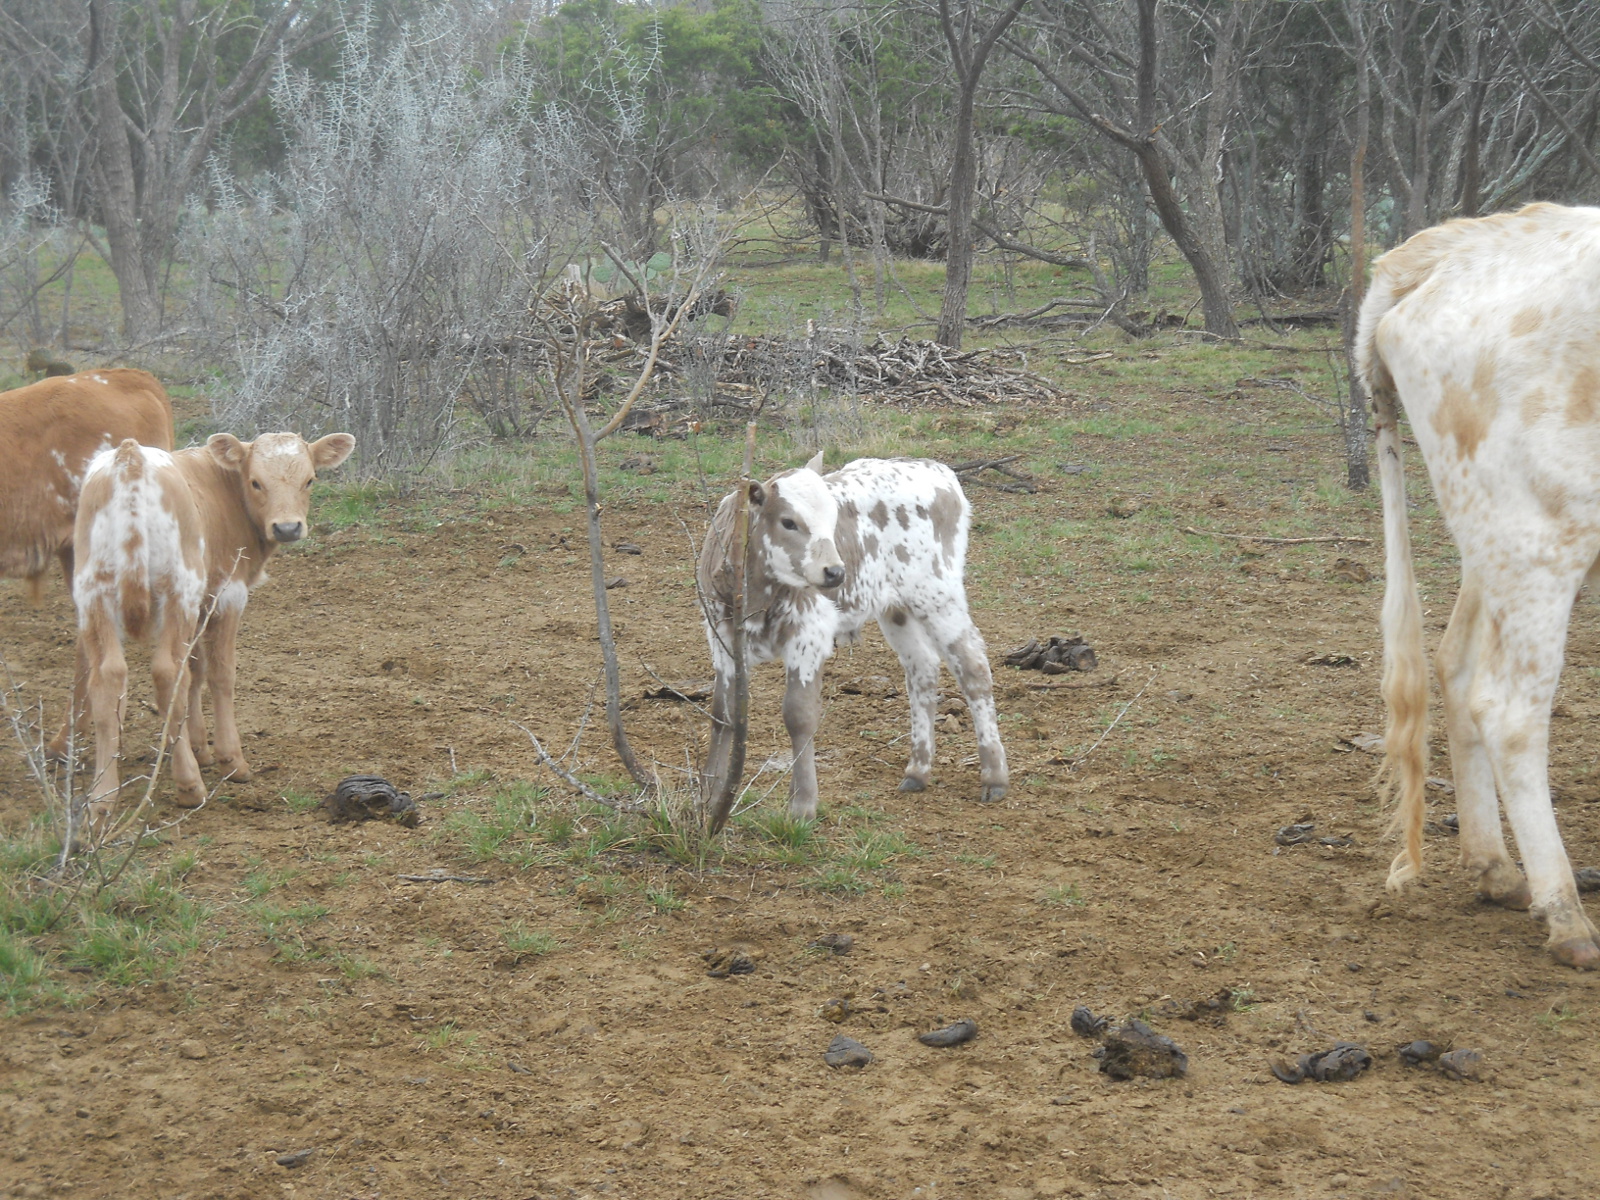
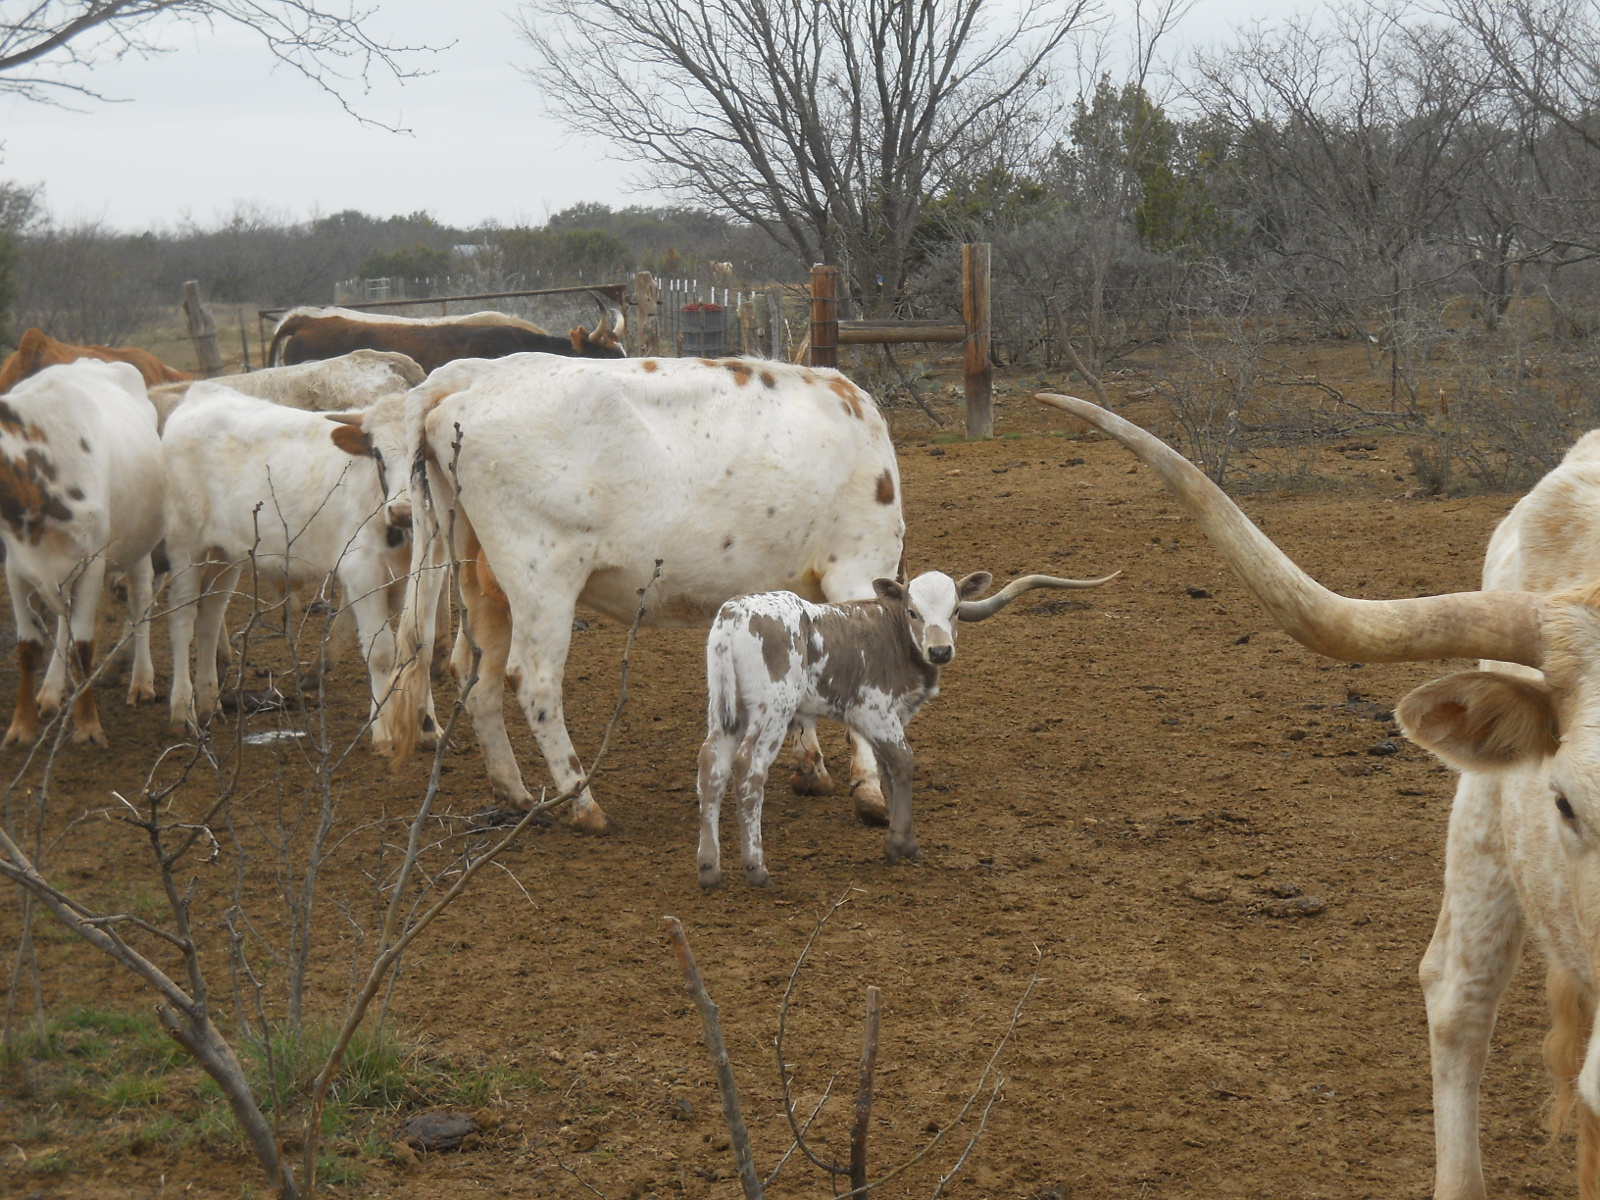
For a few years now, we’ve let our goats out into our inner field, which is between the goat pens and the barn, as this area is always growing something naturally…mostly weeds, but the goats eat just about any of it. Well, in order to be able to do that, I had to put up a fence around our orchard and pecan trees, but I didn’t want to take the time to put up a permanent fence, so I was hoping to be able to get away with just hand pulling some fencing around some lightly-pounded t-posts.
This worked well, until last year, and the goats started getting into the orchard, and ate back one of the pecan trees. So, it was time.
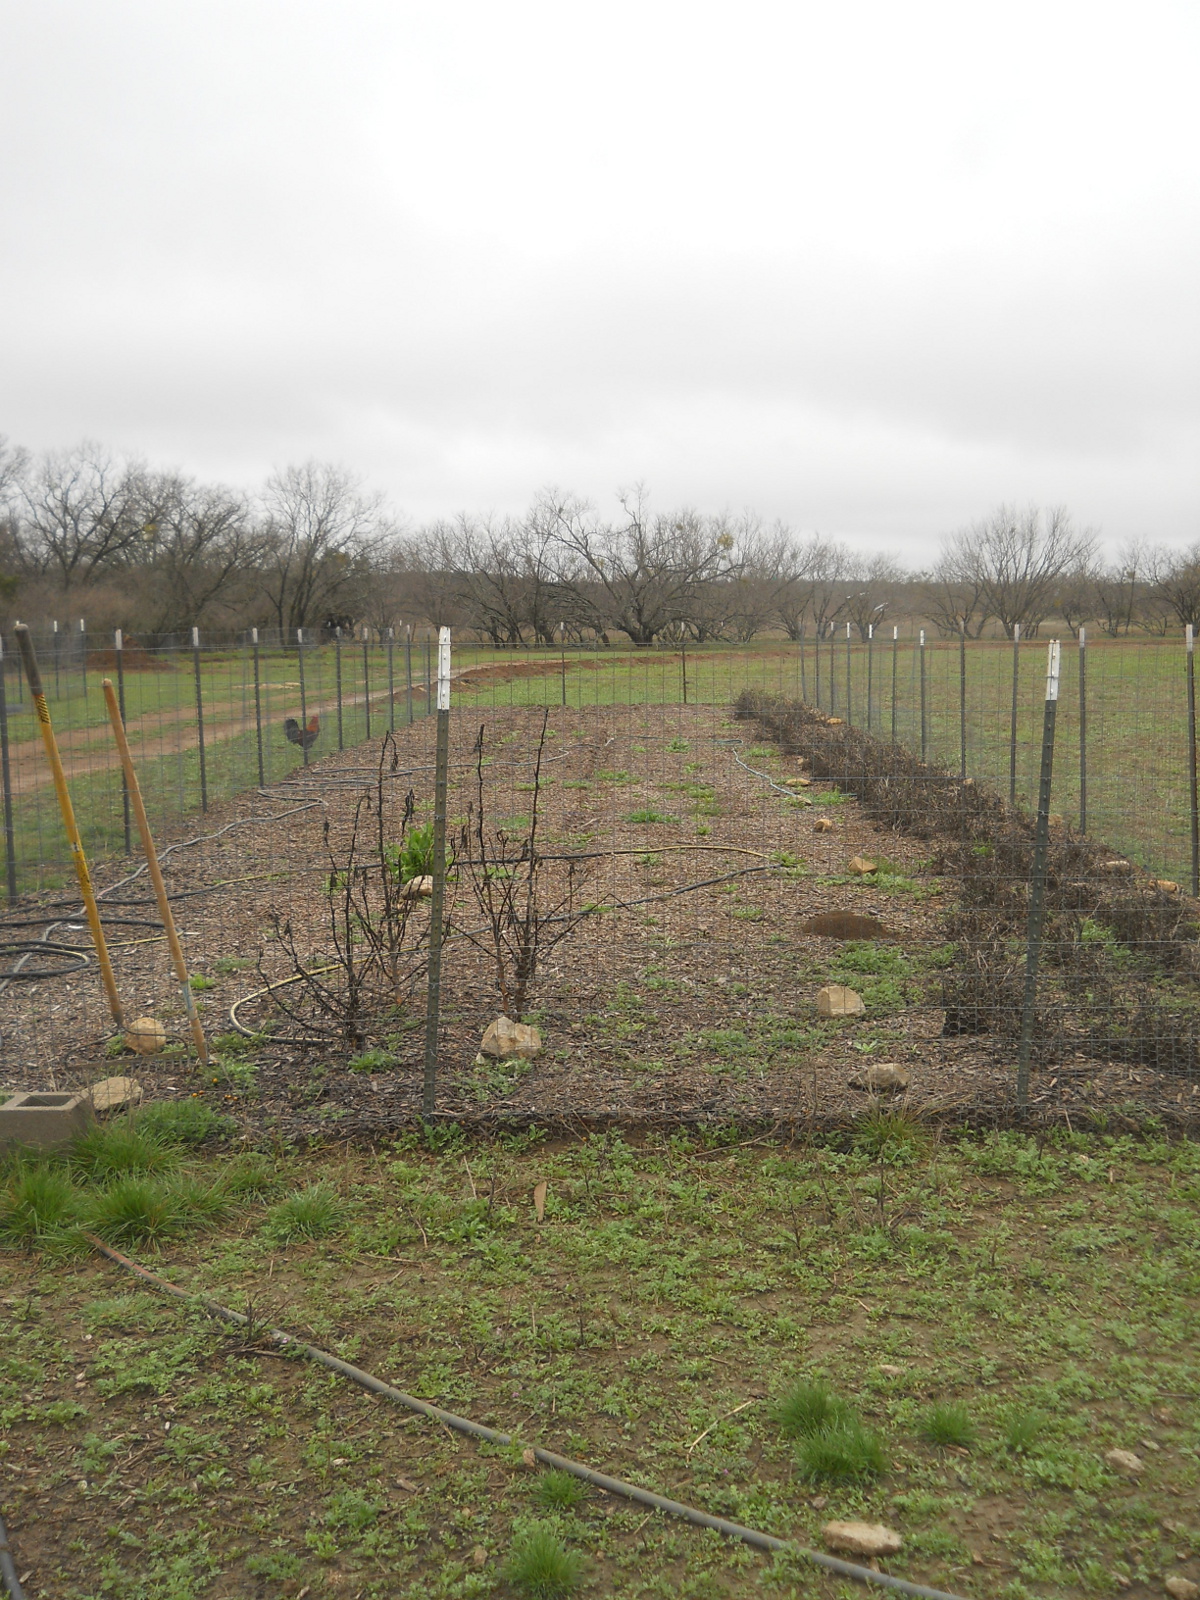
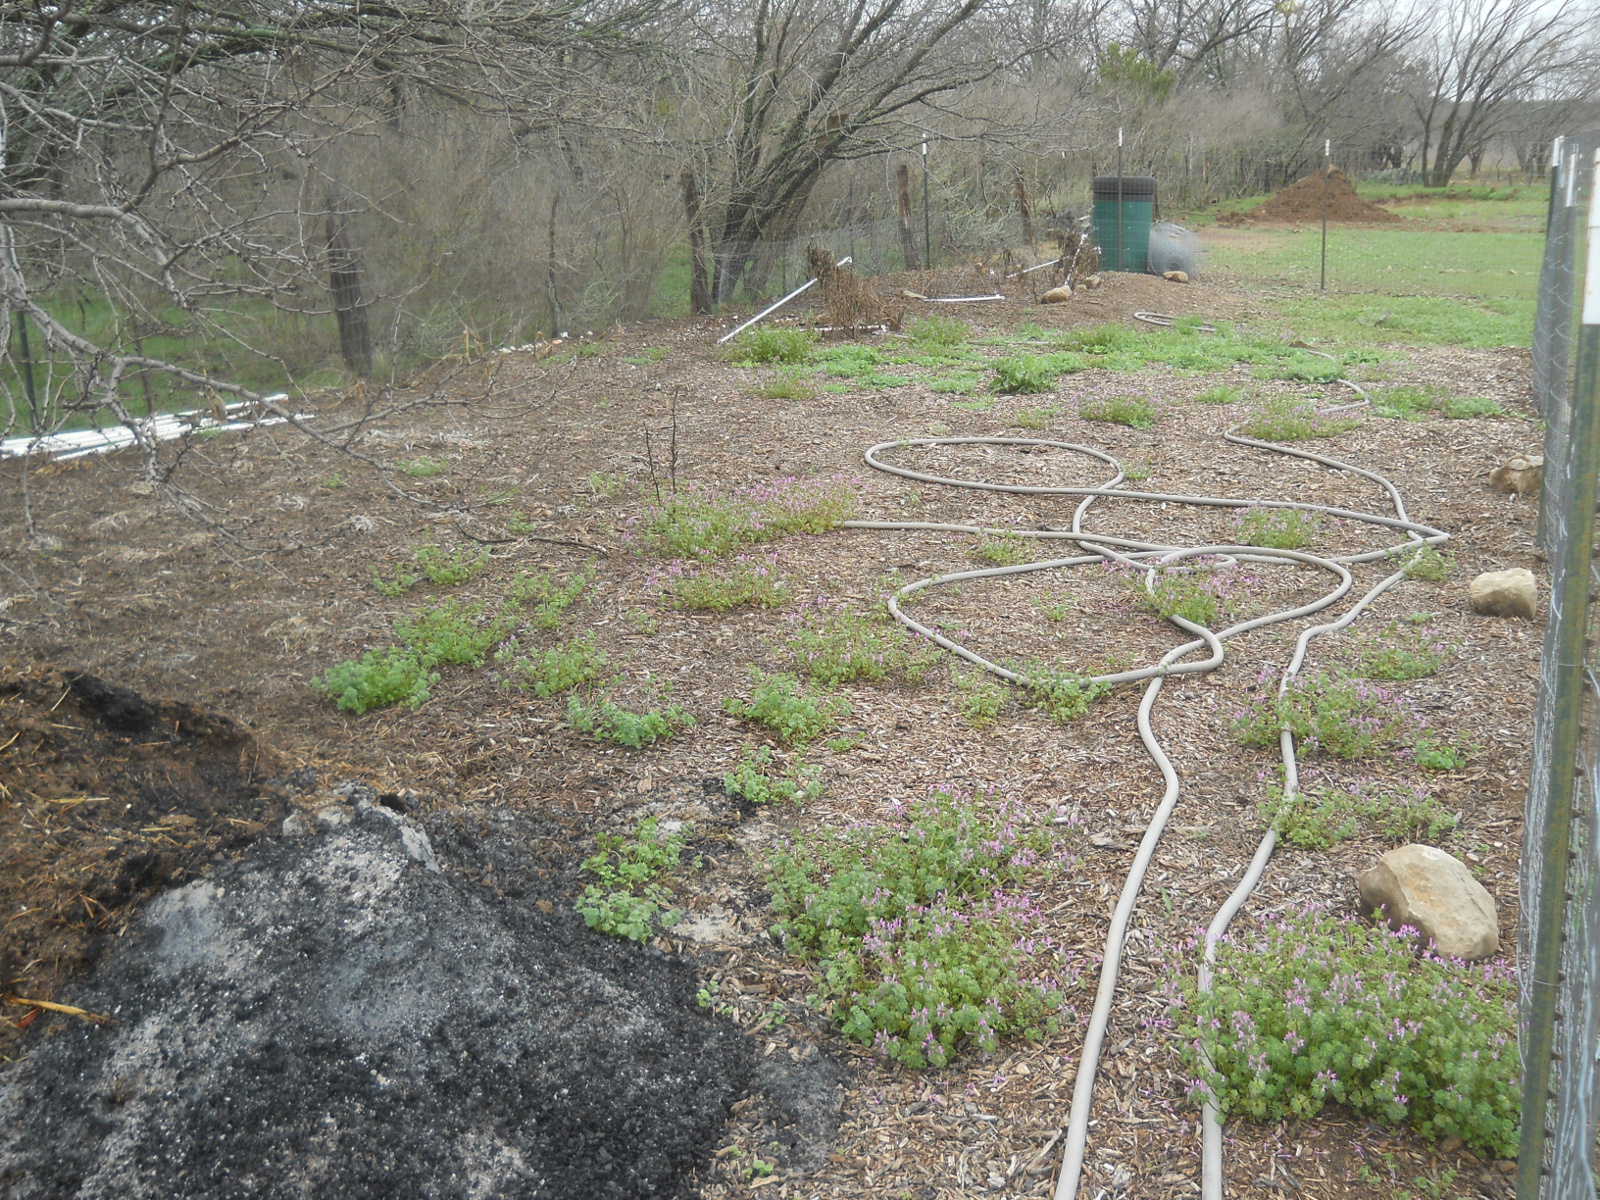
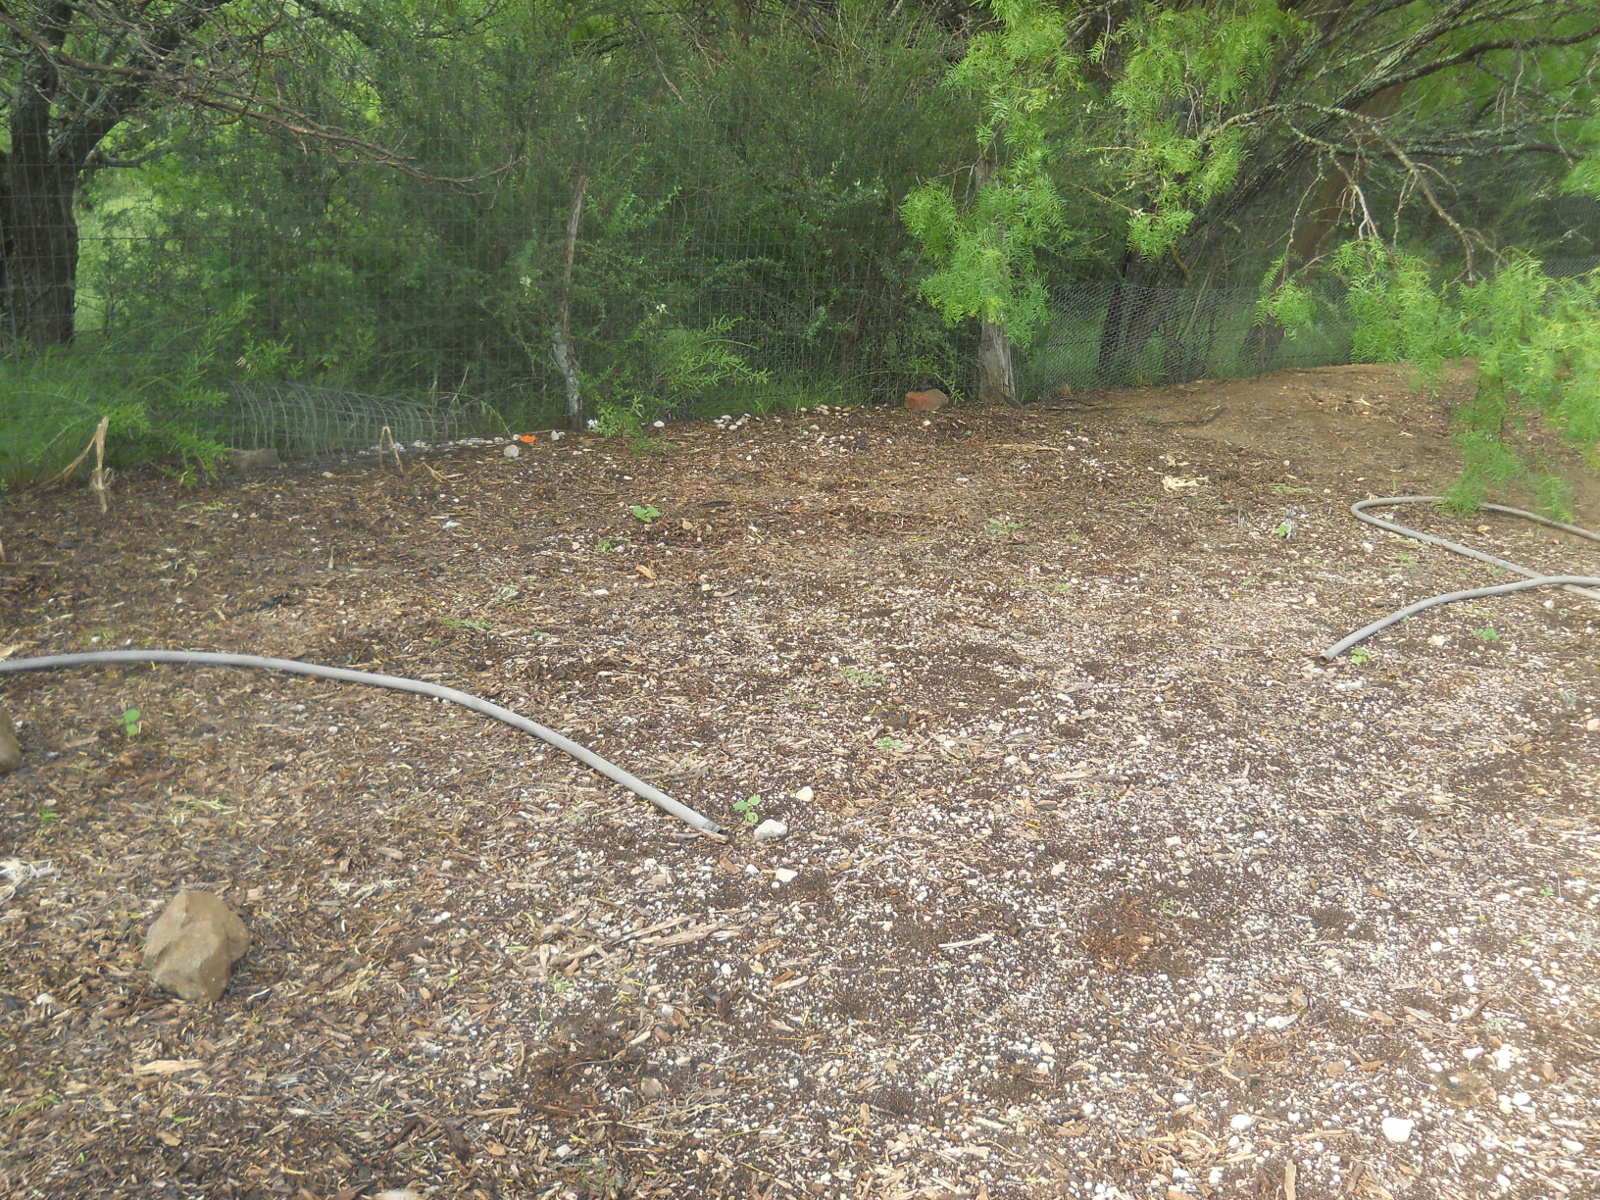
We’ve had a whole bunch of rain this Spring, thanks to the Lord for His graces and mercies. But that has slowed things down, so I’m only partially done after several weeks, but here is progress…
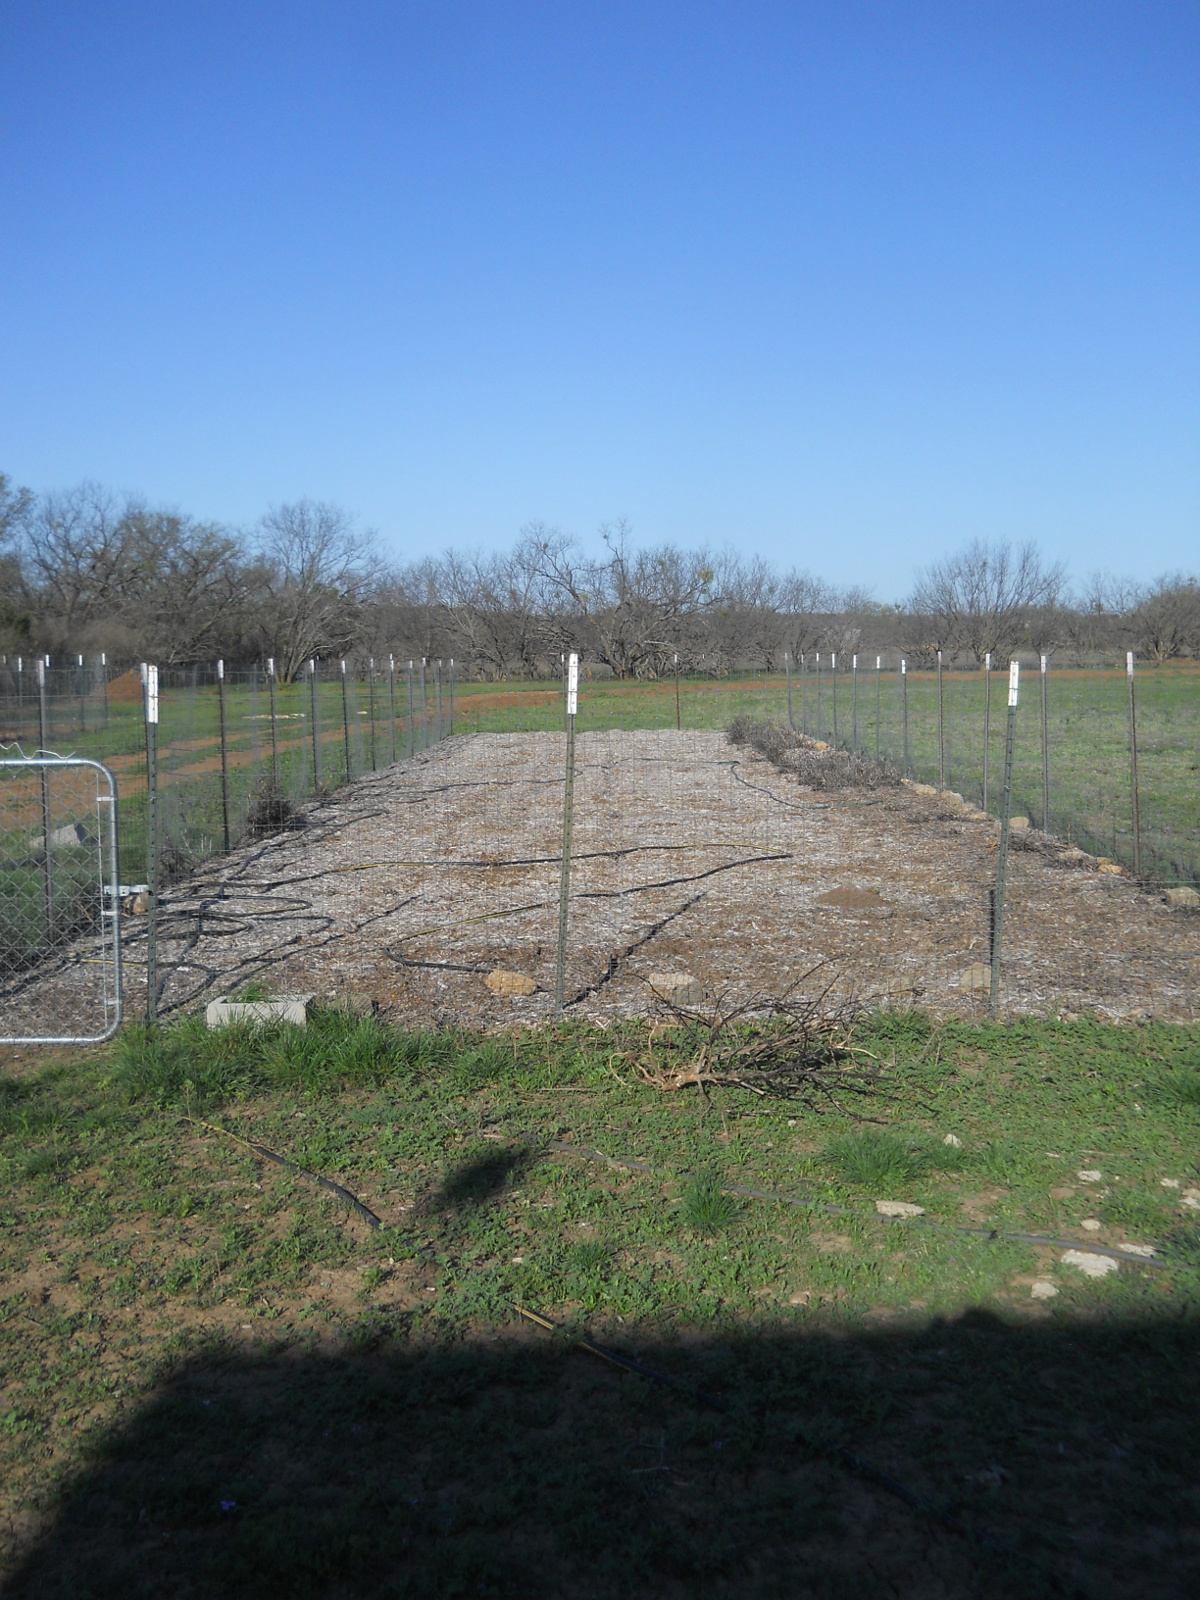
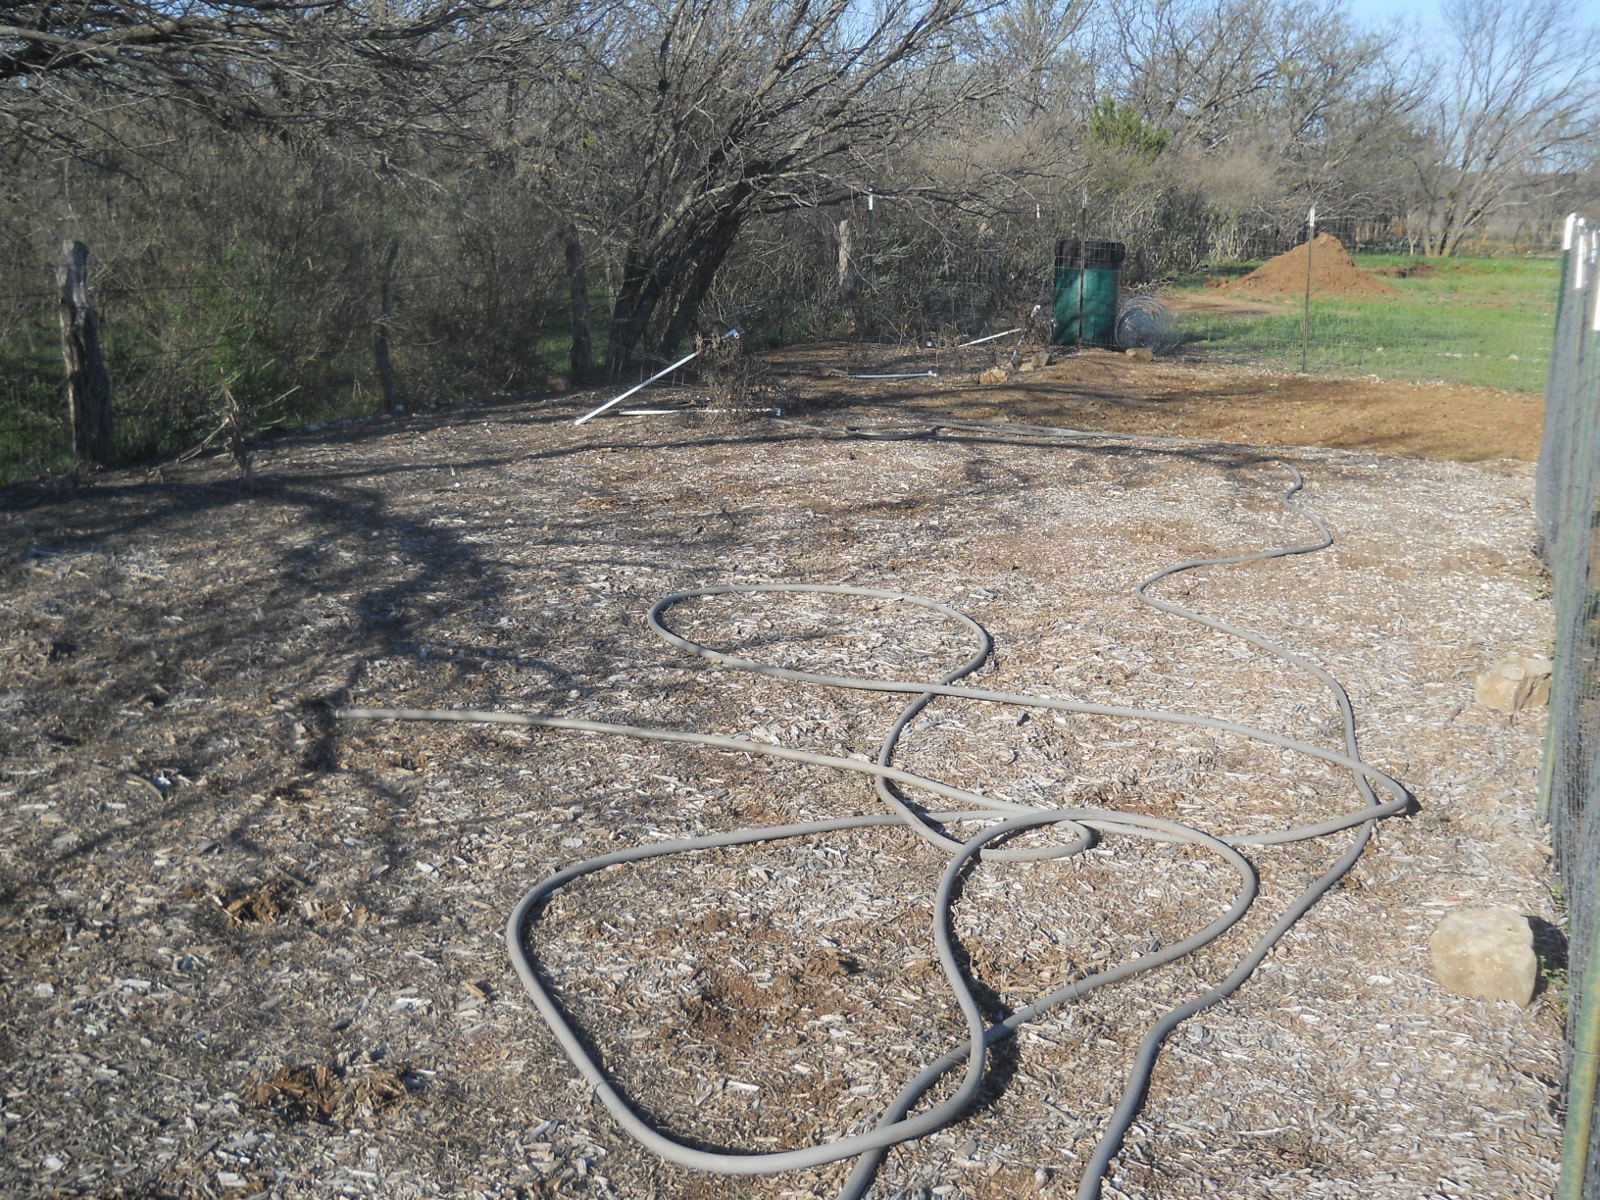
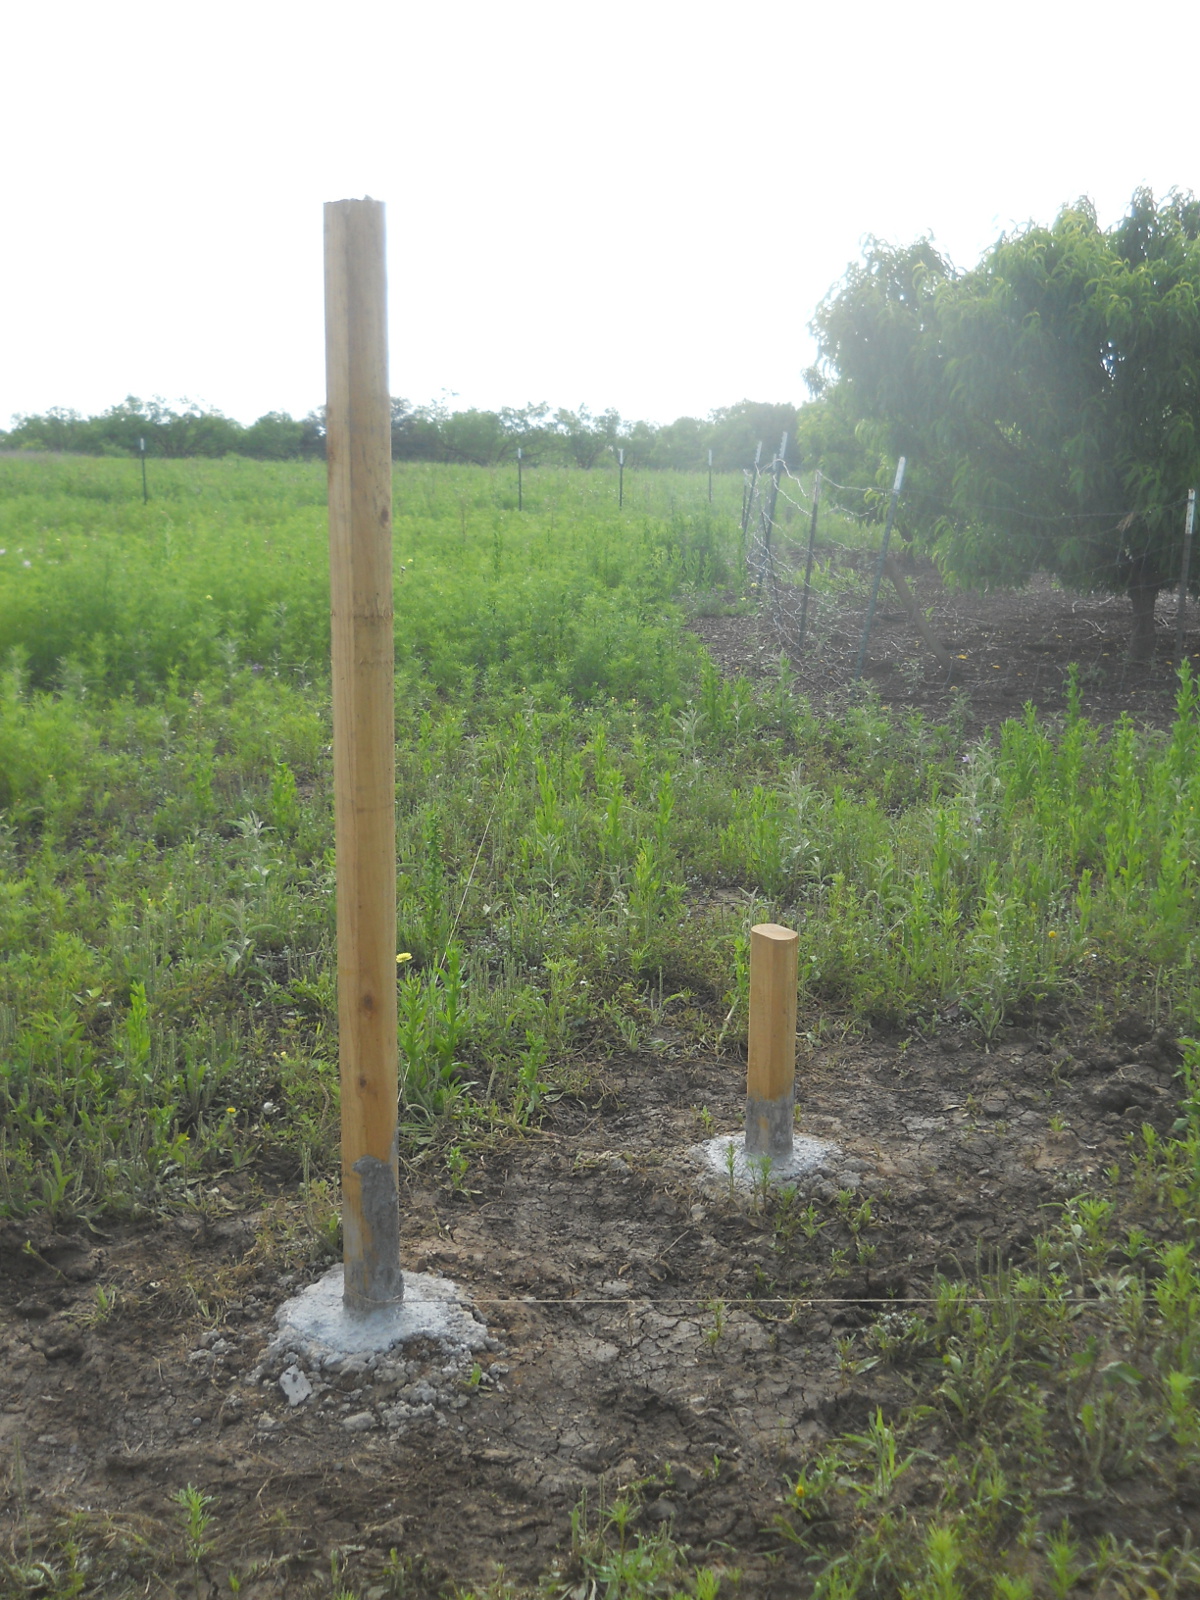
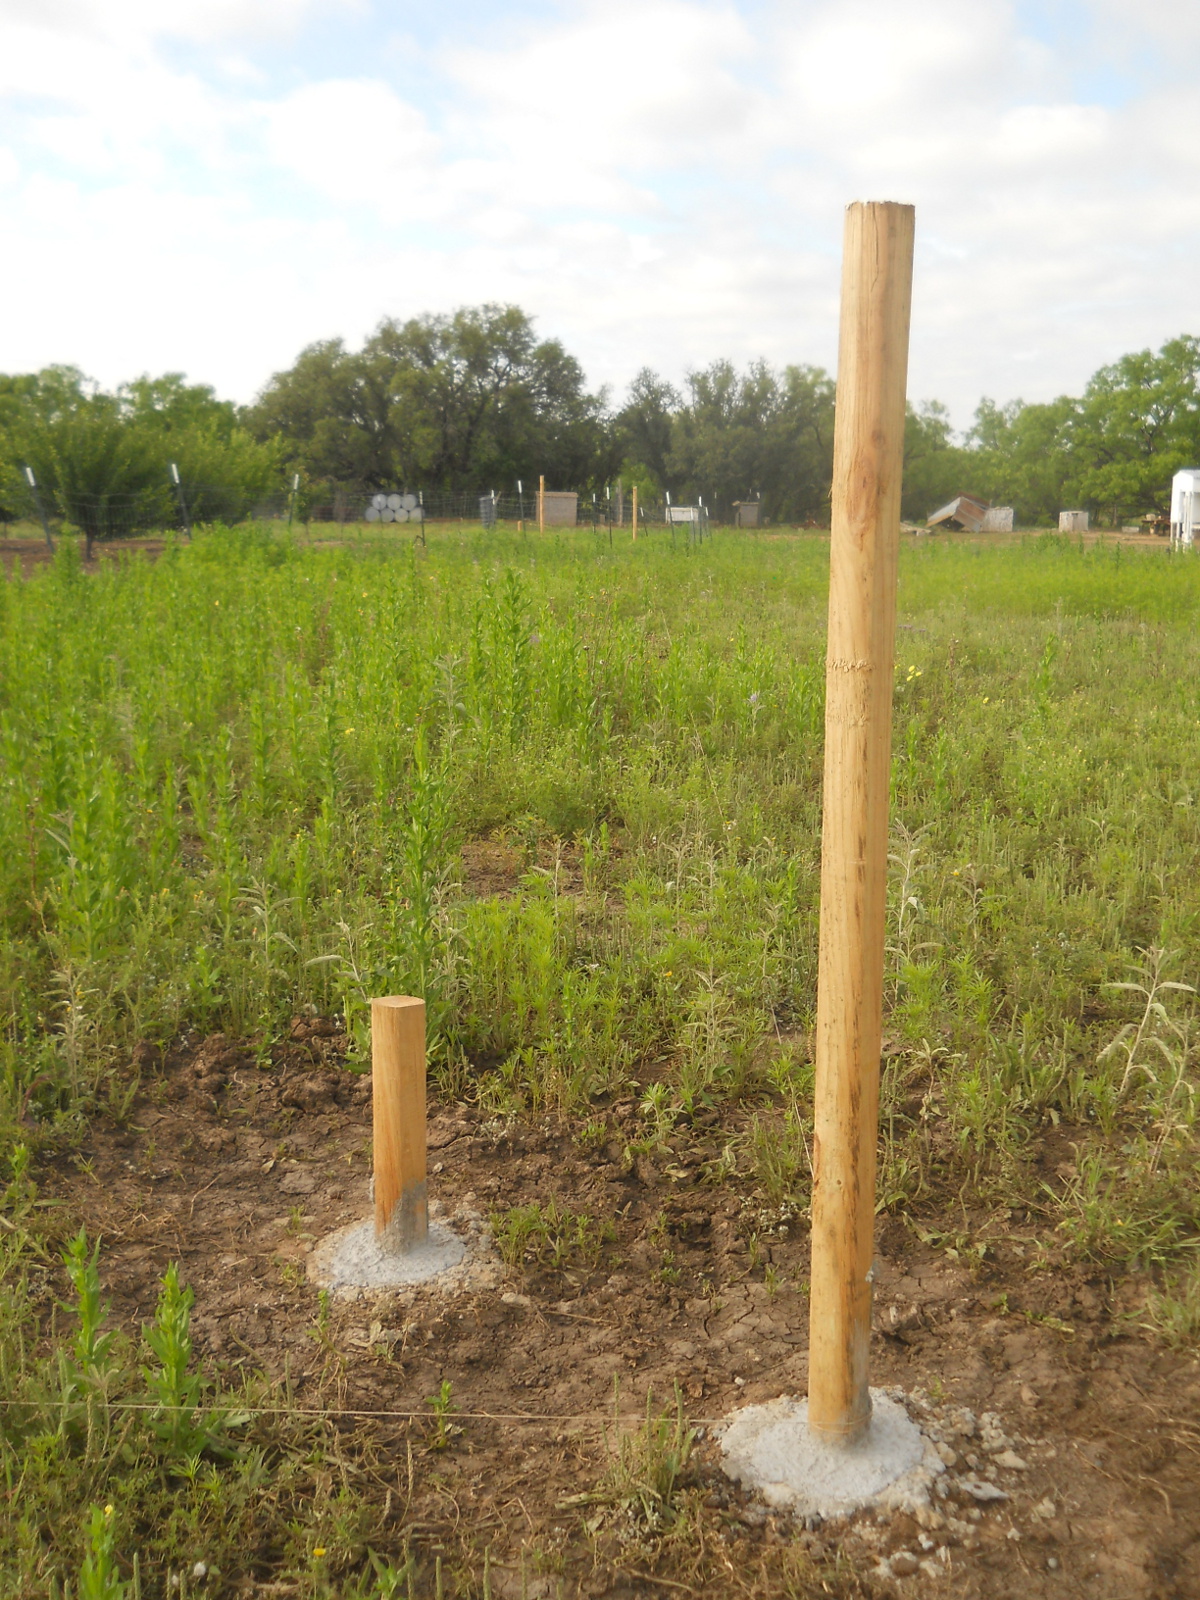
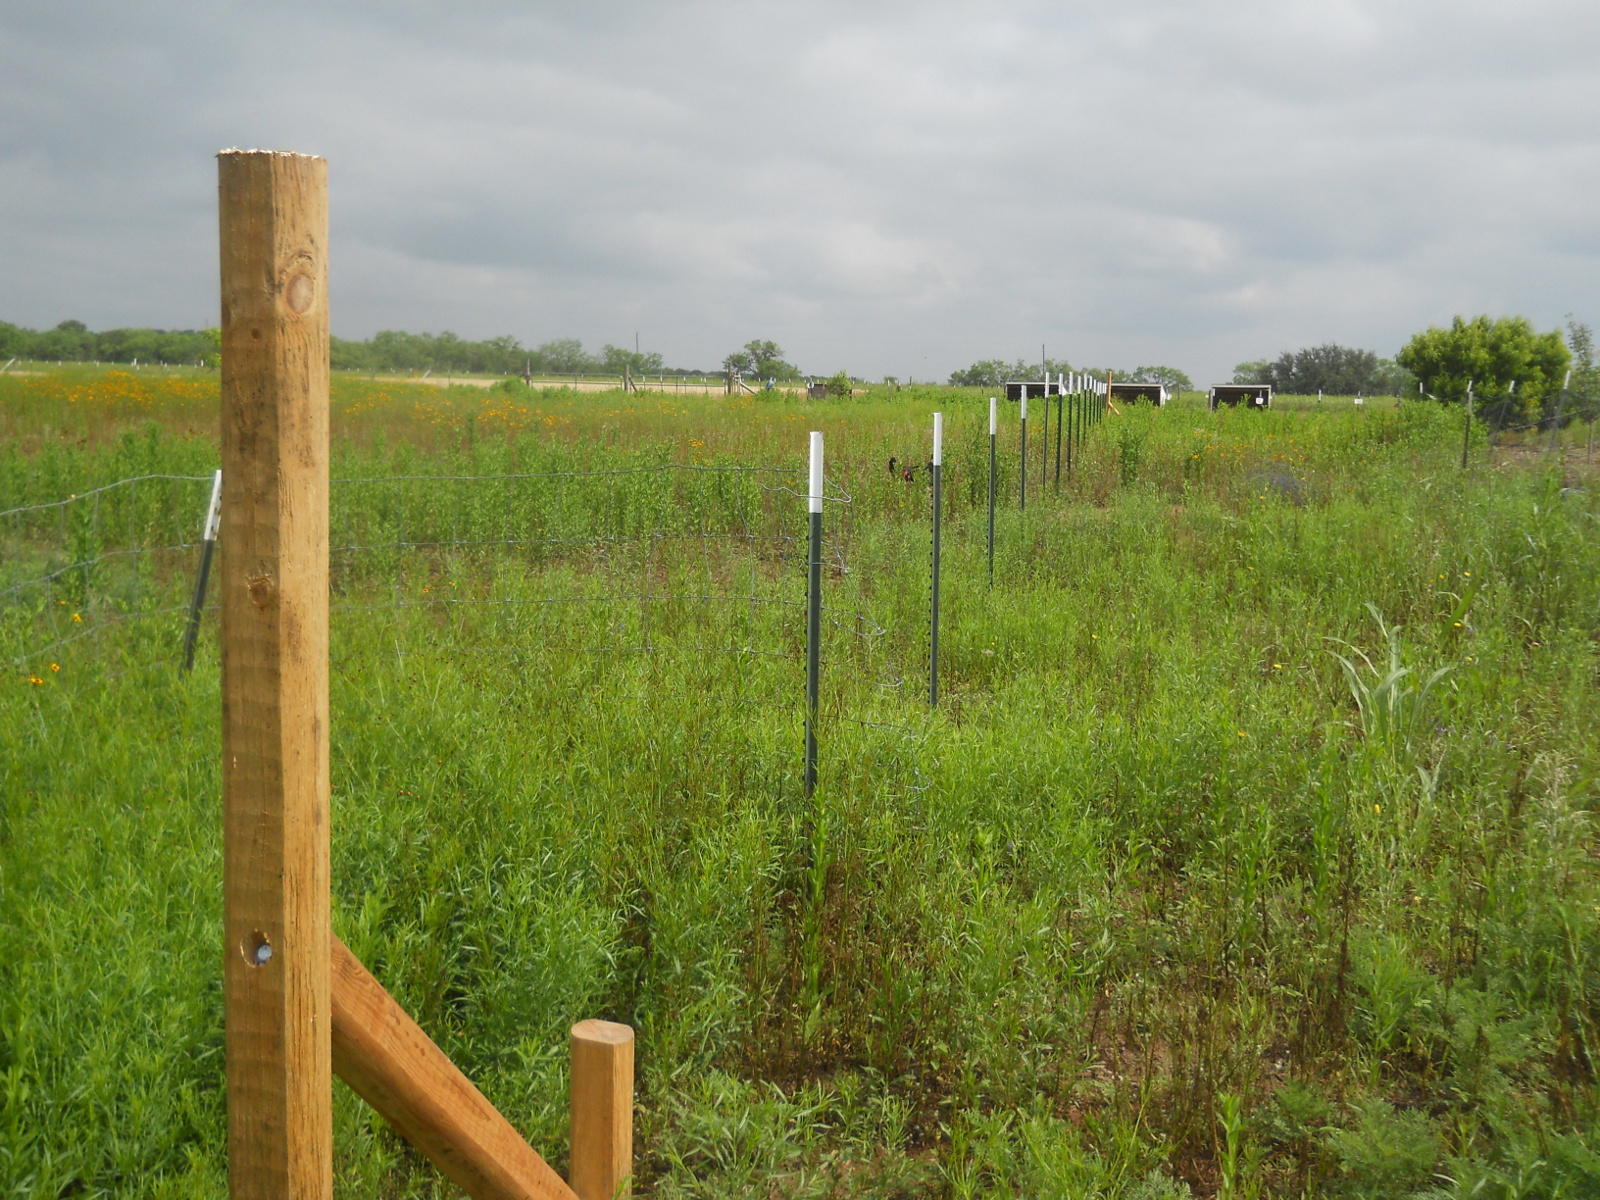
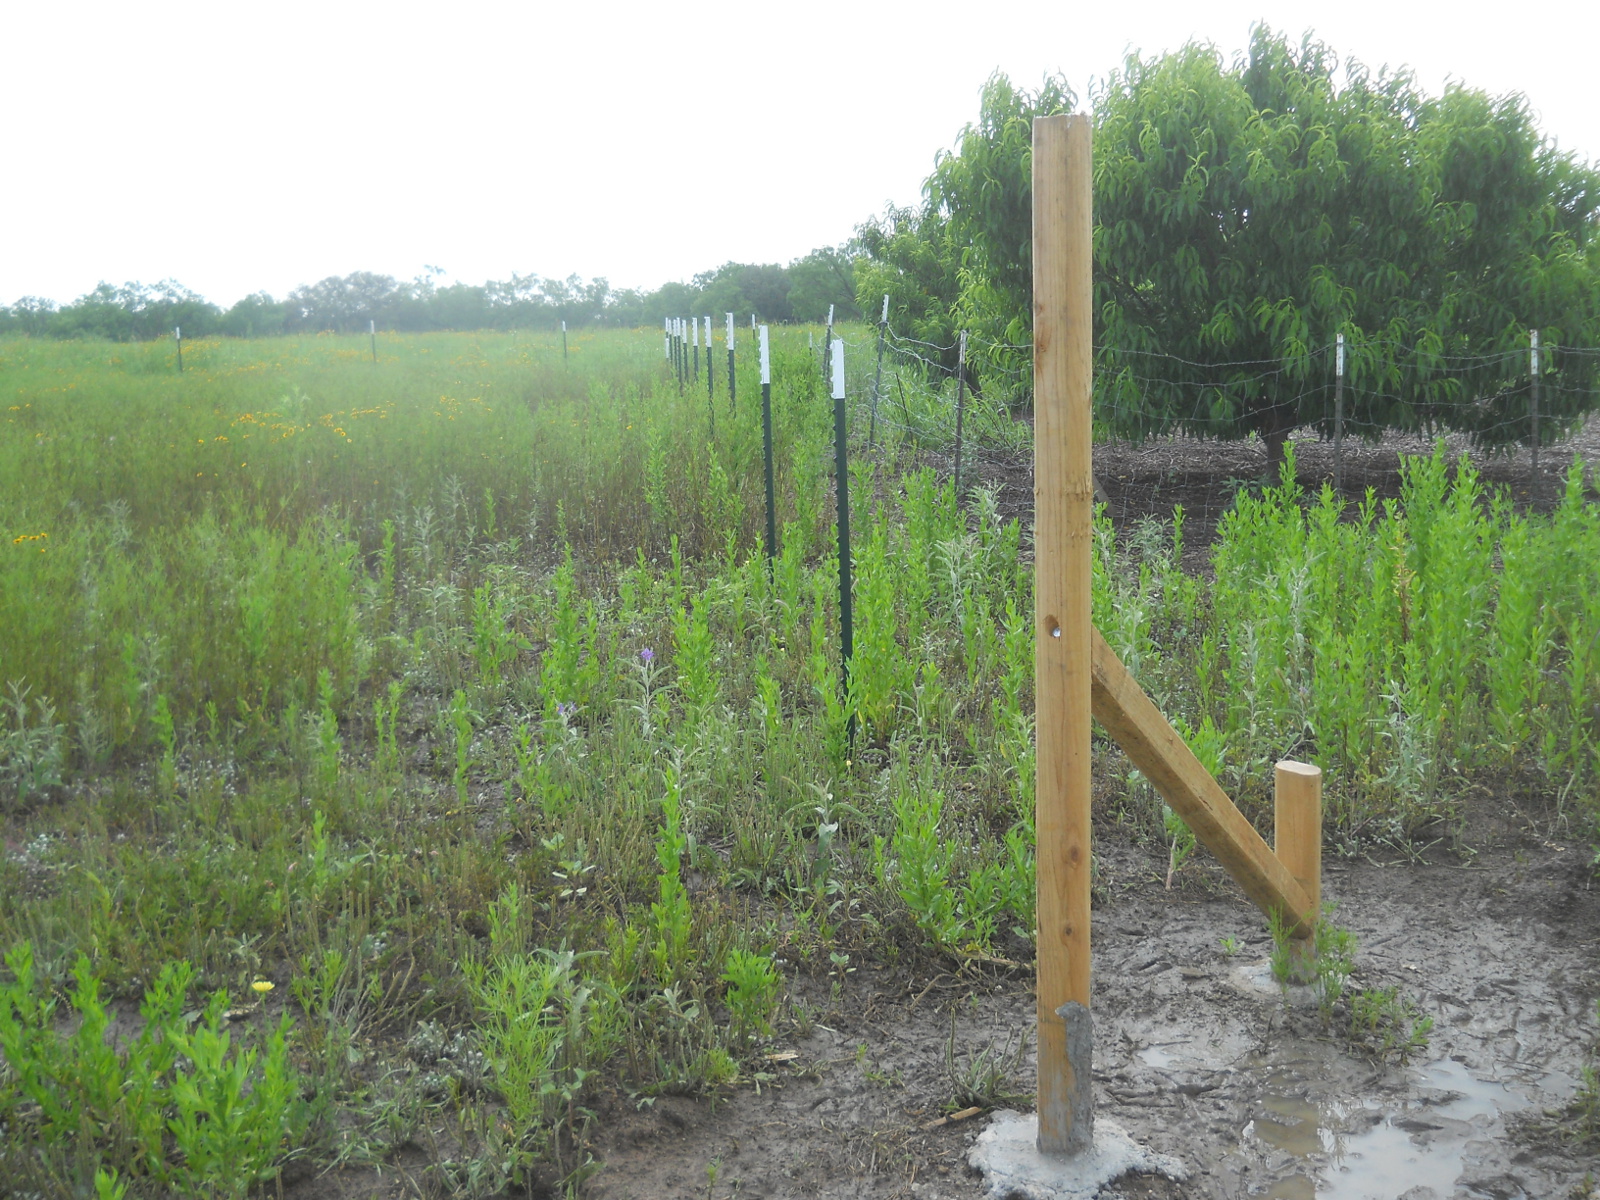
I originally thought I could just bury the landscape timber posts in mud, but the rains showed me that that wasn’t going to work — it just wasn’t going to be solid enough for stretched fence. So, after unburying them, I concreted them in. I’m trying to get away with only using a single angled brace on the corners. I also added distance between the current trees, and brought out one side to allow for another row of trees. I figure I can just continue to move that west line over the years if needed to add room for more rows. There is also a gate space planned along one of the lines, big enough for the tractor to drive through:
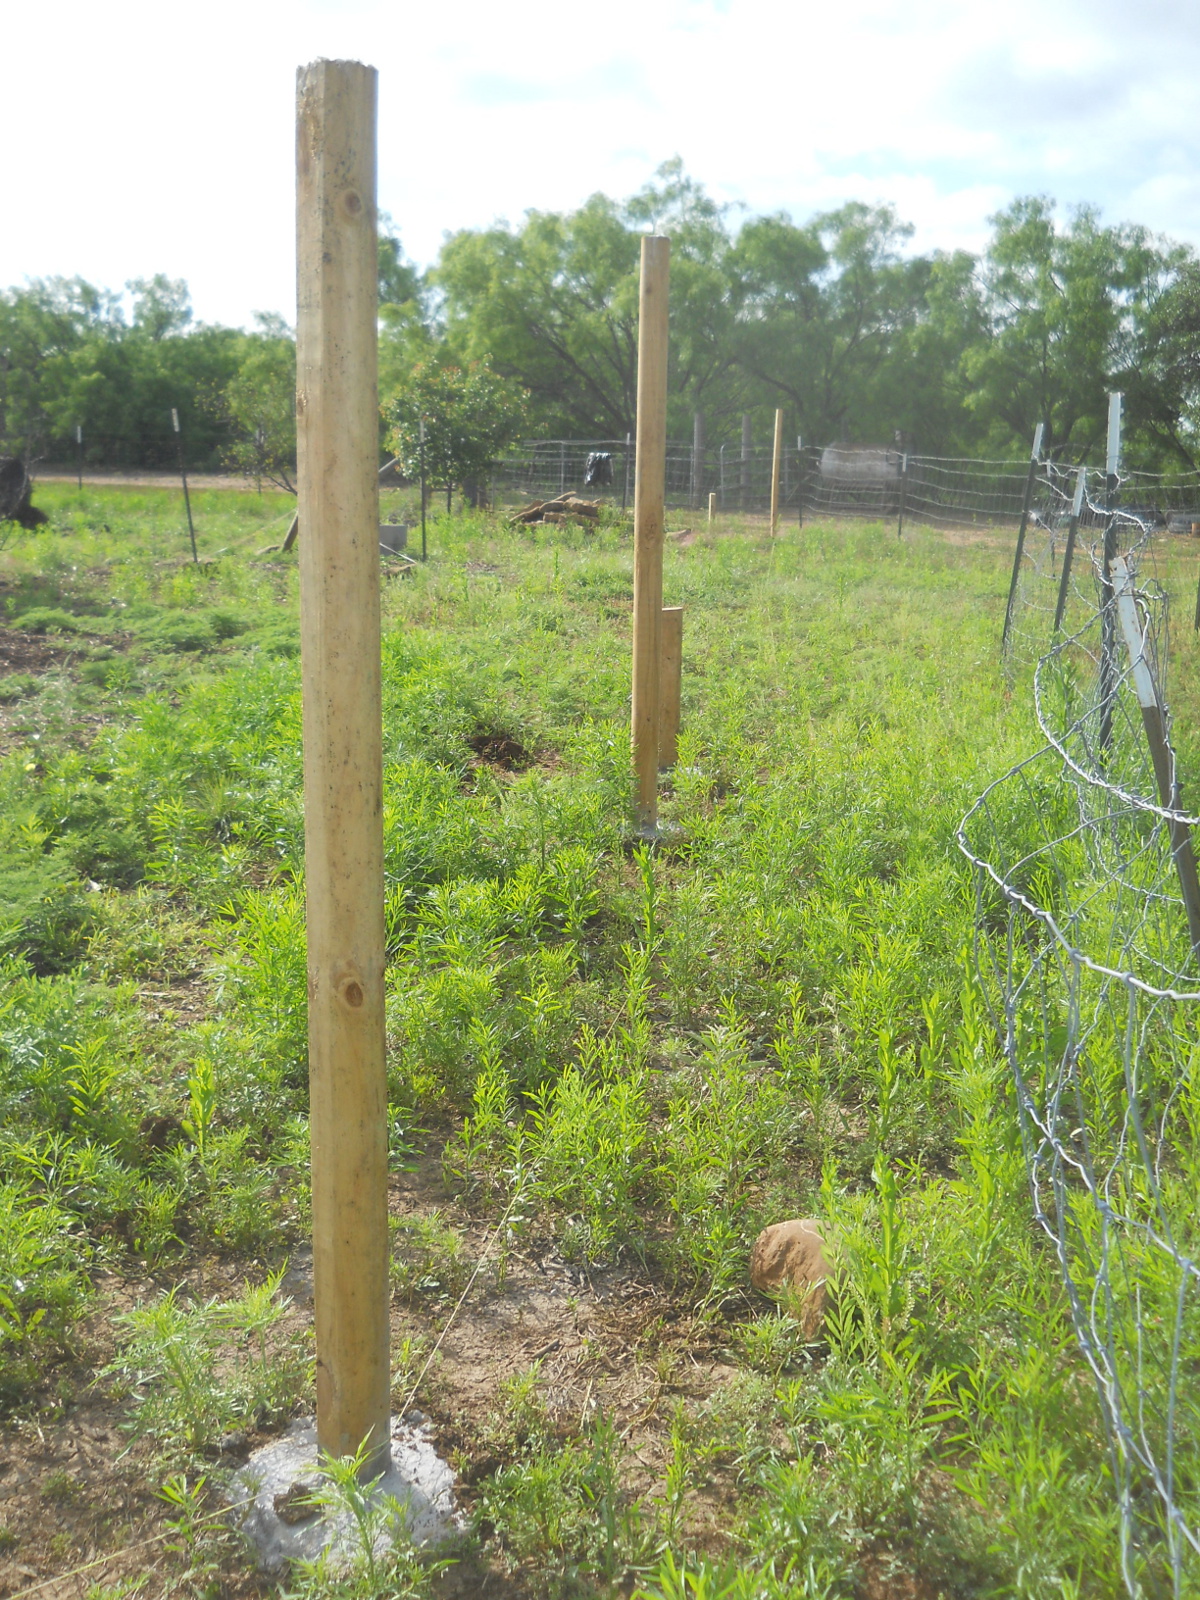
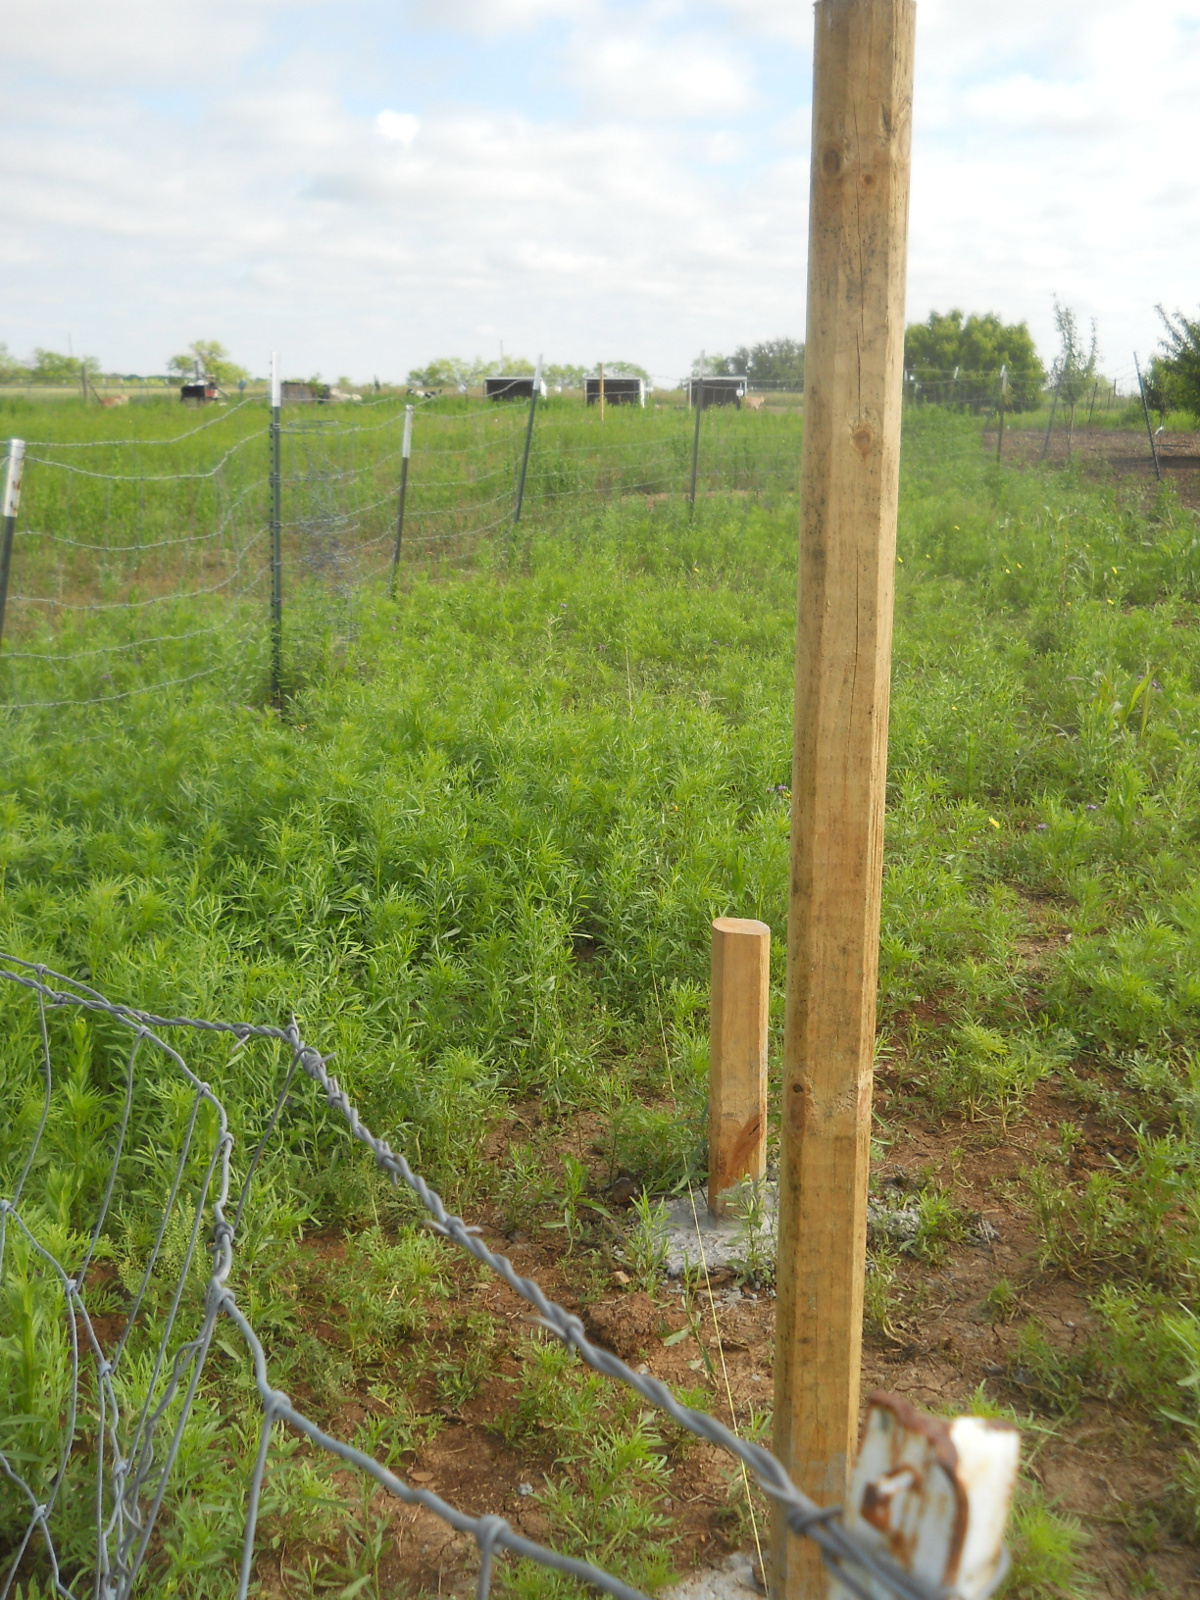
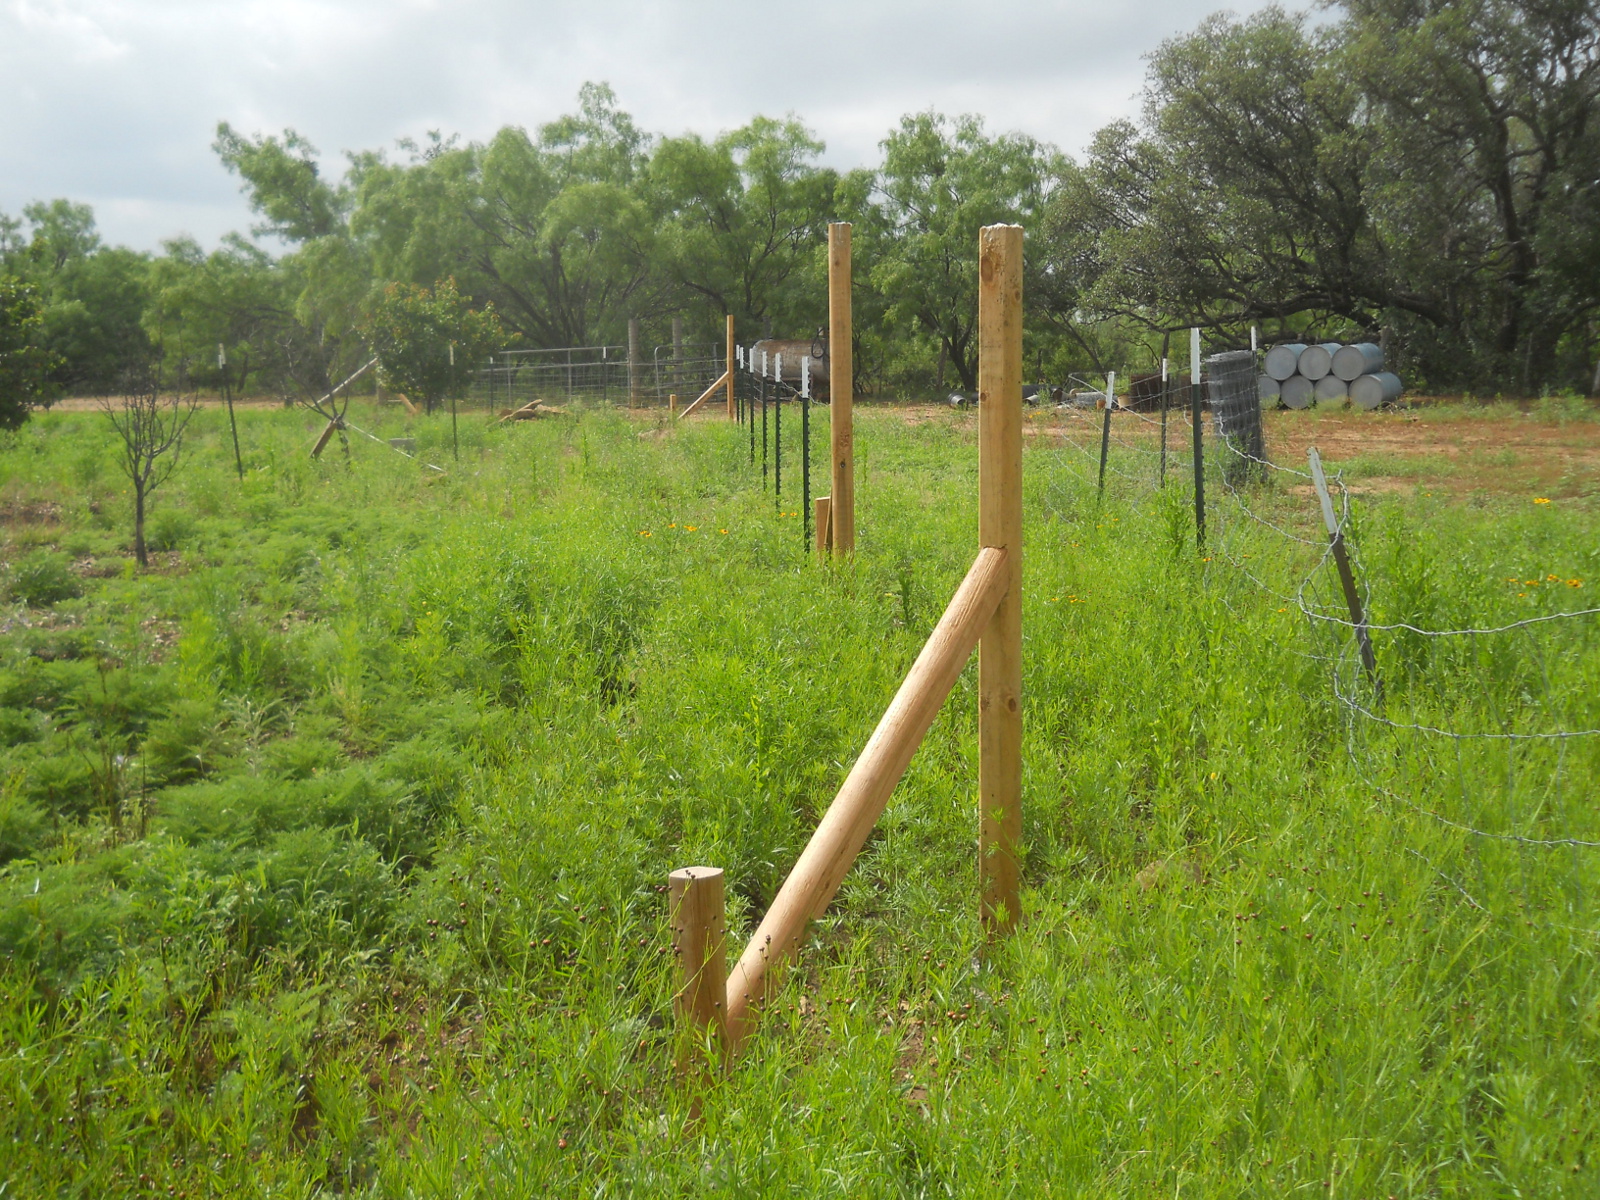
Here’s a diagonal brace installed. I notched out the the bottom of the dead-man post using a reciprocating saw and hammer and chisel, worked the angles on the brace until I got it right, and then notched out the upper side of the main post. Then, I drilled pilot and counter sync holes for the 3/8 by 6 inch lag bolts and washers:

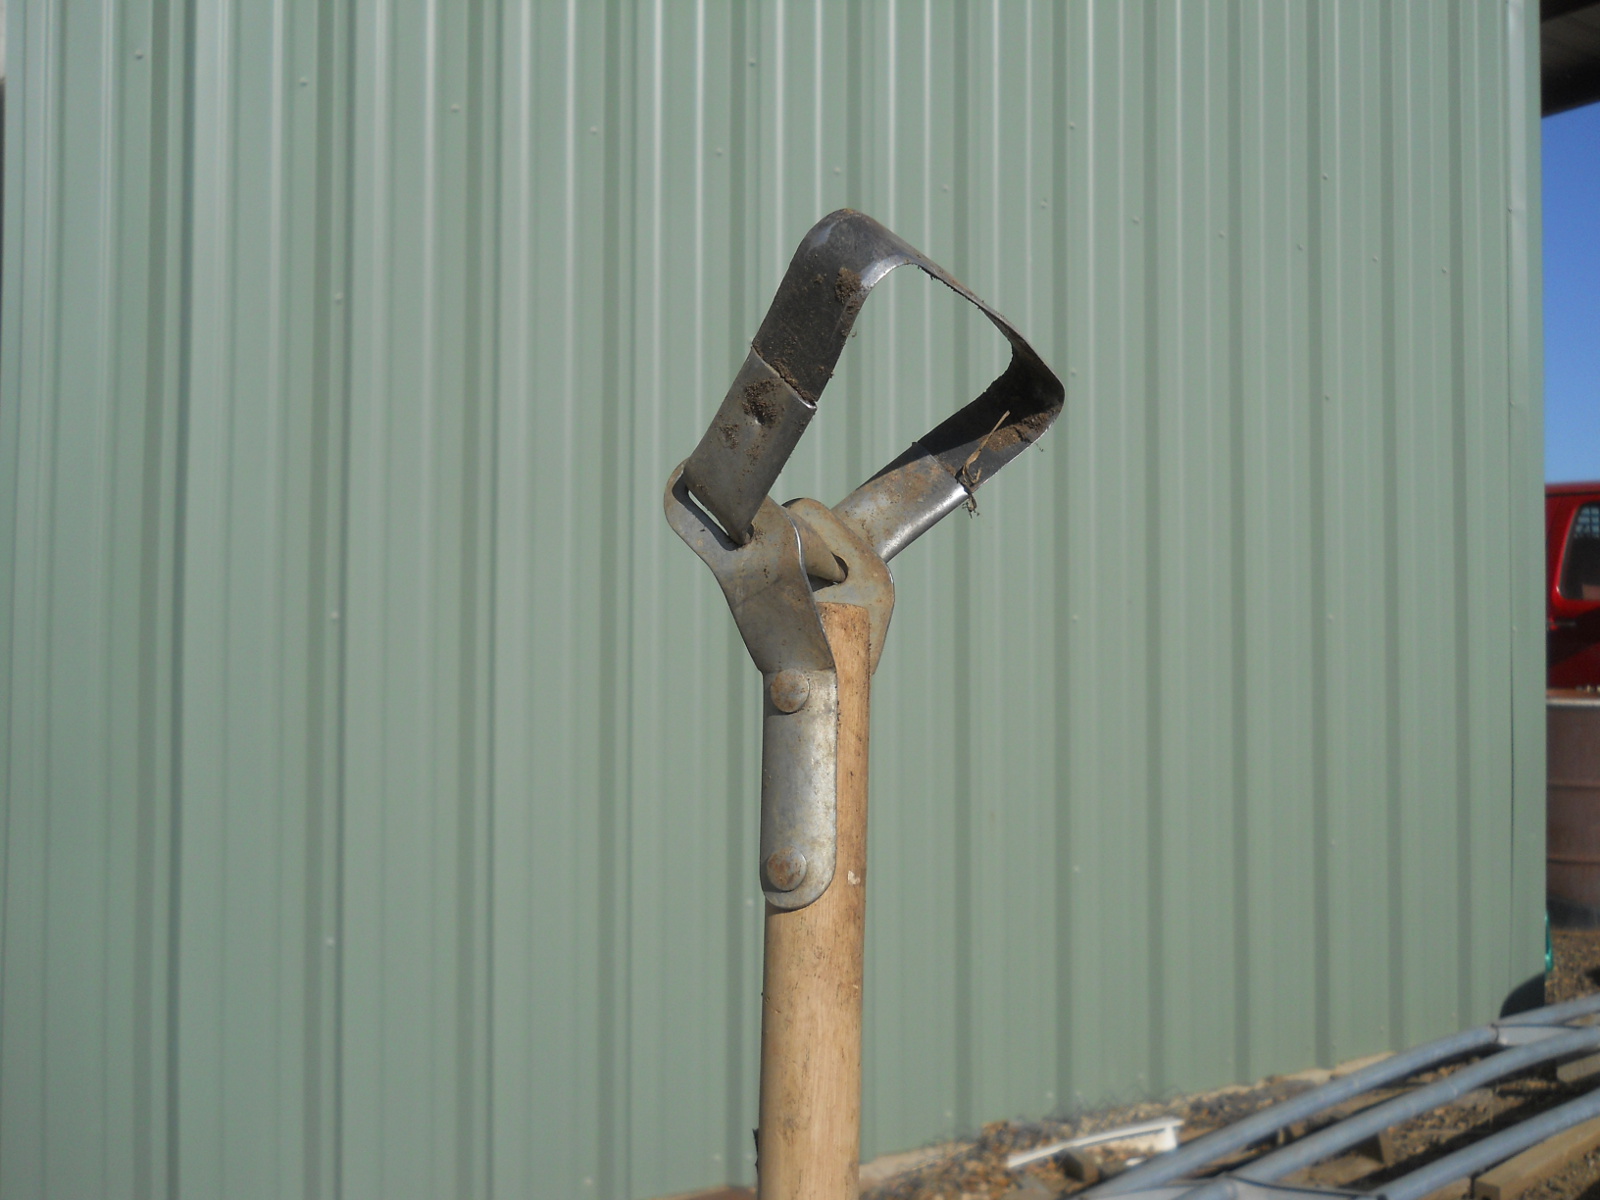
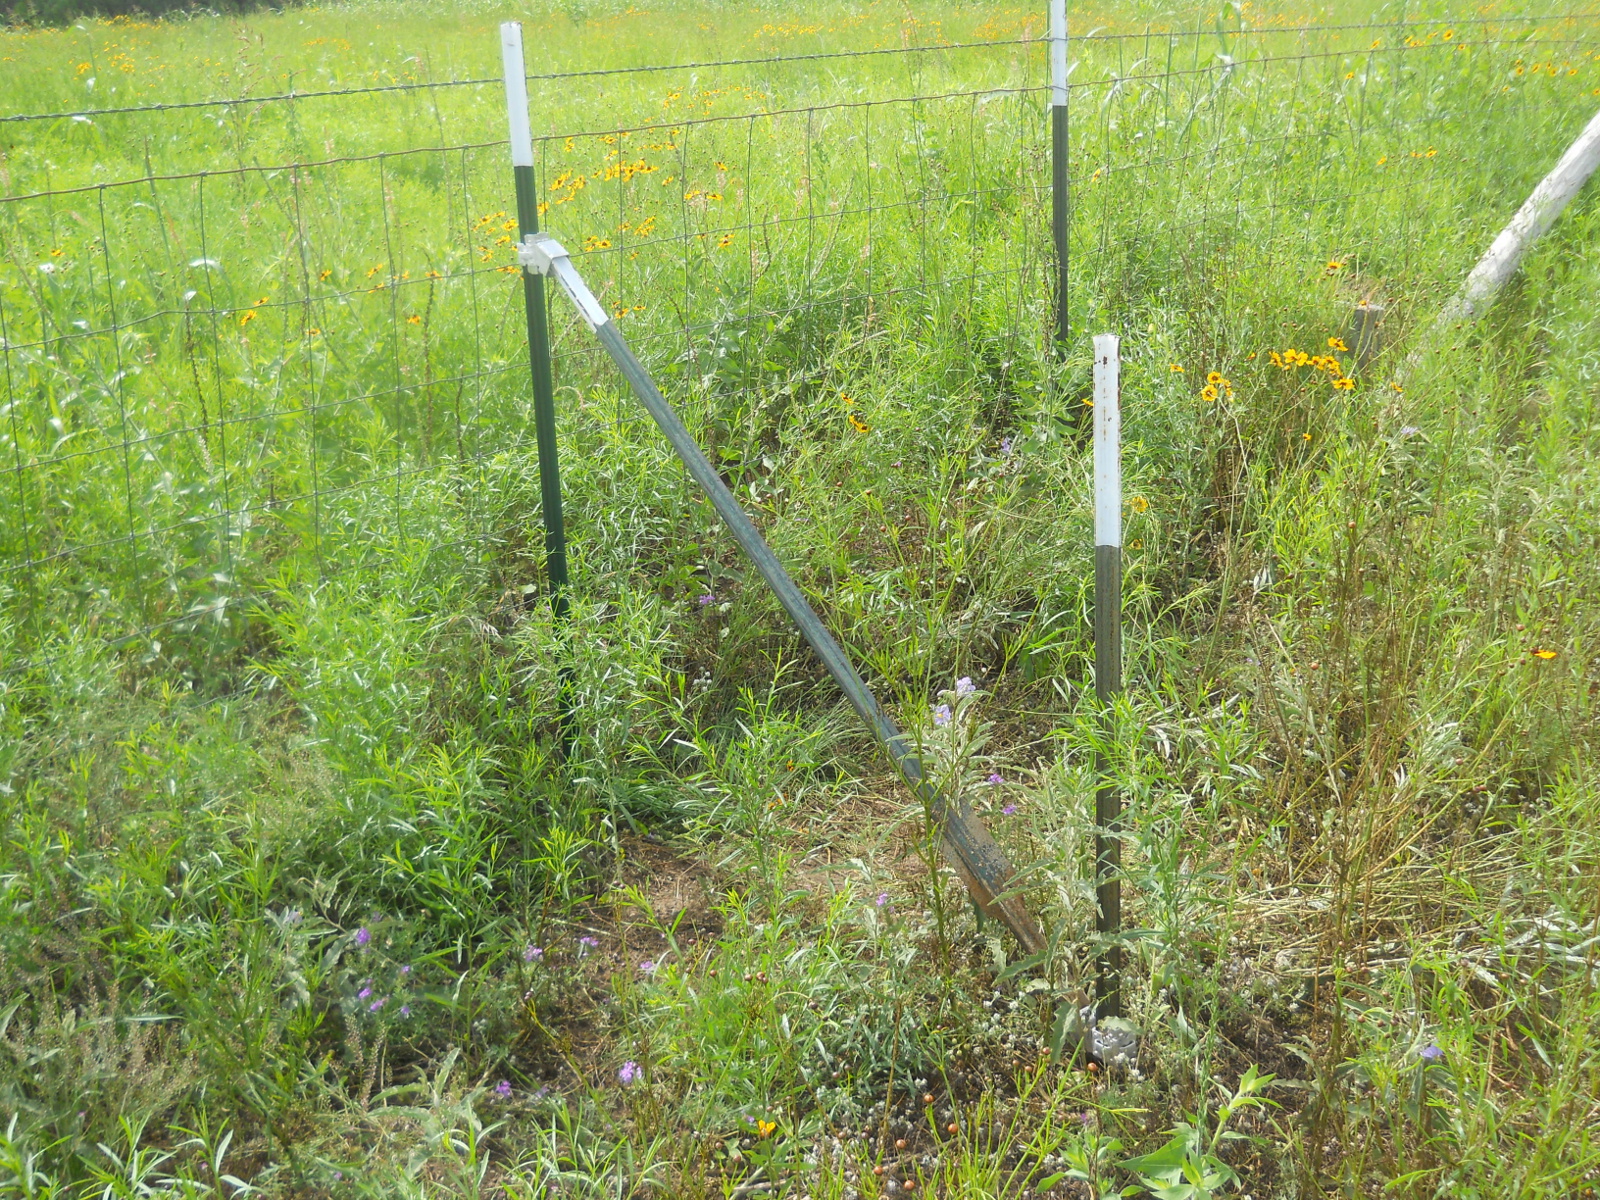
And so I didn’t have to dig a post hole on line that already had fencing, I thought I would try using a t-post bracing system for one of the ends (sadly, once I started pulling the fence, this ended up not working — too much pressure on the aluminum pieces and the t-posts too loose in the ground), and I had to put in the wood posts and brace):
With the posts in place, using a string line around the perimeter, I pounded in the t-posts. Sometimes you hit rock, but sometimes those rocks are smaller, and it is possible to pound through/around them, although that almost certainly brings on the blisters, at least for me it does. 🙂 :
And that’s it for now. Yesterday was dry enough for me to work on the fencing some, so I just started to tie off a couple of the ends of the net-wire fencing; but Lord willing, this will be ready soon. Actually, because we are sort of out of hay for one of the groups of goats, and it’s too muddy to get any right now, I have to go move the temporary fence and hand pull it around the new fence line because we need to let them out today.
We thank God for His provisions to be able to put up the fencing, for the rains, the mercy in the weather, and for the free goat food He’s granted to grow!
— David