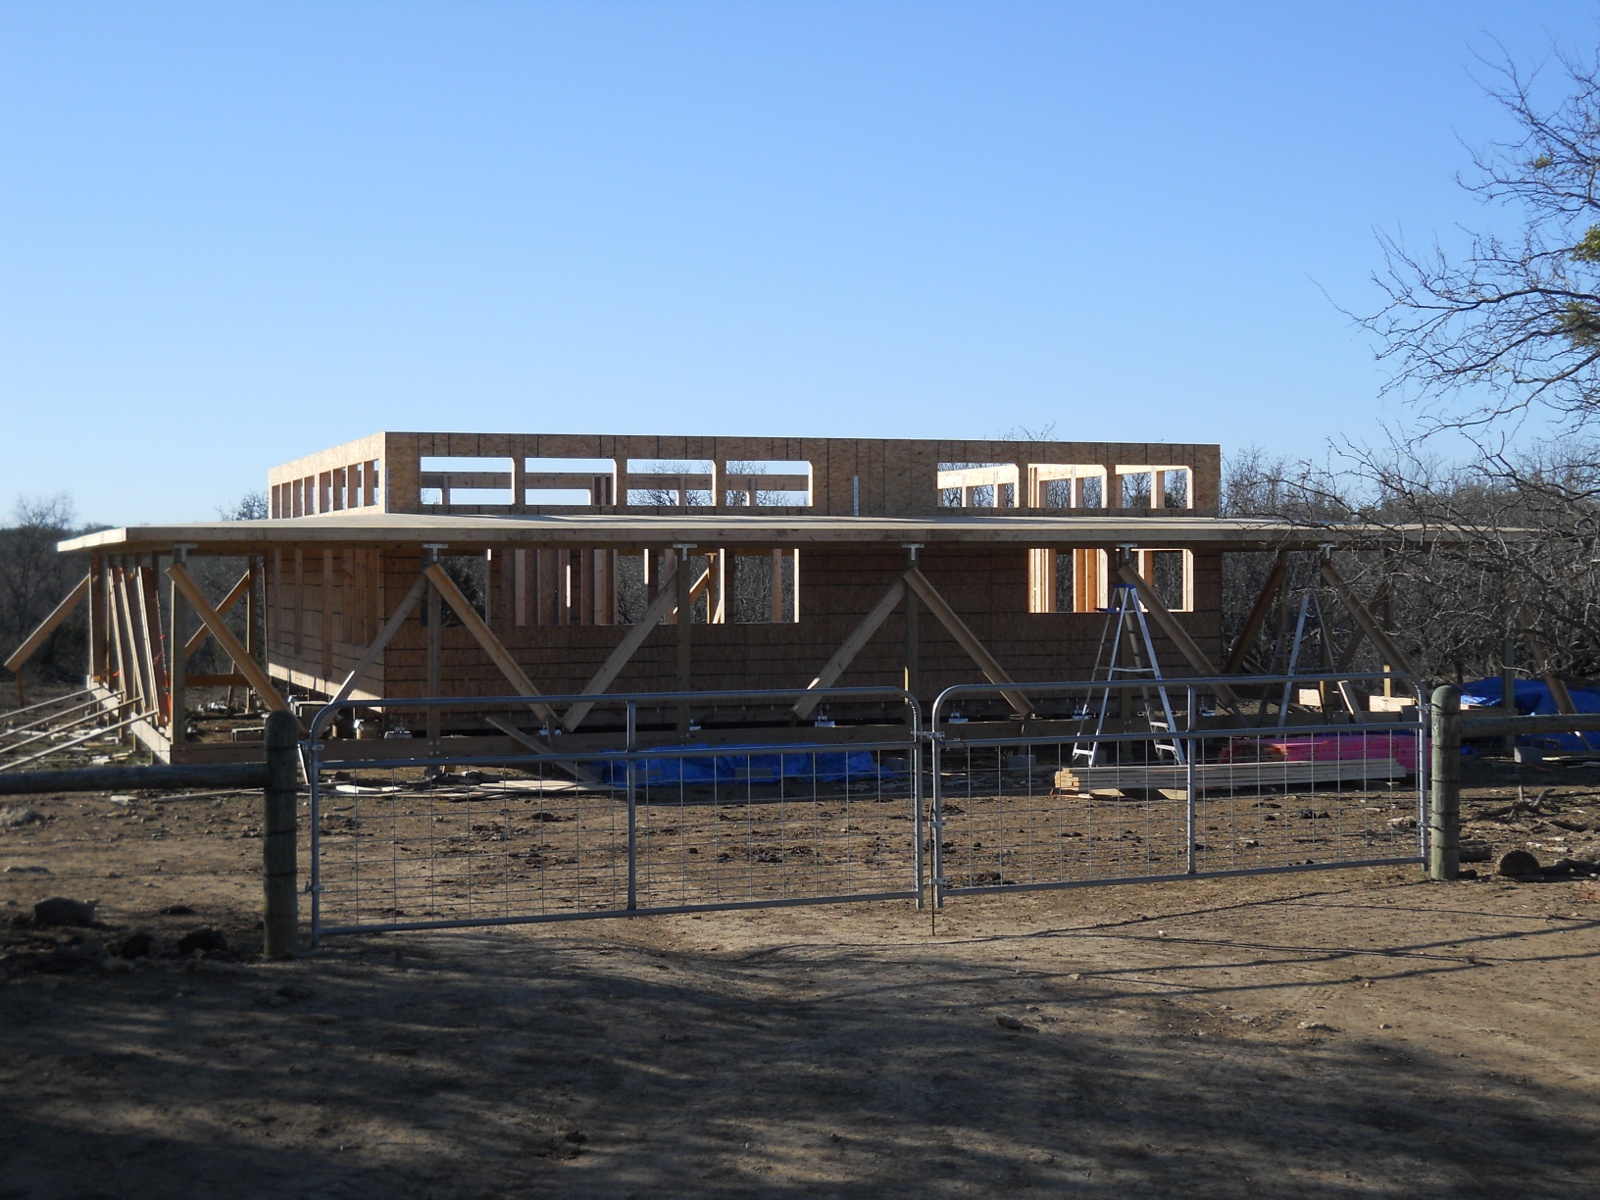
With the porch post cross beams now in place, it was time to move onto adding the porch rafters and plywood. I wanted to do this so that we would have something to walk on when we starting putting up the main roof.
We started with a header plate against the house, to which the rafters would be fixed. Eventually, the plan is to lag bolt this plate to the wall studs:
We needed then to position the cross beams equidistant from the house. Here are some braces in place to hold them there:
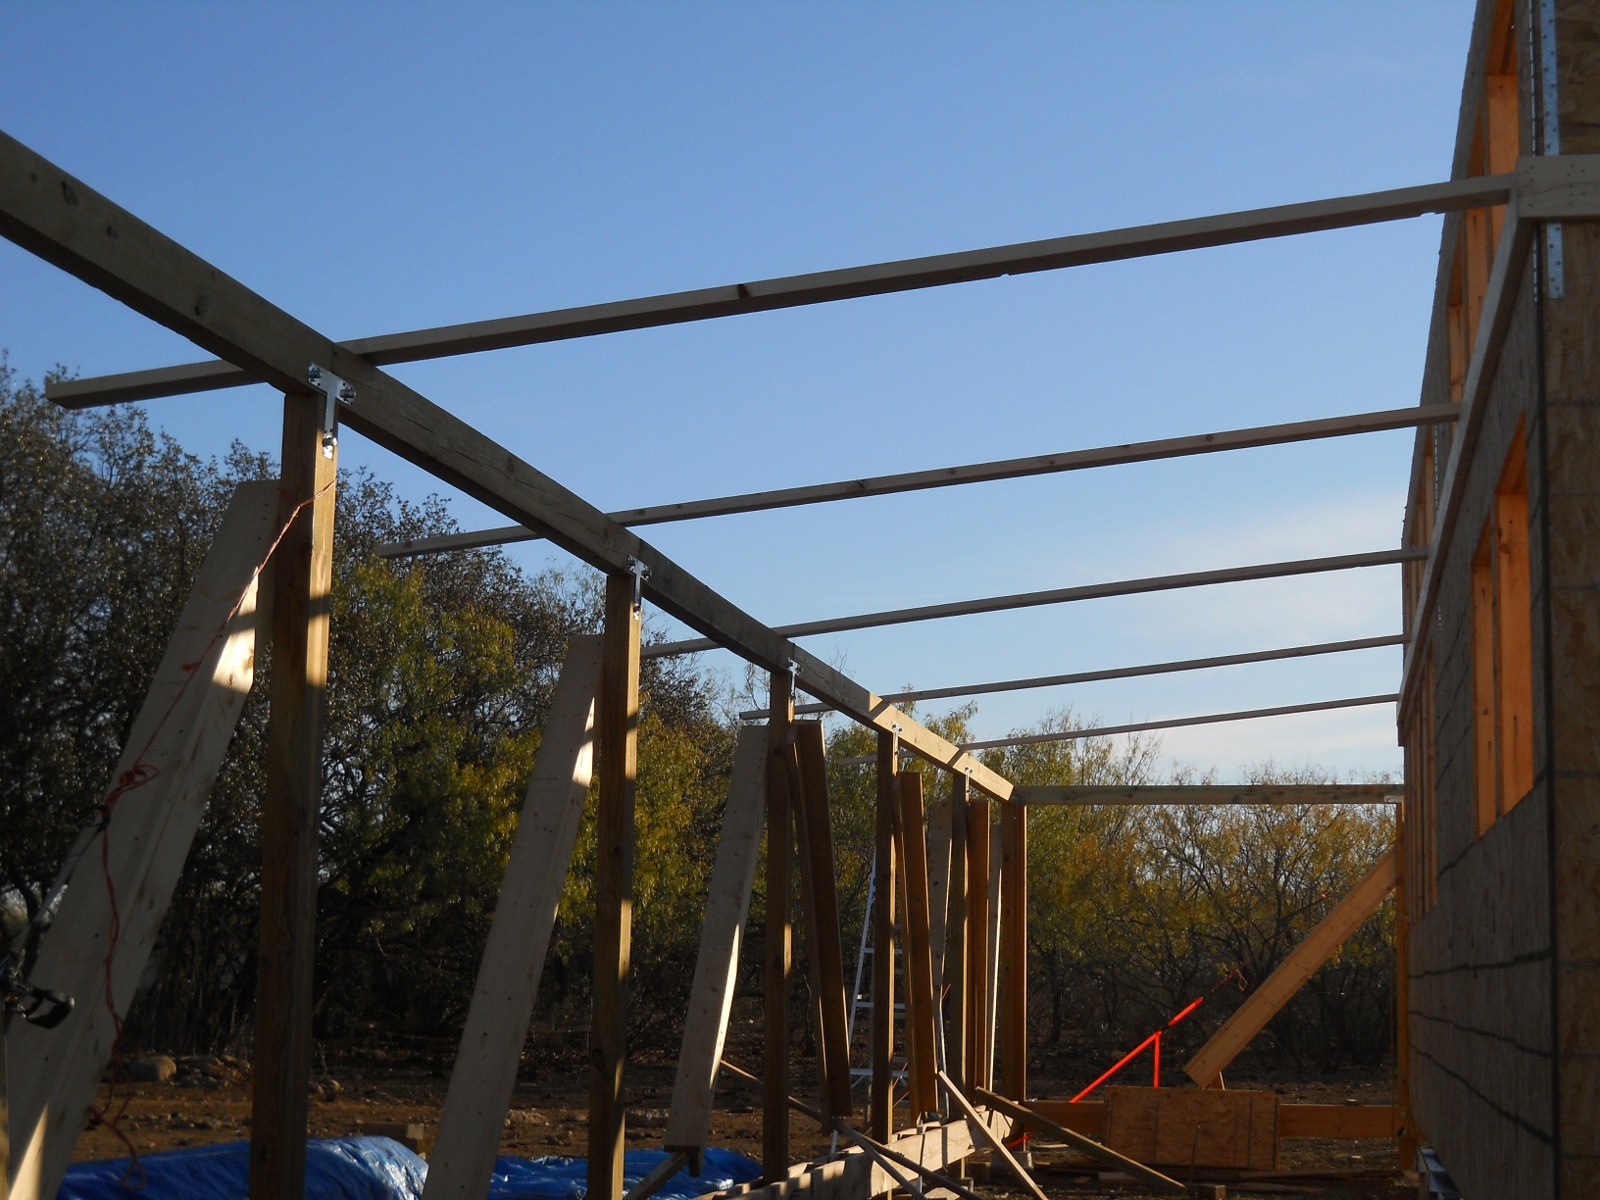
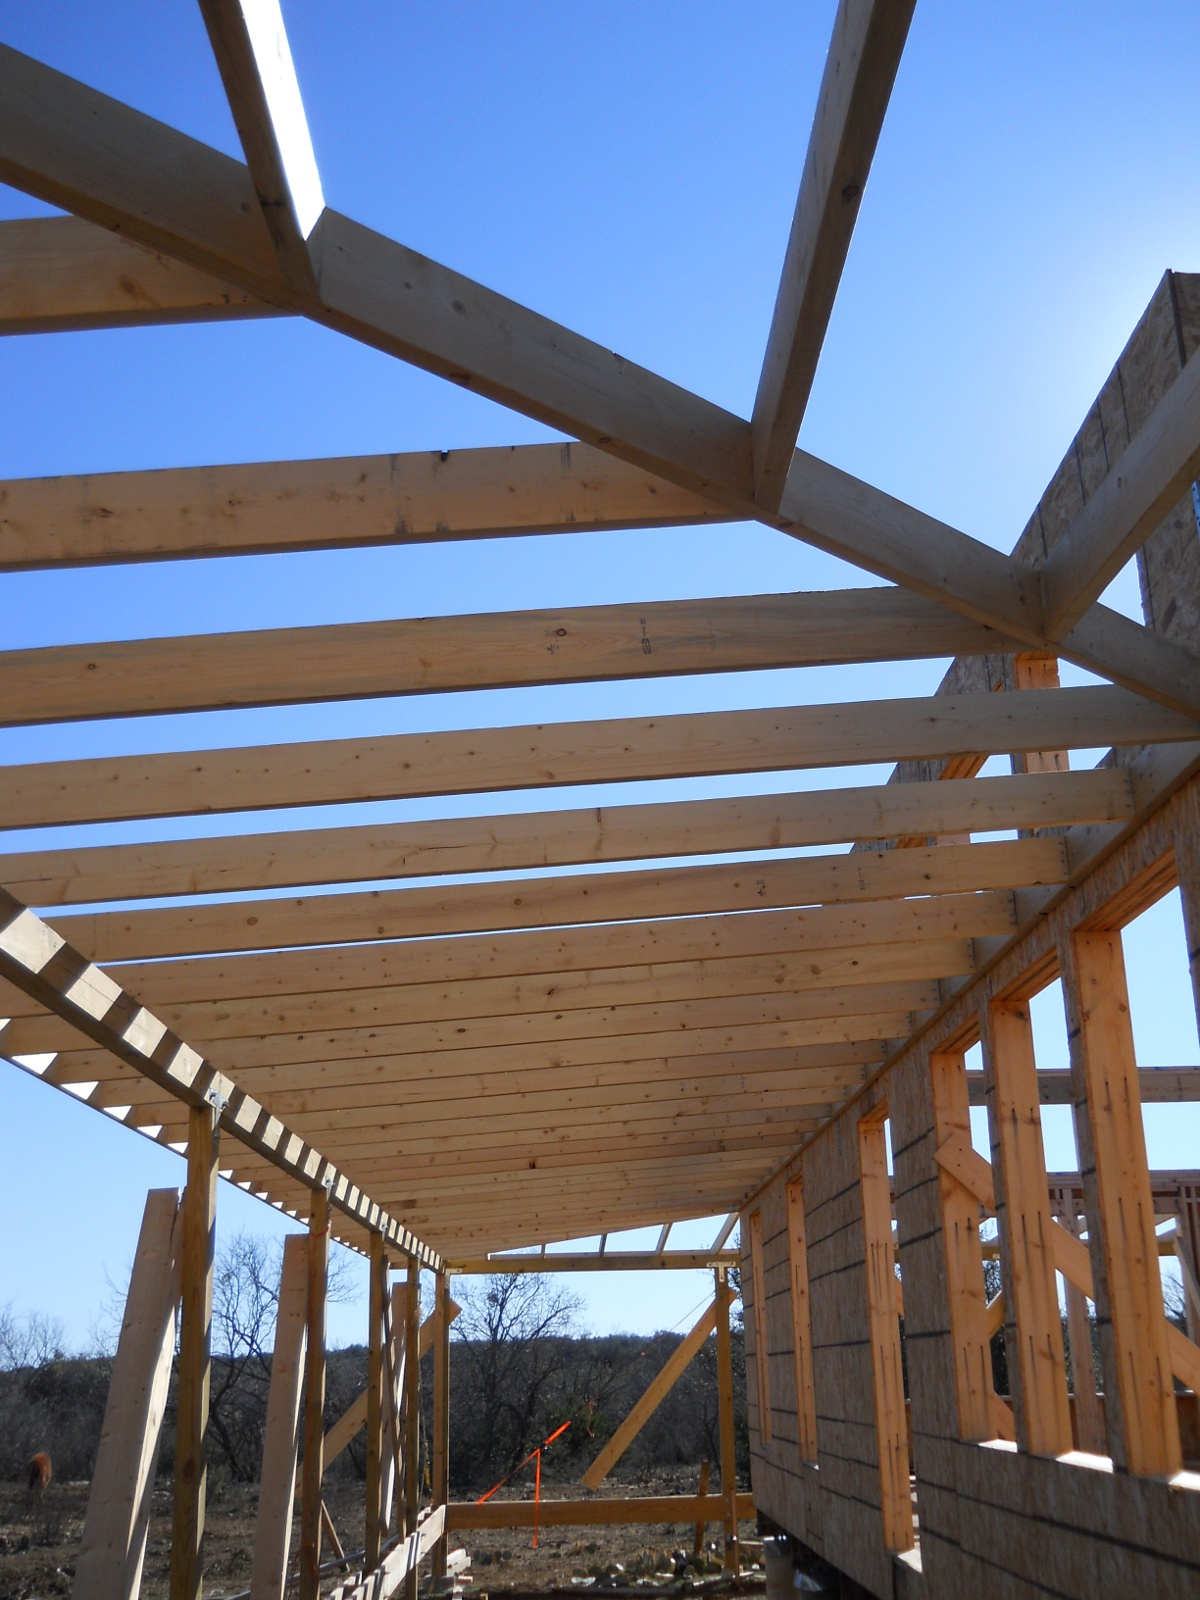
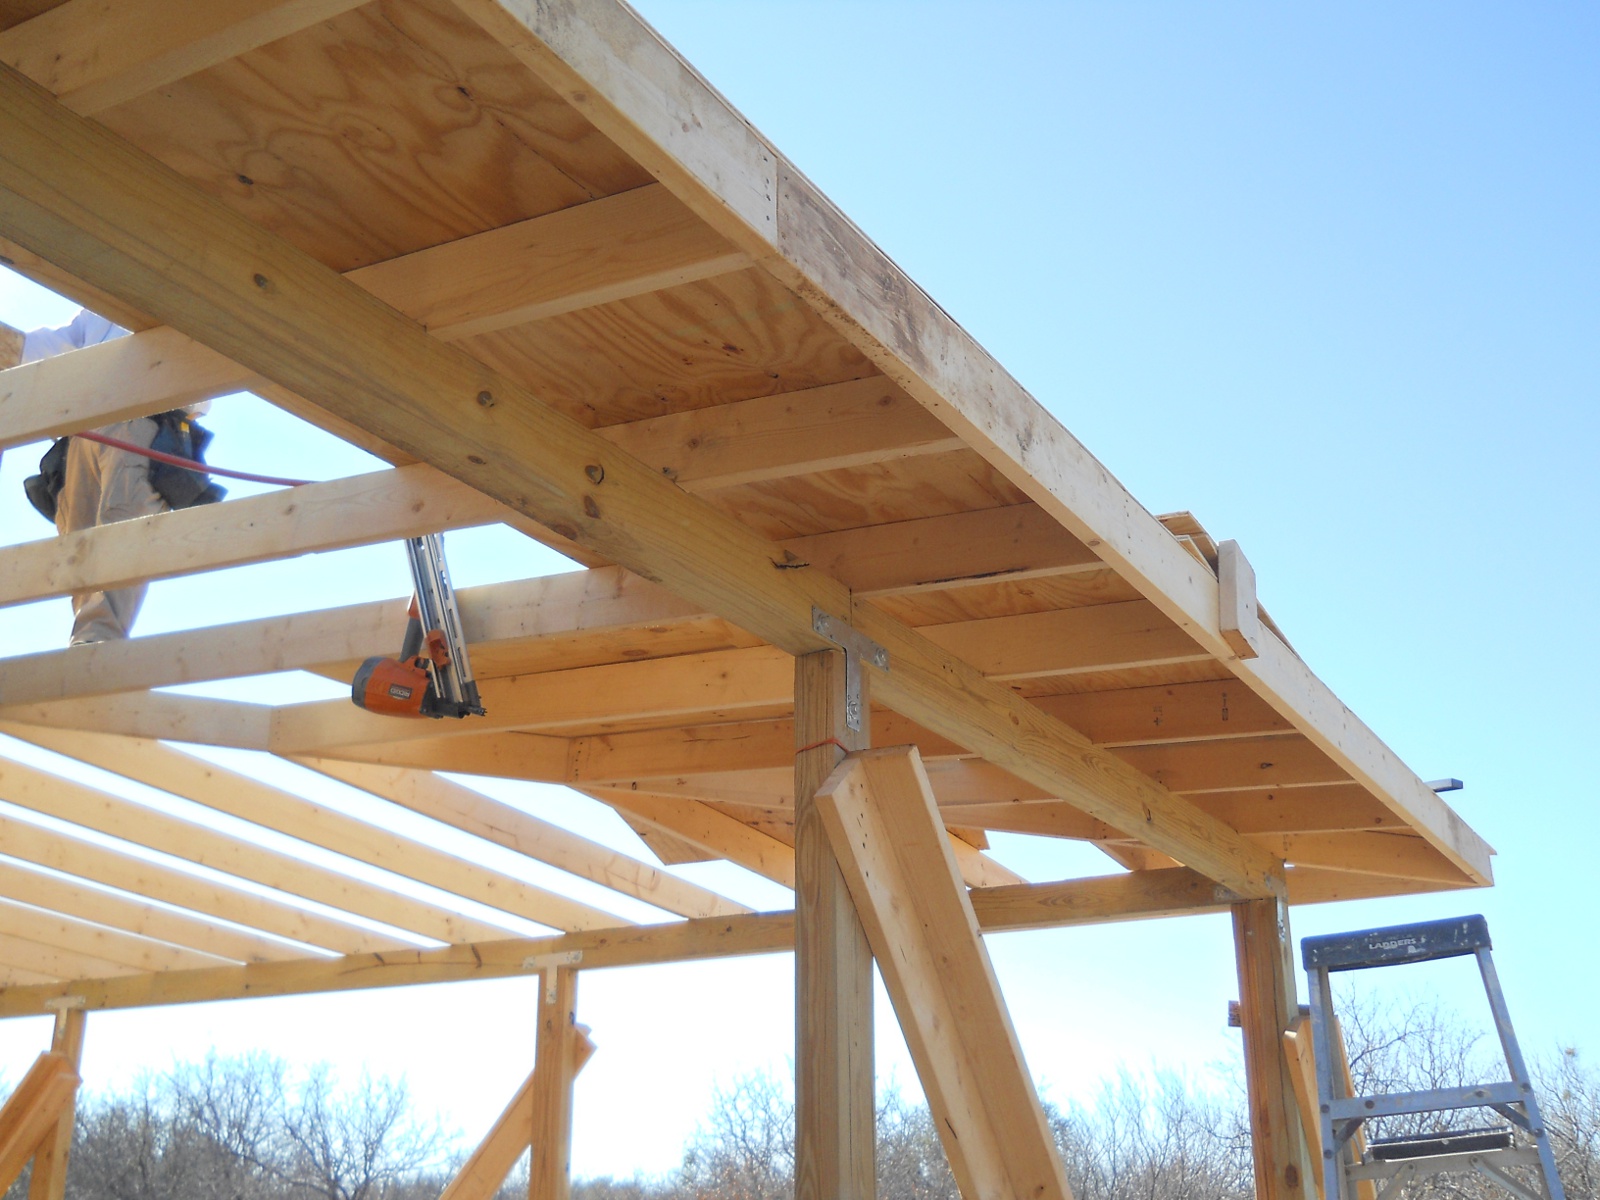
And then the rafters started going up:
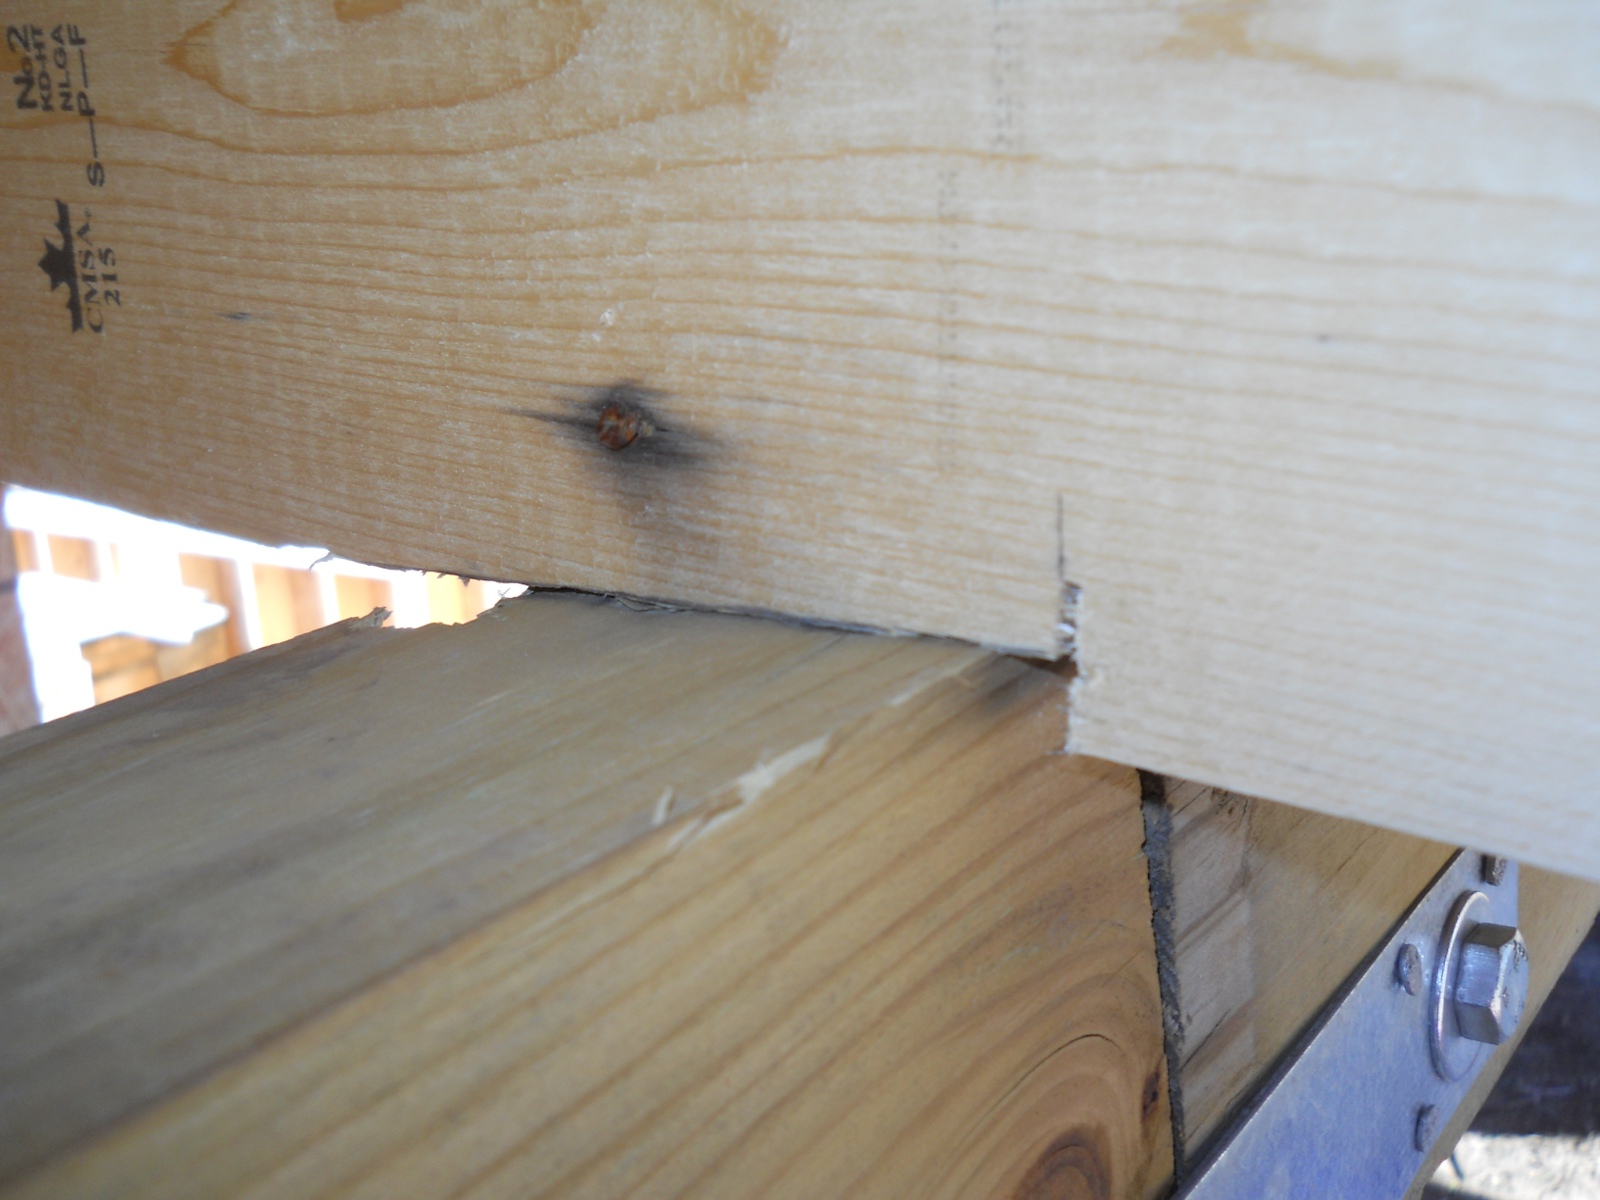
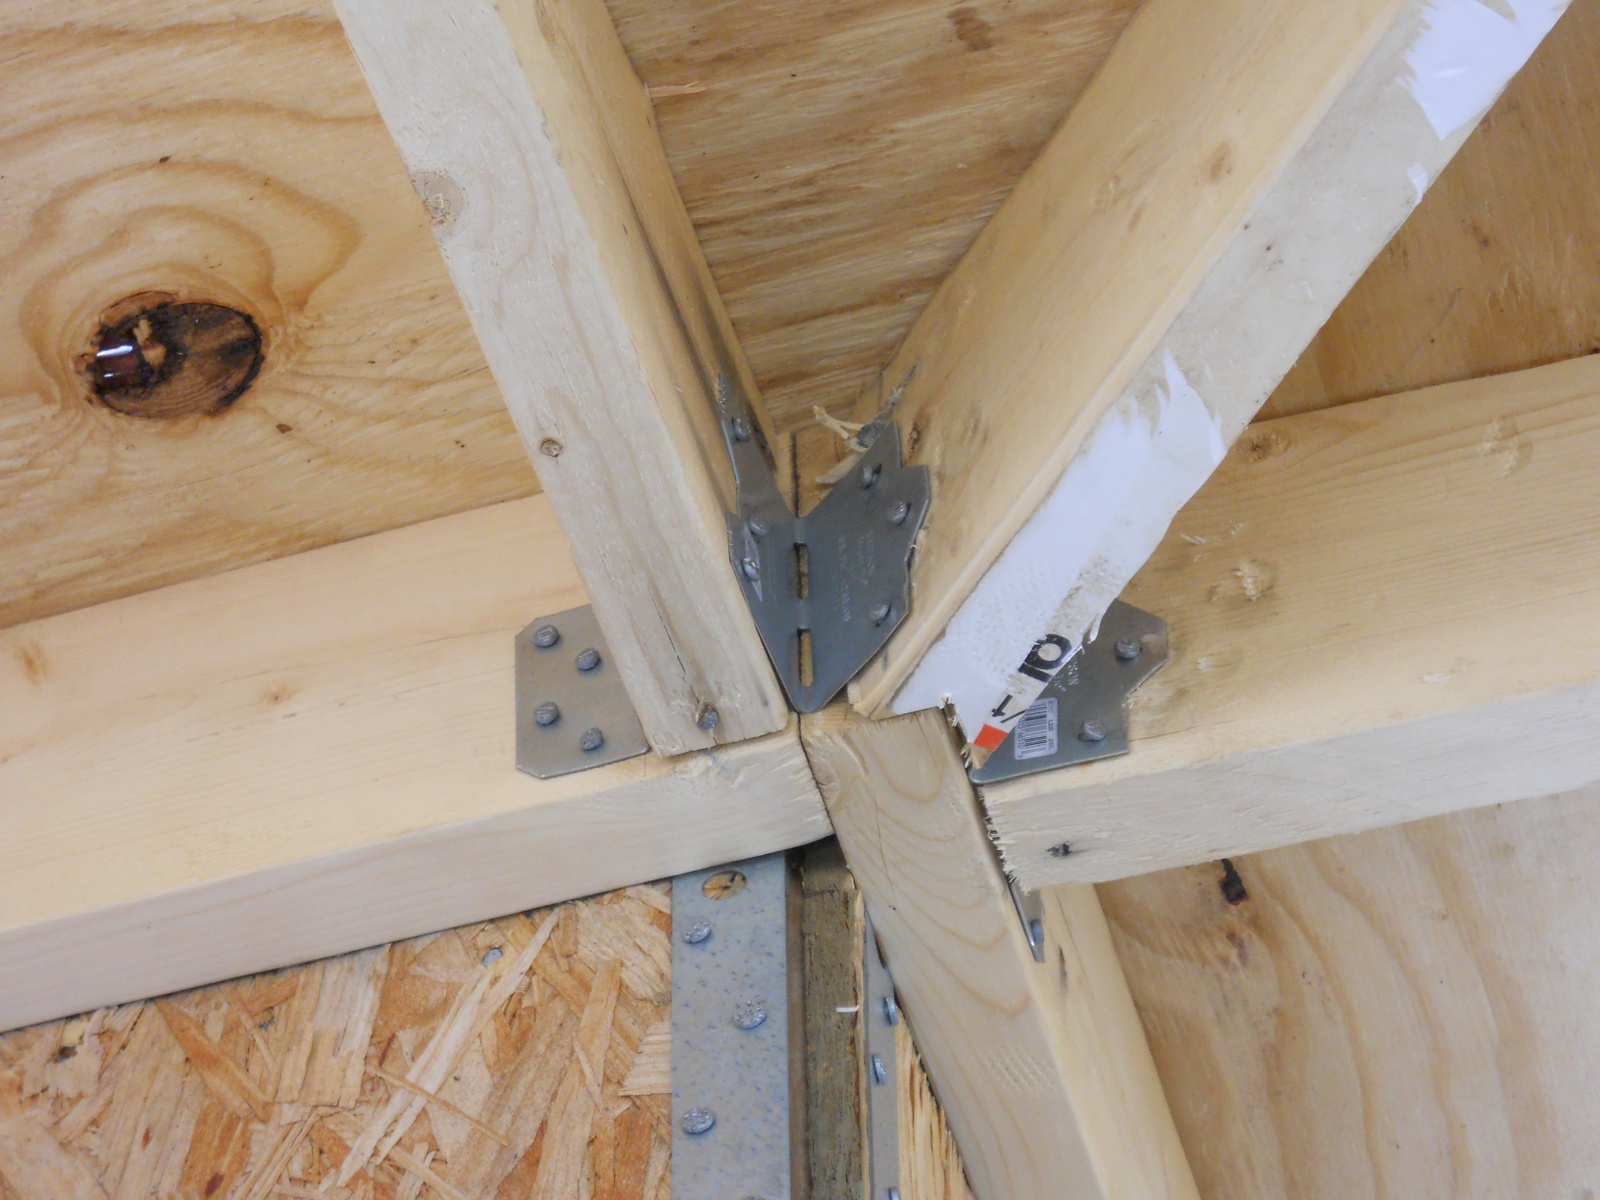
Mr. Gurau, who has been helping with the house, cut seats into the rafters as well, so more of the rafter is touching the cross beam, thus making it sturdier:
Once the rafters were in place, it was time to run a chalk line across each rafter, cut each rafter, and install the face plate:
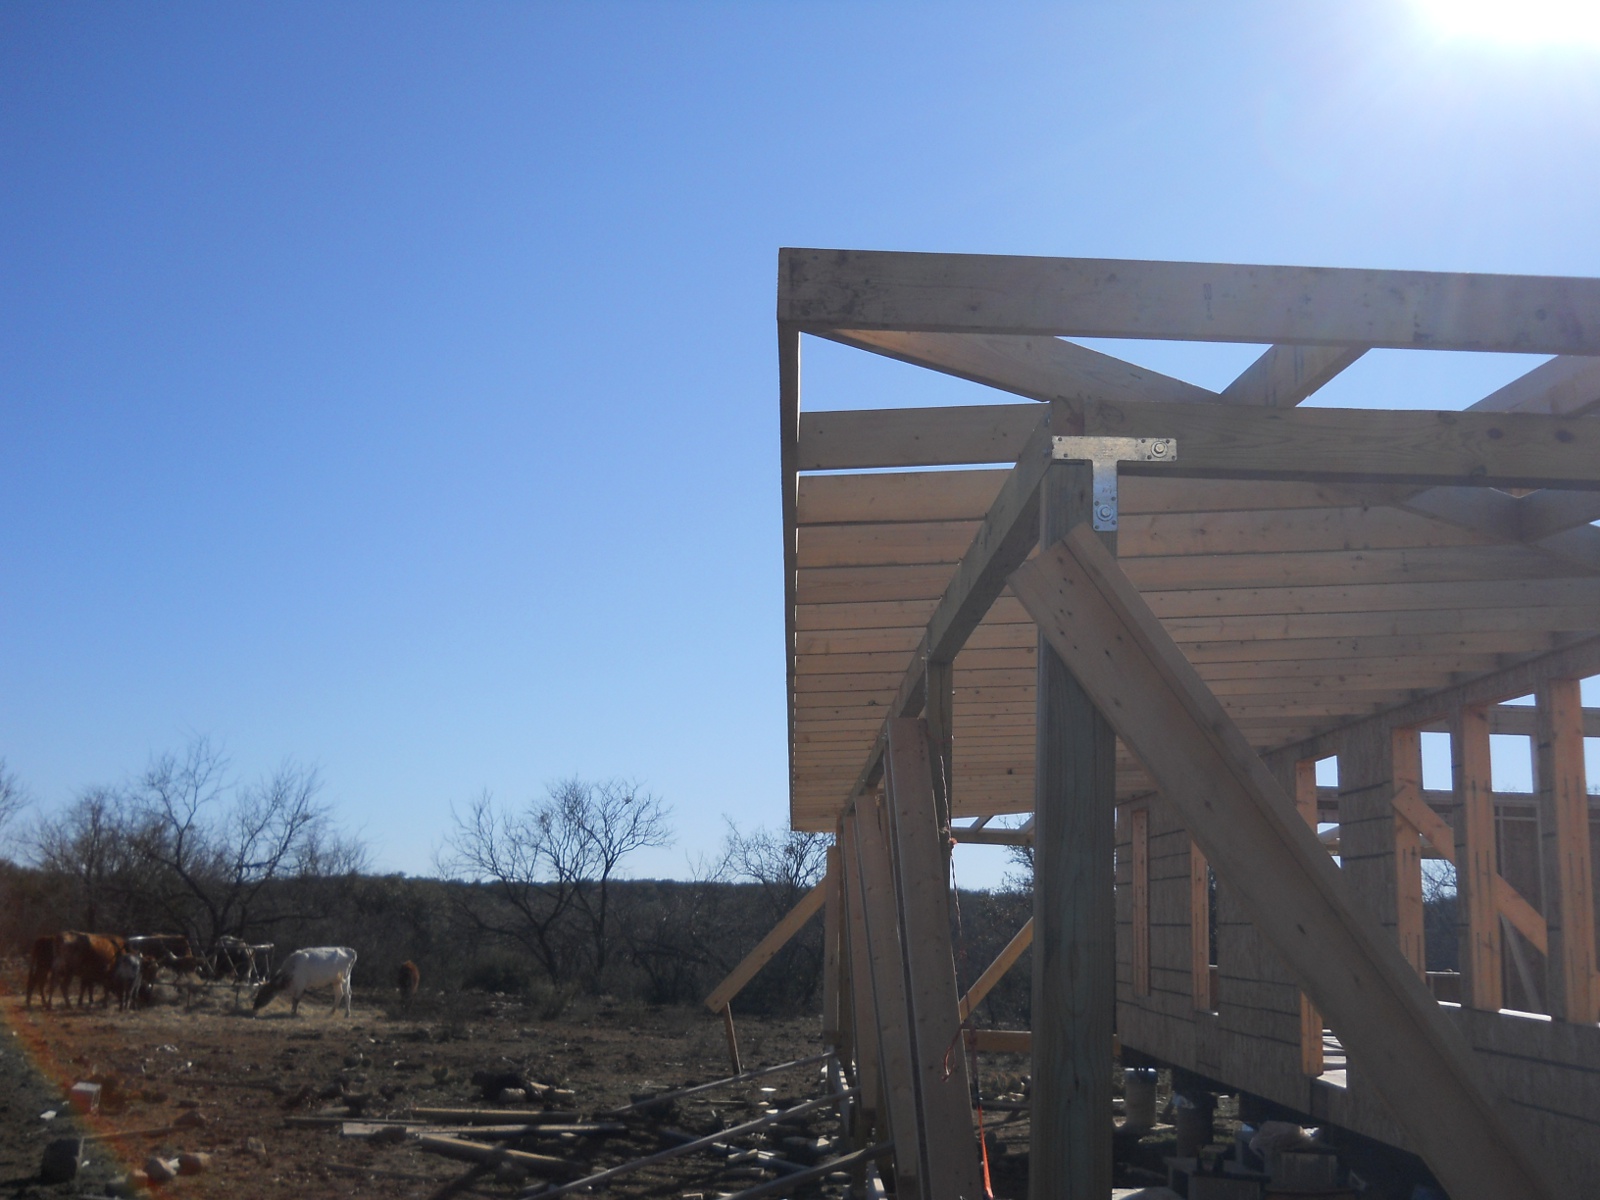
Here is how Mr. Gurau did the hip corners of the porch roof:
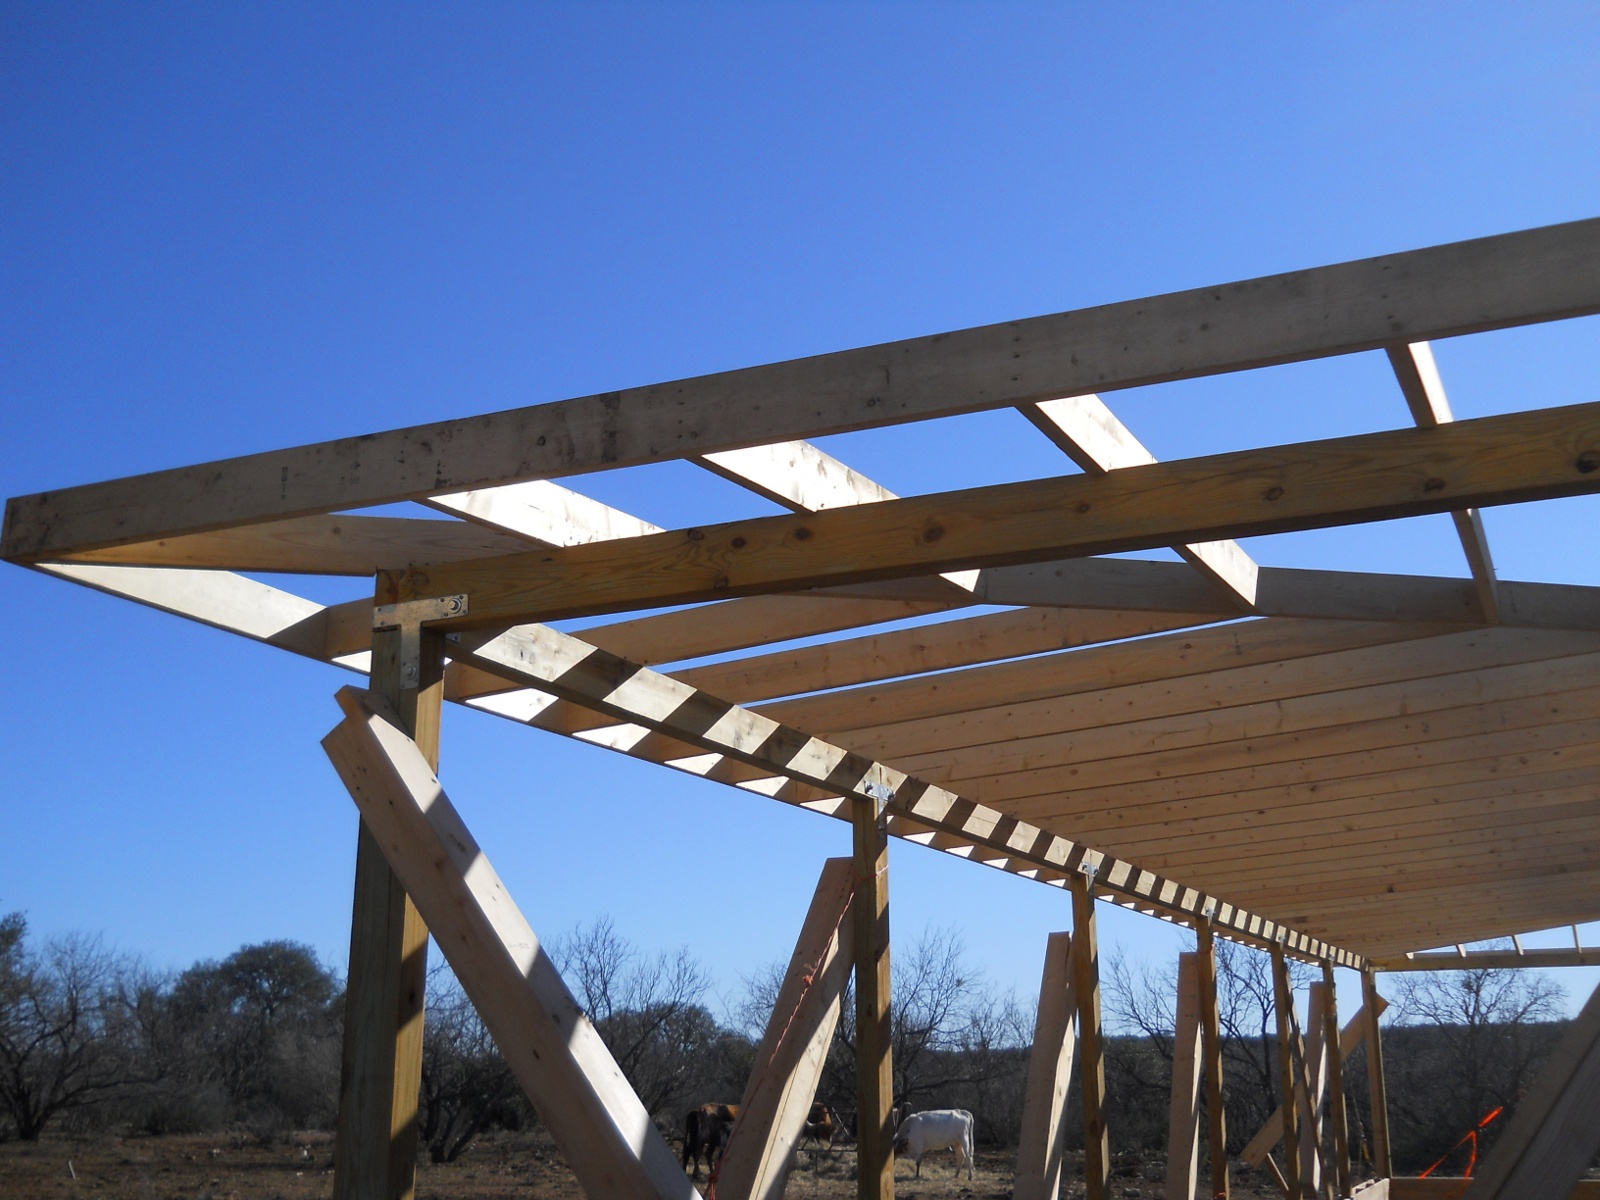
He also added some of the rafter hangers now in the corners to give them more support, as the hip rafter itself holds most of the corner weight:
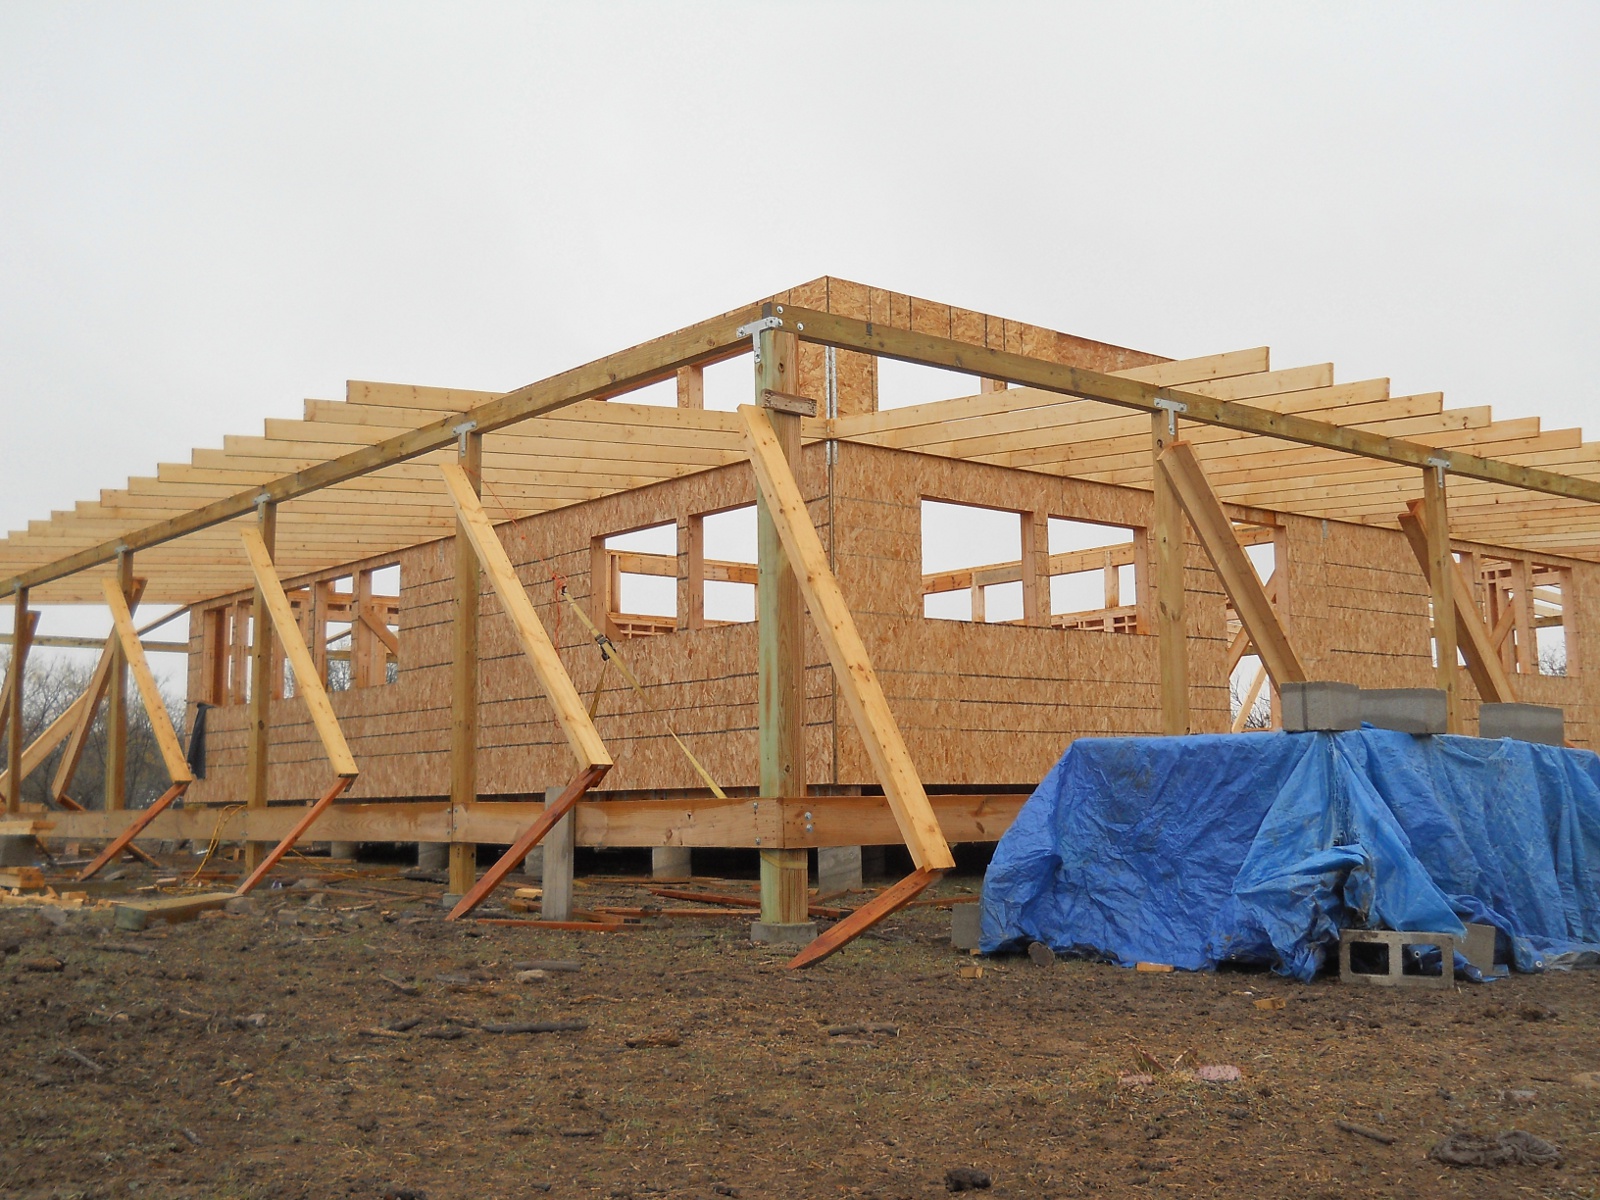
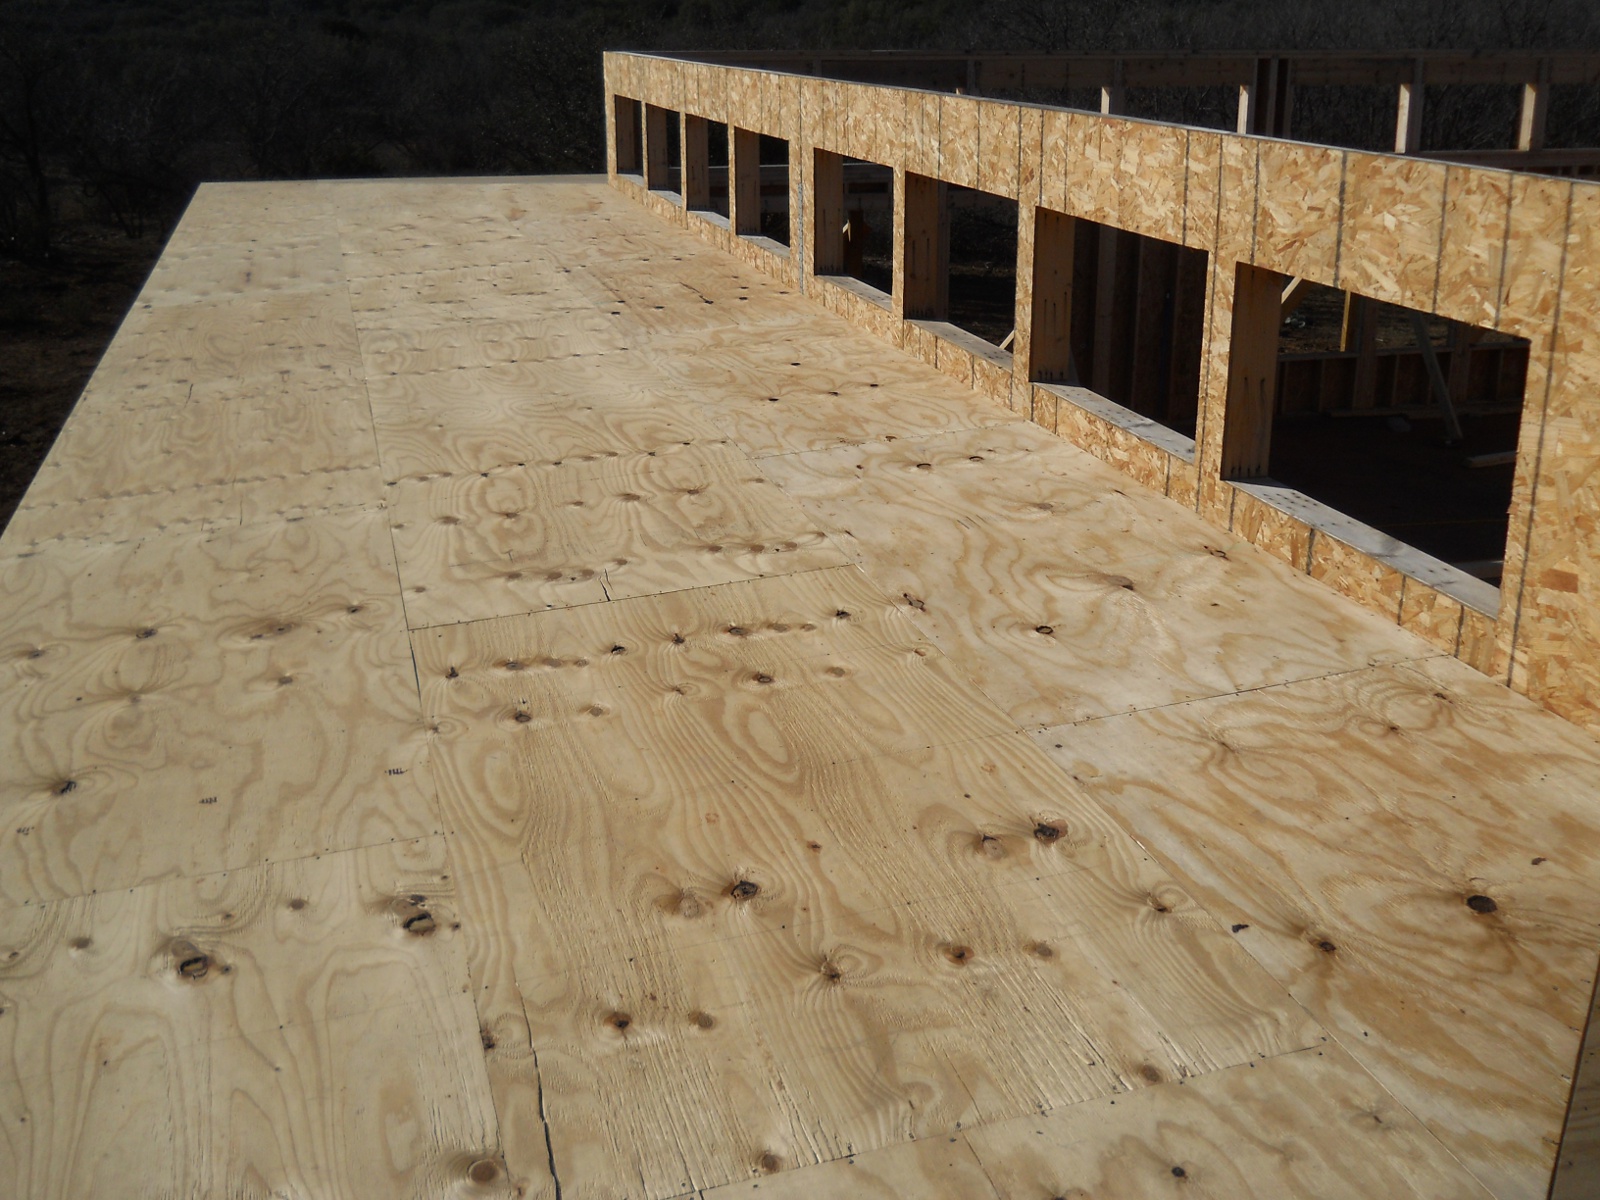
Once the rafters and face plate were built, it was time to add the plywood on top. It was recommended that we use actual (CDX) plywood, 1/2″ thick, rather than OSB, as the CDX will stand up to weather better, and the underneath of the plywood at best will be painted only (and maybe not even that):
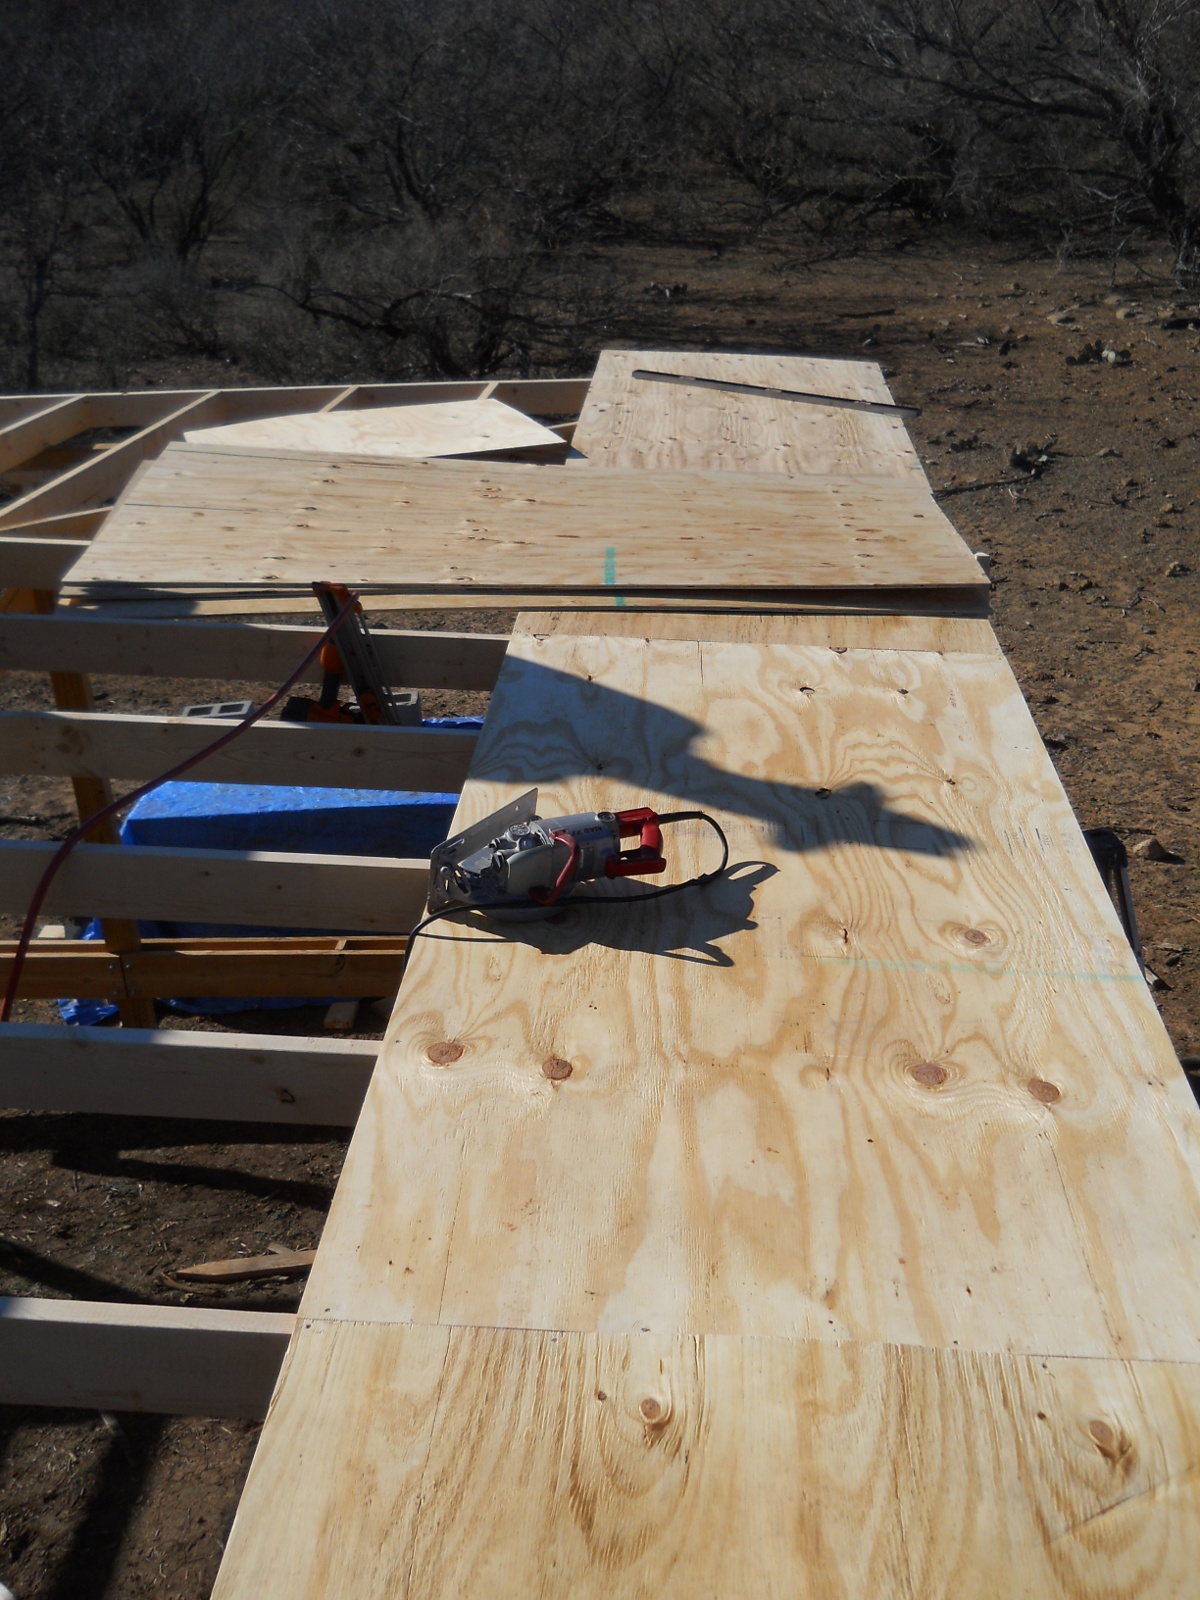
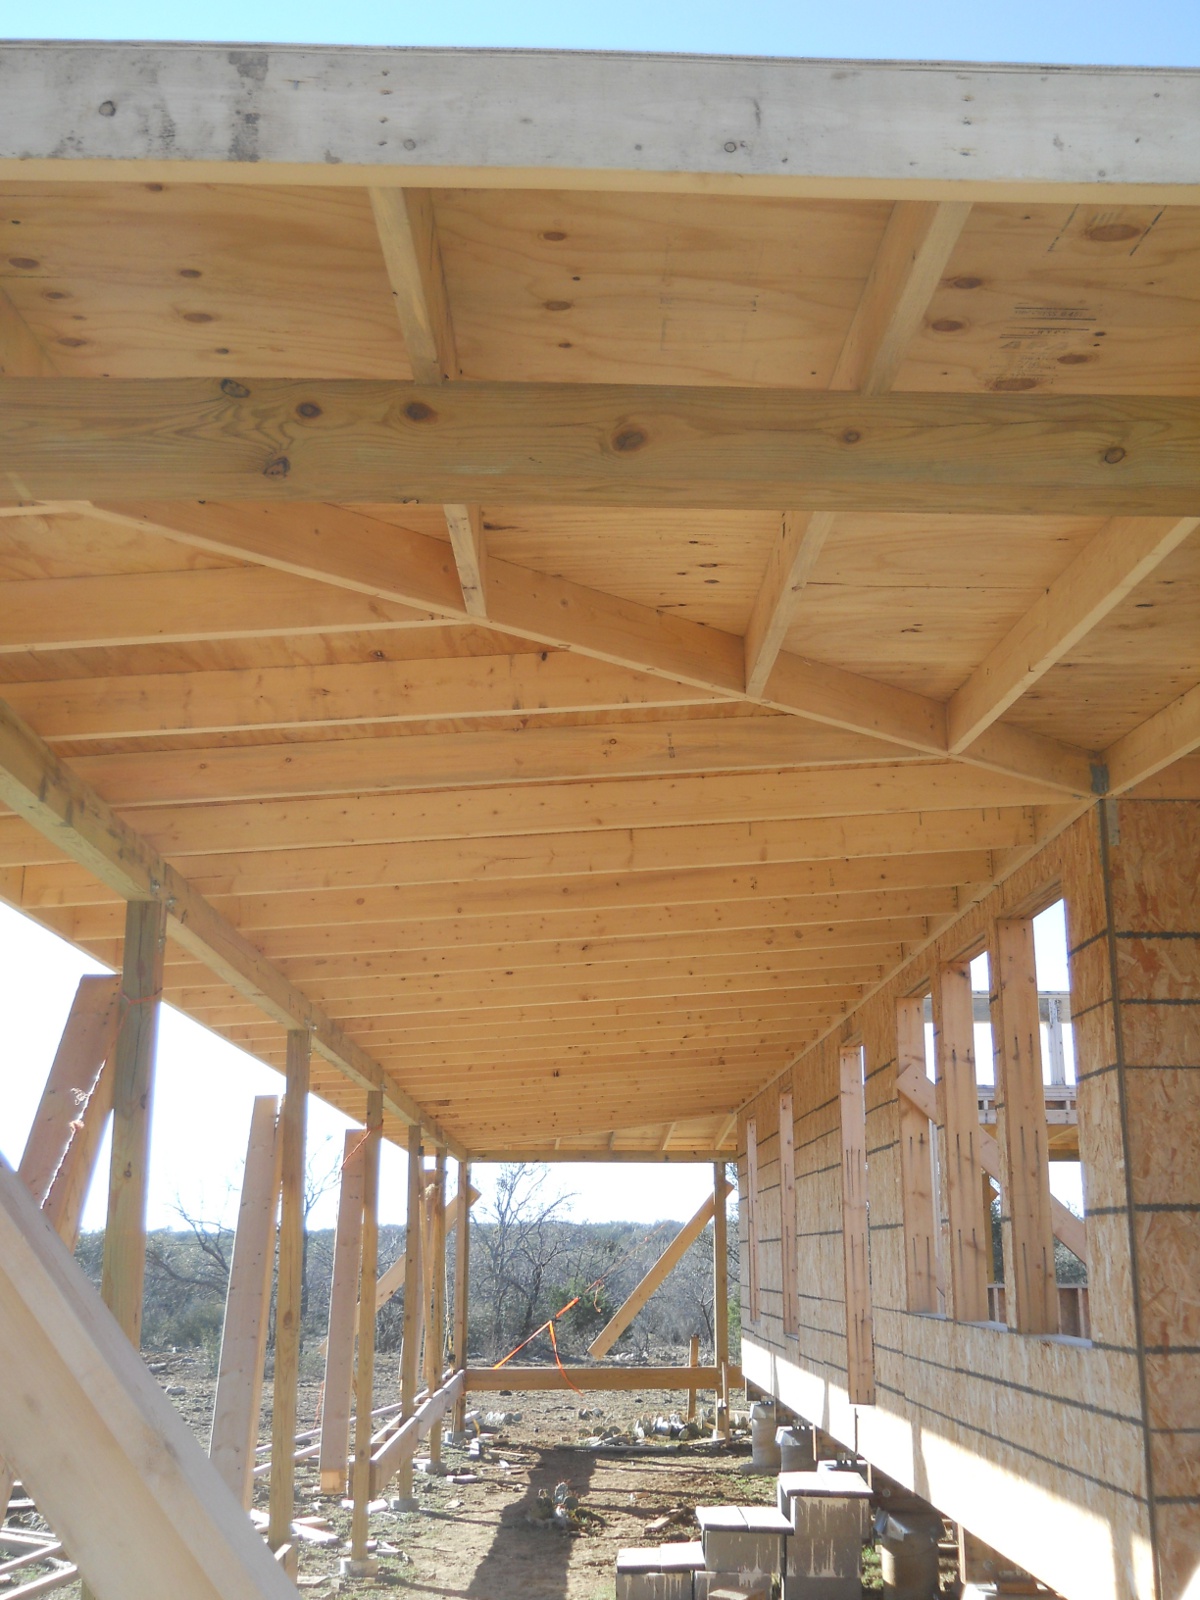
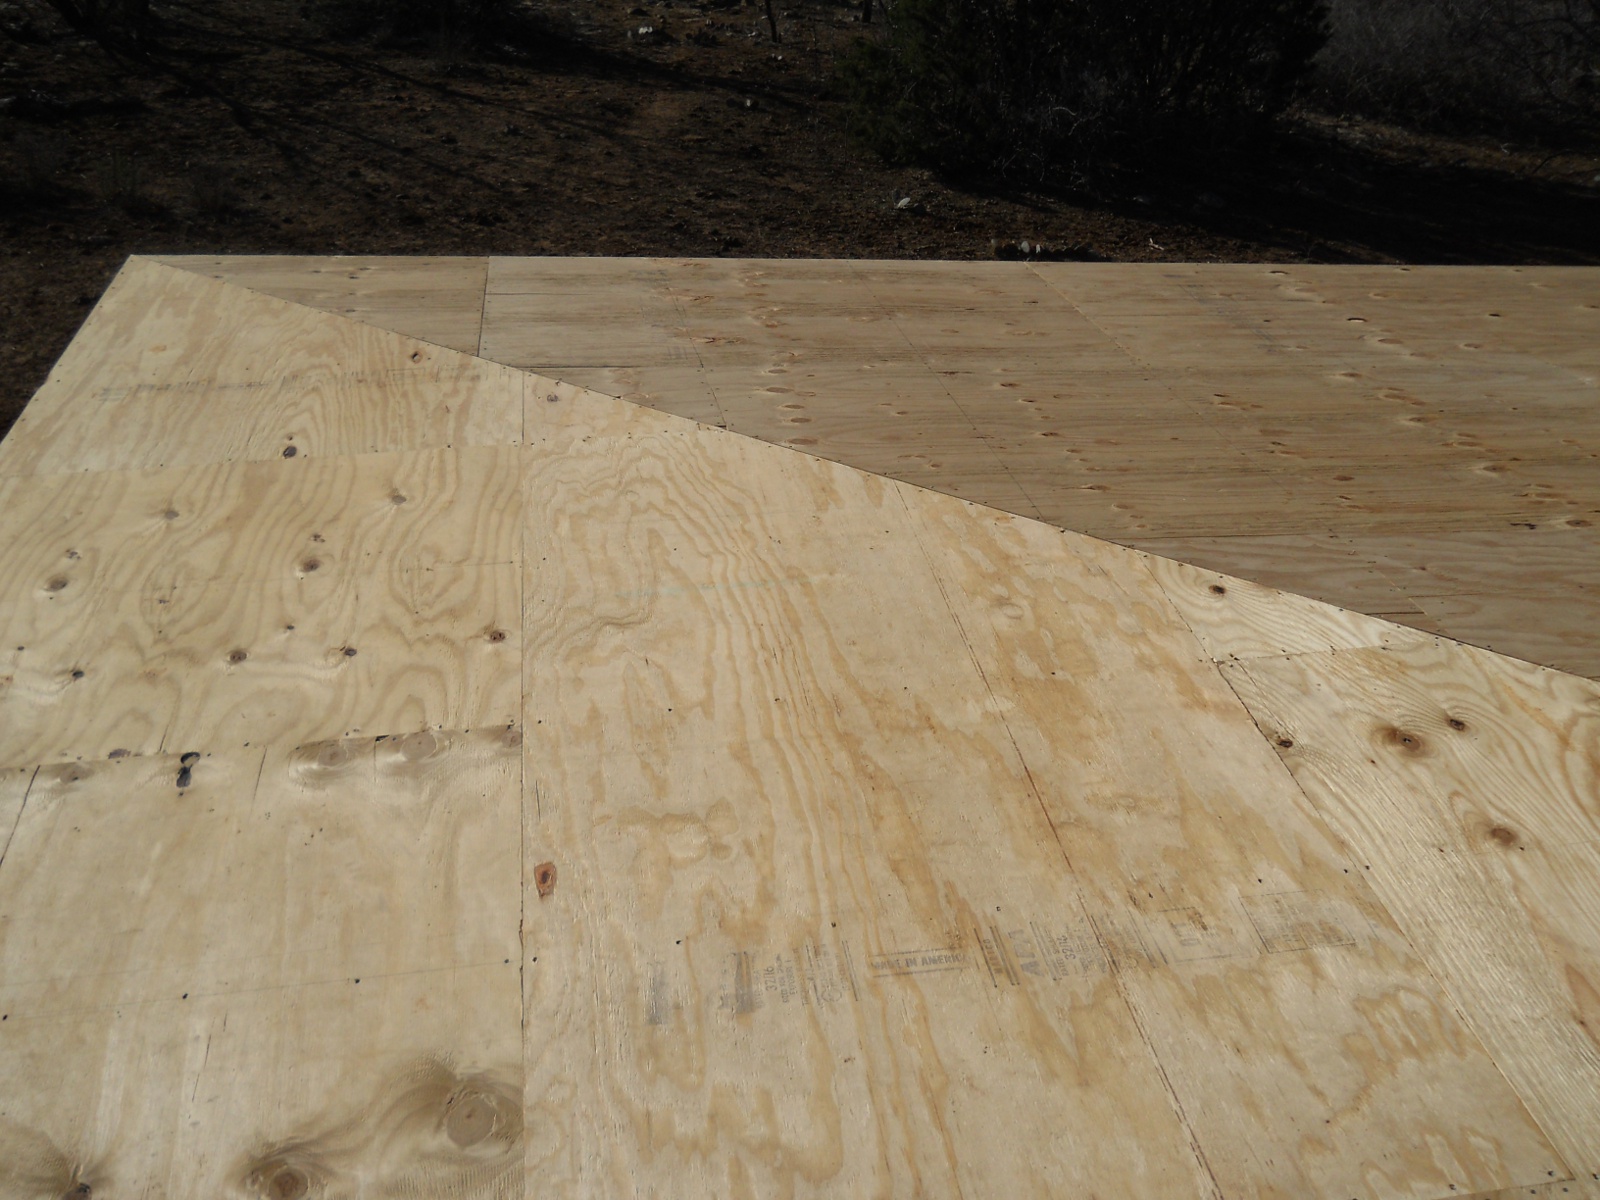
And here are some pictures of all of the plywood installed:
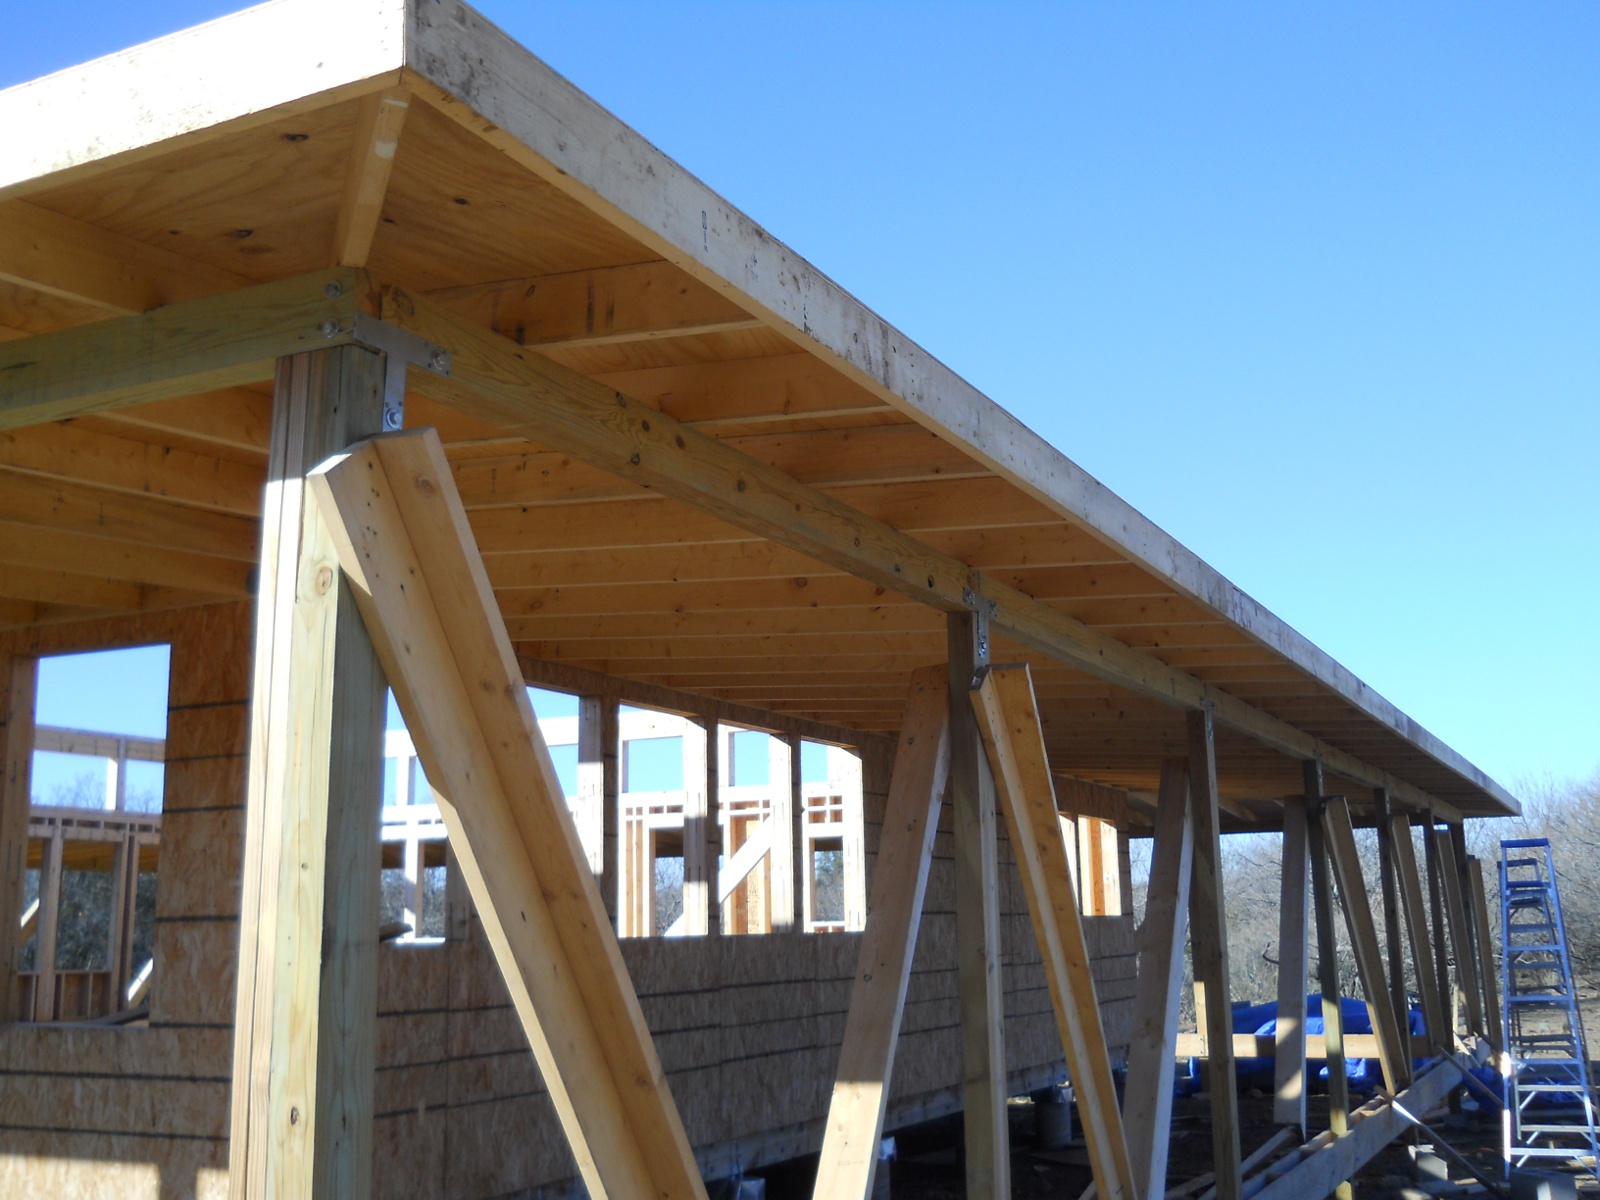
Here’s how the hip corners look from the top:
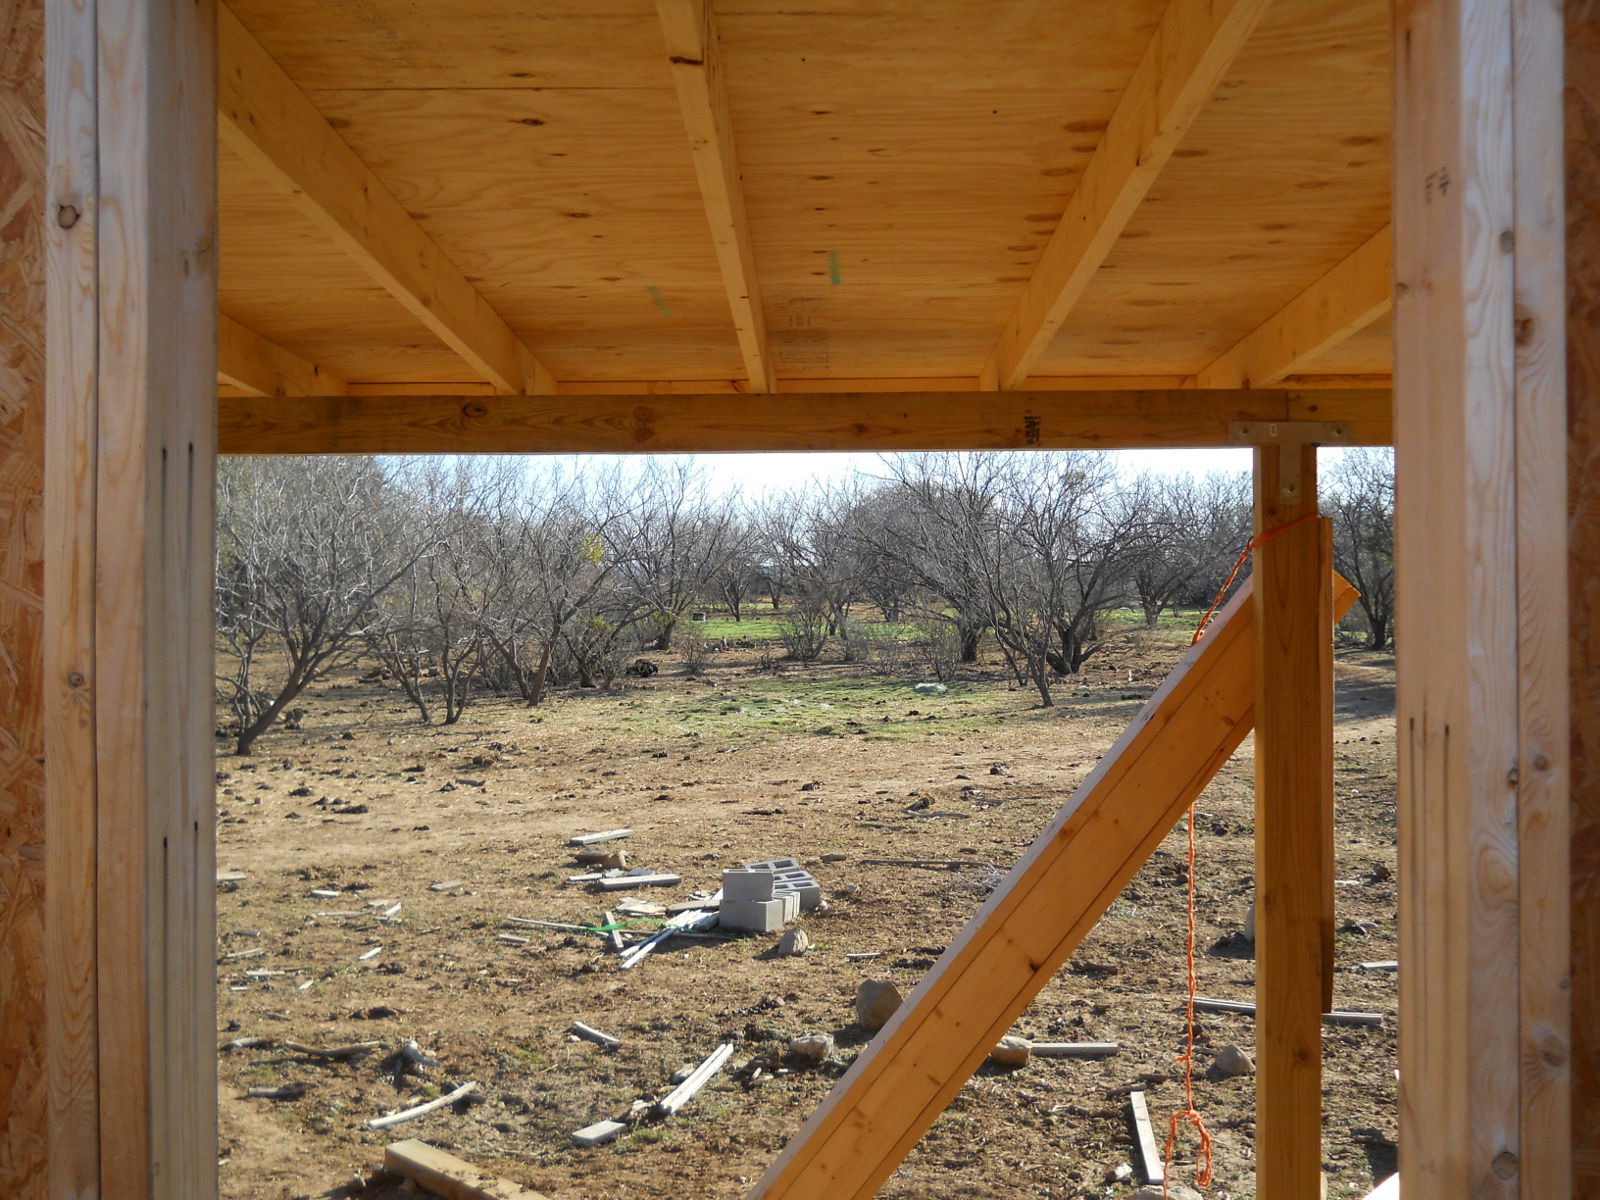
It’s been a long time since this whole house project started, and with being able to stand in the shade of the porch now, it’s starting to feel like a house. It’s also starting to get a little more exciting; but we’ve learned out here to relax expectations, as most often things don’t go according to our plans (which, if we trust God and His plans, is a much better place in which to be!). This is the view out the front door:
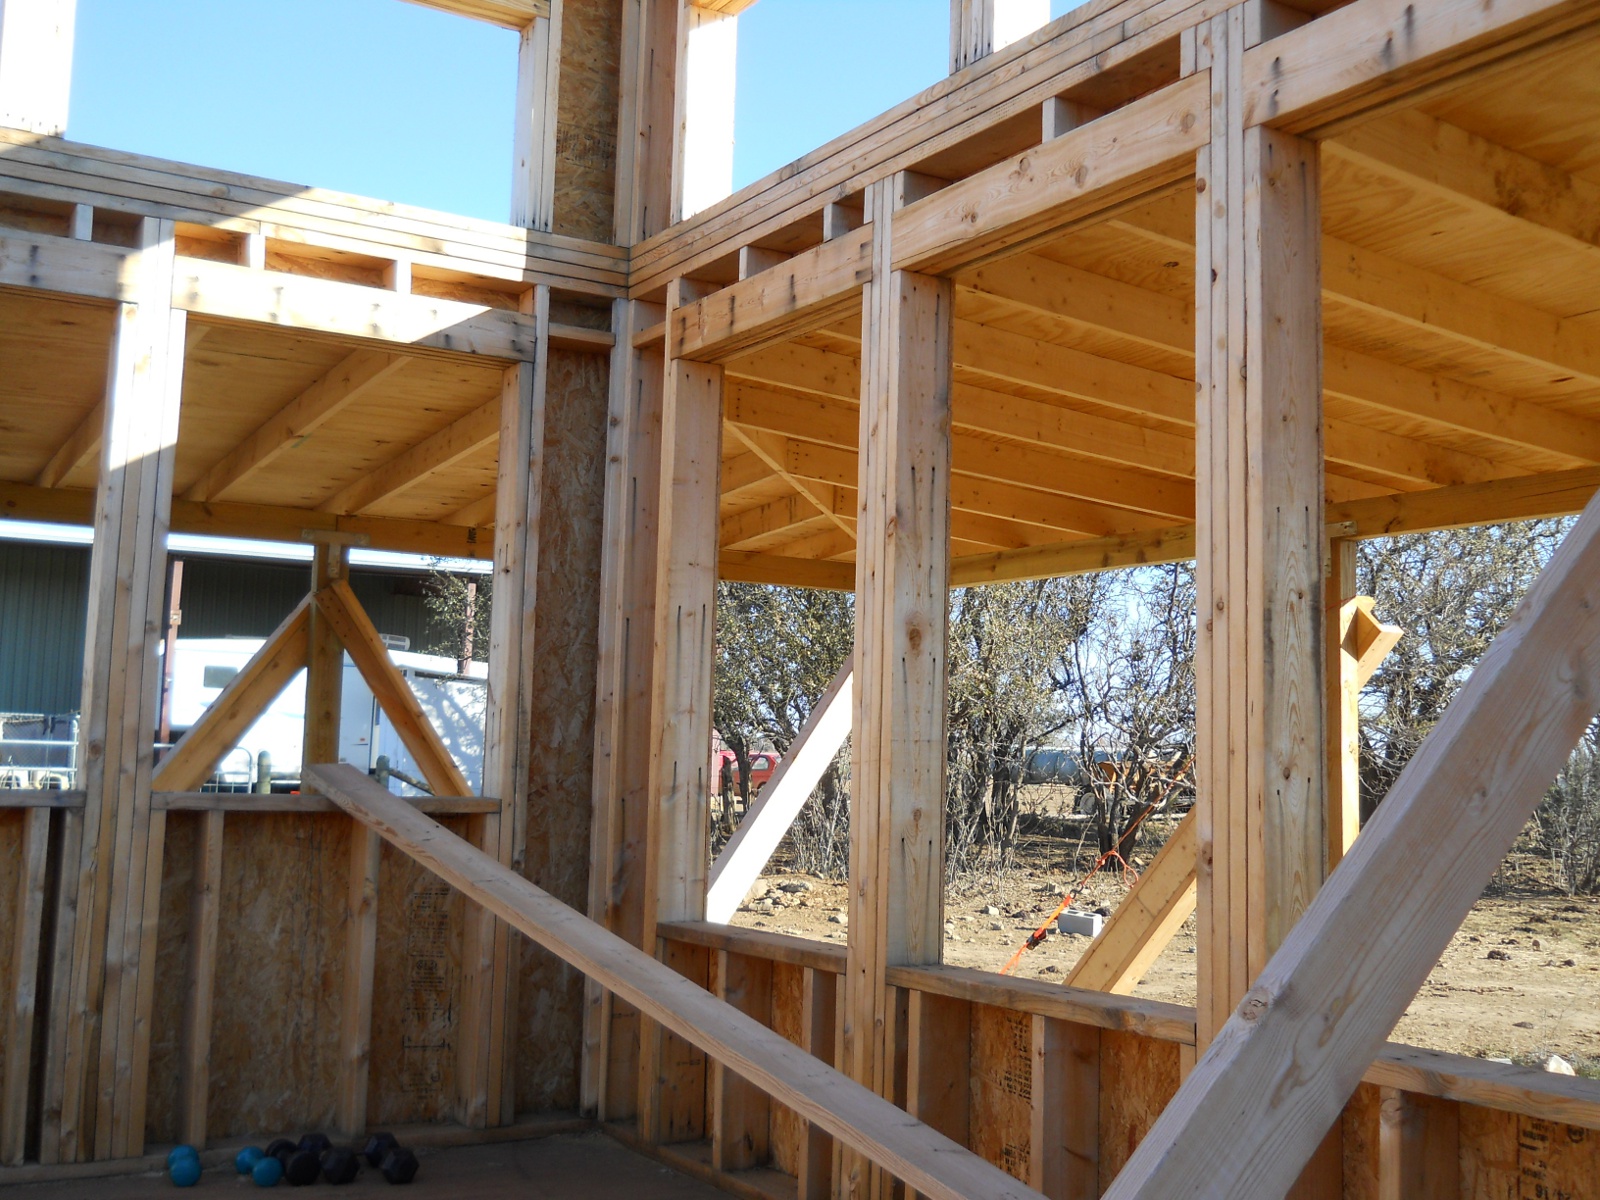
And out the great room windows:
And here’s a full external view of the porch roof:
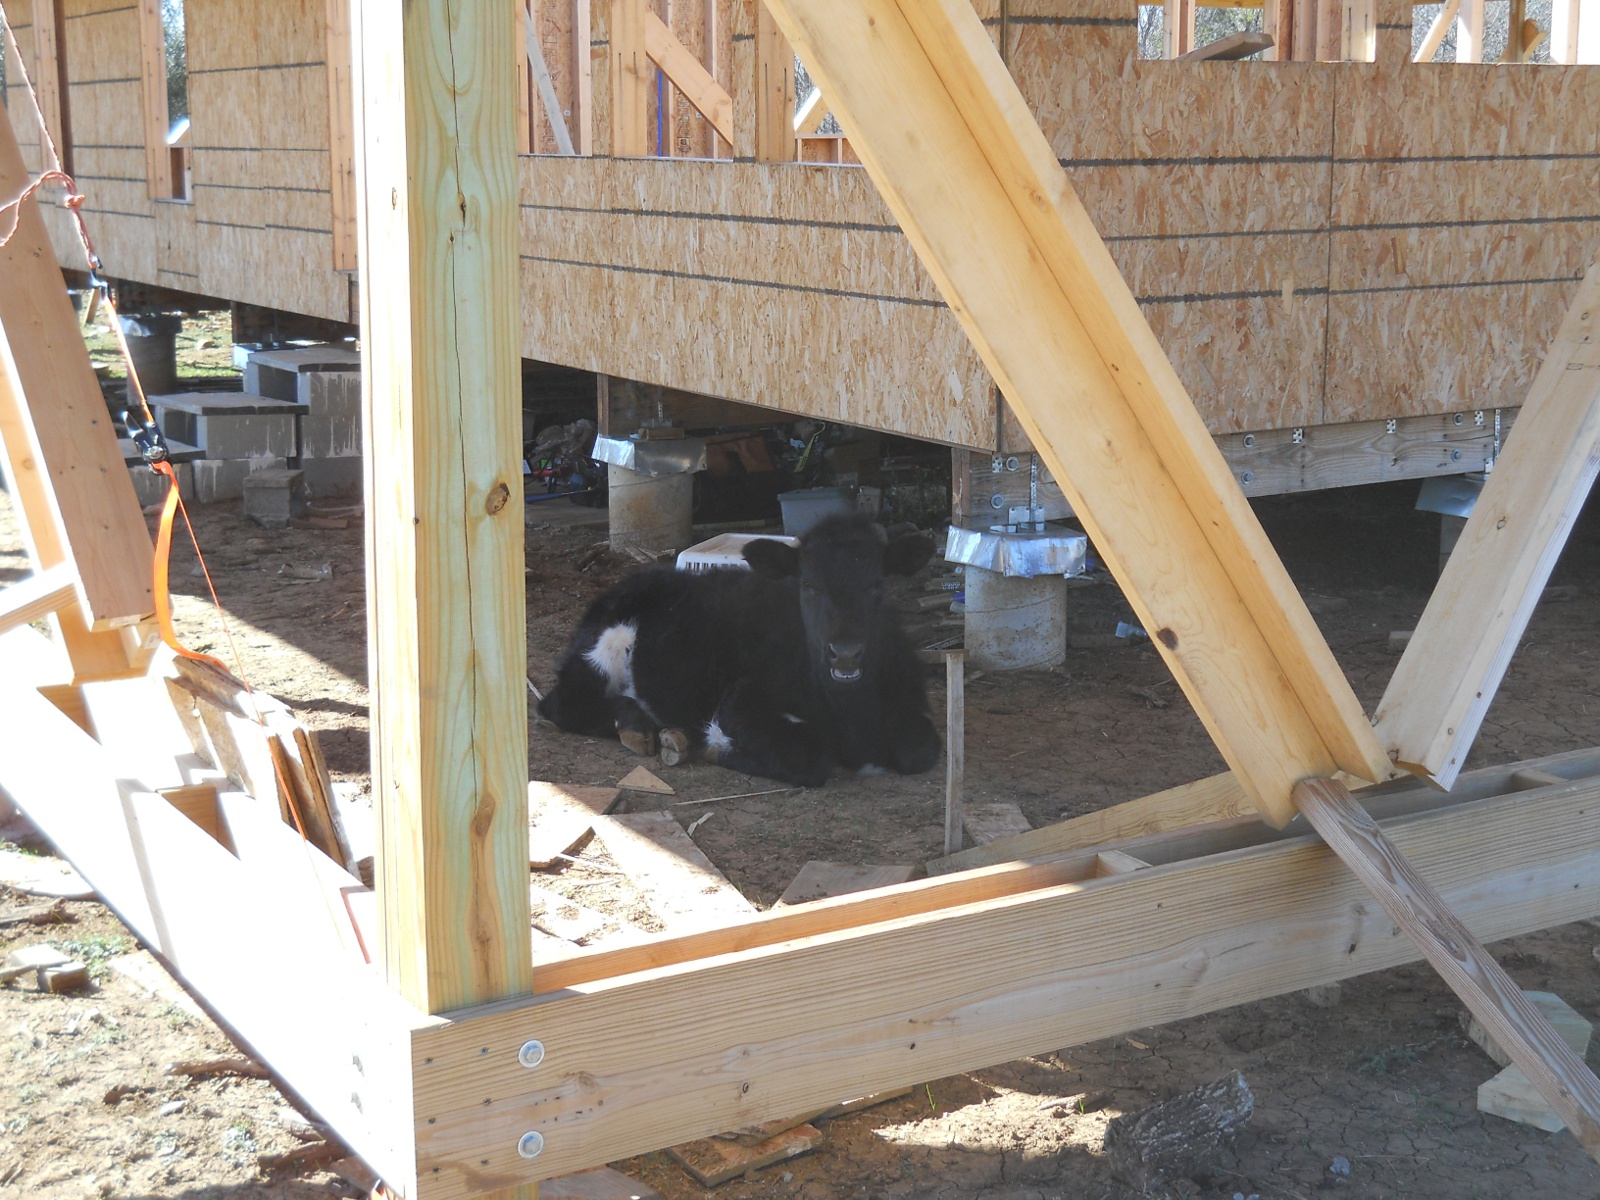
Here’s a calf enjoying the new shade too!
We are thankful to the Lord for allowing continued progress on the house, and for the help in Mr. Gurau and his expertise.
— David
Thanks for sharing your awesome porch roof project and details about its construction. Praise God for His provision of materials, knowledge and help in construction!
Is that calf hinting for a shaded porch on a calf shed of it's own? Ha! Cute picture.
God bless your further progress!
Beth
Hi Beth,
Yes, we are grateful for God's provisions. Thanks for saying hello, and for the blessings.
— David