Our journal of what we pray is our sojourn of life along the narrow way, even the old paths, submitting to the Bible as a light unto both.

Category: agrarianism (Page 17 of 20)

Providence’s Perpetuation Provisions: Next Batch of Chicks 2013

At the end of our blog post on our first chick hatching of this year, I showed a broody hen in our mini tractor. Well, the Lord granted she sit on them to term, and she hatched out 9 chicks out of I believe 10 eggs!

And here they are, several weeks later. We had to move them to one of the summer kitchen pens because they were getting too big for the mini chicken tractor, and then the ants kept invading as well:

Second Chick Hatching of 2013 in Summer Kitchen

But, by the time I took that picture, they were getting almost too big for the summer kitchen pen, so I believe it was that same evening of the day I took that picture that I moved them out into the chicken pen area, which gives them more room and the opportunity to start doing chicken things on the outside, in the dirt and hopefully eating bugs:

Second Chick Hatching of 2013 in Chicken Pen

And here is their video:


And a couple of weeks ago, another hen went broody, and here she is, waiting patiently; and the chicks are due to hatch out in a day or two!

Second Chick Hatching of 2013 in Chicken Pen

We are very thankful to the Lord for granting the provisions of these new chickens, and we pray for a healthy hatching for the next broody hen in just a couple of days, Lord willing!

— David

Providence’s Perpetuation Provisions: First Chicks of 2013

Back in late March, one of our australorp hens went broody, and 3 weeks later, by God’s graces, she hatched out I believe 9 out of 12 eggs (11 were fertilized, but two of the young ones either died pretty quickly or didn’t make it out of the shell), and she raised the others very successfully! She hatched them out originally in our chicken mini-tractor, and then we moved them into the summer kitchen where we had our chicken nursery last year. Finally, just recently, I moved them to the chicken pen. As I mention in the video below, a few of them started getting sick in a day or two after moving them to the pen, and sadly, one died. I started feeding the other two that didn’t look well a little elixir the Lord granted I come up with — using an at least 3cc dropper, fill it with 1/4 cc angrstrom silver, then up to just past 1.5 cc’s with egg yoke, and up to 3 cc’s with goat milk (I did 2 1/2 for these little ones; rinse it down with semi-clean water — and they appear to be doing much better, thanks to God.

And here they are about 6 weeks into it:

First Chicks of 2013

And here’s a little video, that includes the mother hen:

And maybe 12 days ago, another autralorp hen went broody, and here she is in the mini-tractor:

Next Broody Australorp Hen

We are very grateful to the Lord for granting this provision of being able to continue the flock, and we pray they are used for His glory and the benefit of His Church.

— David

Hugelkultur Garden Beds

One of the garden bed methodologies we’ve learned about is hugelkultur. Generally, this involves burying (below and/or above ground) tree materials, like stumps, trunks or even branches, under your garden soil. Apparently, as the tree material rots, it also becomes very absorbent, and is supposed to help with holding moisture in the garden bed. There is lots of information and videos about it on the Internet, but here is our first attempt at doing one of these. Since we’re observing a land sabbath and aren’t growing gardens or crops this year, I definitely wanted to start on these while I had extra time.

I decided to just locate the beds as an extension of our main garden area, and here is the first level dug out. I thought using the dug-out dirt as a berm around the bed would help even make it deeper:

First Dug Out Level of Hugelkultur Garden Bed

After the first digging, in looking at it, and I think even trying it out by putting a stump in place, it just wasn’t deep enough, so I dug out another round:

Second Dug Out Level of Hugelkultur Garden Bed

Then, it was time to gather the wood material. For this first bed, I thought I’d go with larger items, and so I went around trying to collect old stumps and similar things:

Hugelkultur Garden Bed First Wood Stumps in Place

And here is the bed full. It was like a puzzle trying to place the pieces to fit as tightly as possible:

Hugelkultur Garden Bed First Rest of the Wood in Place

The plan was to then cover the bed with mulch. I had originally wanted to fill the entire thing with sifted mulch, but realized that was going to take a lot of effort for probably not much gain, since I could fill the bed up leaving 8-10 inches at the top with the wood-chips mulch we get from the landfill, and then sift from there, which is what I did. This is the mulch in place:

Hugelkultur Garden Bed Wood Chips in Place

And then the sifting process. I used that long board across the bed for sliding the mulch sifter back and forth:

Sifting Mulch on Hugelkultur Garden Bed

And here it is complete!

Hugelkultur Garden Bed Complete

Lord willing, I hope to add another bed in front of this one.

Composting

We had recently discovered that the area all around our goat sheds, where we put the hay and goat “evacuations” cleaned out from the sheds, with rain water collecting there, and over time, was composting nicely into this fine, fluffy dirt. Some time ago, we were given a composting container; and so I figured, since this goat material seemed to compost well, it was time to get that process going; and here is the container set up, and then a look inside. The container has holes on the sides and the top and bottom pieces:

Compost Container
Composting Material in the Compost Container

We thank the Lord for granting us the opportunity to continue on the process out here of trying to grow our own food, and for hopefully new and beneficial ideas; and we thank Him for the physical strength and materials to do these things.

— David

Providence’s Perpetuation Provisions: Last Chick Roundup

When we last left our broody hens and chick-hatchings, we had just had another Austrolorp hen go broody, wondering if perhaps the Lord was not done in granting chicks this year.

And sure enough, we moved her into one of the little chicken pen areas in the piano room, and she hatched out somewhere around eight or so — Group 16!

I didn’t get pictures when they were younger and with their mama, and they have since moved on to our chicken pen area (which is our staging area for younger birds before going to the main chicken tractor), but here are a couple of them as they are now:

New Chicks 2012 Sixteenth Hatching in Pen Area
New Chicks 2012 Sixteenth Hatching in Pen Area Again

And a video:

We did have yet another hen start to go broody recently, but because of the difficulties in trying to bring chicks through the winter, we just pulled any eggs she was sitting on, and she eventually lost interest. I don’t like to do that, but we’ve had to try to take care of young chicks when it’s really cold, it it takes quite a bit of effort (you can see a little of what we had to do during the pretty bad cold-snap we had a couple of years ago.

Anyway, once again we are very thankful to the Lord for granting these provisions of the chicks throughout the year, and pray they are used for His glory and the benefit of His people.

— David

Providence’s Perpetuation Provisions: Chicks O’ Plenty

It’s been several months since our last blog post about all of the chicks the Lord has been granting us this year; and in that blog post, there were some in the pipe line, which the Lord graciously granted the hatching of more chicks! And He kept going and going….and we are very thankful for the abundance of these provisions!

And so, here we go……

We’ll call this one Group 7. This was the hen sitting on eggs in the garbage can at the end of the previous blog post:

New Chicks 2012 Seventh Hatching

And this is Group 8:

New Chicks 2012 Eighth Hatching

And here is Group 9:

New Chicks 2012 Ninth Hatching

And here is the one chick that this hen hatched out (Group 10). She diligently kept sitting on the eggs, for some time, but this was the only one meant to be:

New Chicks 2012 Tenth Hatching

One day I was around the chicken pen, and a hen strolled up behind it with 15 chicks in tow! Wow! What a surprise that was. Come to find out, she had hatched them out in a stack of square bales of oat hay we had:

New Chicks 2012 Hay Bale Nest

And here those chicks are after we were able to catch all of them (Group 11):

New Chicks 2012 Eleventh Hatching

This is Group 12:

New Chicks 2012 Twelfth Hatching

With the single chick from Group 10, I had tried to put it in with other groups of chicks around his size, but he kept getting picked on and was basically running around scared, and didn’t appear to be eating or drinking. And so, I thought I would put him with a mother who was close to hatching some out, so he would be larger than them, and then hopefully would learn to adjust to being with other chickens. That was about a week before the hen was due to hatch out her clutch. Well, all putting him in there with her did was bring her out of her broodiness — I guess she figured she had hatched one out when I put him in there; and so, she ended up hatching out none of hers. He is in the next picture with her.

What I ended up doing was when they were old enough, I put him in with those 15 rogue chickens that were hatched out in the hay bales, after pulling the mother hen; and he did very well in there, being a little bigger than them all:

New Chicks 2012 Eighth Hatching Chick with Other Mother Hen

Next is Group 13:

New Chicks 2012 Thirteenth Hatching

And group 14:

New Chicks 2012 Fourteenth Hatching

And then one day, another hen rolled out of the woods with a chick in tow; and here they are, just the two of them (Group 15):

New Chicks 2012 Fifteenth Hatching

Finally, here is a video recap of all of these latest hatchings:

But wait! Perhaps the Lord is not done…the Australorp in front in the right nest started acting broody yesterday:

Another Broody Australorp Hen

Wow! God has been very gracious in granting these provisions. Although several died, most of the hatchlings have made it through to now. We have found the Australorps to be great sitters, most of them sitting at some point, hatching out eggs, with some doing more than one round. We are grateful for the sitting hens, and the new chickens, and we pray God glorifies Himself through the granting of them.

— David

Providence’s Perpetuation Provisions: New Piglets of 2012

It’s been over a year since we did our last animal update on our pig Pebbles. As you can imagine, she has grown up quite a bit; and so, it was time to continue our normal cycle and get her a mate. We bought a medium-sized male from Mr. Bunker, and of course, had to call him Bamm-Bamm.

Here are Pebbles (left) and Bamm-Bamm (right) back in May:

Pigs Pebbles and Bamm-Bamm

And again, Bamm-Bamm (left) and Pebbles (right):

Pigs Bamm-Bamm and Pebbles

We thought, based on “action” we saw from the two that she was about ready to give birth late-April or so, but it ended up two estrus cycles past that.

And by God’s graces and mercies, she successfully gave birth! — a litter of nine, with two dead, and one little guy that just could never get walking properly, and he died as well.

After last year’s difficulties with Pebble’s mother’s delivery, we were really praying this one would go more smoothly; and the Lord was gracious in granting that to be so; and we are very thankful!

Here they are not too long after being born:

New Piglets 2012
More New Piglets 2012

And here is a video of the journey of Pebbles and Bamm-Bamm, from meeting last December to piglets in June (it’s a little long, but to me, kind of fun to see the progression). Bamm-Bamm has since been “processed” as our food provisions:

We are very grateful to God for granting these new piggies to be born, for the safe delivery for Pebbles, and for the meat from Bamm-Bamm we have been able to store away.

— David

A New Bee-ginning

After building a top bar bee hive a couple of years ago or so, with the drought last year, I figured then wasn’t the time to try to start a bee colony. But, after the winter rains we had, I became hopeful for this year; and so, I ordered a package of bees from R Weaver Apiary in Texas. I decided to purchase the standard Italian bees, and have the queen marked (so we could track her more easily) but with her wings not clipped, as I read that it’s possible the colony can interpret the clipped wings as damage to the queen, for which they will kill her and make a new one.

Beforehand, I had to decide on and prepare a location for them. I wanted somewhere in the wooded area farther from the open fields and the cold north winter winds, under oak trees for summer shade, with hopefully a view of the southern sky for possible winter sun; and then I wanted to fully enclose them in so as to further protect them from winter north winds and also various animals (like our cattle and also, hopefully, harmful critters).

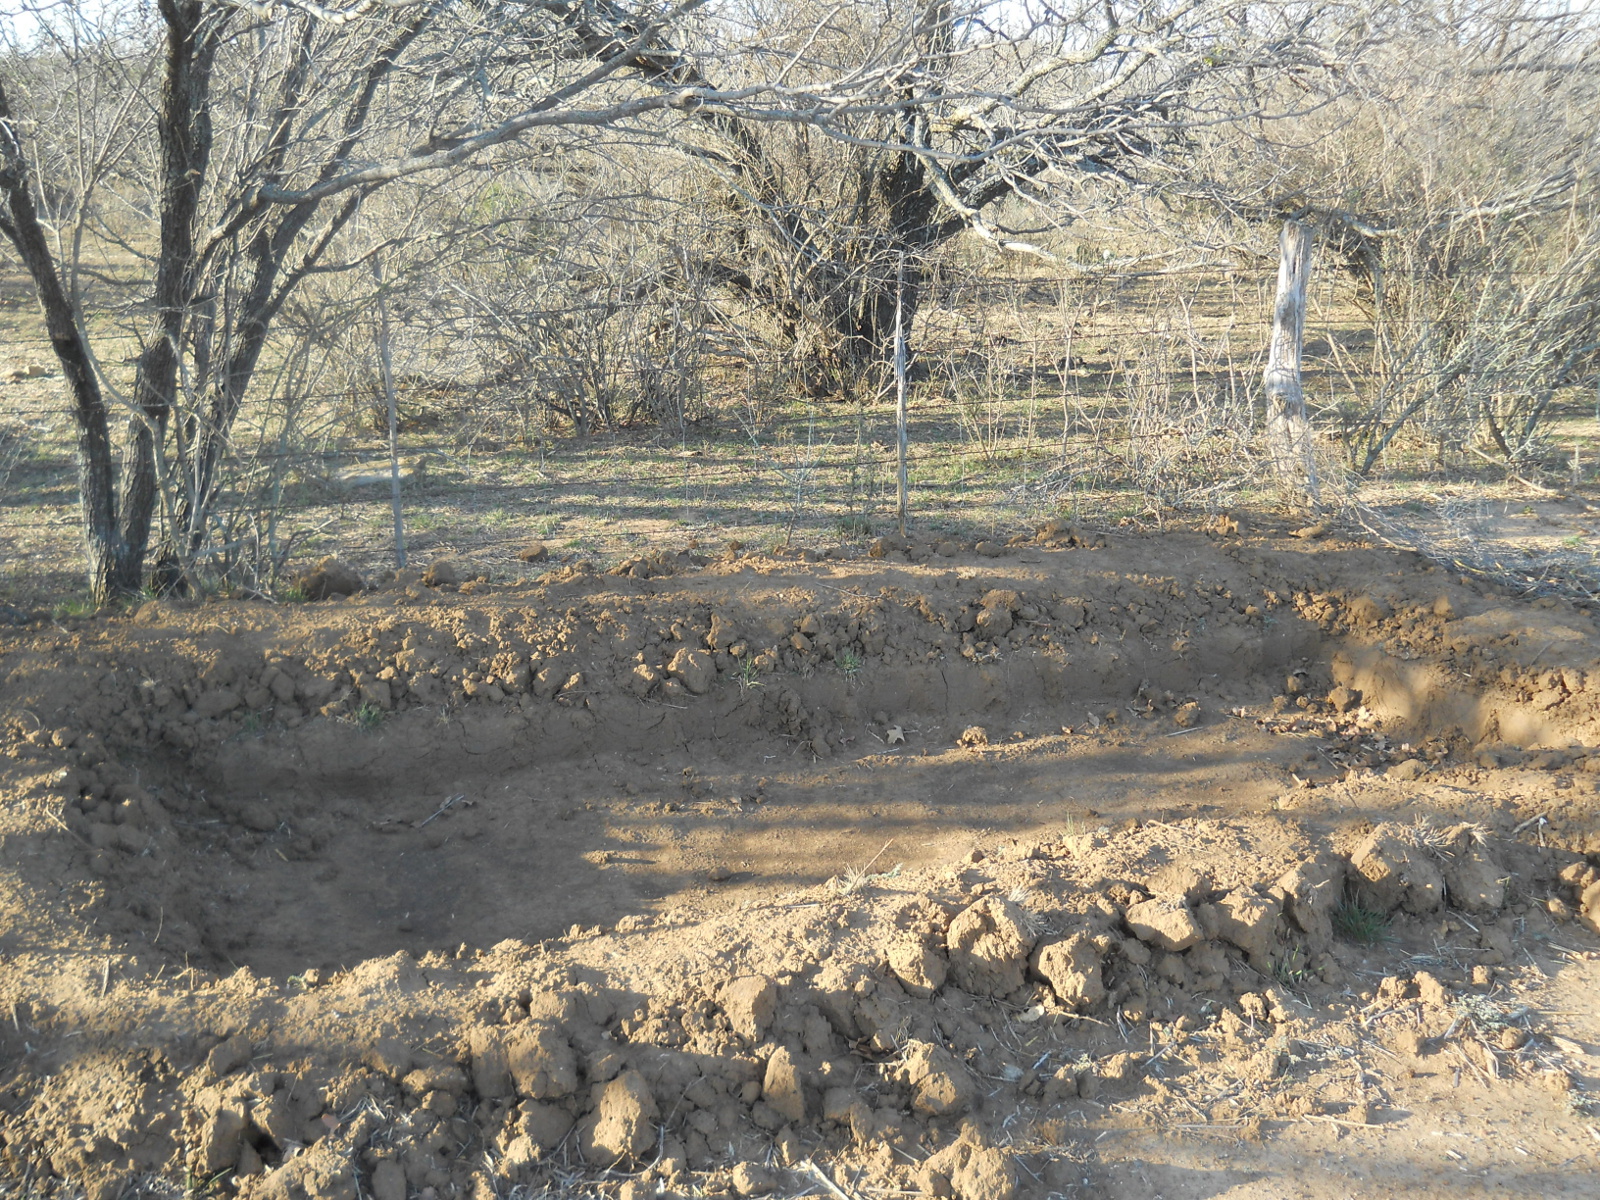
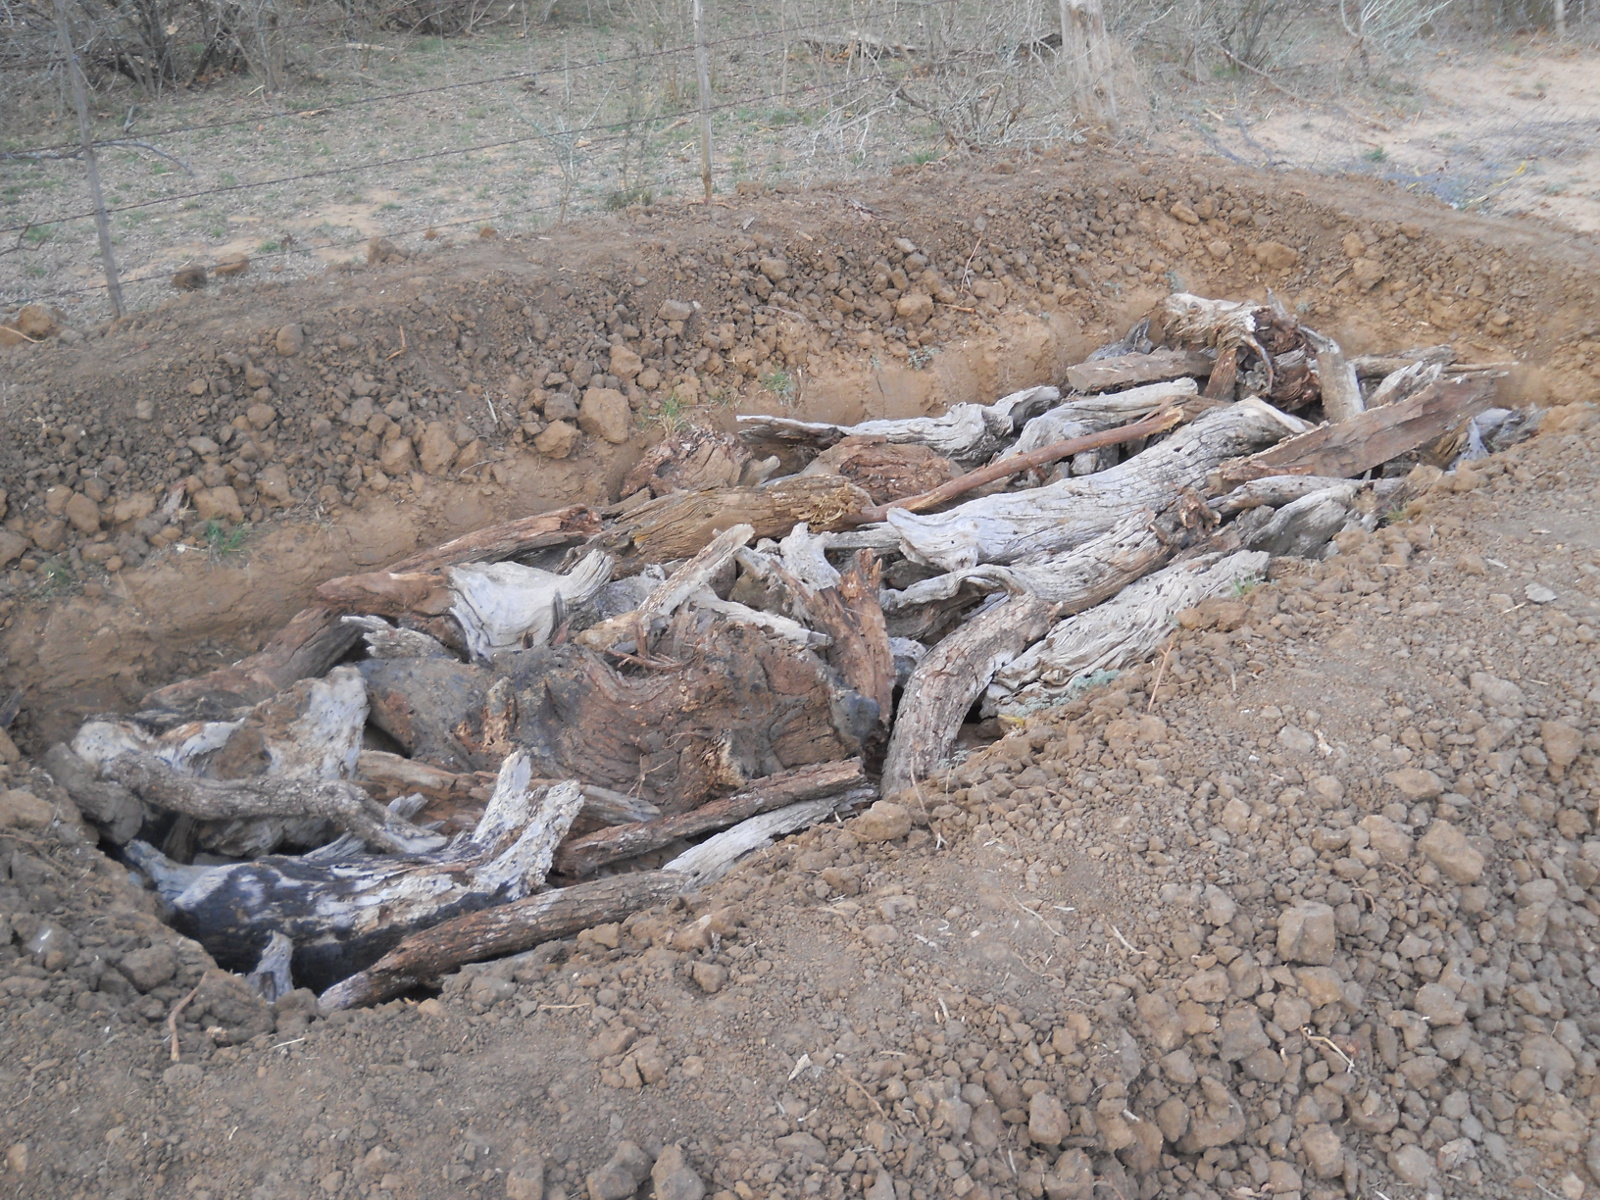
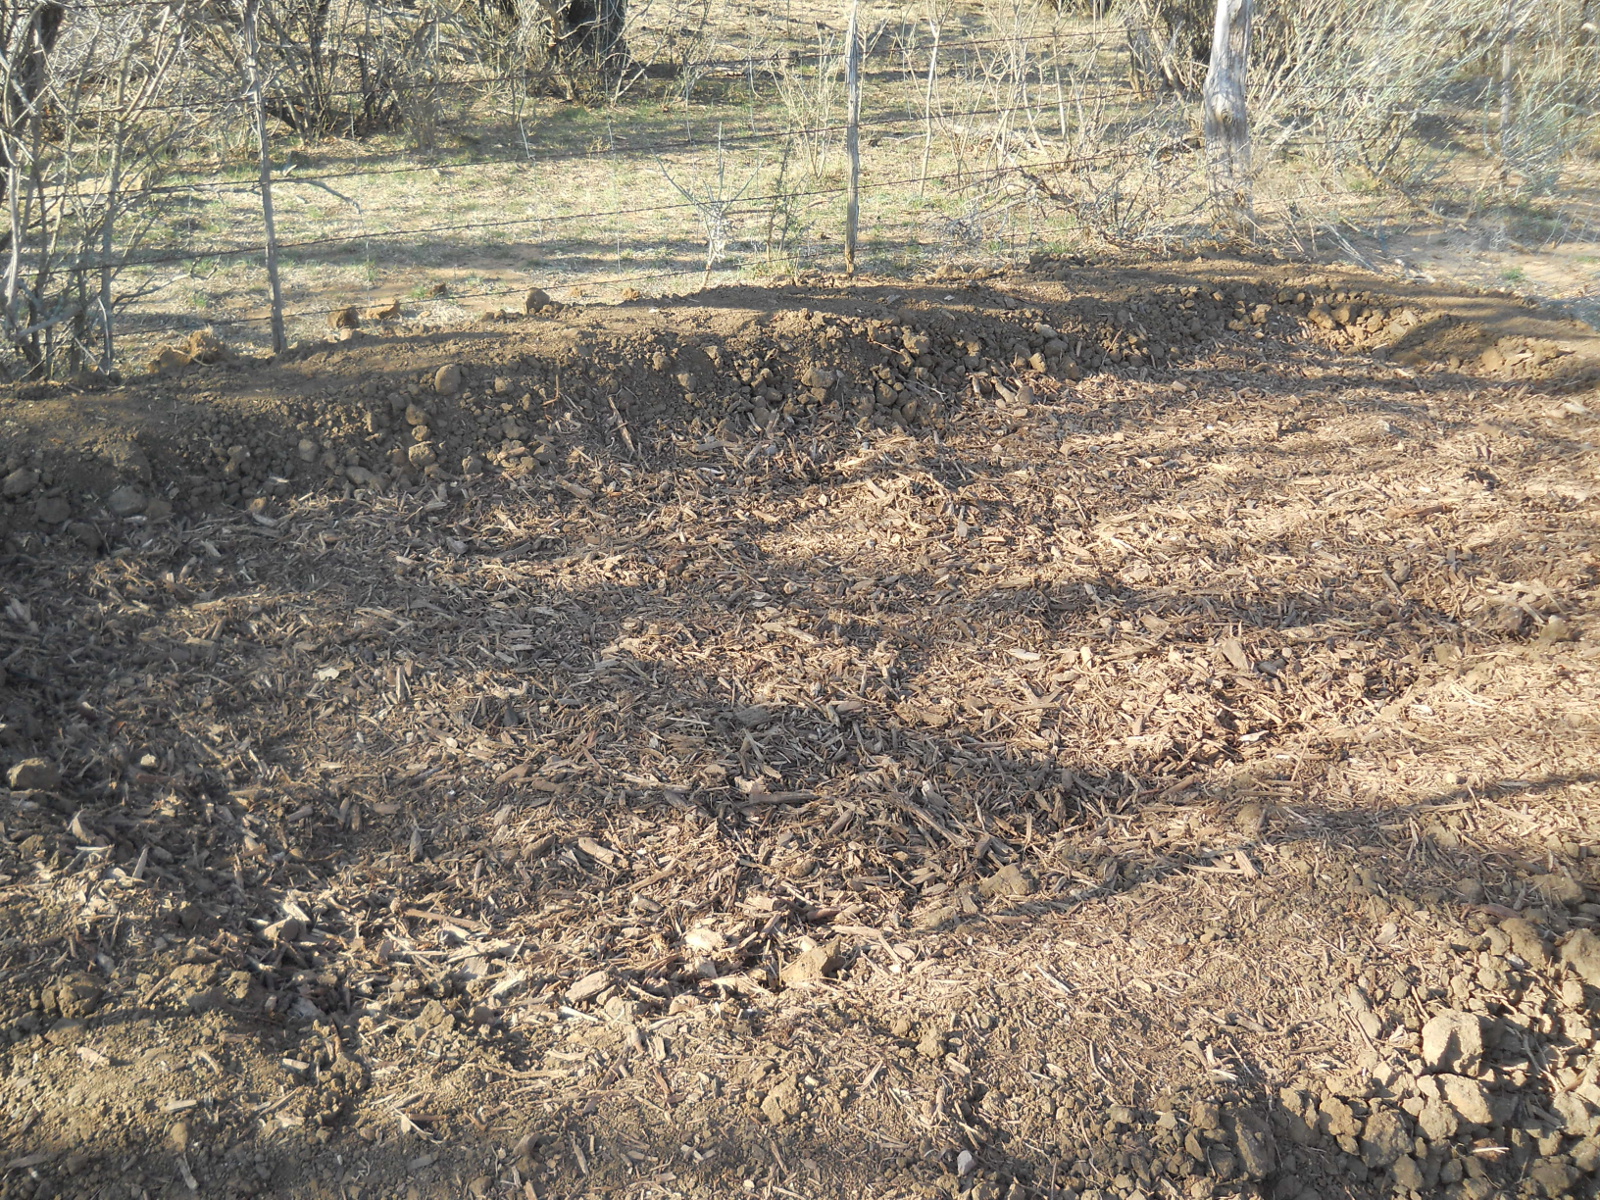
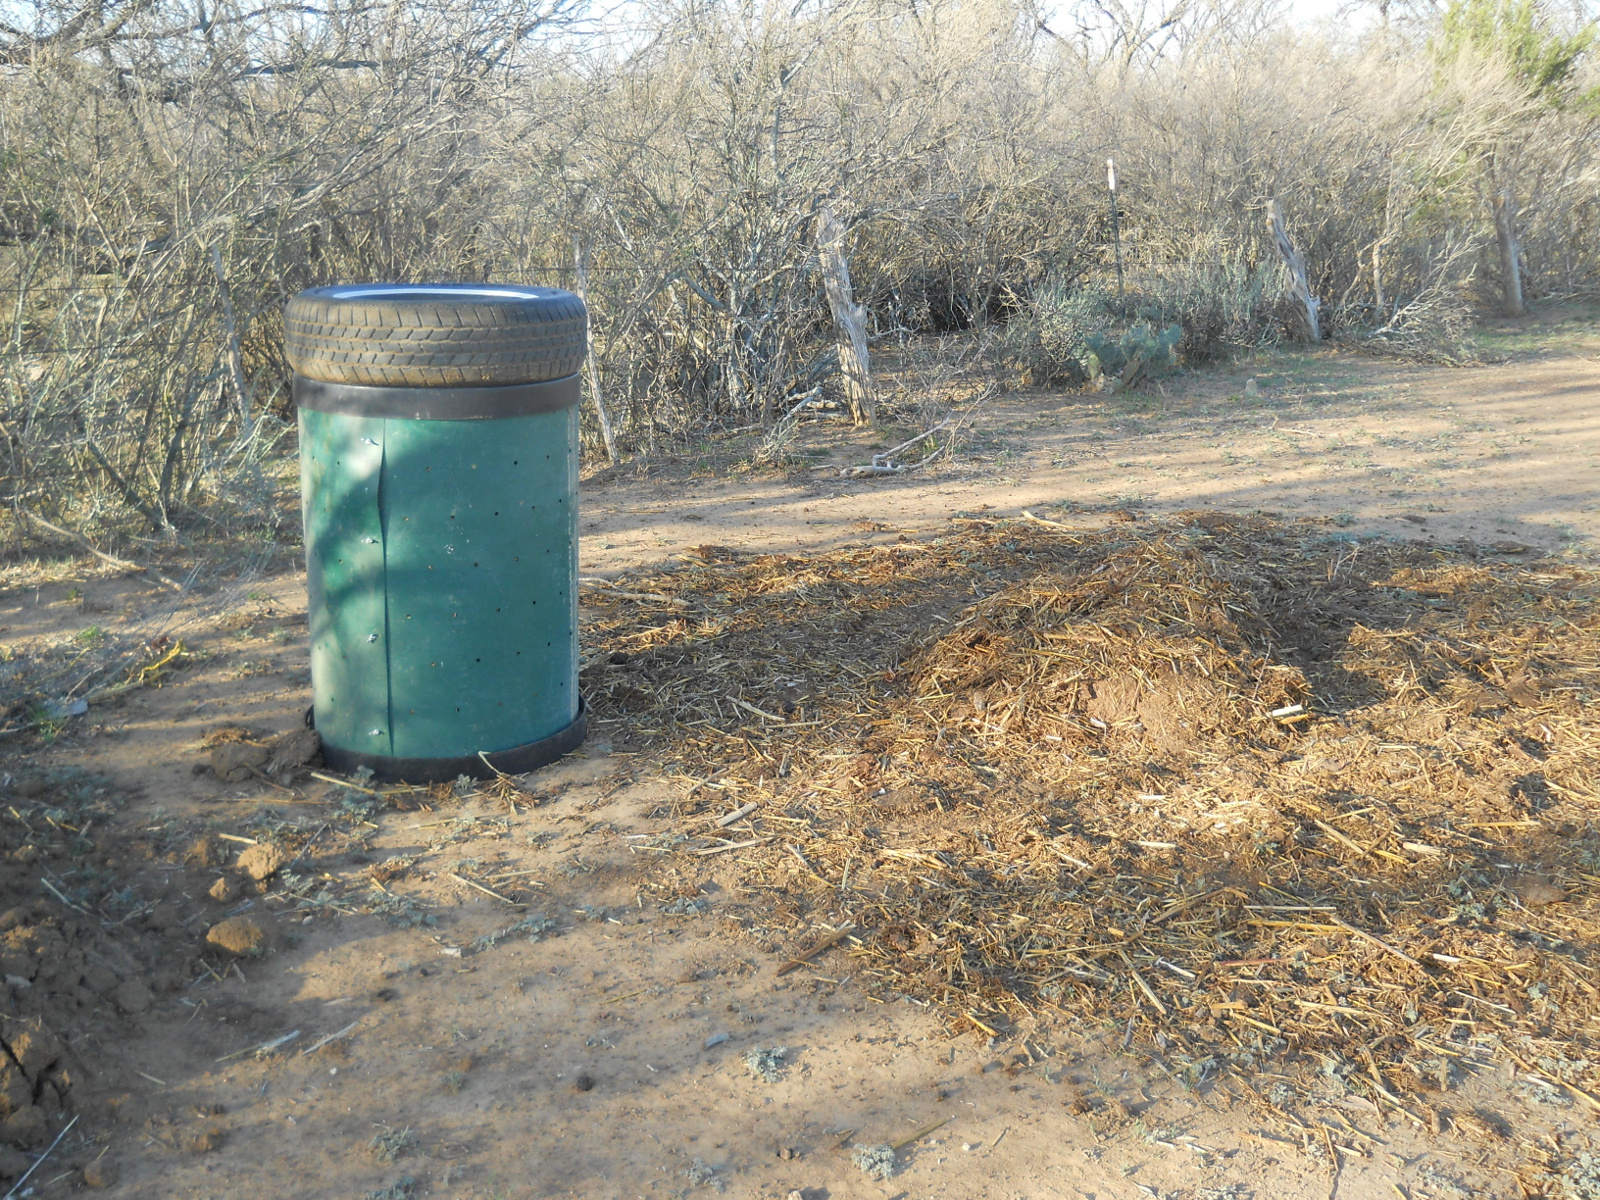
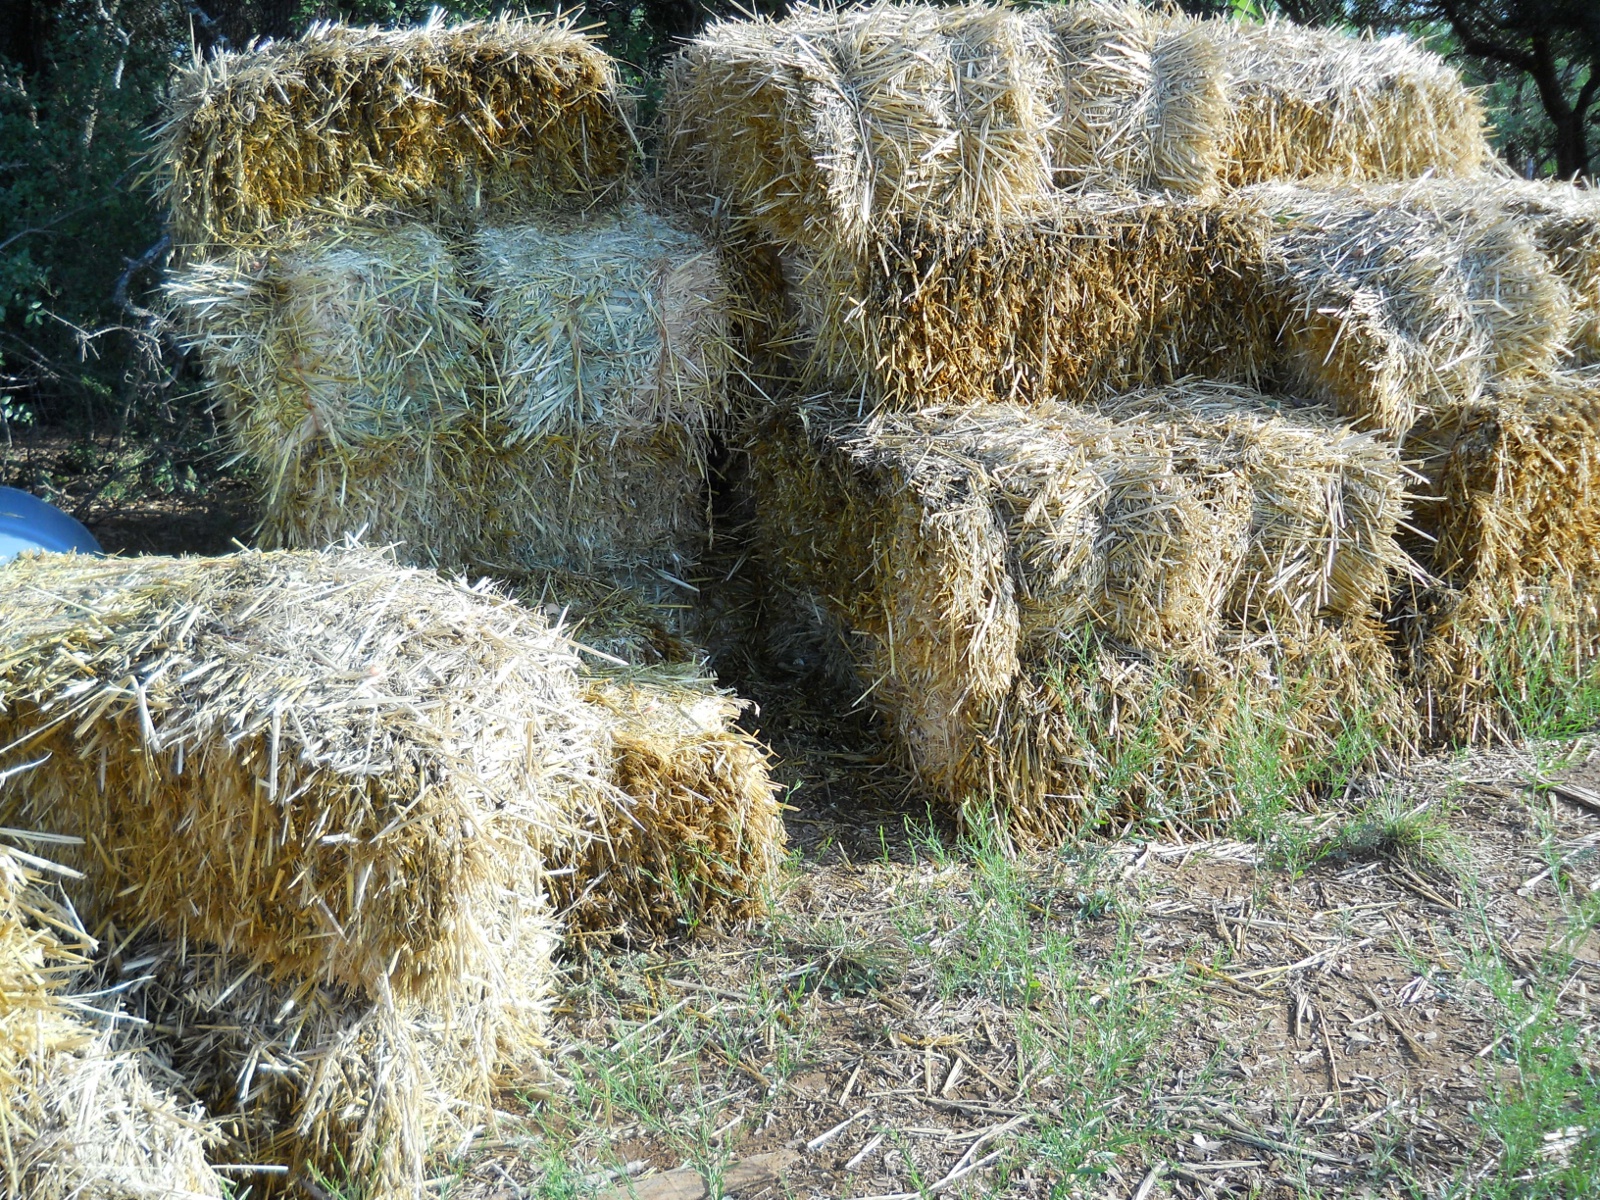
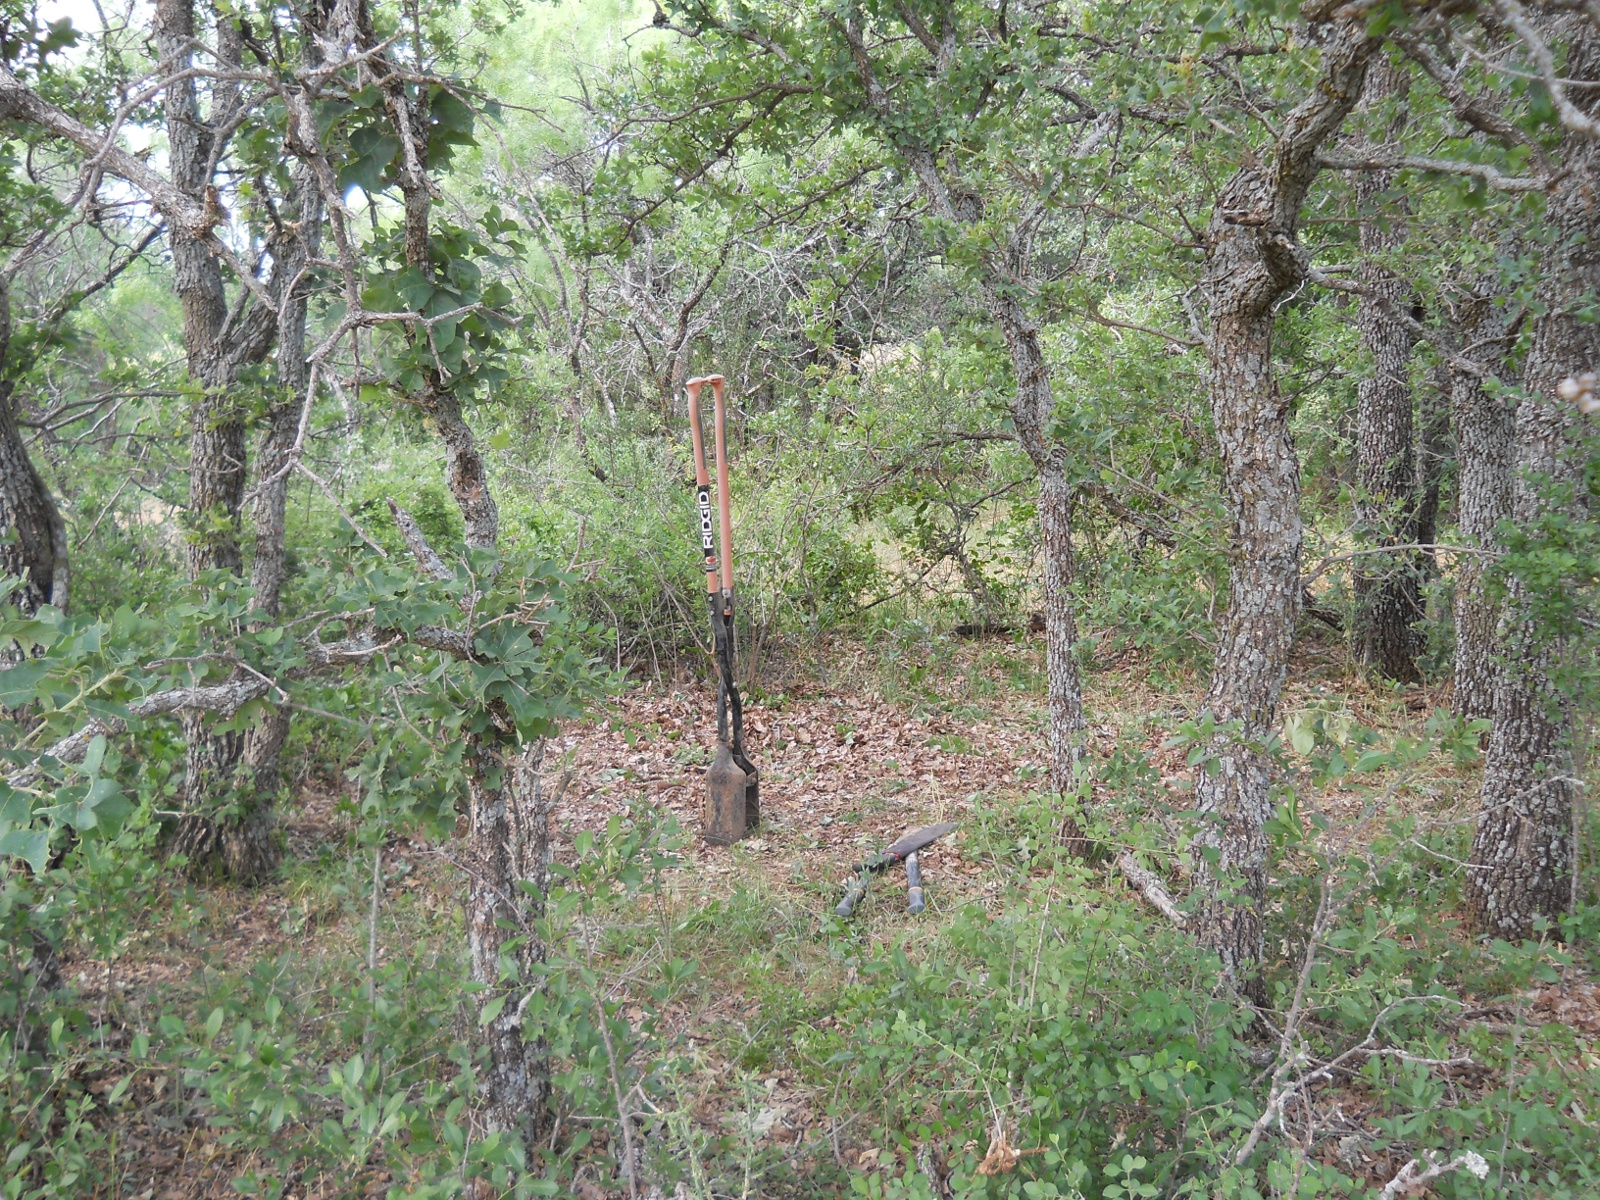
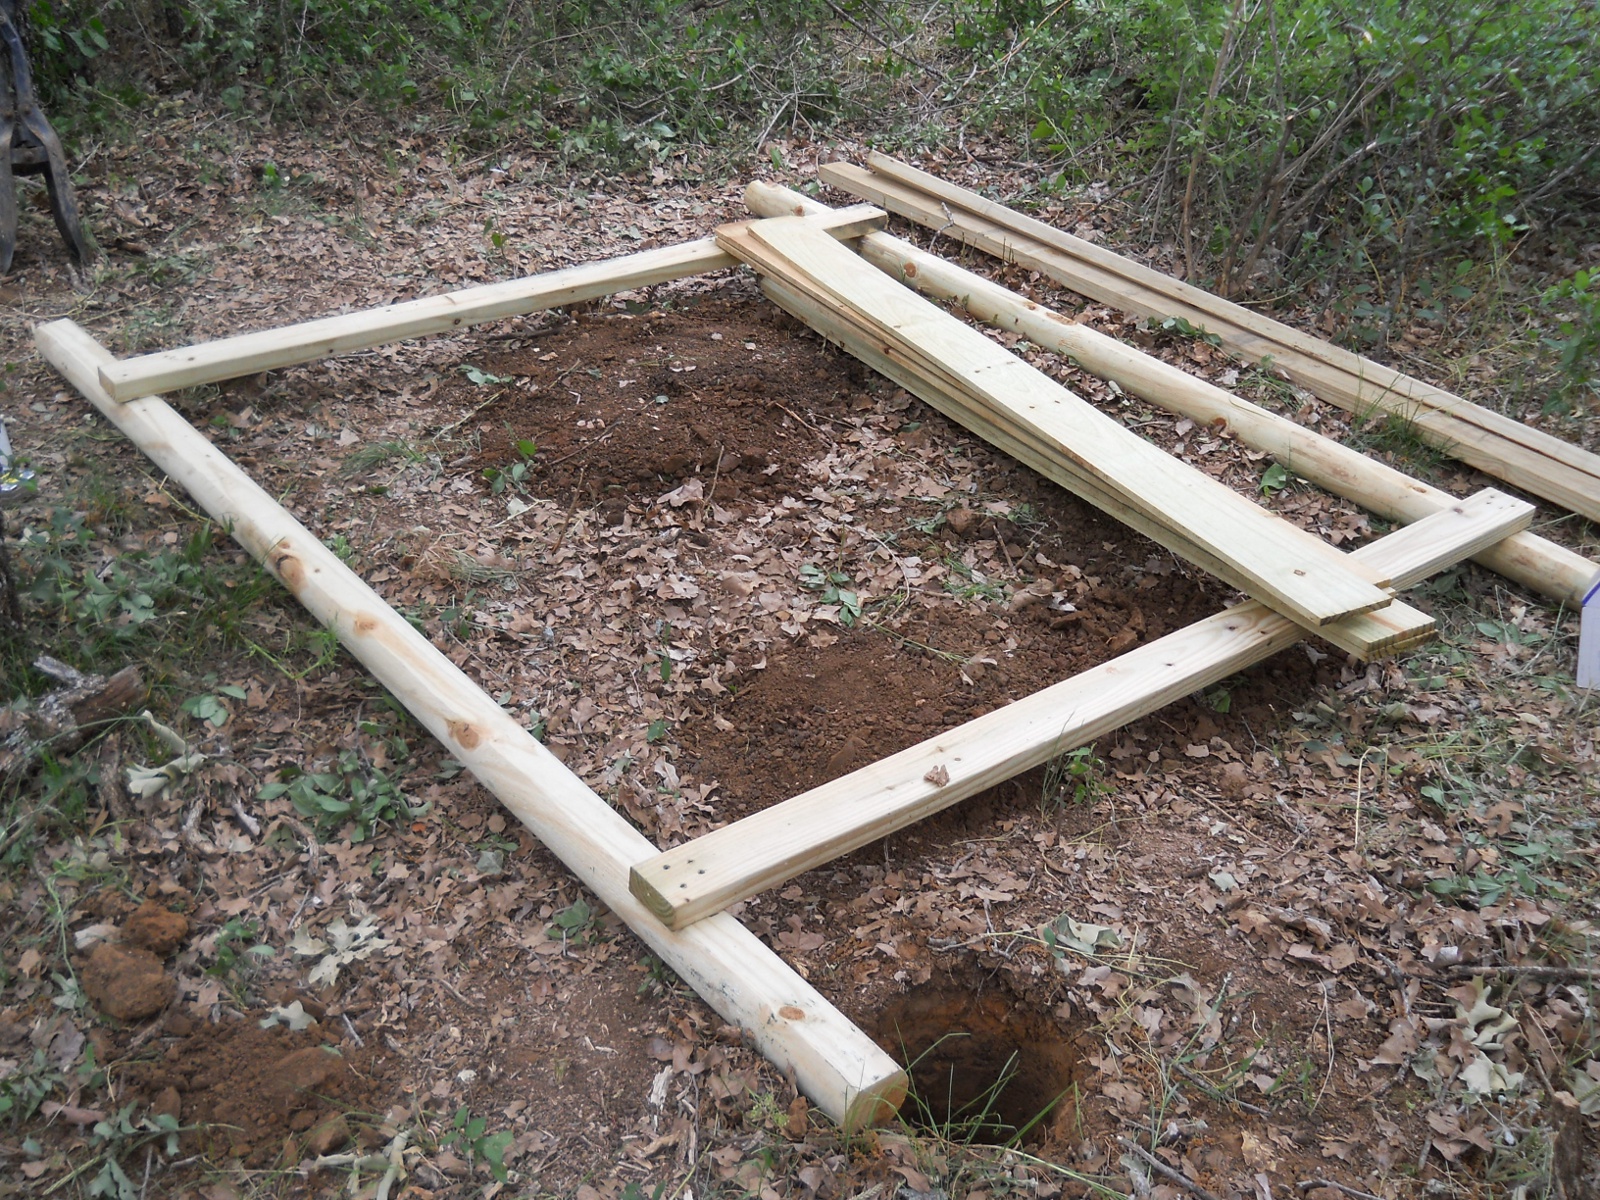
And so, here is the location I ended up choosing, shown after clearing some of the underbrush:

Bees 2012 Bee Hive Fenced Area Location

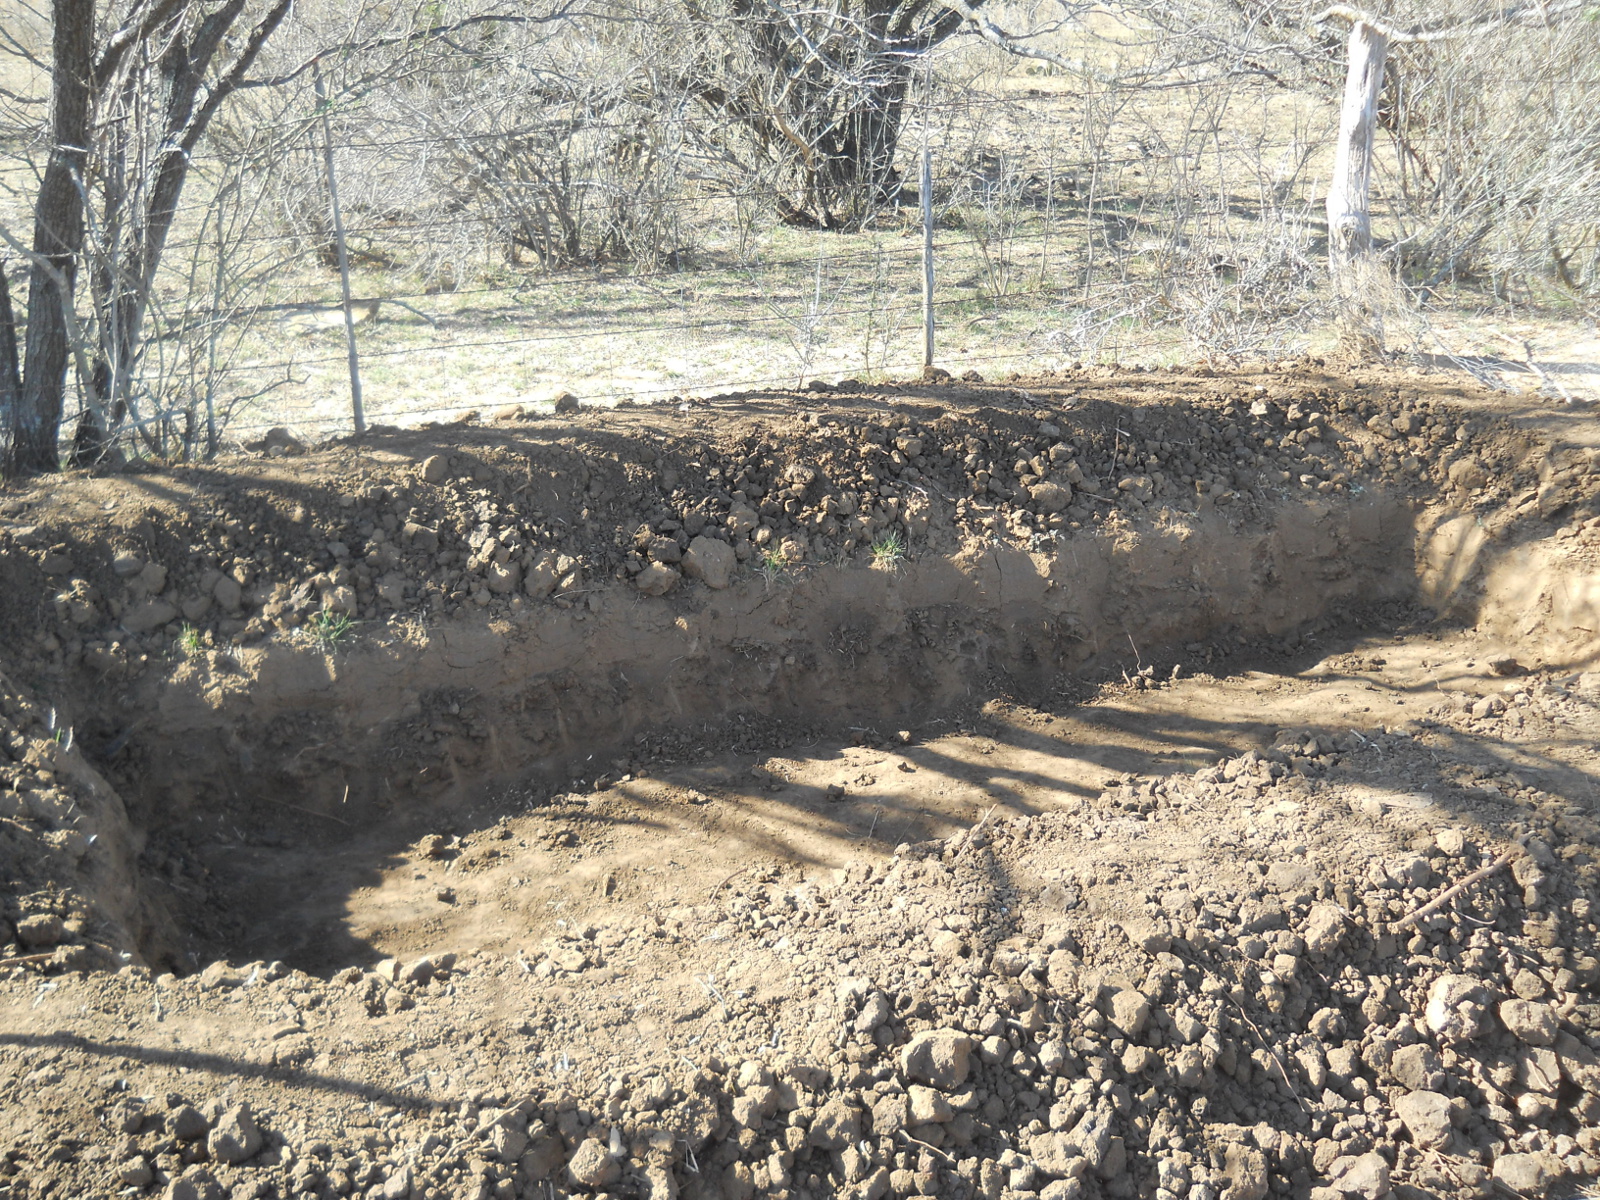
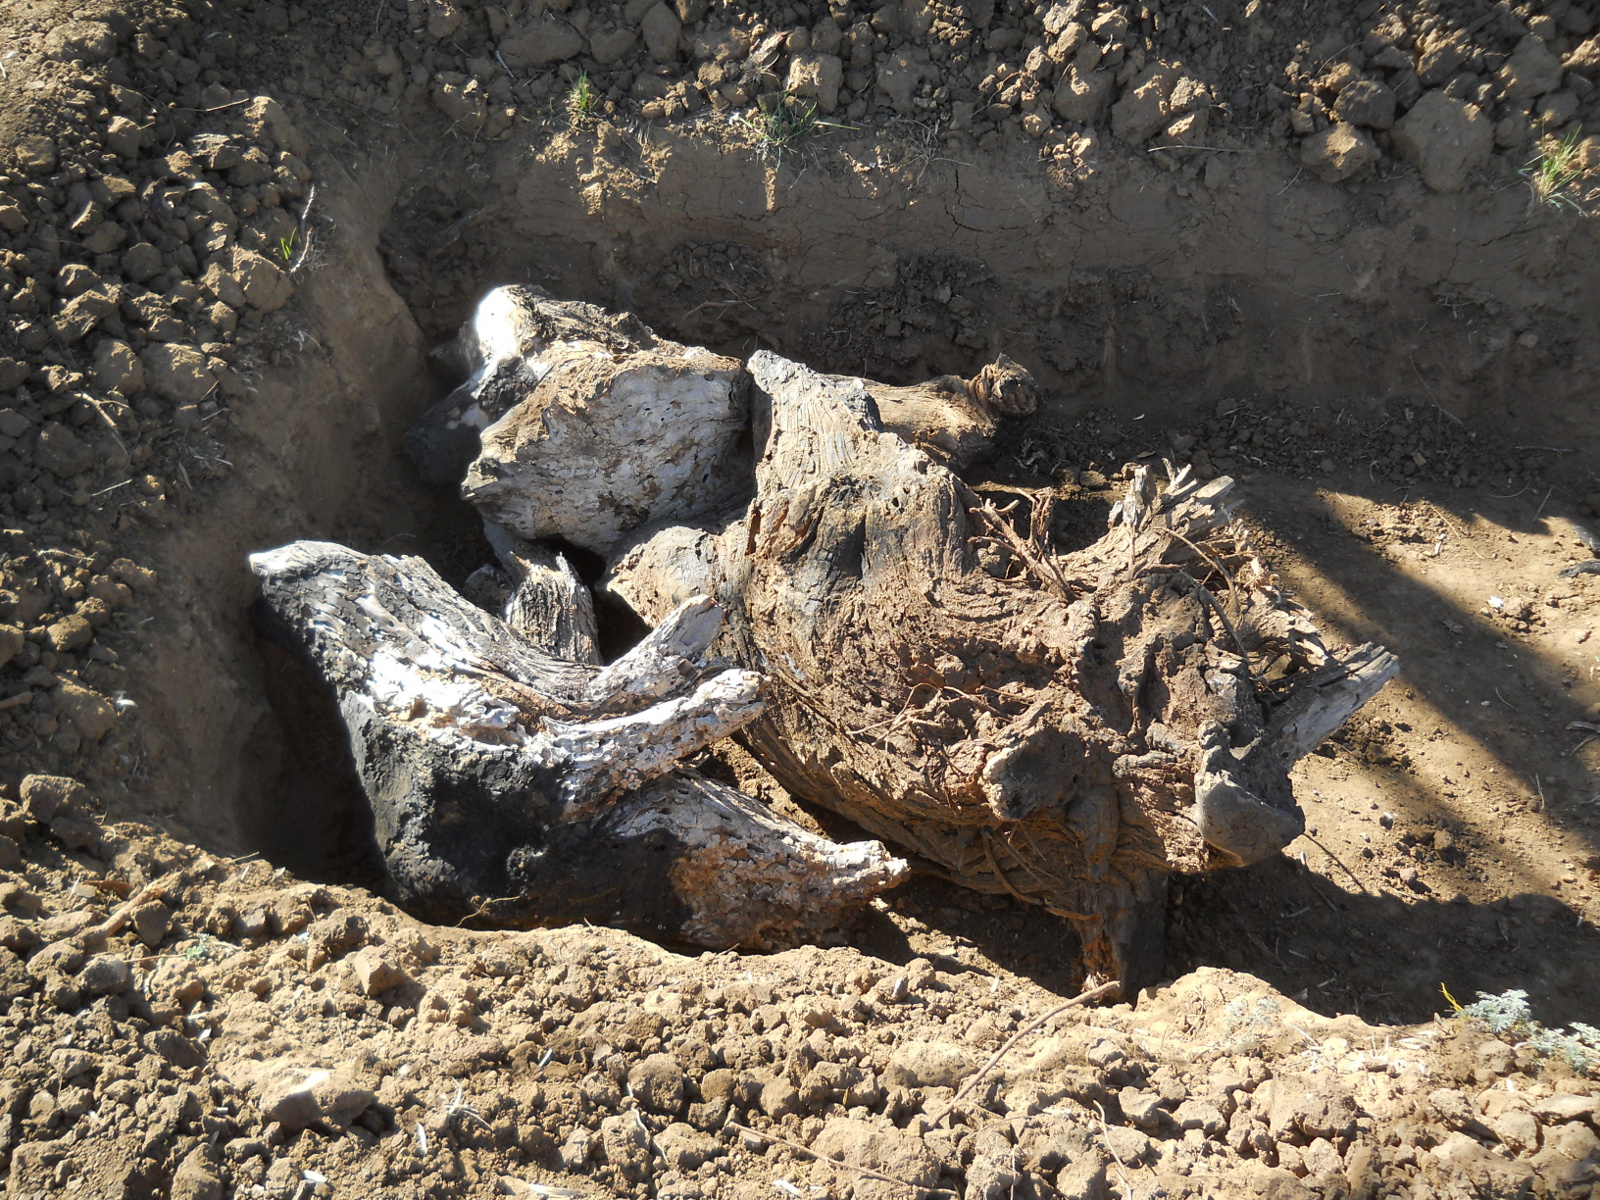
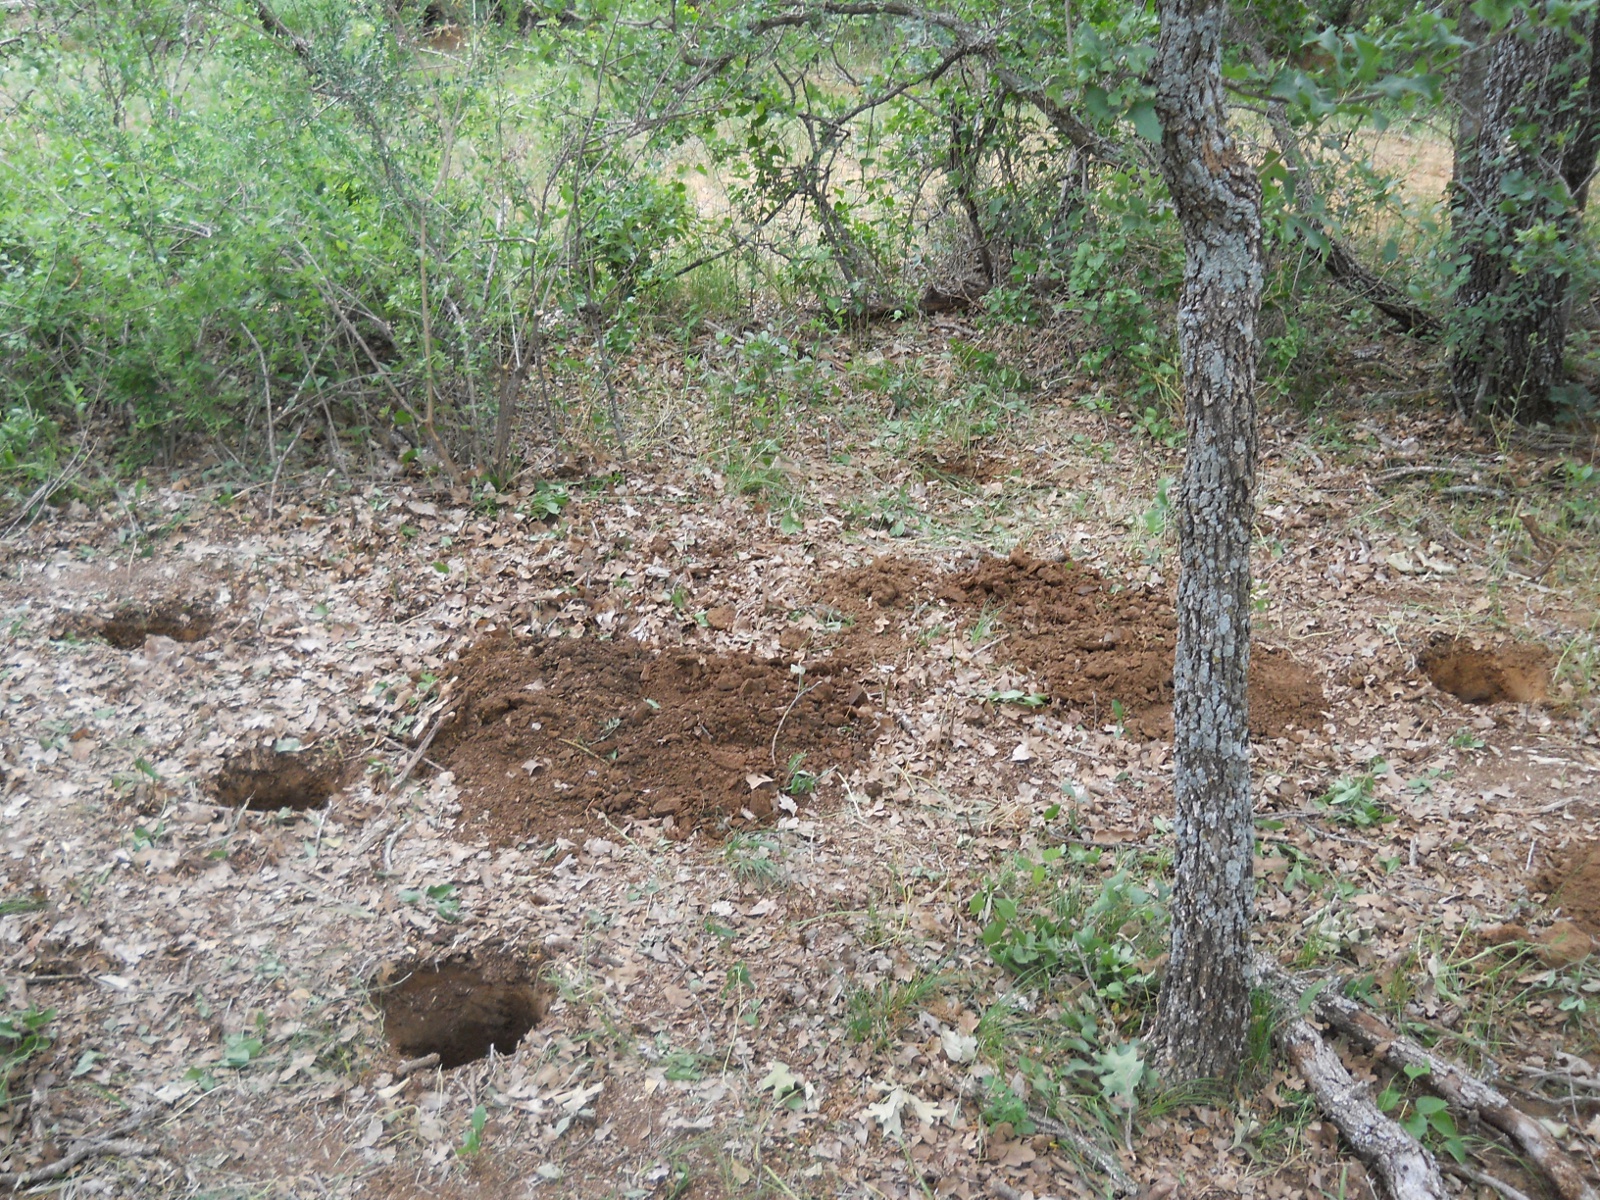
And here it is with the post holes for the fence dug:

Bees 2012 Fenced Area Post Holes

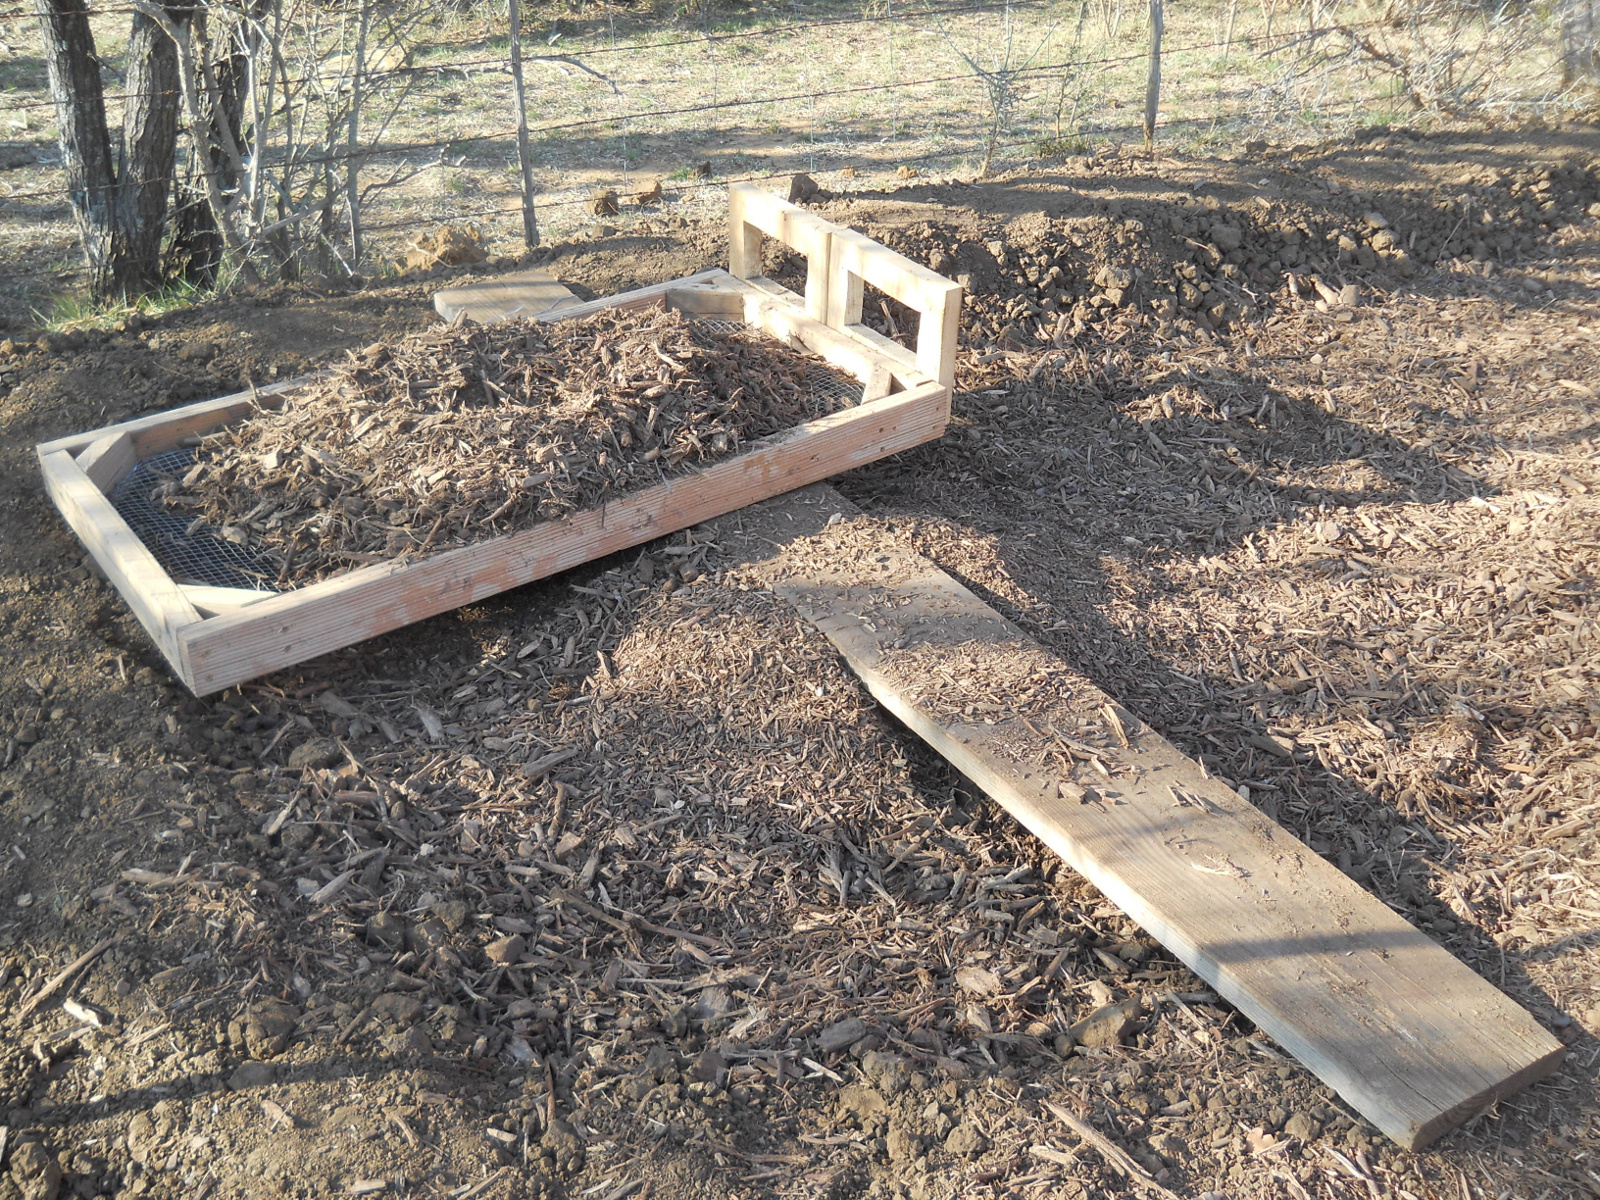
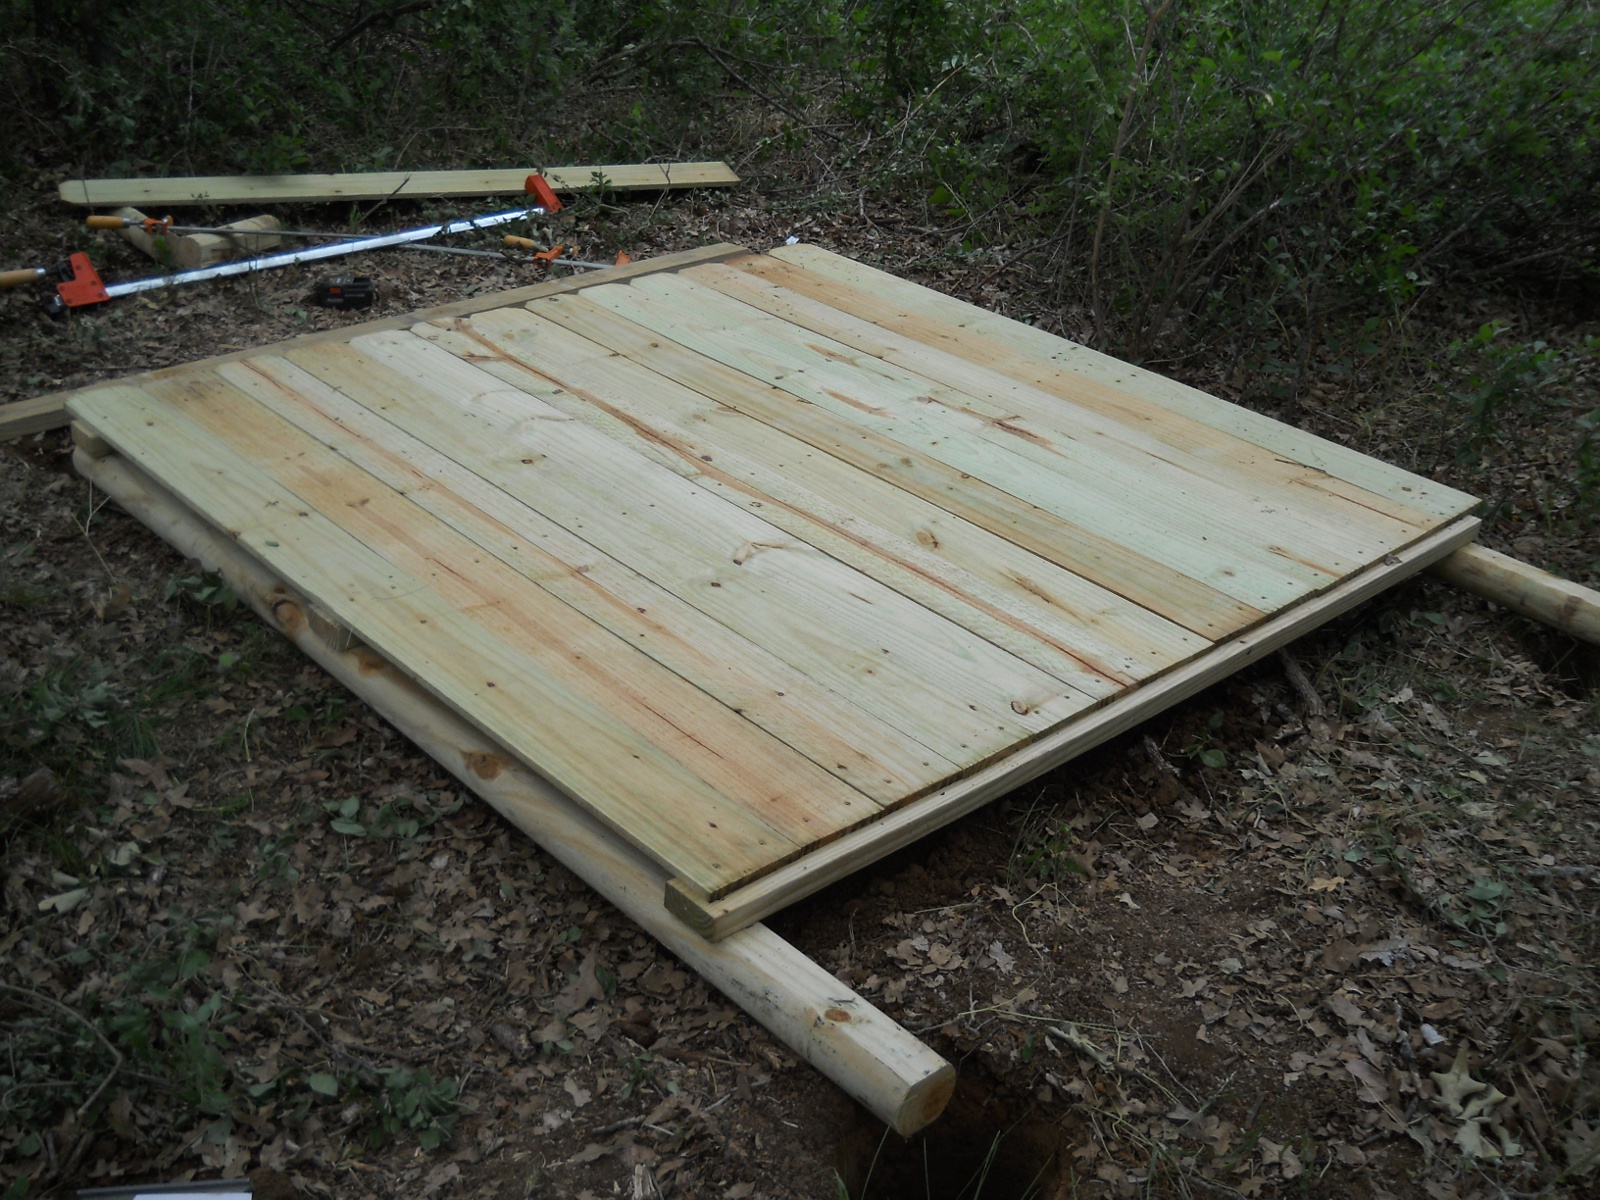
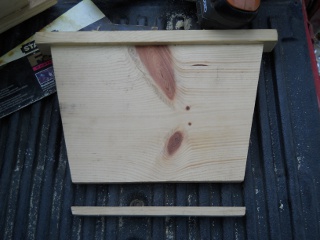
I decided to use treated wood around, including the fence slats (which I chose for maximum wind protection); and here is the beginning of assembling the first wall. After measuring for and attaching the cross-piece 2x4s, I squared the “box” from corner to corner before adding the third cross piece in the center:

Bees 2012 Building First Wall of Fenced Area

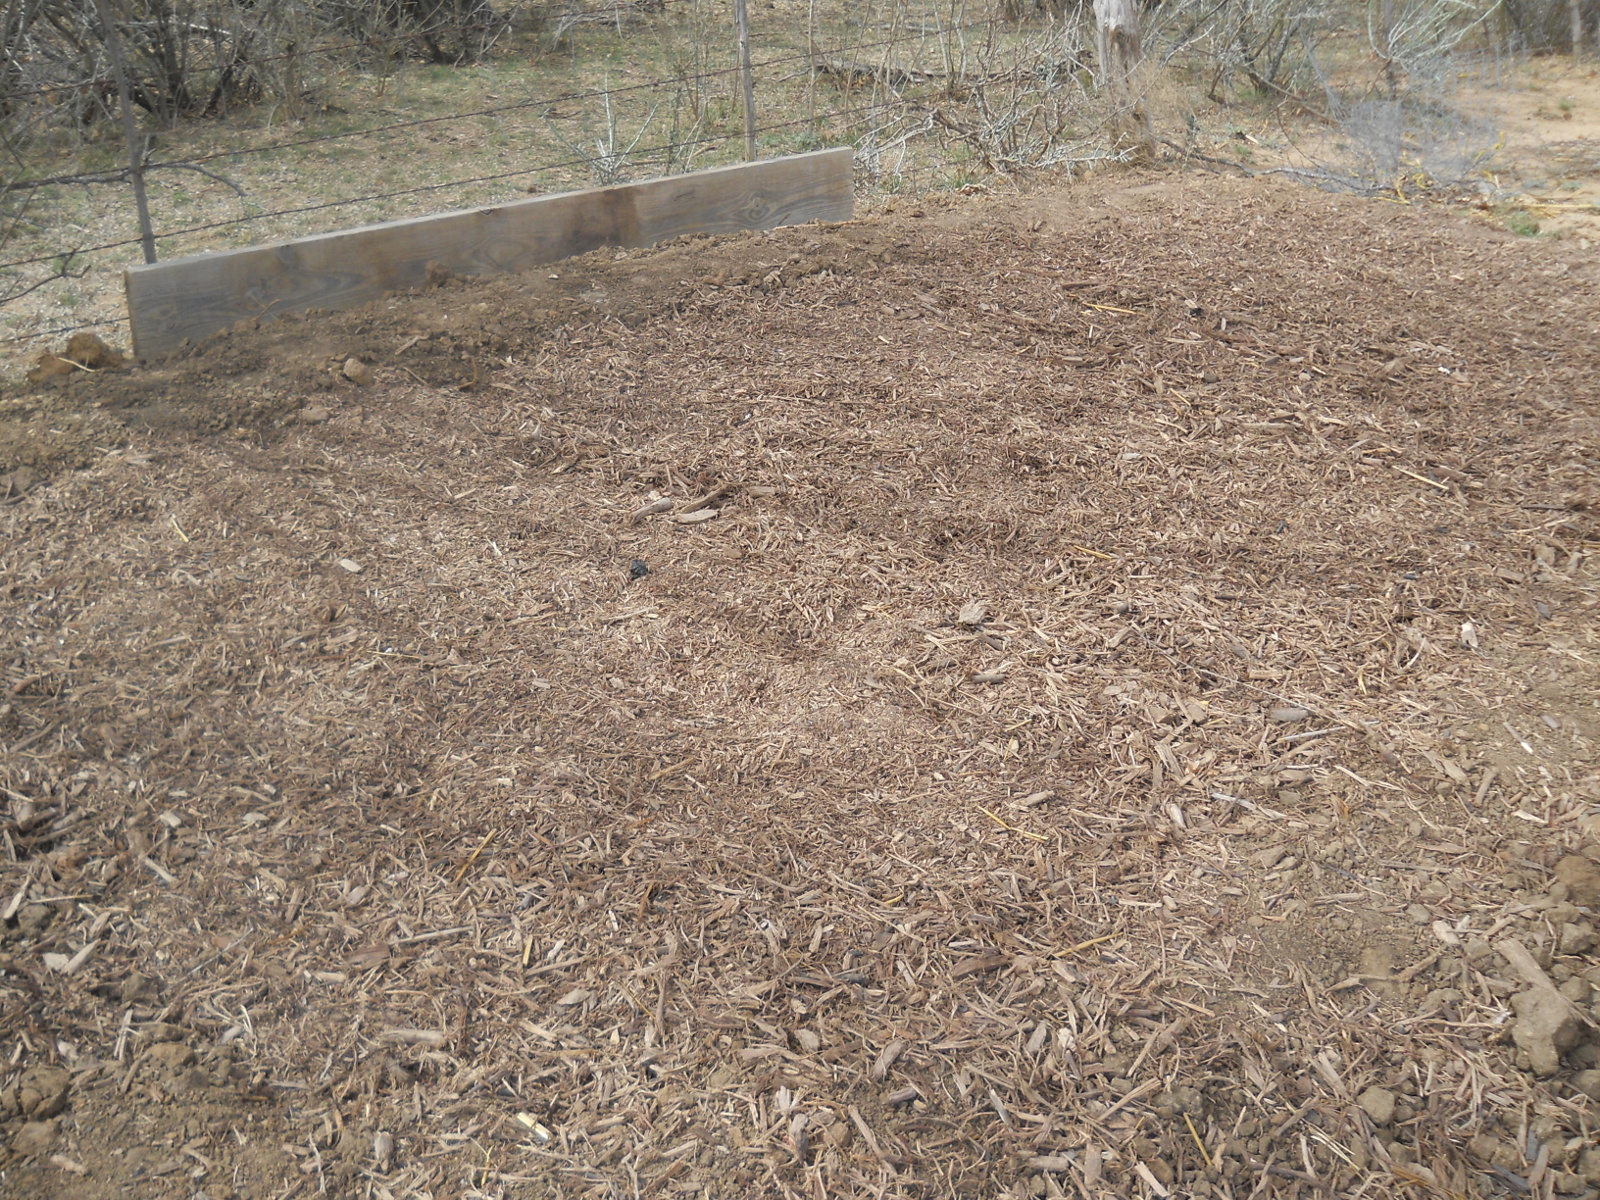
And here it is complete:
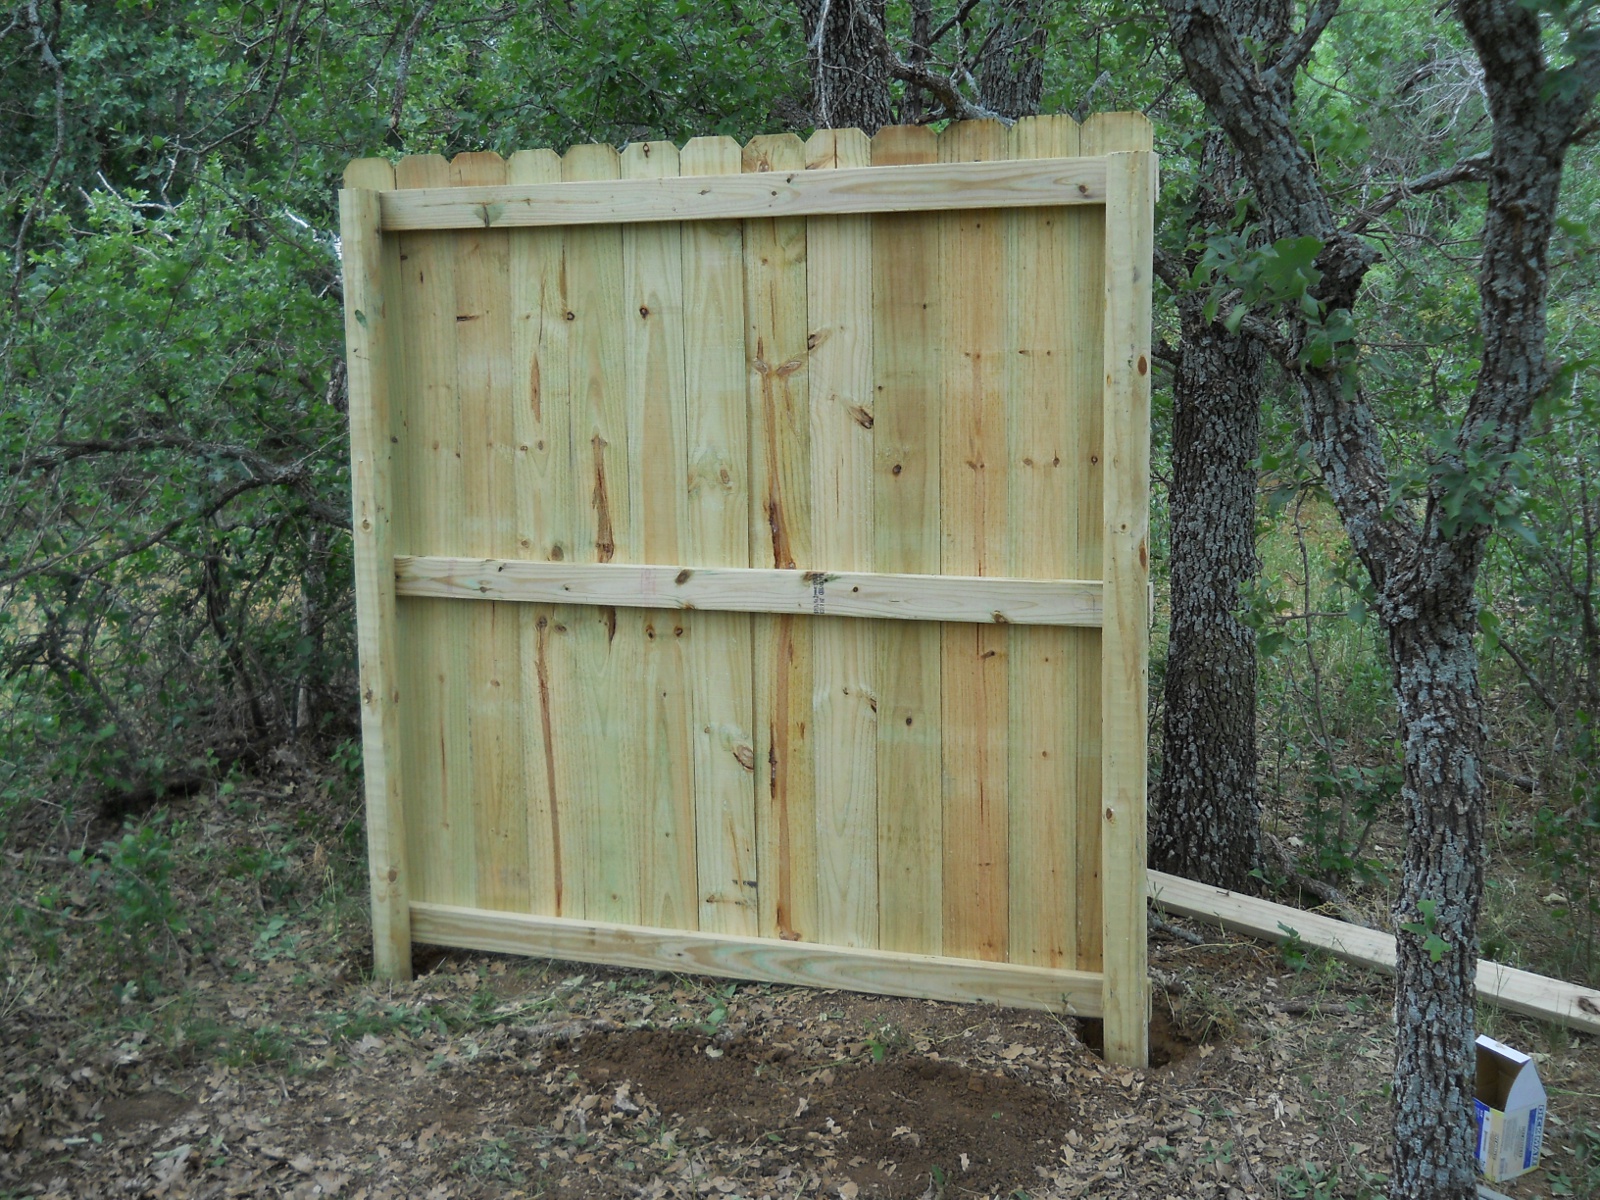
Bees 2012 First Wall of Fenced Area Complete

And standing:

Bees 2012 First Wall of Fenced Area Raised

Here is the second wall:
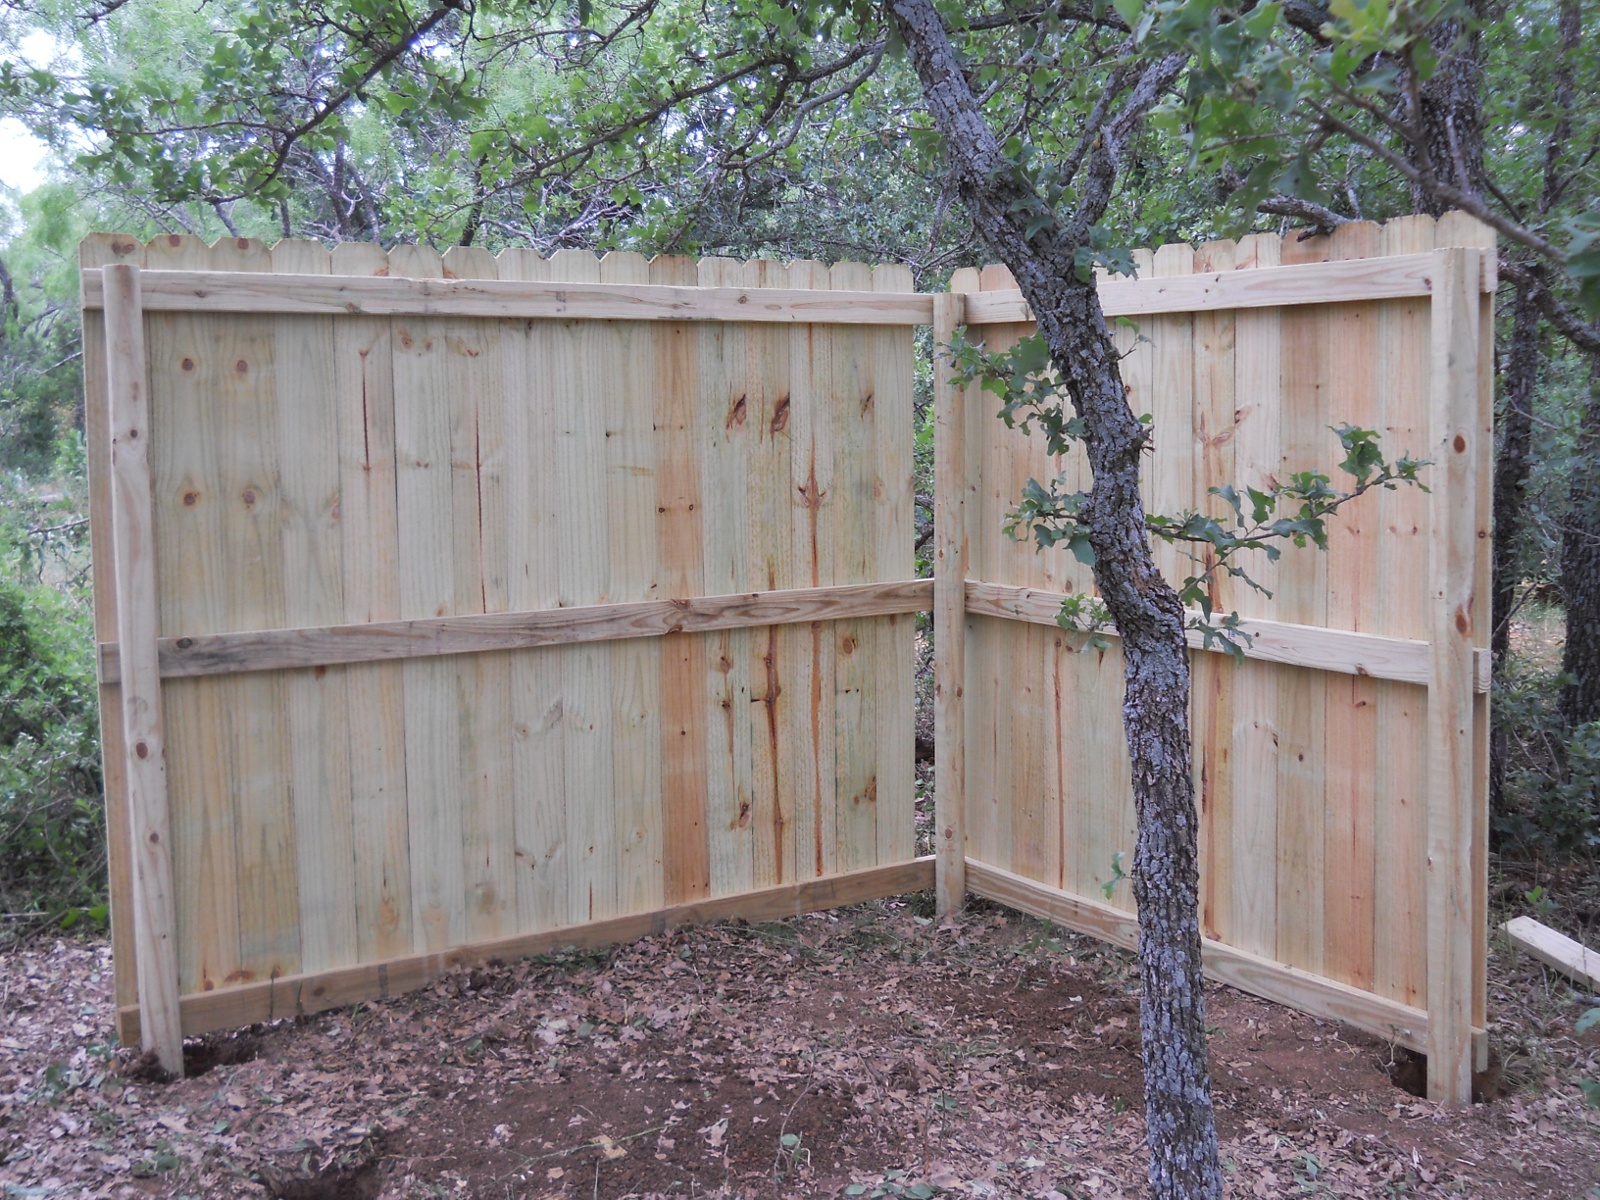
Bees 2012 Second Wall of Fenced Area Raised

And the third wall:

Bees 2012 Third Wall of Fenced Area Raised

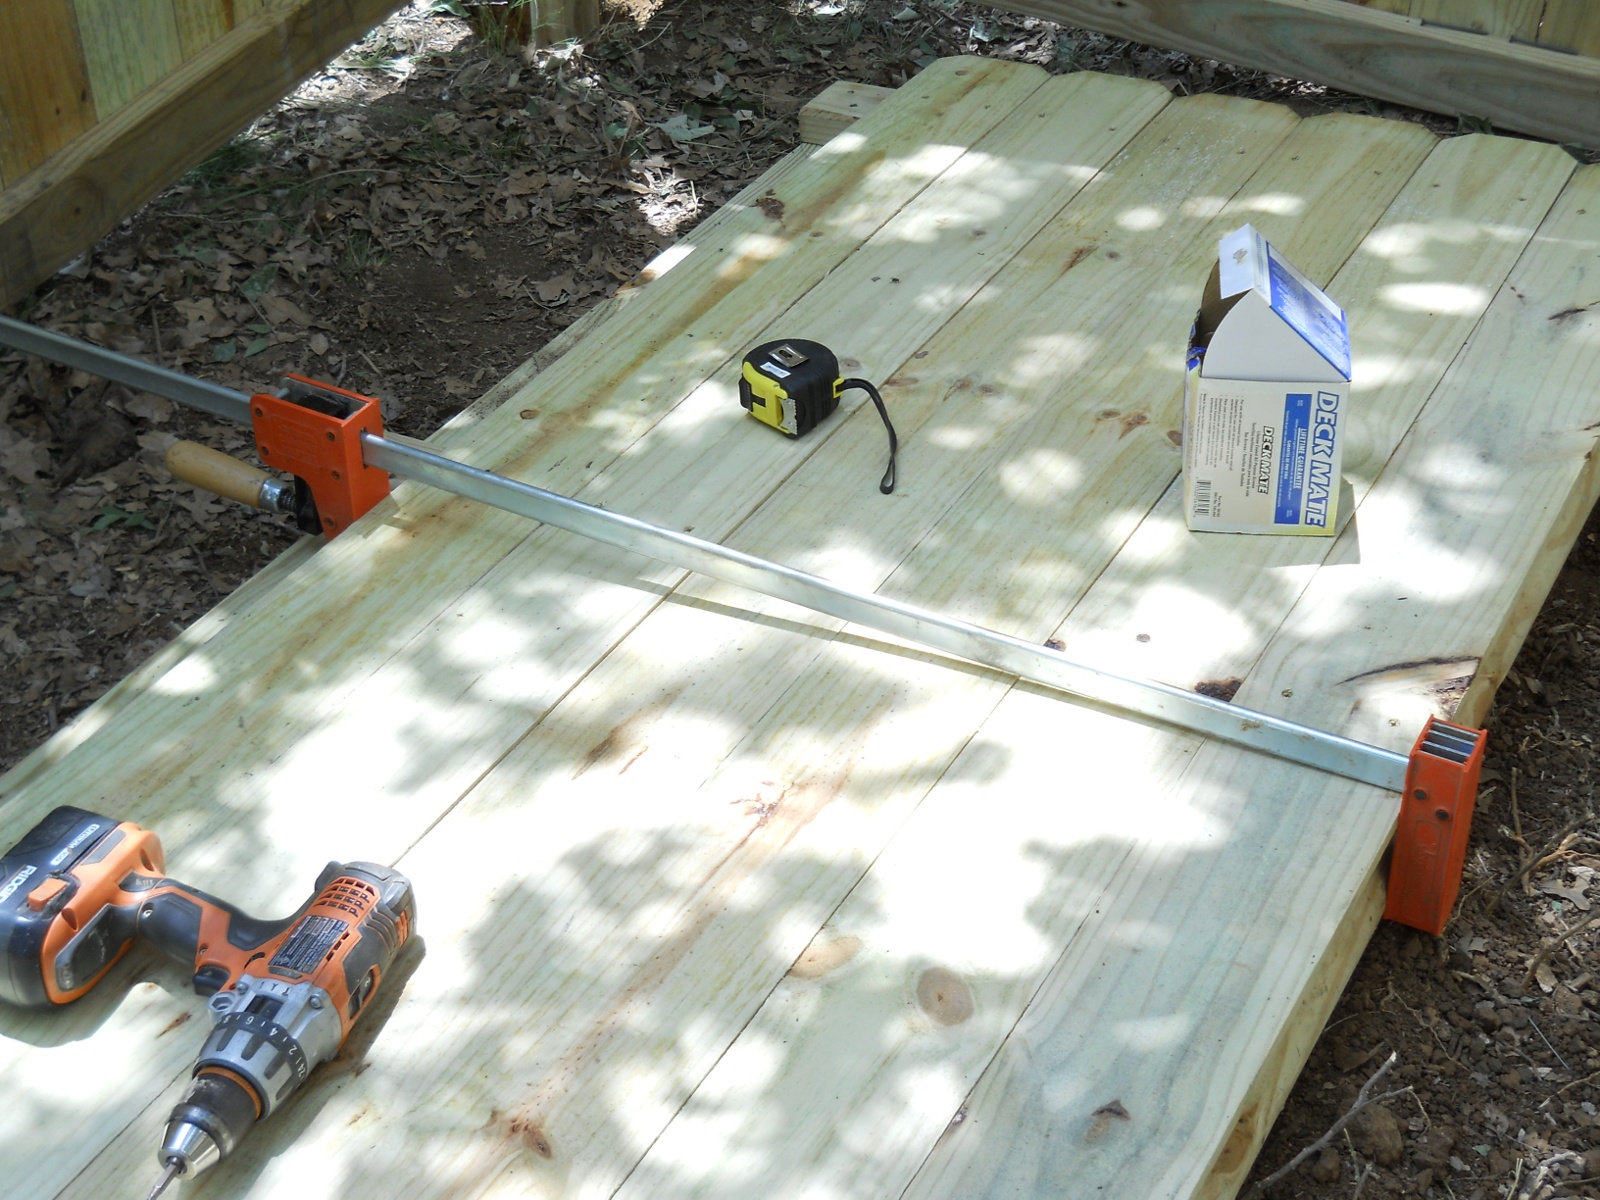
And the fourth, half wall. In order to line up the fence slats next to each other, it was necessary to use bar clamps to bend over one end after securing the other end; and here I’m using the clamp in the middle to bring the fence slats together before securing them to the cross piece. For the longer walls, I had to string several bar clamps together:

Bees 2012 Fourth Wall of Fenced Area with Clamp Over Fence Slats

And here is that fourth wall raised:

Bees 2012 Fourth Wall of Fenced Area Raised

In the original design for the top bar bee hive, if I interpreted correctly the instructions for the false back, which is used to keep the bees in a smaller area in the hive, particularly during the winter so they can stay warm more easily, I cut the bottom of the false back up 1/2″ from the bottom of the hive. After thinking about it, that didn’t quite make sense to me if using the false back in back of the hive, because the bees could get under it and go to the empty part of the hive that had no exit. And so, to create a true false back, I tacked on that extra 1/2″ piece. After considering it more though, I suppose I could move the bees to the back (which seems to be where they naturally want to go), and use the false back as a false front by removing the 1/2″ extension, which would allow them access to the empty front area, and thus the hive entrance. But for now, I’m not sure which way it will go; but the extension is removable if need be:

Bees 2012 Top Bar Bee Hive False Back Extension

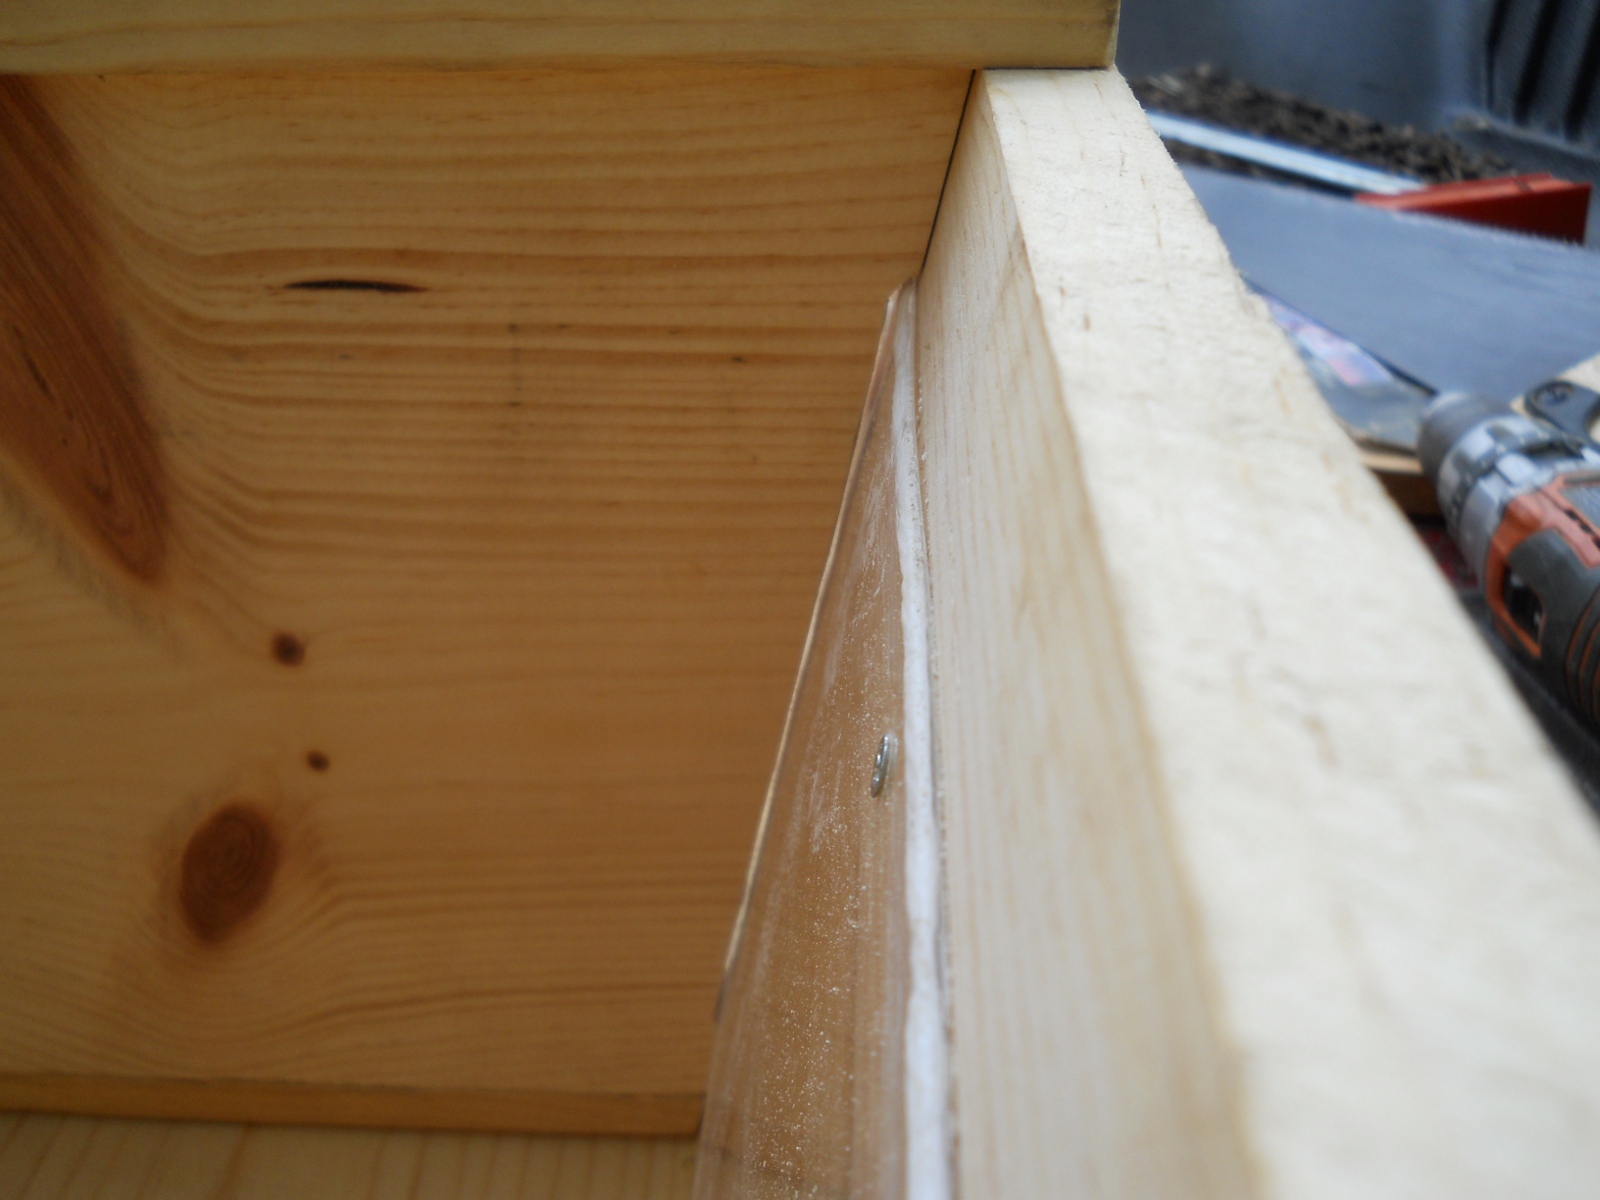
One thing I didn’t consider with the false back was it fitting in the middle of the hive, given that I did not embed into the wood the plexiglass window I installed. And for that, I had to notch out the side of the false back:

Bees 2012 Top Bar Bee Hive False Back Notched to Fit Over Plexiglass Window

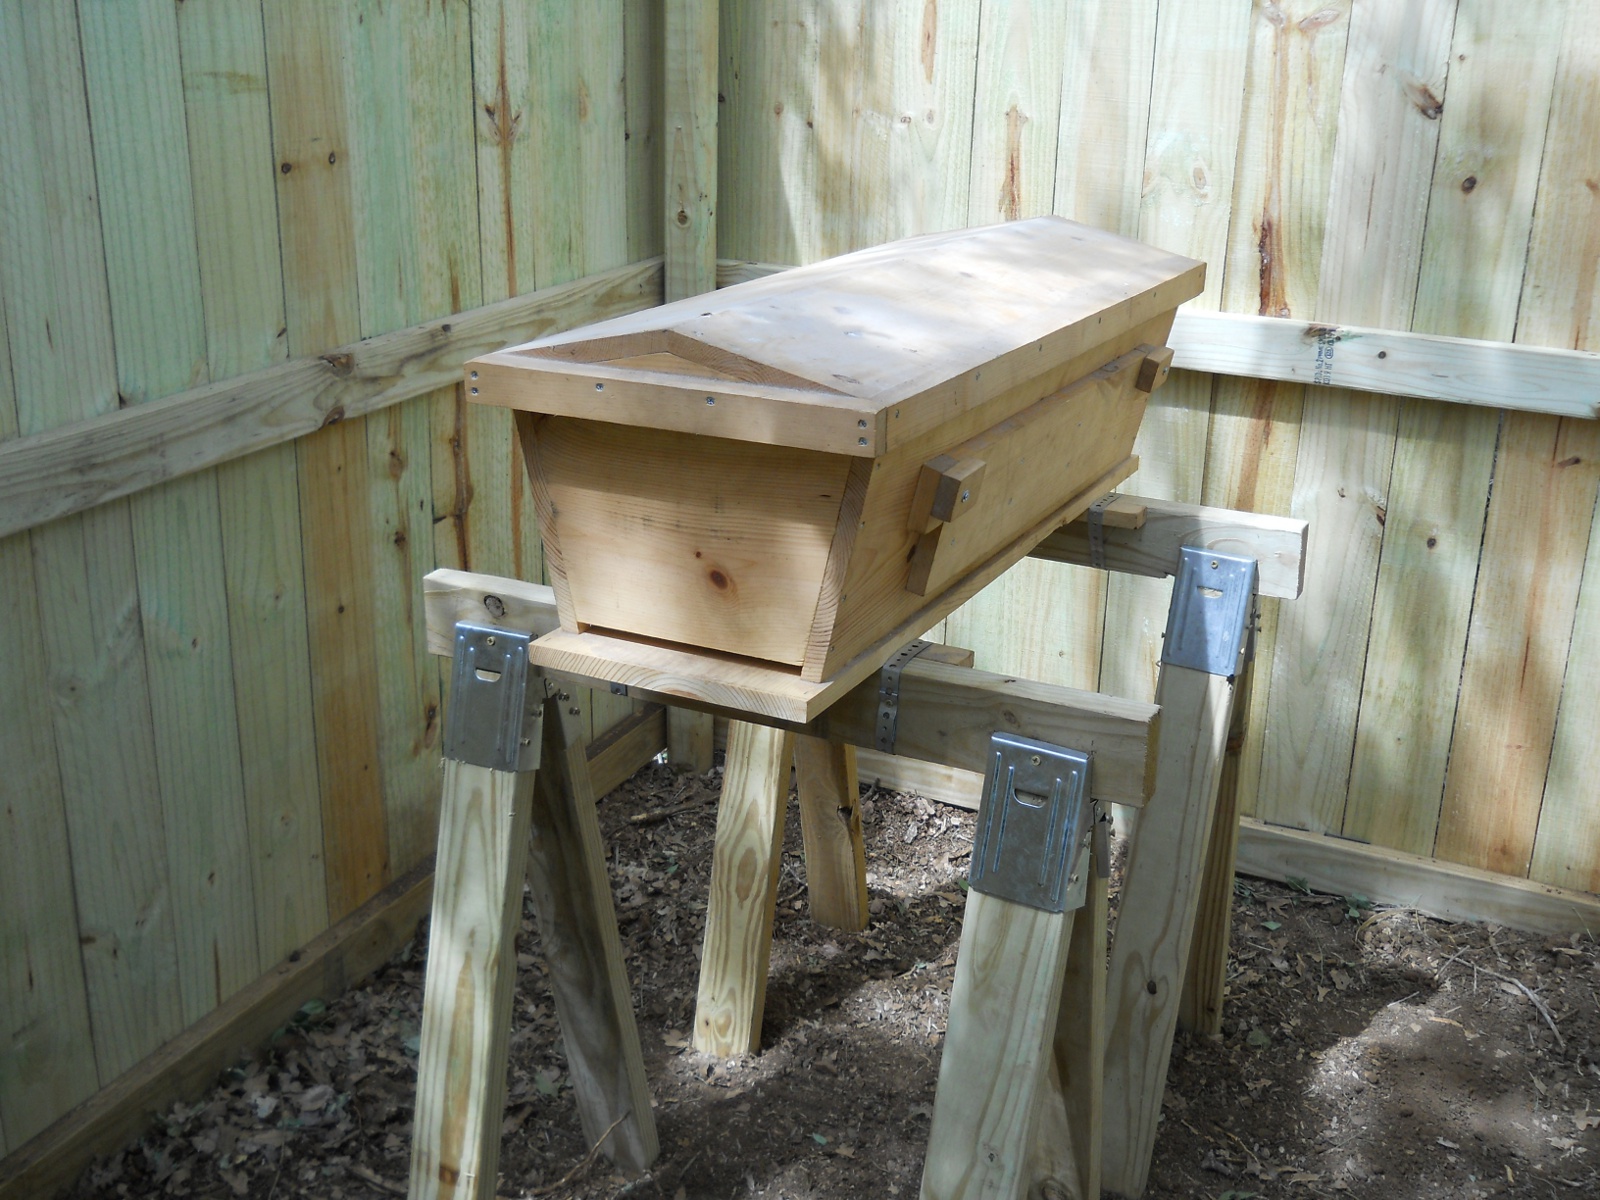
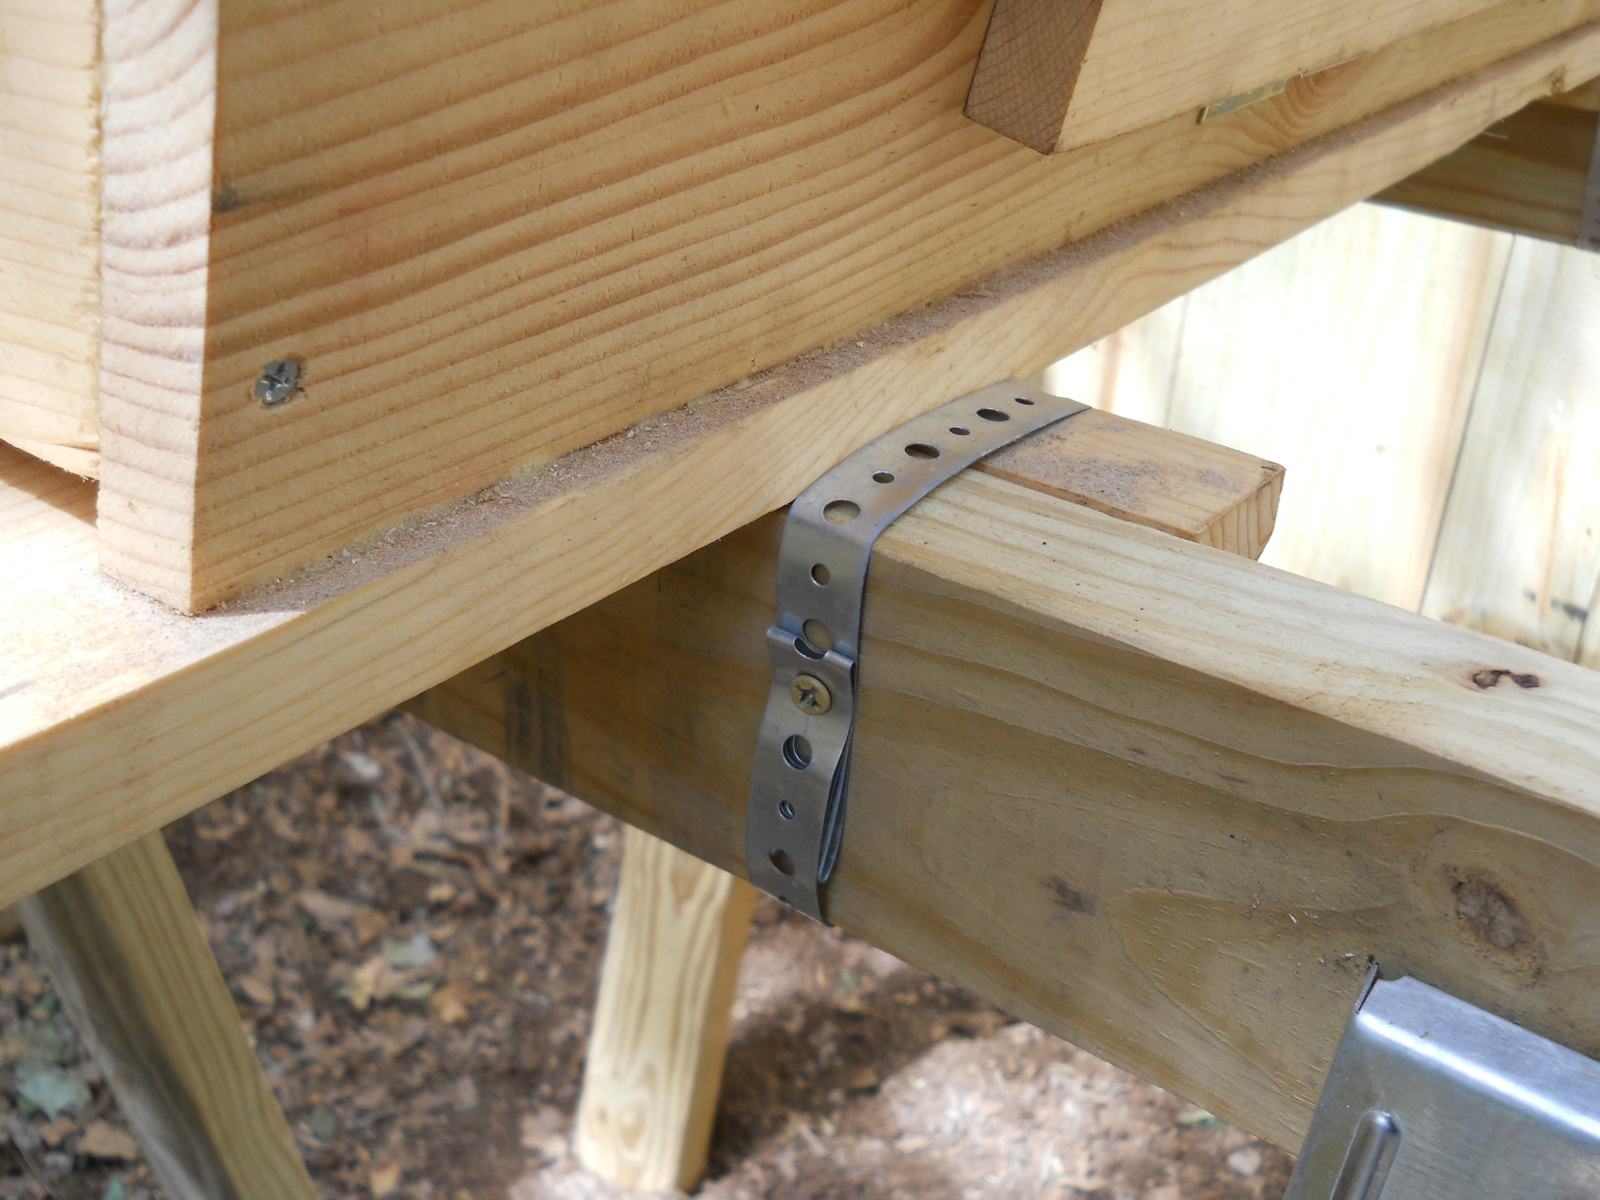
I decided to place the top bar bee hive on sawhorses, using them as a stand, to get them off the ground and keep the entrance “suspended” in mid air, thus hopefully making it harder for little critters to get to the entrance:

Bees 2012 Top Bar Bee Hive on Sawhorses

And I “tied” the bee hive legs to the sawhorses using plummer’s tape:

Bees 2012 Top Bar Bee Hive Plummer's Taped to Sawhorses

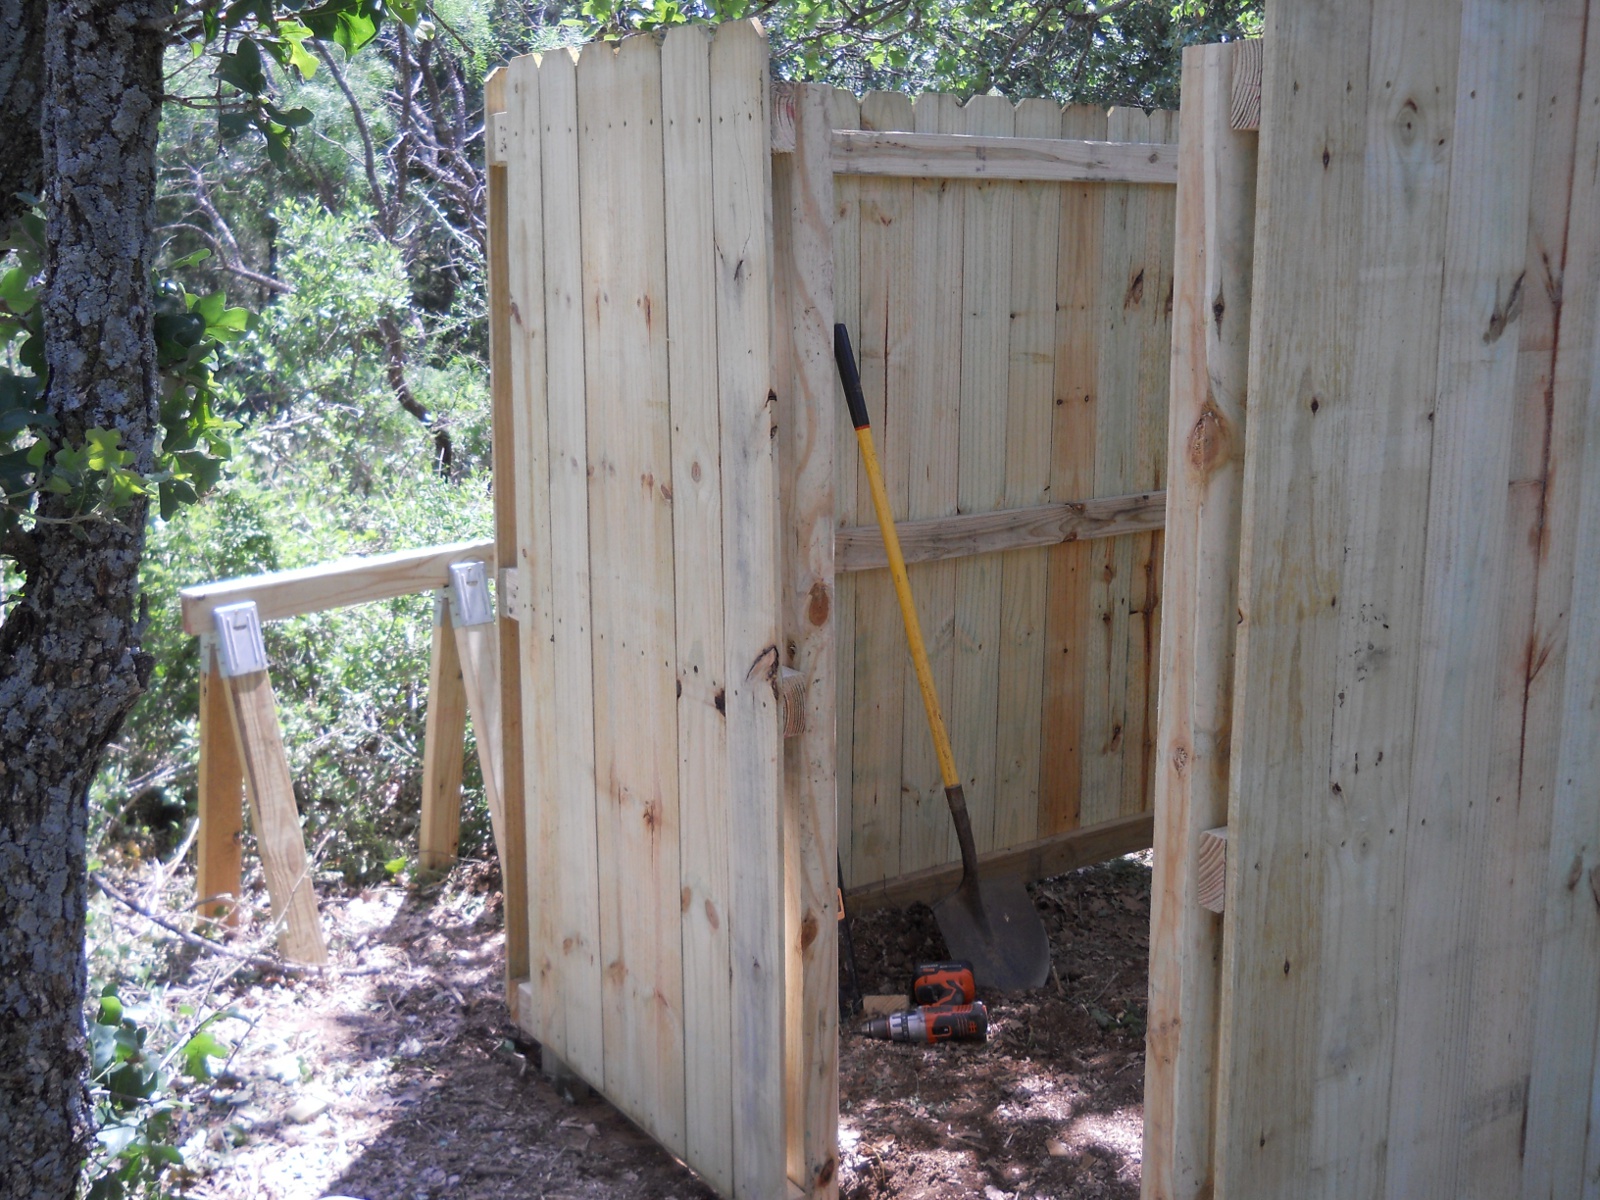
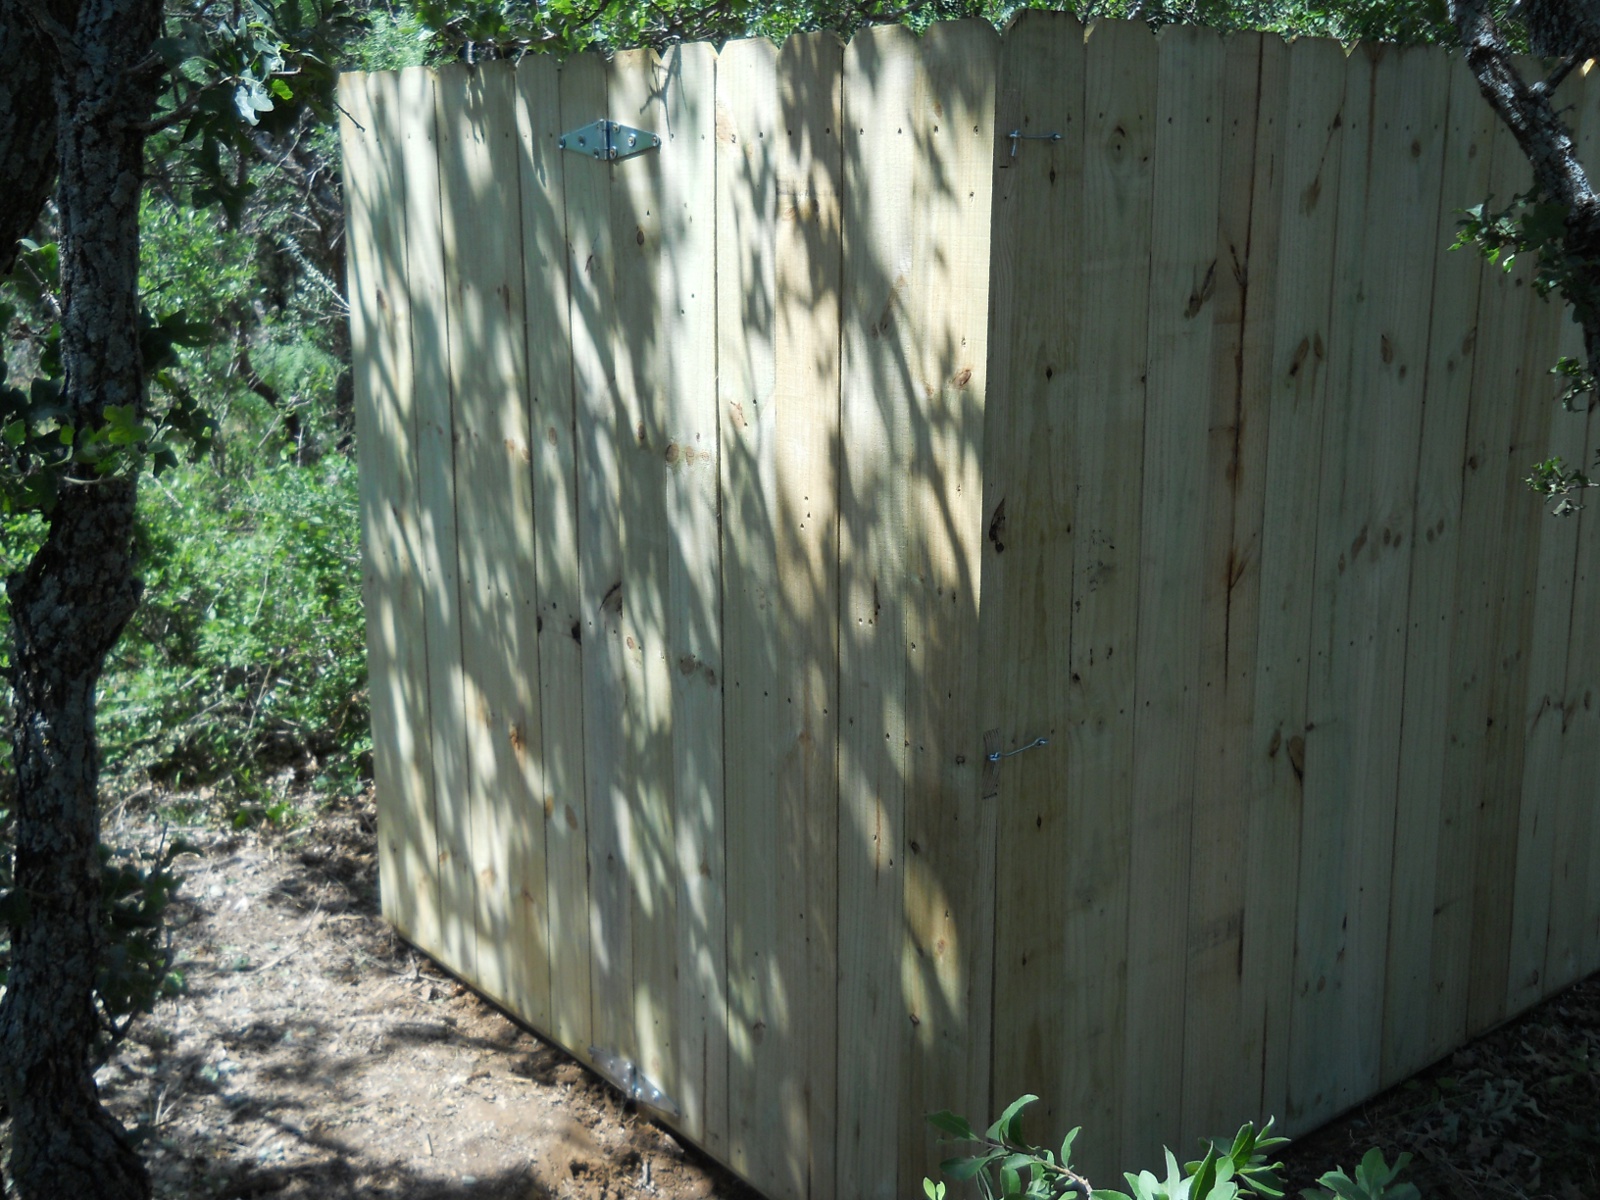
Here is the bee area fenced in with the door hung and closed:

Bees 2012 Fenced Area with Door Hung

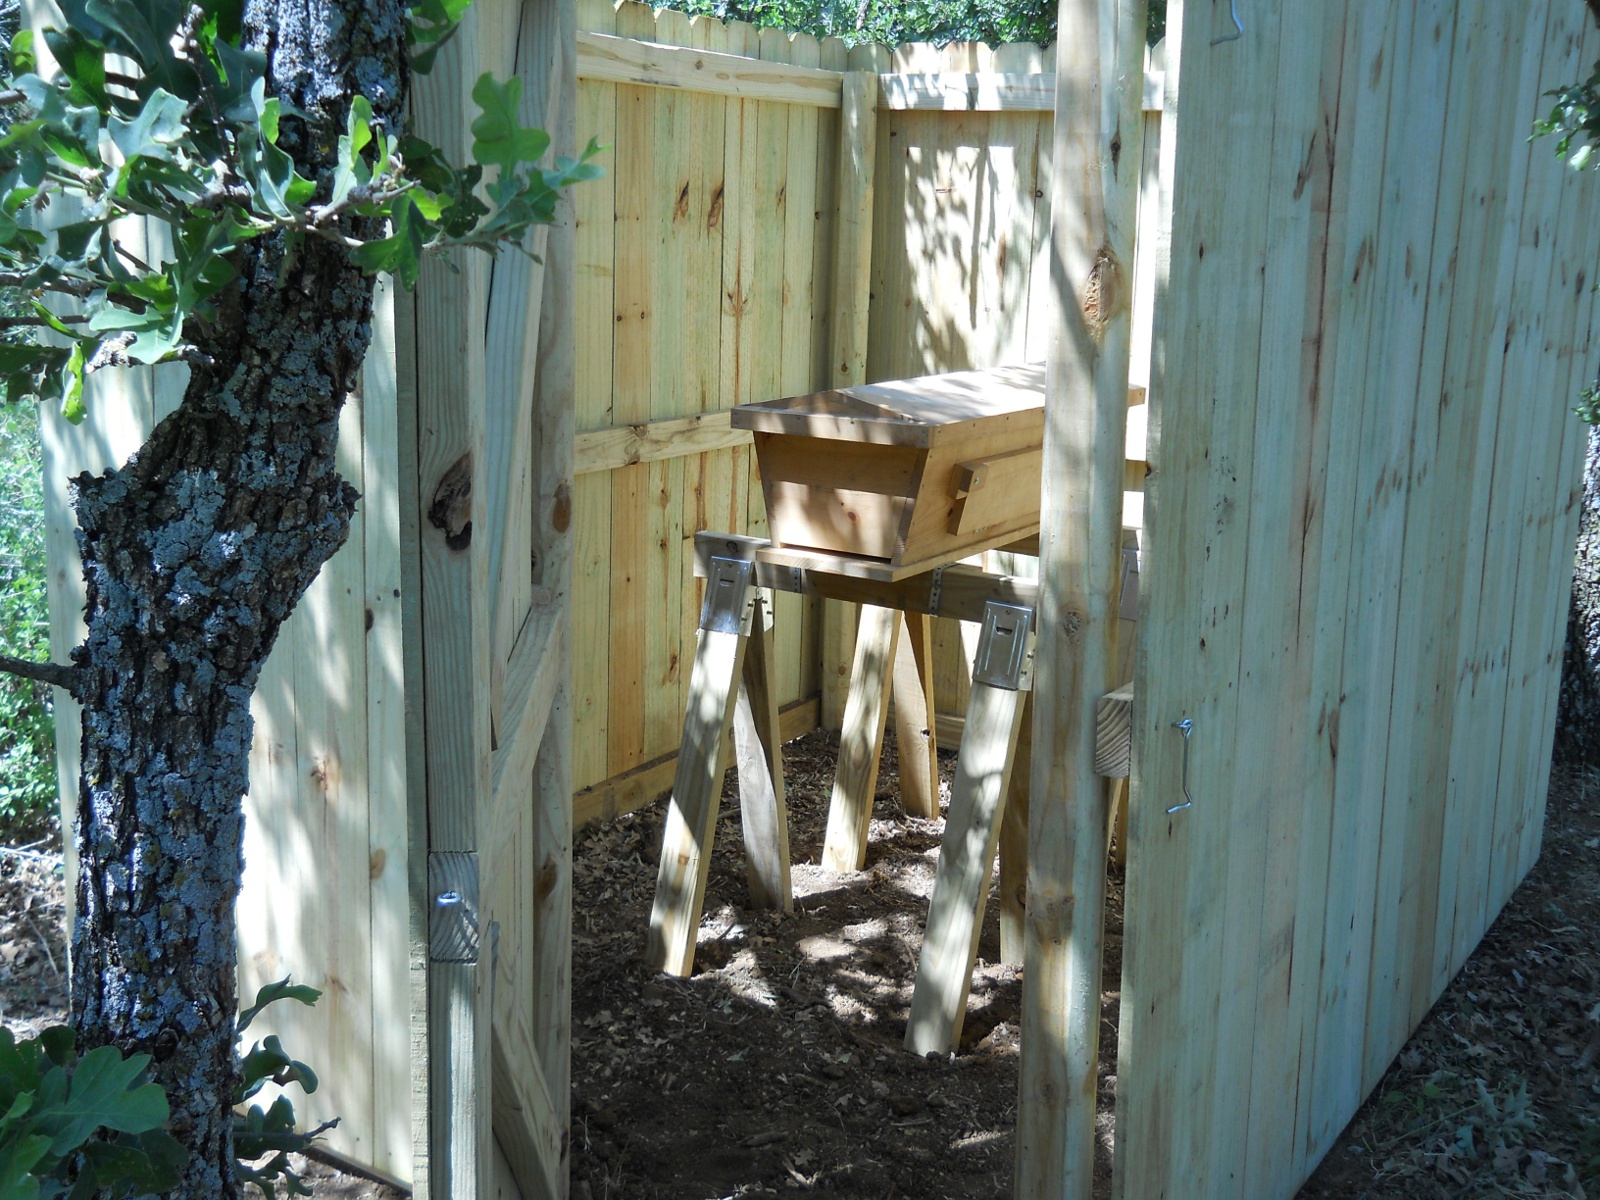
And then with the door open:

Bees 2012 Fenced Area with Door Open

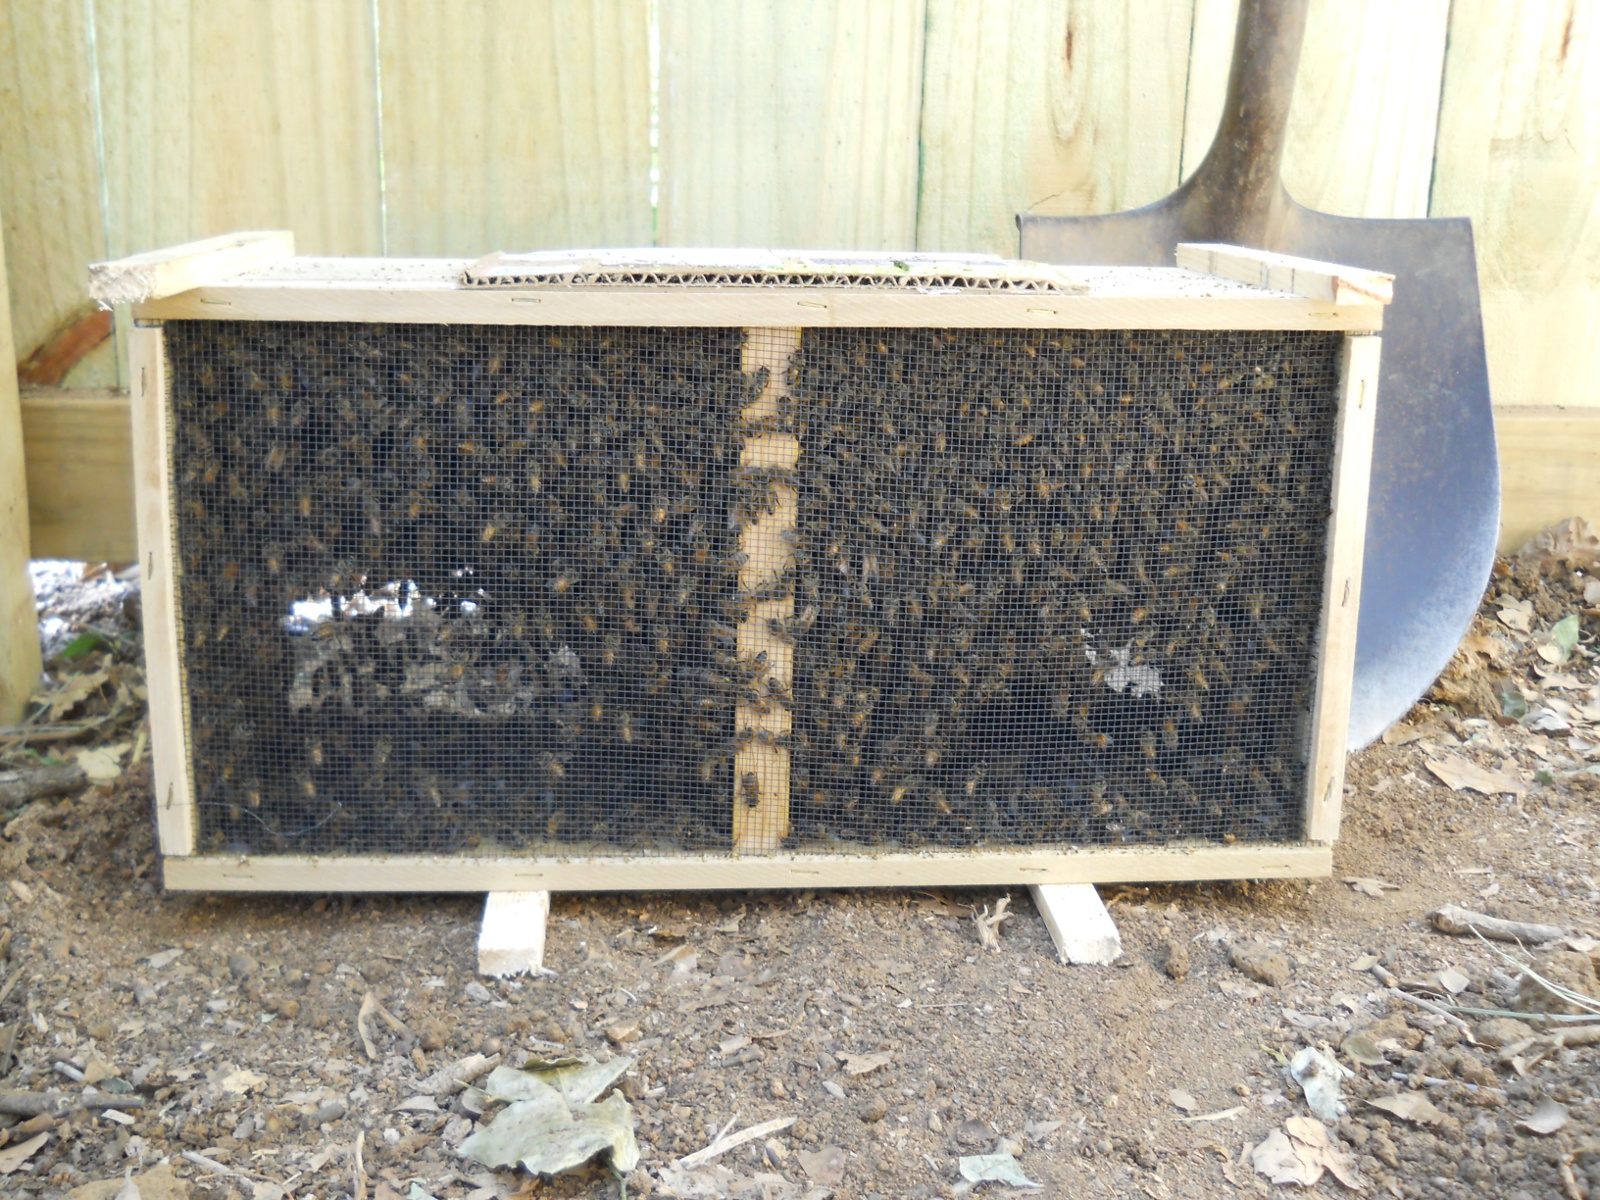
And here are the delivered bees!

Bees 2012 in Shipped Box

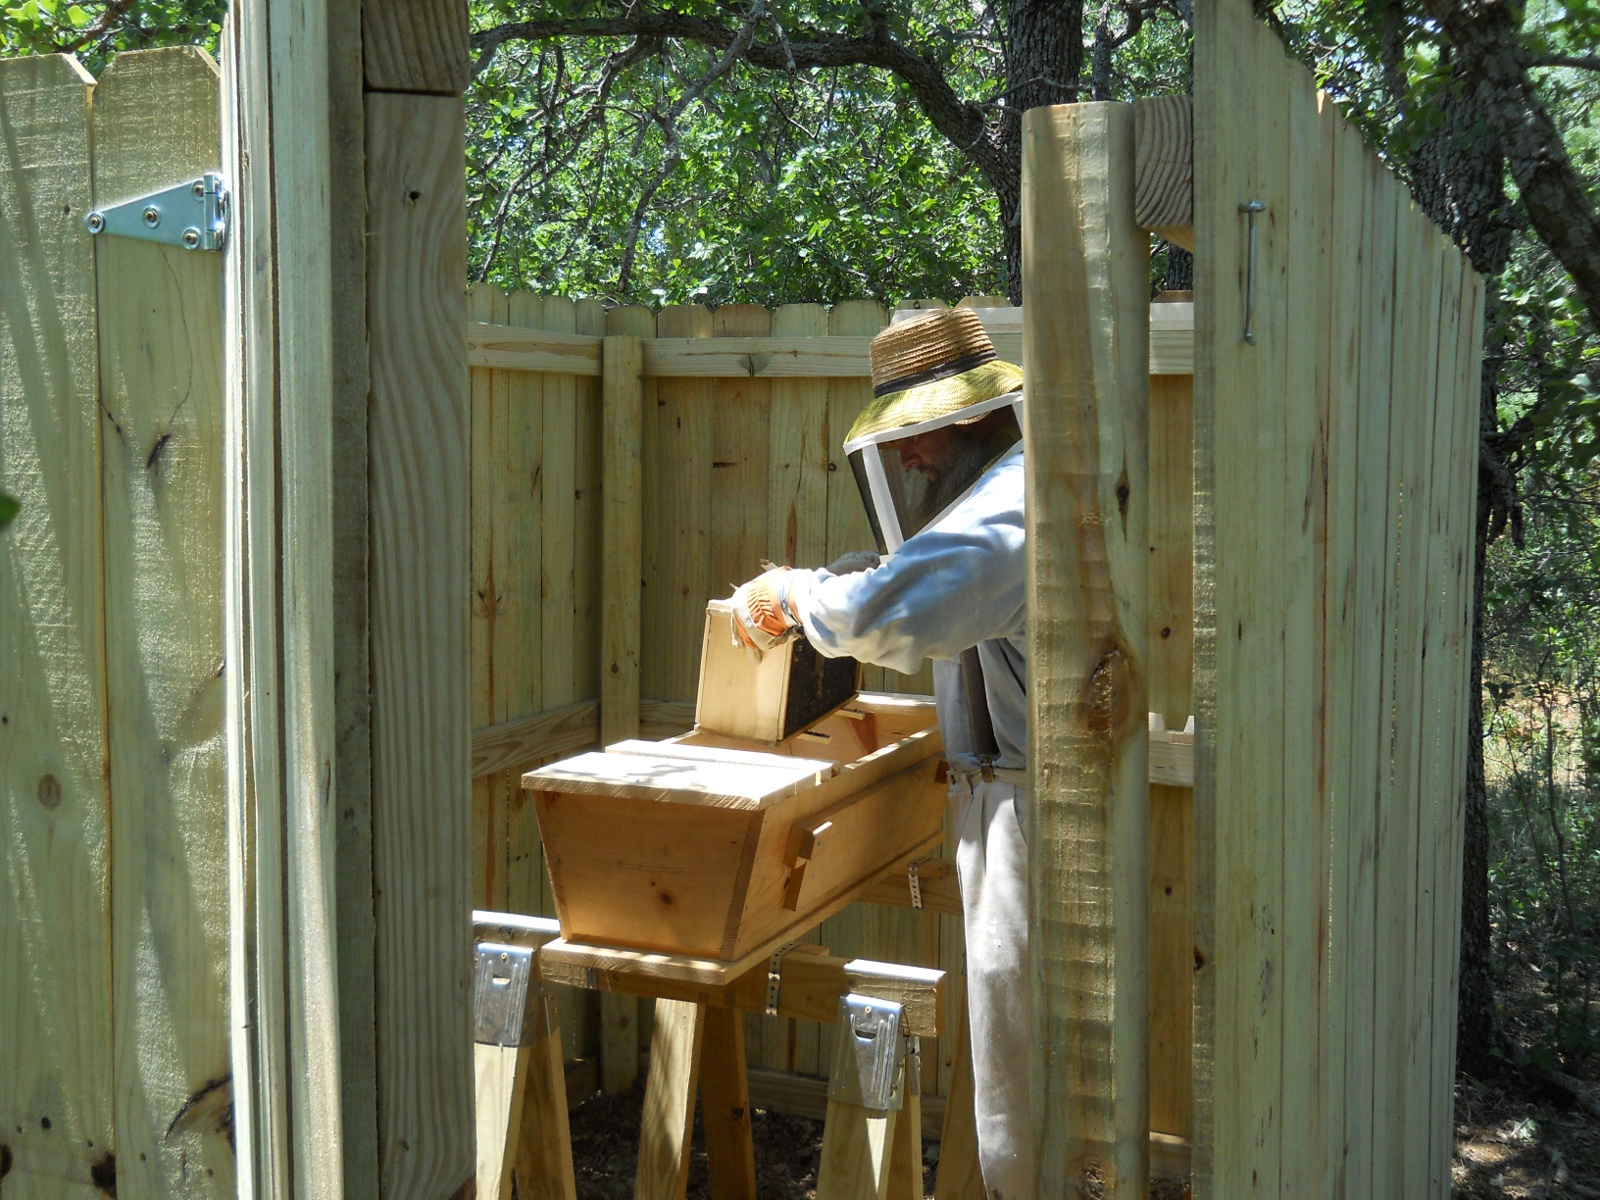
After donning the folding bee veil (something I read suggested a folding veil was easier to store away) I purchased from Weaver, which slides over a hat (I’m using a hard-hat helmet now, which works better and doesn’t deform my straw hat), putting on some gloves and taping the wrists closed, and spraying the bees in the package with sugar water (which I read distracts them and calms them very well), I took the bee package box, “clunked” it on the ground one time (I read doing it multiple times can disturb the bees more) to get them all to the bottom of the box, and went in and placed the bee package in the hive:

Bees 2012 Placing Box in Top Bar Bee Hive

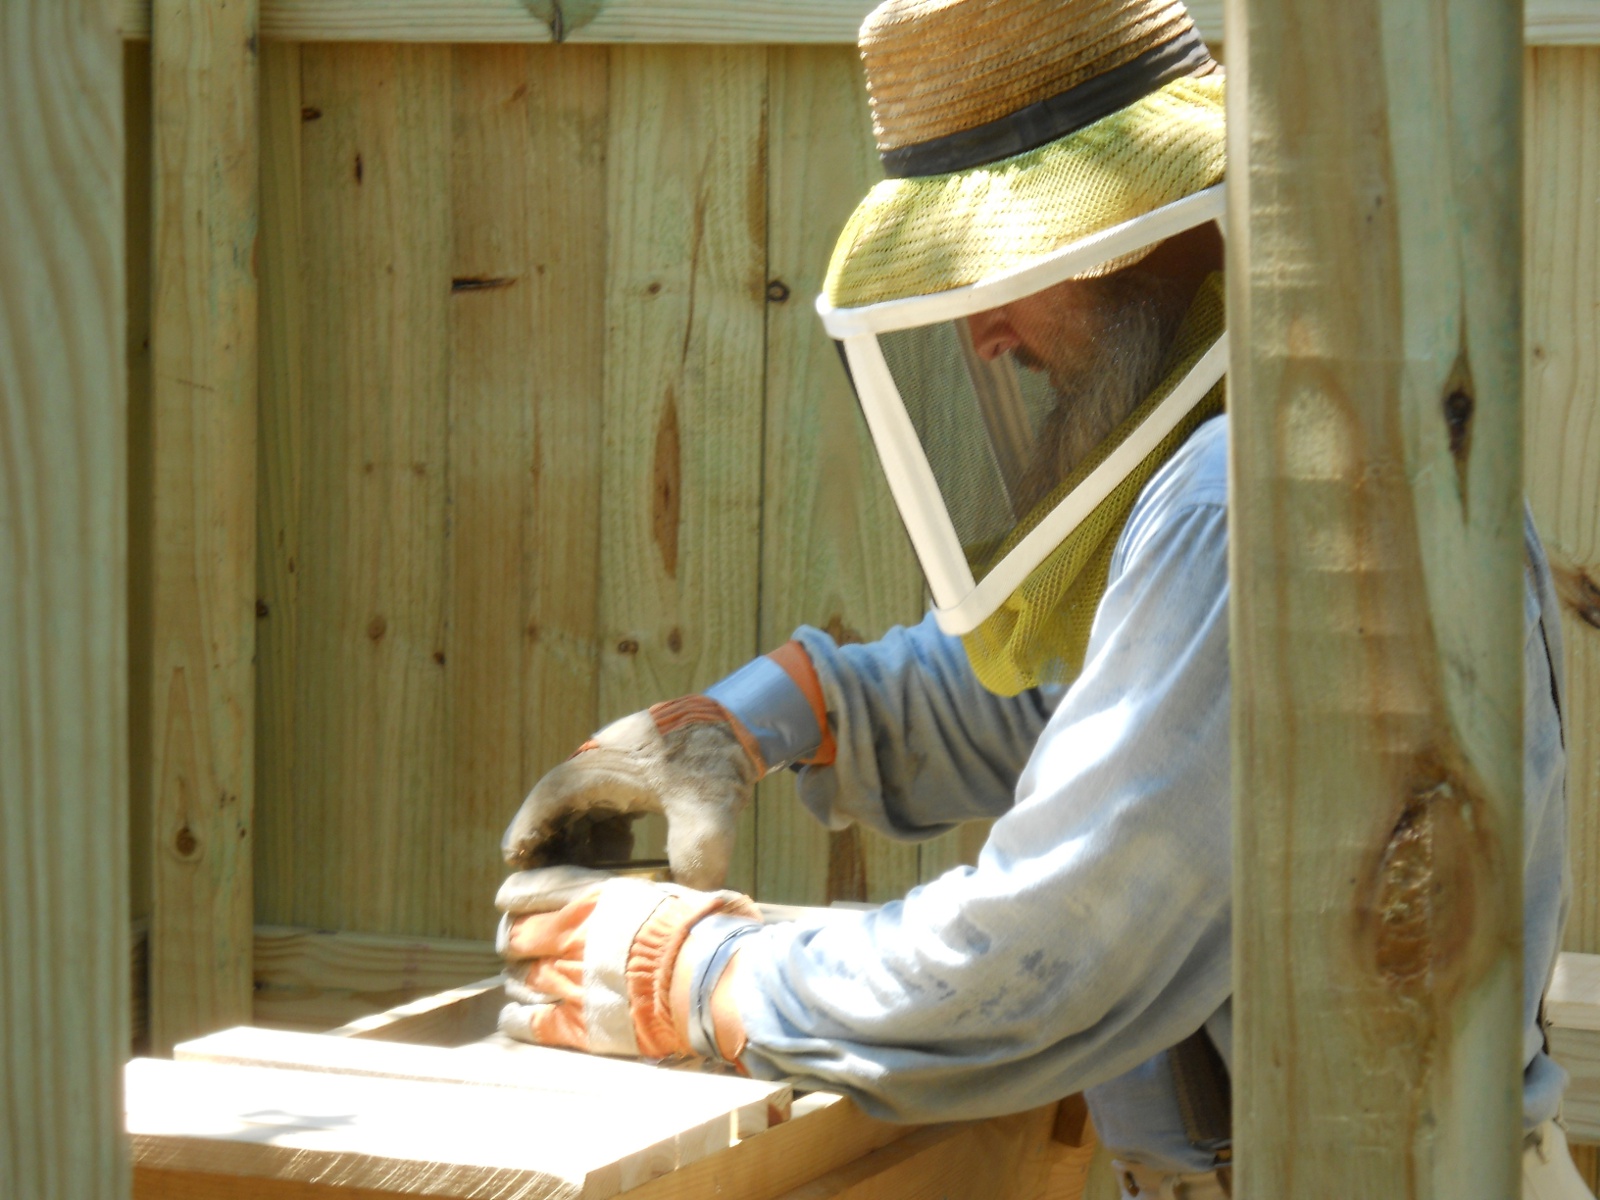
After trying to figure out how it was all put together (I thought the top of the honey water can was just a lid), I removed the honey-water can using my knife to slide it up slightly but enough to grab it with my fingers:

Bees 2012 Removing Honey Water Can

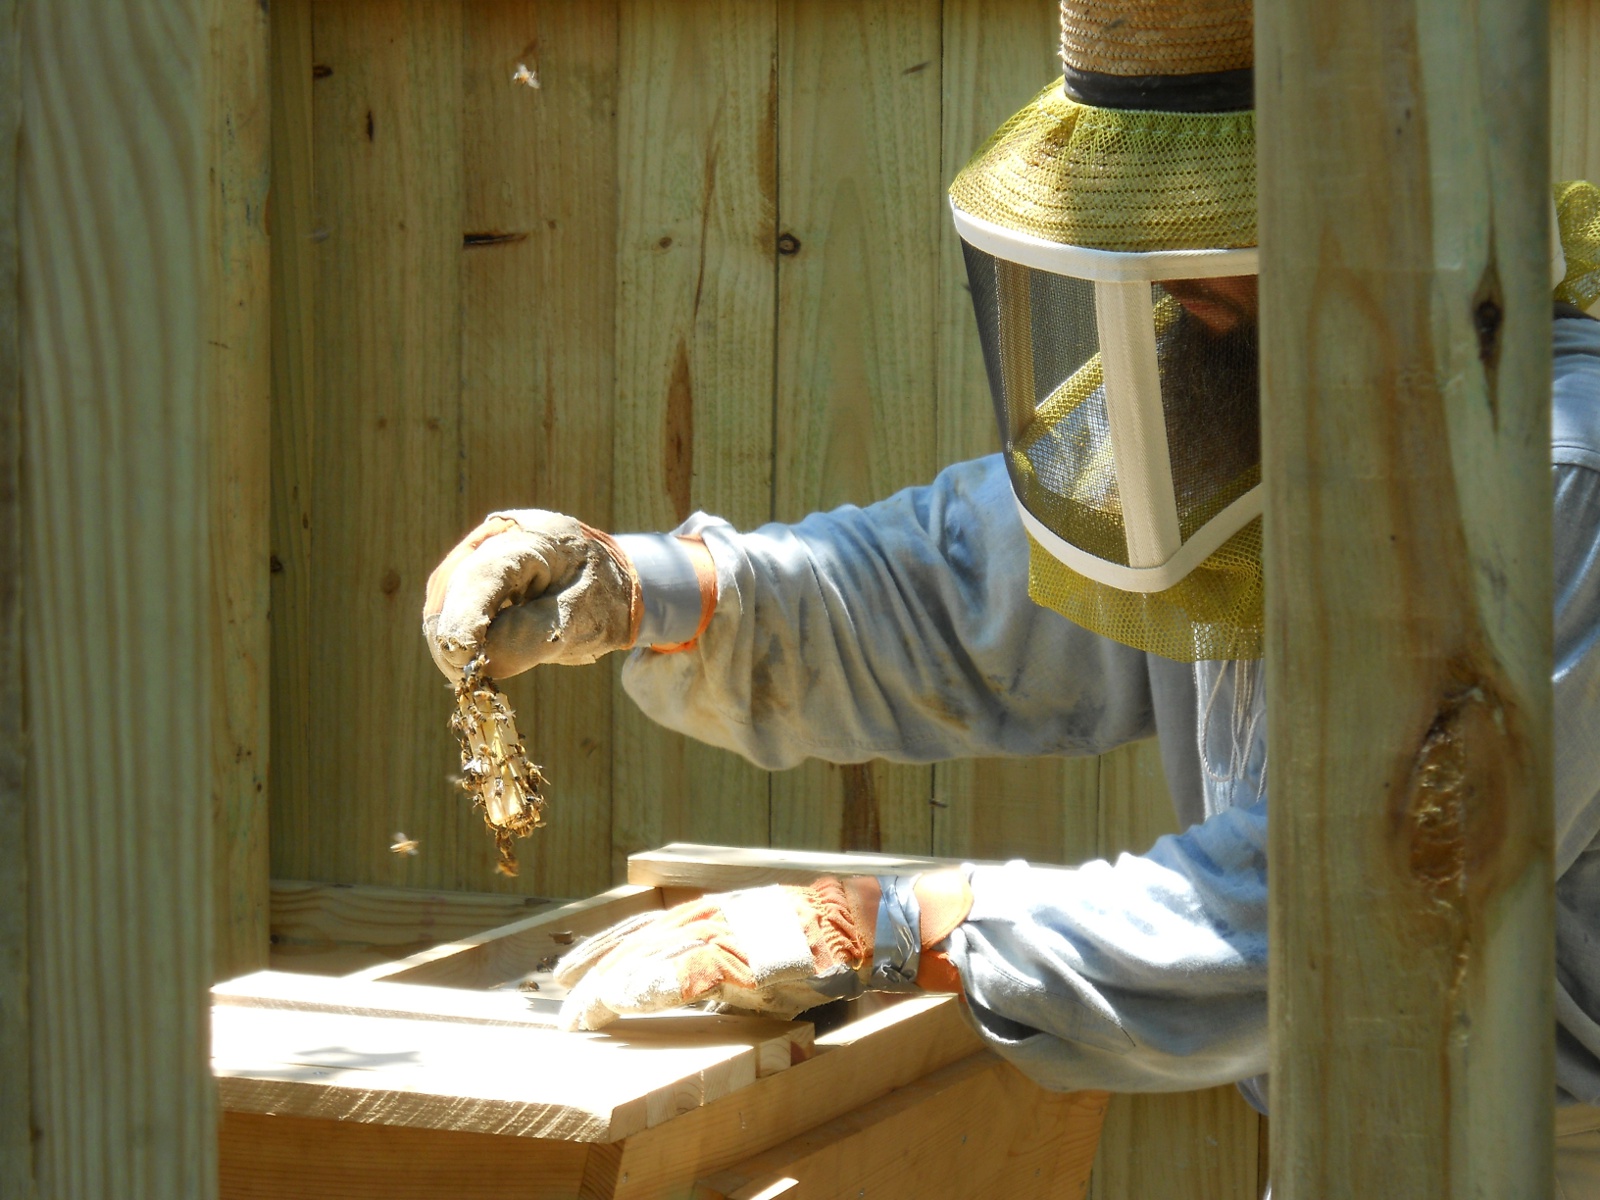
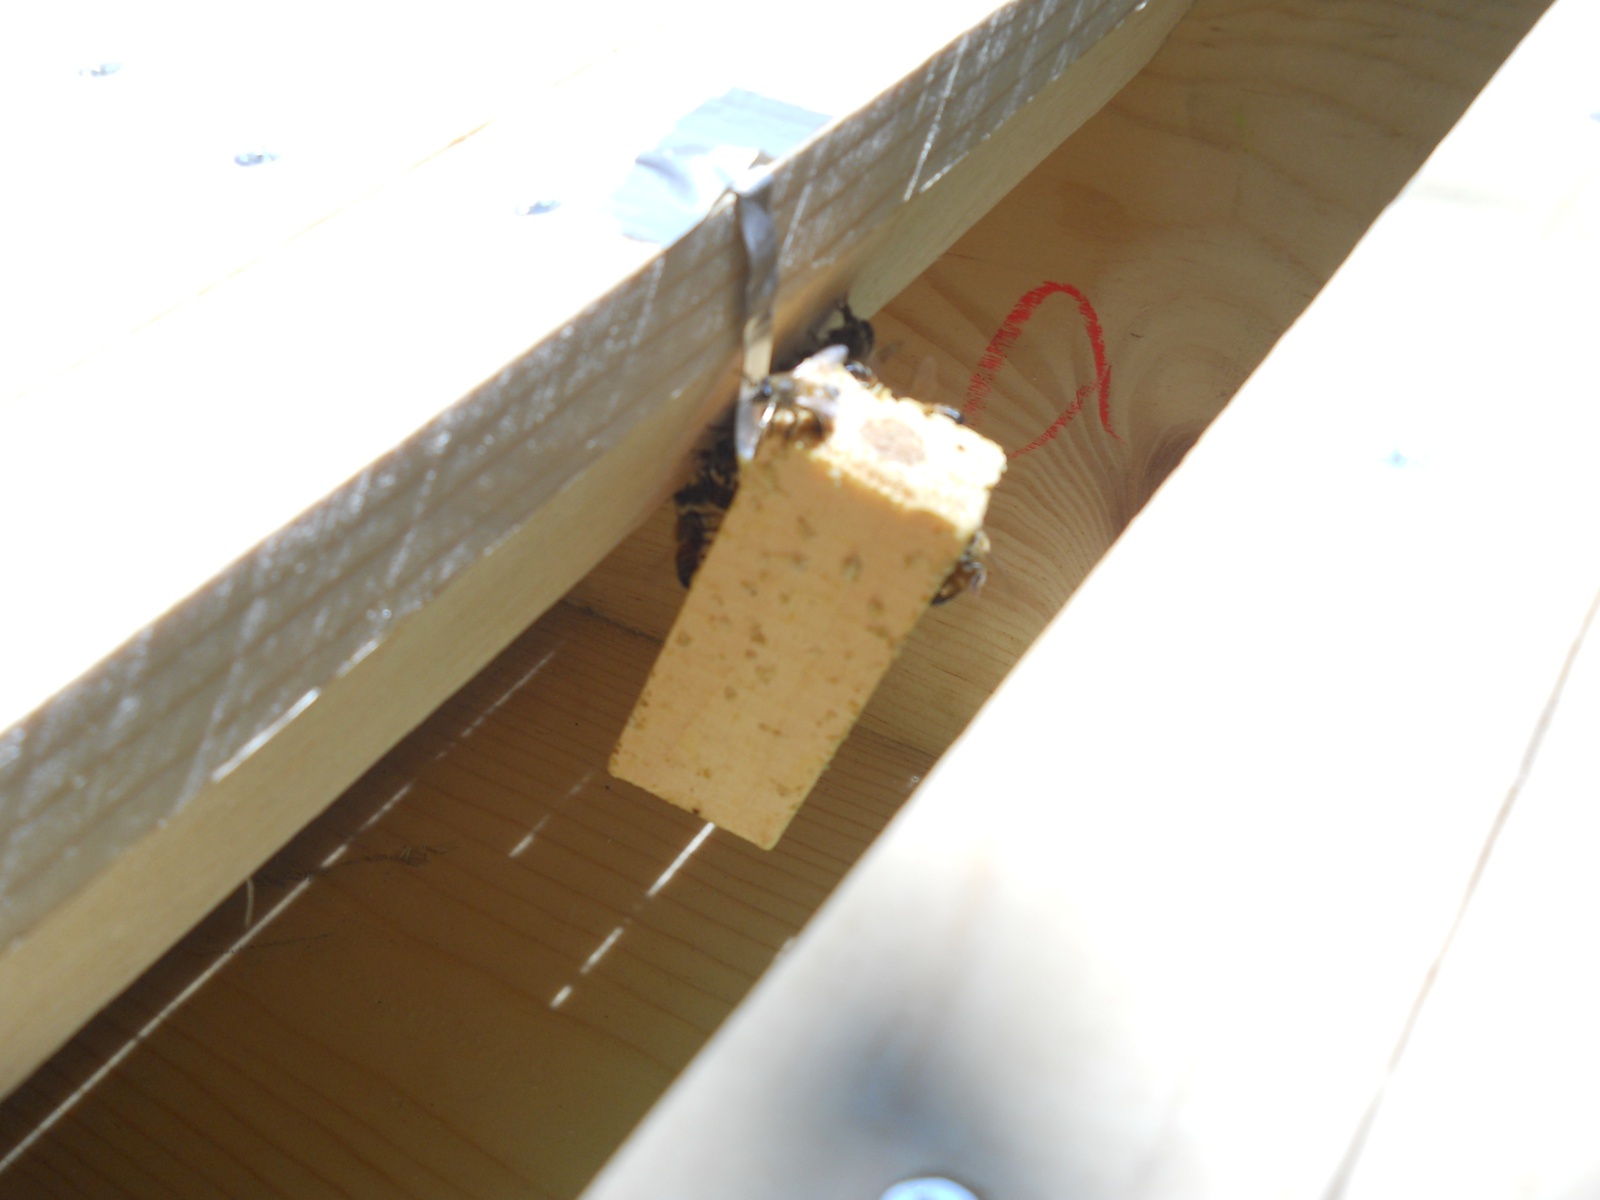
And then removed the queen cage:

Bees 2012 Queen Cage

I had heard to hang the queen cage between two top bars, and so I taped the little cage “handle” to one of the top bars:

Bees 2012 Placing the Queen Cage
Bees 2012 Top Bar Bee Hive with Queen Cage Hung

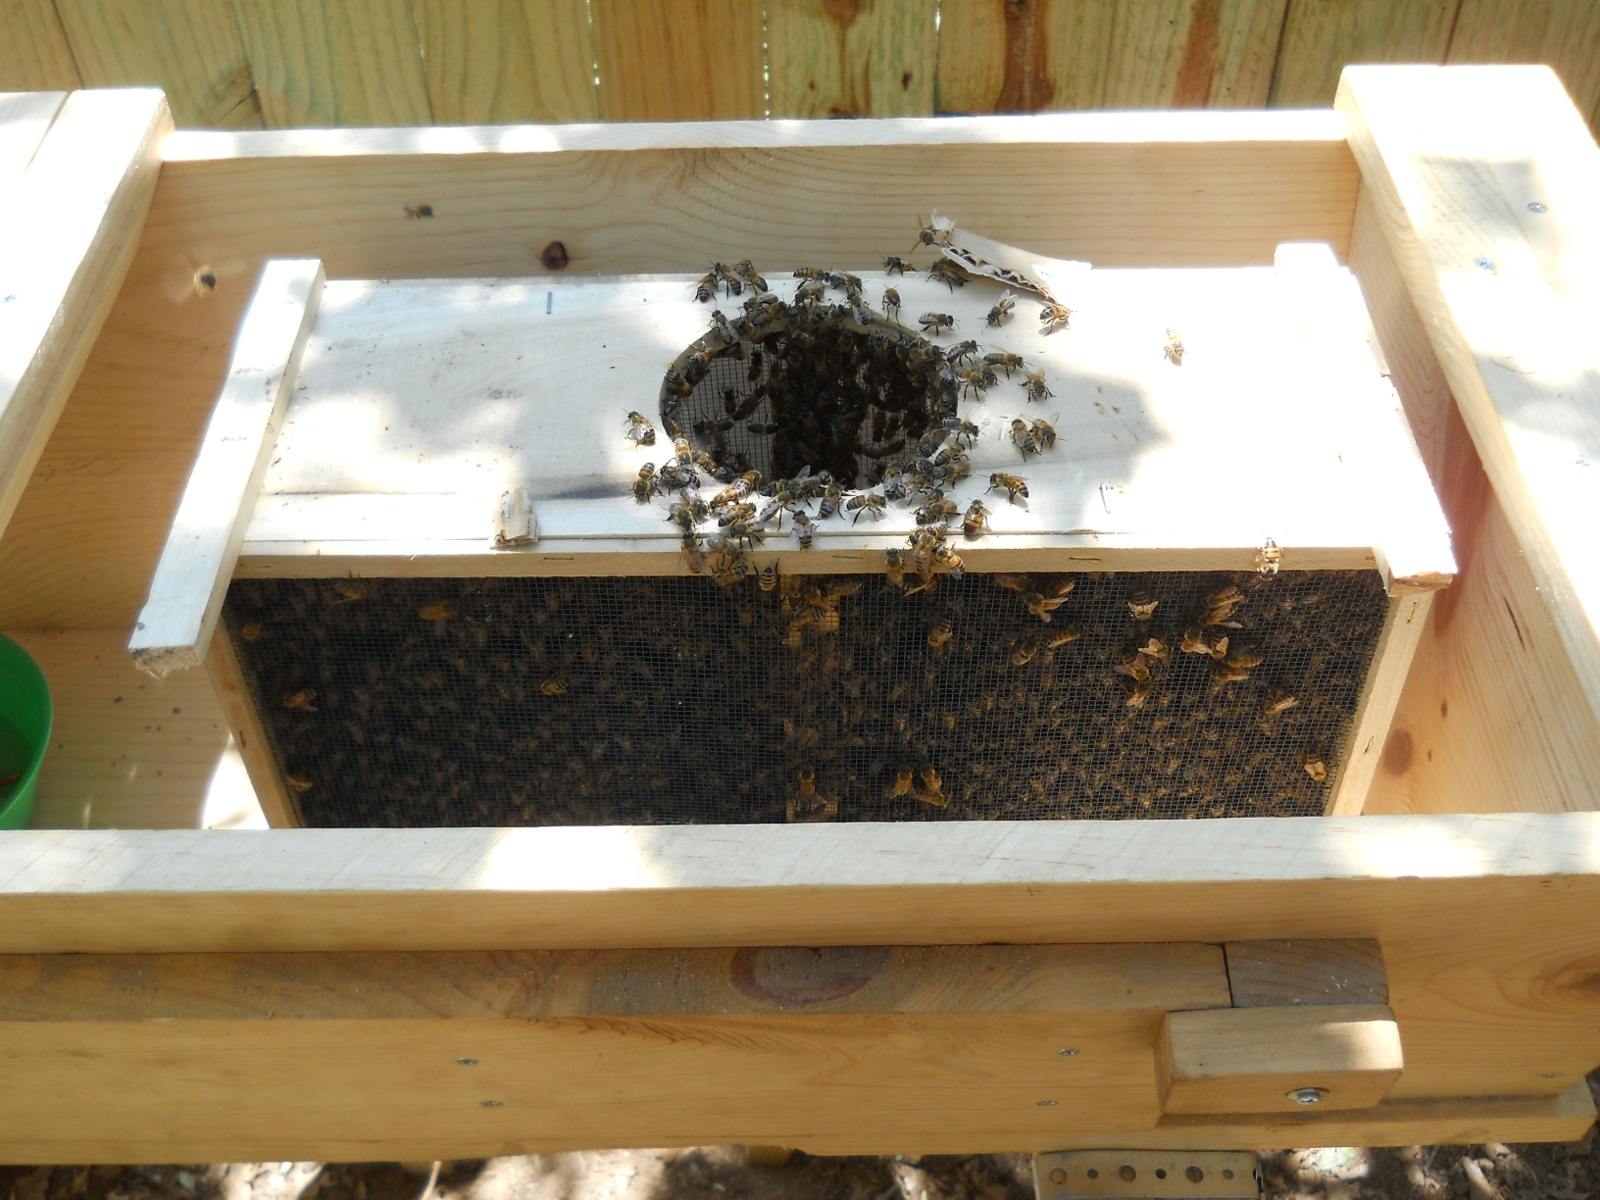
And here are the bees in their package box in the hive, moving in to their new digs:

Bees 2012 Box Placed in Top Bar Bee Hive

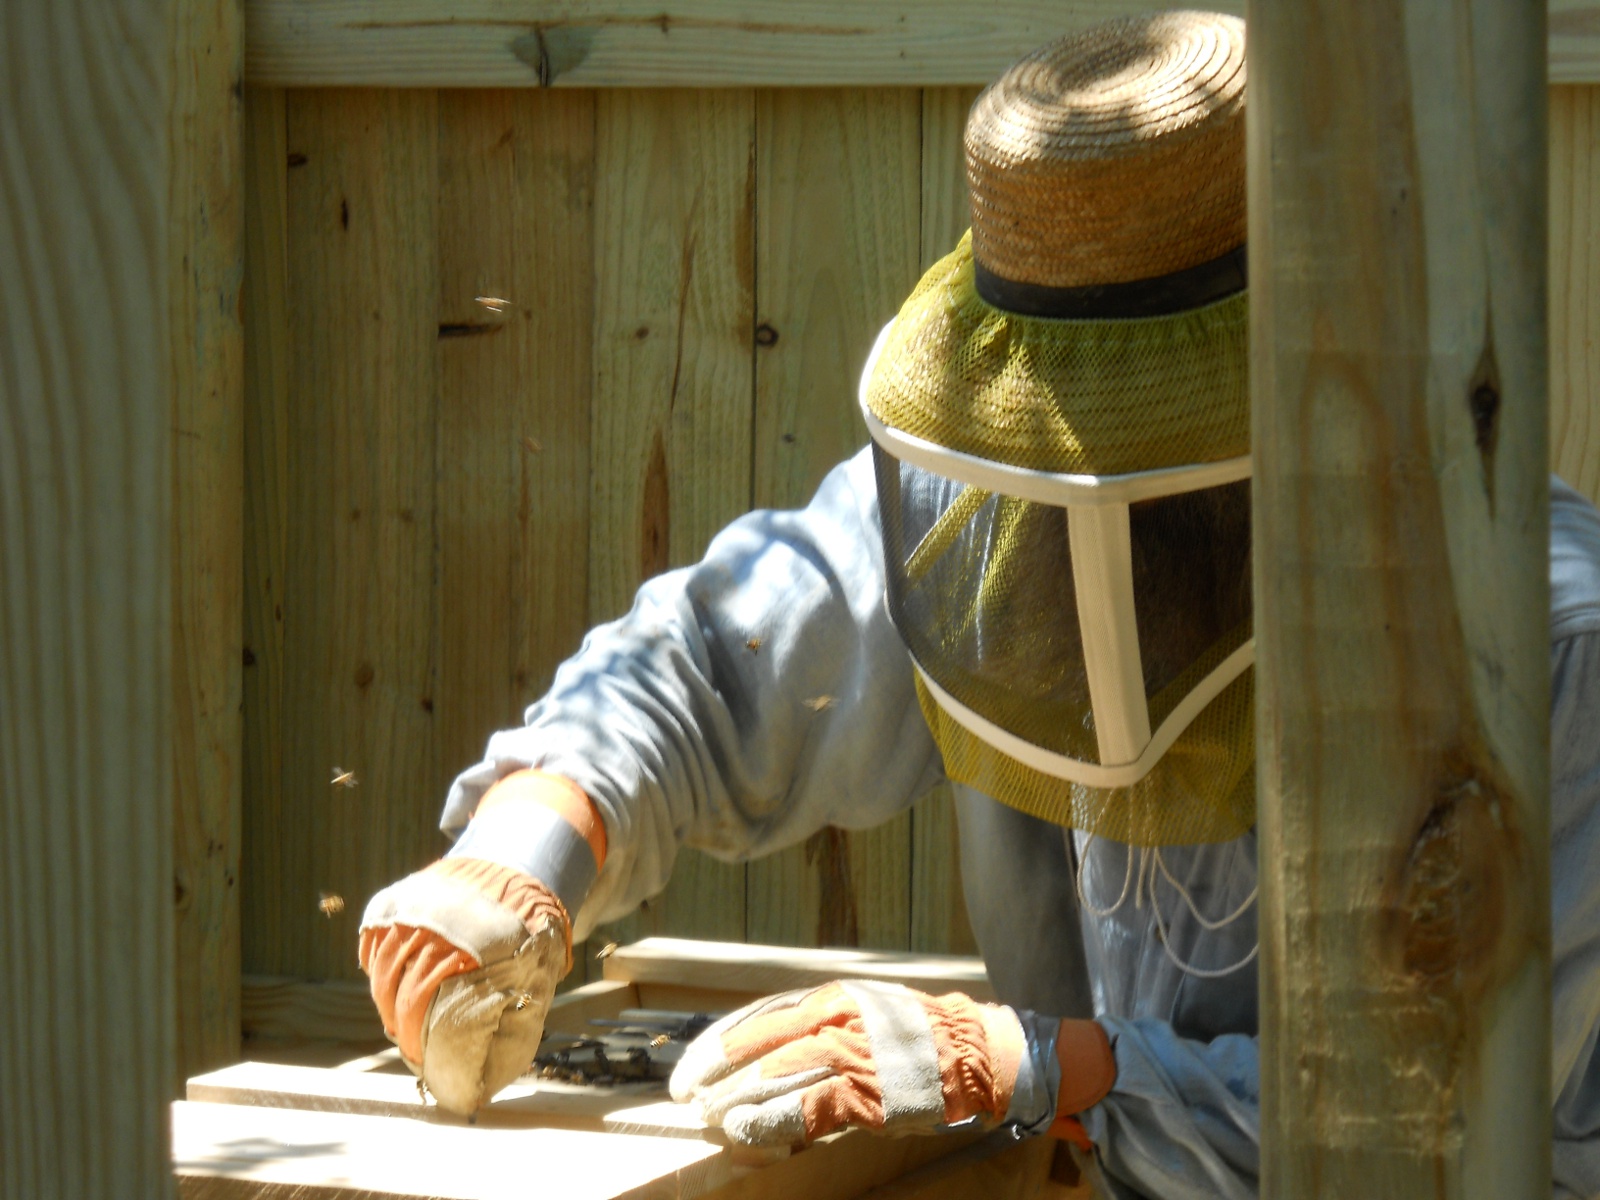
And then I replaced the missing bars and carefully closed the hive by trying to sweep the bees out of the way with my hand.

The next day, I went back and opened the hive to see how the queen was progressing in being released from the cage. There is apparently a candy plug that the bees eat away eventually to release the queen, but in my ignorance, figured it would only take a day, having since learned it can apparently take longer. At any rate, I had read that some people poke holes through the candy plug to help along the process, and had decided to do that if the queen was still in her cage, which she was. I brought an awl with me, began trying to push it through, and it popped the whole candy plug into the cage, and here came queenie waltzing out onto the top of the top bars. Uh oh…panic! She flew into the air, but then I found her again on top of the top bars, with other bees surrounding her; and I quickly took the small sweeping brush I had brought, and tried to sweep her and cluster of “attendants” into the bee hive through the space of one of the top bars I had removed. At the time, I thought I had swept them in; and so, I closed everything up and hoped and prayed that I had and for the best of the situation.

After doing a little more study, that bees could just abscond (leave) the hive for whatever reason, even after several days; and after watching a video on tips for installing new bees, I dropped in a few drops of food-grade lemongrass essential oils into the hive, as apparently bees perceive the smell of lemon as home. I also took the remaining honey water and put it in a little bowl on the ground with lots of twigs in it, especially ones leaning against the brim going into the water, so the bees would have something to stand on, as they can drown in open water.

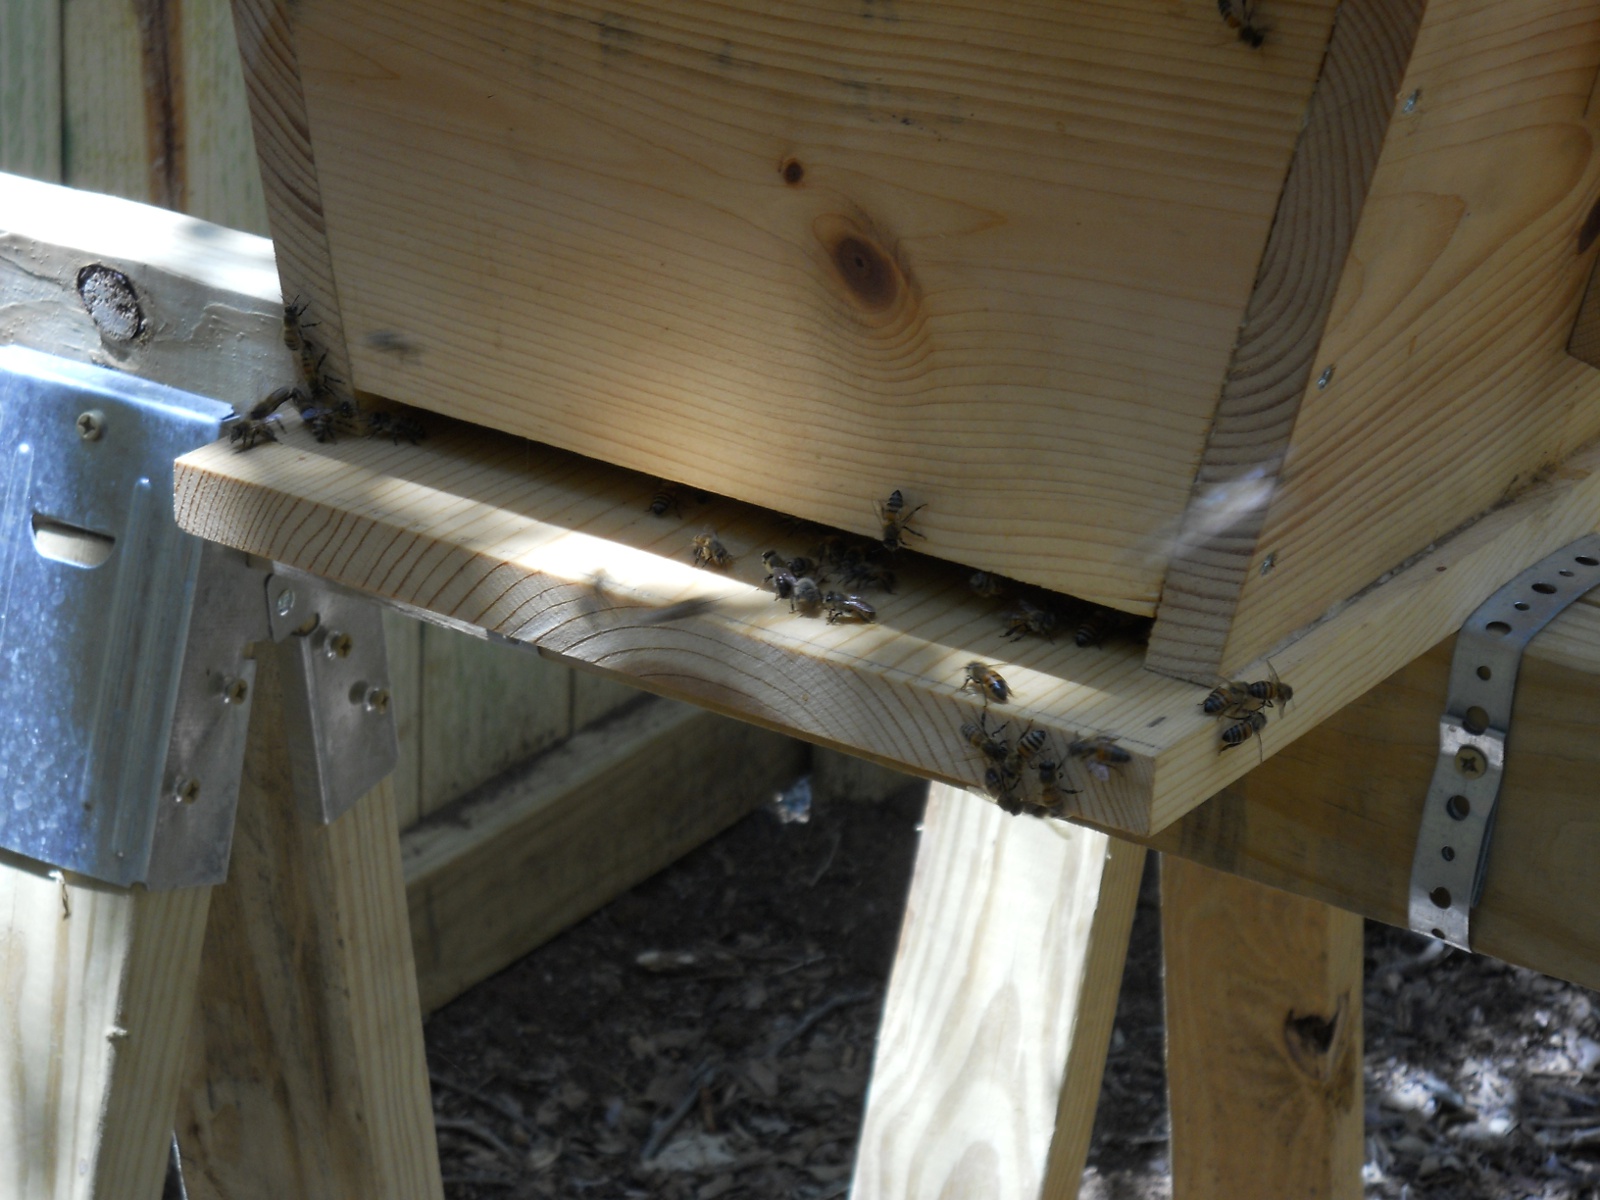
Well, over the next several days, it appeared I did get the queen in there, as there was a continuous large cluster of bees in the back of the hive; and, after about two weeks, here are the bees congregating in the front:

Bees 2012 Comb Being Built

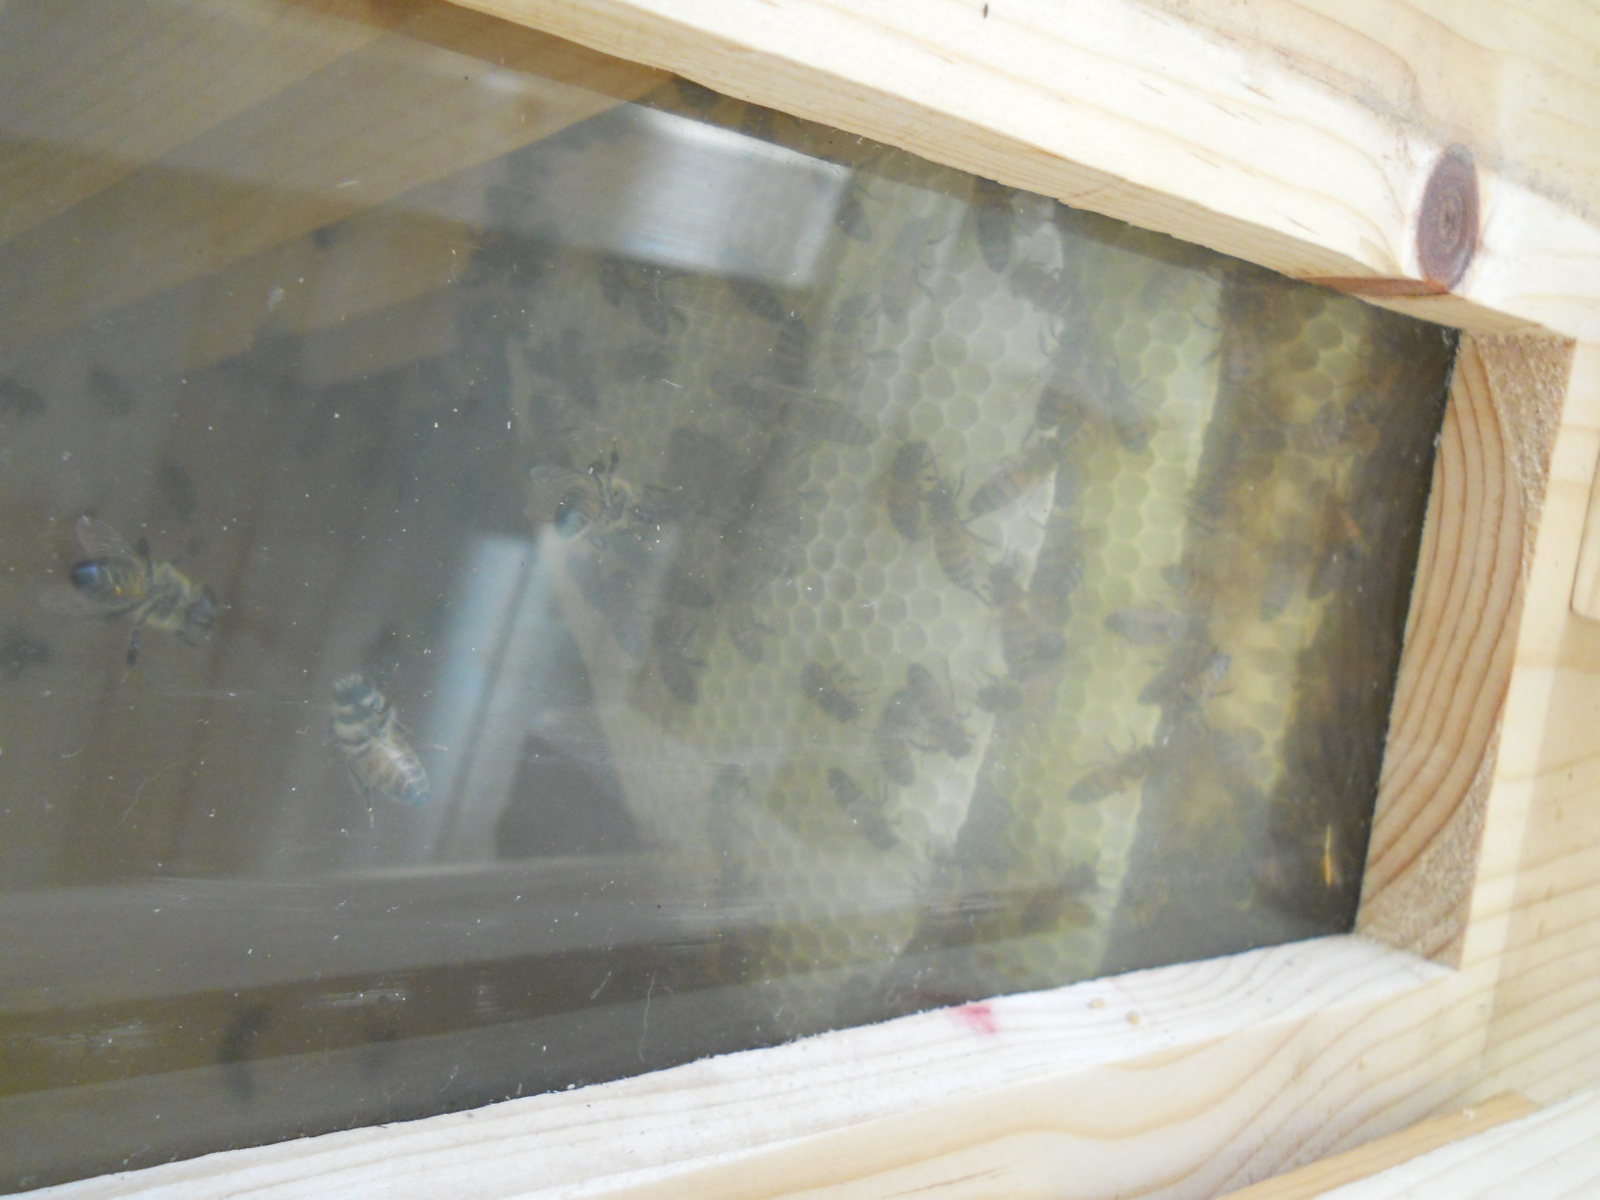
And after a about three weeks, here is the progress!

Bees 2012 Comb Being Built

We are grateful to the Lord for the example of these busy workers, and we pray we manage well these little well-ordered creatures, so we have more pollinators around, and for honey eventually for food preservation (and a little sweetener!), for His glory and the benefit of His Church.

— David

« Older posts Newer posts »