For many, many years we have been breeding pigs, keeping an offspring to perpetuate for the next round, and then selling the rest.
Well, the Lord in His wisdom decided the line would come to an end. The last one we kept was Penelope from back in 2013. In 2014, we bought a pig we named Odysseus, and put them together. Sadly, this produced no offspring.
So we tried again with a young one from the neighbors, but he got out and ran back to their pig pen. And so we tried again, and this one ended up being one we named Ardy in 2016.
By around mid-2017, I decided that he either had done the job or hadn’t, and so we took him in to the processor.
Well, after 4 months, there was nothing. I debated about what to do, with such a nice line, and being somewhat sentimental to all of the years and generations. But eventually figured it was time to call it “end of the line.”
However, that wasn’t the quite the end. The processor was busy, so we needed to make an appointment in the future.
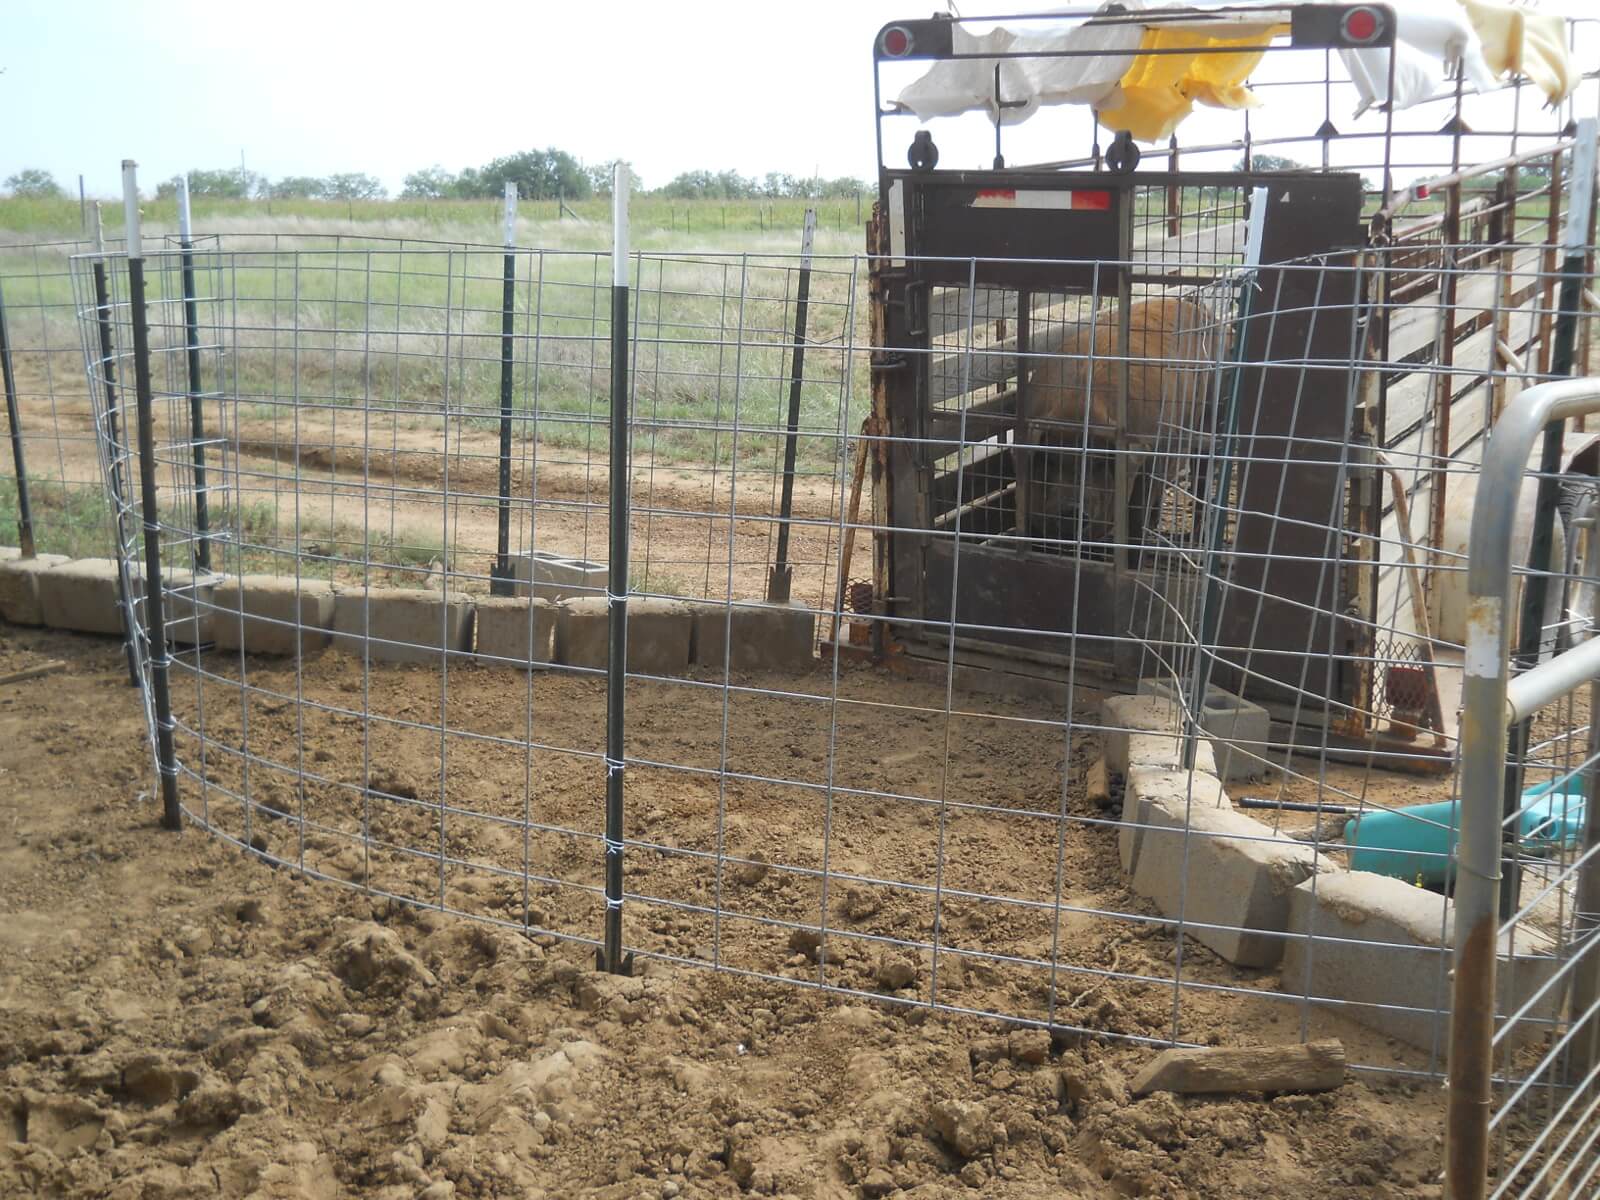
And we tried to get her loaded, and she would just not go in, even with the cattle trailer backed up to an opening in the paneled fences right at her normal feeding area. She had lost her appetite because of the heat I figure, so she wasn’t very motivated. And so we had to cancel the processor reservation a couple of times.
Well, we tried one more time, with the trailer parked there for 5-6 days before, and the day before really worked it, even by building a temporary fence around the loading area. It was rough at points, where she tried to lift up the panel and get away (she was a big girl and not pleased at all!), and then I had to put in t-posts, but finally, but God’s graces, we got her into the trailer:

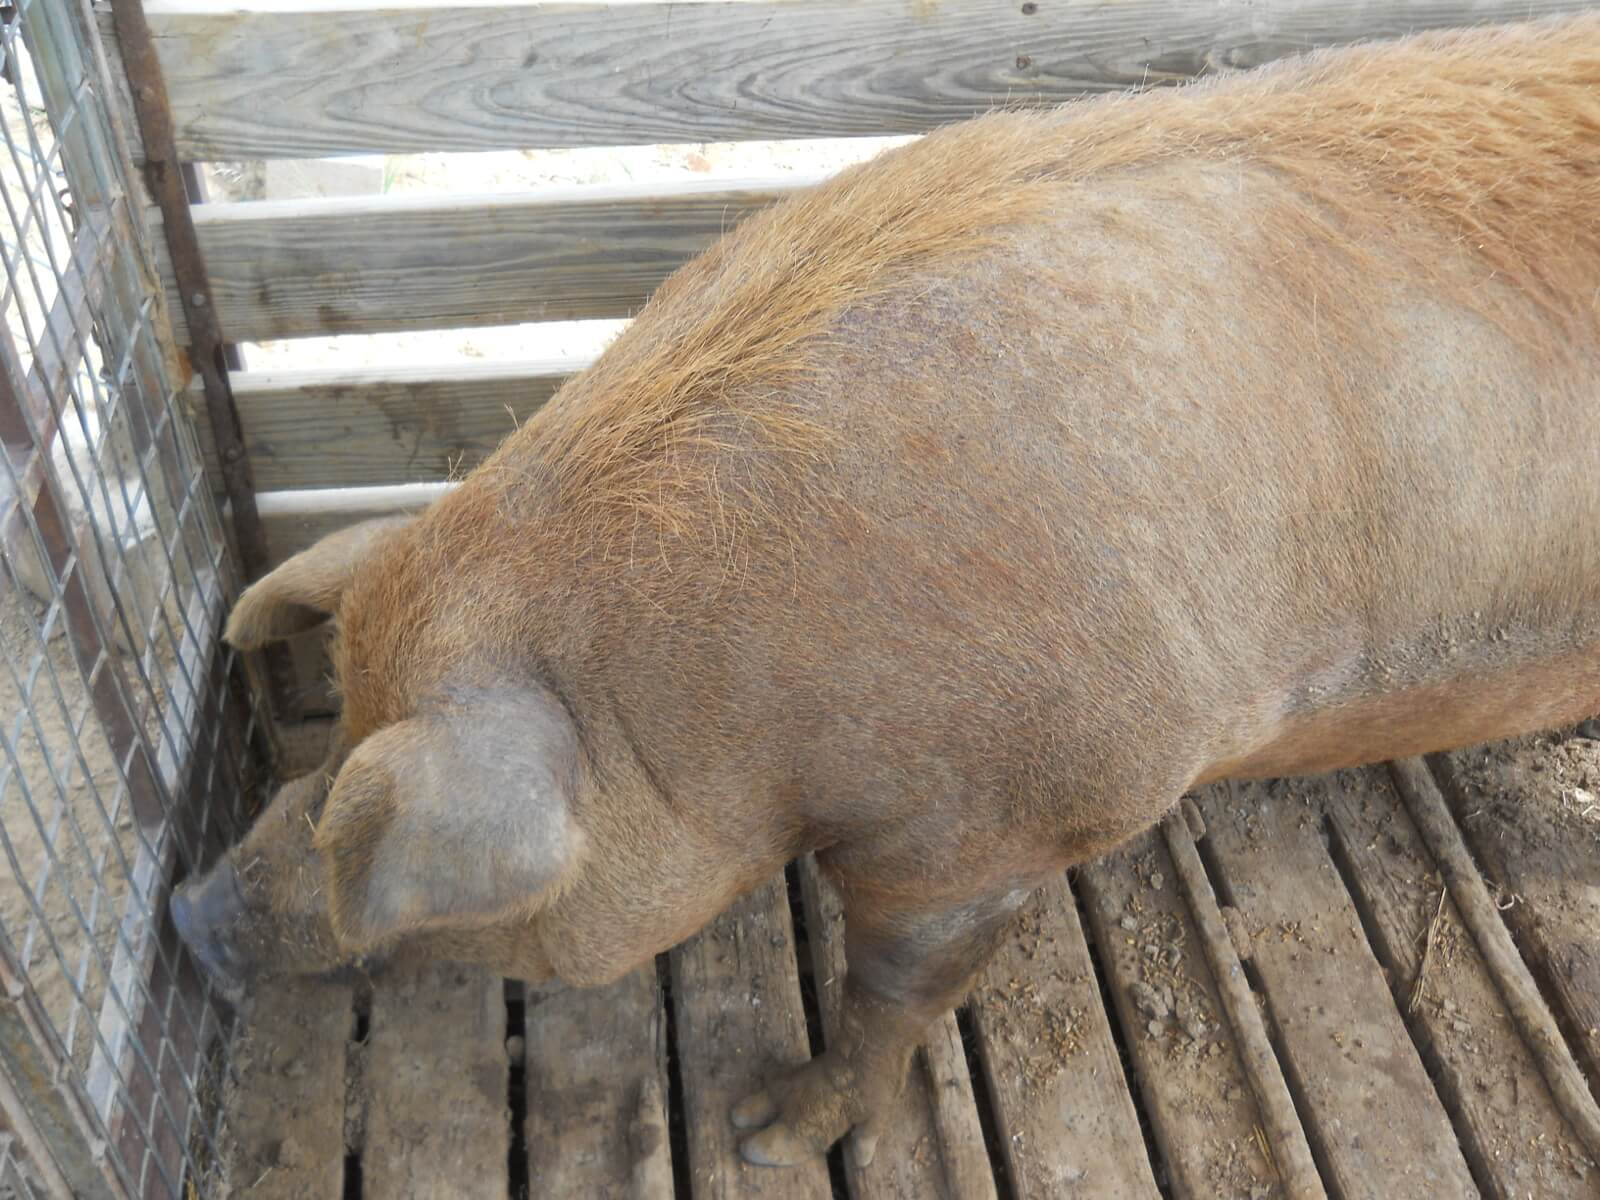
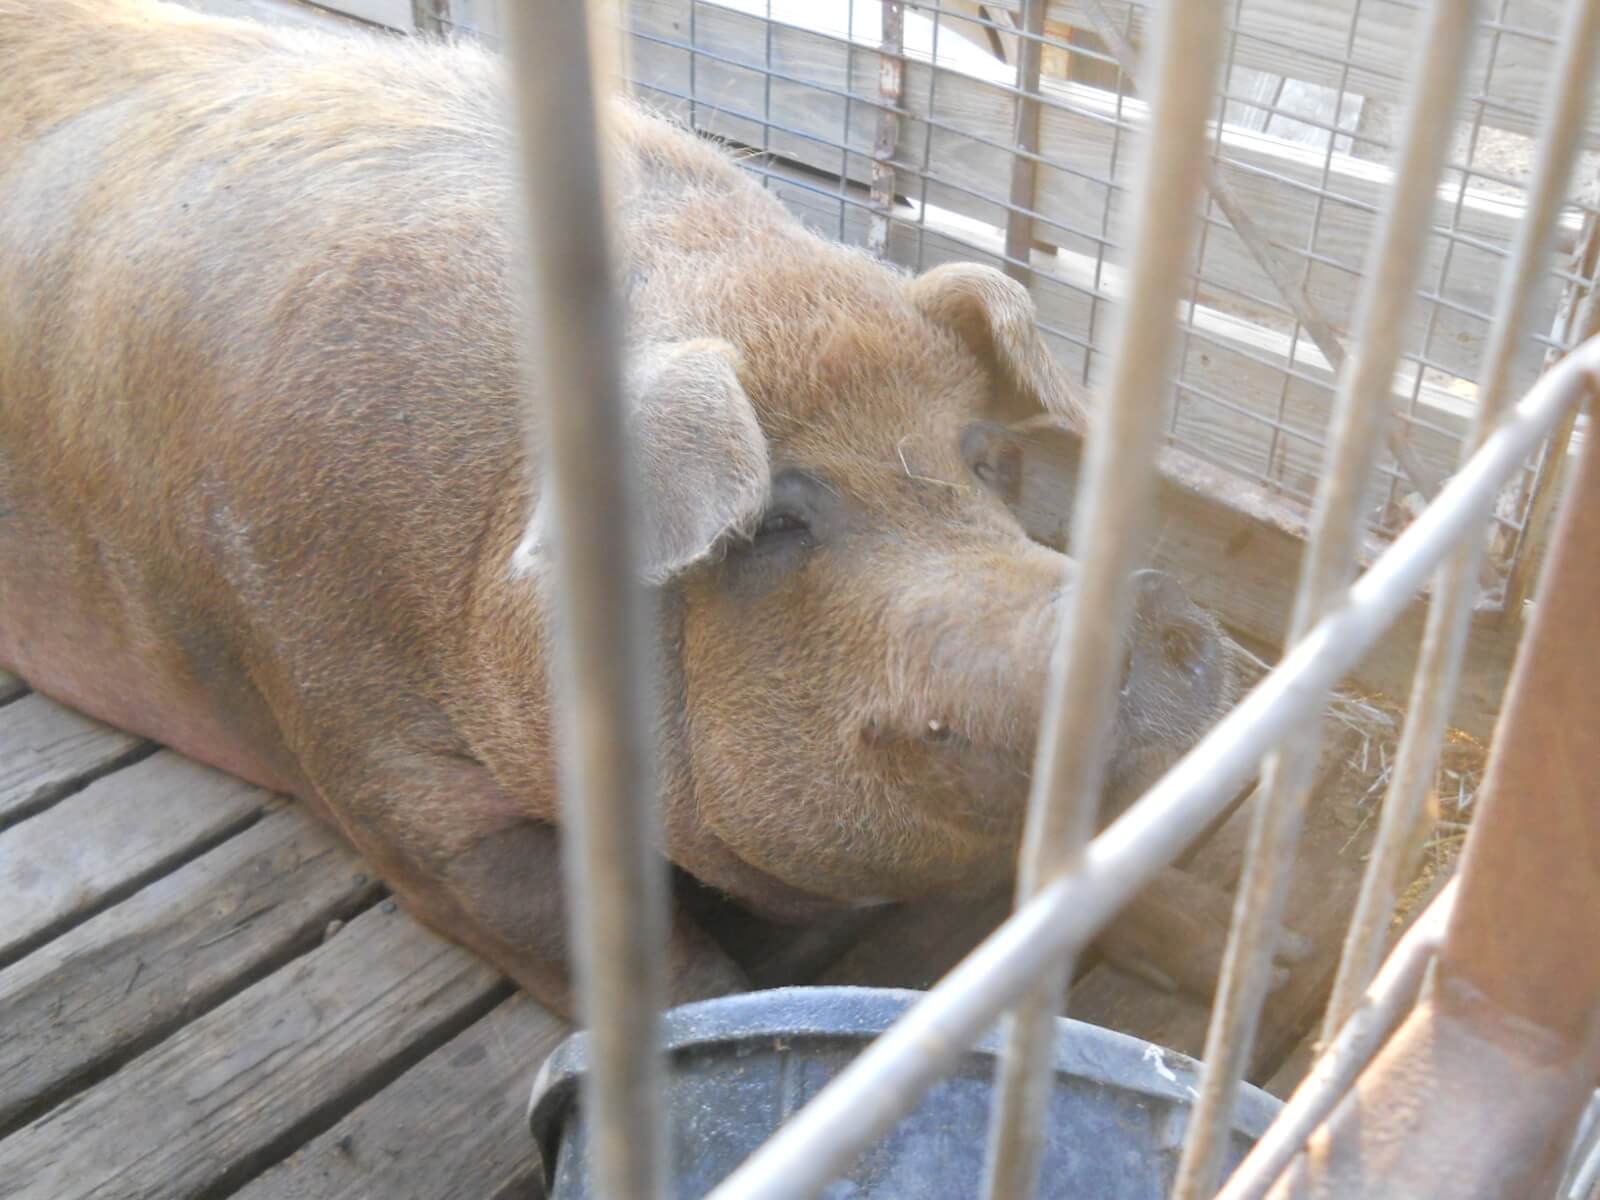
And here she is her last morning. She tore up the cross pieces in the trailer, and then getting her out of the trailer and into the processor was again something of a chore, but thankfully we were able to say goodbye and bring her to her final place where she would, Lord willing, become our daily bread:
Here is a video recapping the 1 1/2 to 2-hour loading adventure, and a goodbye the next morning:
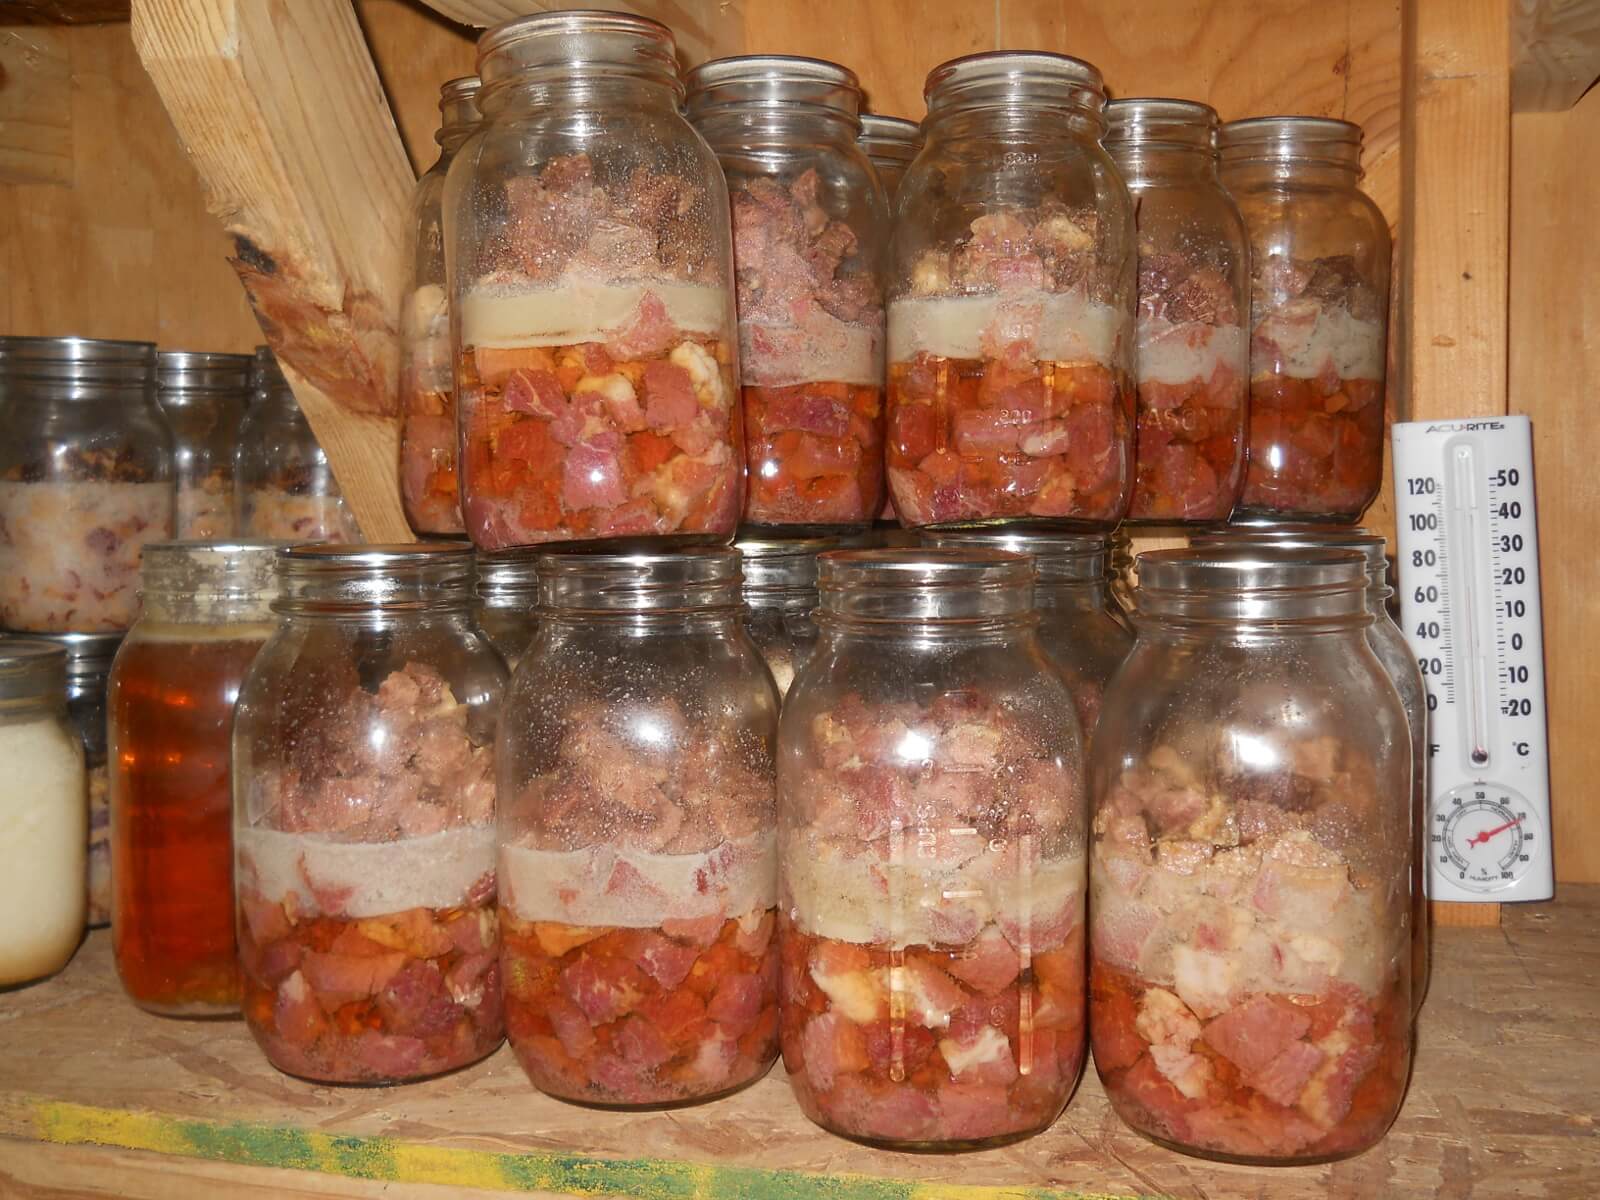
And finally, here are some of the provisions God has granted from her:
Ham:
Bacon:
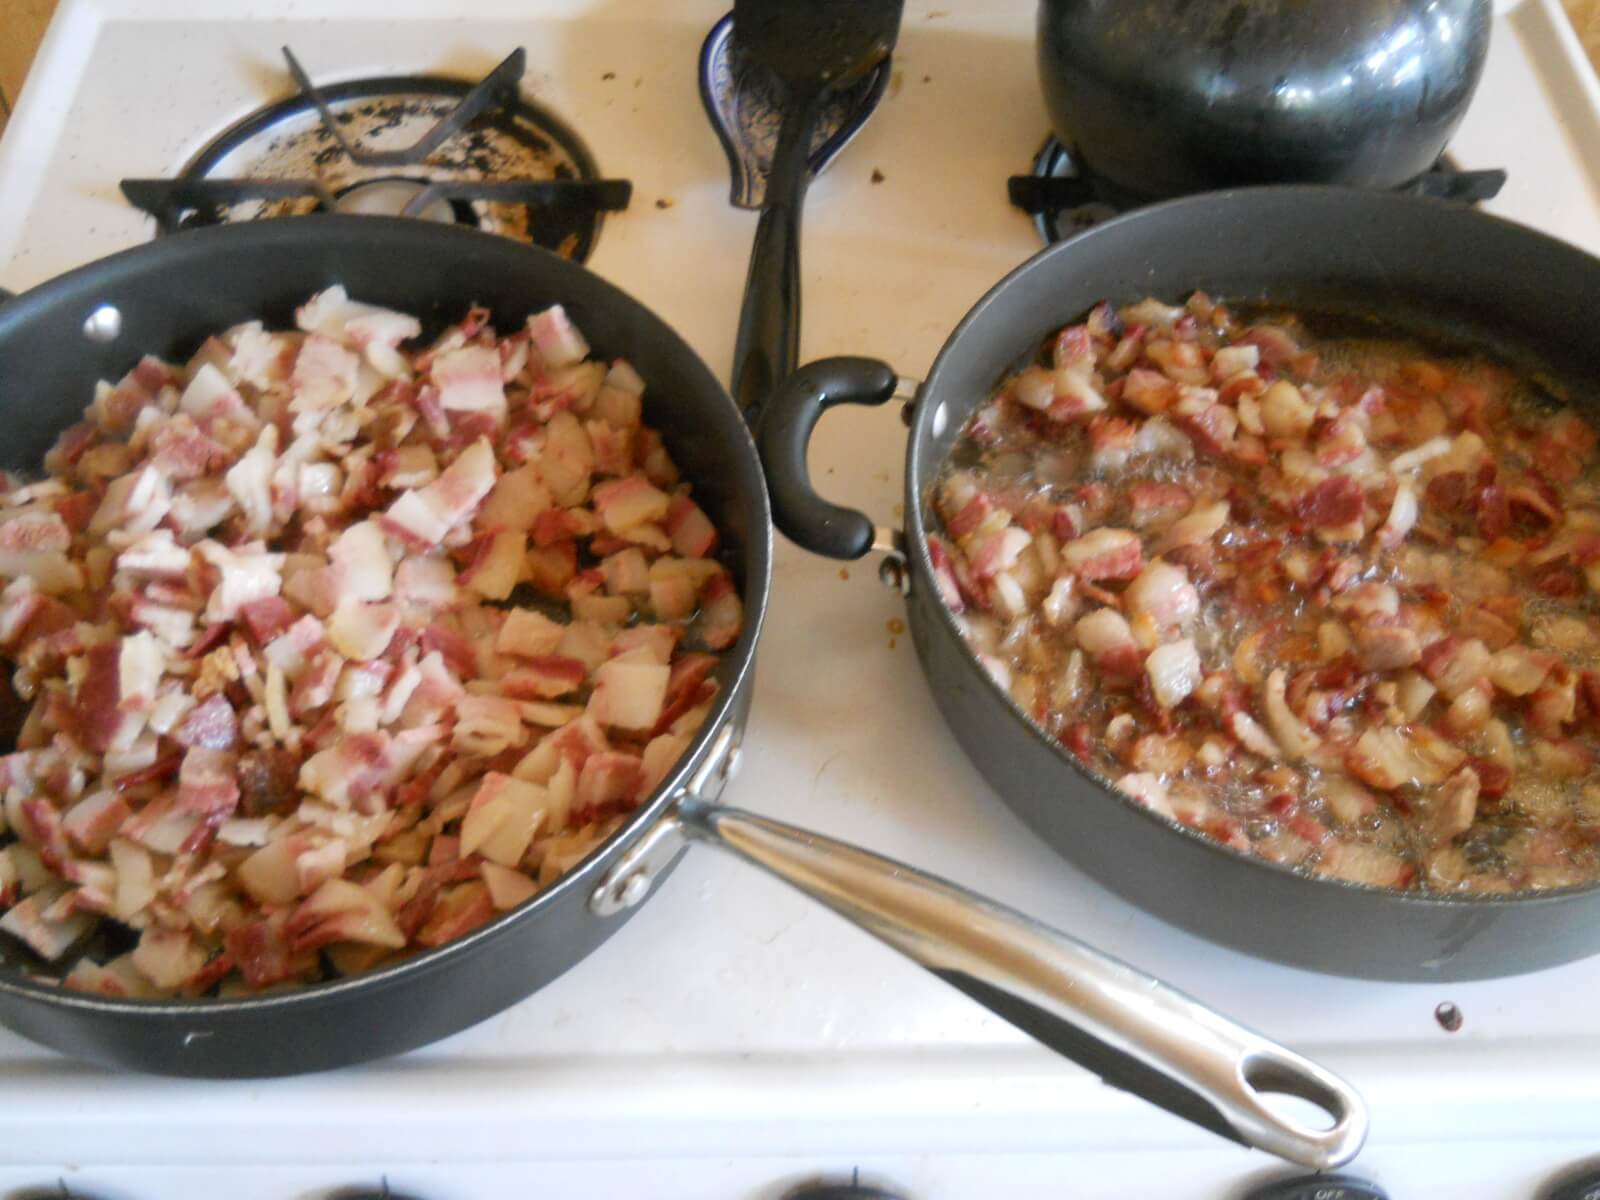
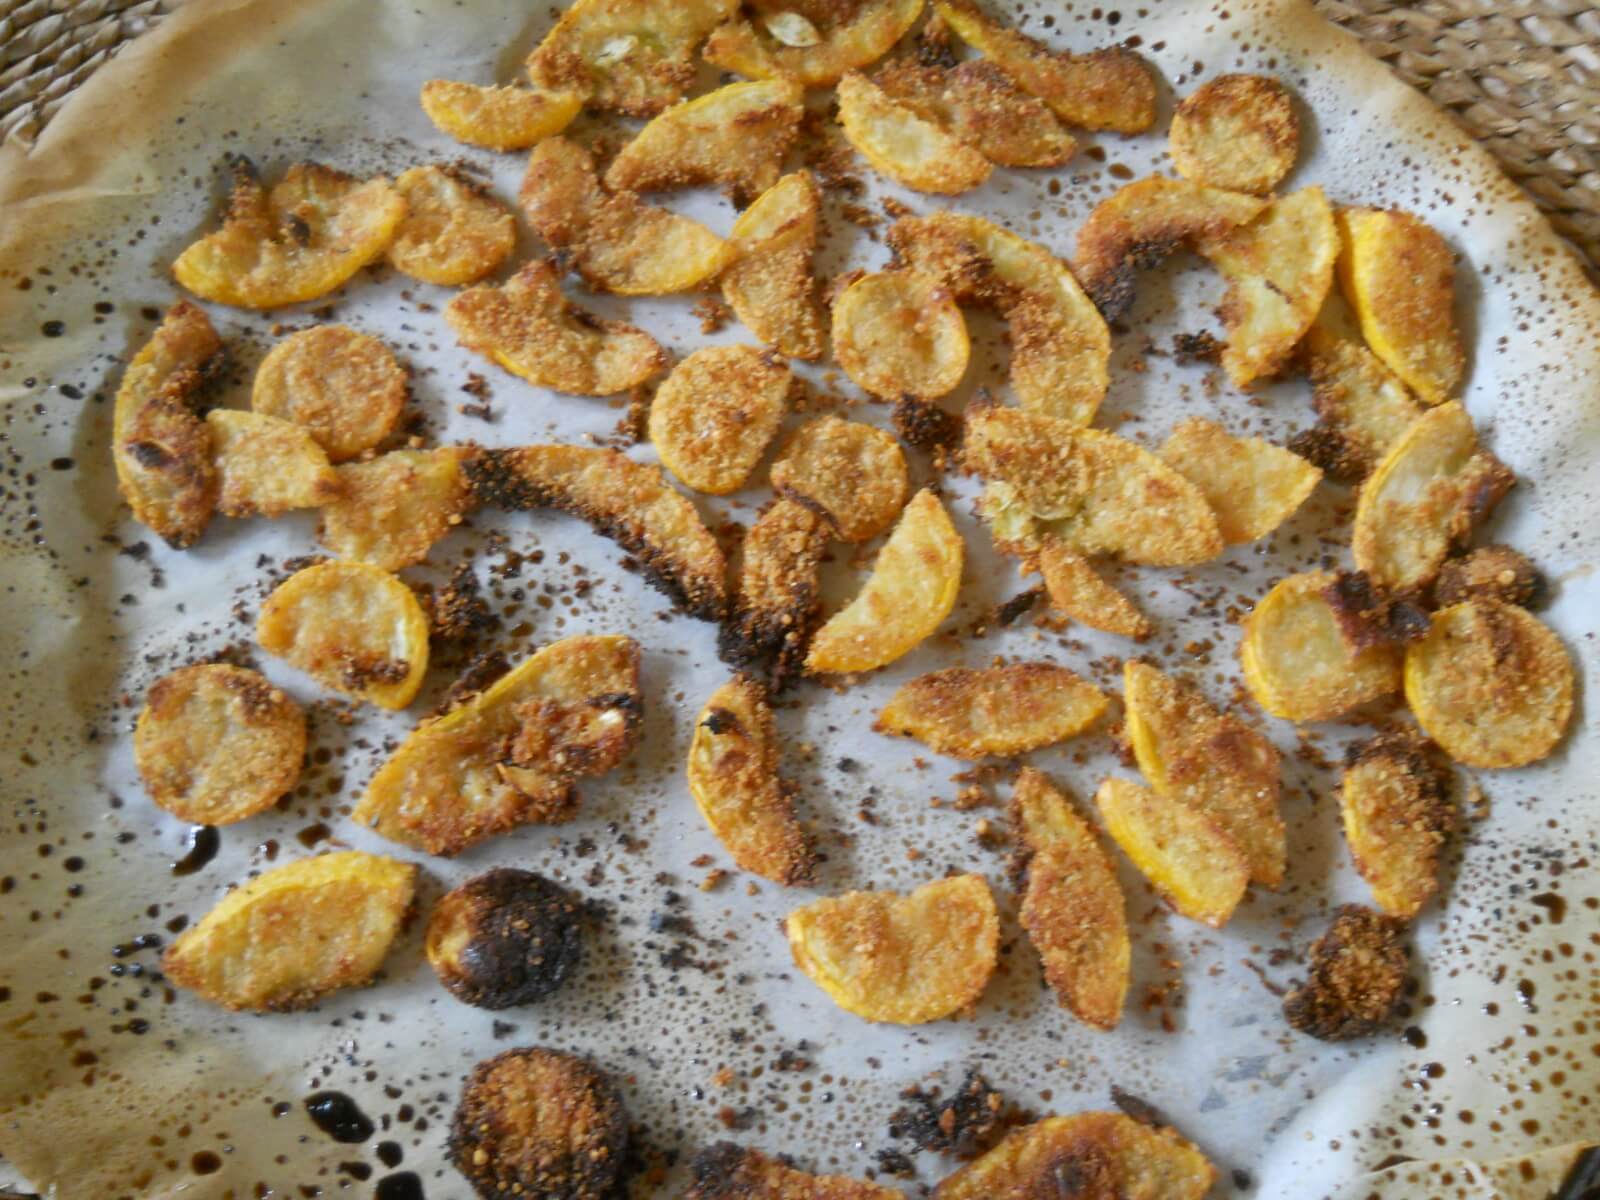
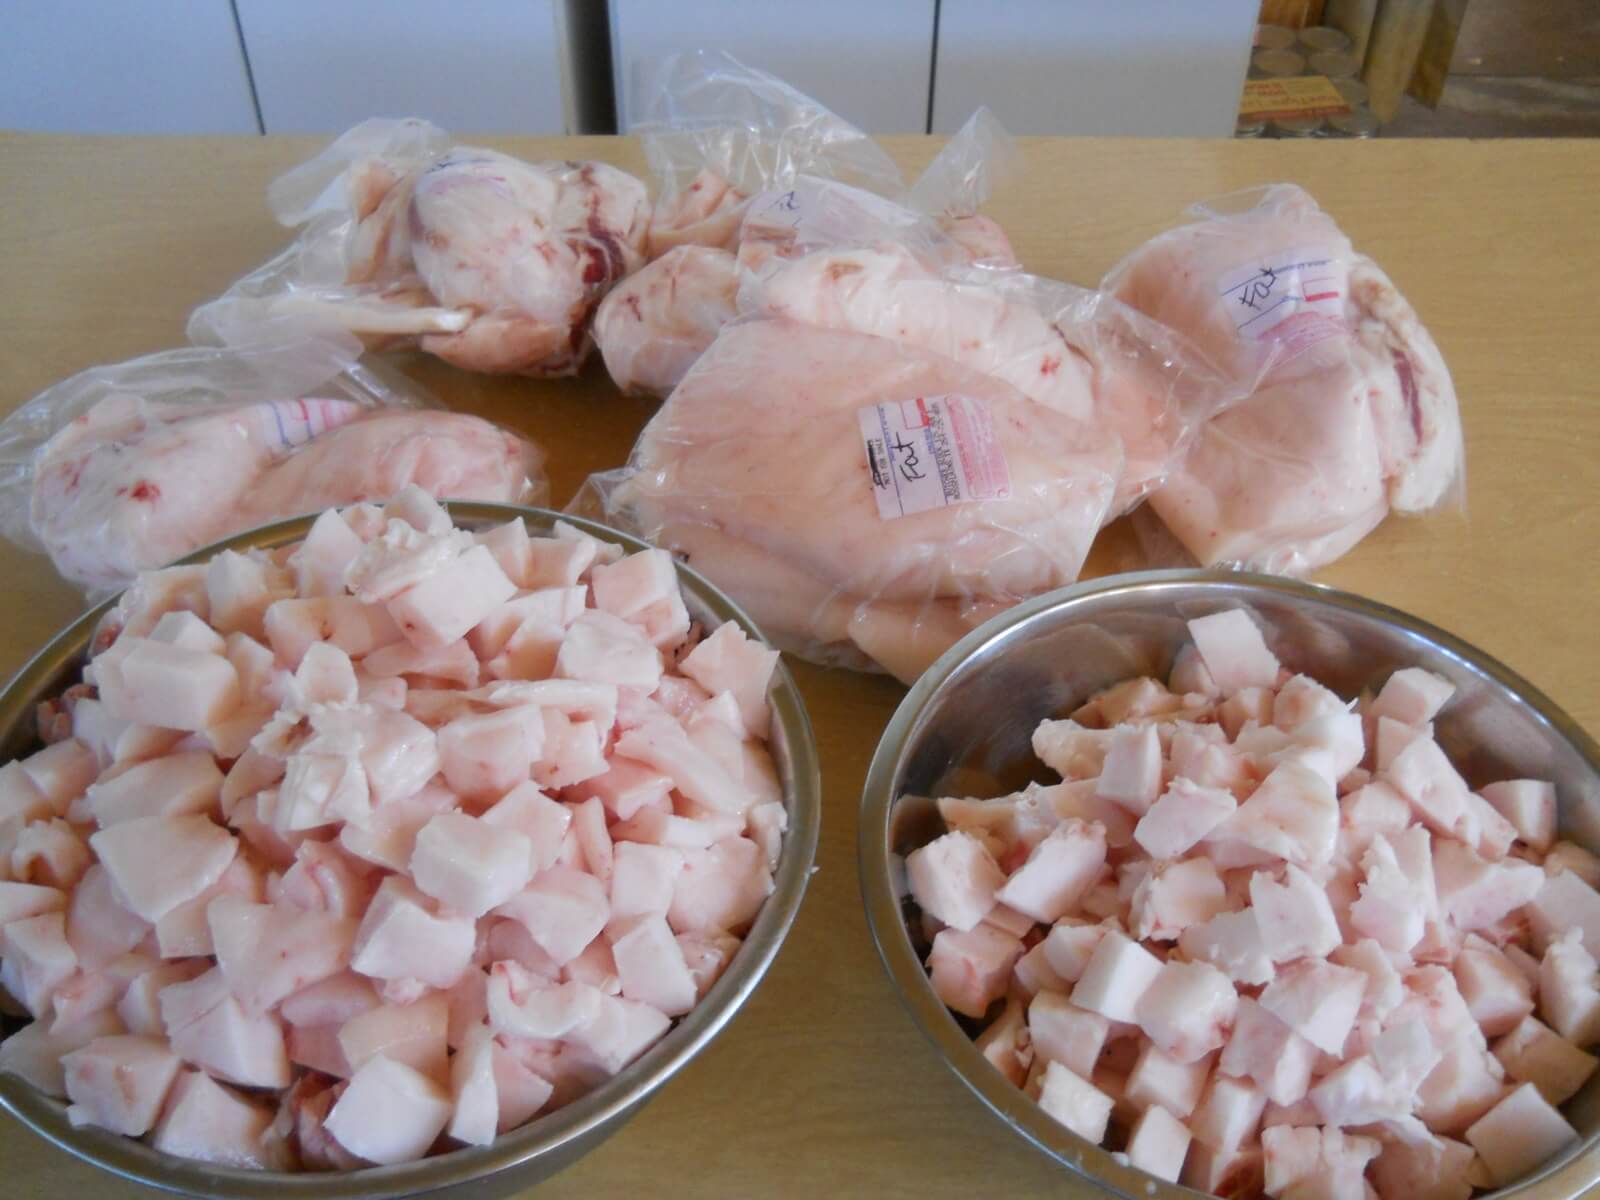
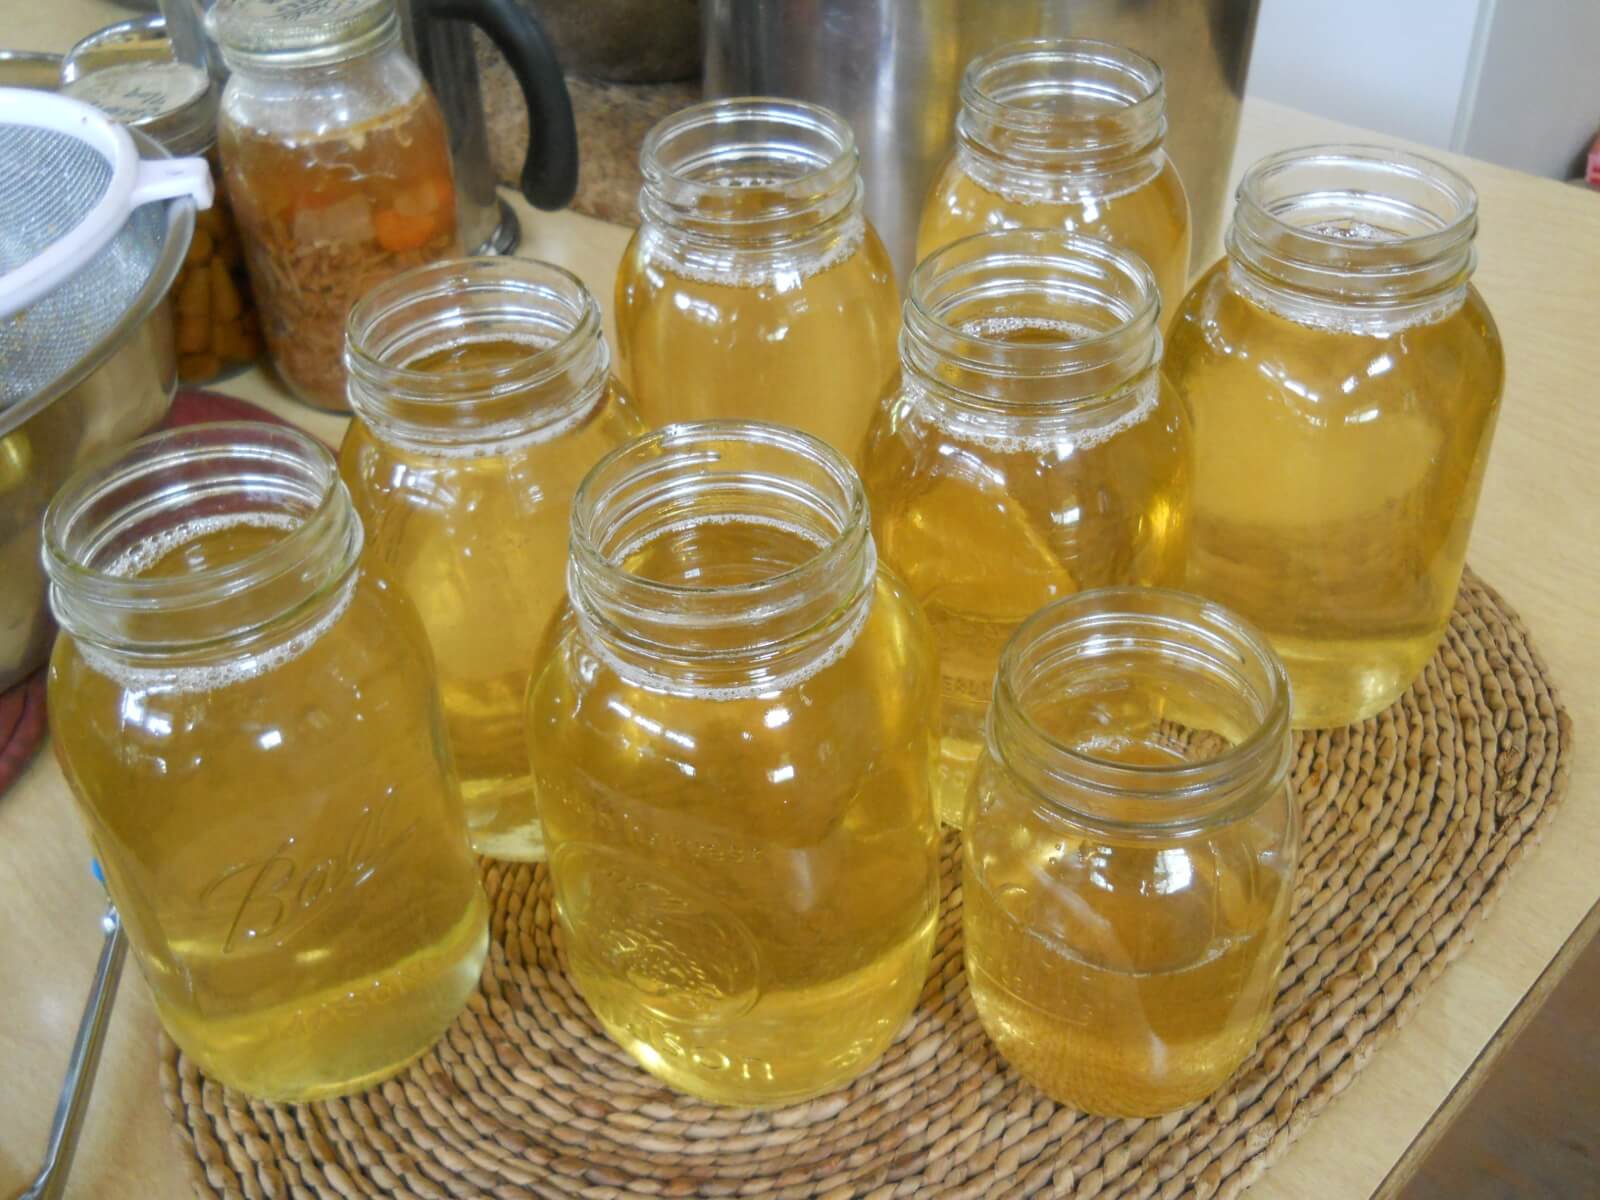
And lard:
We’ve also had pork steaks, which are very tender, including for one of our Lord’s day’s fellowship meal — very yummy, and a real treat!
We are grateful to the Lord for the granting of the provisions from Penelope and all of the generations before her. We are thankful no one has been hurt by the pigs over the years, and we pray for direction for next steps.
— David