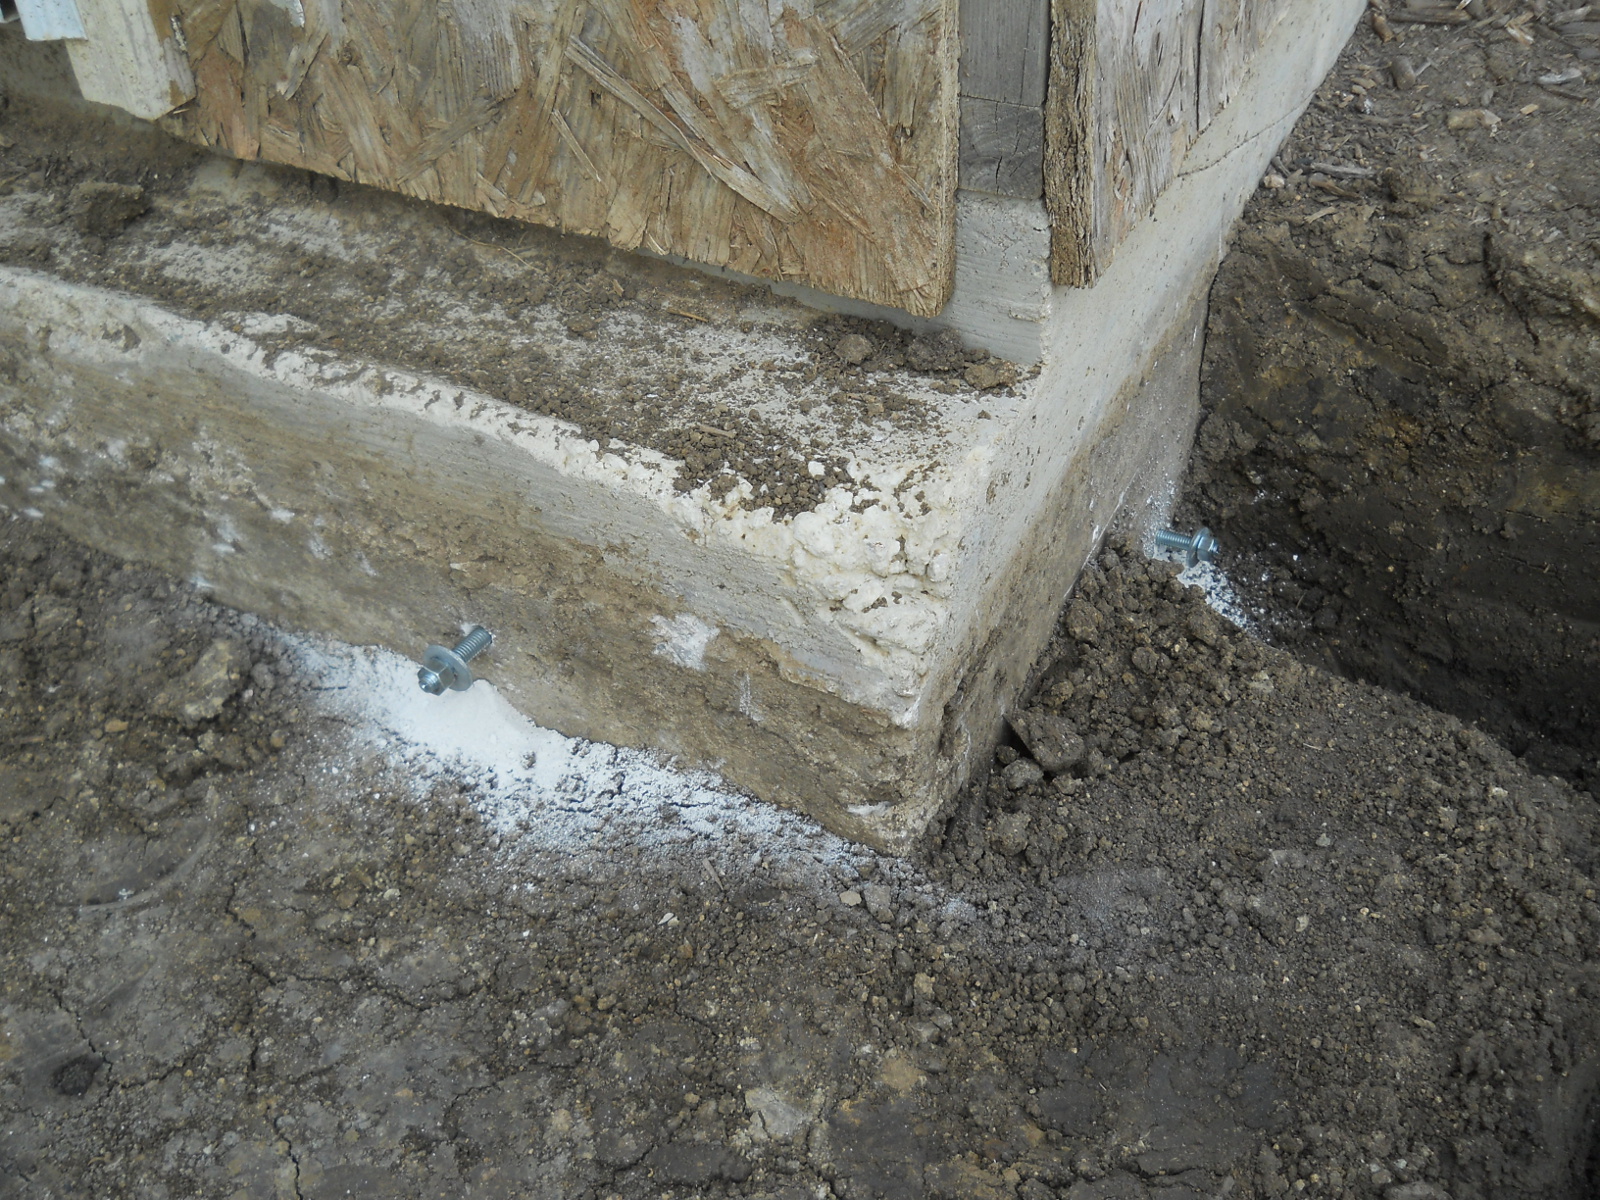
Over time, we’ve learned some things about an underground concrete structure, especially when they’re in an area through where water flows or floods: if the walls are basically straight down, the water will end up rolling down between the wall and the dirt, and can end up flooding the underground structure. And for us, this has happened quite often with our root cellar/storm shelter, especially around the main entrance side. We’ve tried burying plastic to try to get the water to drain away, but it’s never really worked.
Recently, we had at least 6 inches of rain for a 2-day period or so, and that whole area flooded, and we ended up with at least a couple of inches of water down in the root cellar — some 125 gallons worth, which Sue and I shop-vac’ed out, about 5 gallons at a time (since the full shop vac was heavy, I had to do the vacuuming and bucket filling, and so Sue uncomplainingly did the hauling up and out).
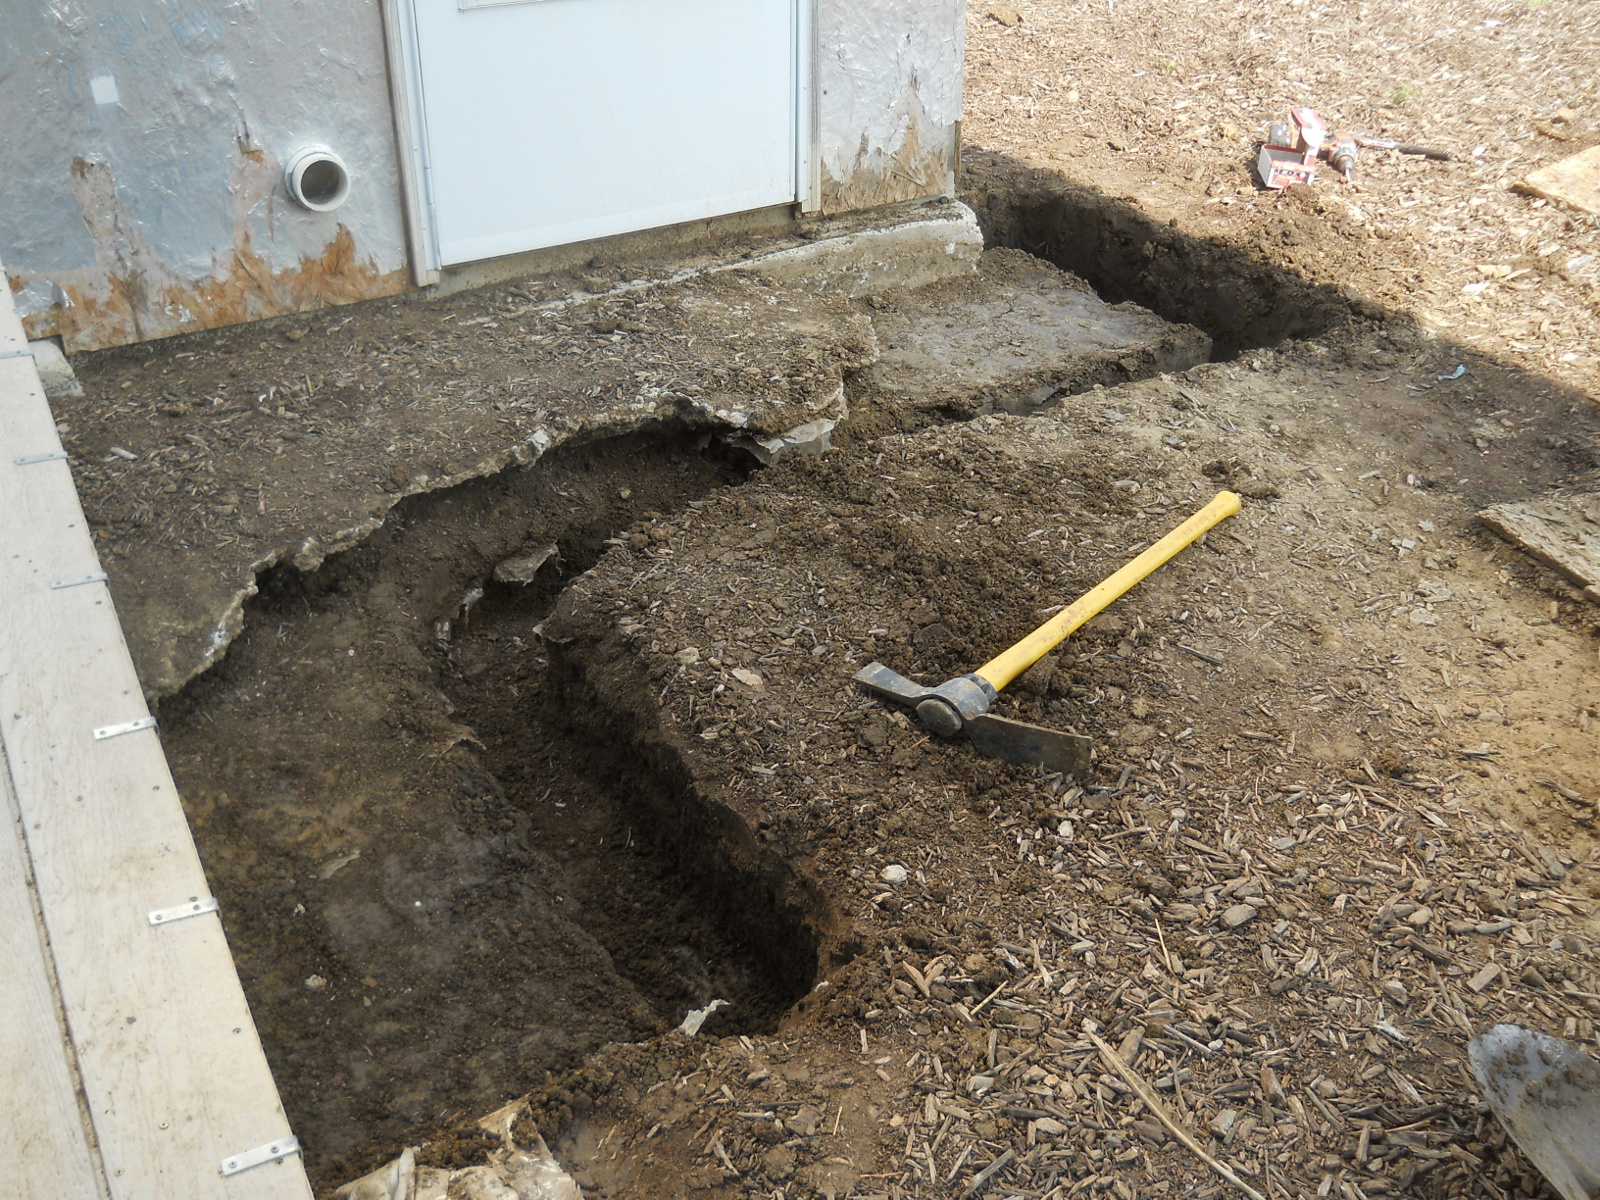
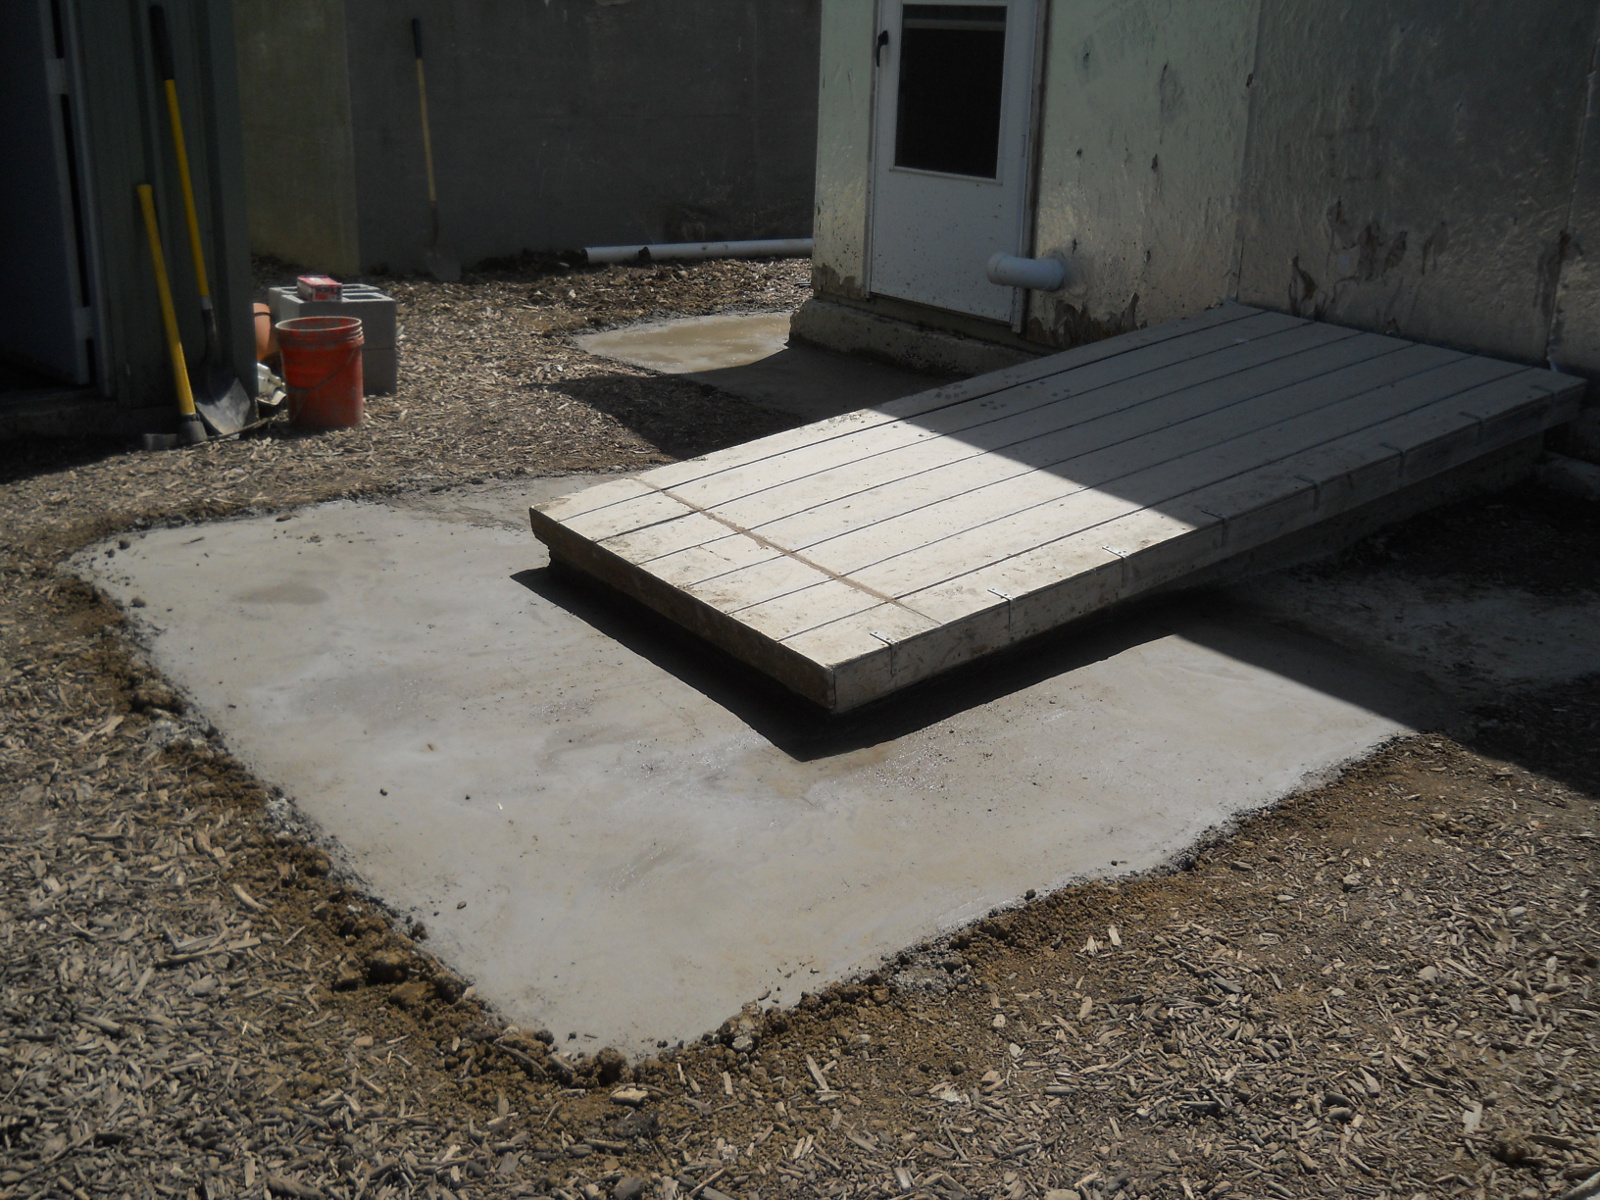
Well, that was about the last straw for me; and so I figured I really needed to do something as soon as possible, so more erosion that had happened below the stairs wouldn’t occur, to hopefully prevent any more erosion from behind the concrete walls from happening, and so the wood walls inside the root cellar wouldn’t rot. The plan was to dig away from the east wall, all the way around the entrance, to where we could pour a 4-inch slab or so, 2 feet out (3 in front of the entrance because that seemed to be one of the worst spots), dug out at least flat or inclined away if possible, and then have a 6-inch or so wide trench outside that around 10-12 inches down, so hopefully the water would have to crawl below and up the concrete in the trench, and then crawl under the slab before getting to the root cellar walls.
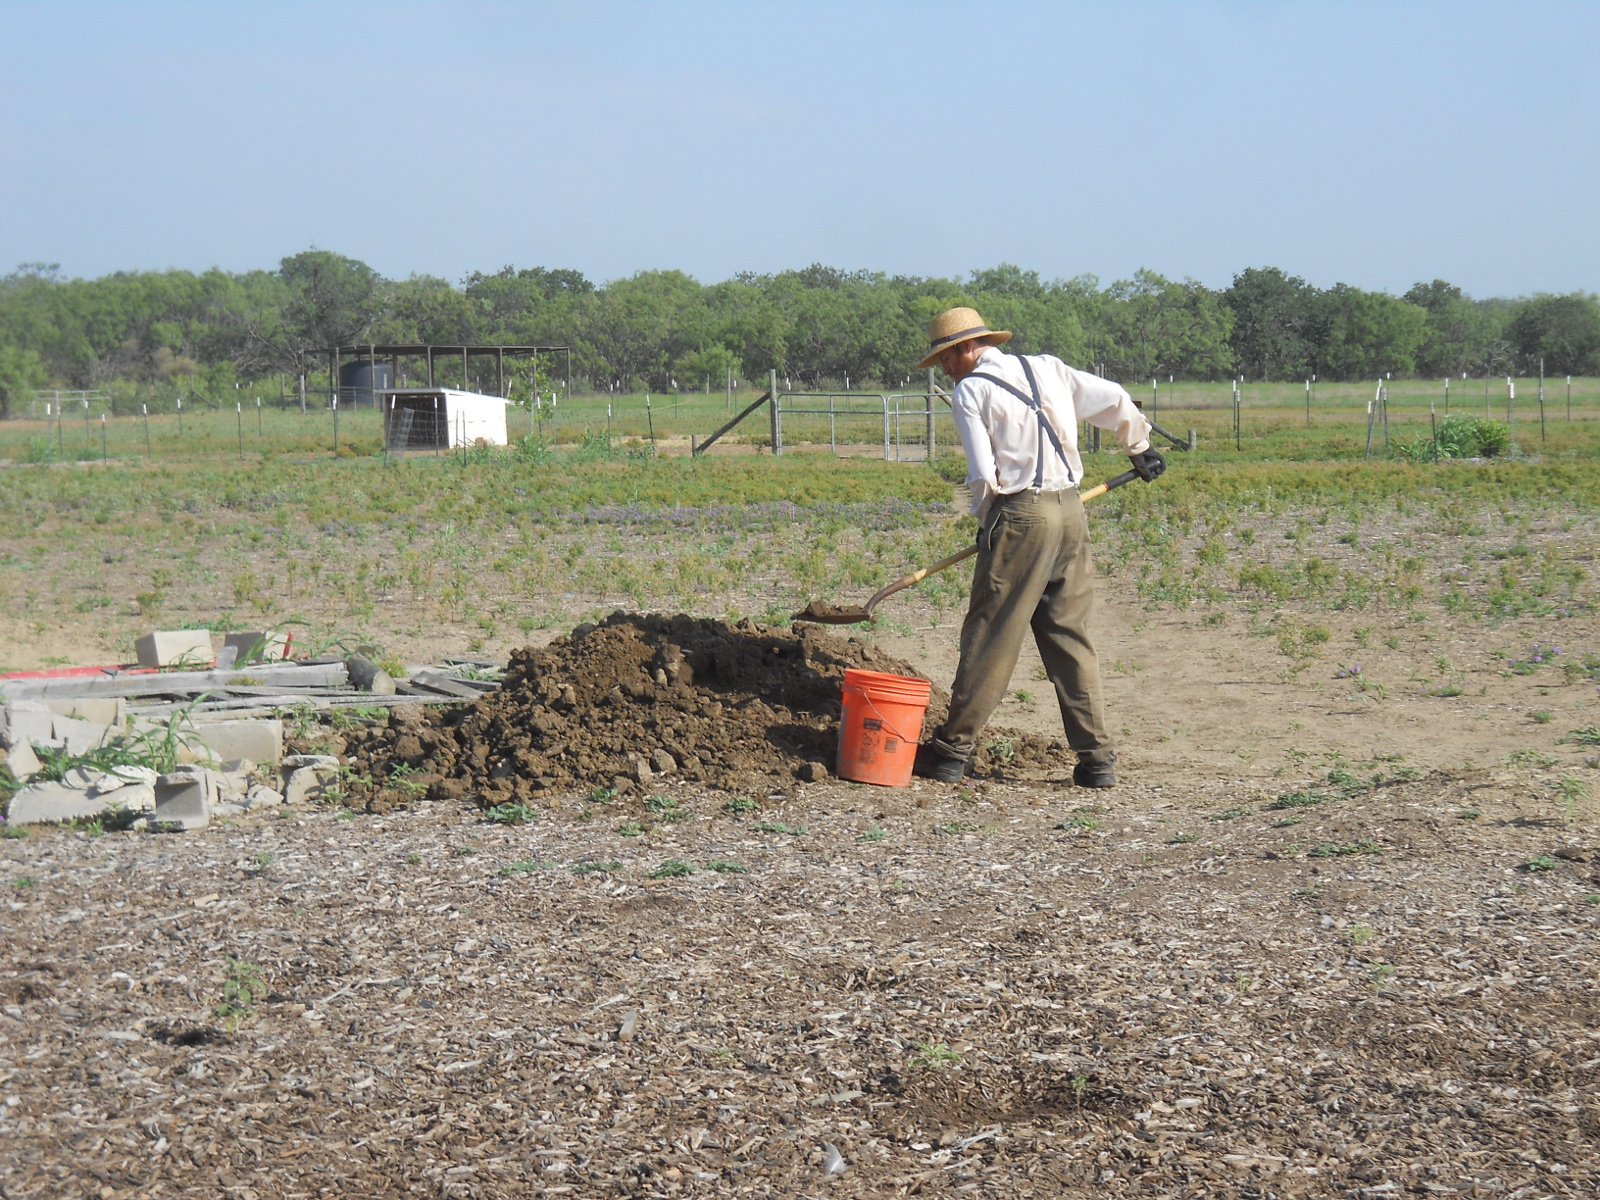
I began this project, starting to do the digging:
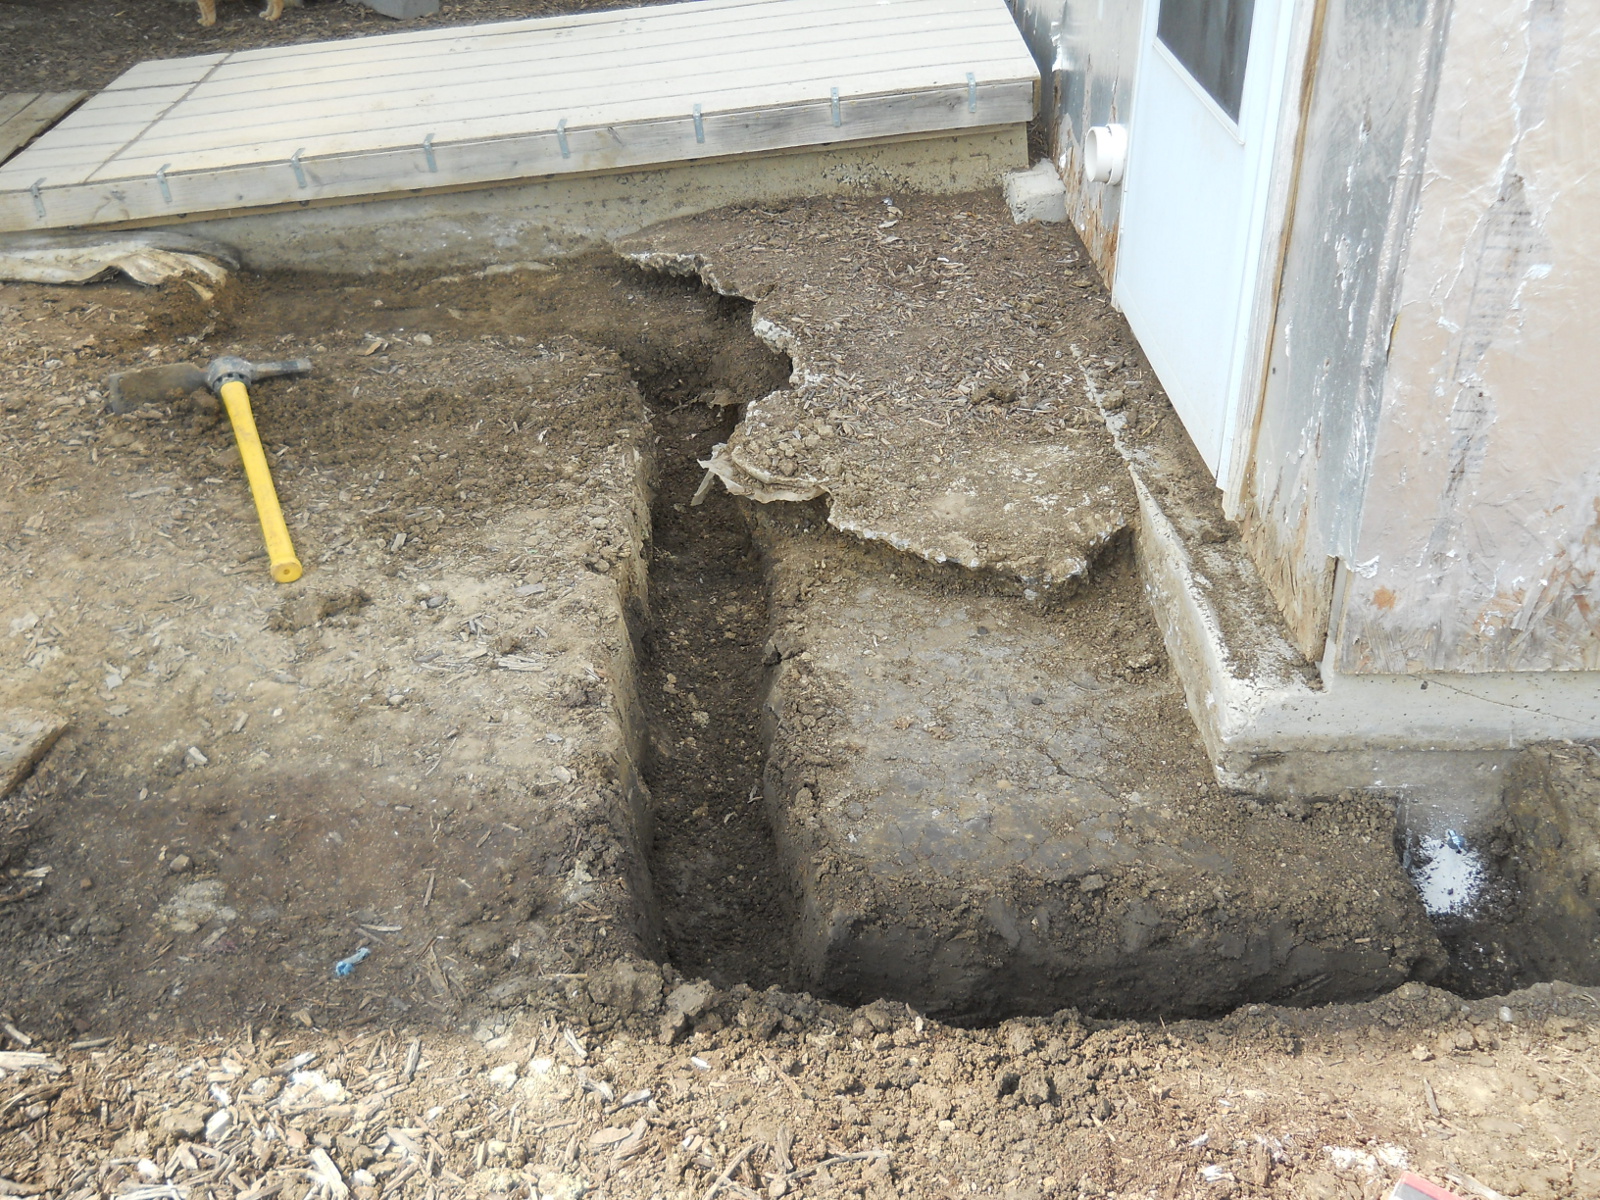
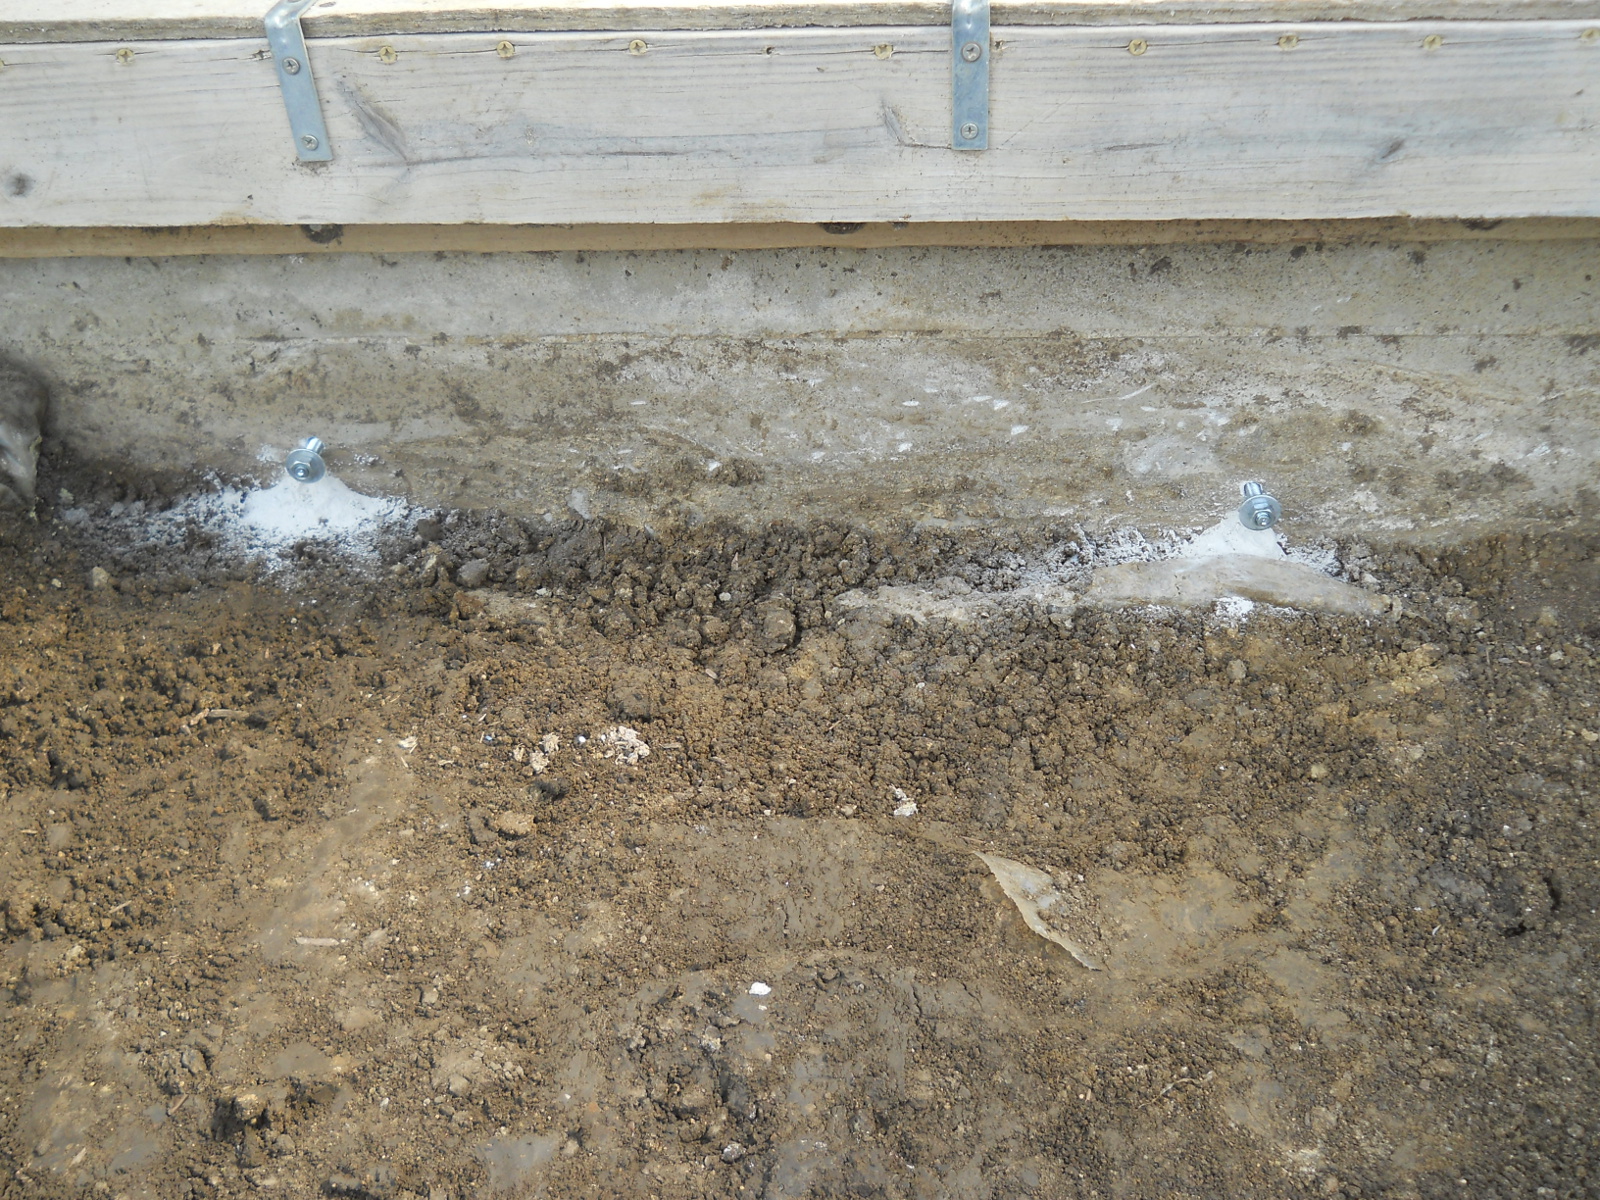
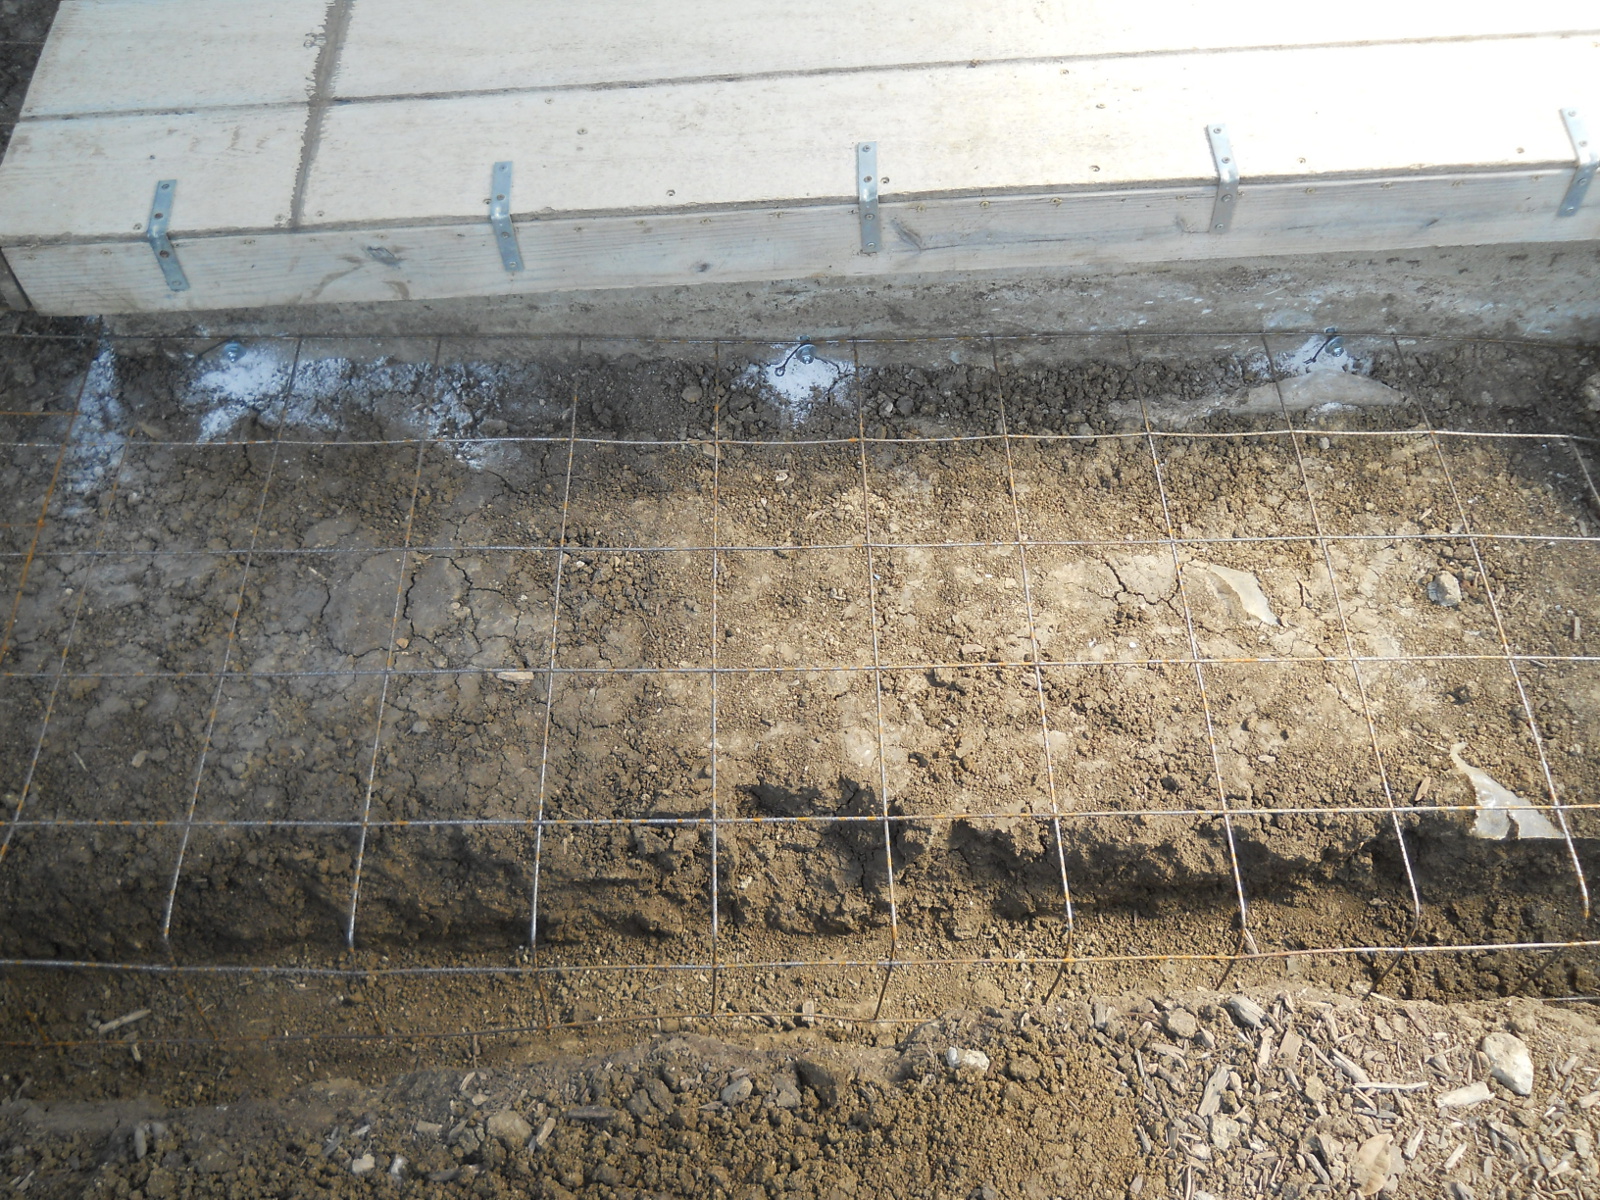
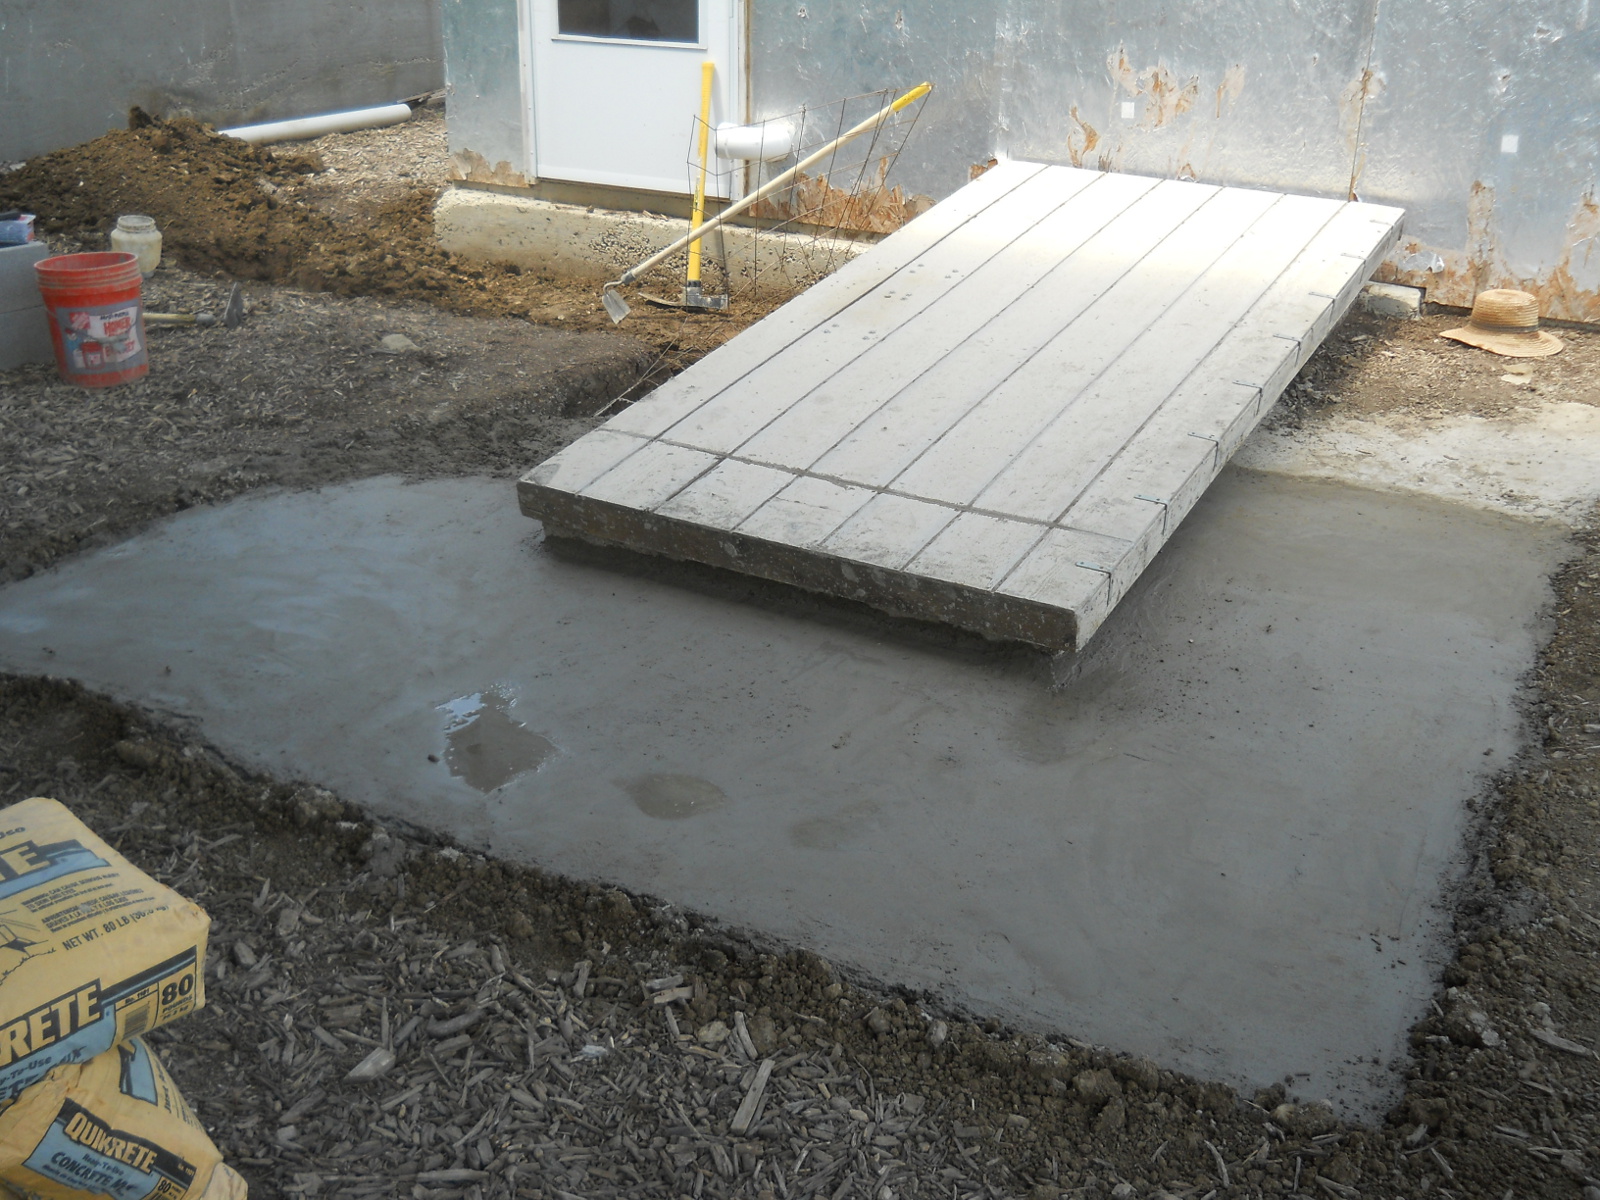
Once I dug out to a place past where I thought the first 20 bags of concrete might fill, I installed concrete anchor bolts to try to help keep the concrete against the root cellar concrete:
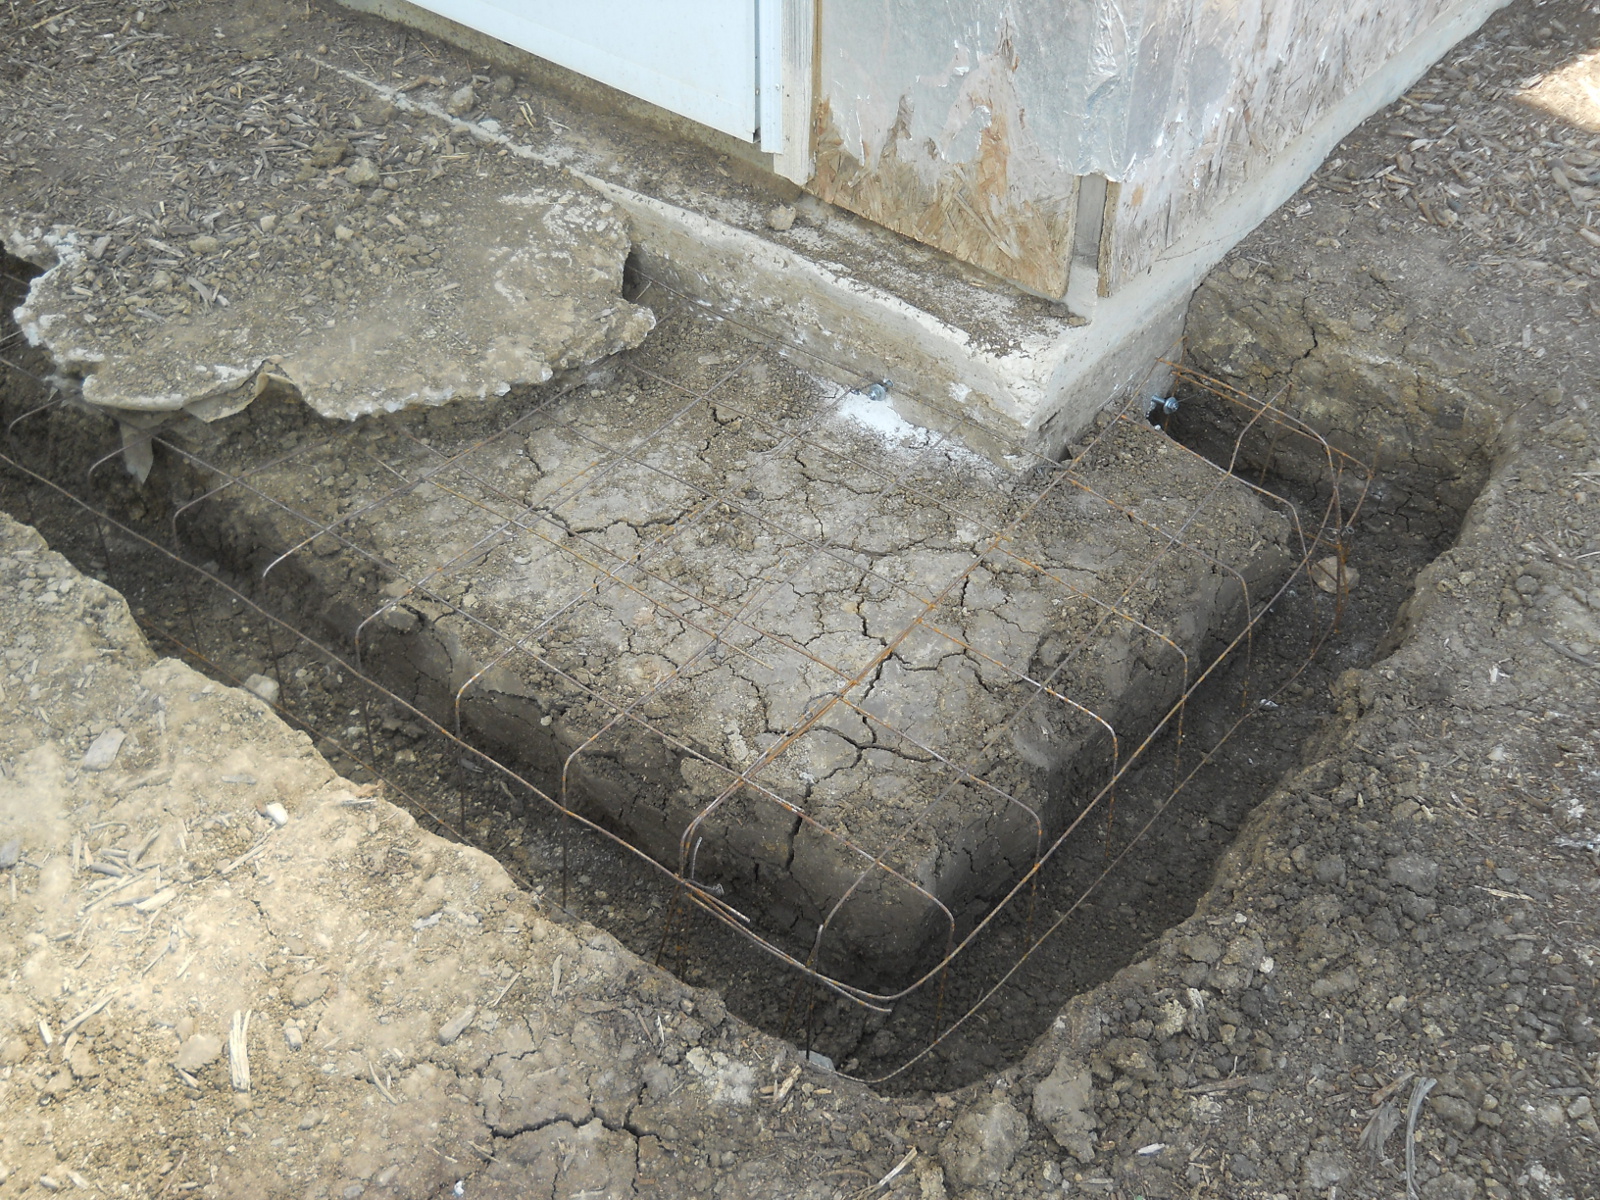
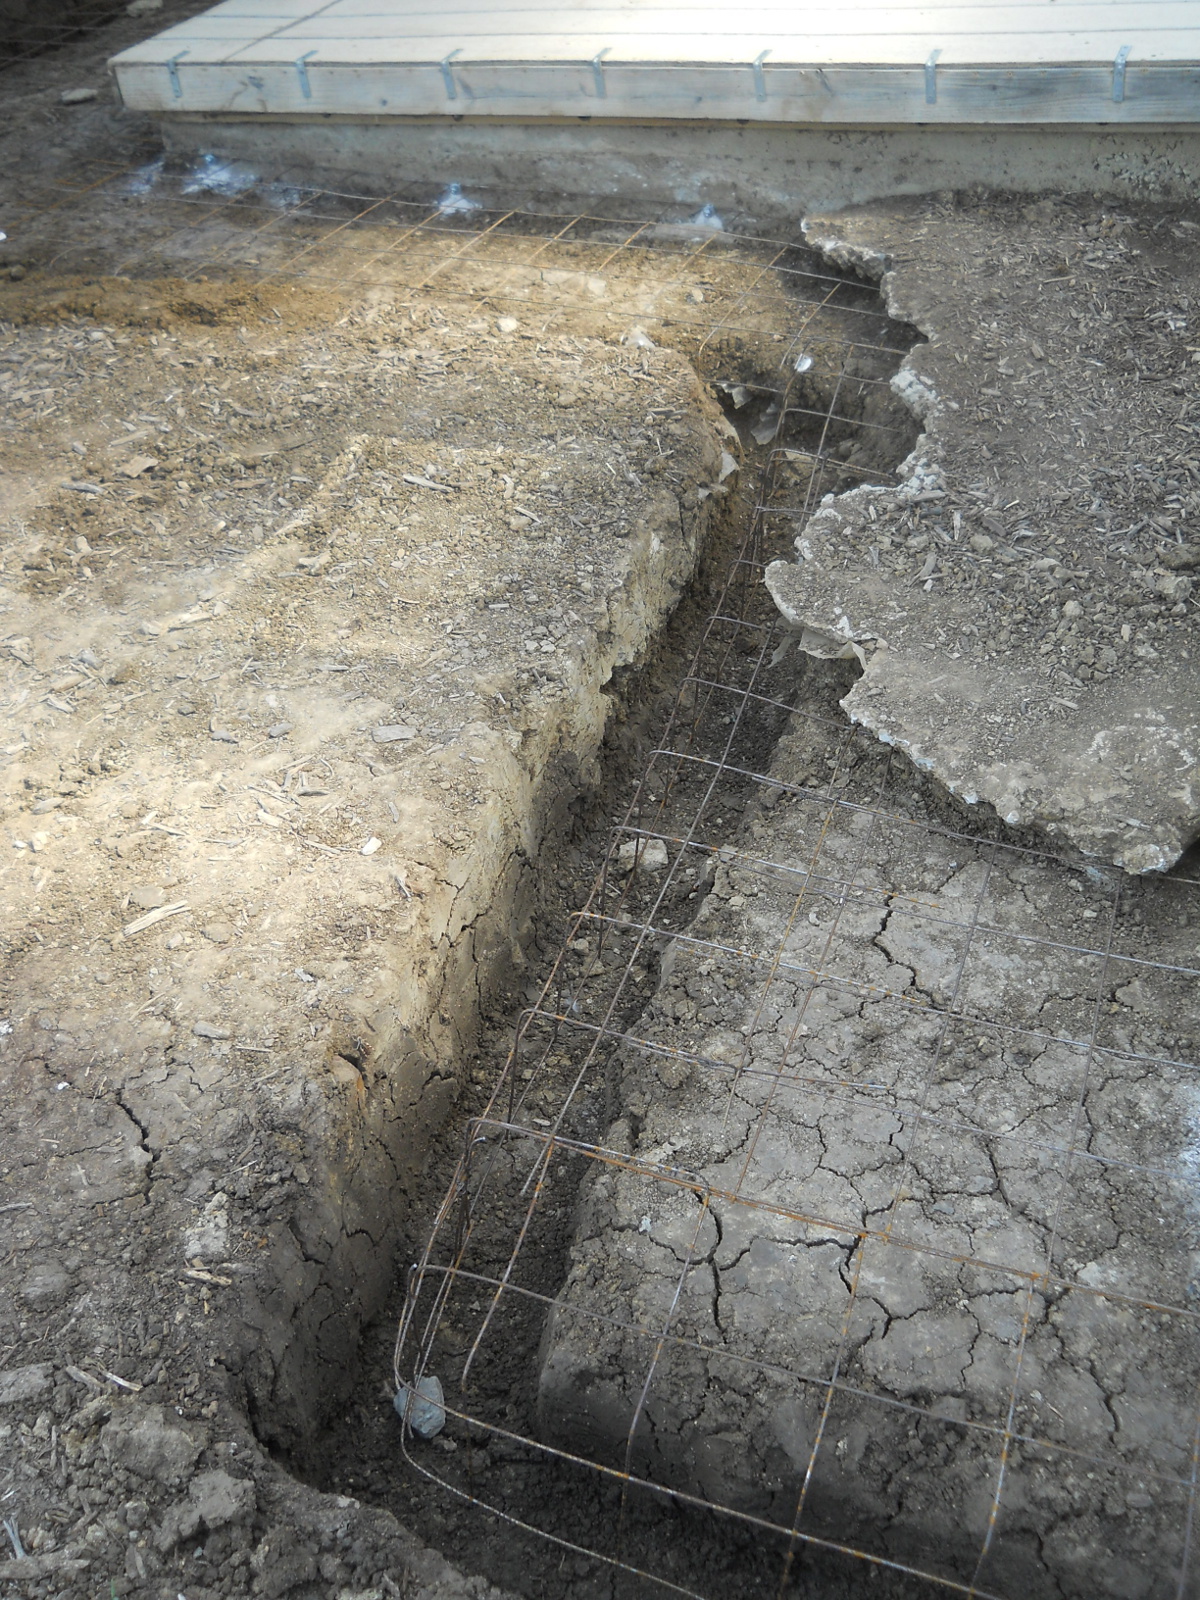
And then I placed and elevated metal mesh, tying it to the anchor bolts:
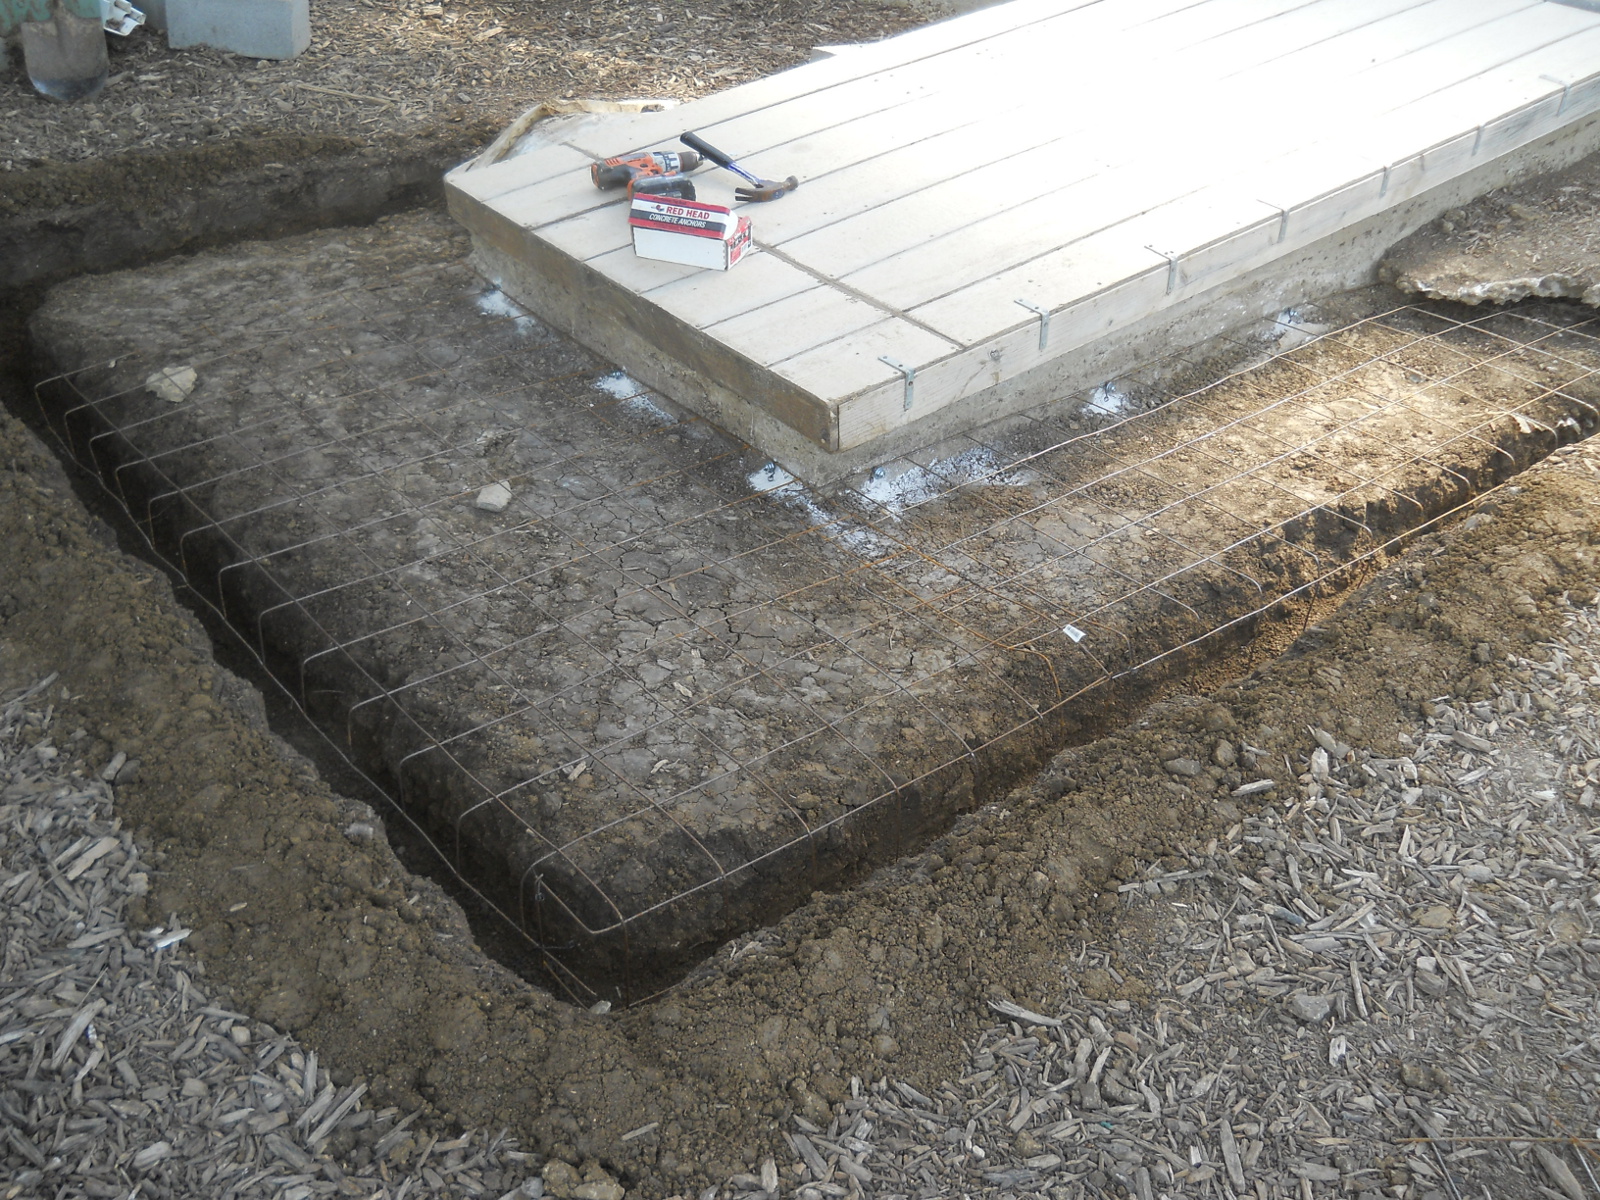
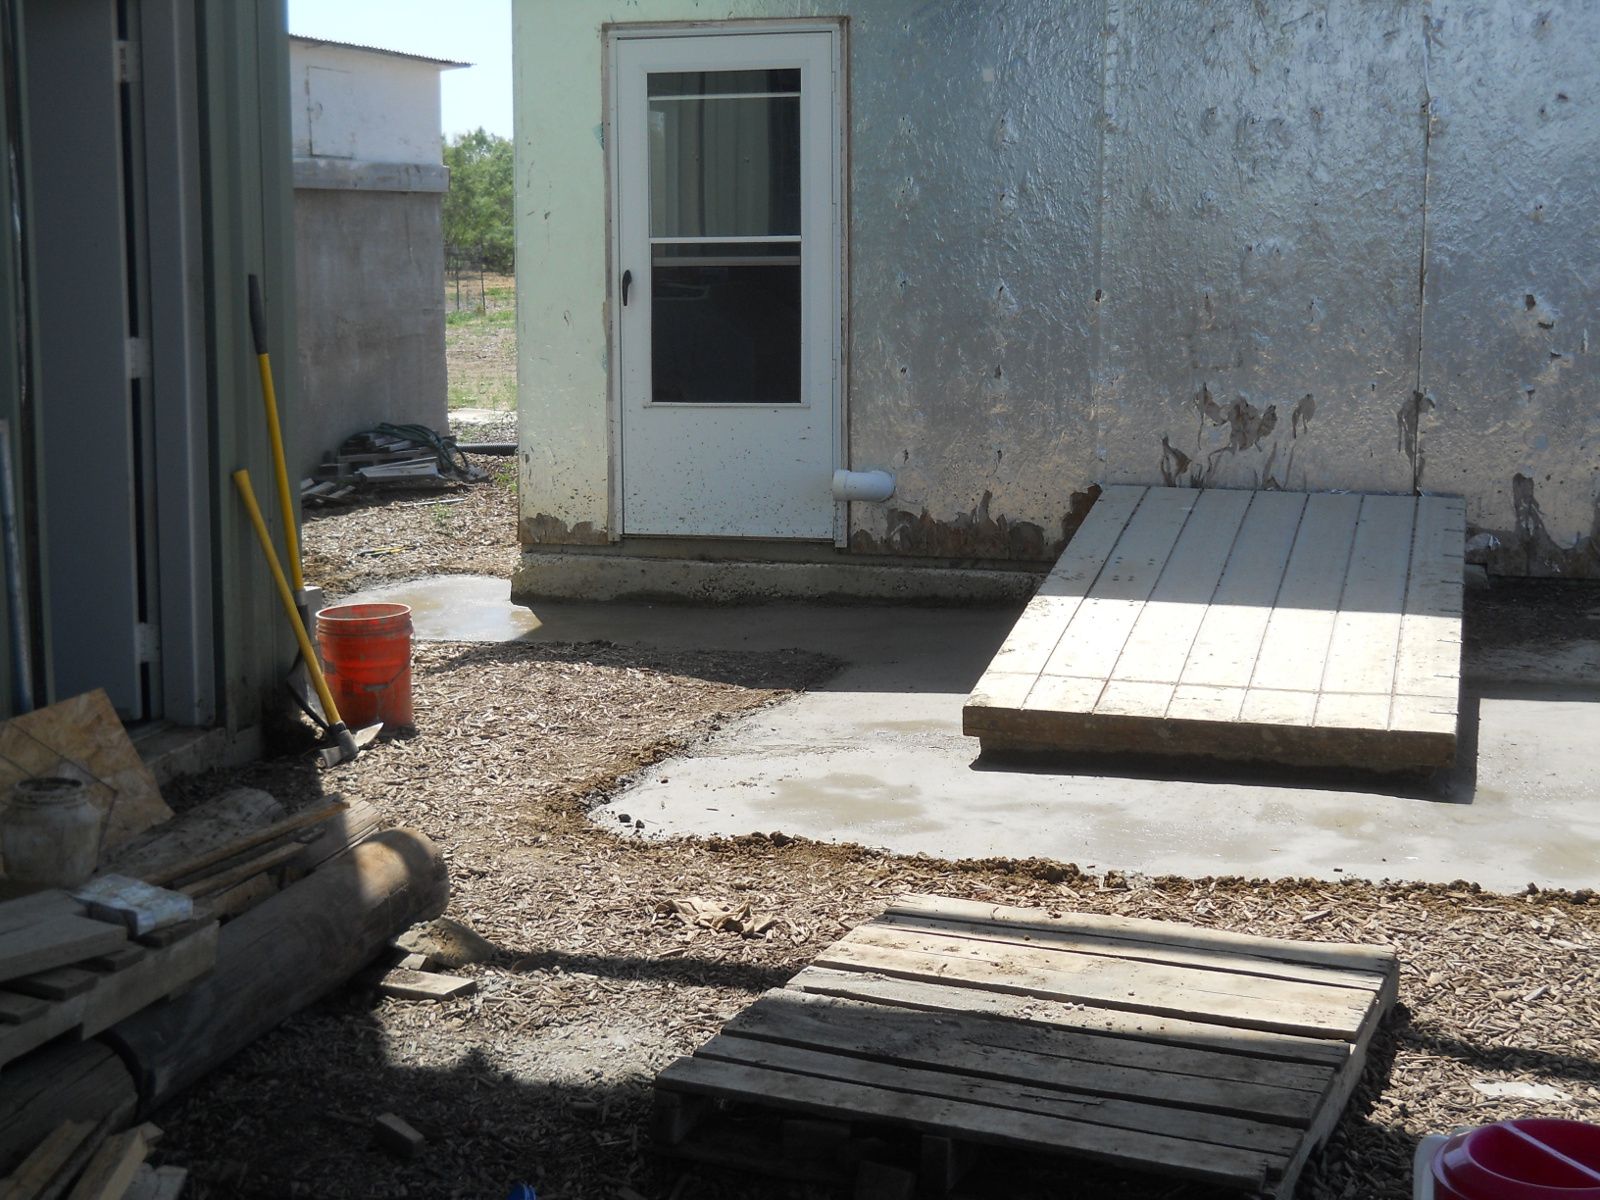
And then it was time to pour the concrete. Since this footer isn’t really structural, I tried to mix in with each bag half a 5-gallon bucket full of the dirt I had dug out, to try to extend the range of ground each bag covered. I found putting the dirt in first and adding water before putting in any concrete helped soften the dirt and made for breaking up the clods much easier. And this is how far 20 80 lb bags of Quikrete, with dirt mixed in, went. It took me about 5 to 5 1/2 hours or so:
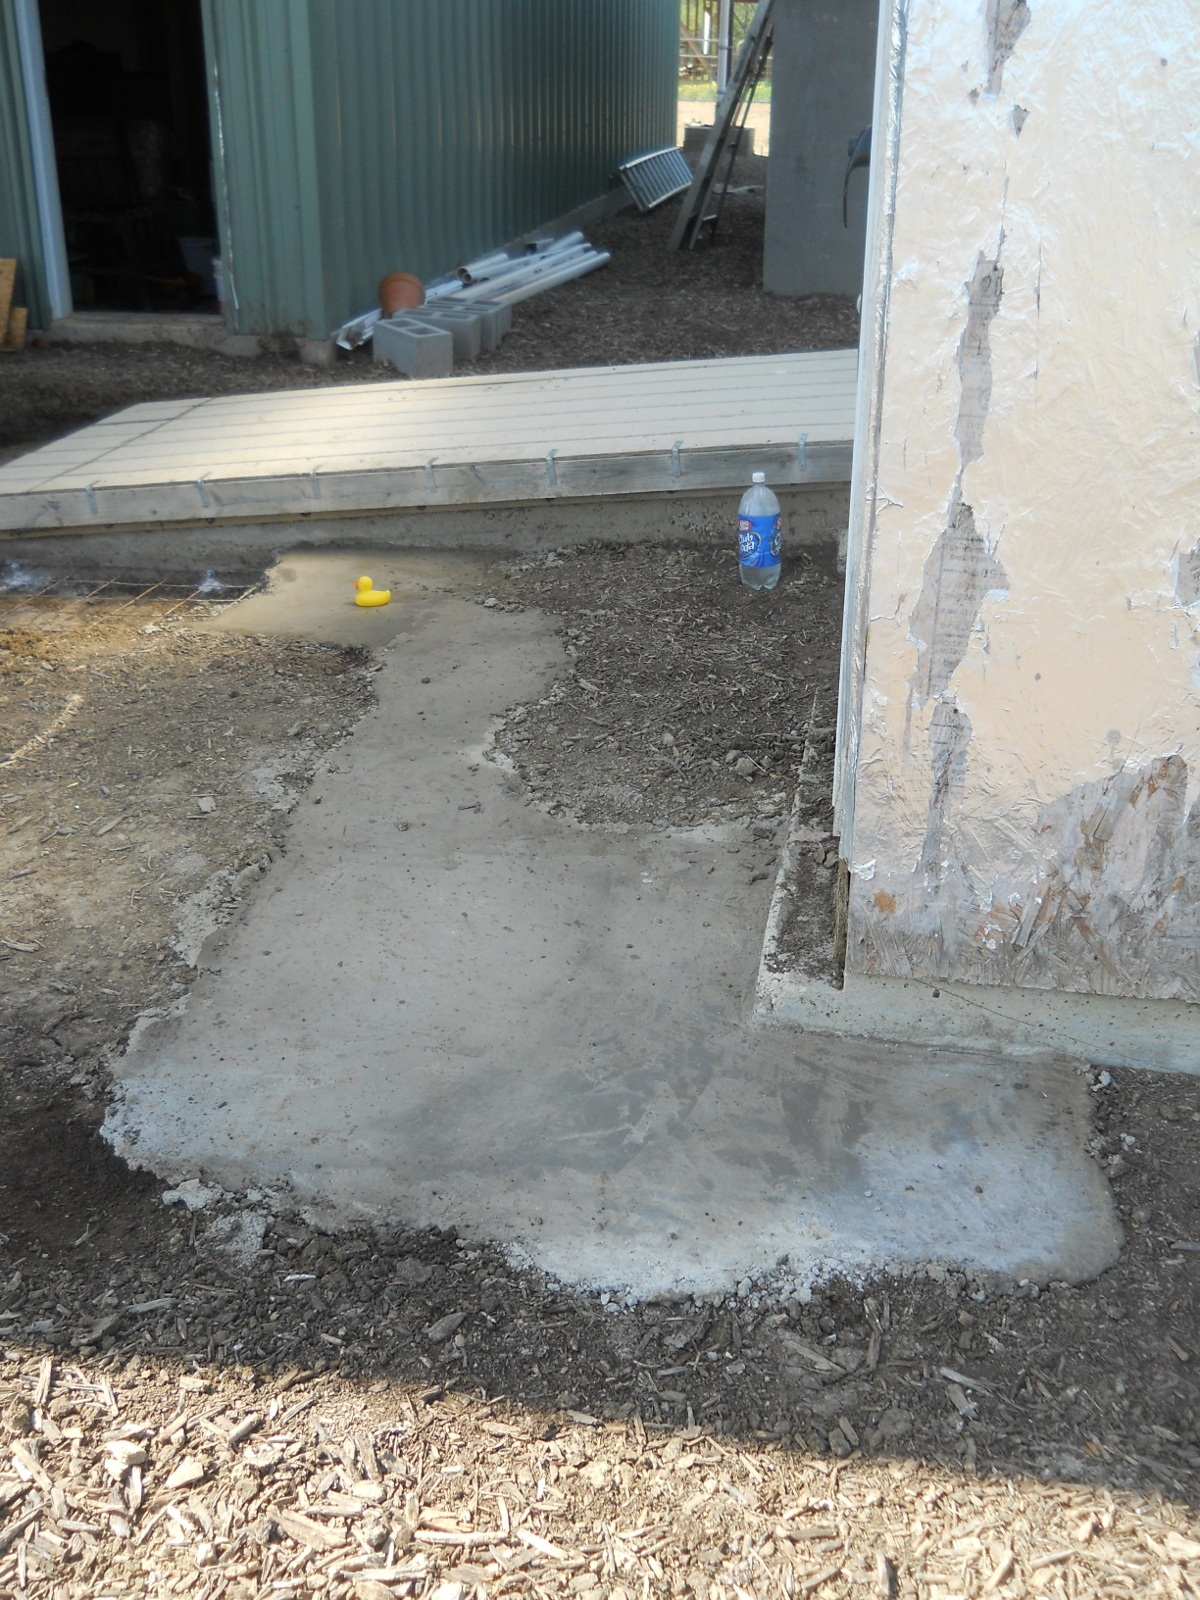
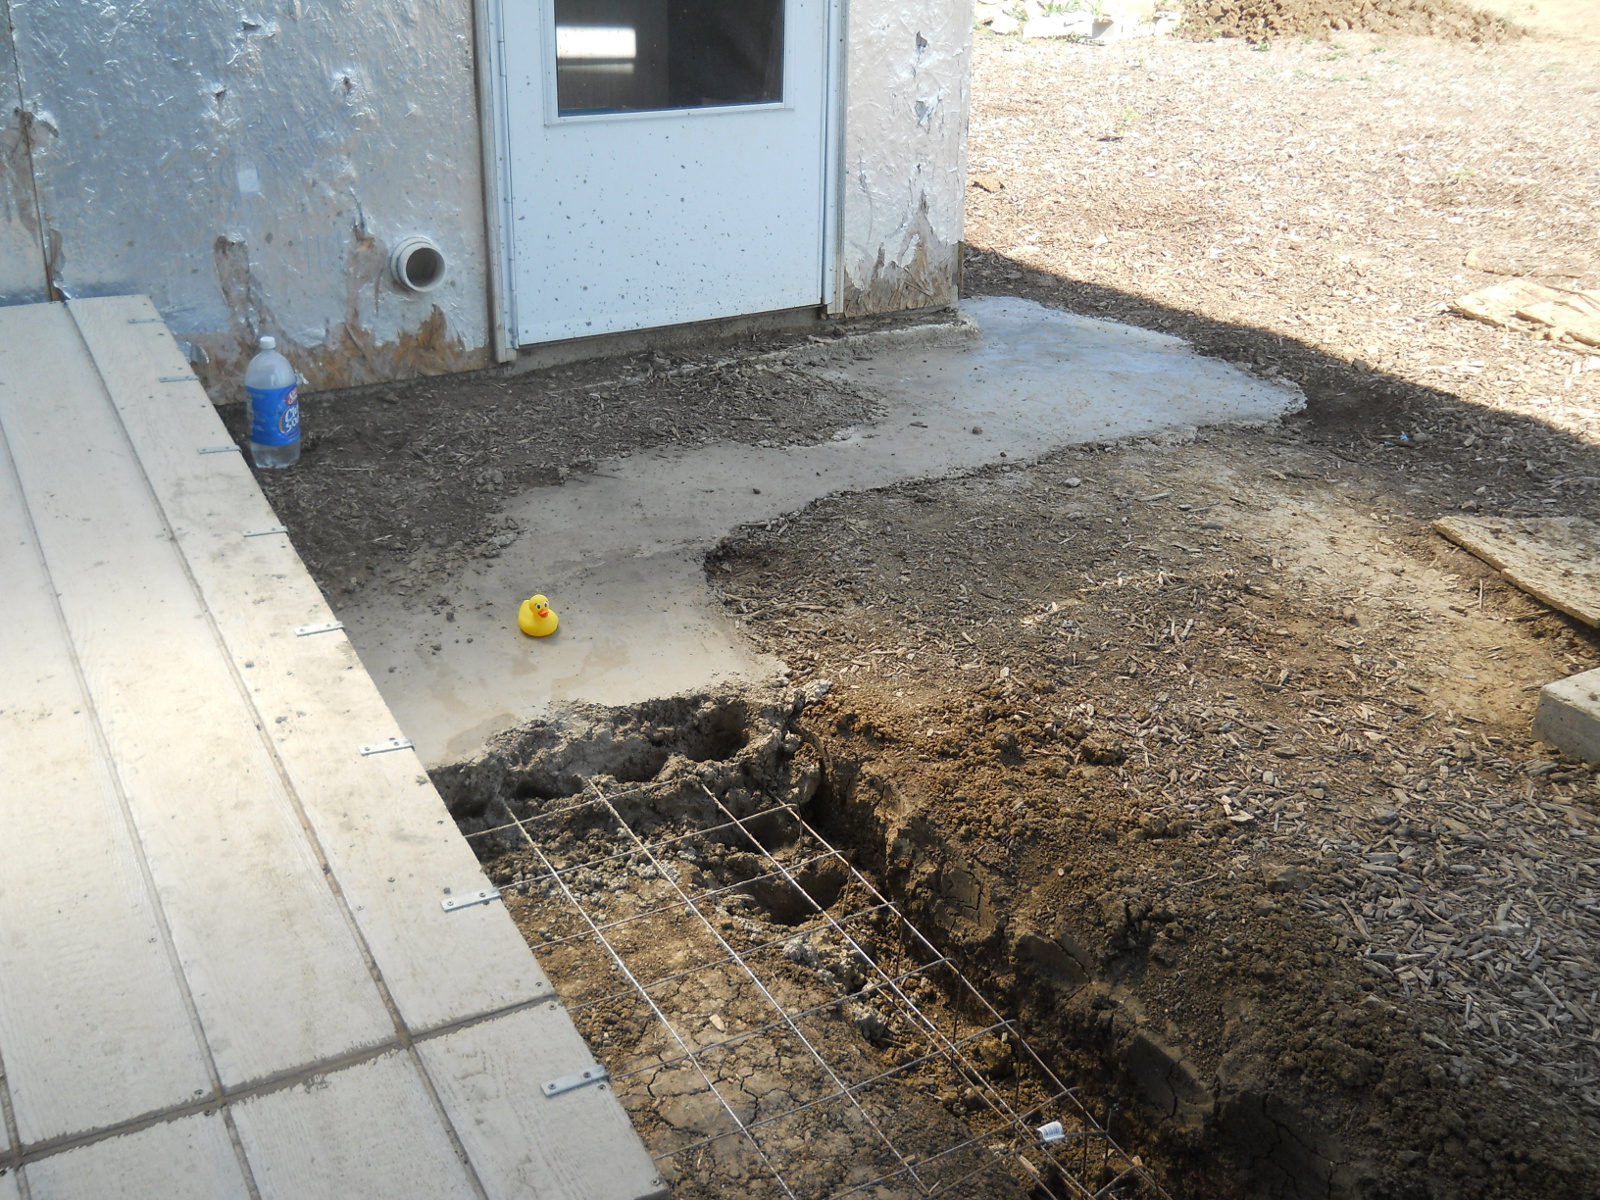
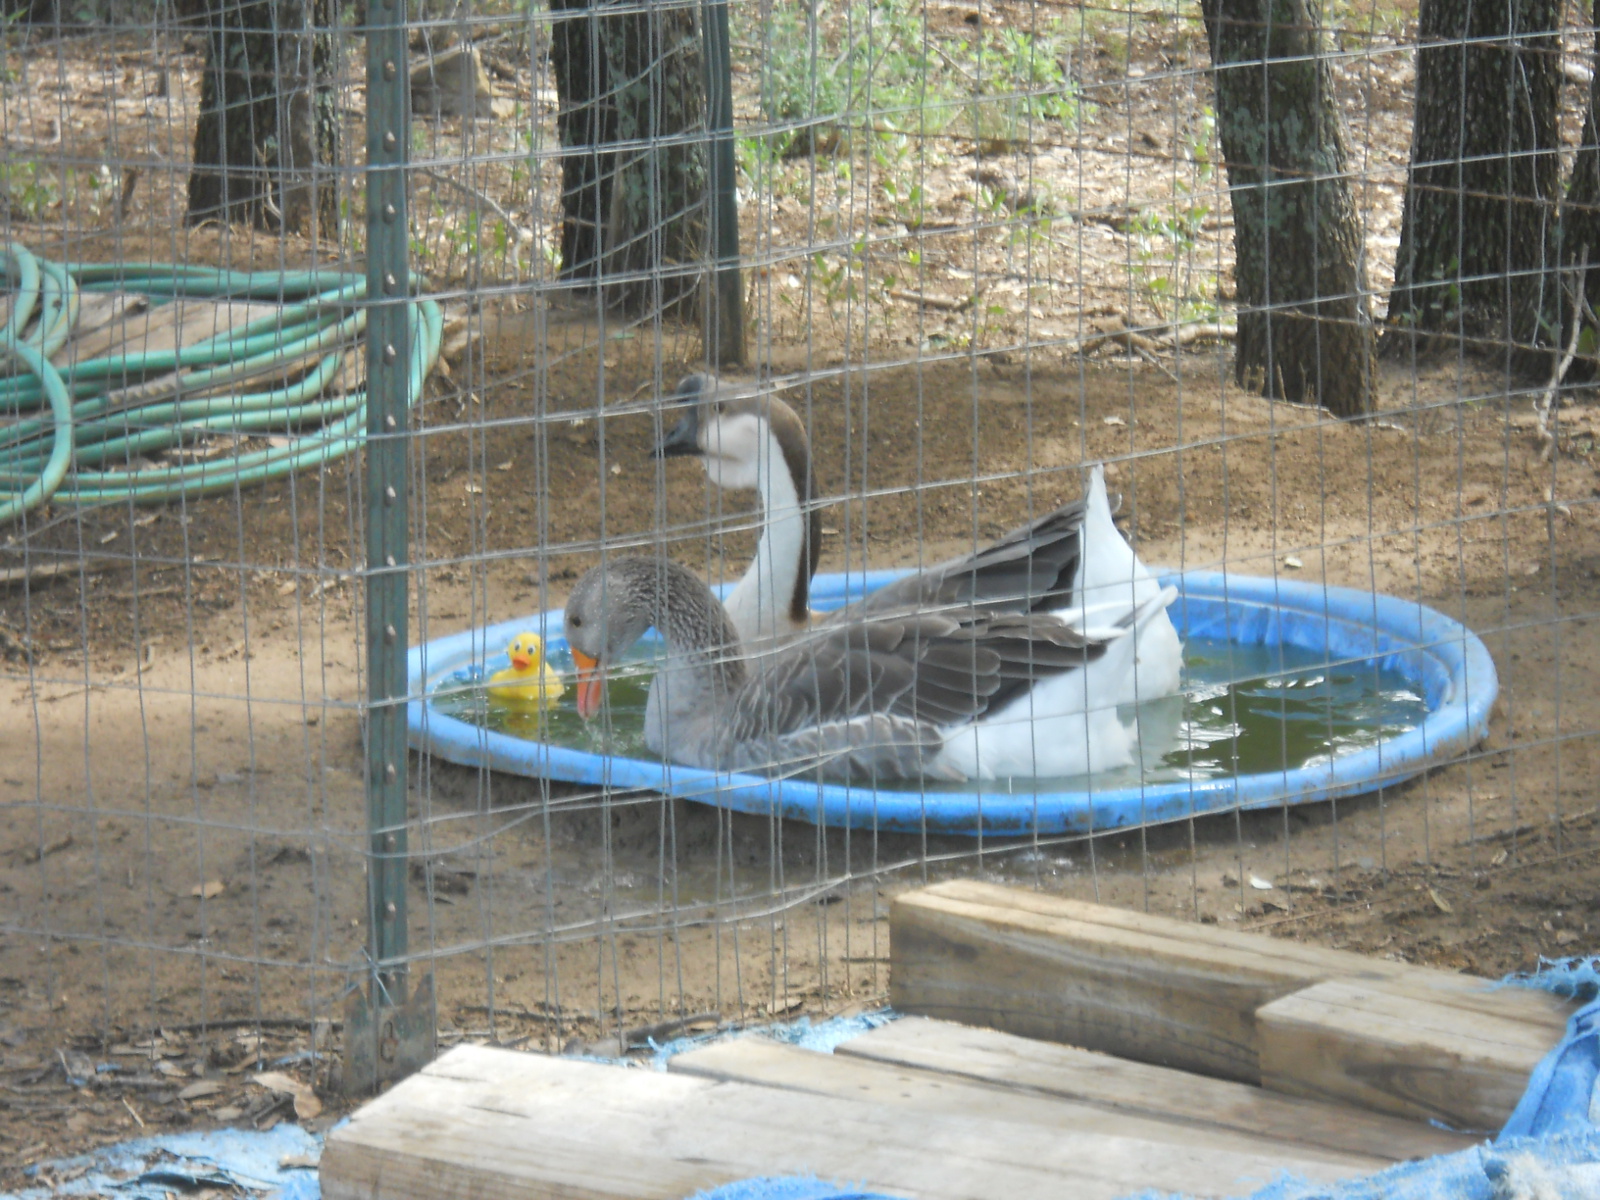
After showing the rubber ducky, which was meant for the root cellar, that hopefully it wouldn’t get its opportunity now, we were able to find it a new home 🙂 :
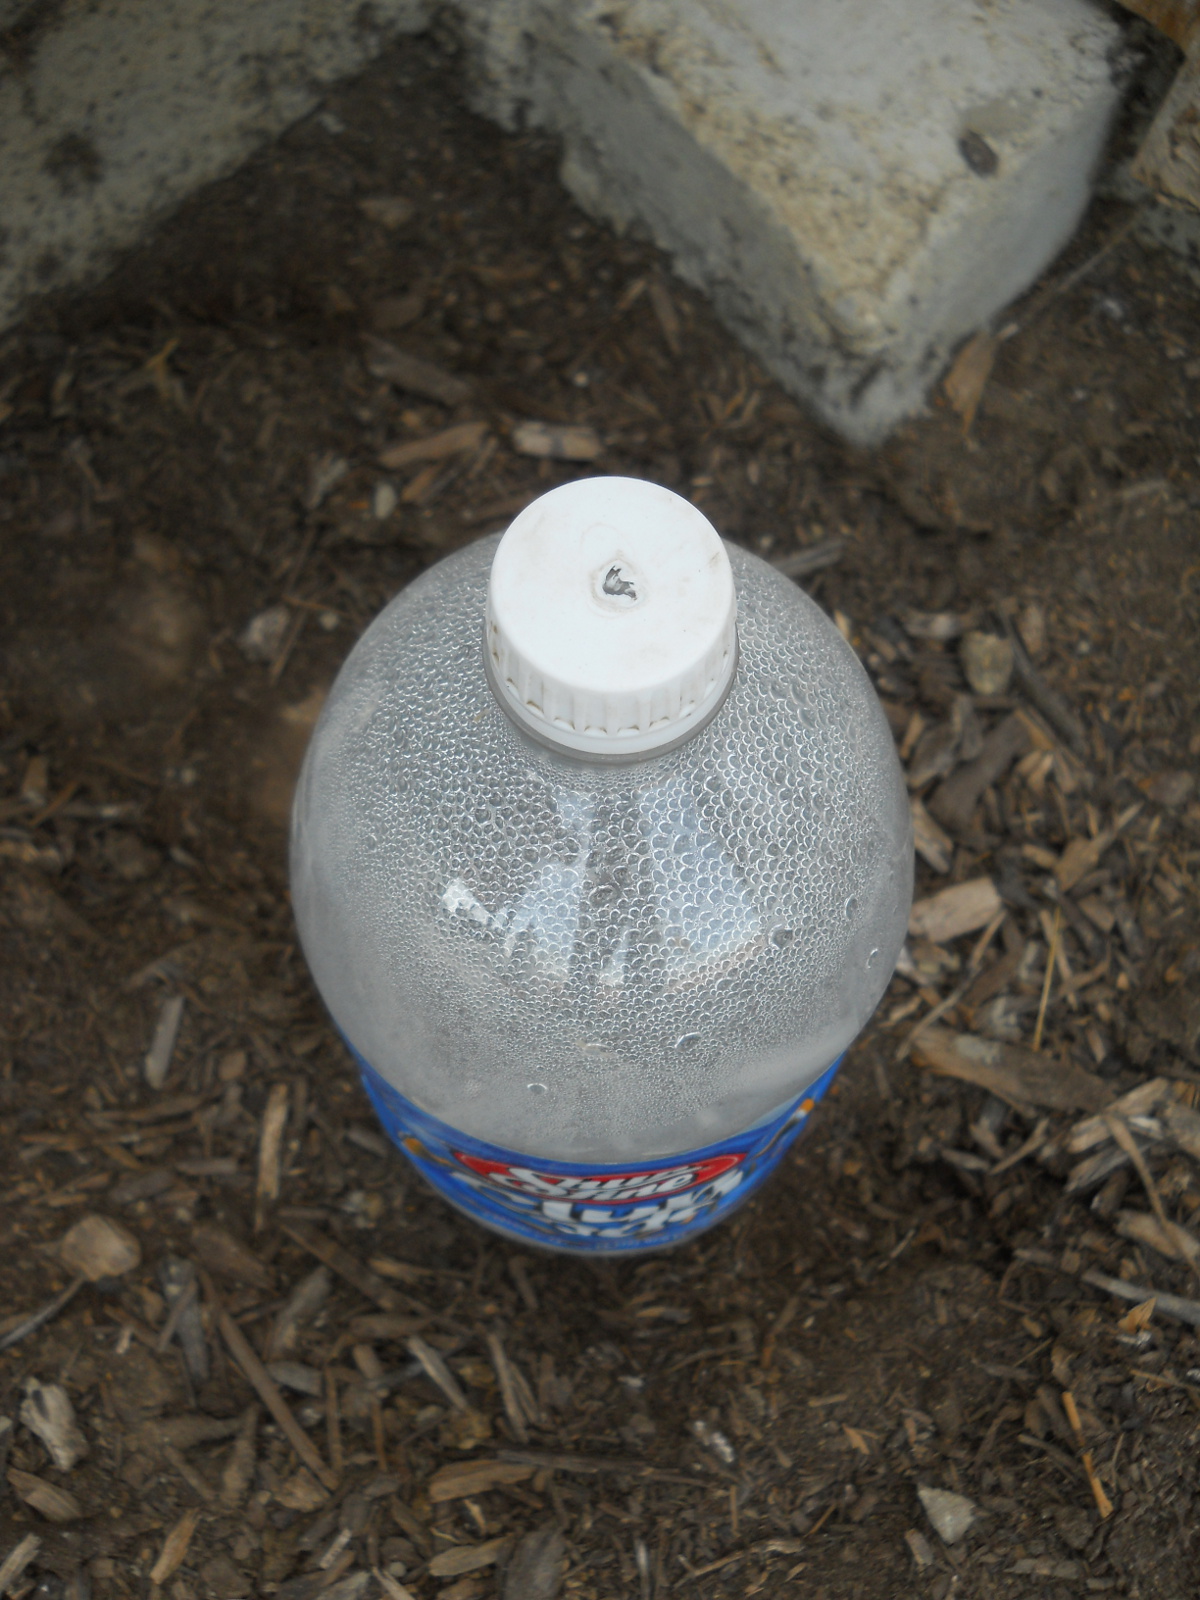
Once the concrete started setting, I used a 2-liter bottle with a hole punched in the top as a squirt bottle to spray water on the concrete to try keep it wet on top while it dried:
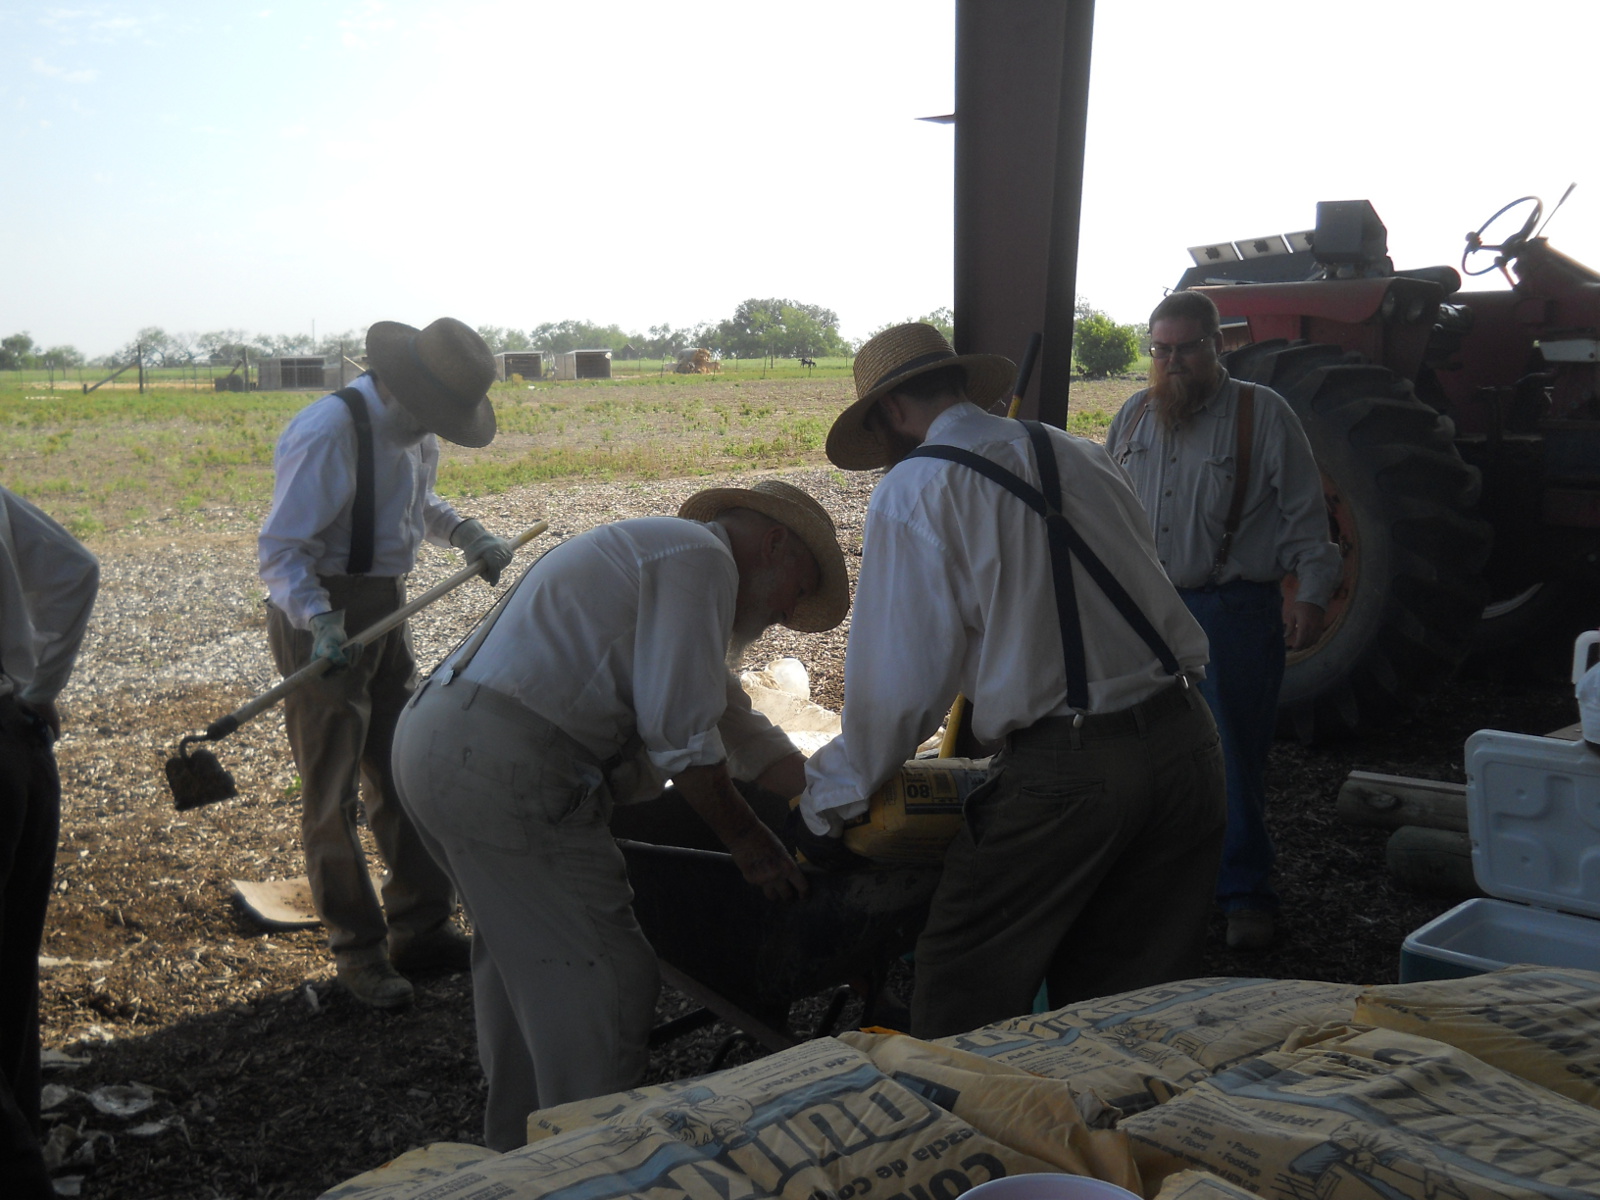
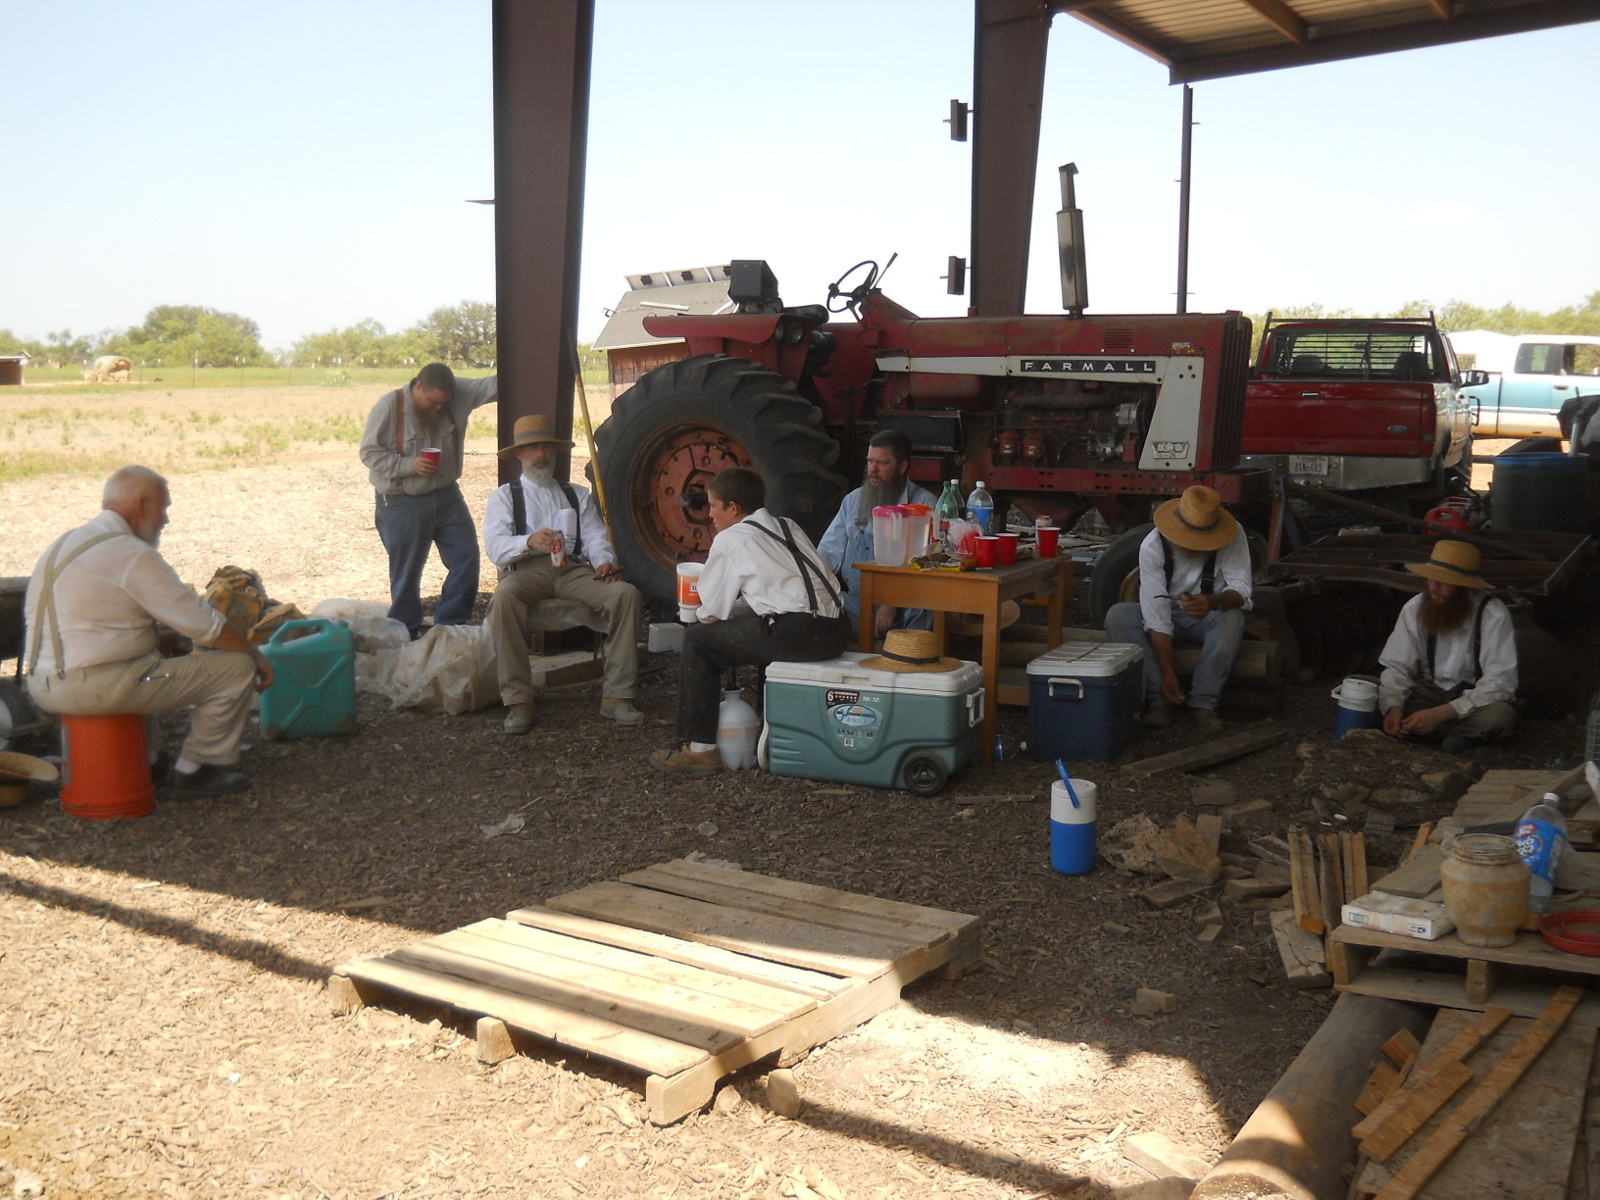
Well, a few days later, I mentioned in conversation this project I was working on. Community work day was coming up, which was to be at the neighbor’s place; but he graciously offered to move work day to our place so we could get help finishing the footer. Well, this was a very nice offer, and it sure would help to have that assistance, so I accepted.
And on work day, the work commenced…
Here is retrieving dirt from the dug-out pile to be mixed into the concrete:
And dumping in the concrete into the dug-out footer:
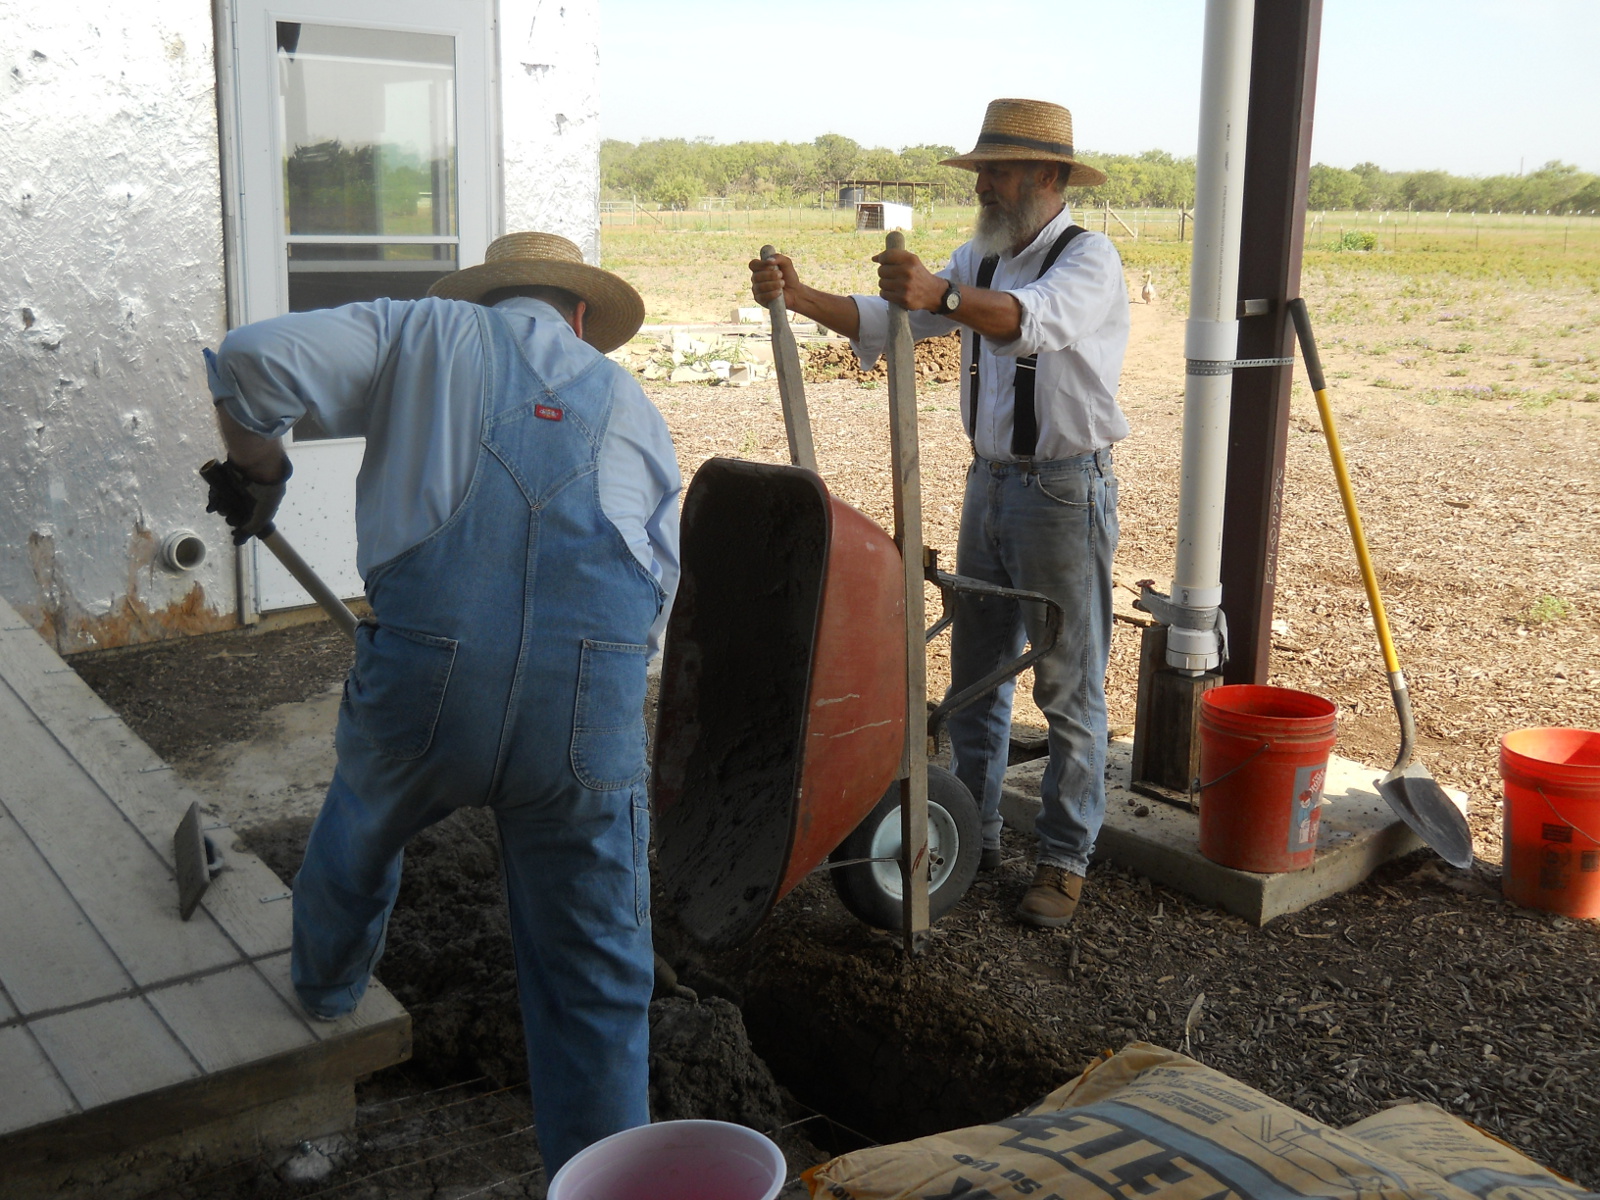
And the guys mixing more concrete:
And here is how far we got before lunch break:
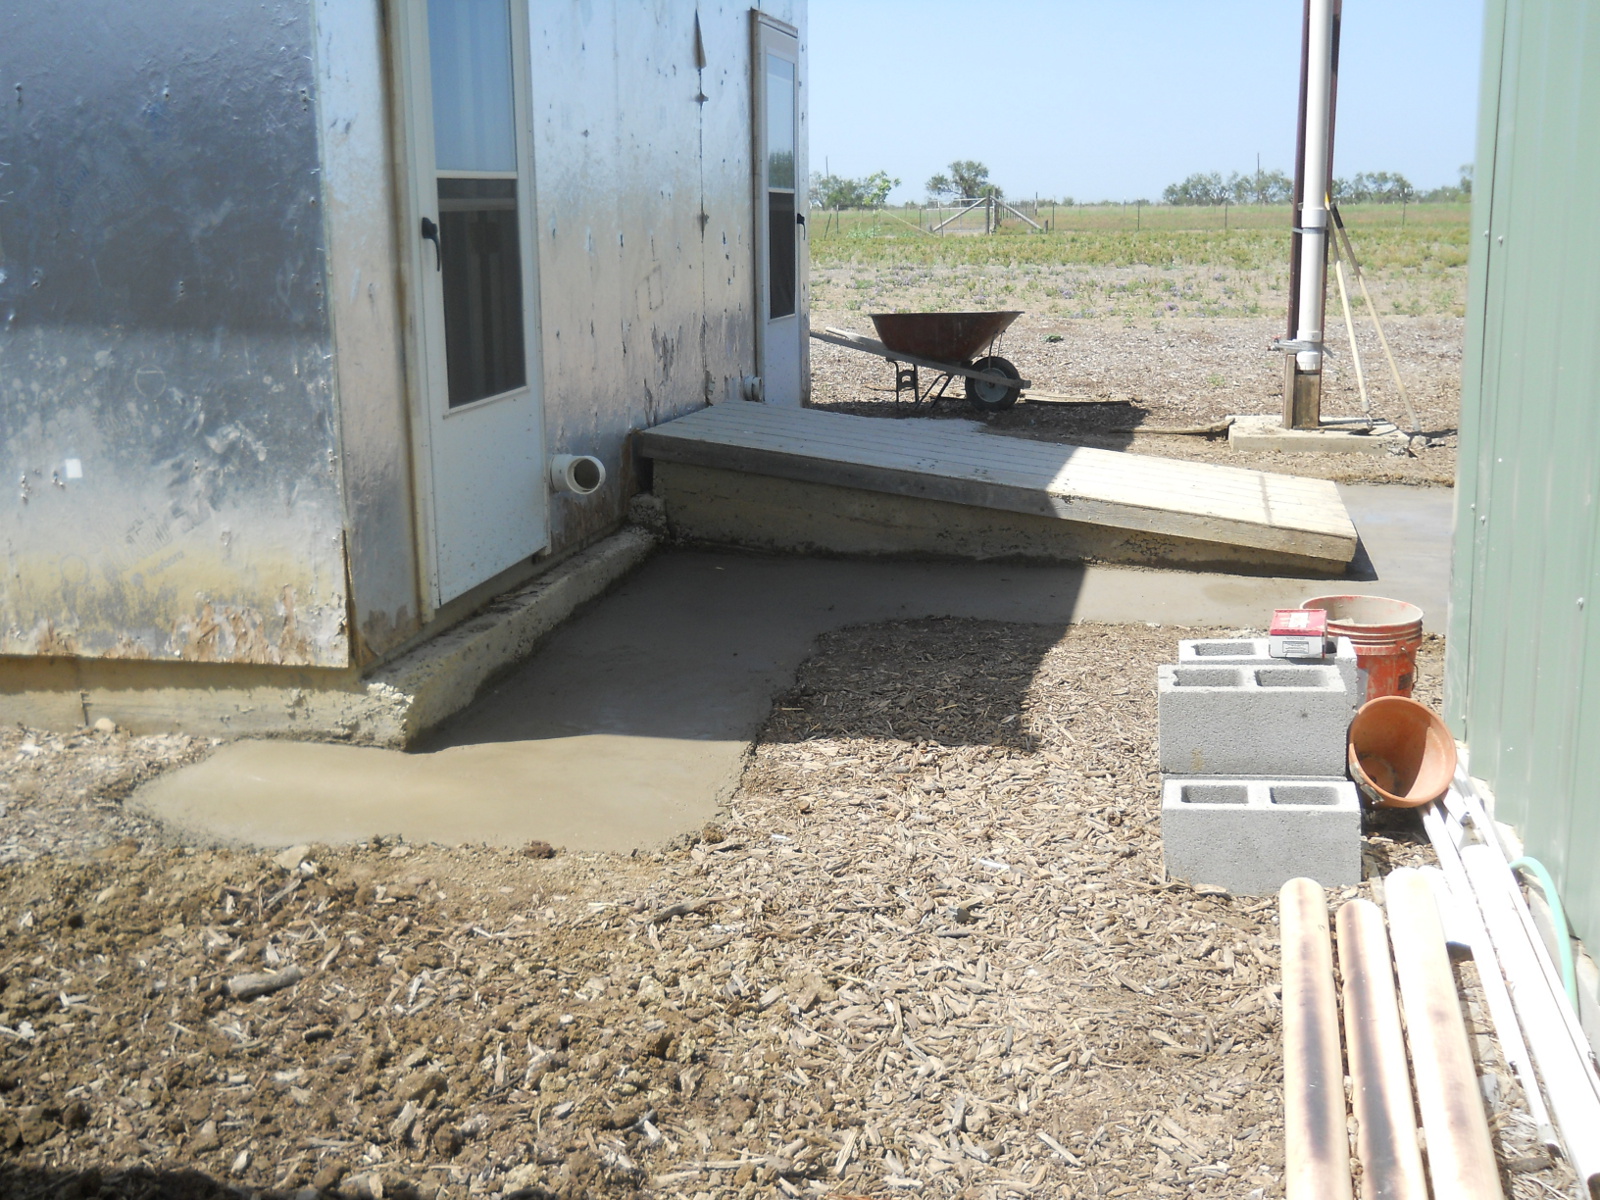
With as far as we progressed, I thought perhaps we might actually be able to finish the whole thing in the afternoon, so I dug out the rest and installed the anchor bolts and mesh. The guys came back, got on it, and we finished the whole thing — 53 bags that day, 73 in total!
The rest of the time, the concrete crew got to cool down and relax — it was I believe in the low 100 degrees F that day. We also kept spraying the concrete to keep it from drying too fast:
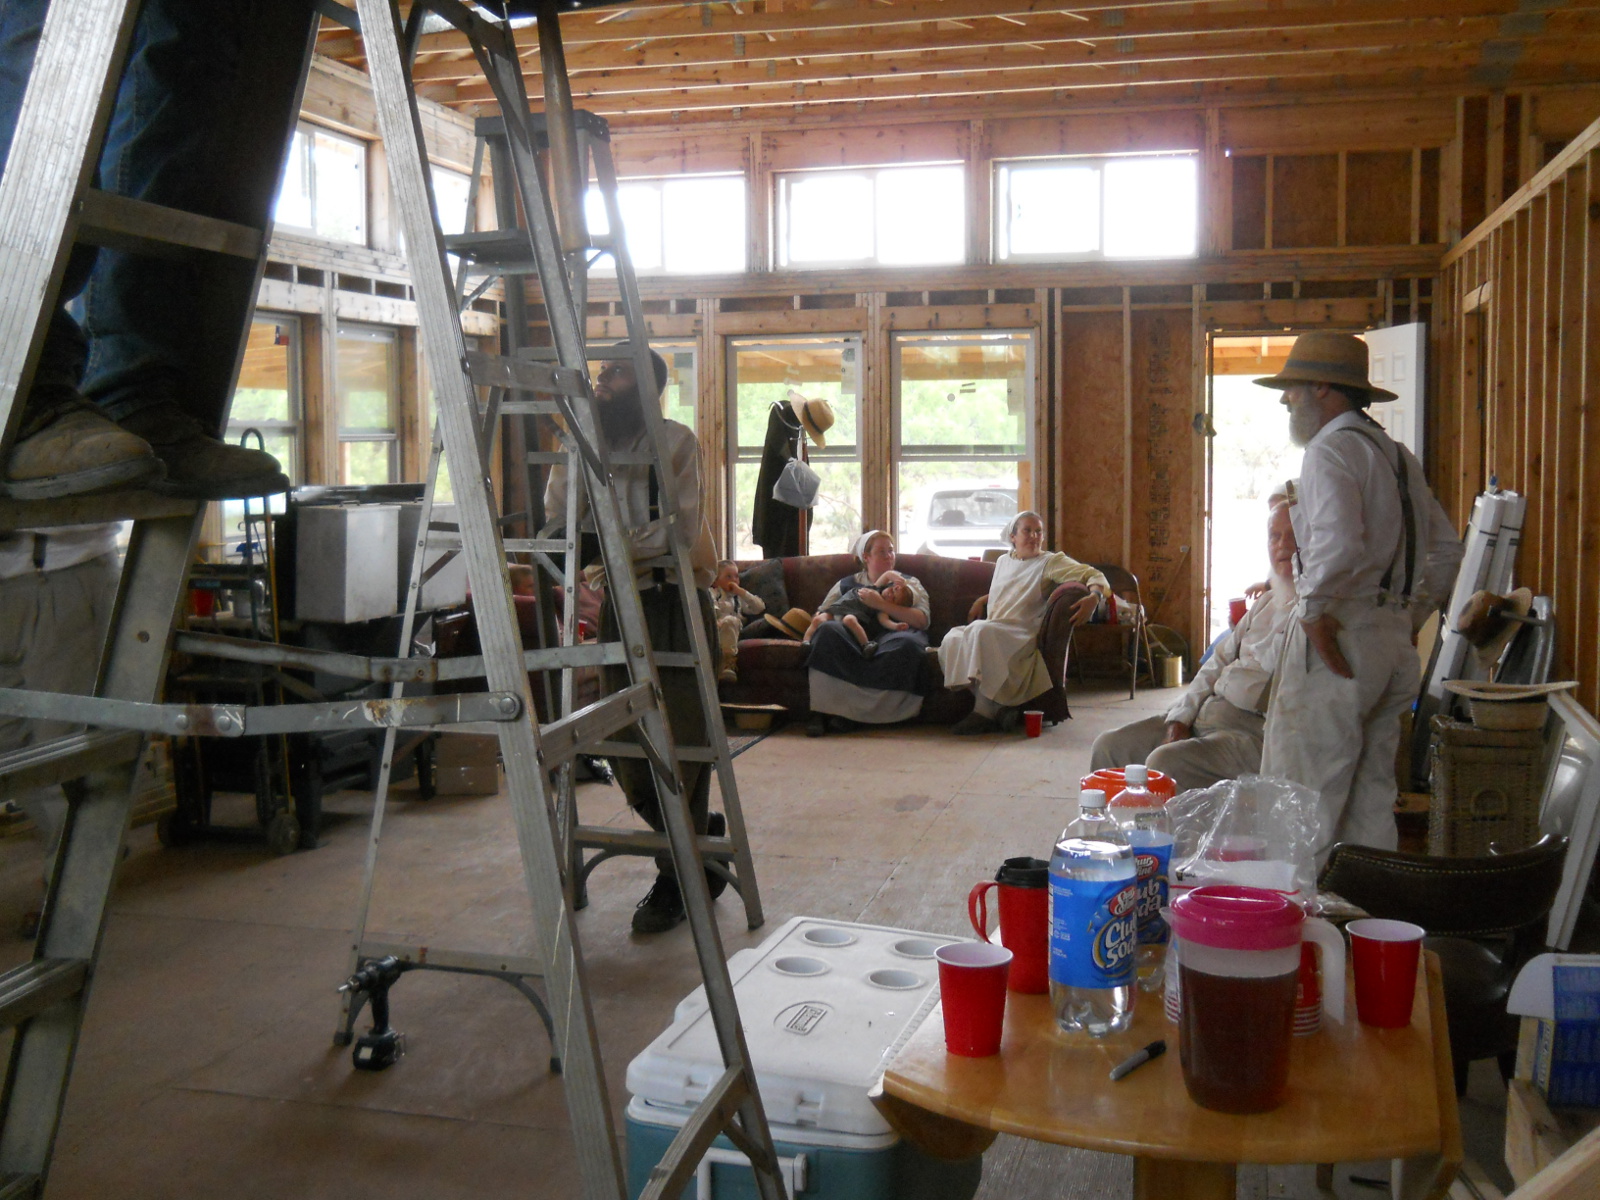
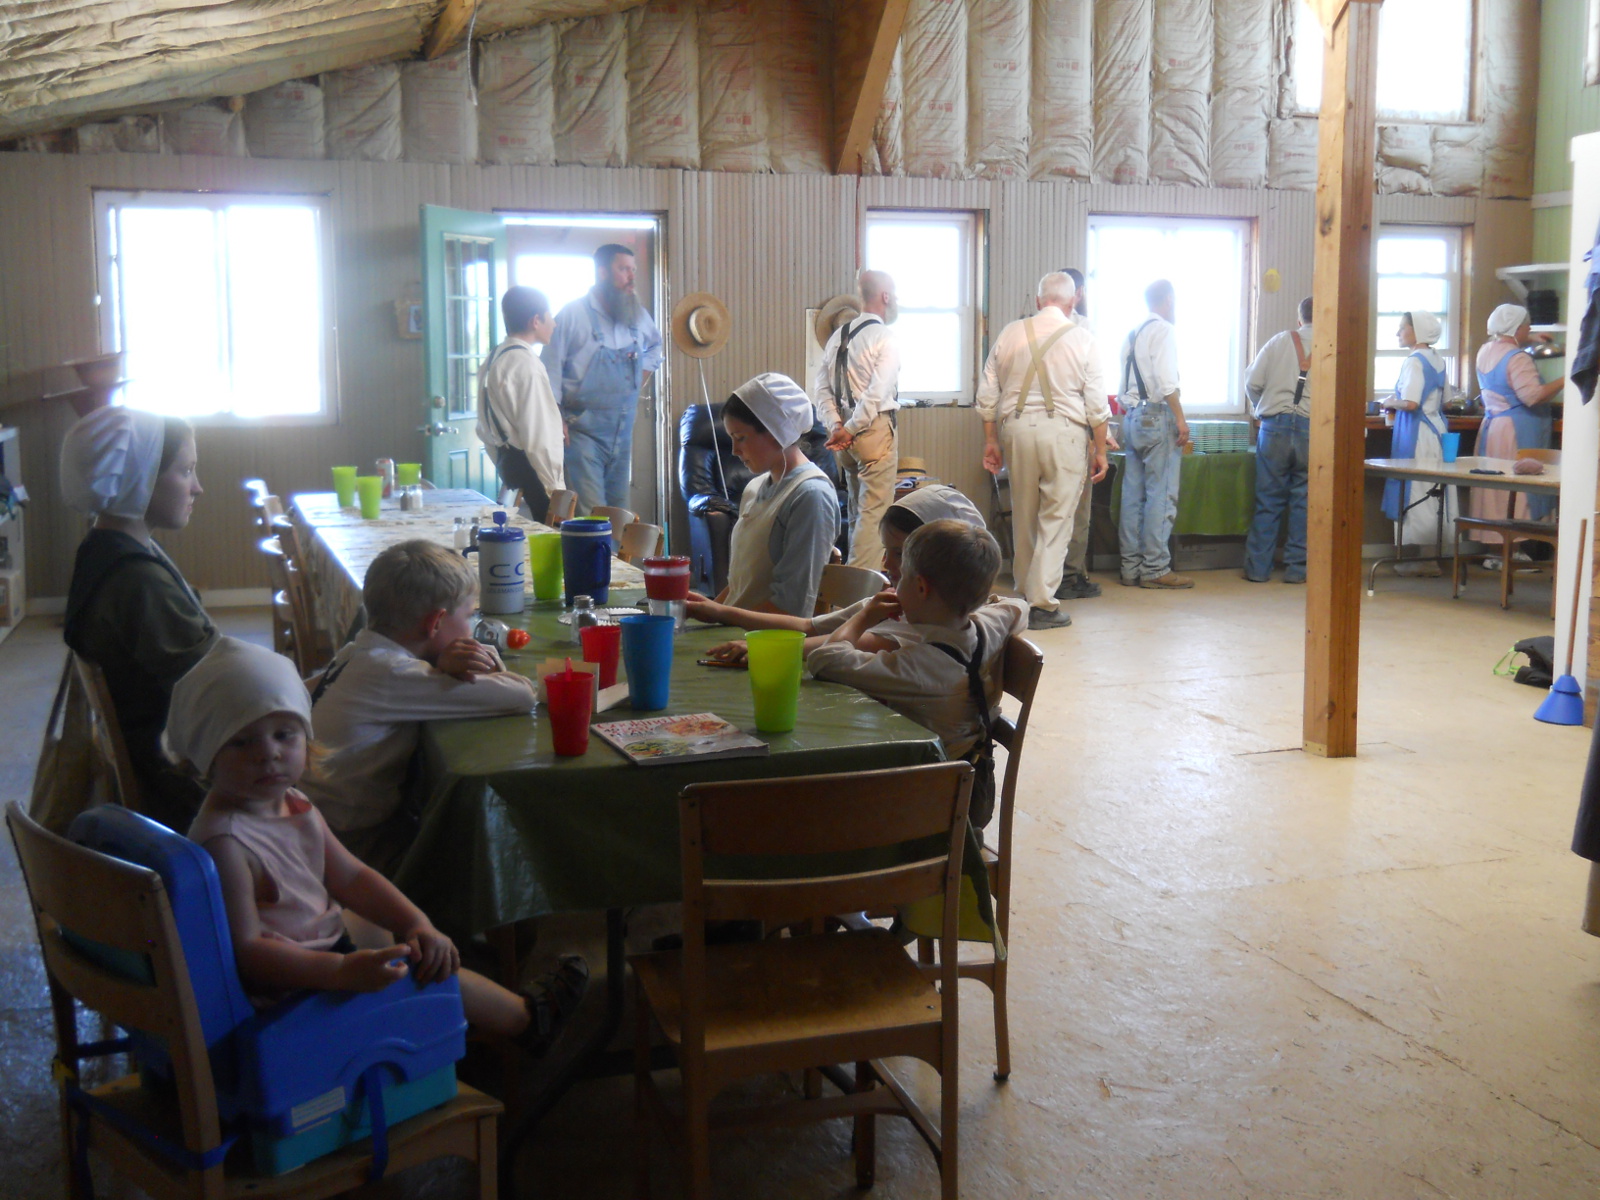
And as always on work days, we finished the day together with a fellowship meal:
We’ve had some rains since then, and it appears to be working so far. Hopefully it will work long term as well.
Sue & I are very grateful and appreciative for the help from the folks here we received working on the root cellar/storm shelter concrete footer, and for our neighbor sacrificing a work day at his place to help with ours. And we thank the Lord for the resources to do this, and for the fellowship here He’s granted us, and for the service of His people to each other. We pray He grant us growth in the graces of servanthood.
— David