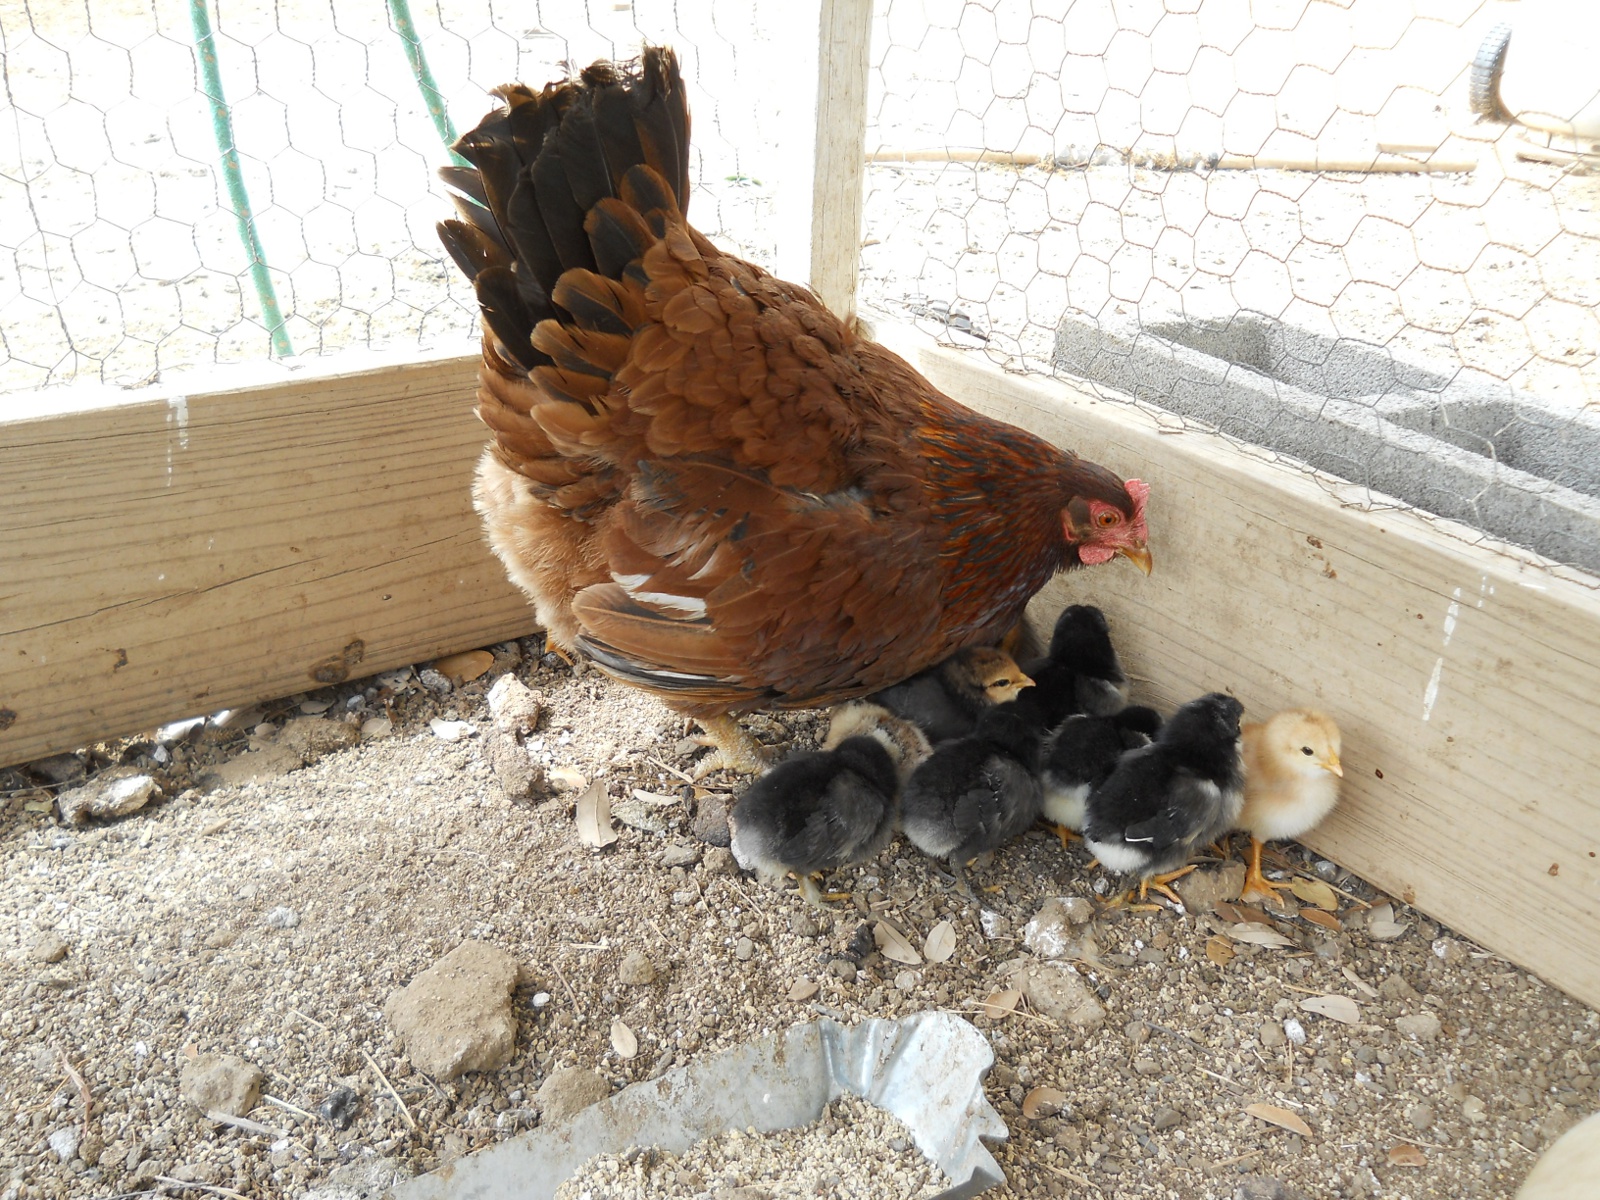
Last year, the Lord granted that some of our hens would be broody and sit on eggs — something that hadn’t really happened much until then. Well, God has continued to be gracious in that way, granted one of our hens to get broody; and by God’s graces, she hatched out 13 new chicks out of 14 eggs!
We’ve since lost one, but here is a picture of them:
And a quick video:
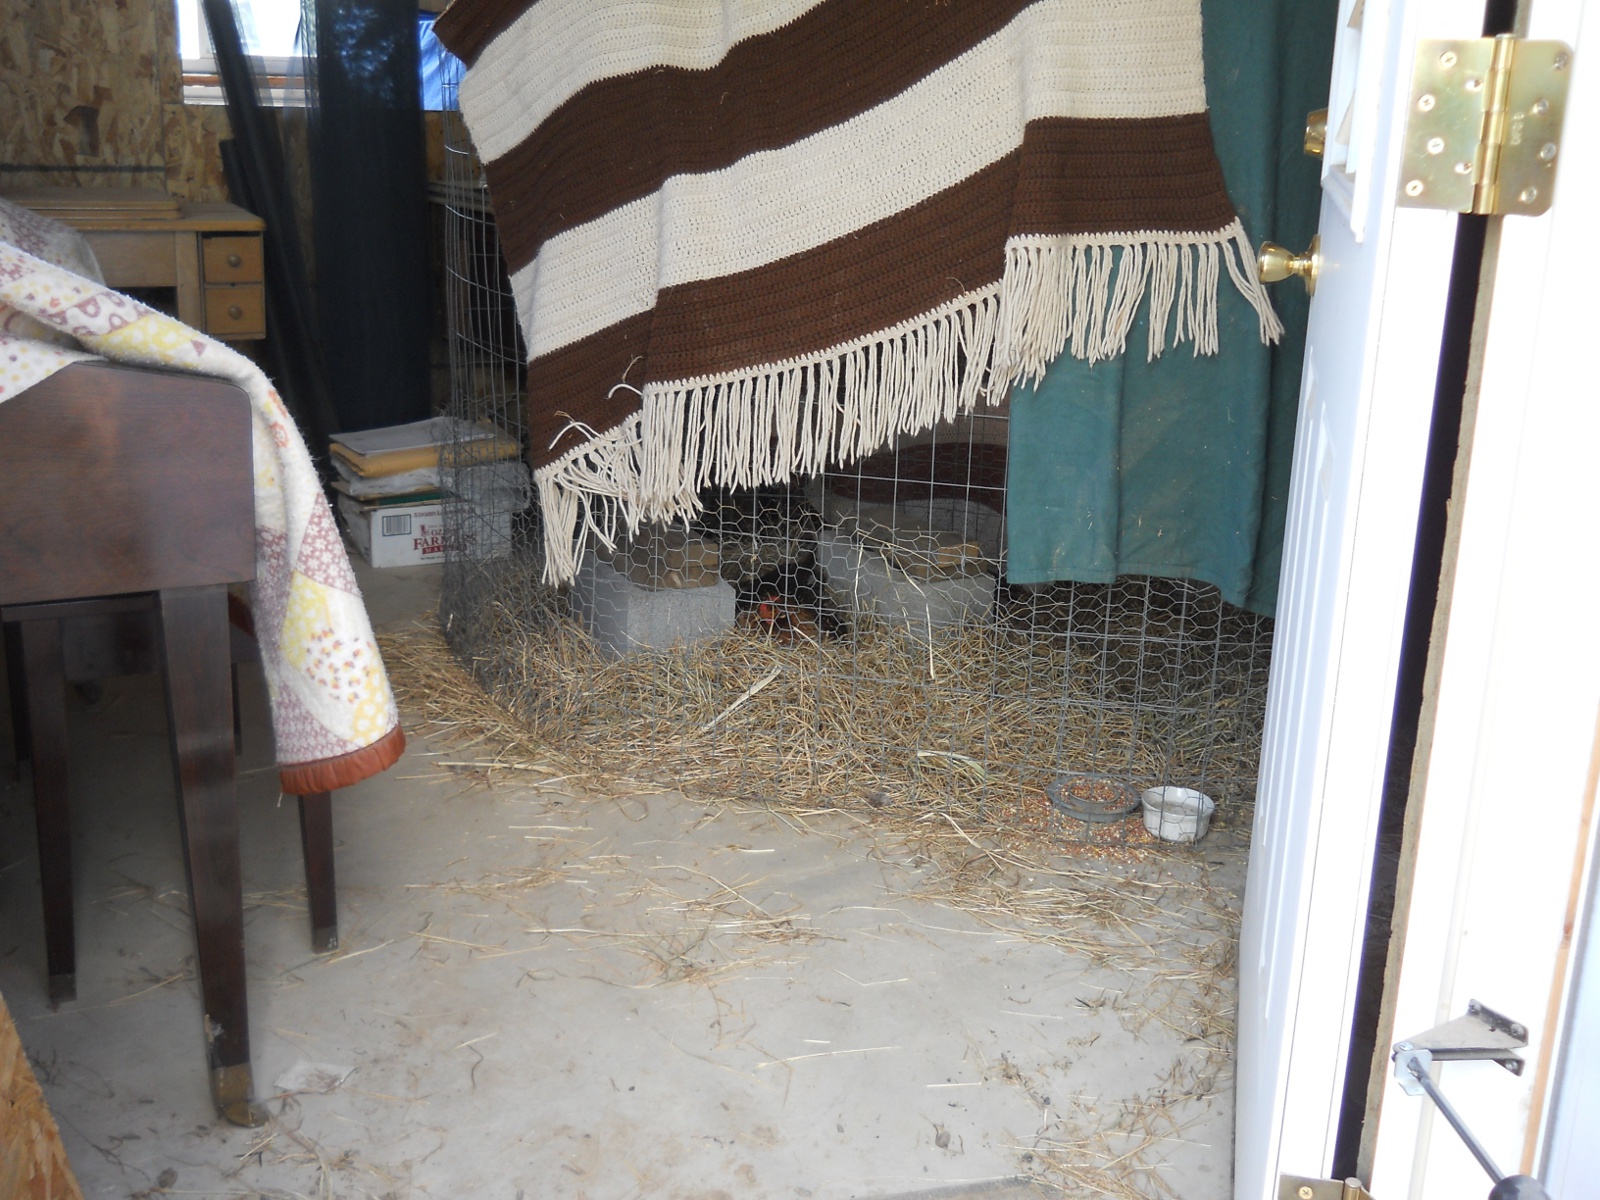
Along with this hen, we suddenly had an avalanche of broody hens! We’ve had a hard time finding where to put them, but we put one in our chicken coup in the chicken pen, and turned our summer kitchen into a chicken nursery.
Here’s one sitting in the piano room:
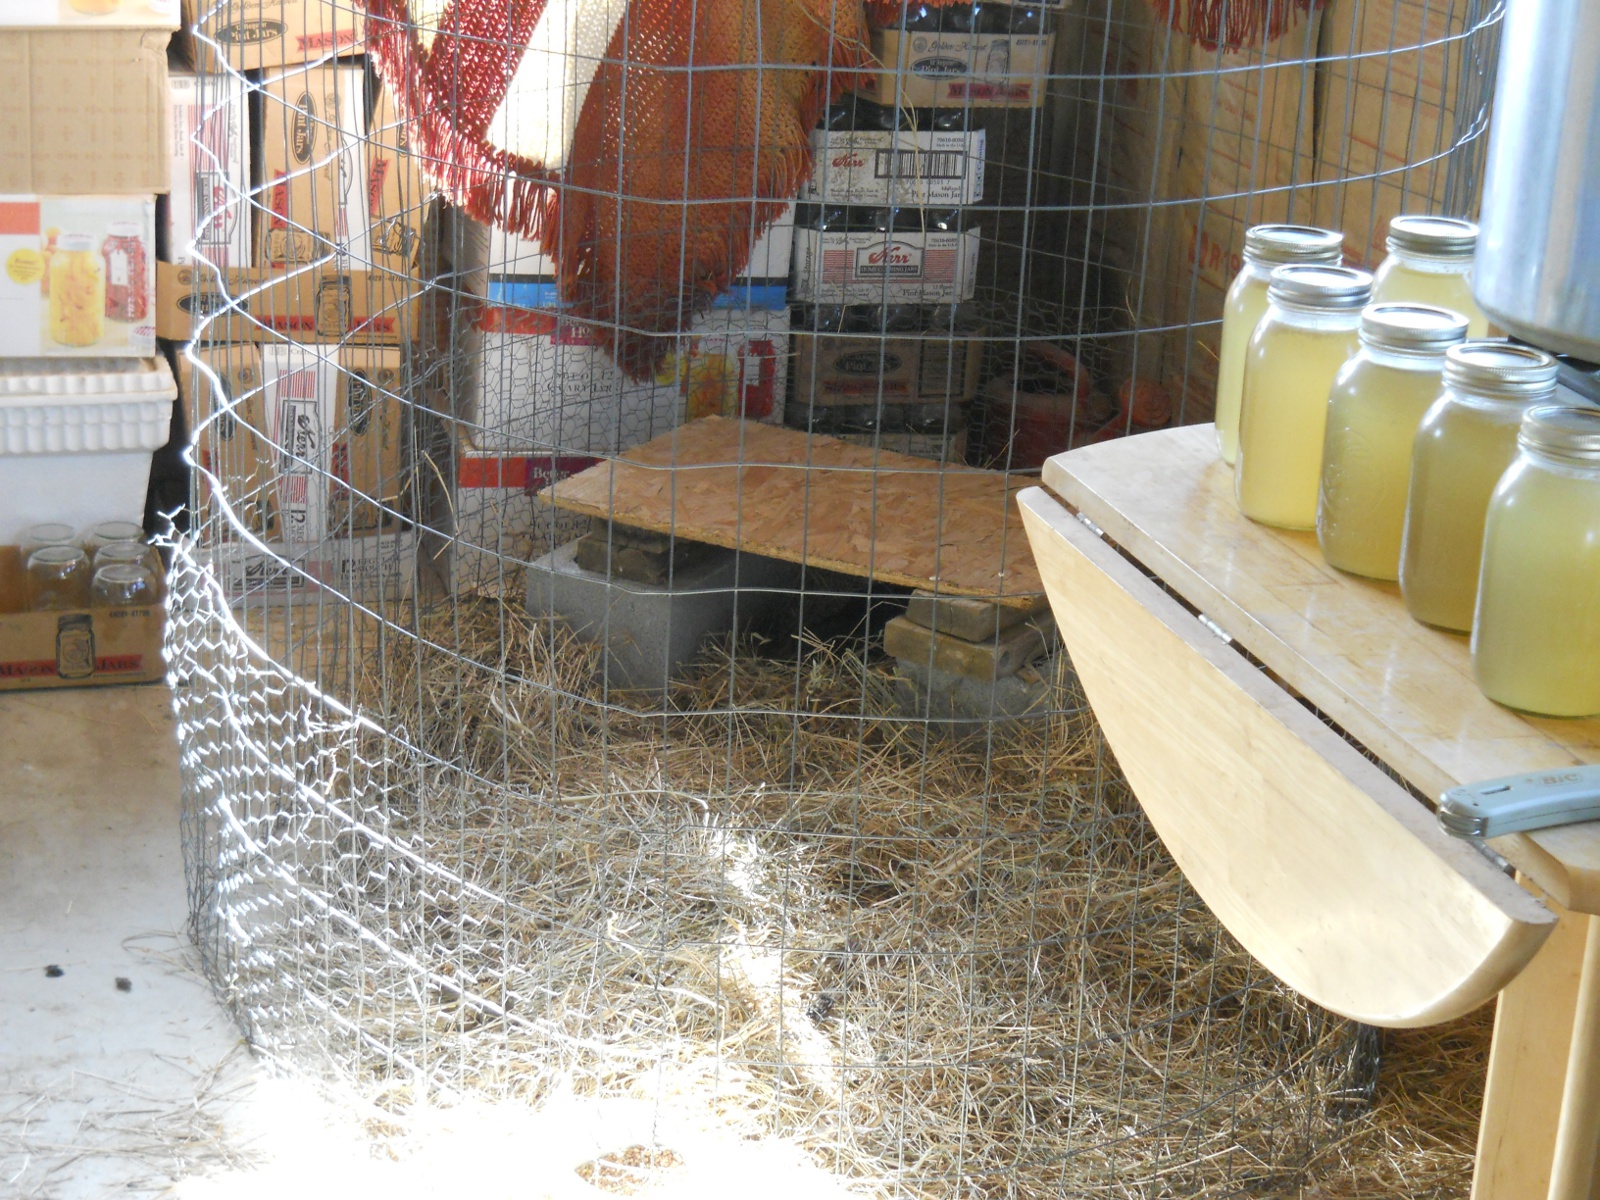
And another in the summer kitchen area:
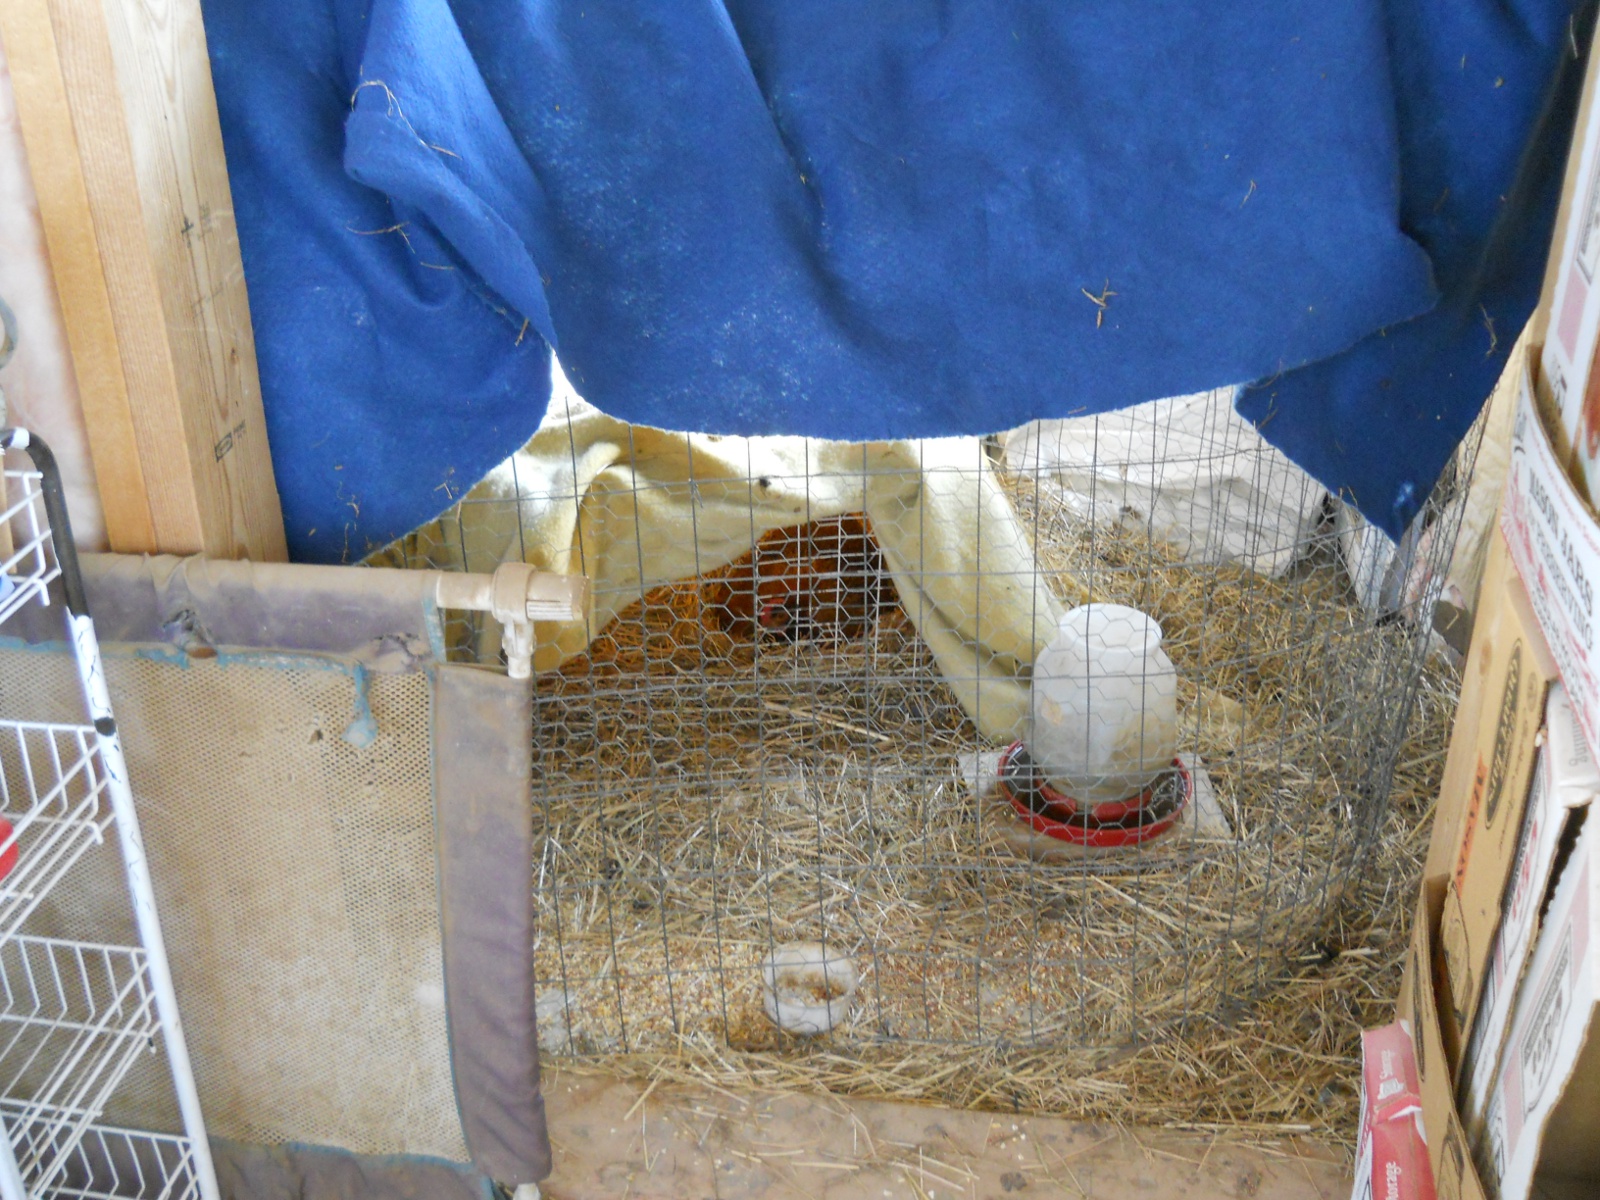
And the pantry:
There are two (sometimes three in two nests) more in the main chicken tractor that we’re not sure where to put, but hopefully we will figure that out before the chicks hatch (if the Lord wills).
We are very grateful to the Lord for granting this “problem,” and we pray for continued healthy hatchlings, according to His will.
Twice a year we gather as a community for a week to work on projects for our teacher, Michael, and his family; and to provide an opportunity for guests to come by and help out and meet the folks here, etc.
And so, it was that time again for “Ranchfest” — Spring 2012!
The men had two projects they were working on throughout the week: building a cabin for the community’s betrothed couple; and doing finishing work on the inside of Michael’s cottage.
The Cabin
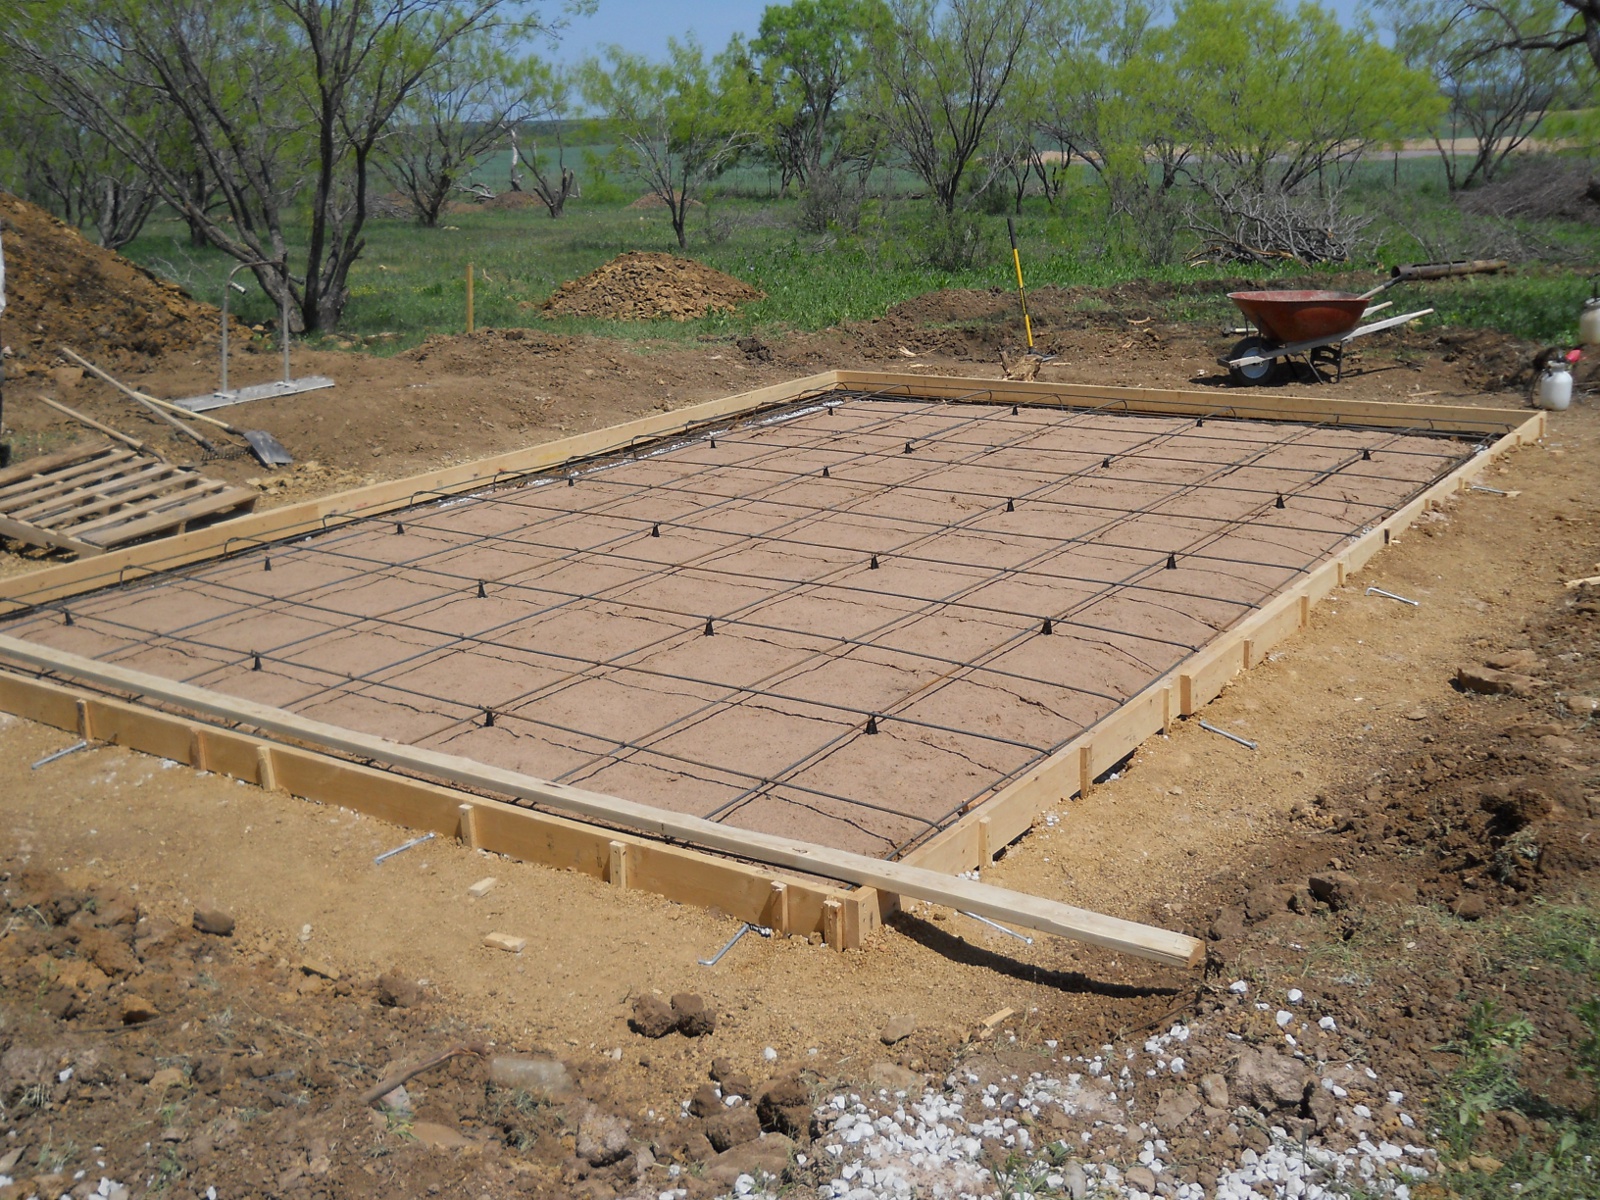
For the cabin, we started on Friday with a concrete slab pour. This was the group’s first real concrete pour on the land, and the guys did a lot of study and prep work in getting things ready. Here is the area formed with the rebar:
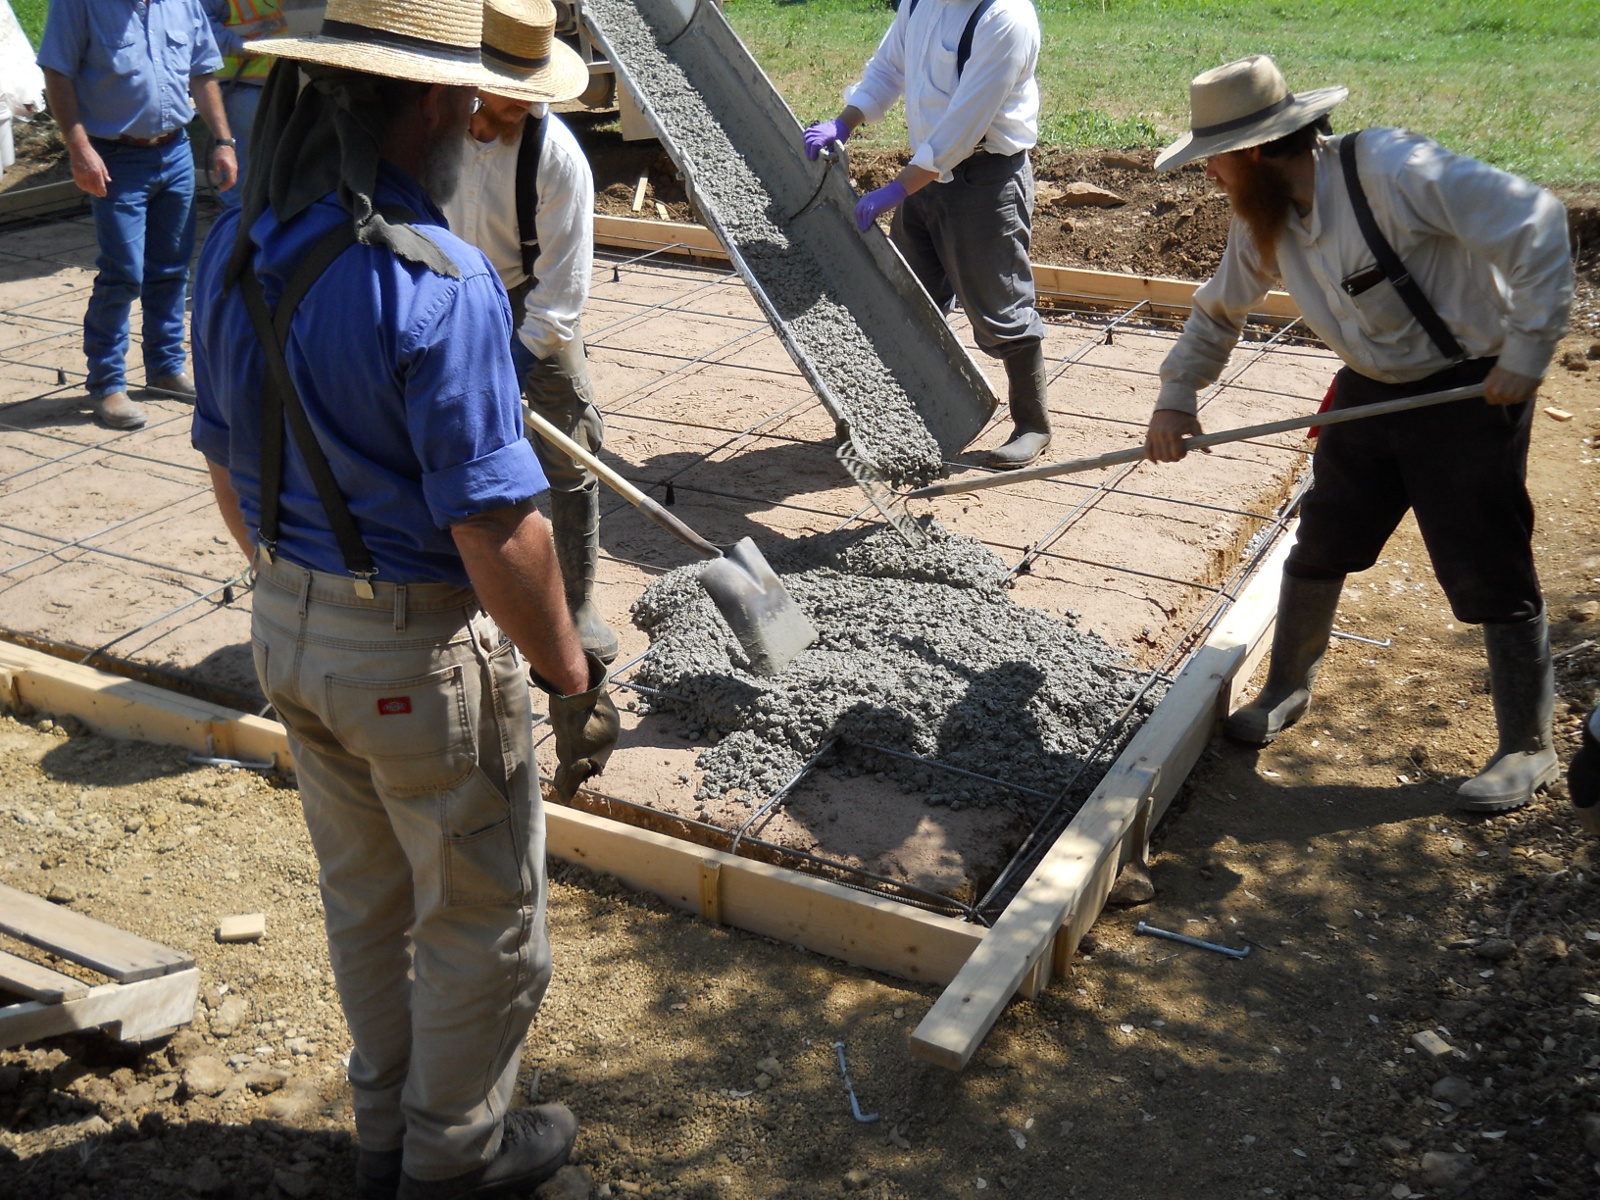
And here begins the concrete pour:
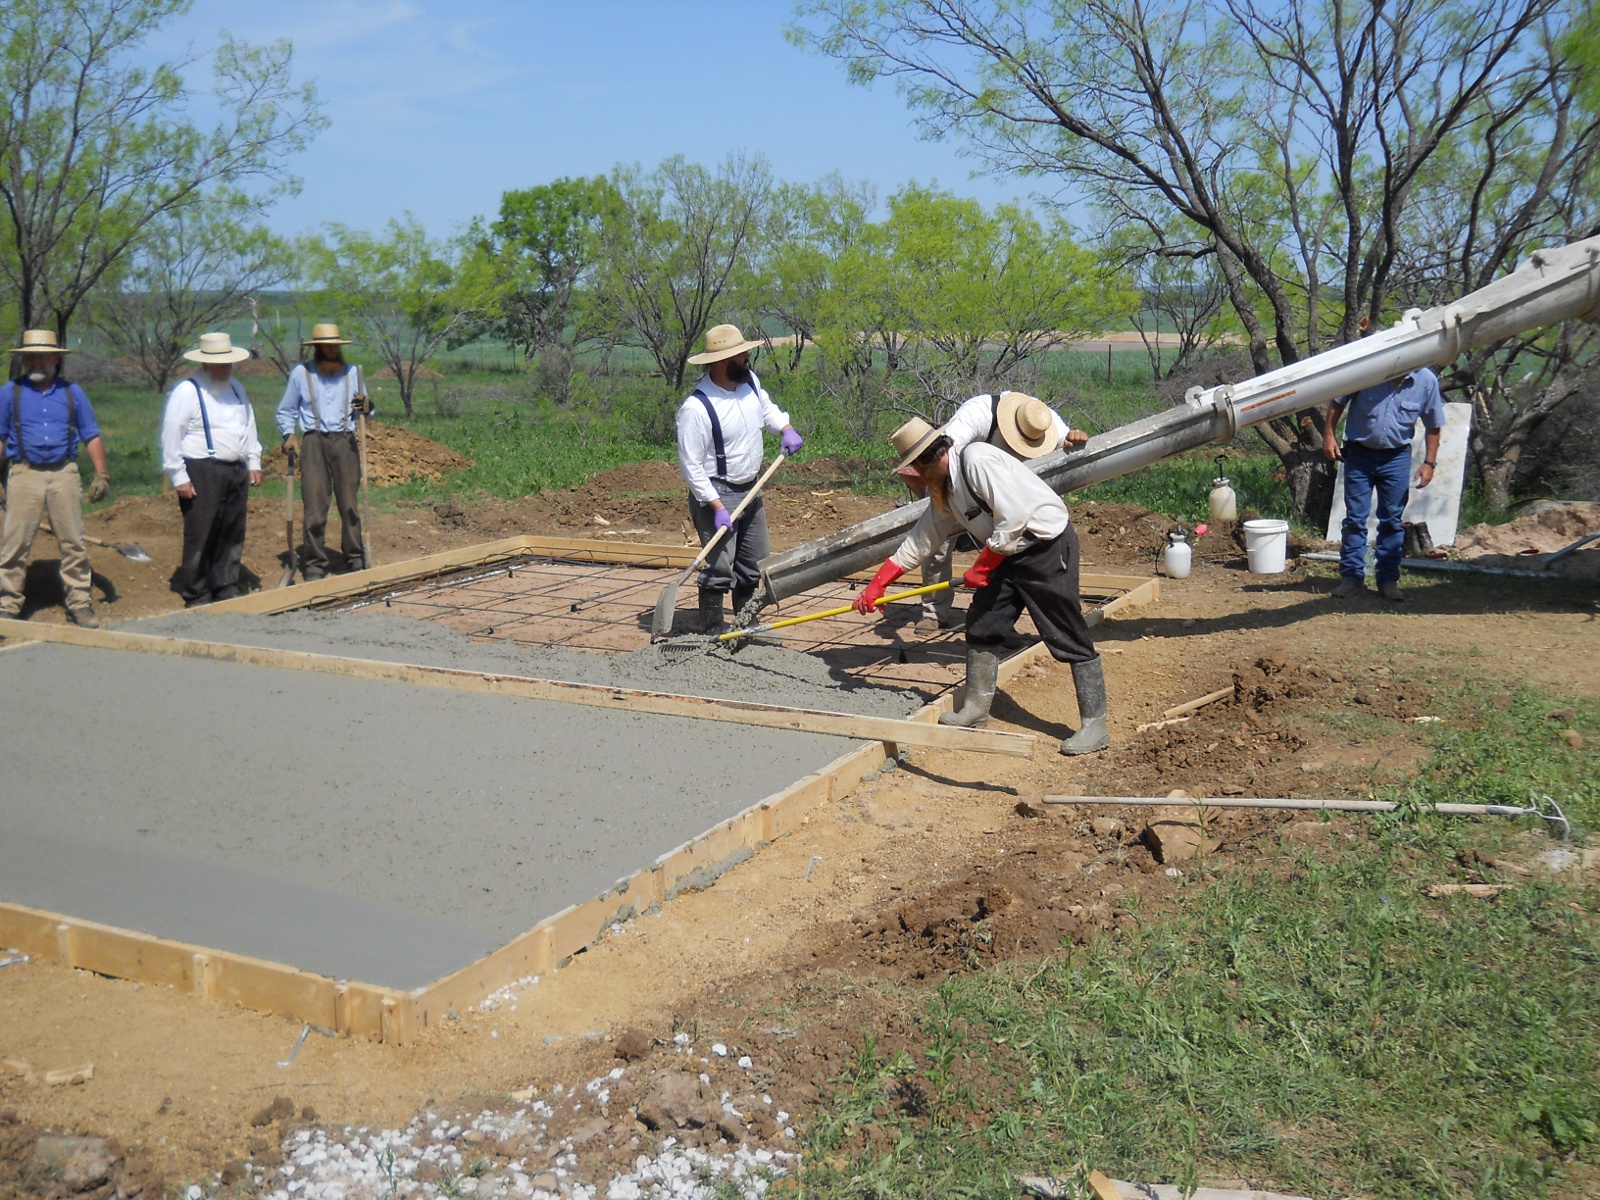
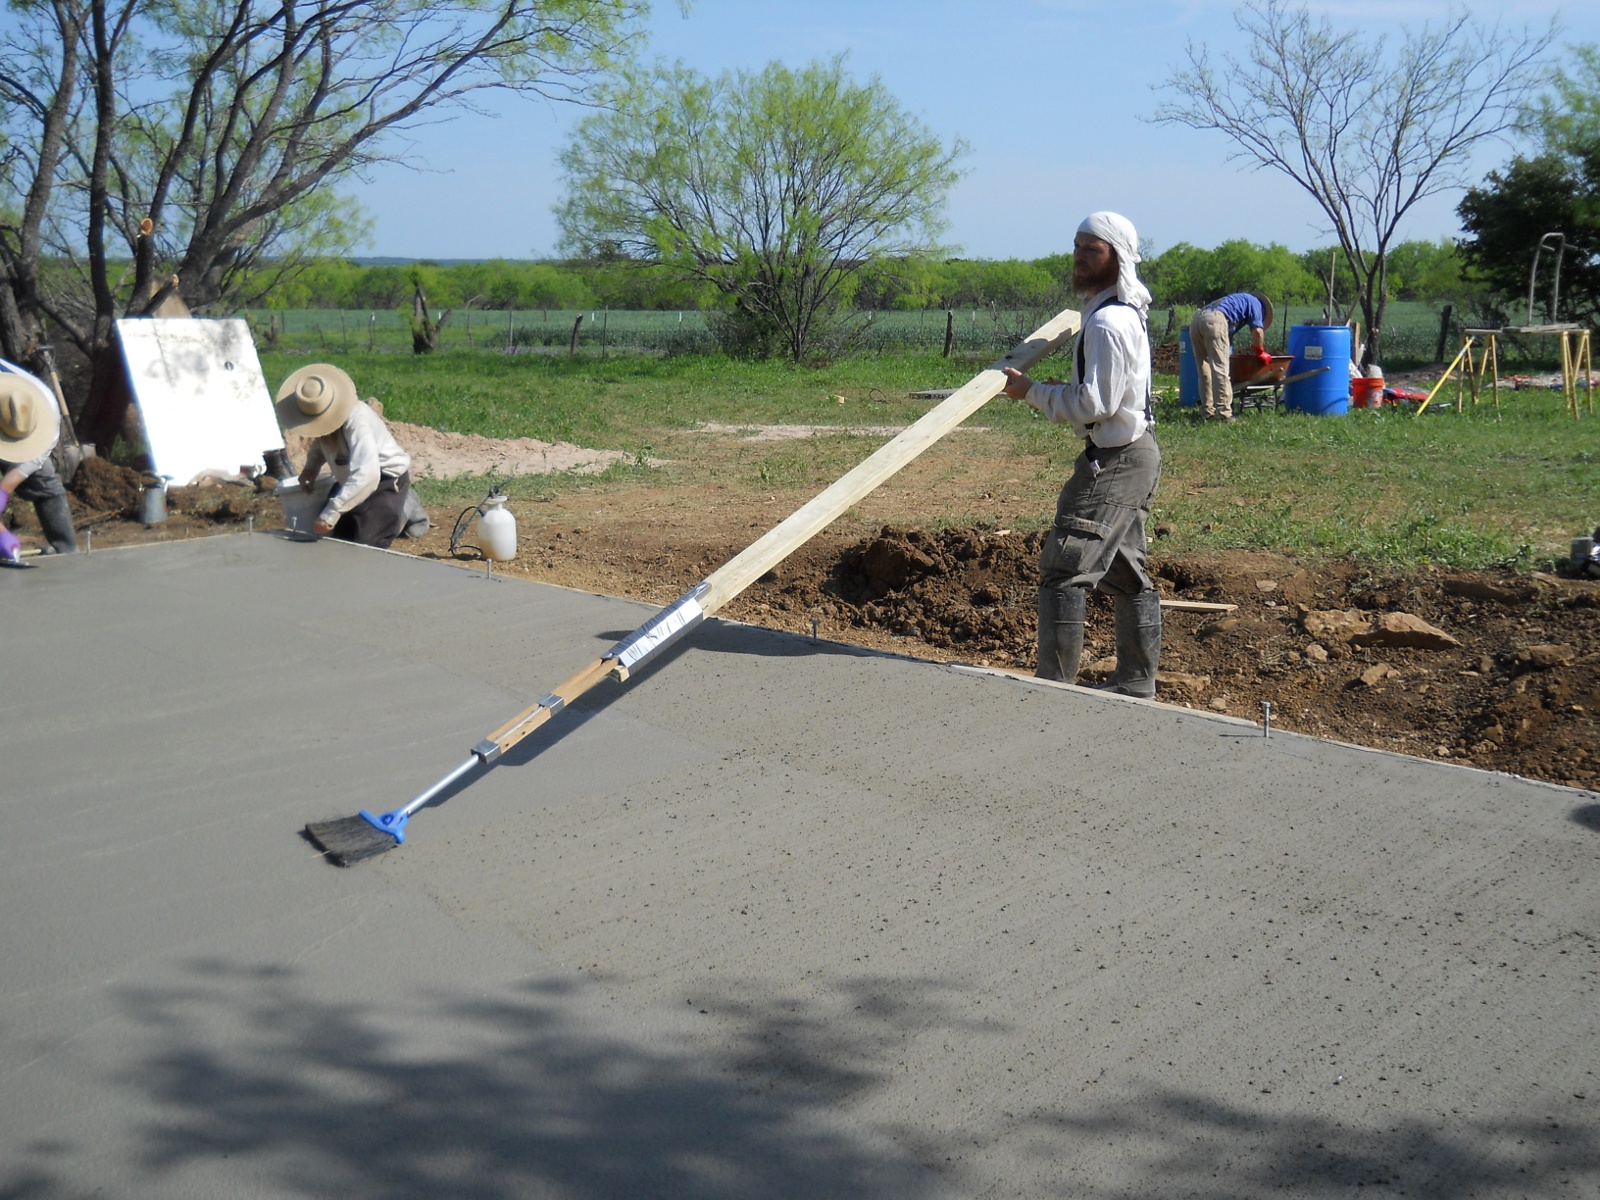
And more of the pouring and after “screeding” (or spreading) it out with the long 2×4 that spanned the whole width:
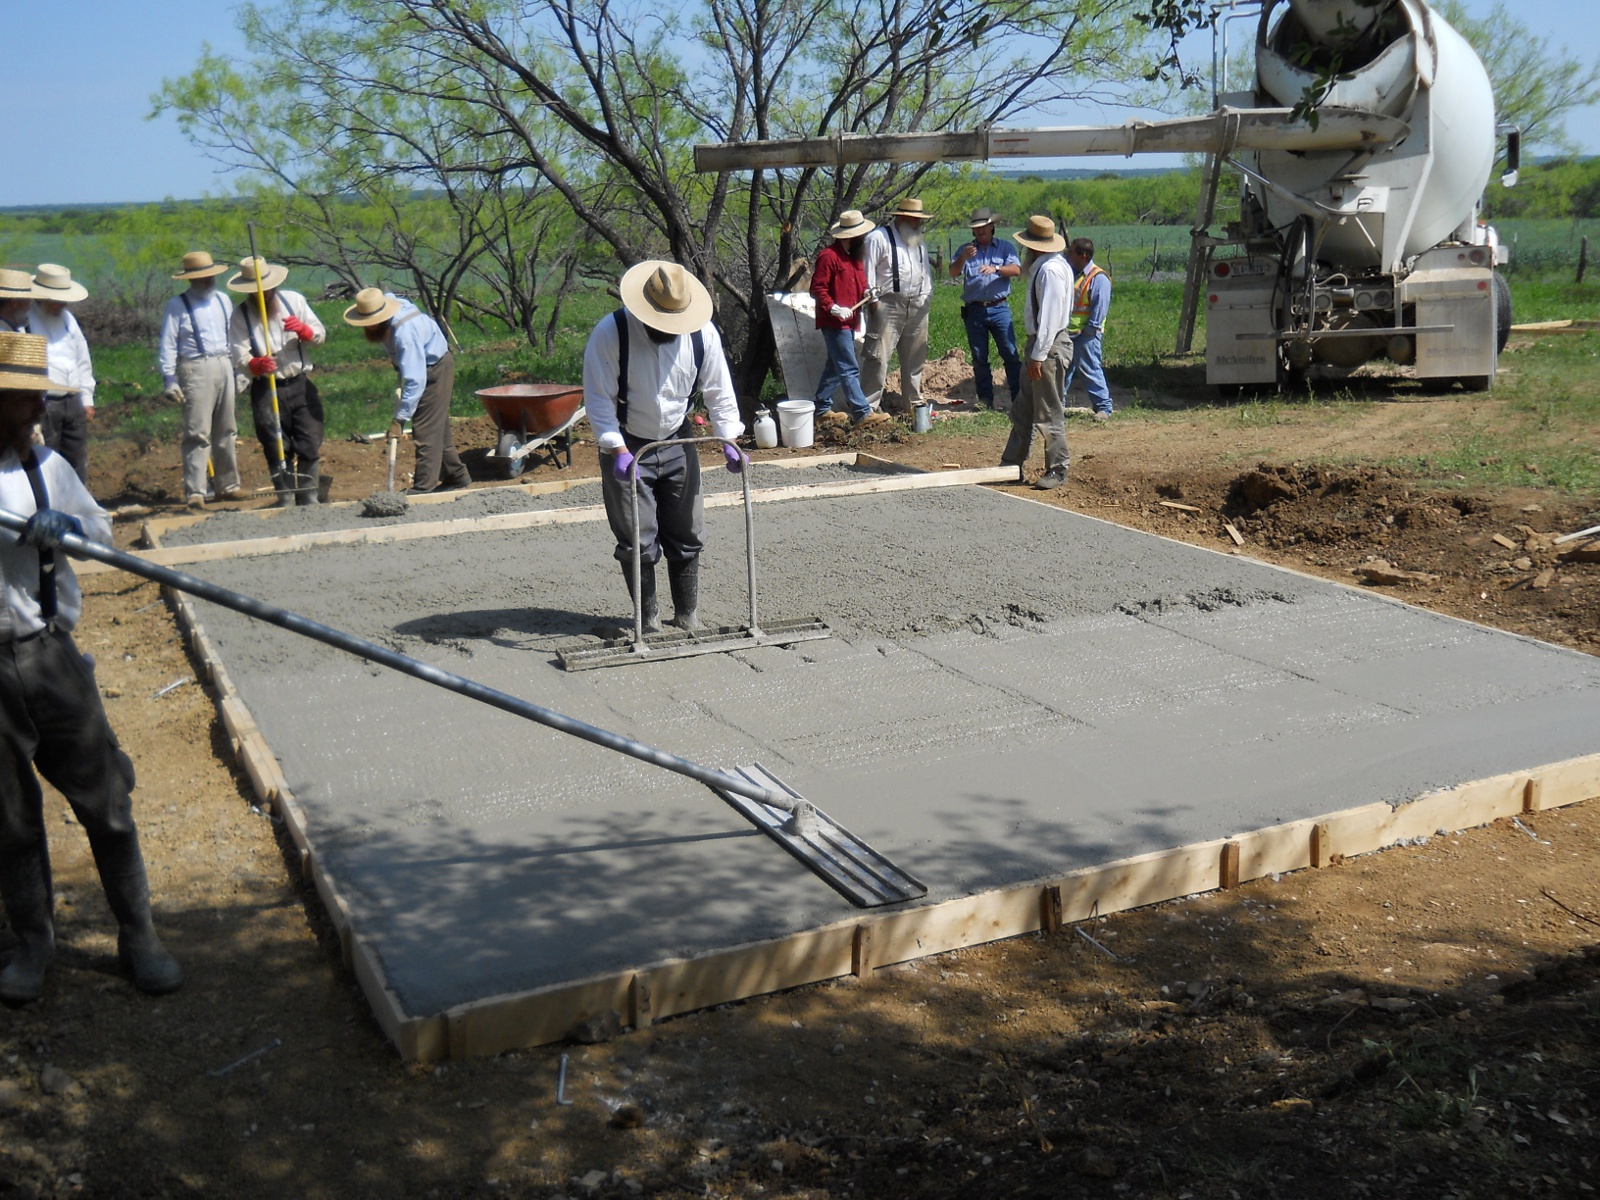
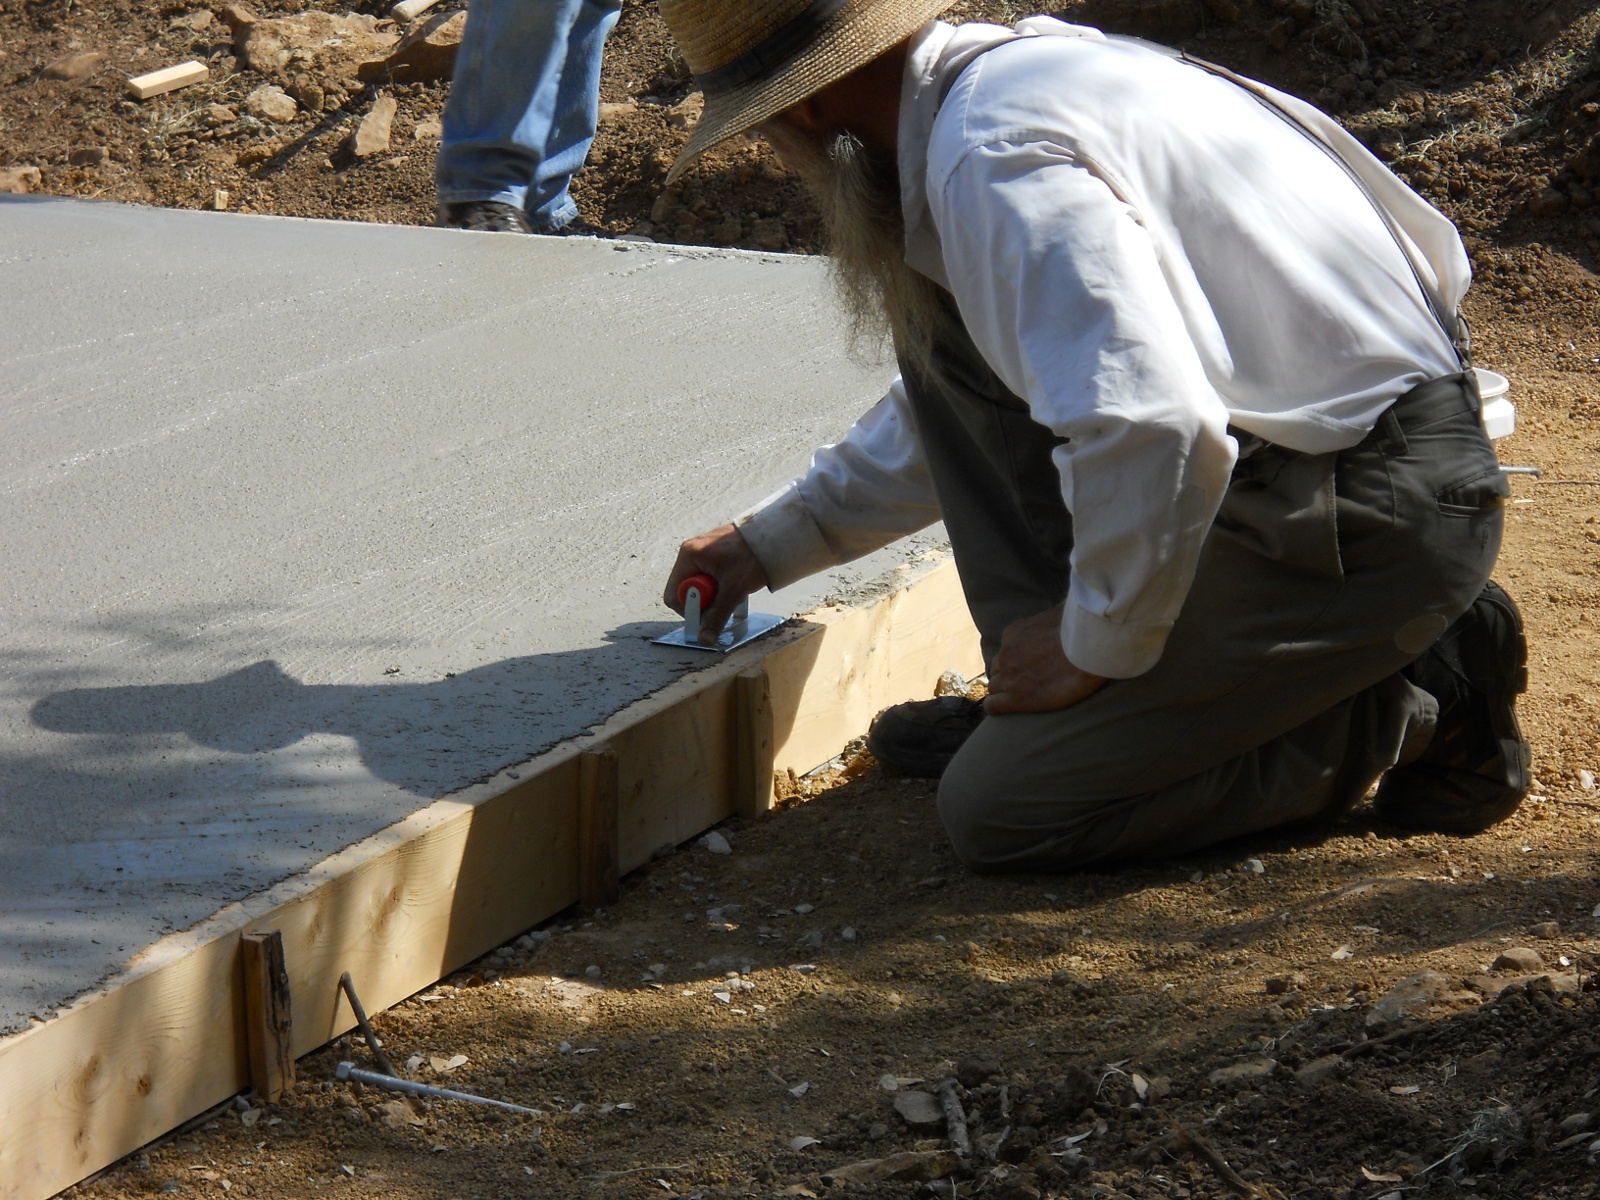
Here the concrete is tamped lightly by what they call a “jitterbug”, and a “bull float” is used to smooth out the concrete surface:
And then it was edged so the edges are rounded, to help keep them from chipping. One fellow also went around the sides with a hammer, lightly tapping the forms to help keep the concrete from “honeycombing”:
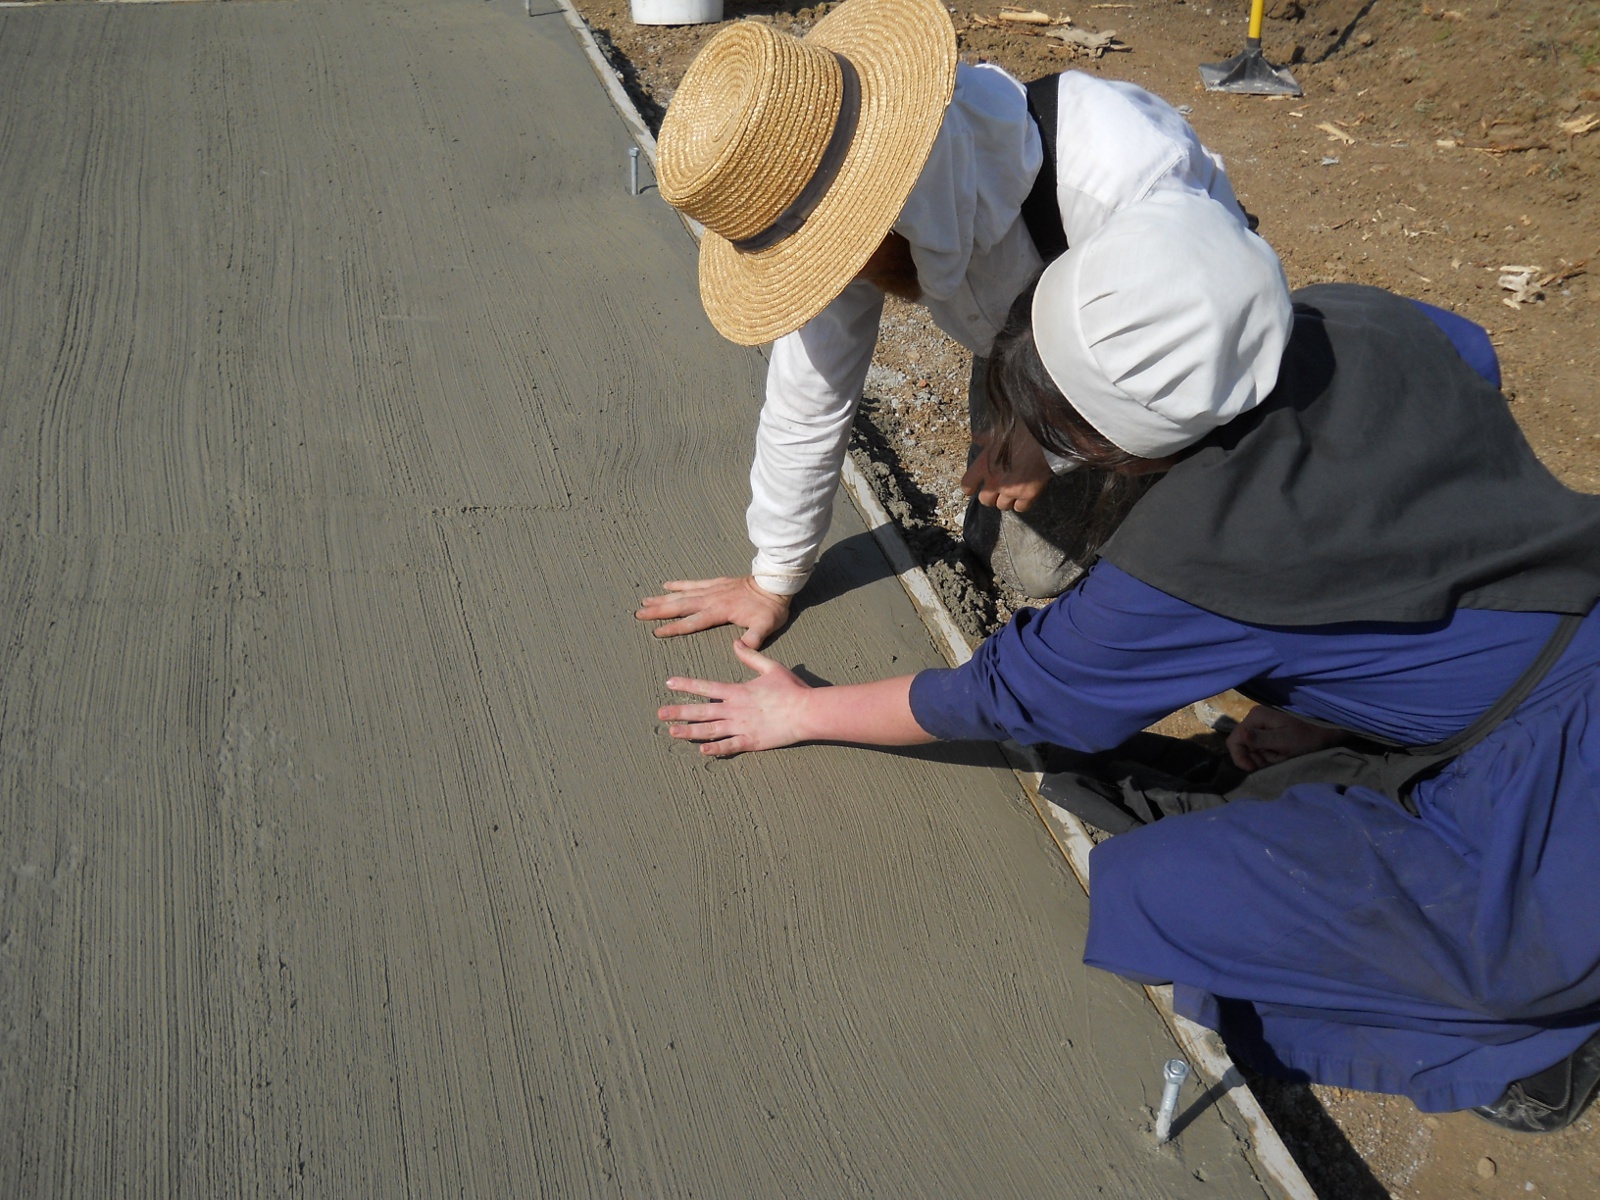
Here’s the groom-to-be and his improvised concrete texturizer:
And finally, the betrothed couple thought they’d mark a memory of the event:
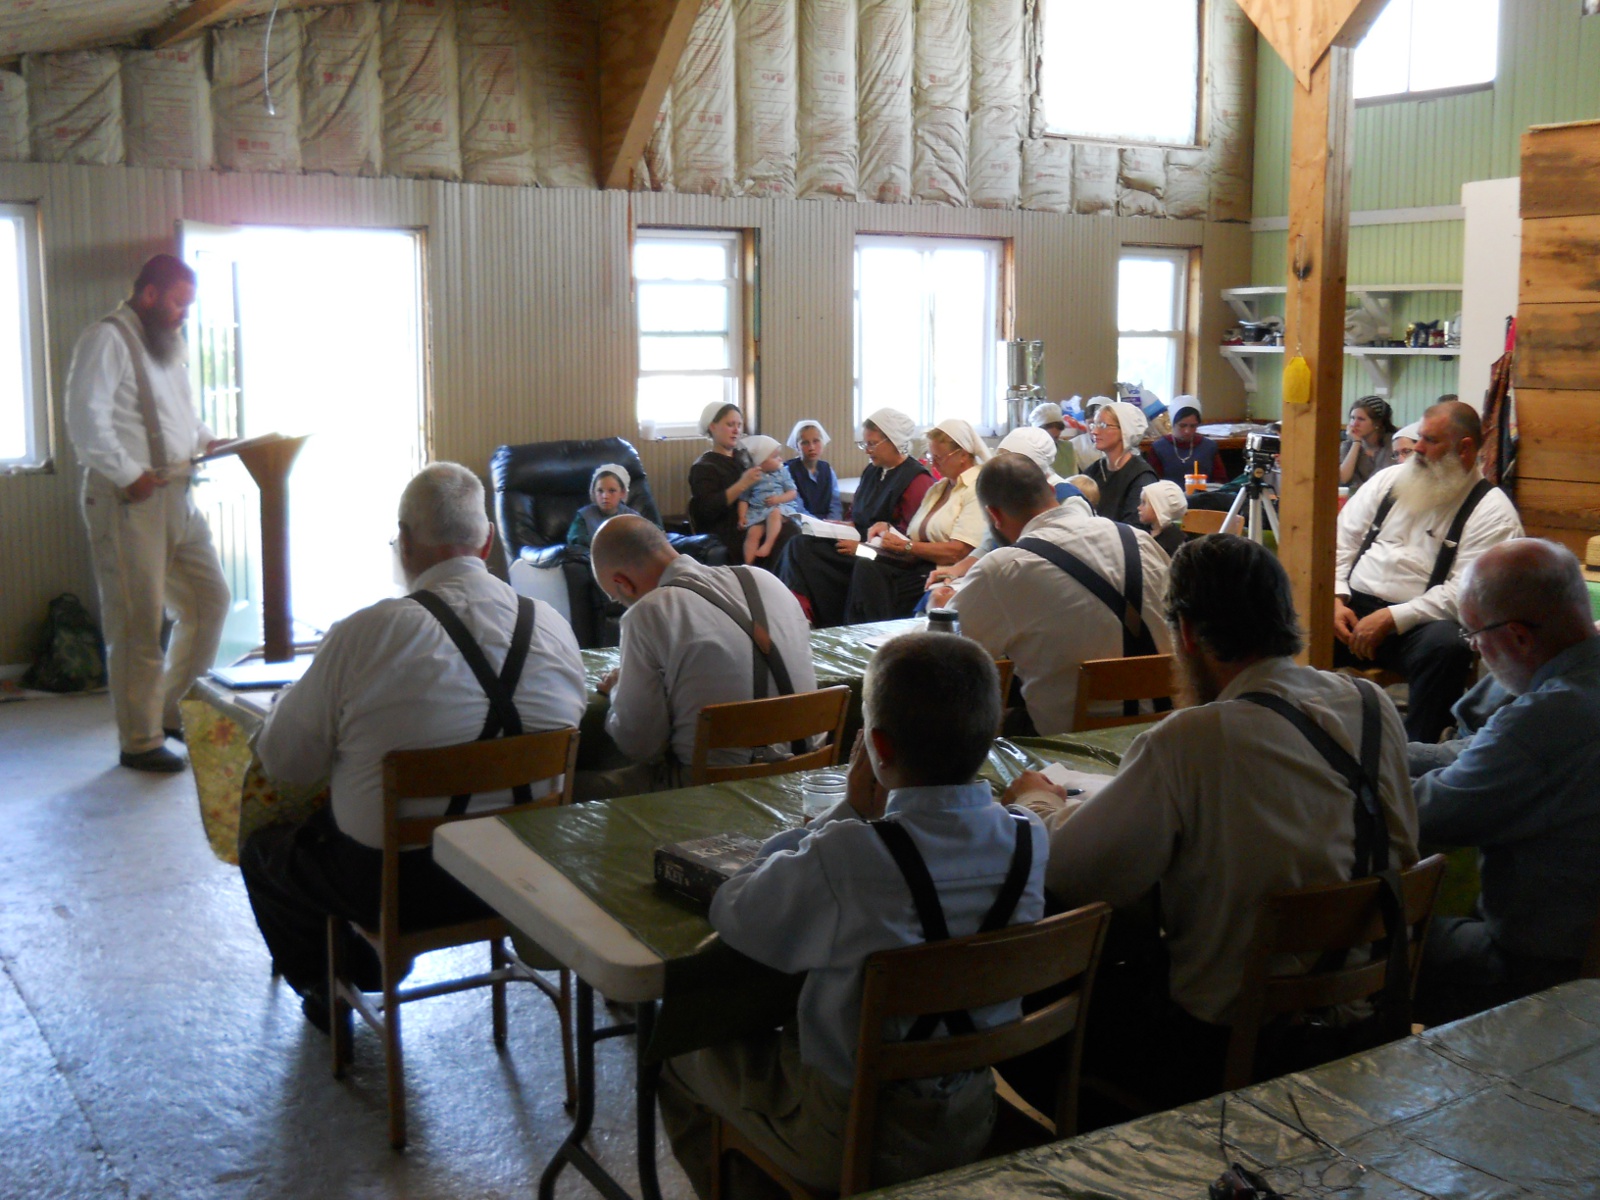
Friday Night Sermon
On Friday evenings, Michael is going through in an in-depth way the last chapters he included in a book he wrote, which was an article series he wrote called “What is the Gospel?”:
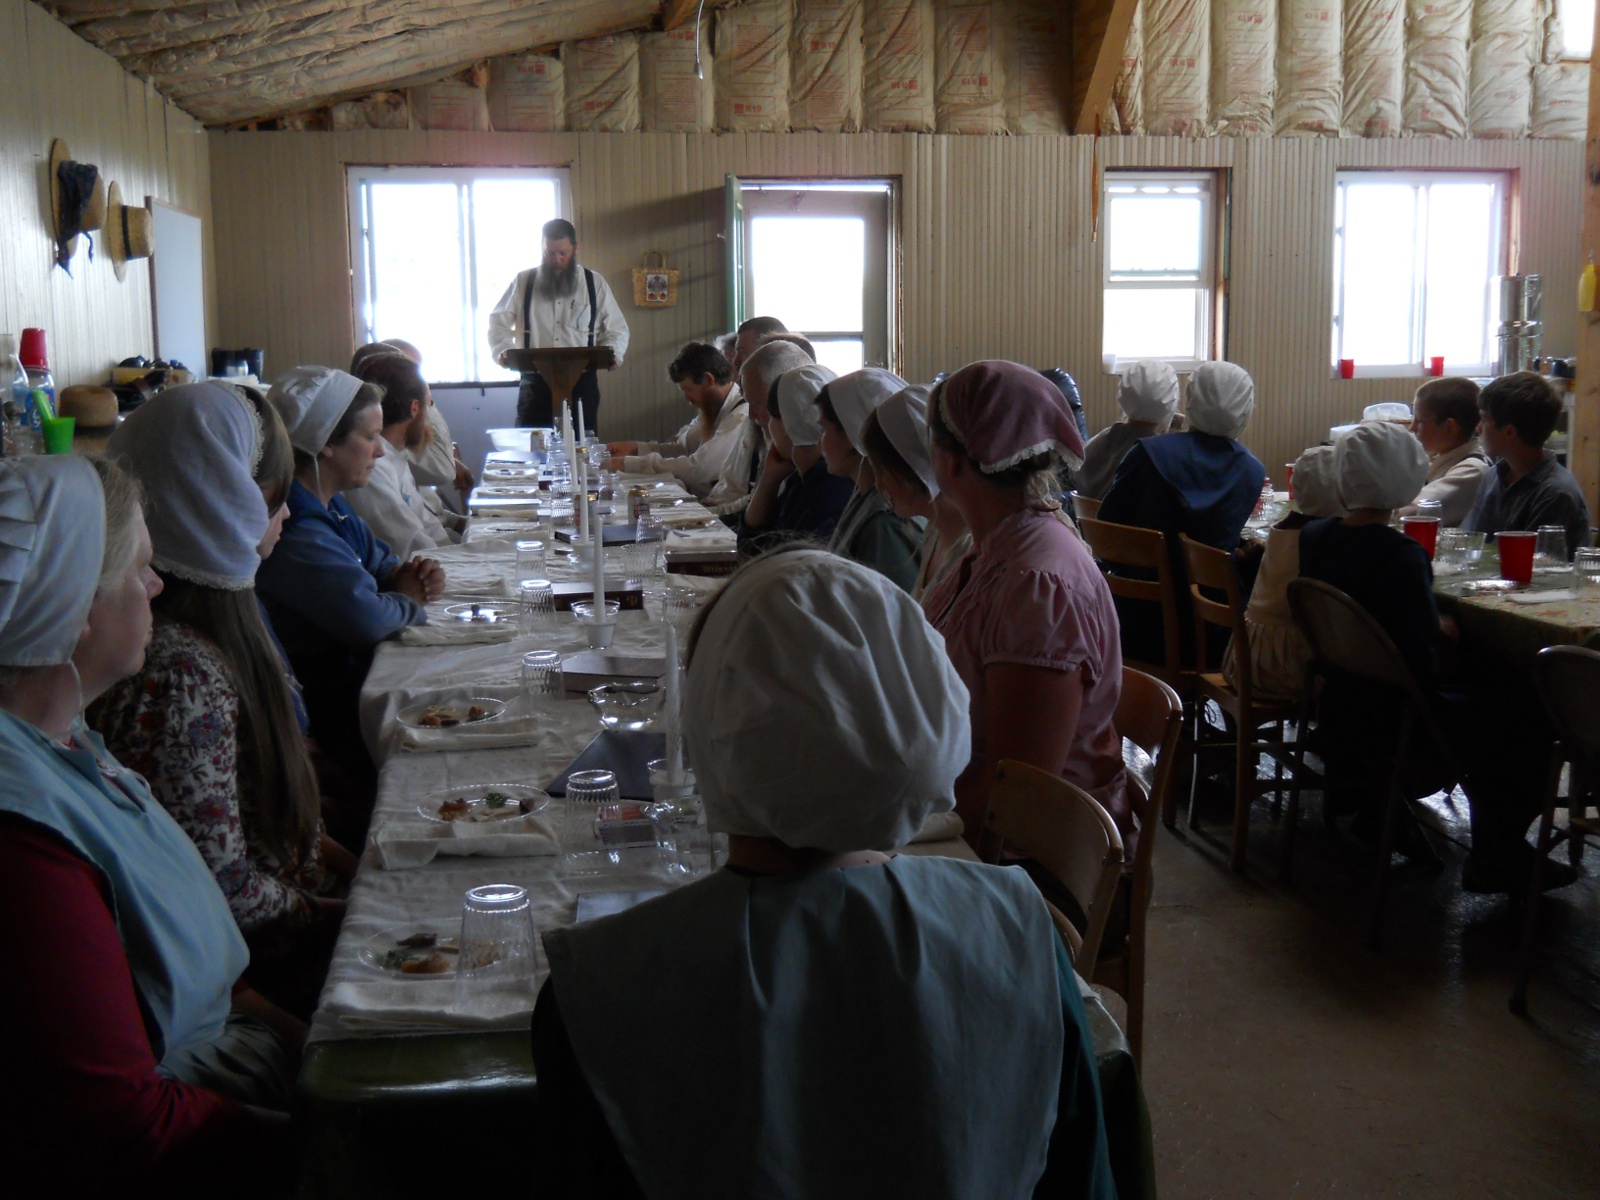
Passover
Ranchfest times are often planned around the Passover time, which we observe as a teaching method for the children (and as a memorial for the adults) of the types and shadows used in the Passover feast representing Christ.
Here is the Passover “ceremony” time:
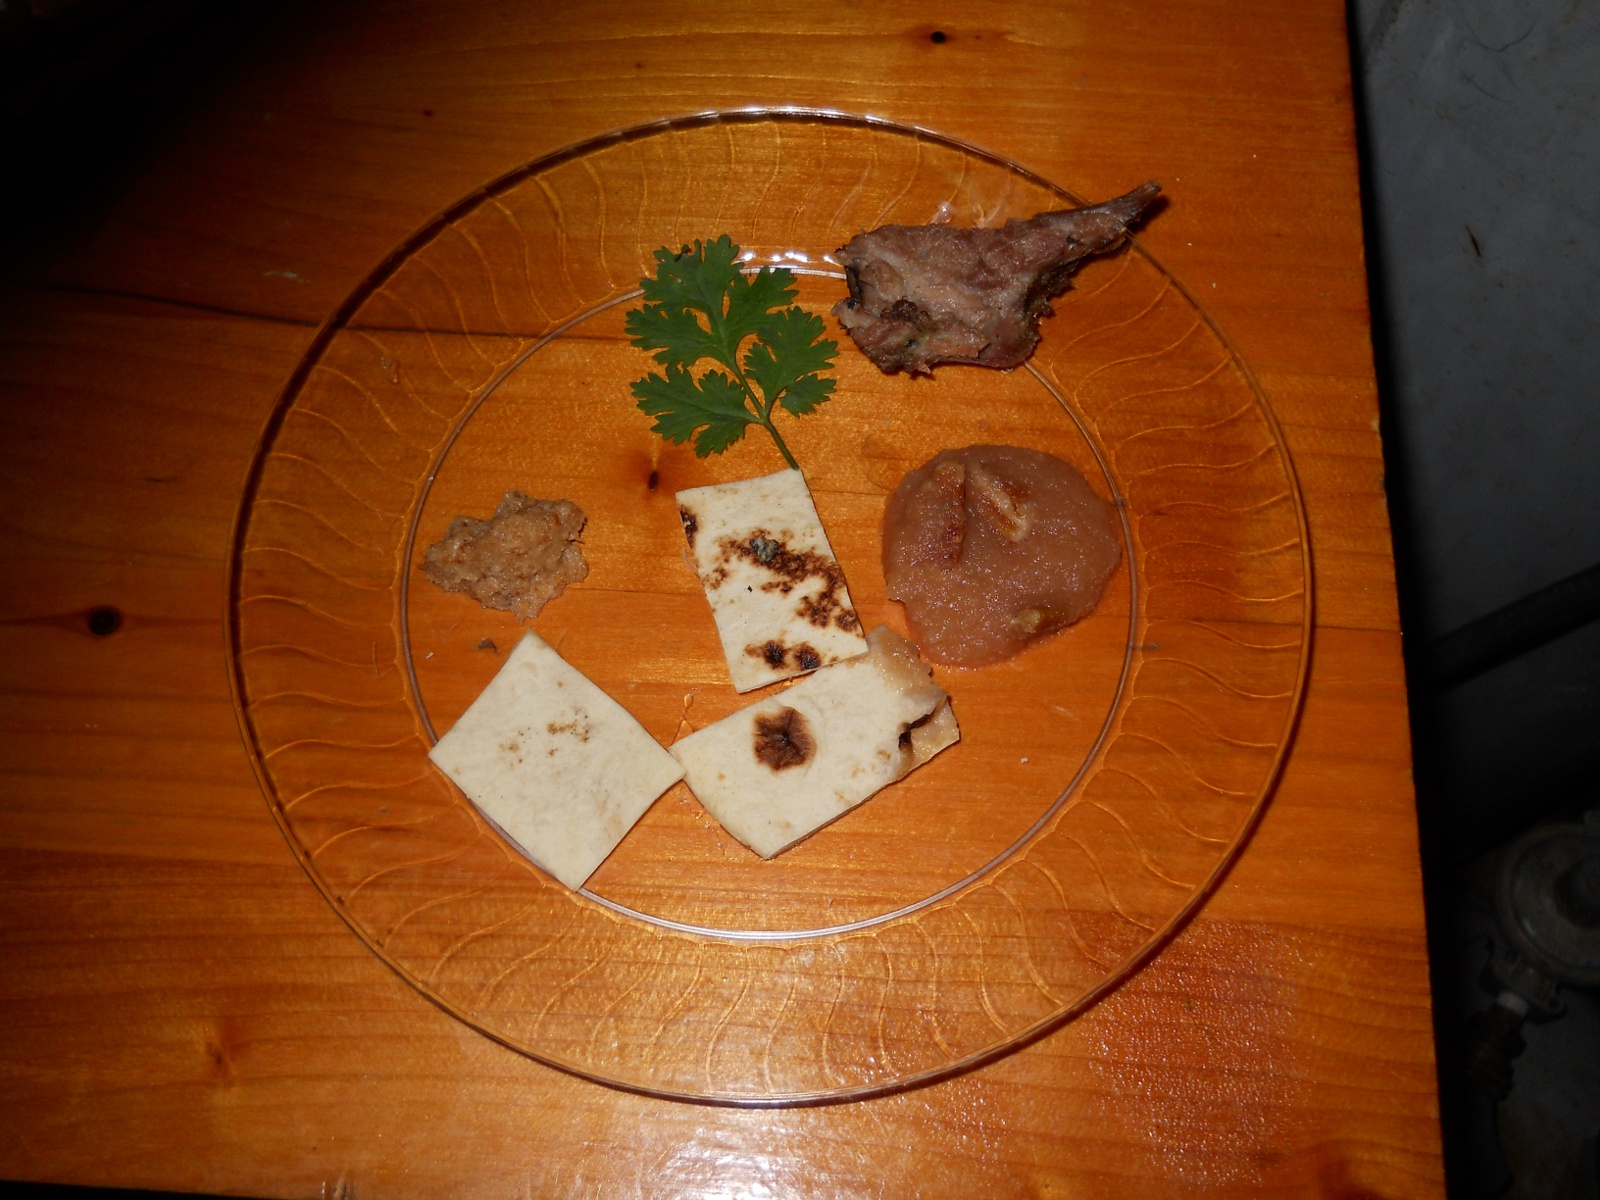
And the seder plate, with each food element representing some part of the event of the Passover time of the Hebrew people in and leaving Egypt:
We also sang Psalms 113-118 from our psalters, and here is a video of a few of those psalms being sung:
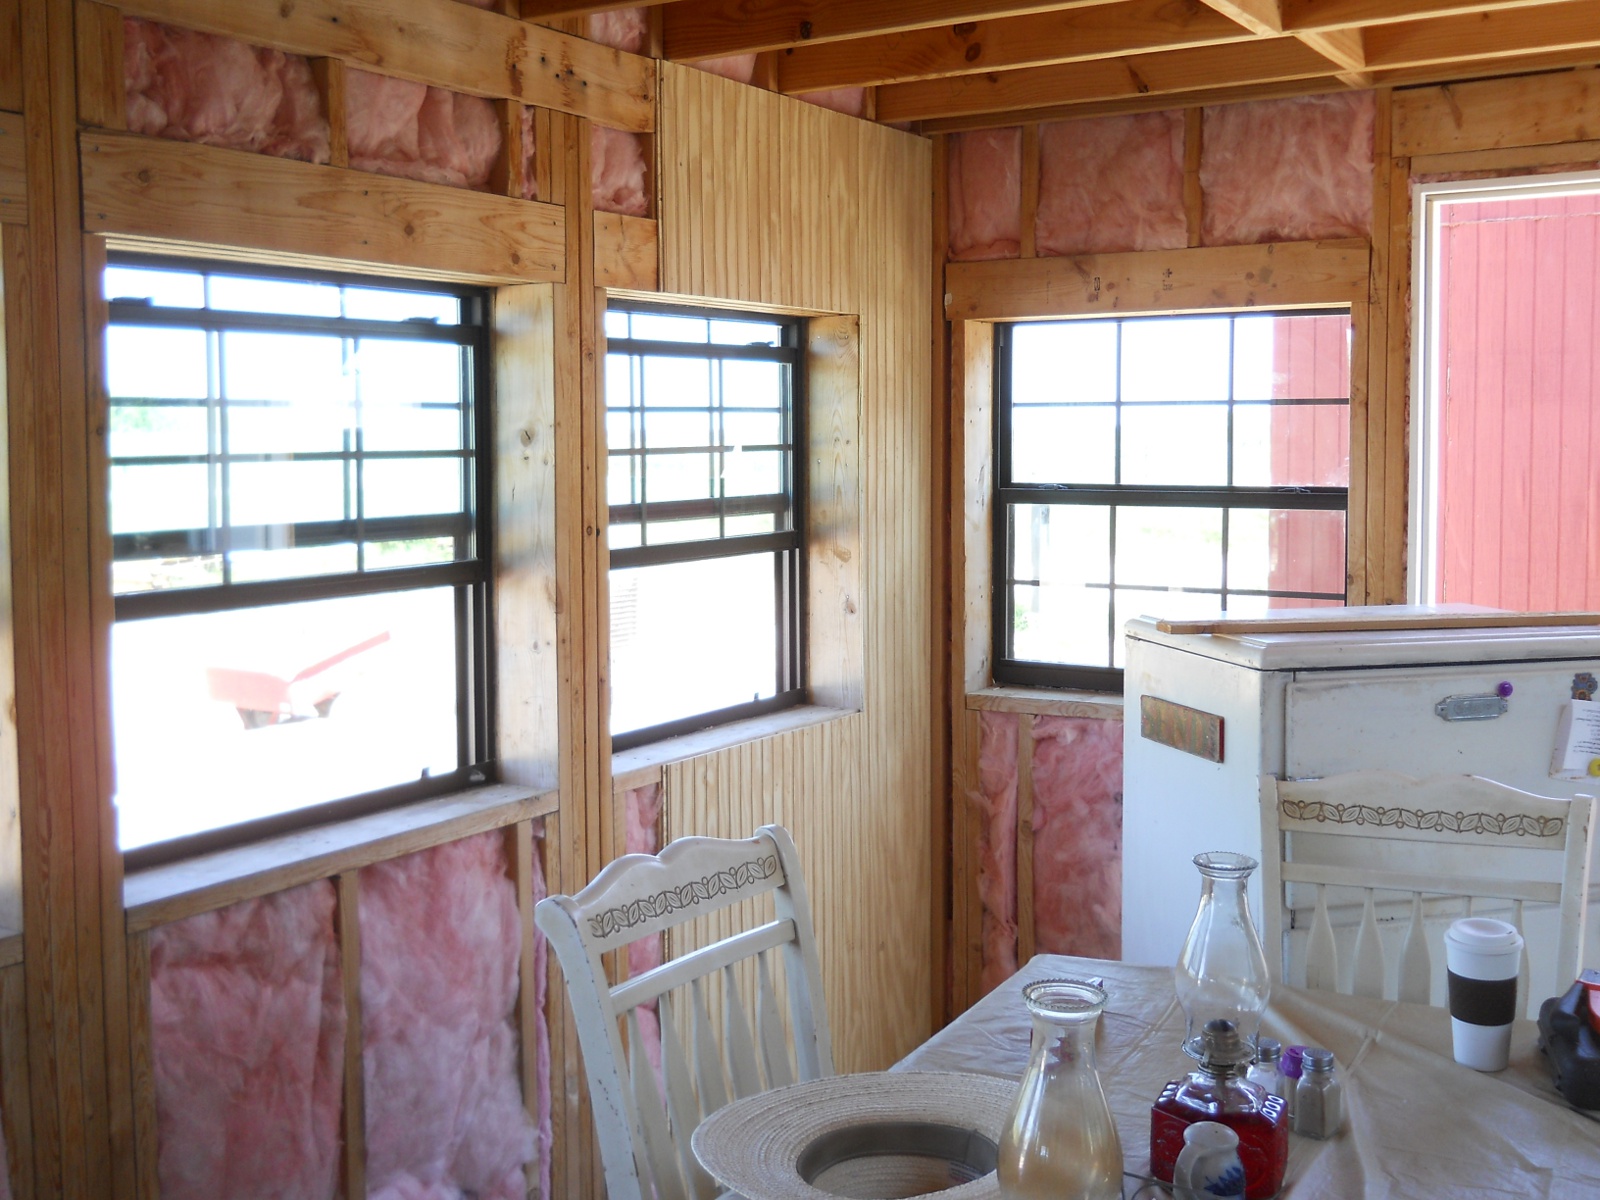
The Cottage
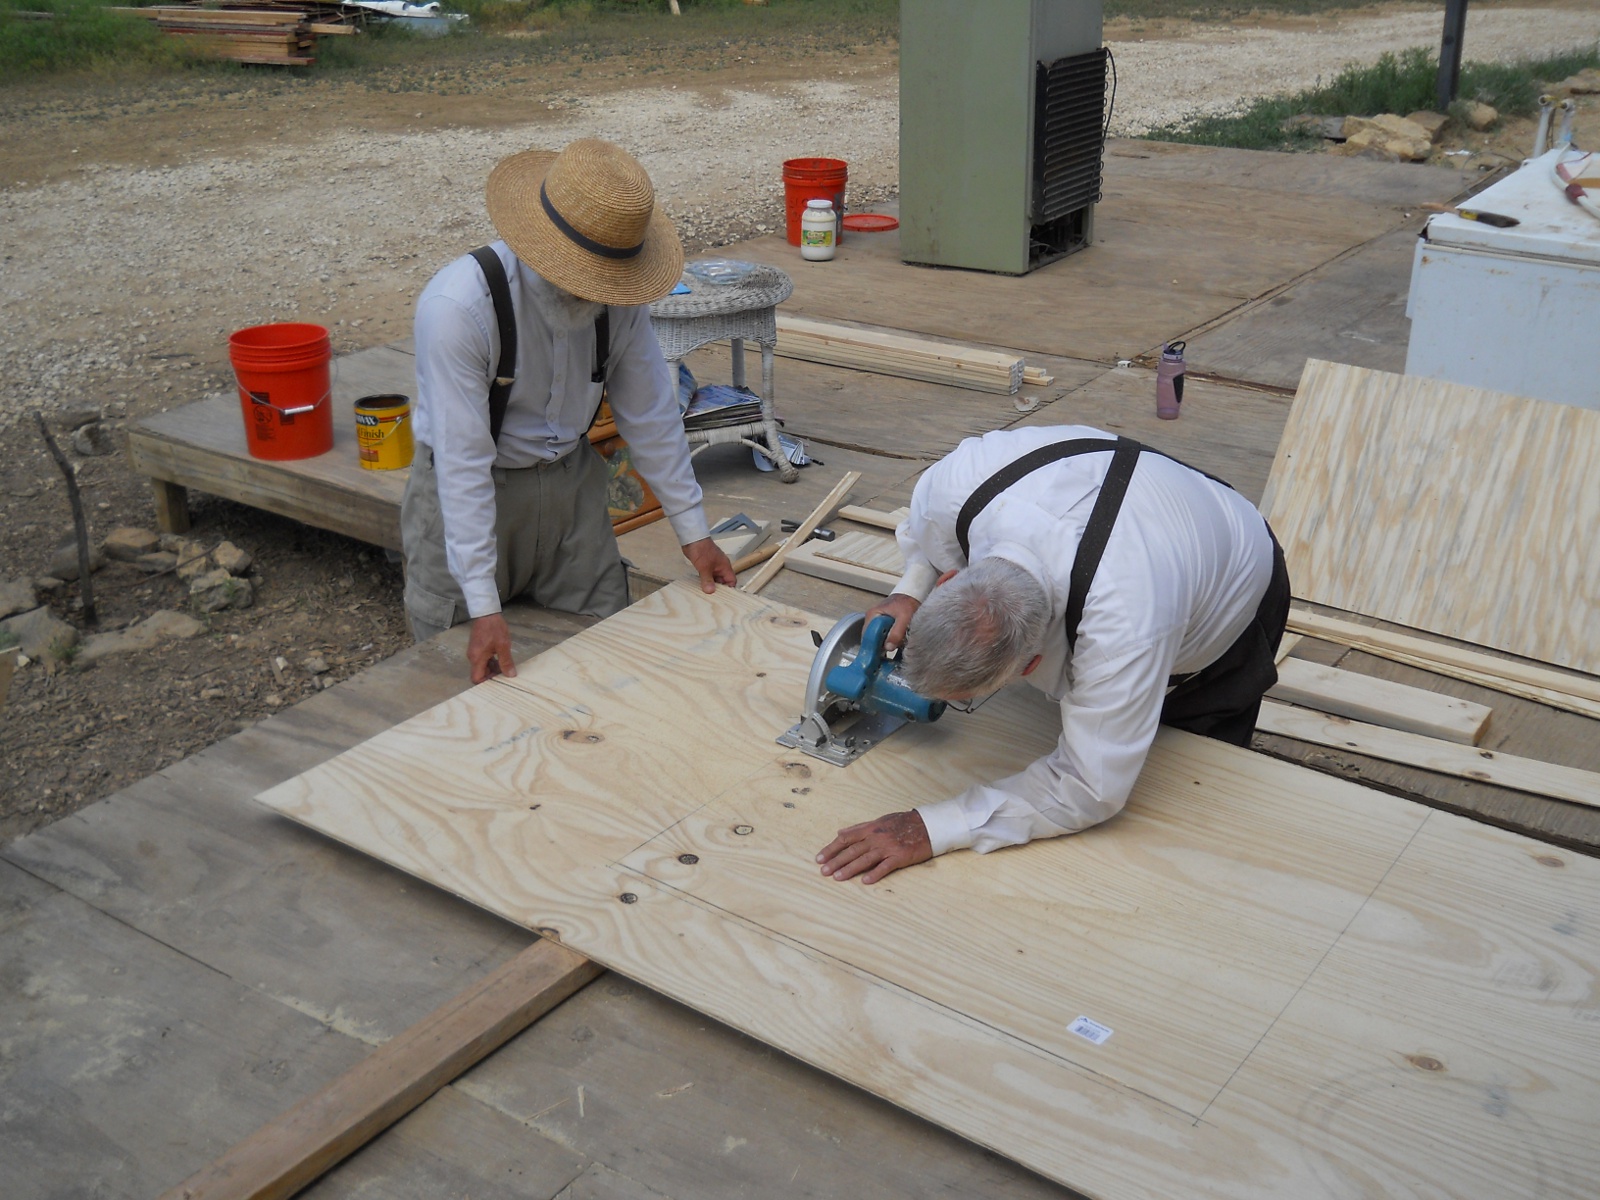
As I mentioned, the other project was working on the internals of Michael’s cottage, putting up insulation and siding.
And here is some of the completed work:
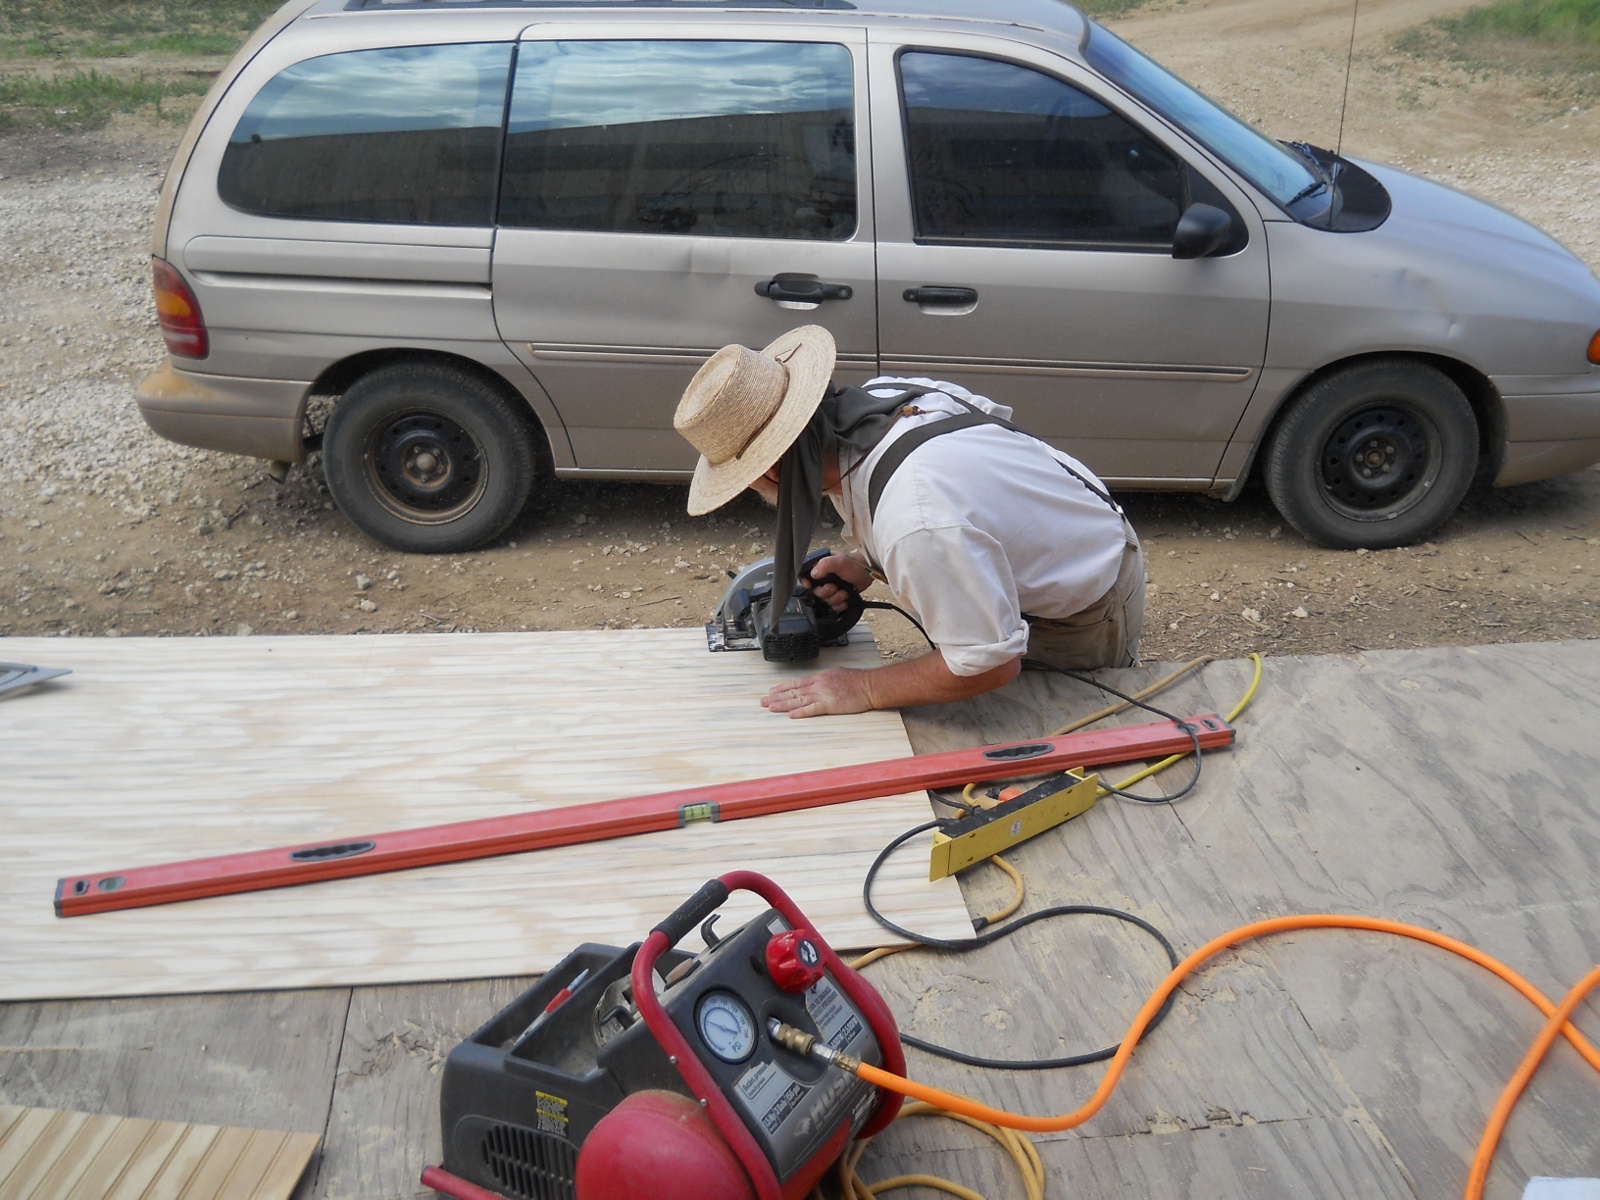
Here are the men cutting the siding:
And here is some staining work of the siding being done:
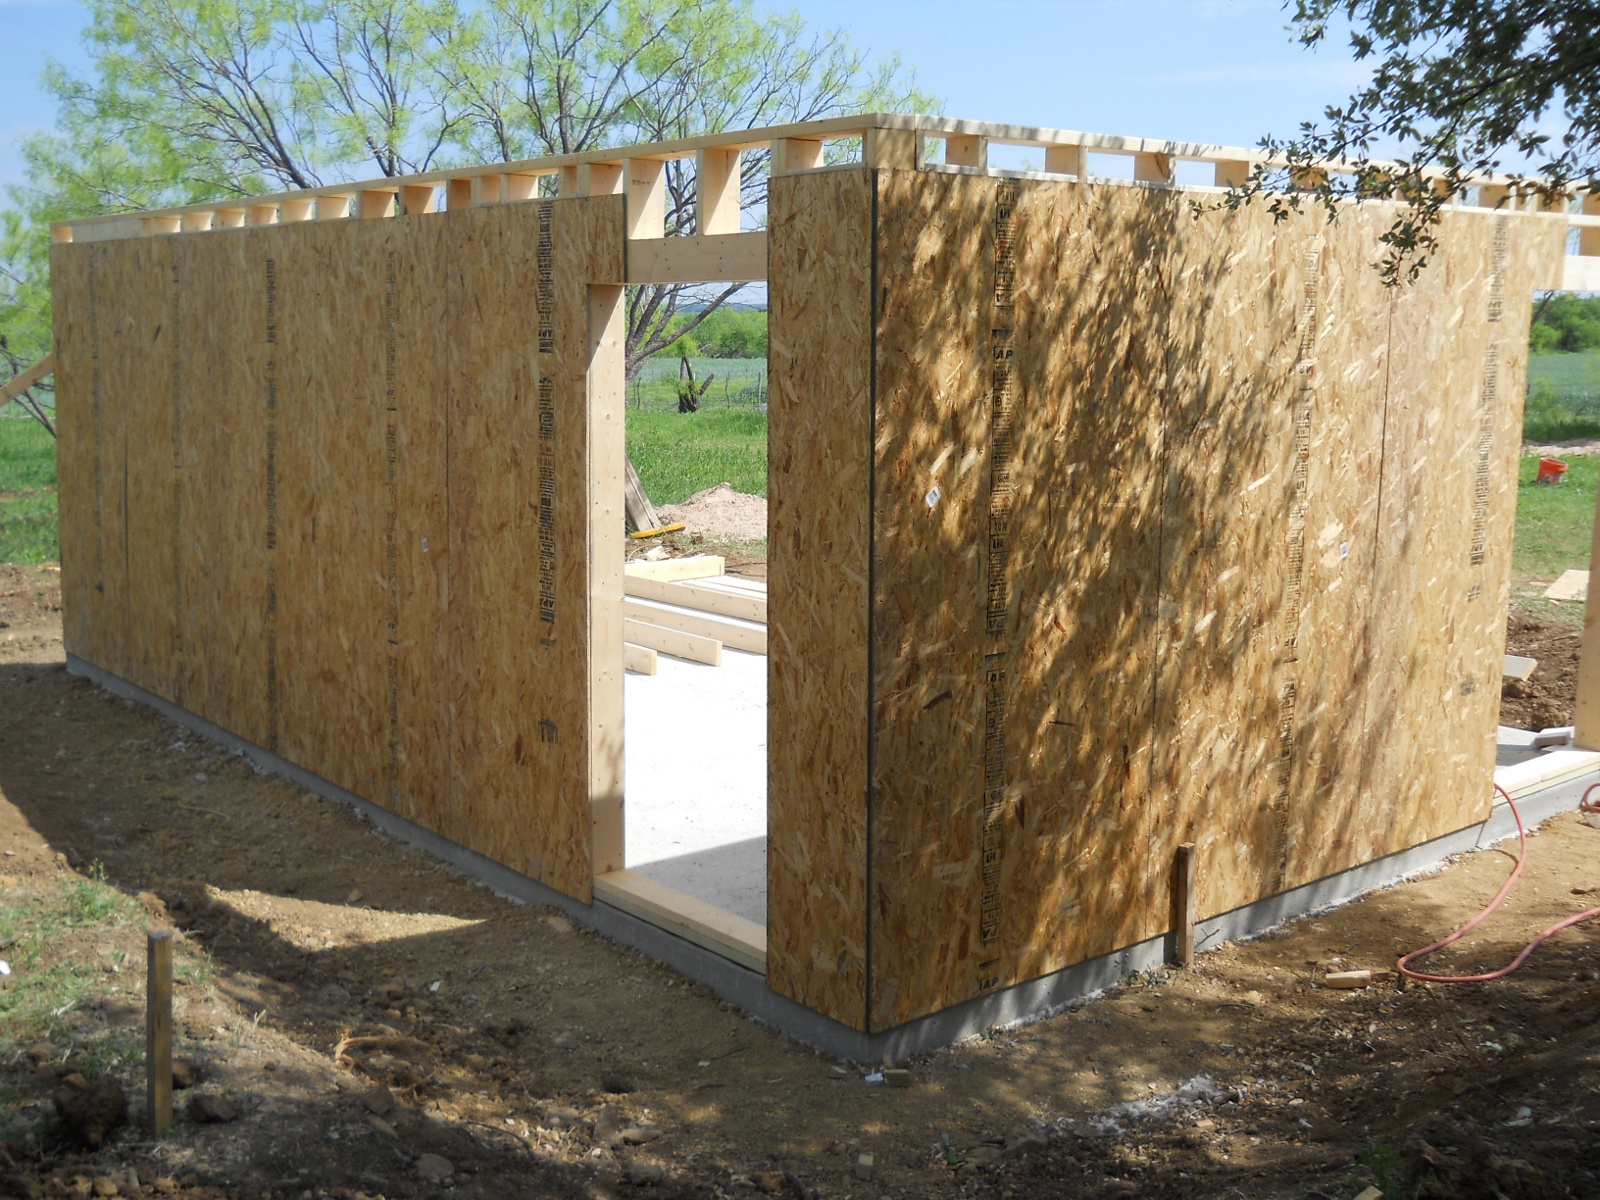
More Cabin
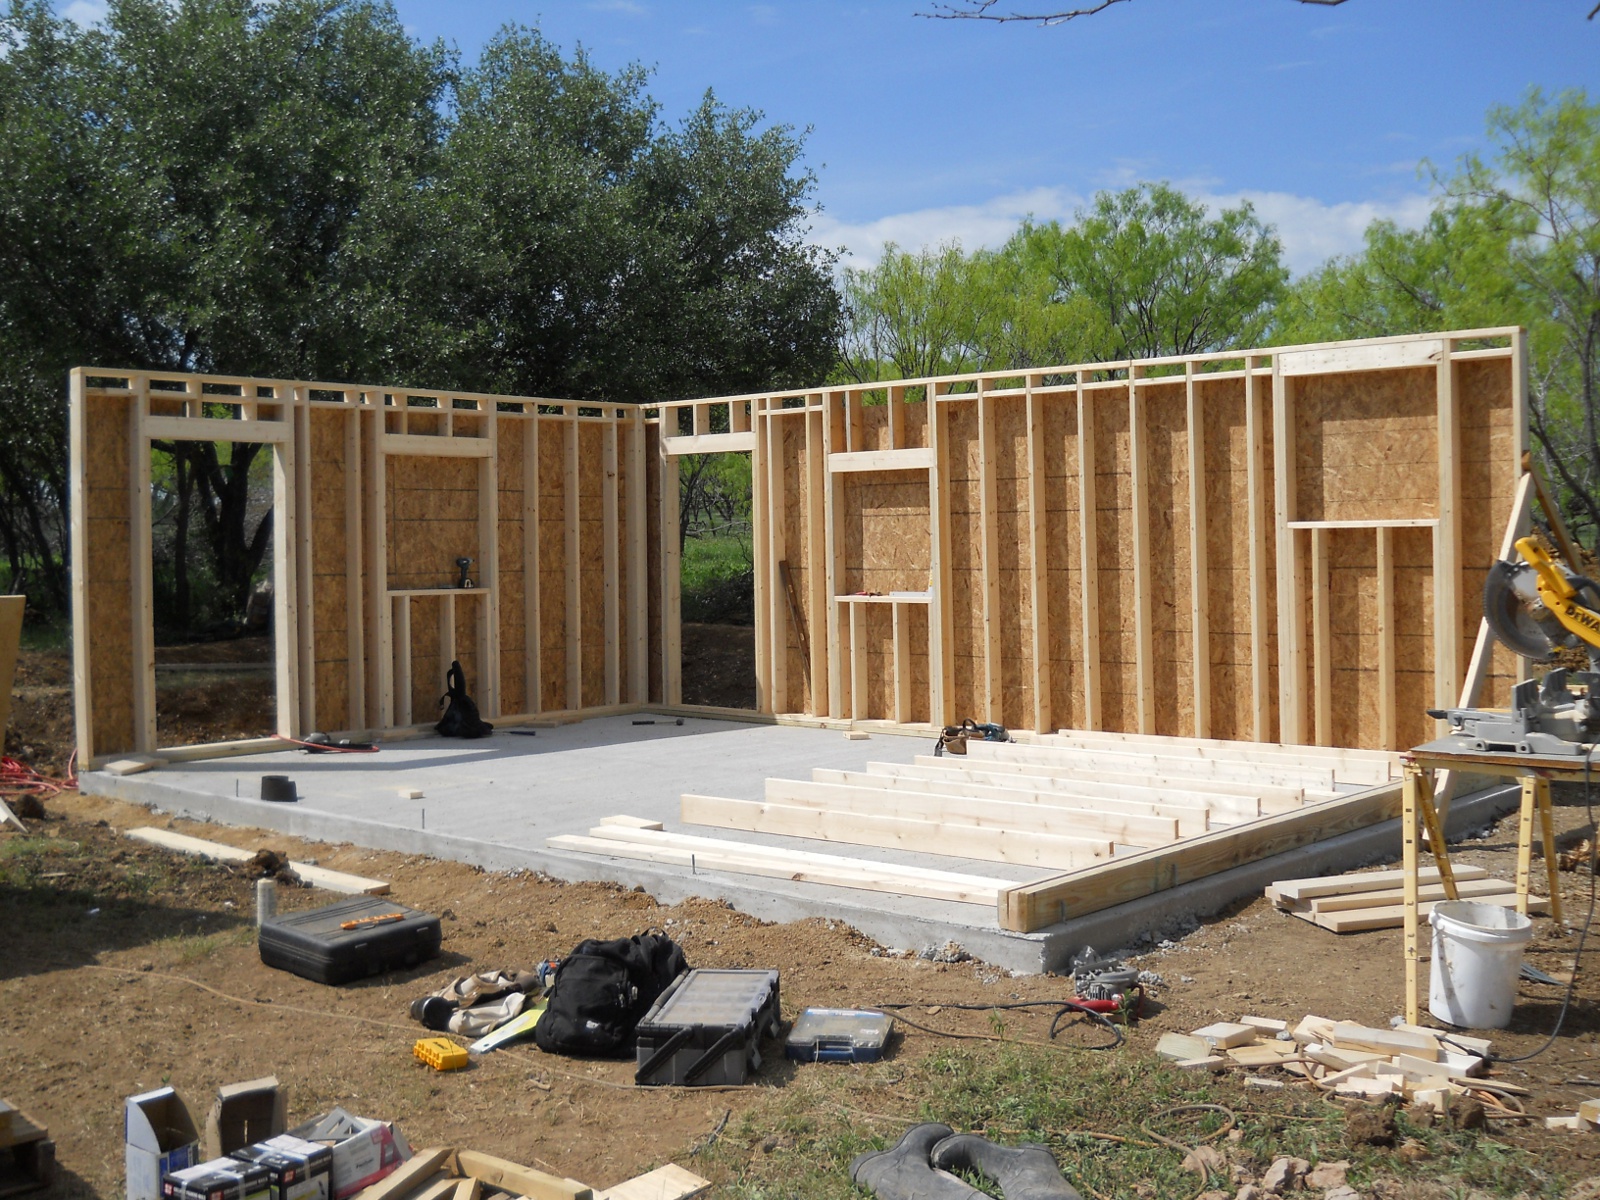
Once the concrete slab was completed, it was time to build and raise the walls. Here’s the cabin with two of the walls raised:
And then with all four walls in place:
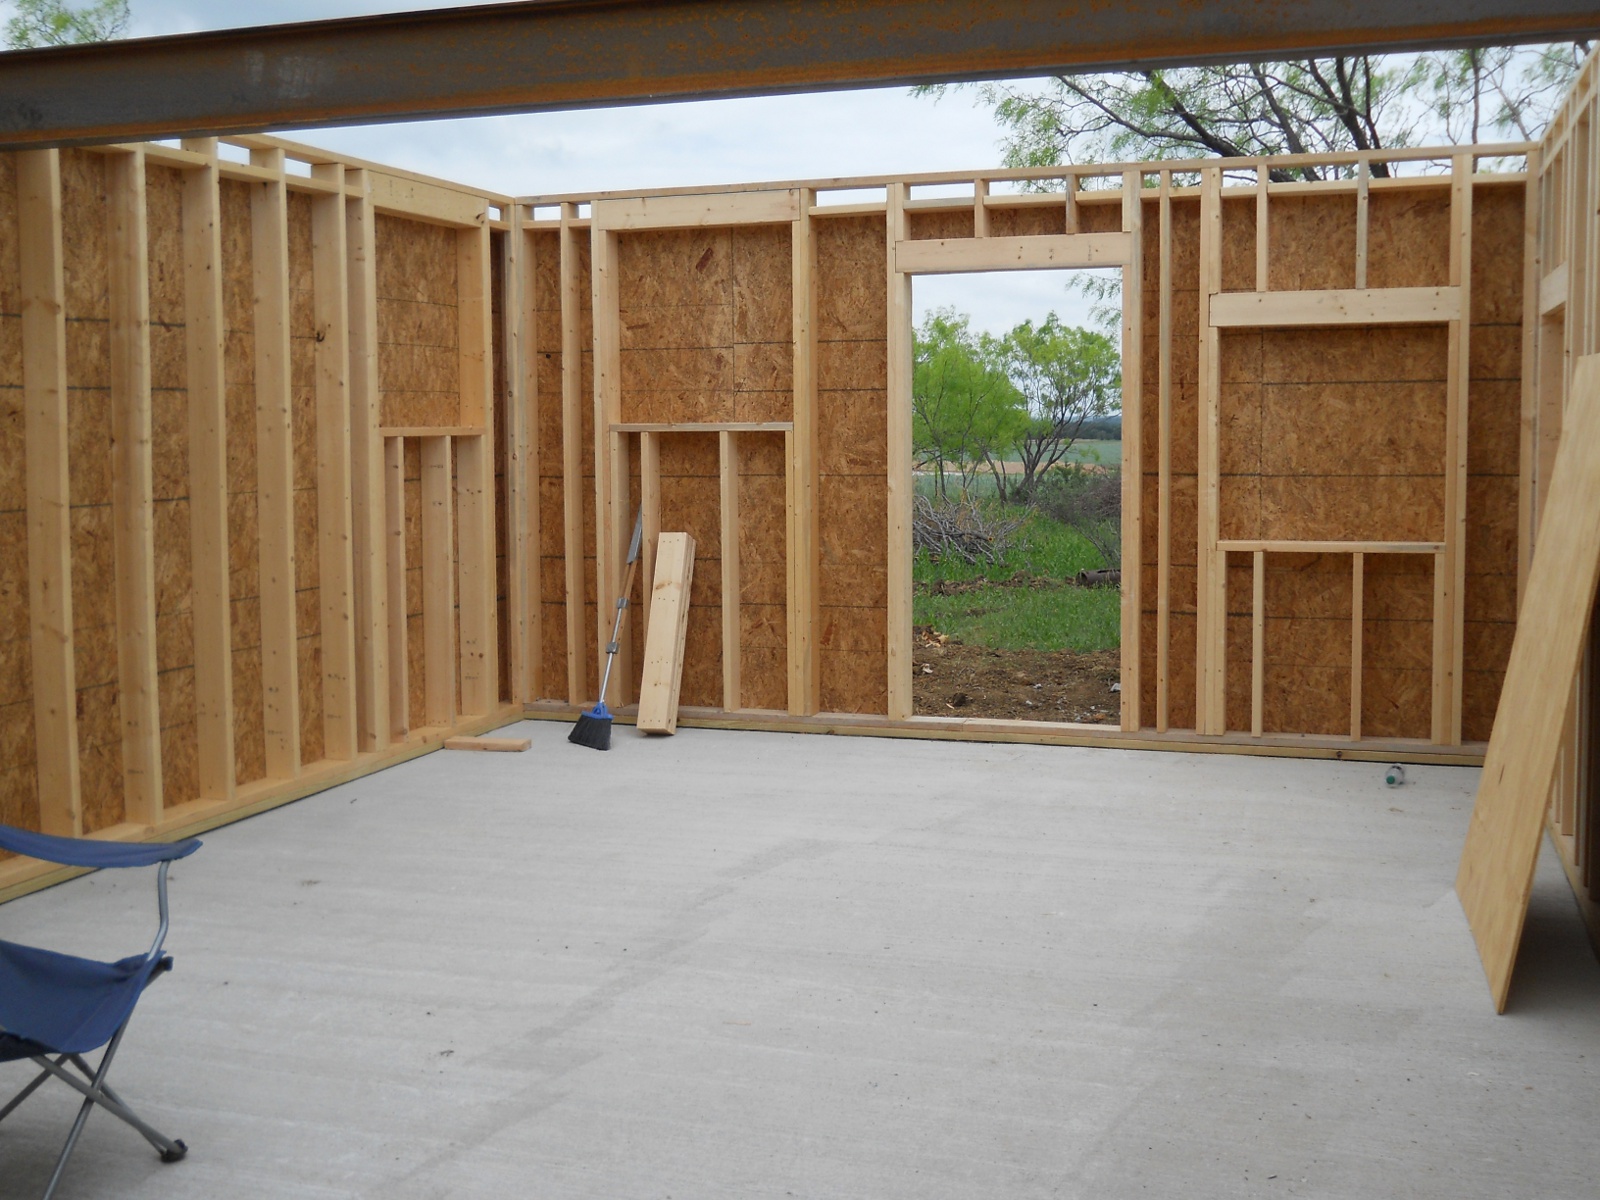
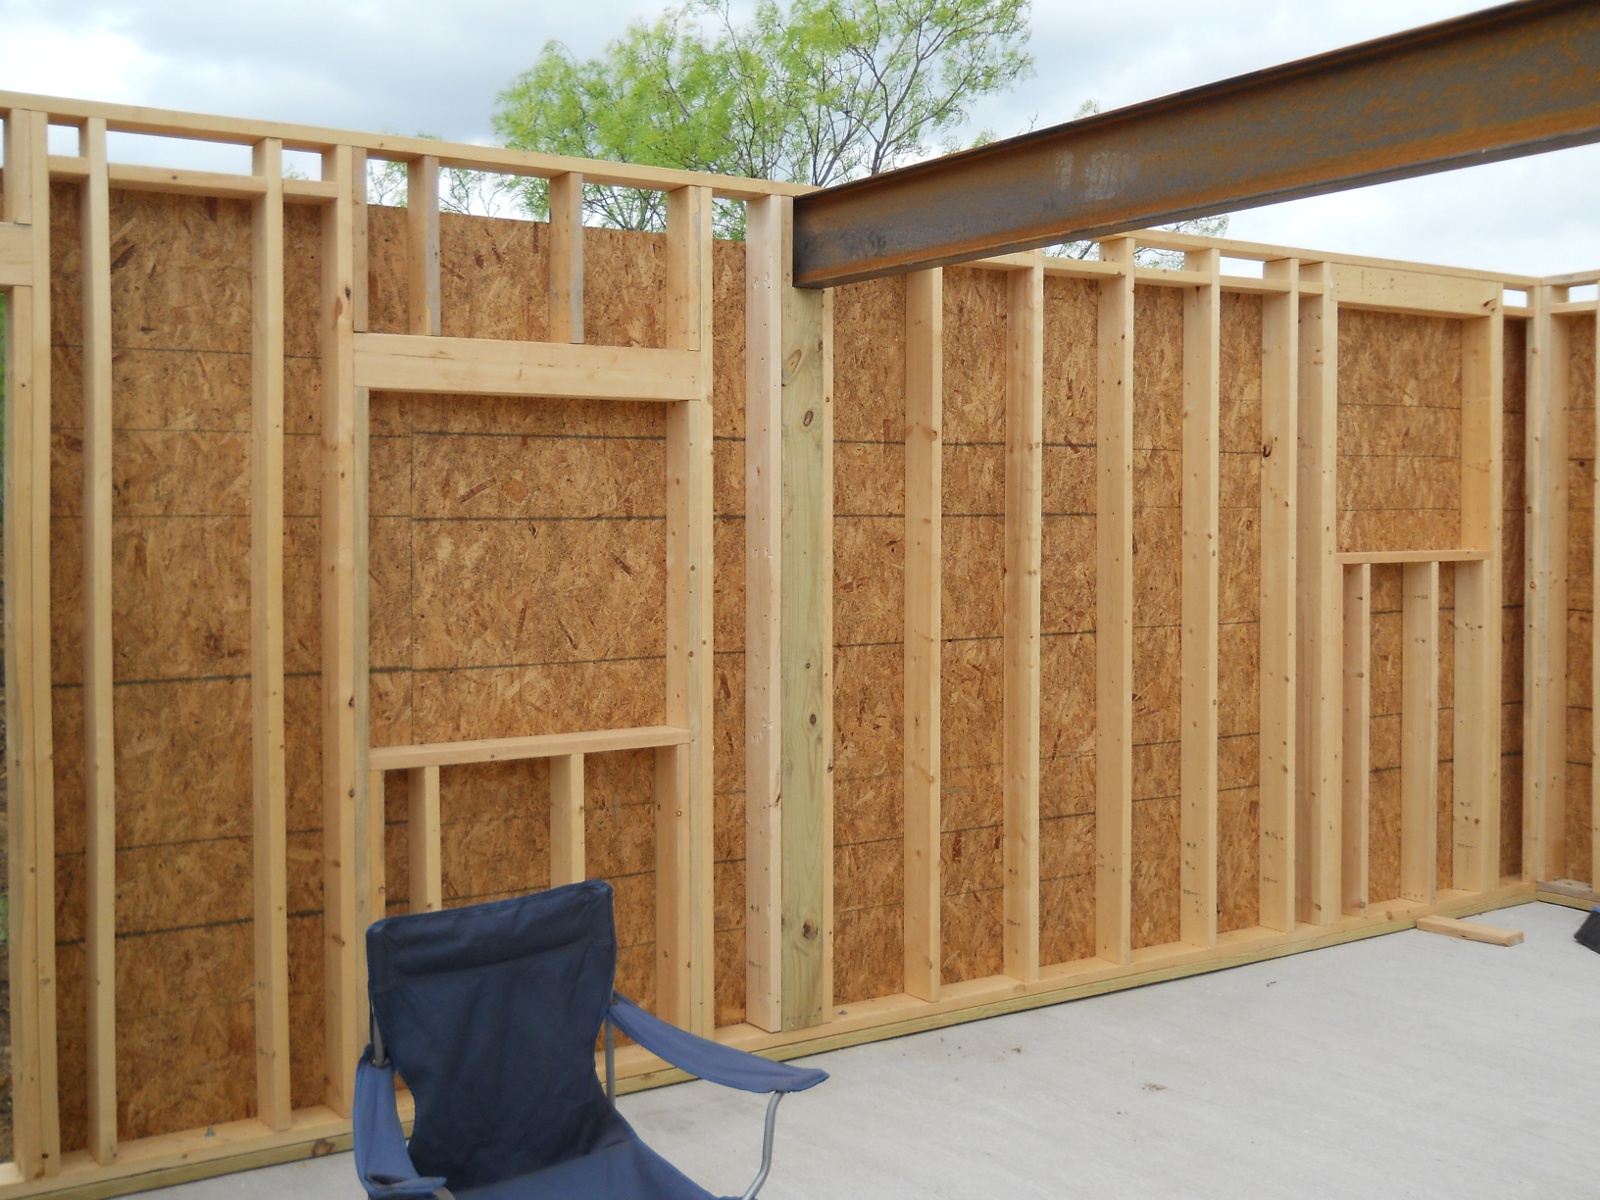
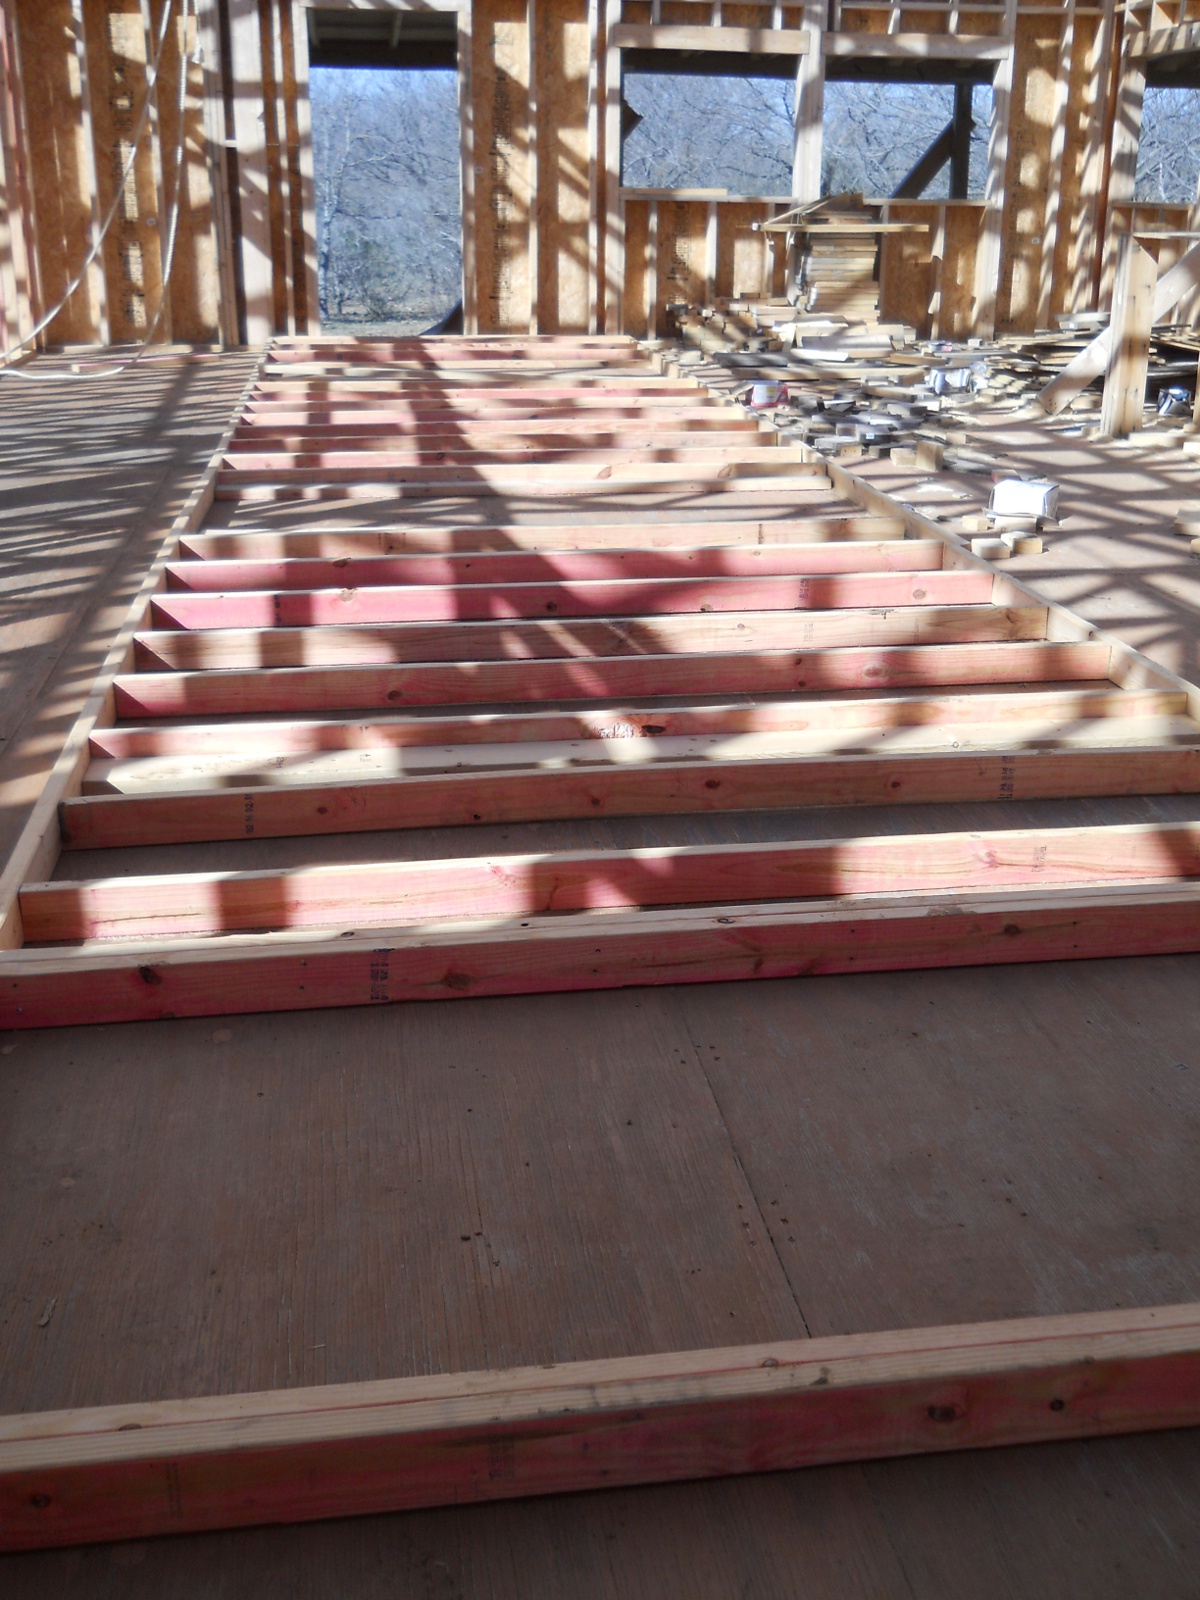
Apparently, the plan is to have a second story; and so, they are using a 10 inch I-beam spanning the width, which will be the support for the upper level floor:
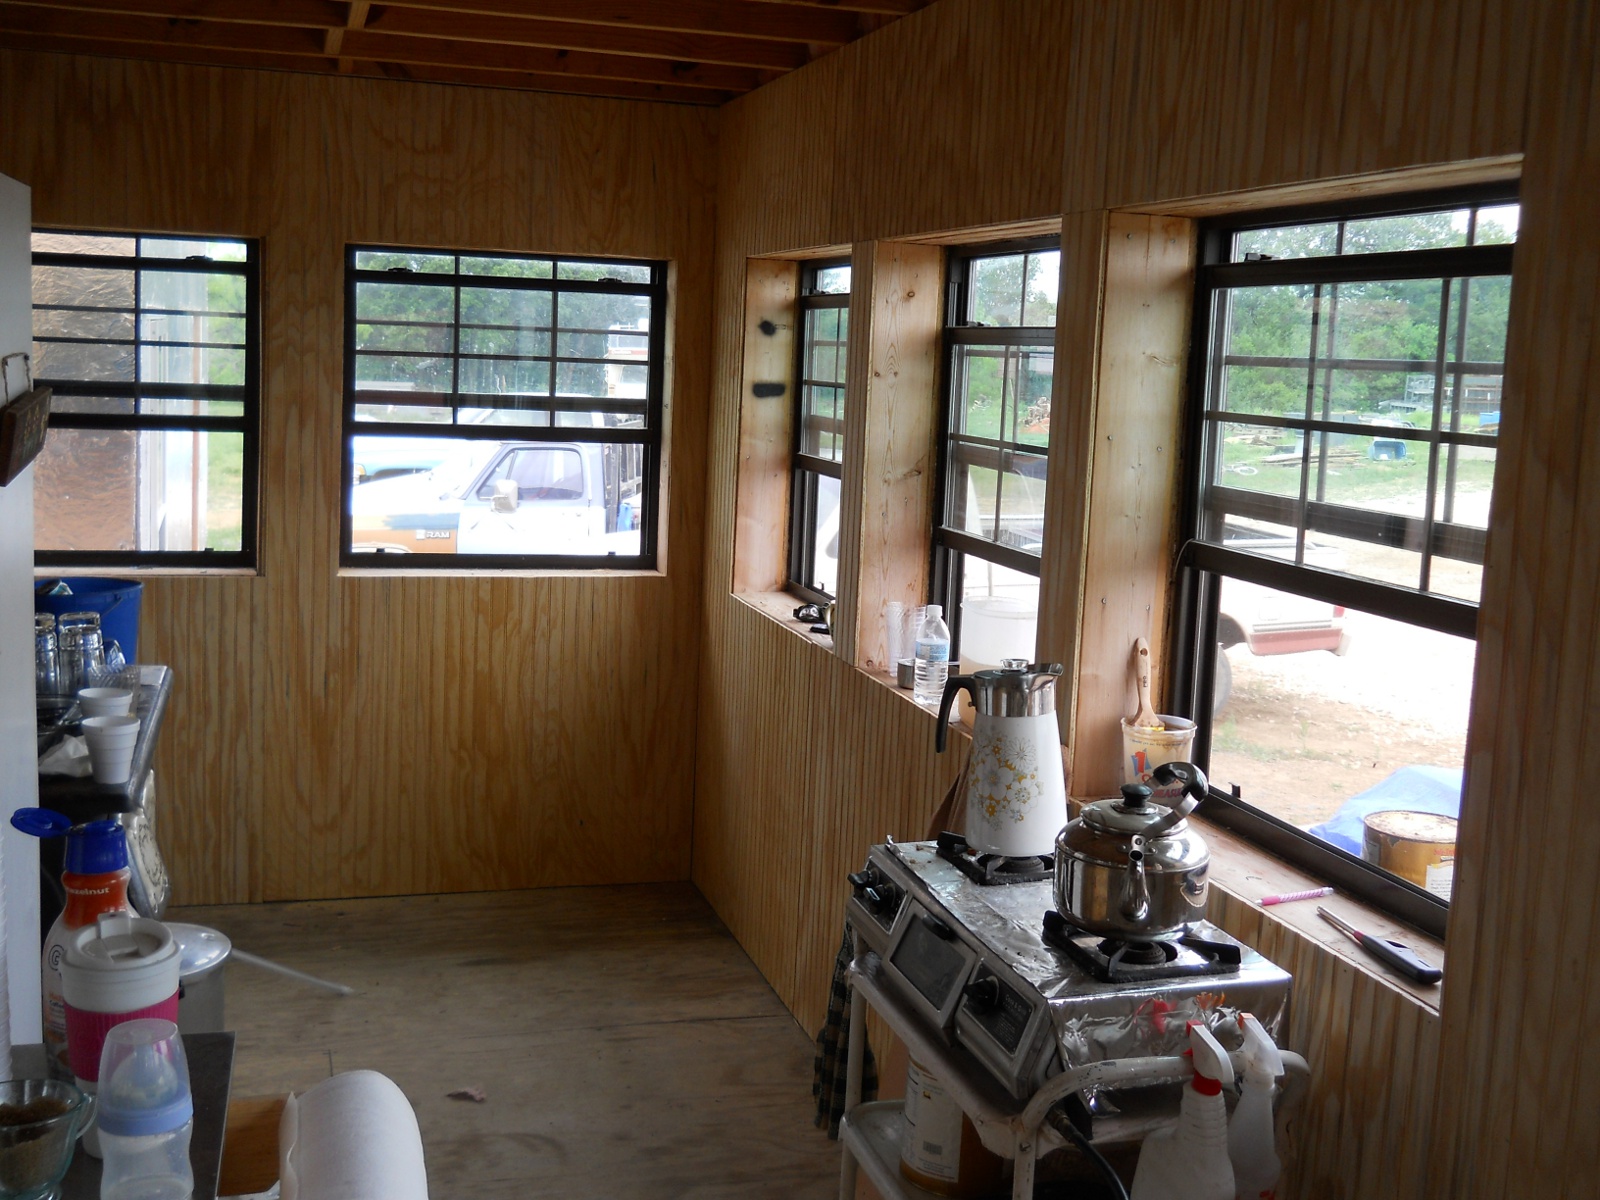
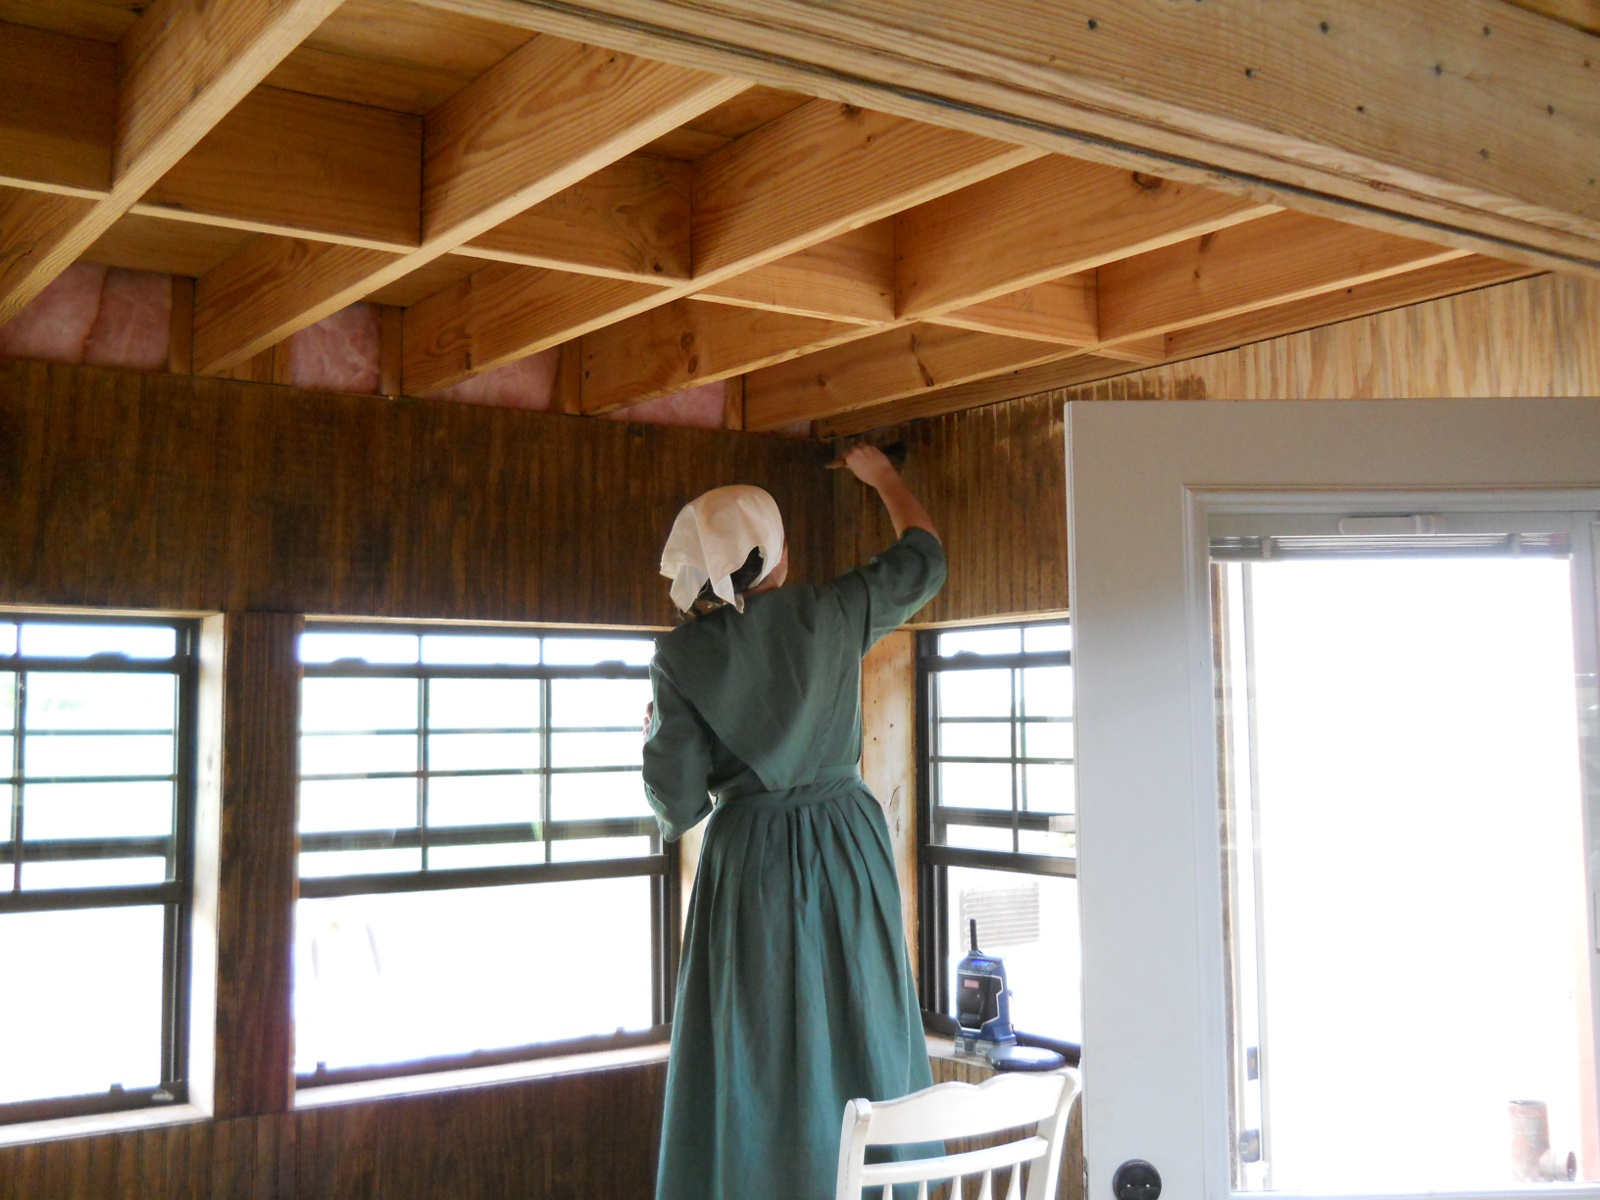
More Cottage
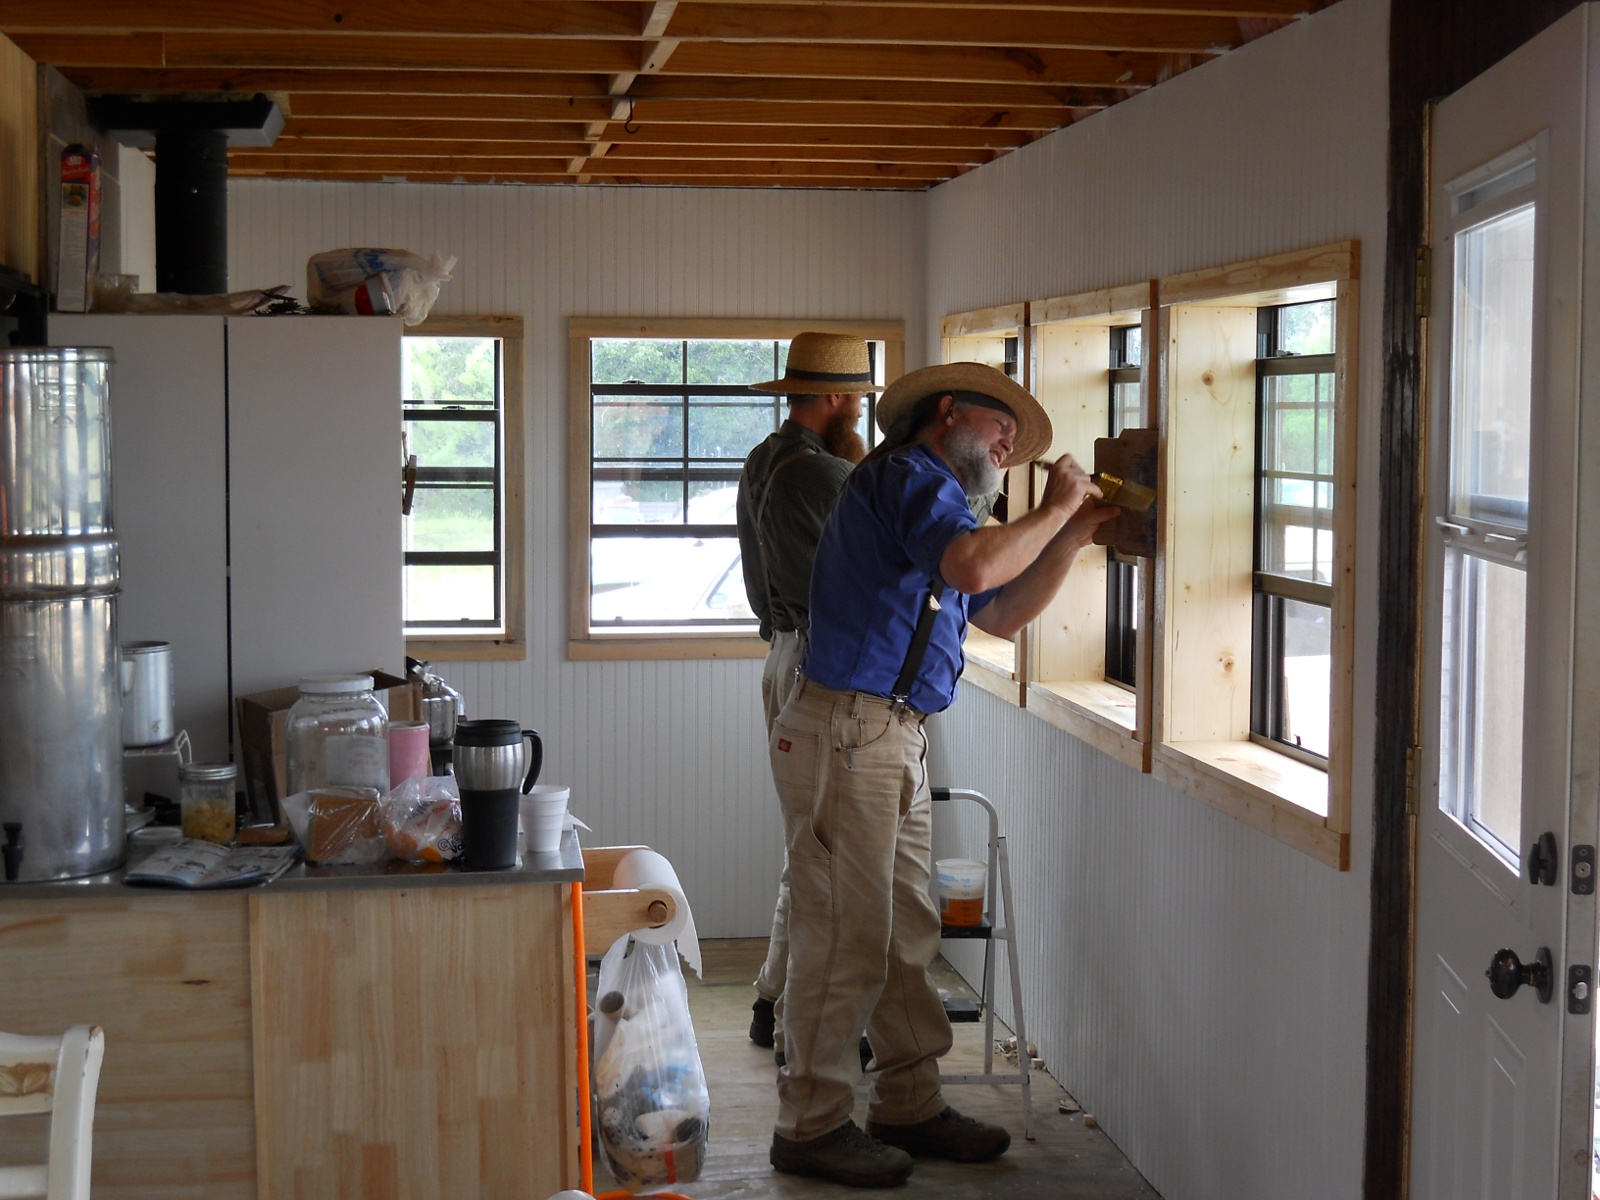
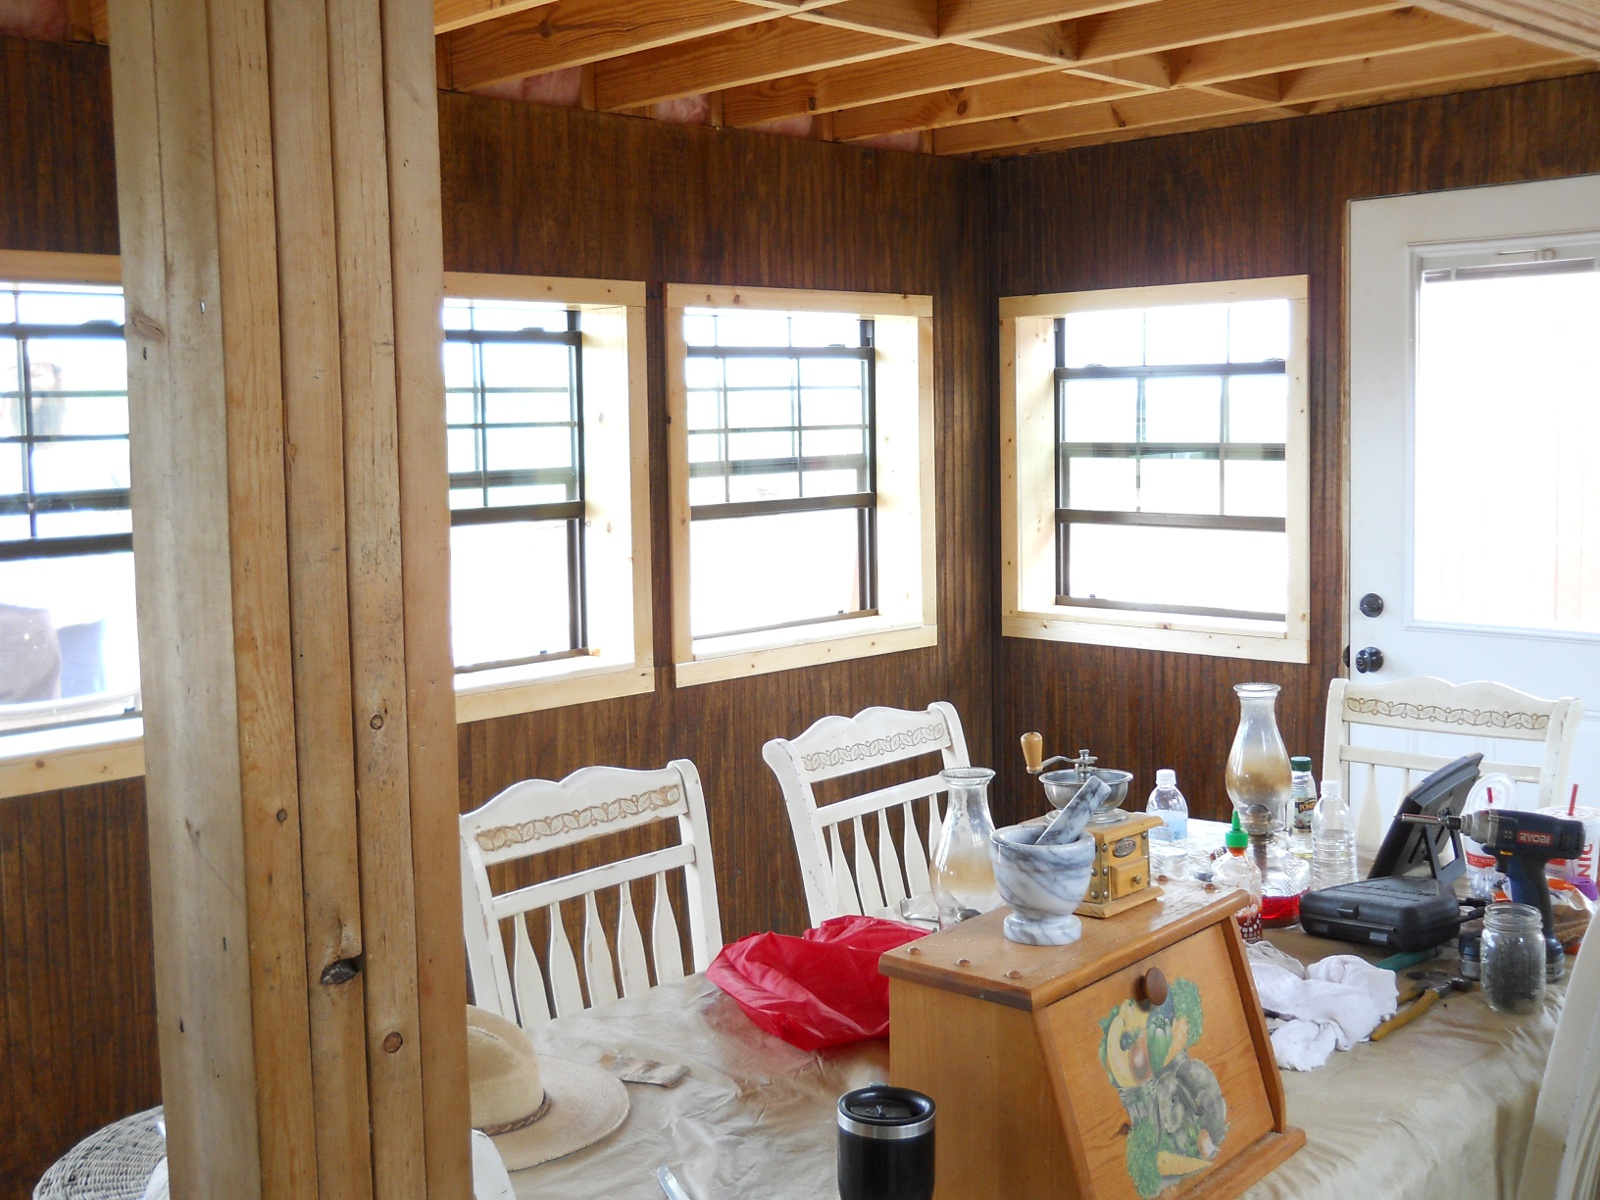
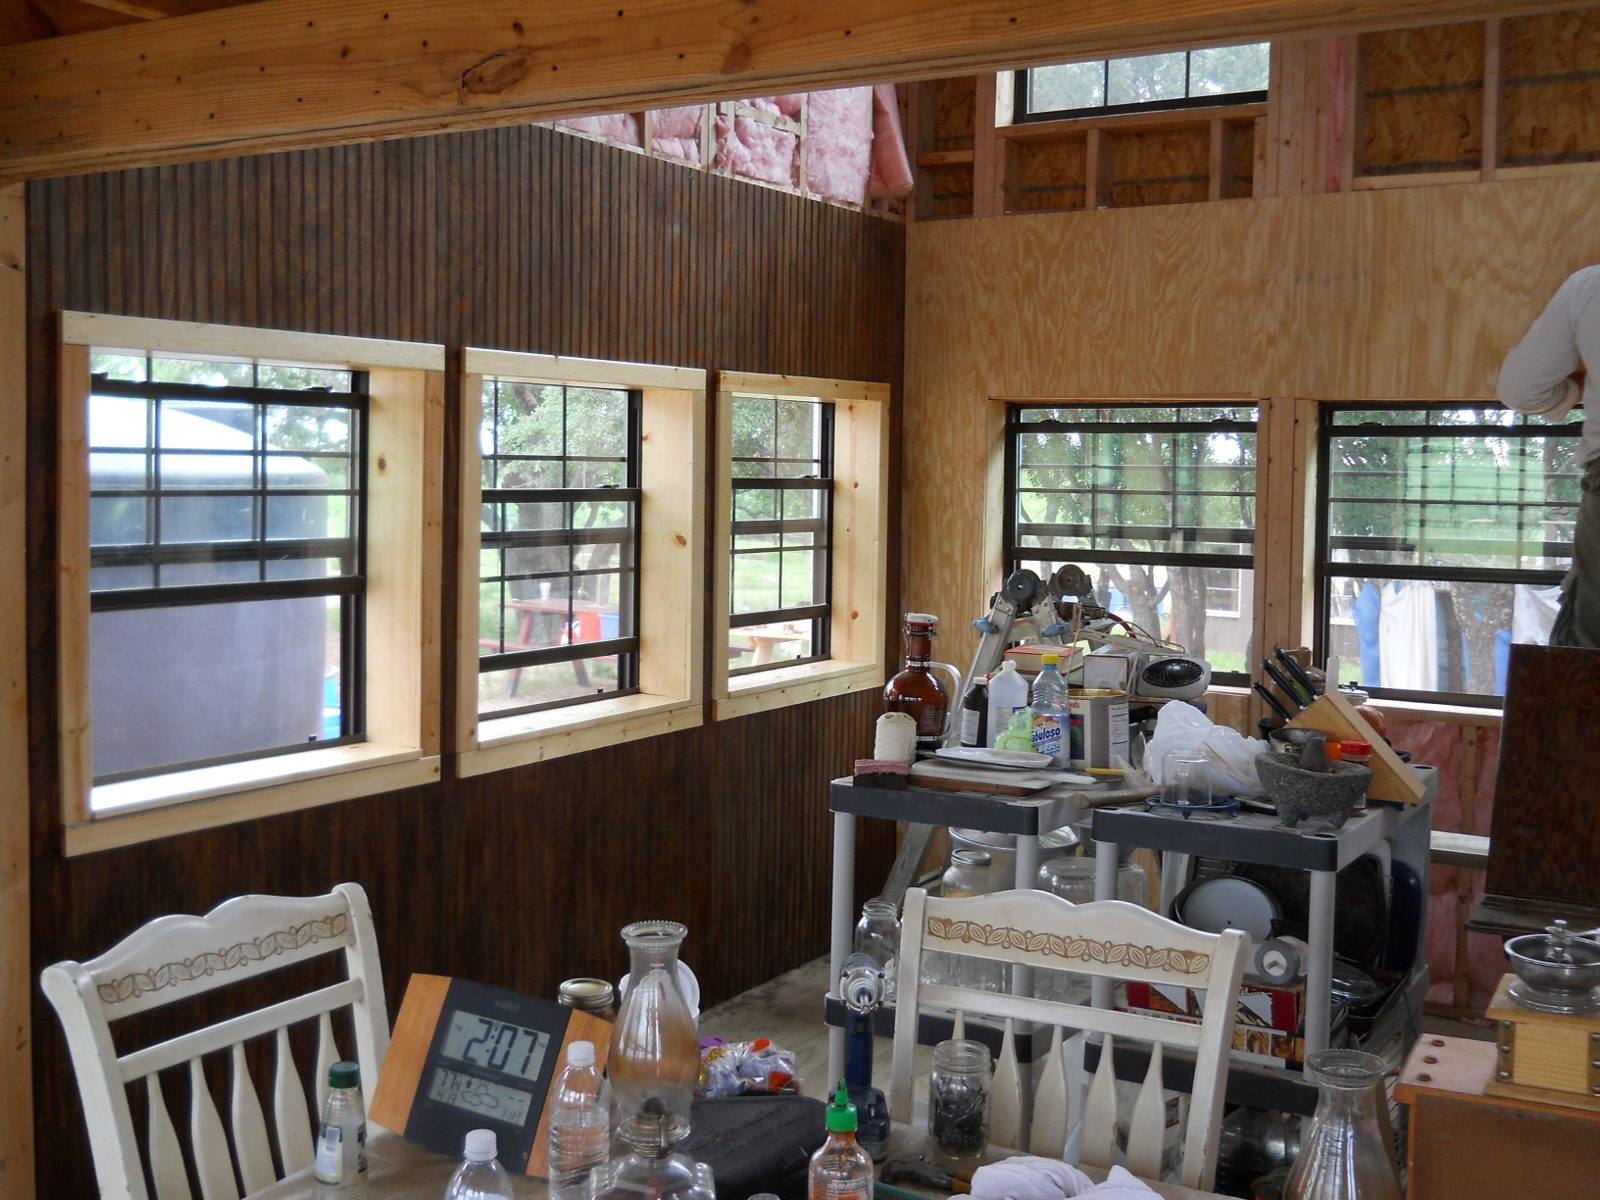
Back at the cottage, after the siding was in place and stained or painted, the window sills and trim were cut, installed and painted with a clear wood protector:
And here are a couple of final pictures of the cottage work for the week:
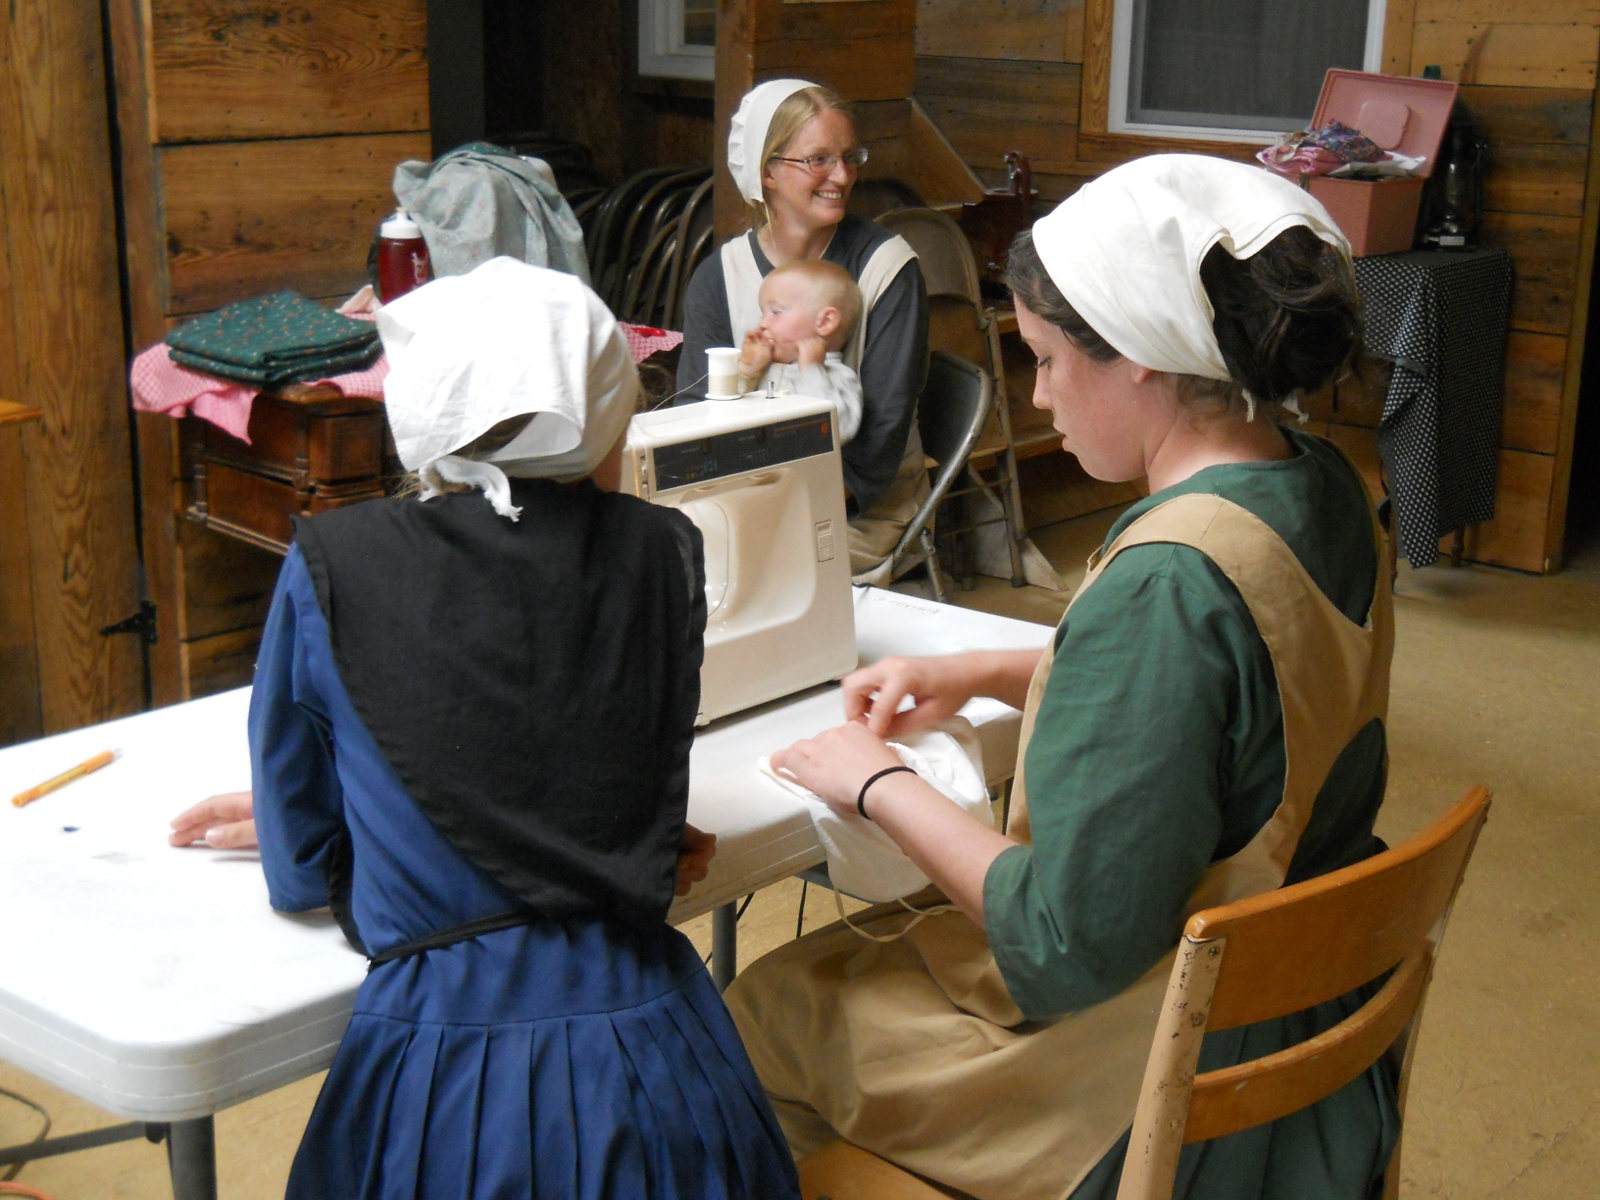
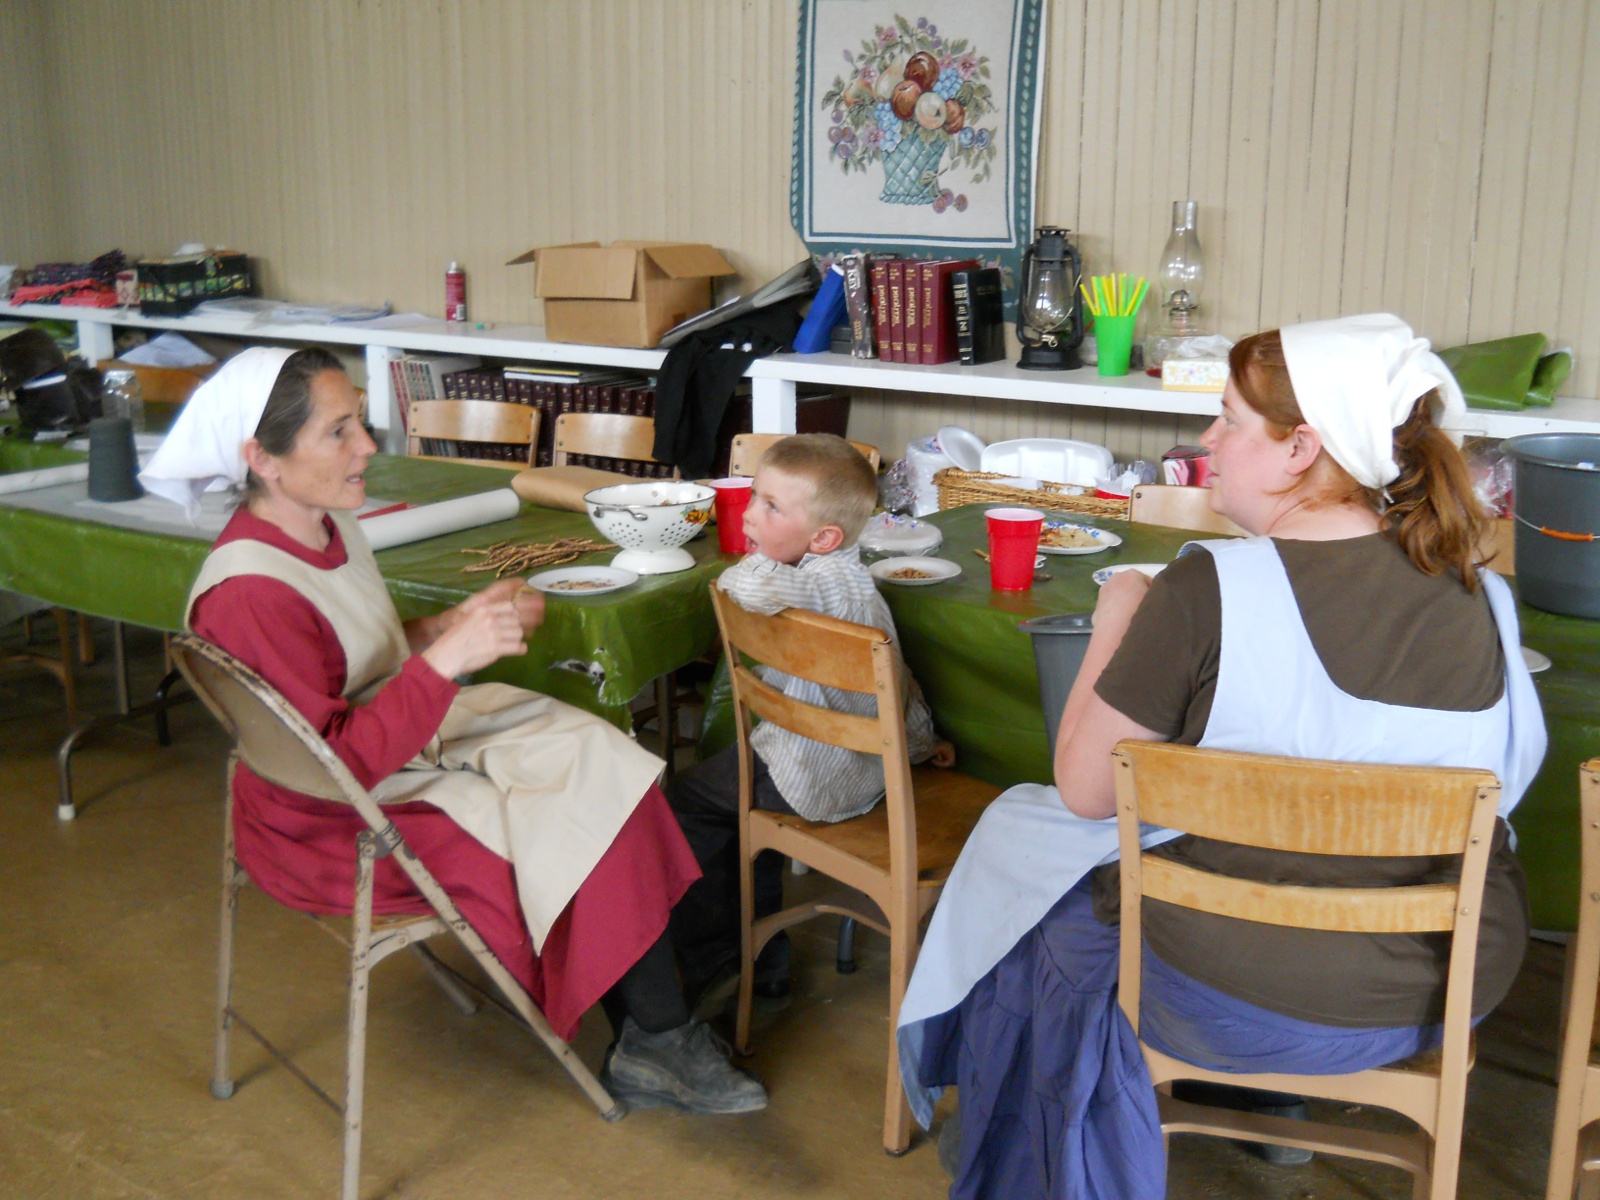
Ladies Work
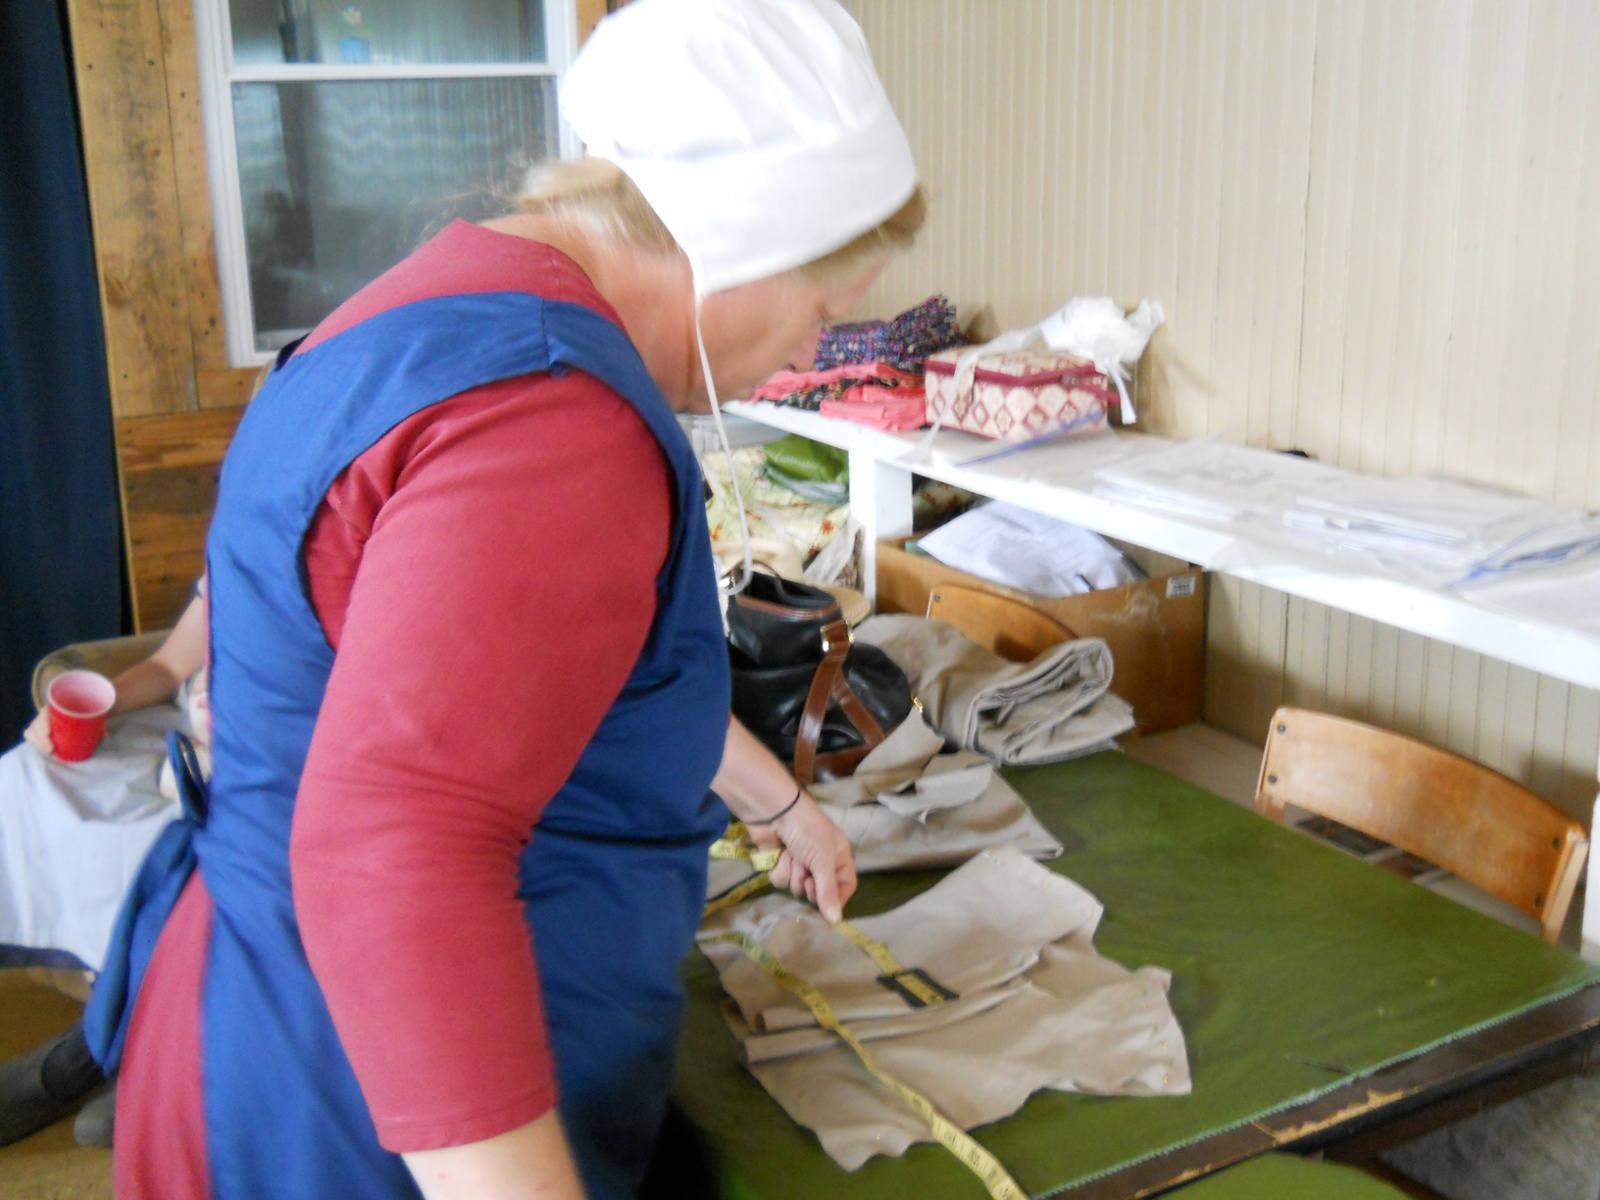
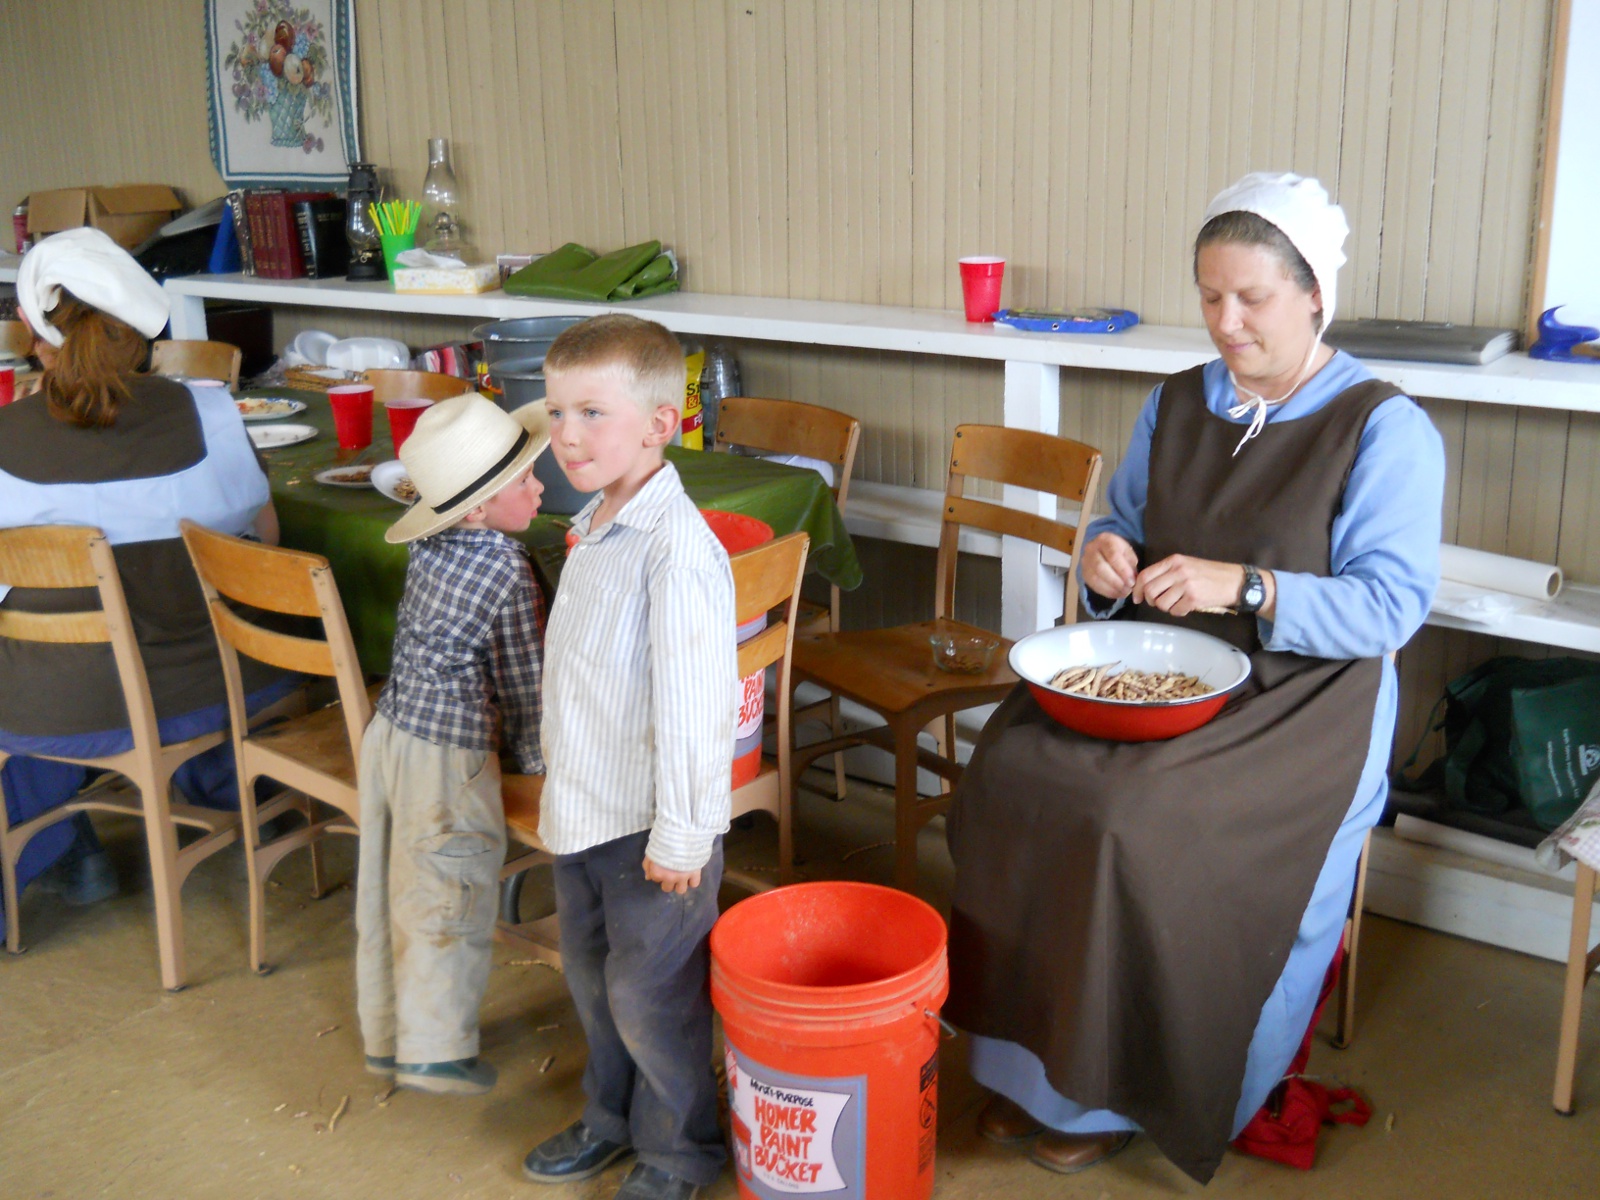
Besides all of the group meal preparations the ladies did for the week, they also had other projects, which this Ranchfest included sewing for the Michael’s family and snapping mesquite pods, which they use for their mesquite coffee.
The main sewing project was for curtains for the cottage, although there was some clothing-making worked on. Here are some sewing preparations being done for some clothing:
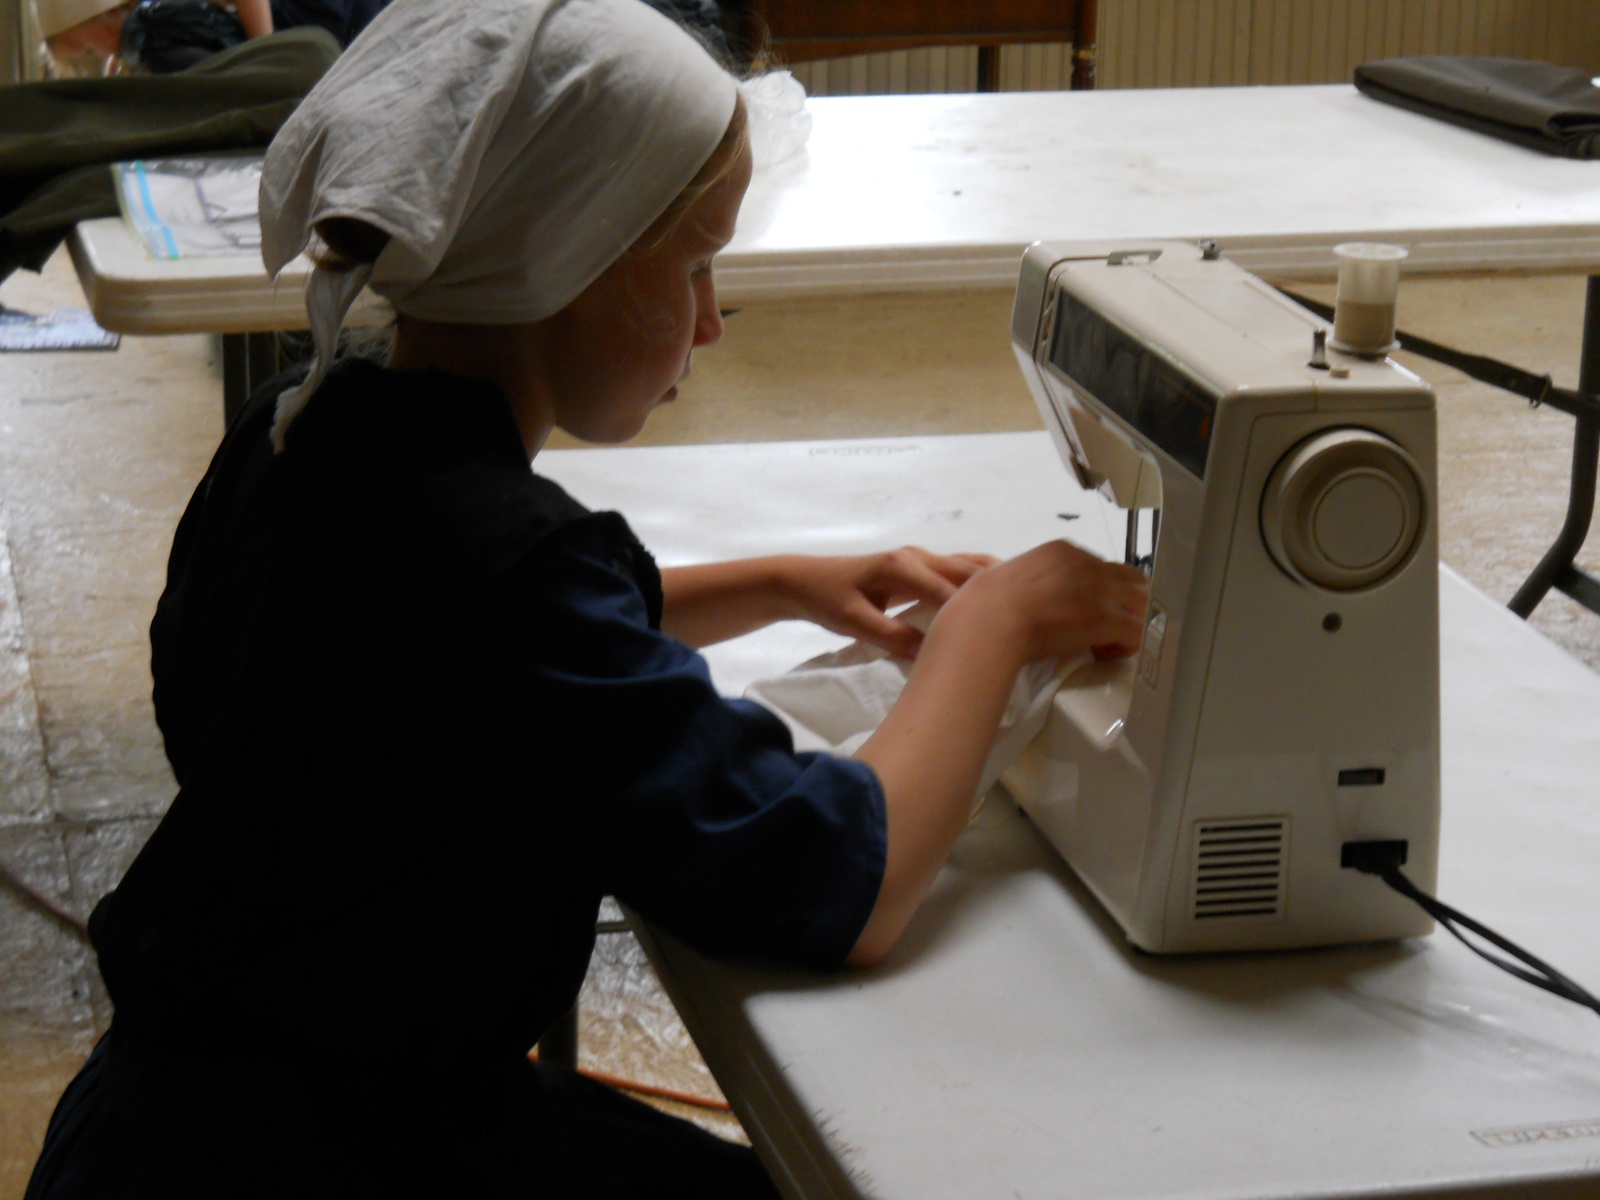
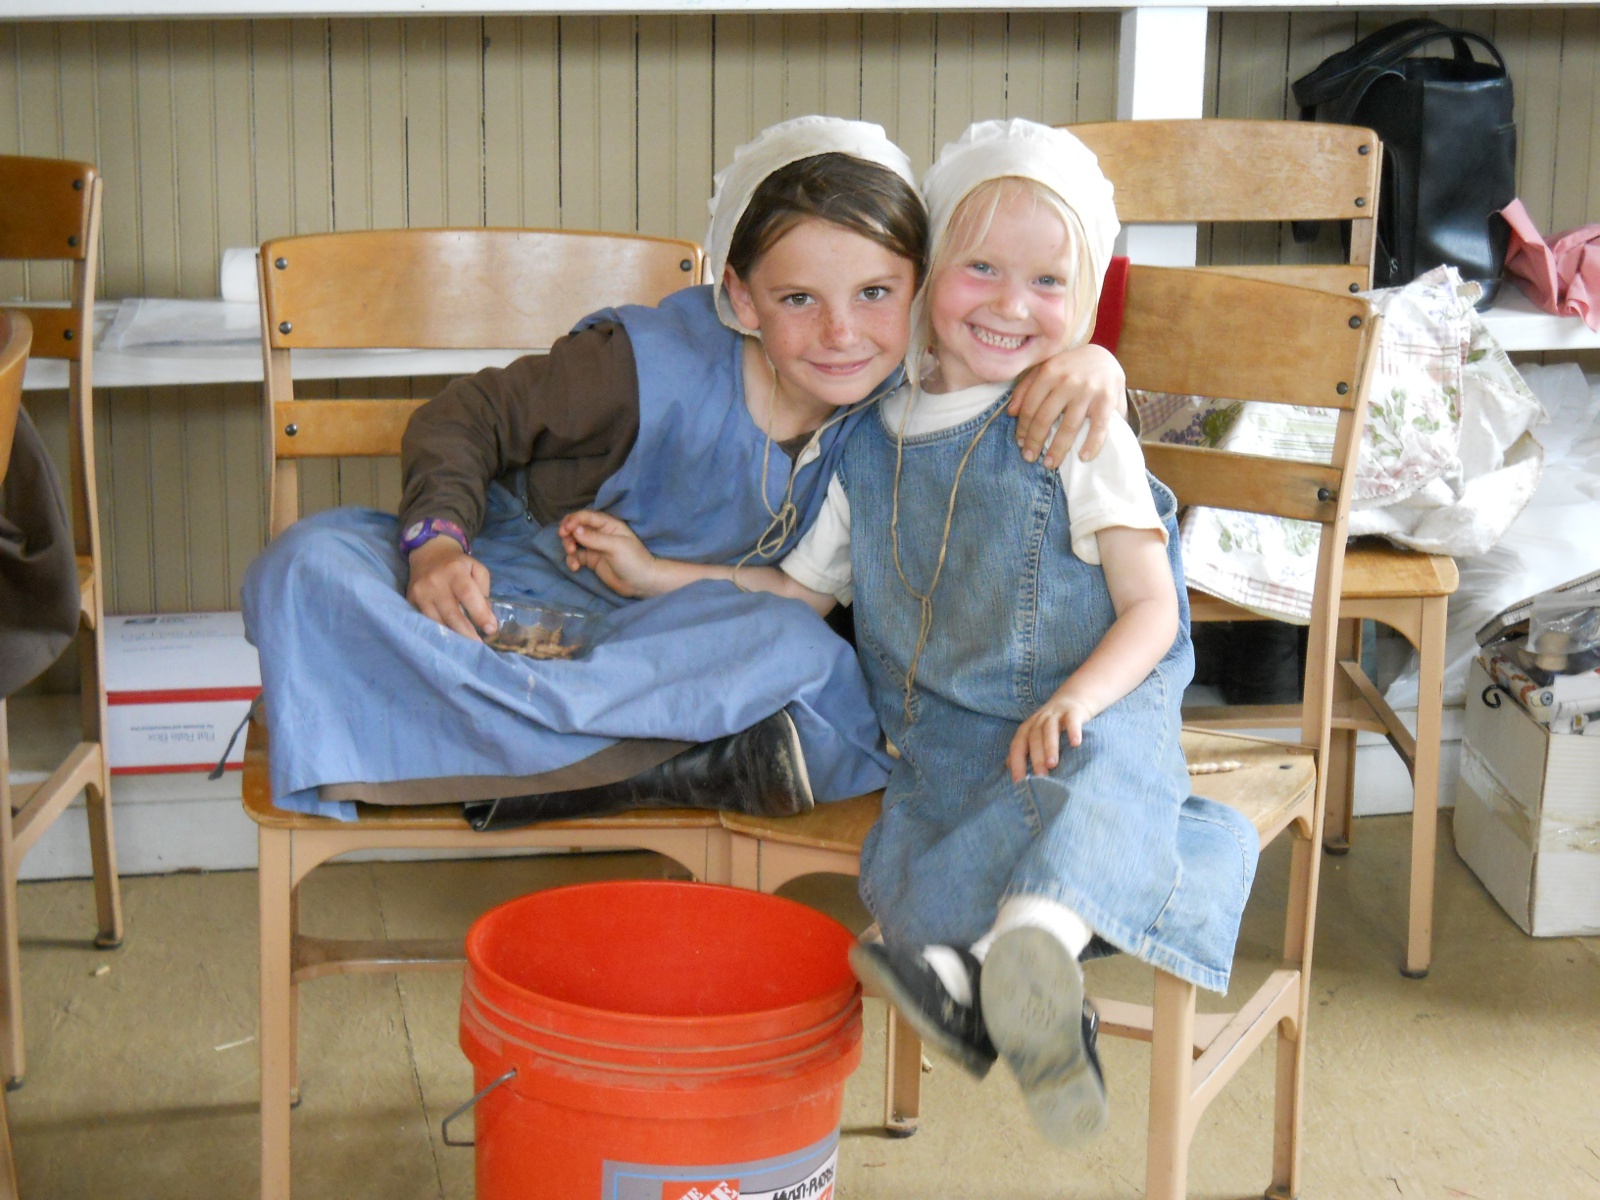
And here, even the younger ones helped:
Seems to be a fun time too!
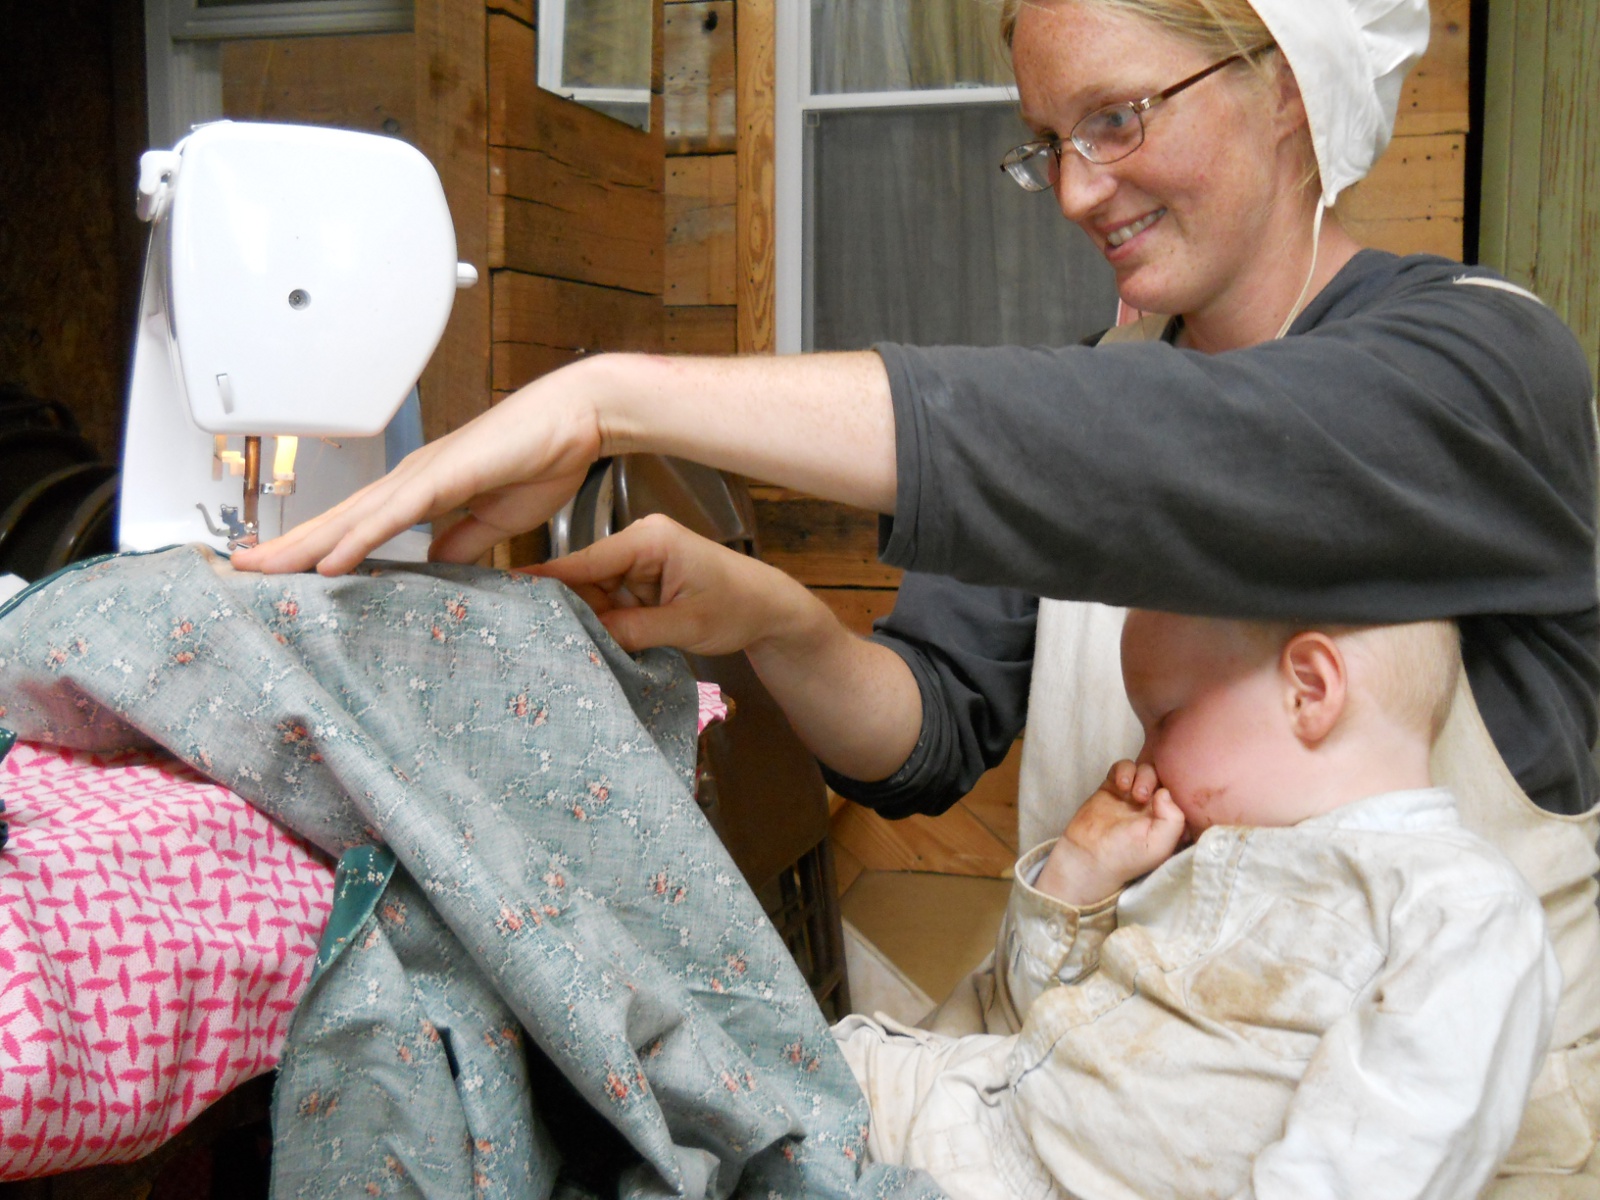
And here, one of the mothers is functioning as a seamstress and a lounge chair 🙂 :
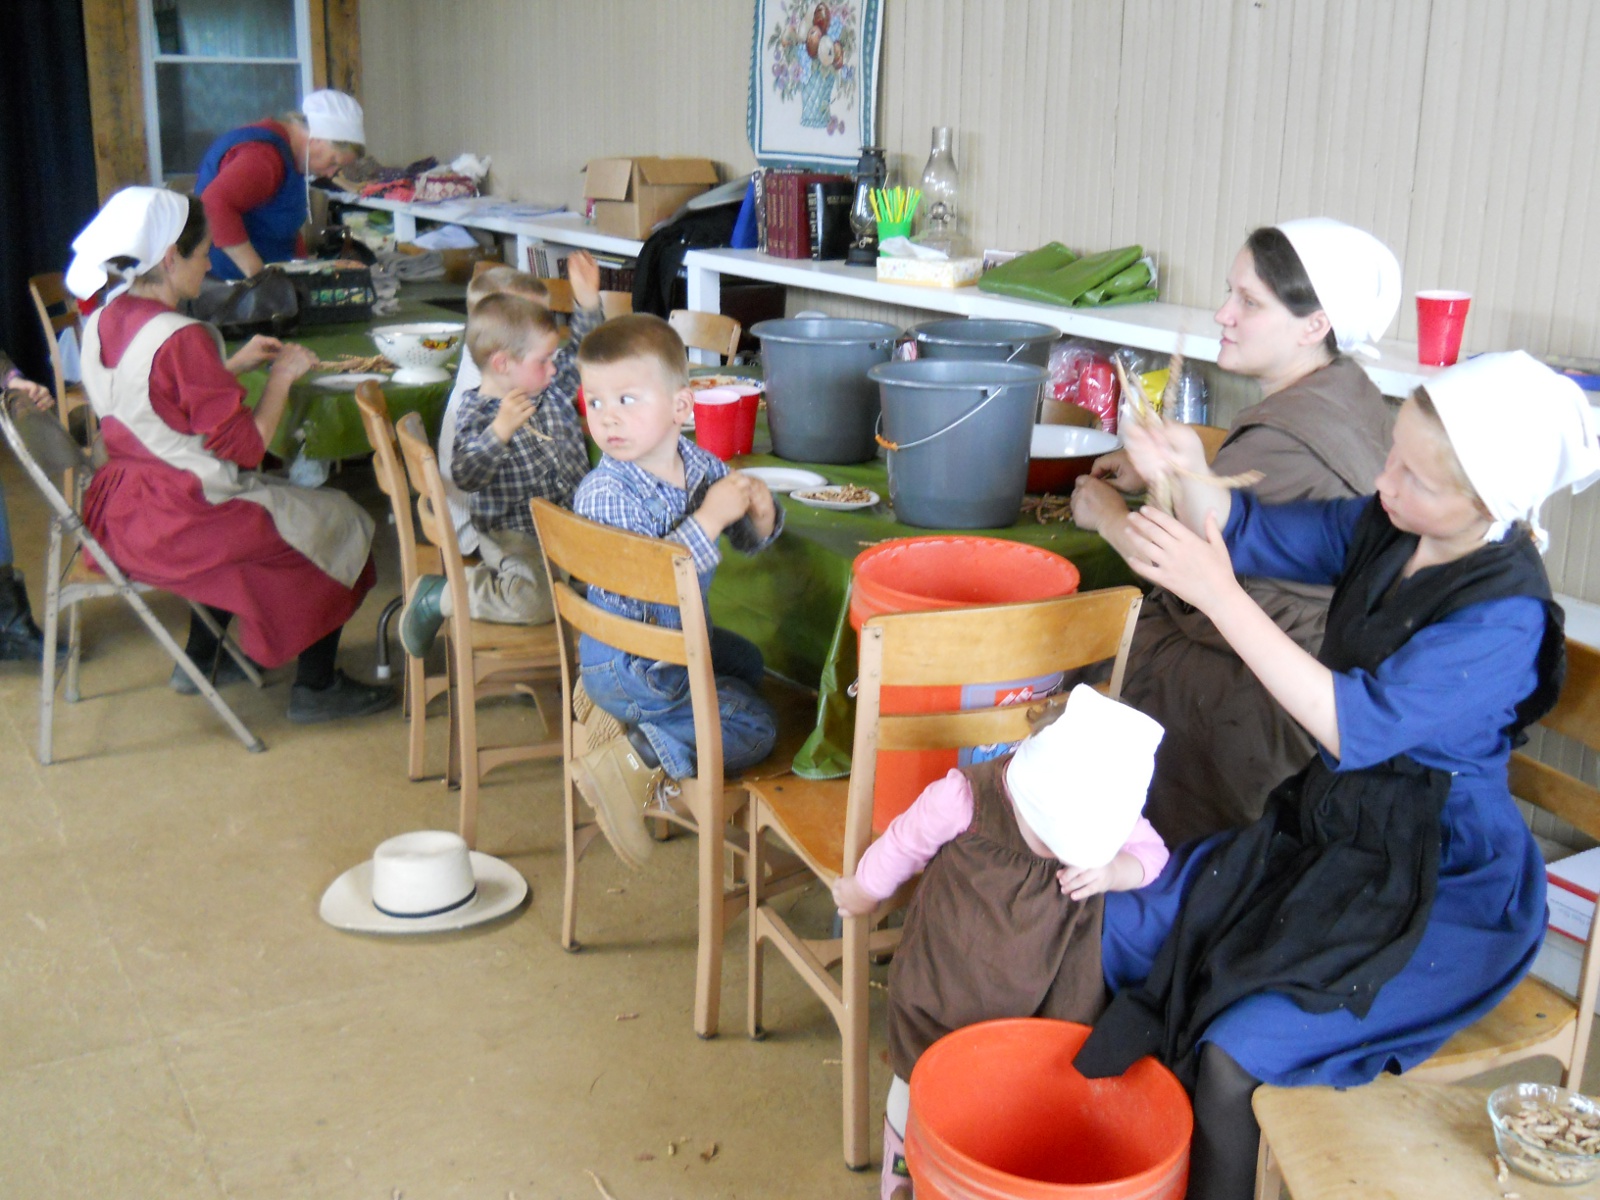
And finally, here are some of the ladies and children helping with the mesquite pods:
All in all, it was a very nice time of fellowship, community and work. It’s tiring, but rewarding as well. We did have a few guest families that visited this year, and it was a pleasure to see them again or meet them, and we thank them for the help and work they provided.
We are grateful to the Lord for the opportunity to gather in His name to work together, and we’re thankful for the teacher He has granted us.
After last year’s drought and not being able to plant a garden (other than the tomatoes, which I mentioned in our Mercy in the Drought blog post), with rains we received over the winter time, we were grateful to the Lord for granting us this year to be able to do so!
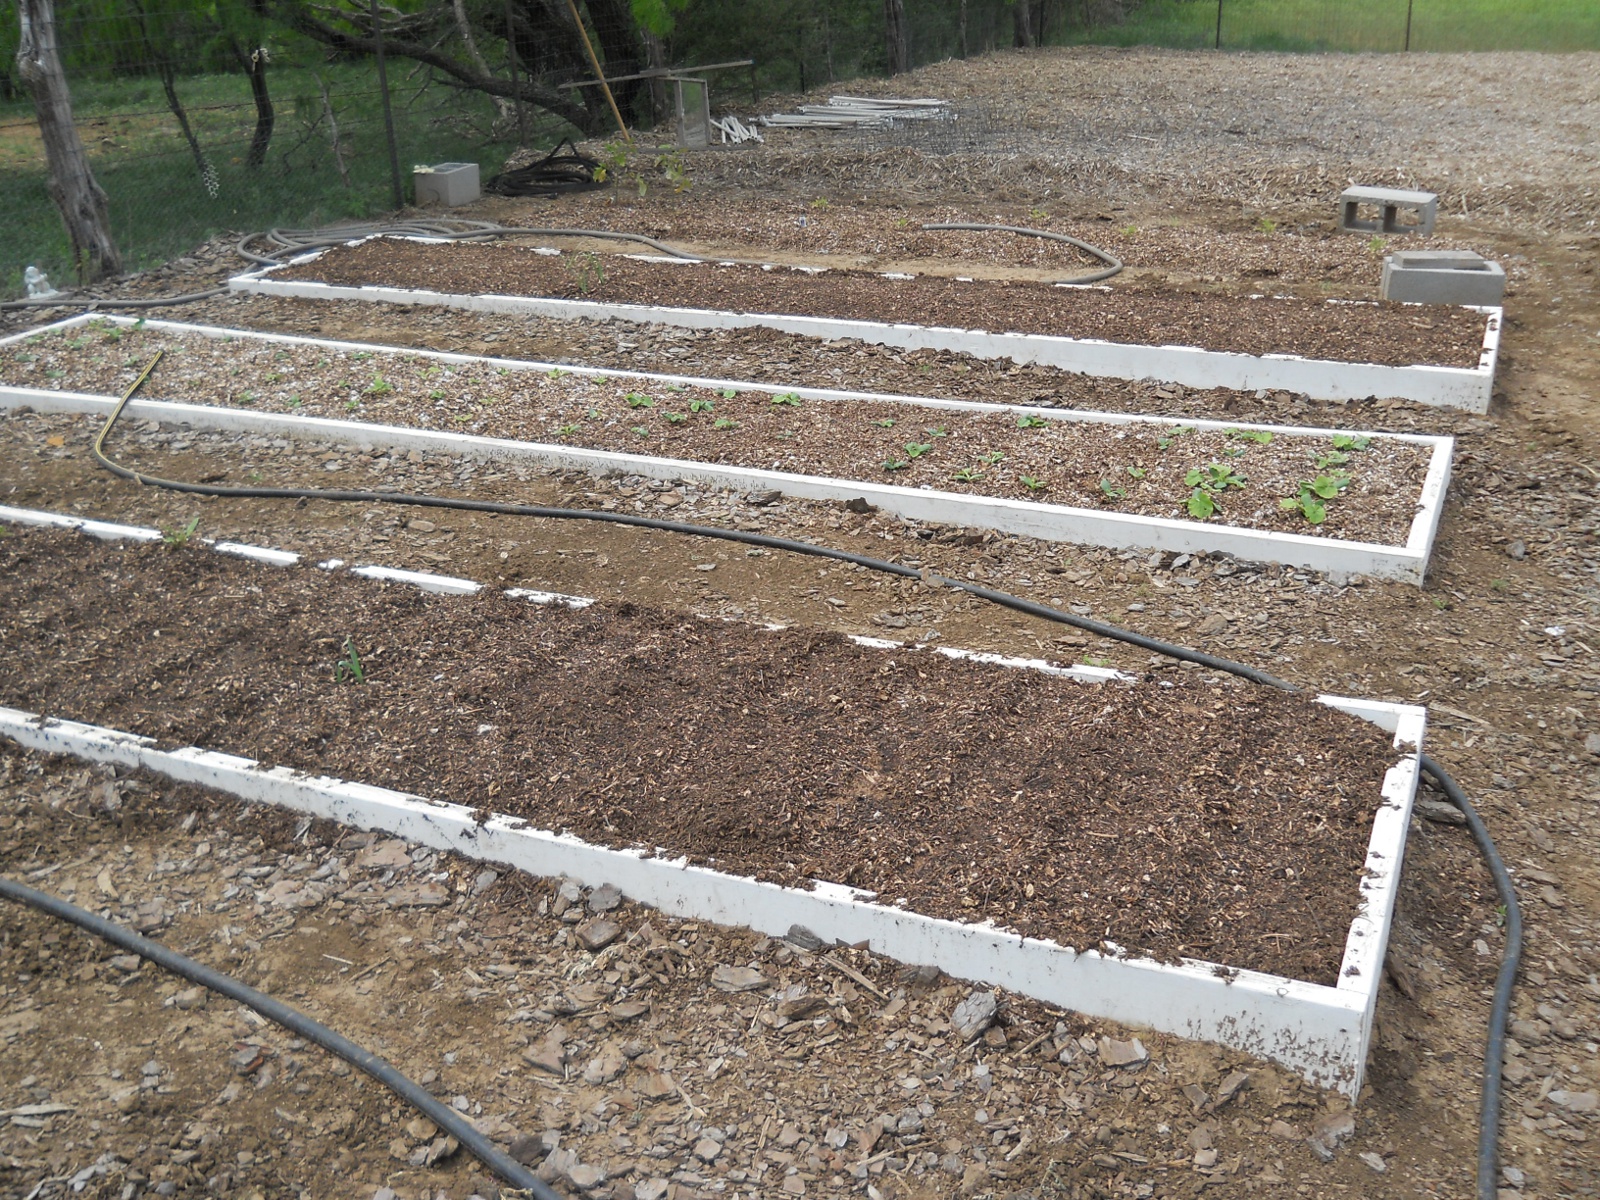
We have prepared several garden and orchard areas with the mulching for long-term composting, and since those aren’t immediately ready, I figured we would just continue to use the raised beds we have. Several are still in garlic for this year; but for the other ones, I bought compost, and just dumped and spread it on top of the soil that was already there, thinking I could plant directly into the compost (assuming compost in general was a good thing to plant in). What I failed to think through was that compost you can plant into is already composted, whereas the stuff I bought I believe still needed to compost. After planting in them, only the squash and zucchini, and a few okra sprouted — the beans and carrots didn’t (but for a few exceptions; I’m wondering if the squash/zucchini sprouted because of the seeds having hard-shells). I should have done my research *before* I planted. 🙂 And so, I decided to go in and mix the compost with the soil underneath a couple of the beds and replant the green beans and carrots.
Also, in watering the beds that have only compost on top, just running even quite a bit of water on them didn’t seem to cause the compost to get wet at all. I couldn’t understand what was going on — I mean, the water had to be going somewhere. Well, it appeared that if I just let the water run and soak in underneath, on the next day or two, the compost was indeed moist all through; and so, I figured that the water was just soaking upward after watering.
And here are the beds planted. I also planted already-growing tomato plants in the far, not-raised bed, in just the compost, although fairly deeply; and they are still living, but don’t seem to be growing much; so we will have to see how they turn out:
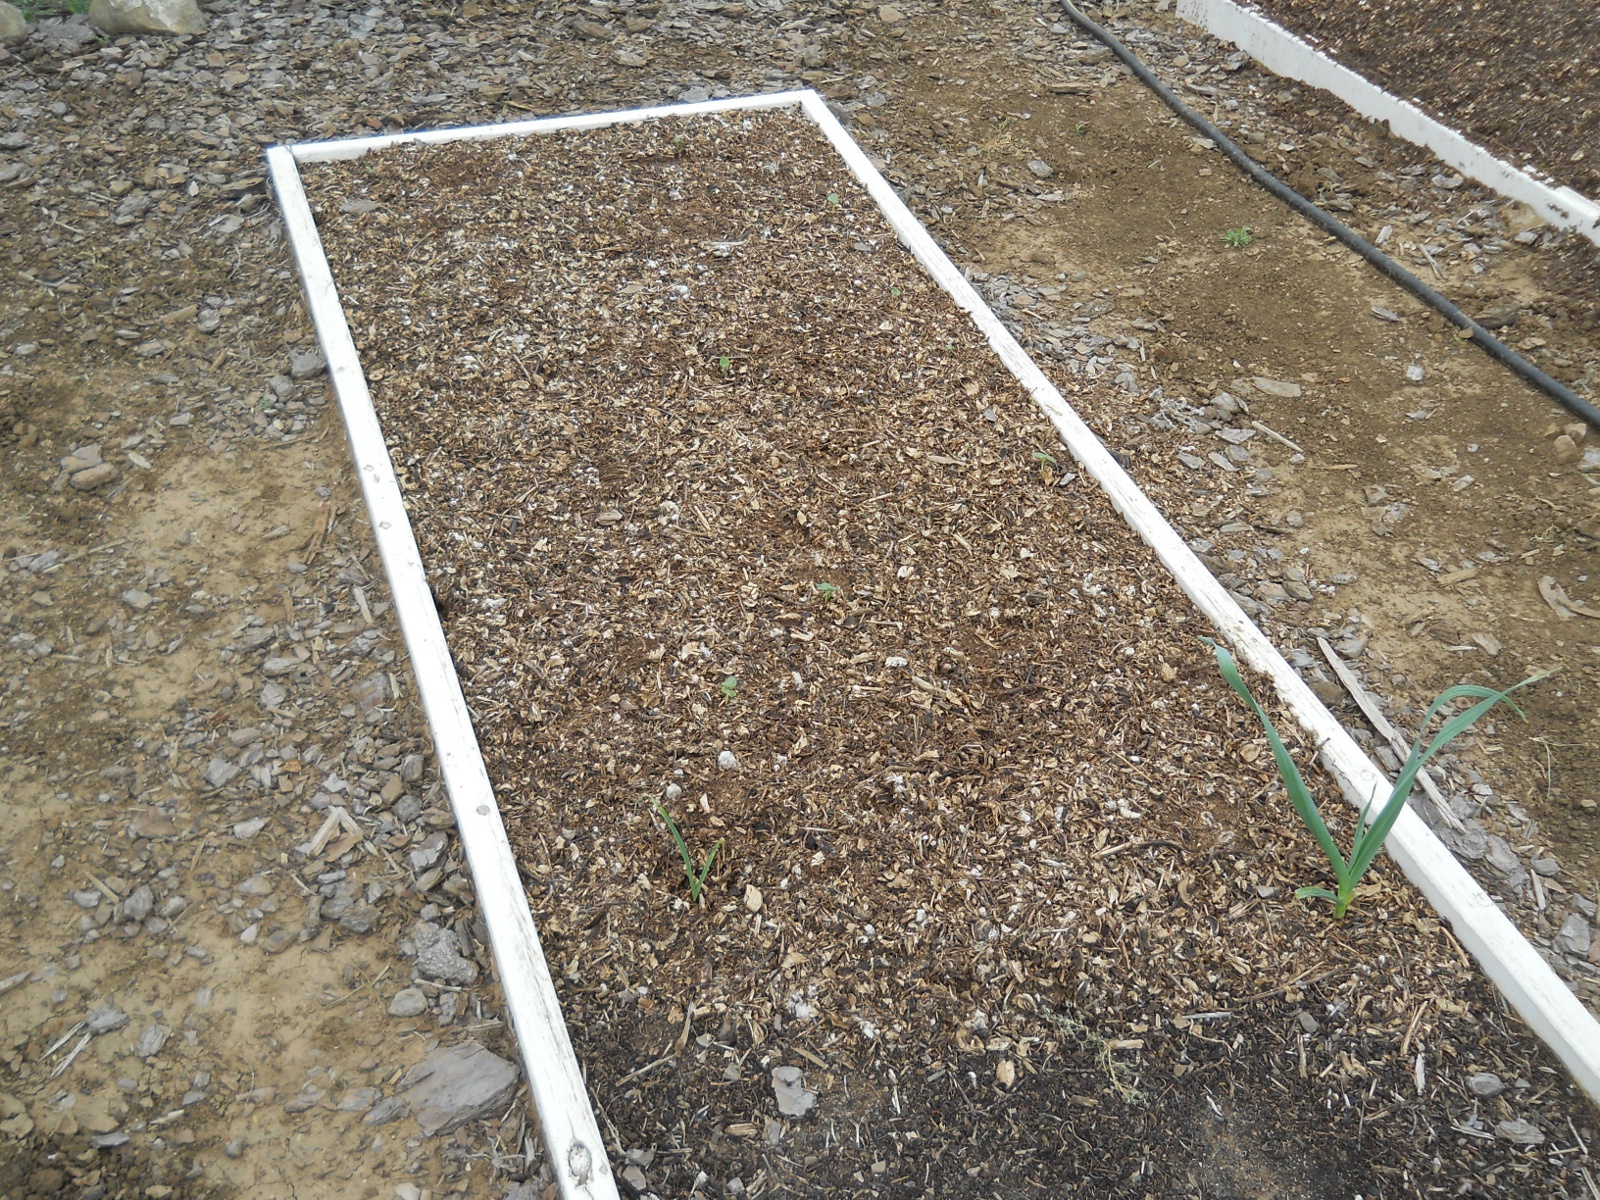
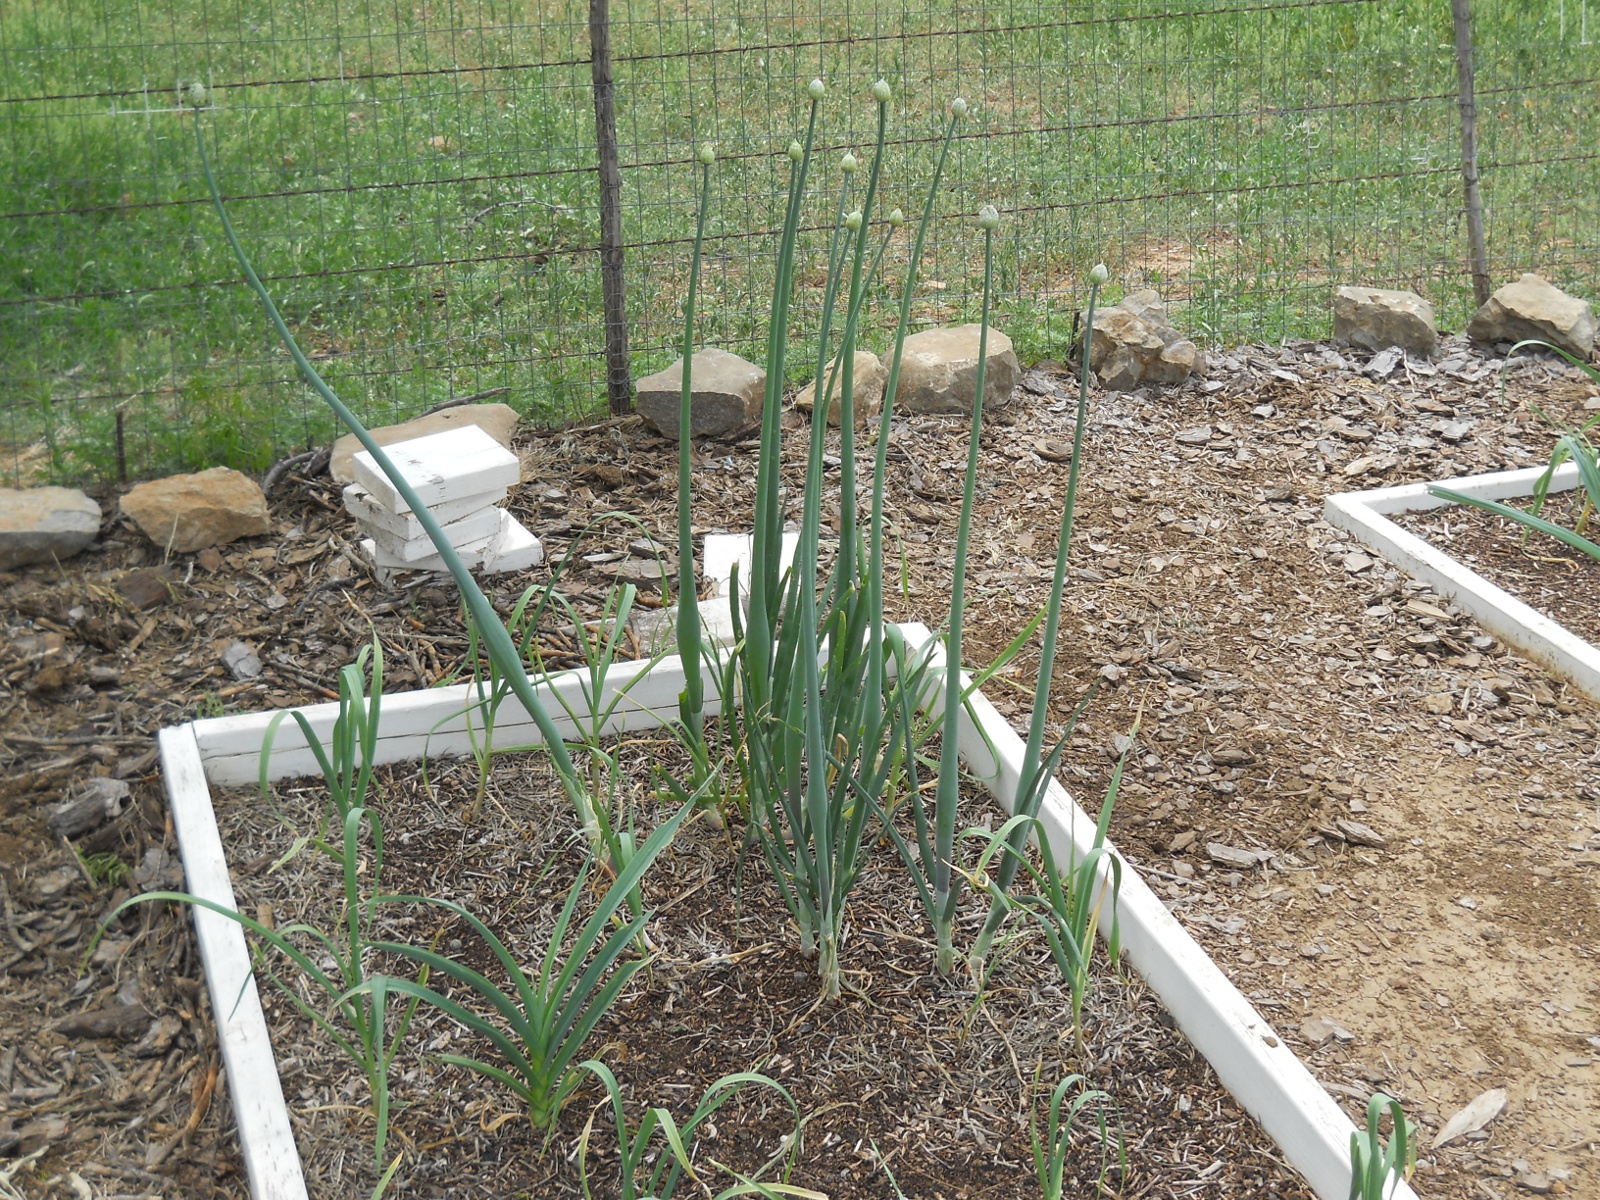
And here is the okra area in the far side of one of the garlic beds:
Interestingly, in one of the garlic beds, we had planted onions several years ago; and after last year’s drought, there wasn’t much left of them (some of them had continued to grow each of the previous years). Well, I thought I had cleared them all out for the garlic, but apparently not. We basically just use the green tops as I don’t believe bulbs are really growing, but I suppose we will see how that goes too, Lord willing:
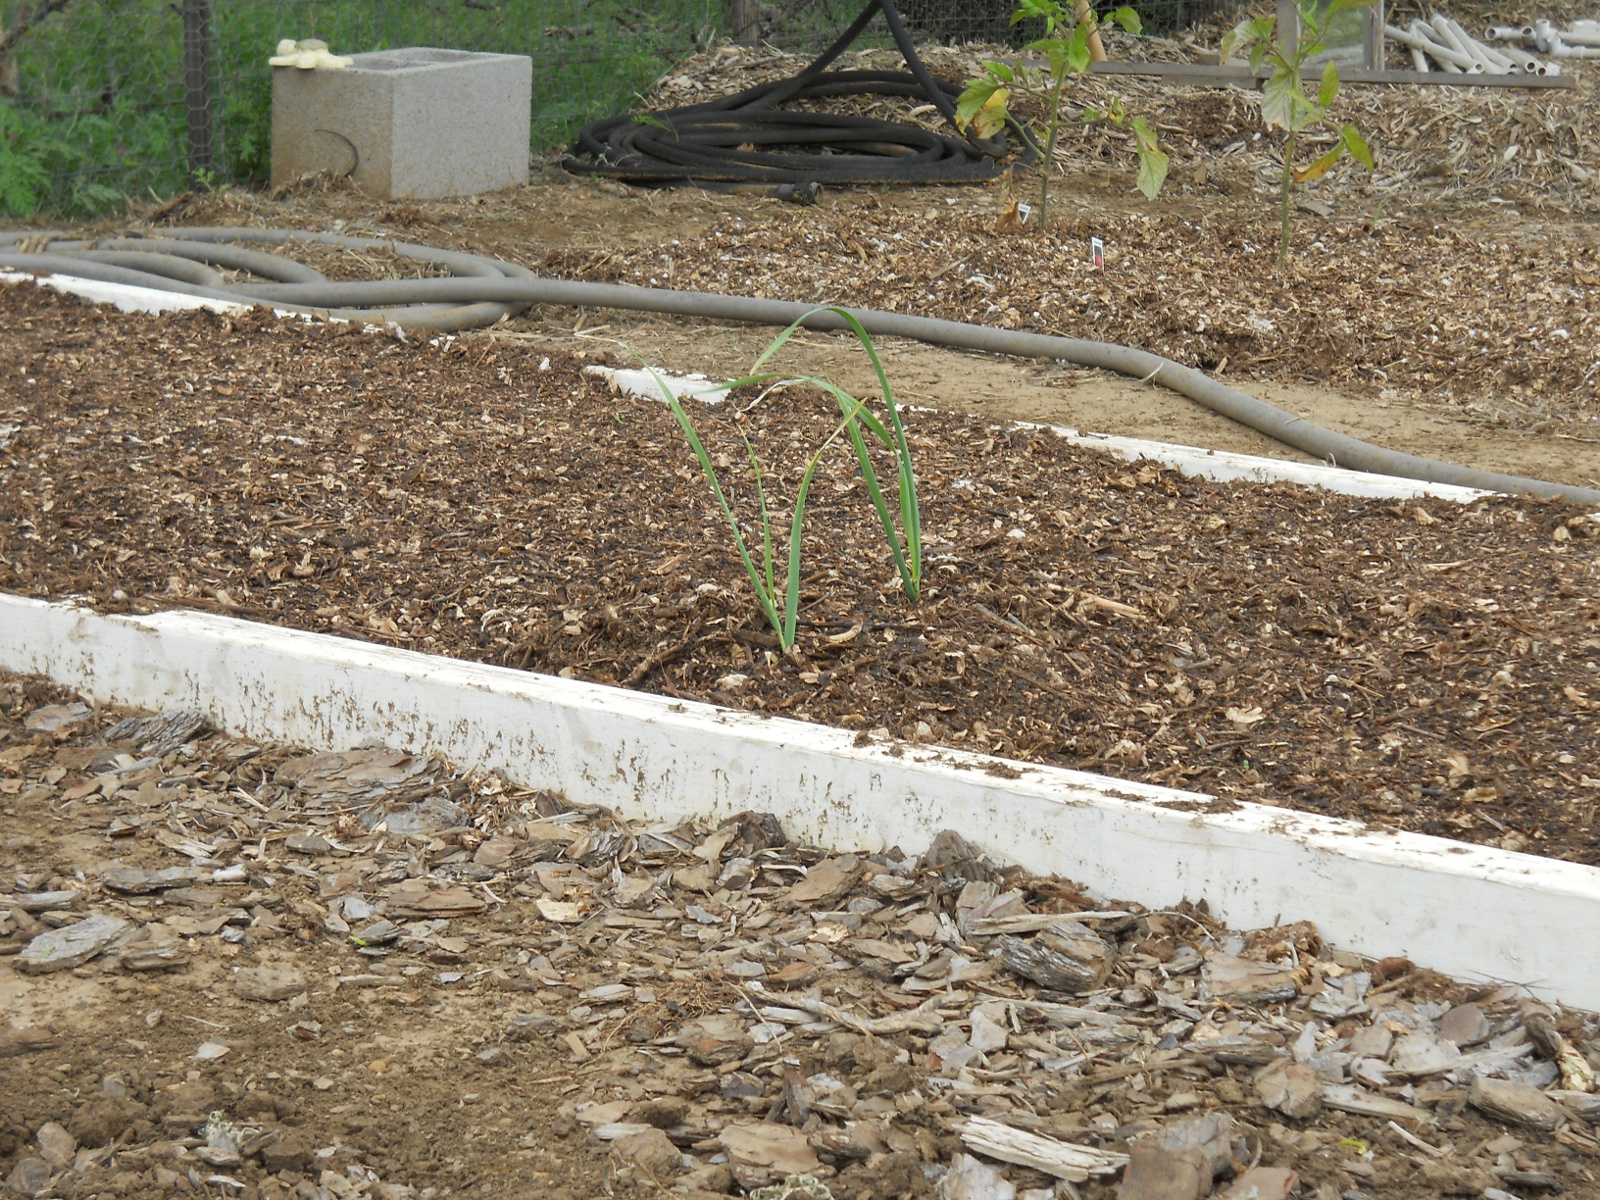
Also interestingly, although I didn’t plant garlic in them this year, apparently there was some remnant cloves from last year, still in them. Here is the carrot bed with a couple of garlic plants growing:
We are truly thankful to God for the opportunity to plant and water this year, and we pray He might grant provisions from the garden, in accordance with His will.
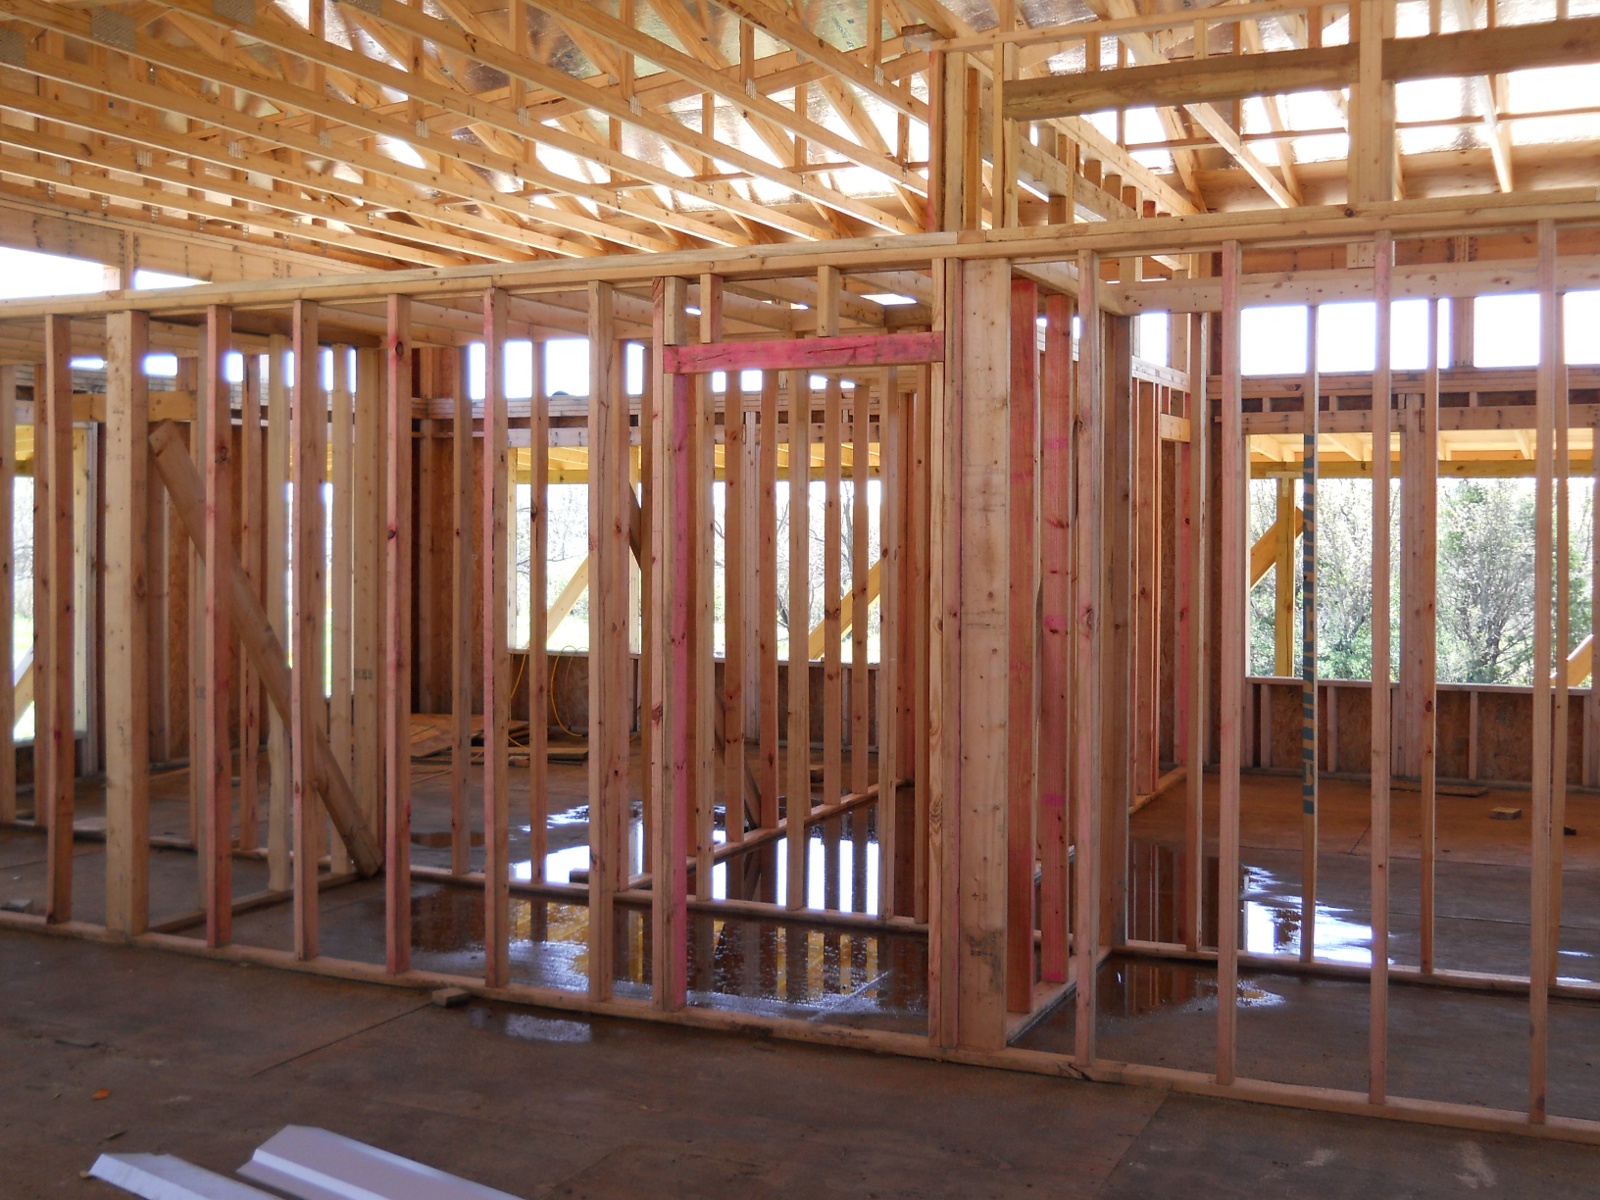
Here’s the last main wall that needed to be completed, before it was raised:
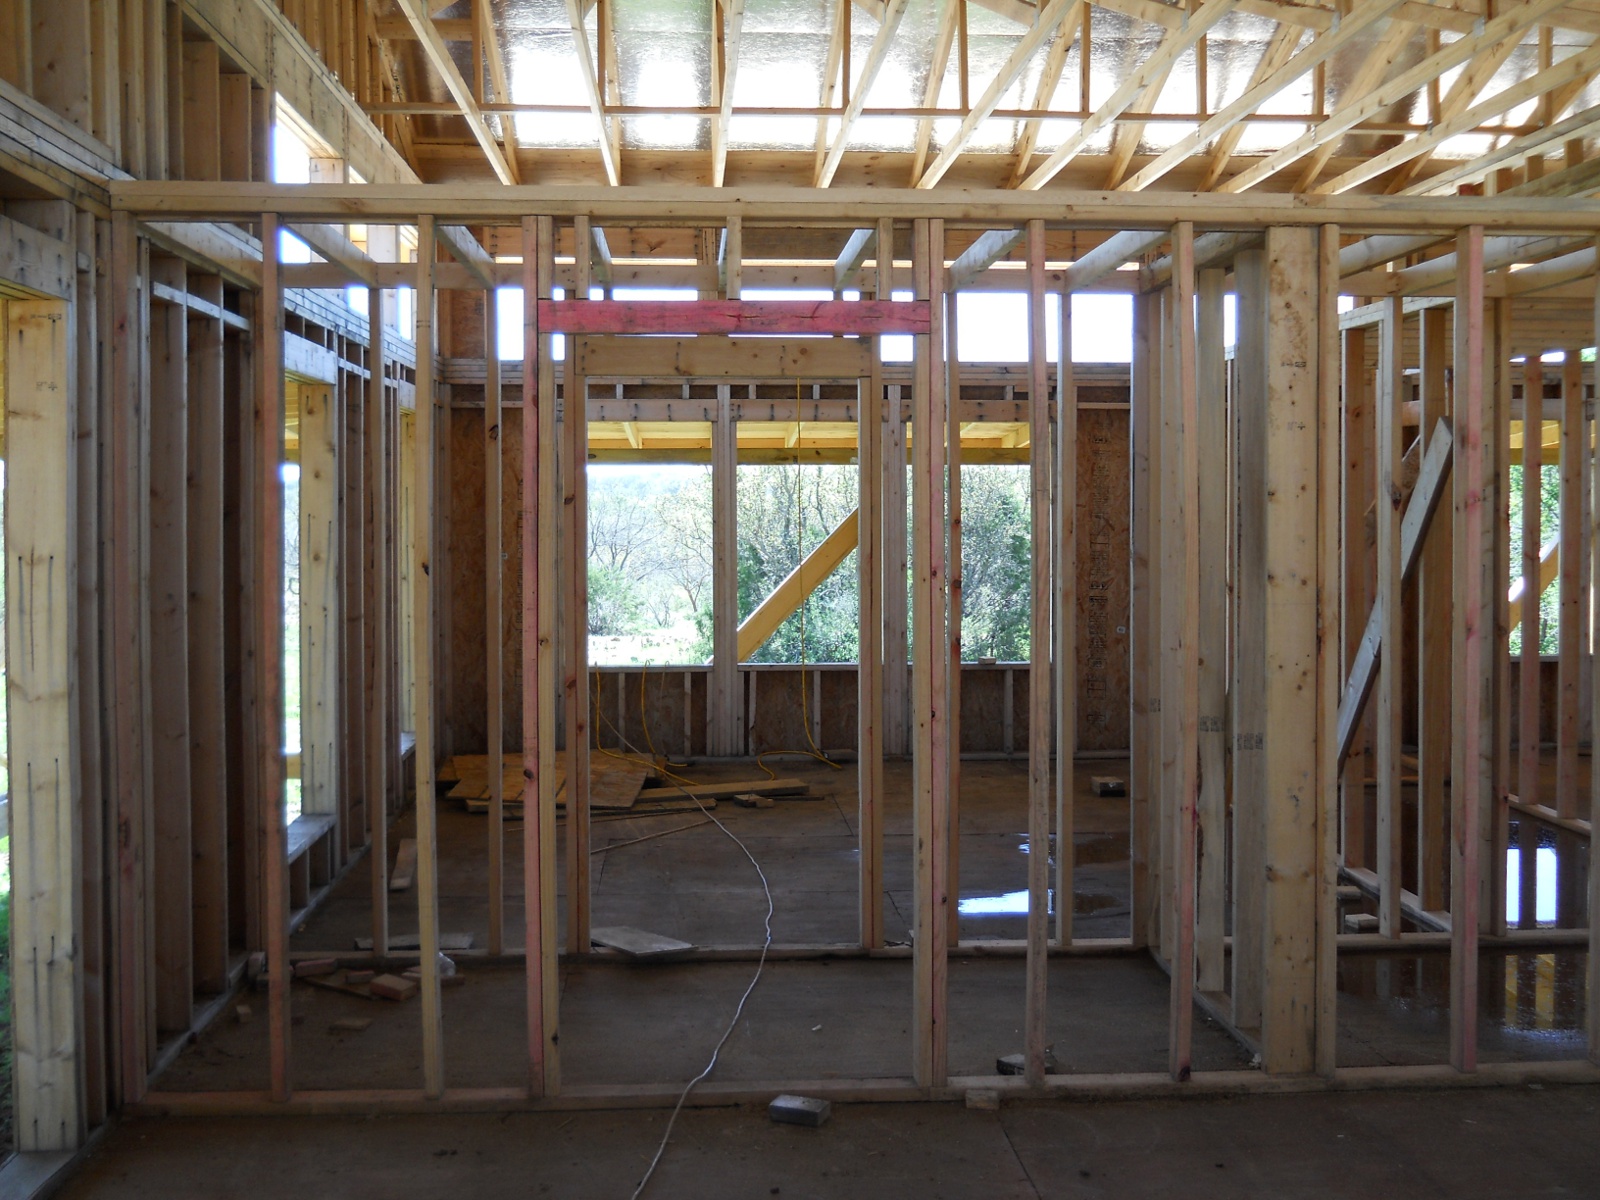
And the following pictures are how the walls look now all up and tied together. This is from the great room facing the library, showing the closet space in between:
And a picture of the door to the pantry, which is next to that closet:
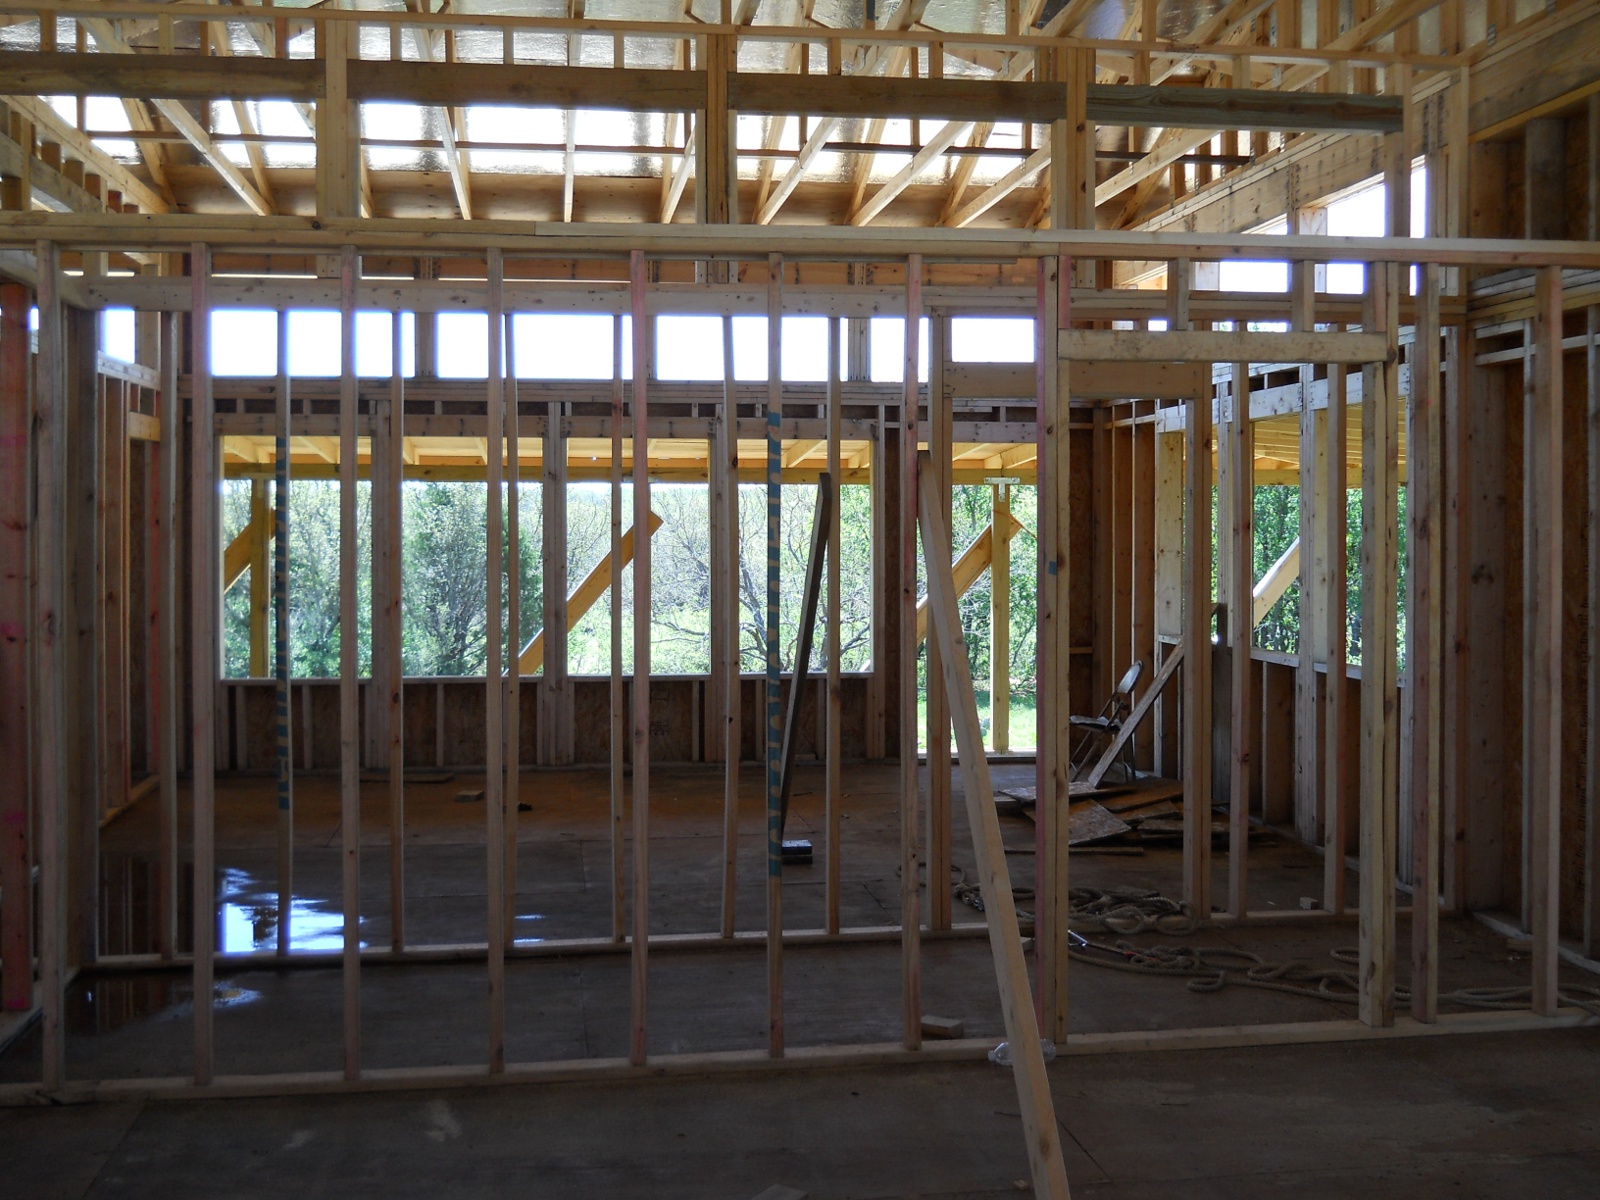
Here is the bedroom from the kitchen area with the bathroom in between:
And here is from inside the bedroom facing the library:
And then facing the kitchen area. The bedroom is the only room that we plan to enclose with windows to be able to keep heat in during the winter while still allowing for air flow during the summer:
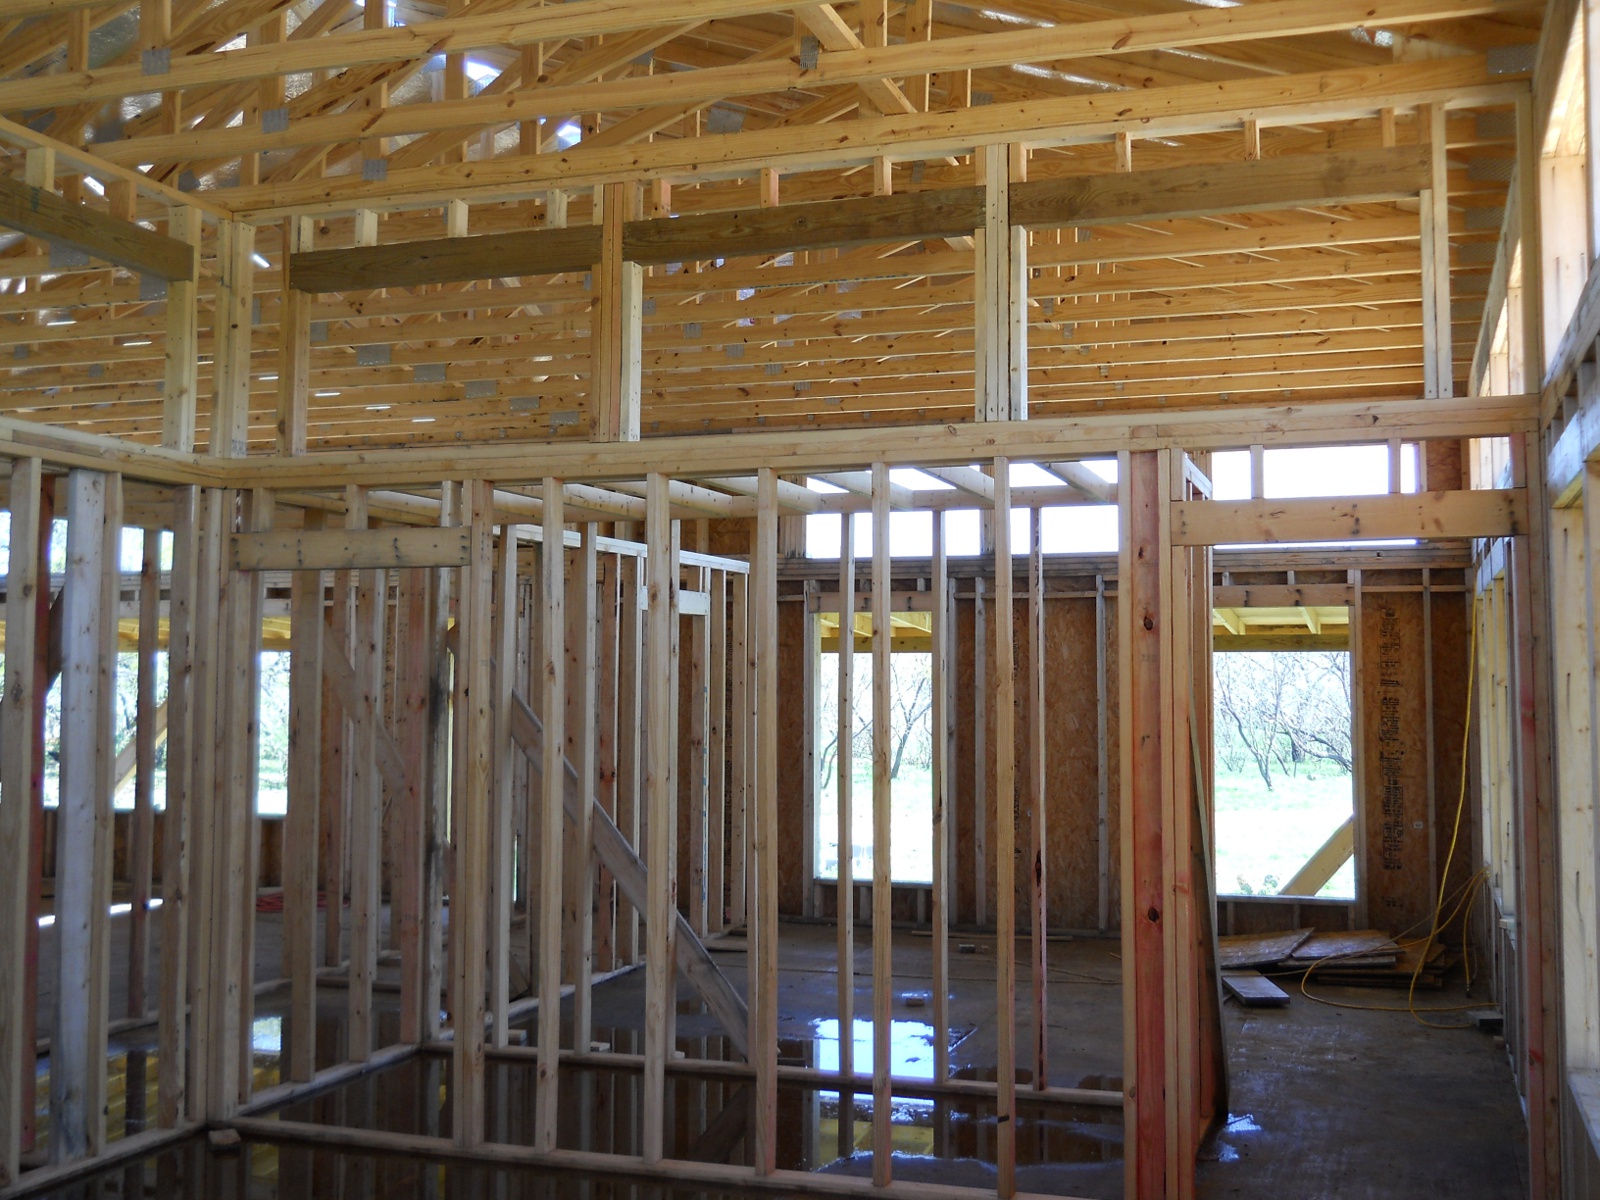
And here is a look down the pantry and closet from the bathroom:
We are thankful once again to God for His provisions to allow us to continue progress on the house.
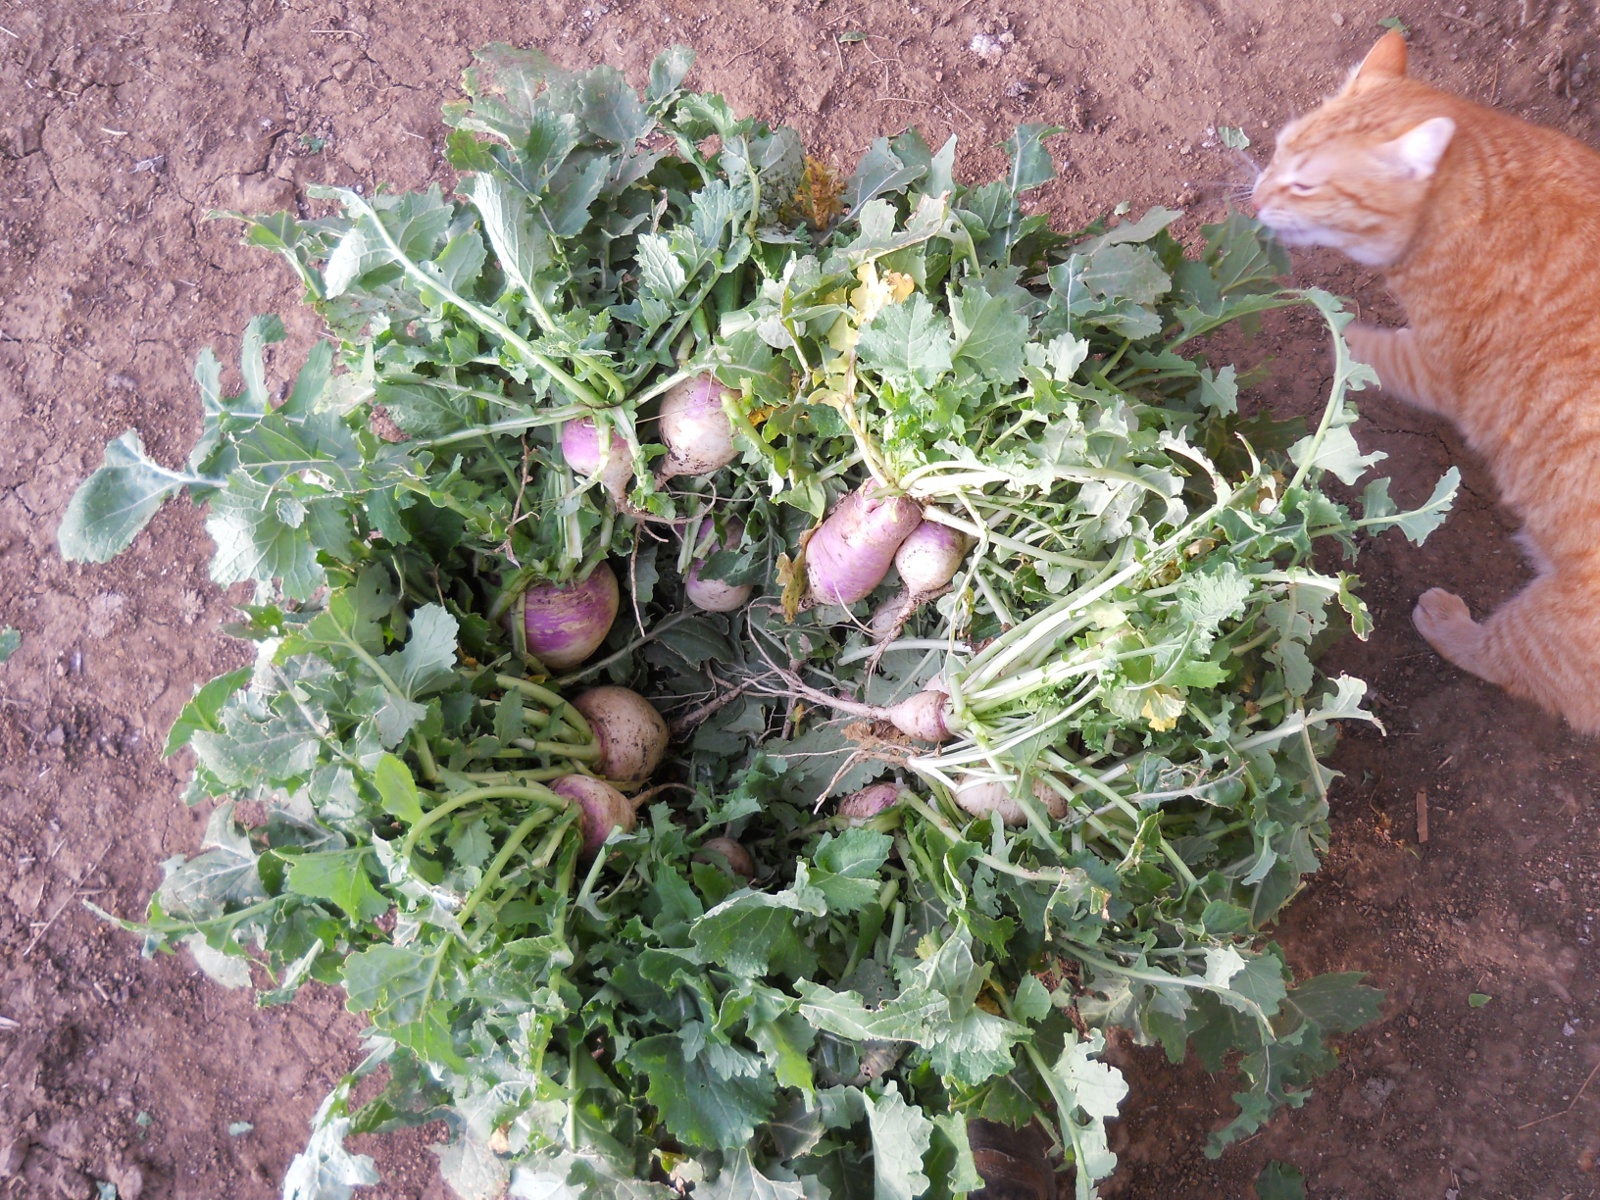
The Lord has graciously brought a mild winter and plenty of rain, and has granted that our turnip and wheat crops begin to flourish!
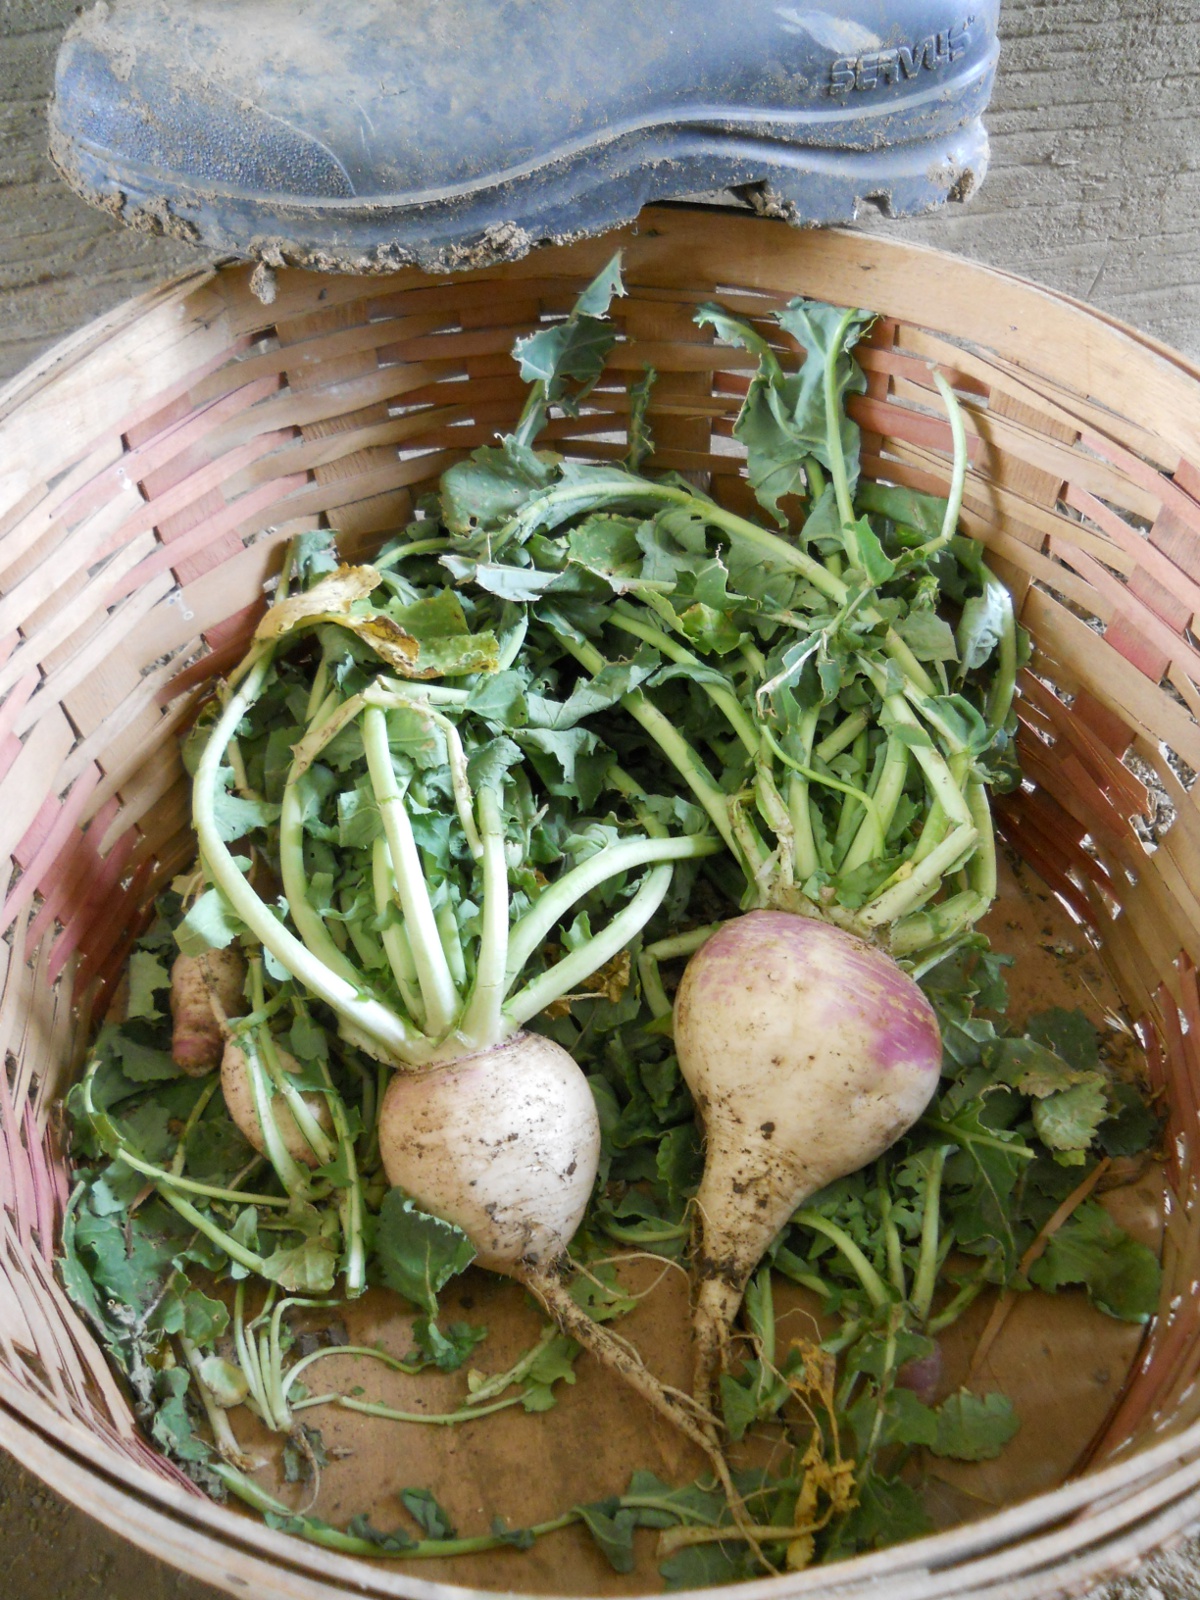
Here are the first turnips collected:
You can see the size reference with the boot on top of the basket. They’re not all this big, but indeed some are fairly large:
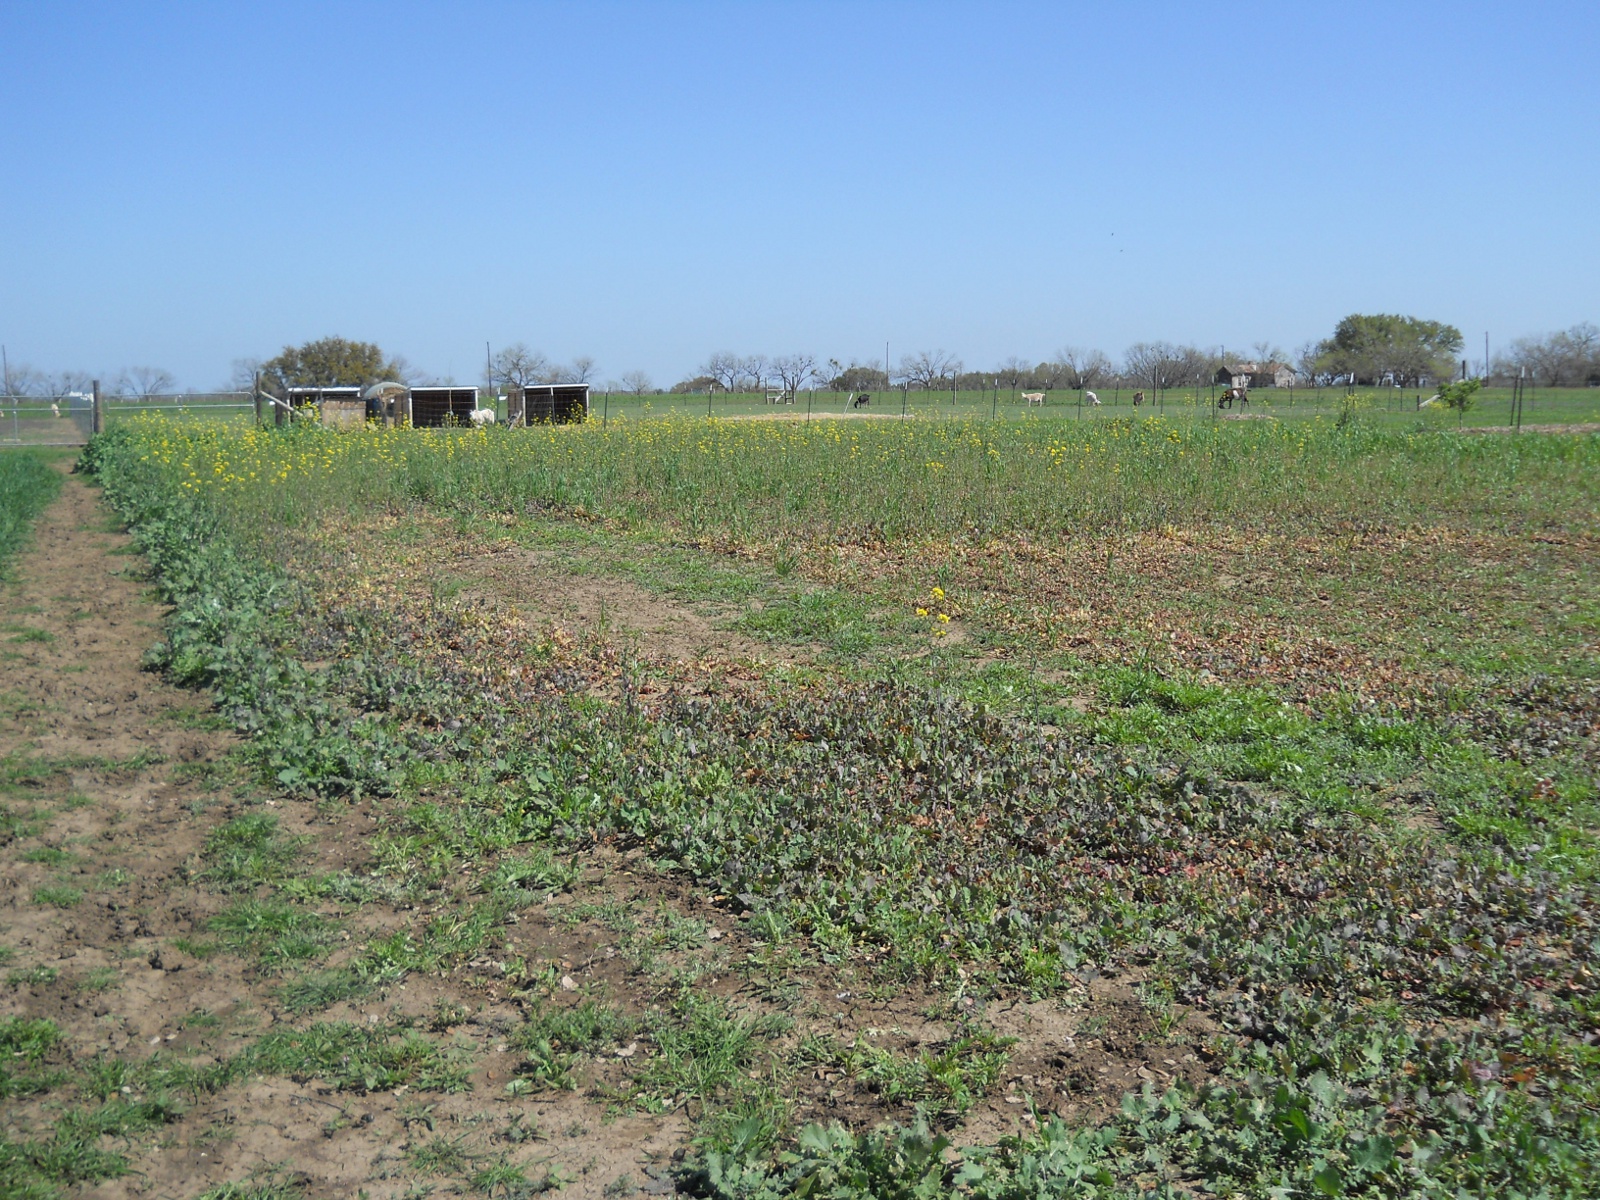
And here is what the turnip field looks like currently. Many have bolted, and the tops of some of them have begun to rot–we had several days recently after rains where the sun didn’t shine and things remained wet, although the turnips themselves are still good. I also think I waited too long to begin harvesting:
We are using the turnips basically as pig food right now, and they love them! There haven’t been many more joyous and satisfying moments here on the land for me than when I am able to feed our pigs solely from off the land–truly “living our dream” of being independent from the world and dependent on God and His provisions directly!
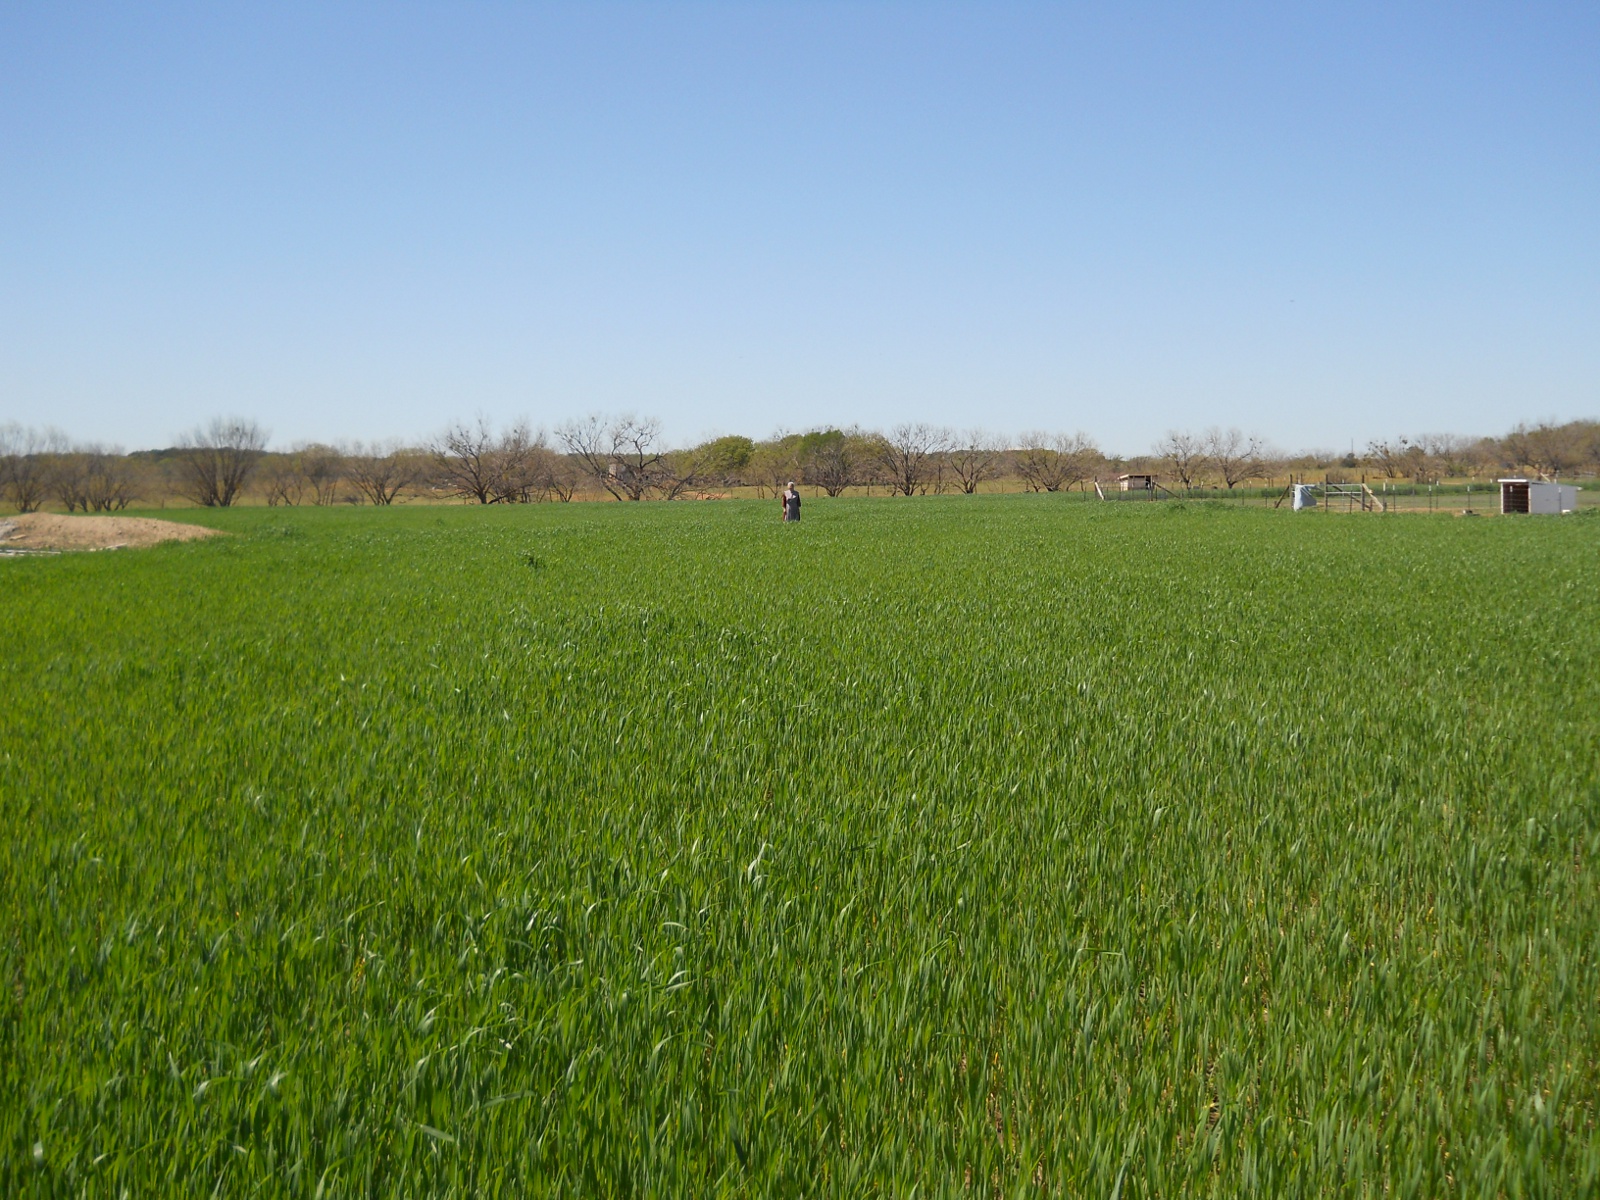
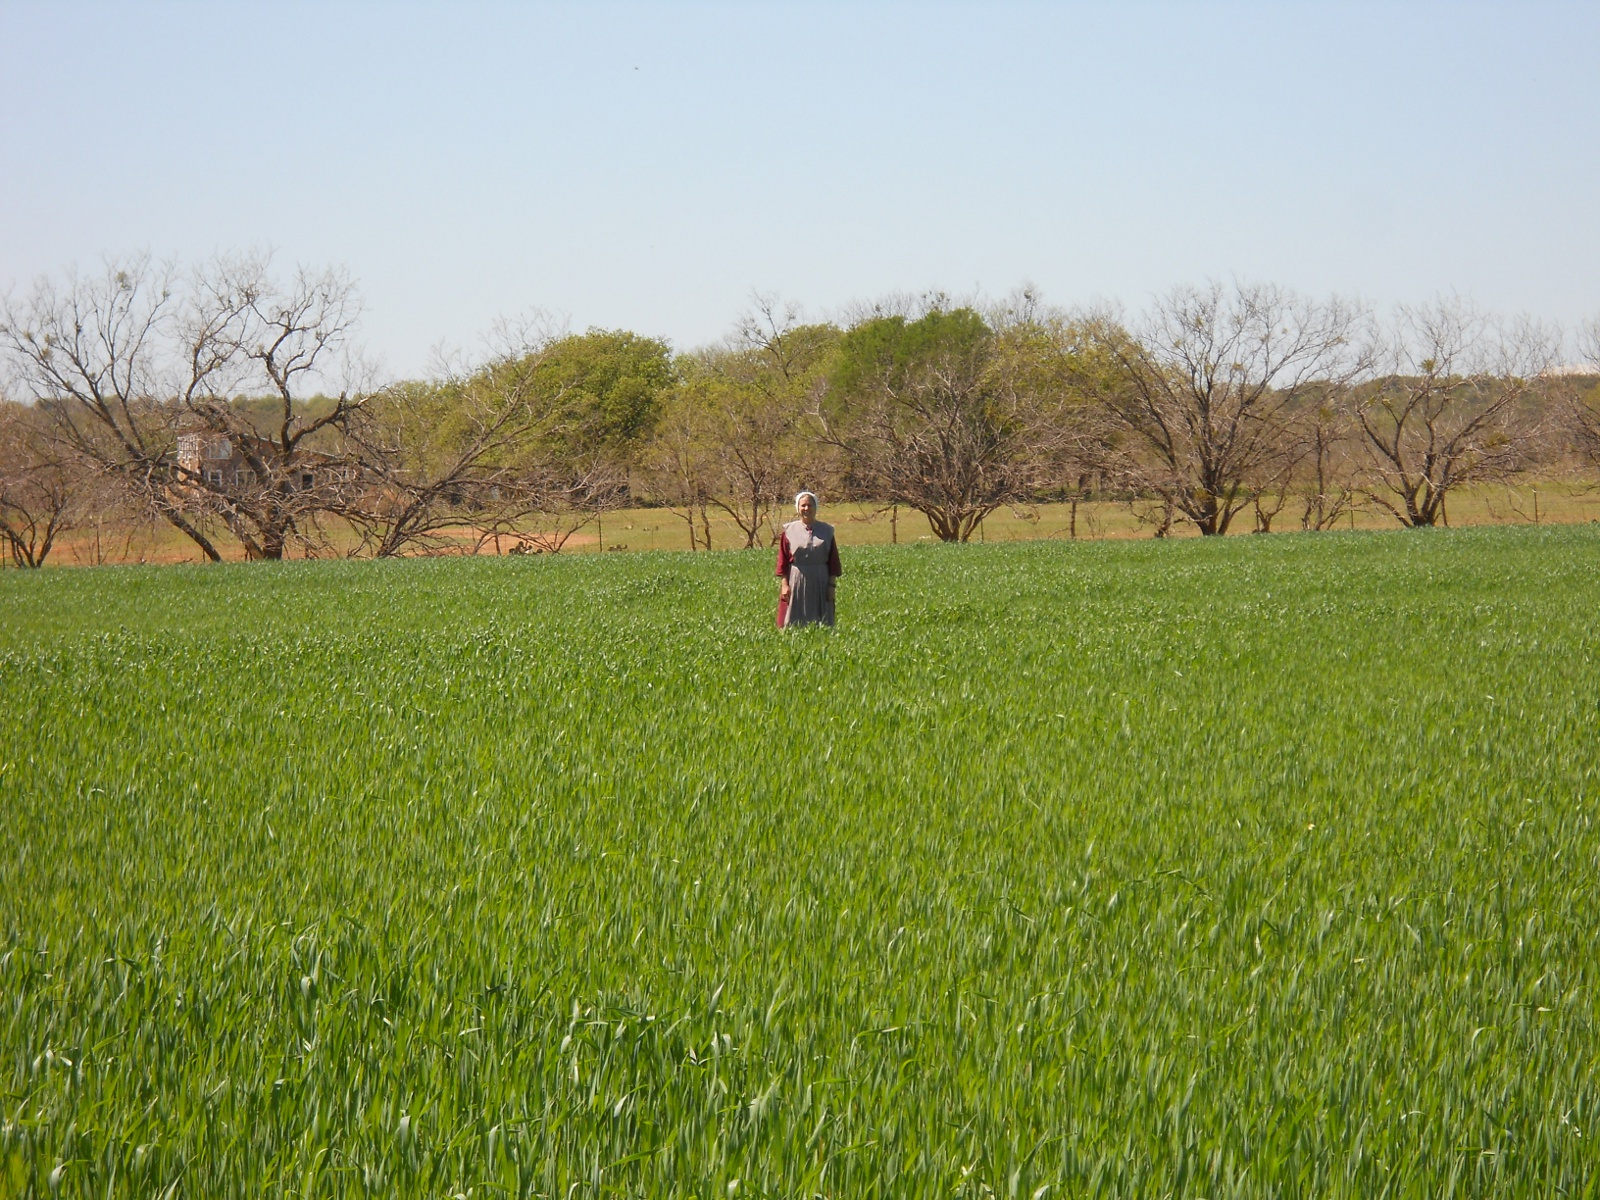
Here is the wheat field currently:
And here’s another picture with a closer view of Sue so you can get a better idea of the height, which is about up to our knees:
We look forward to continuing to harvest the turnips and later the wheat, as the Lord wills; and we are grateful to Him for granting these provisions, and we pray He continue to help us in the steps of separation from the world as unto Him!
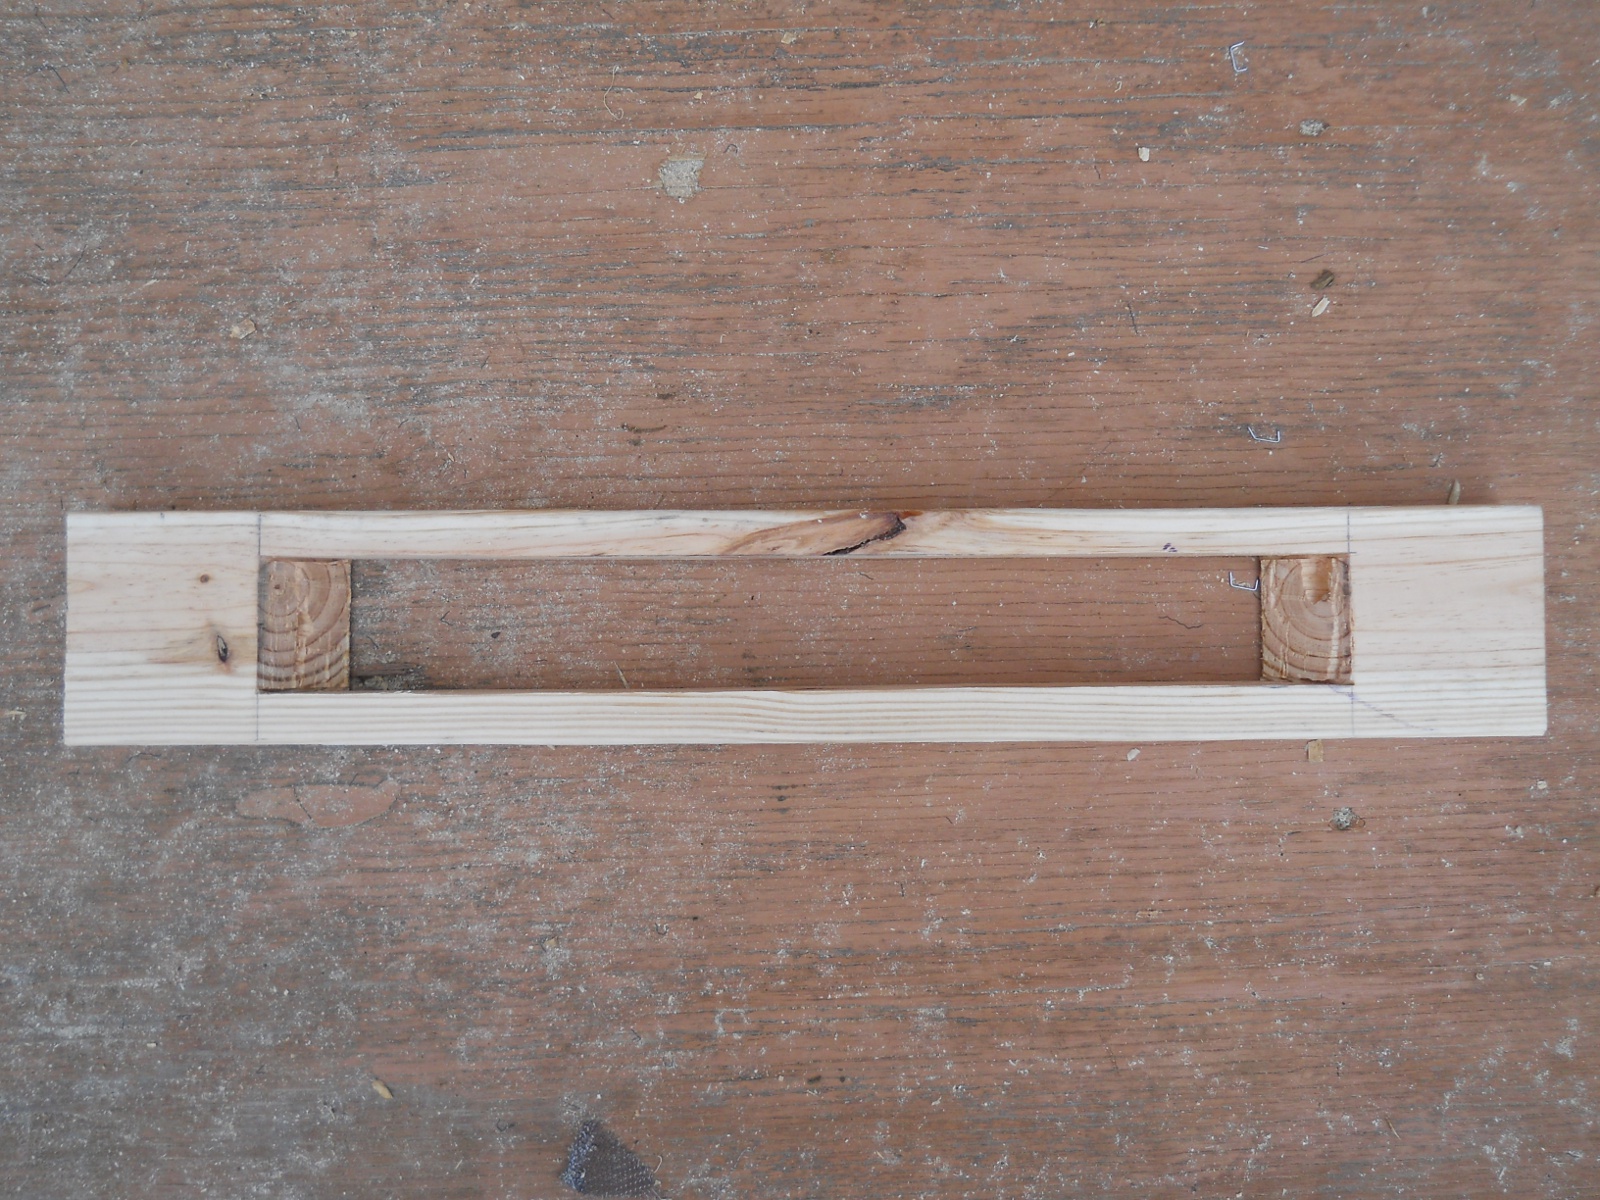
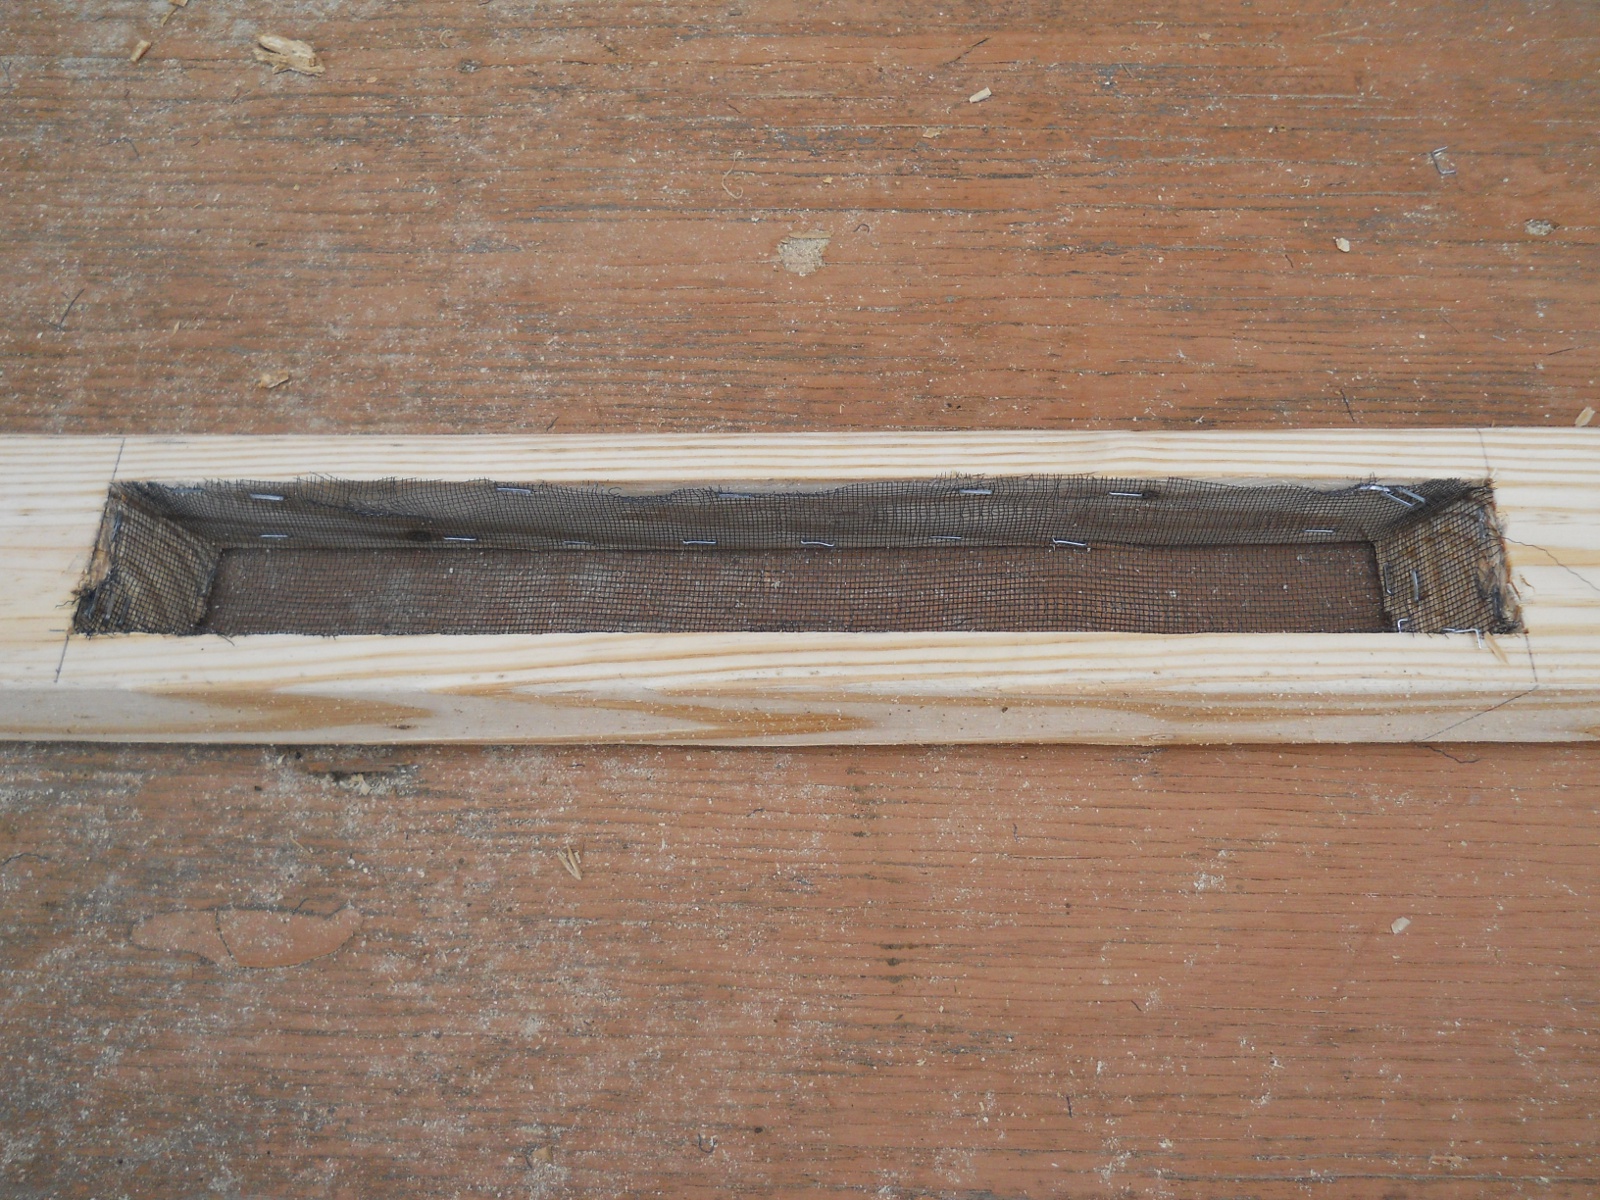
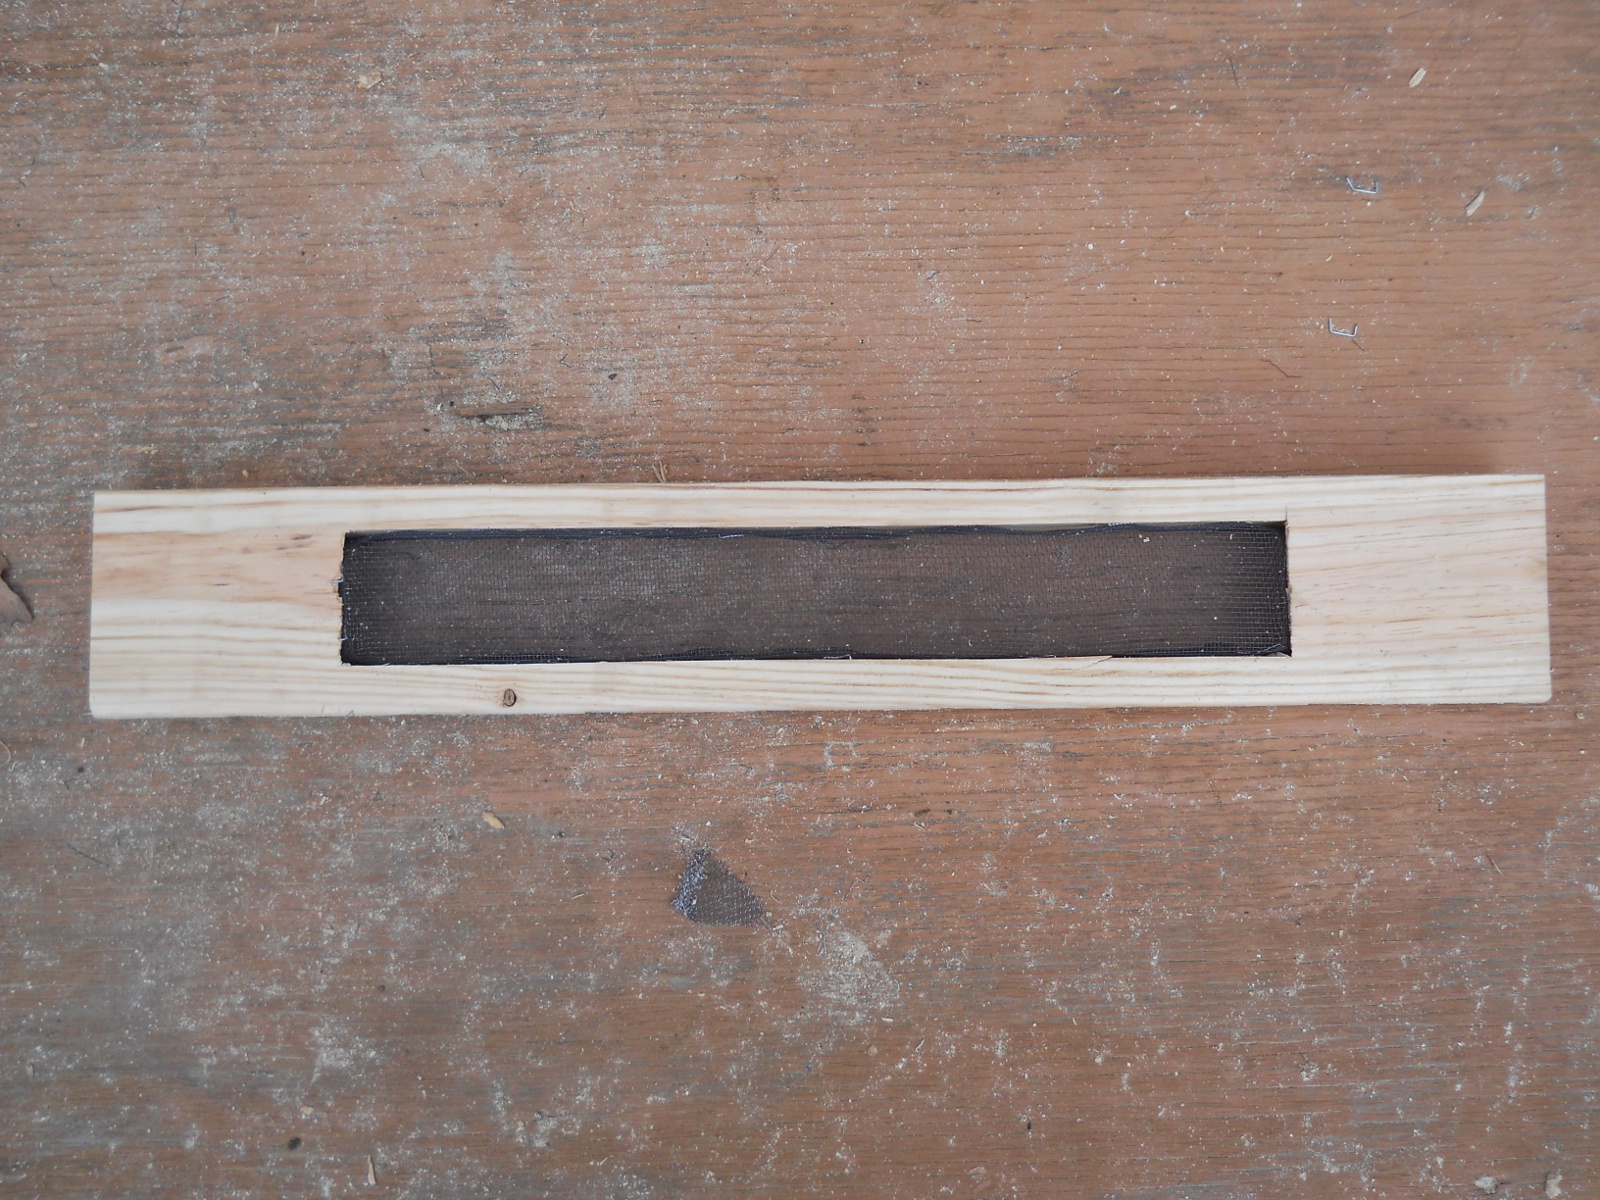
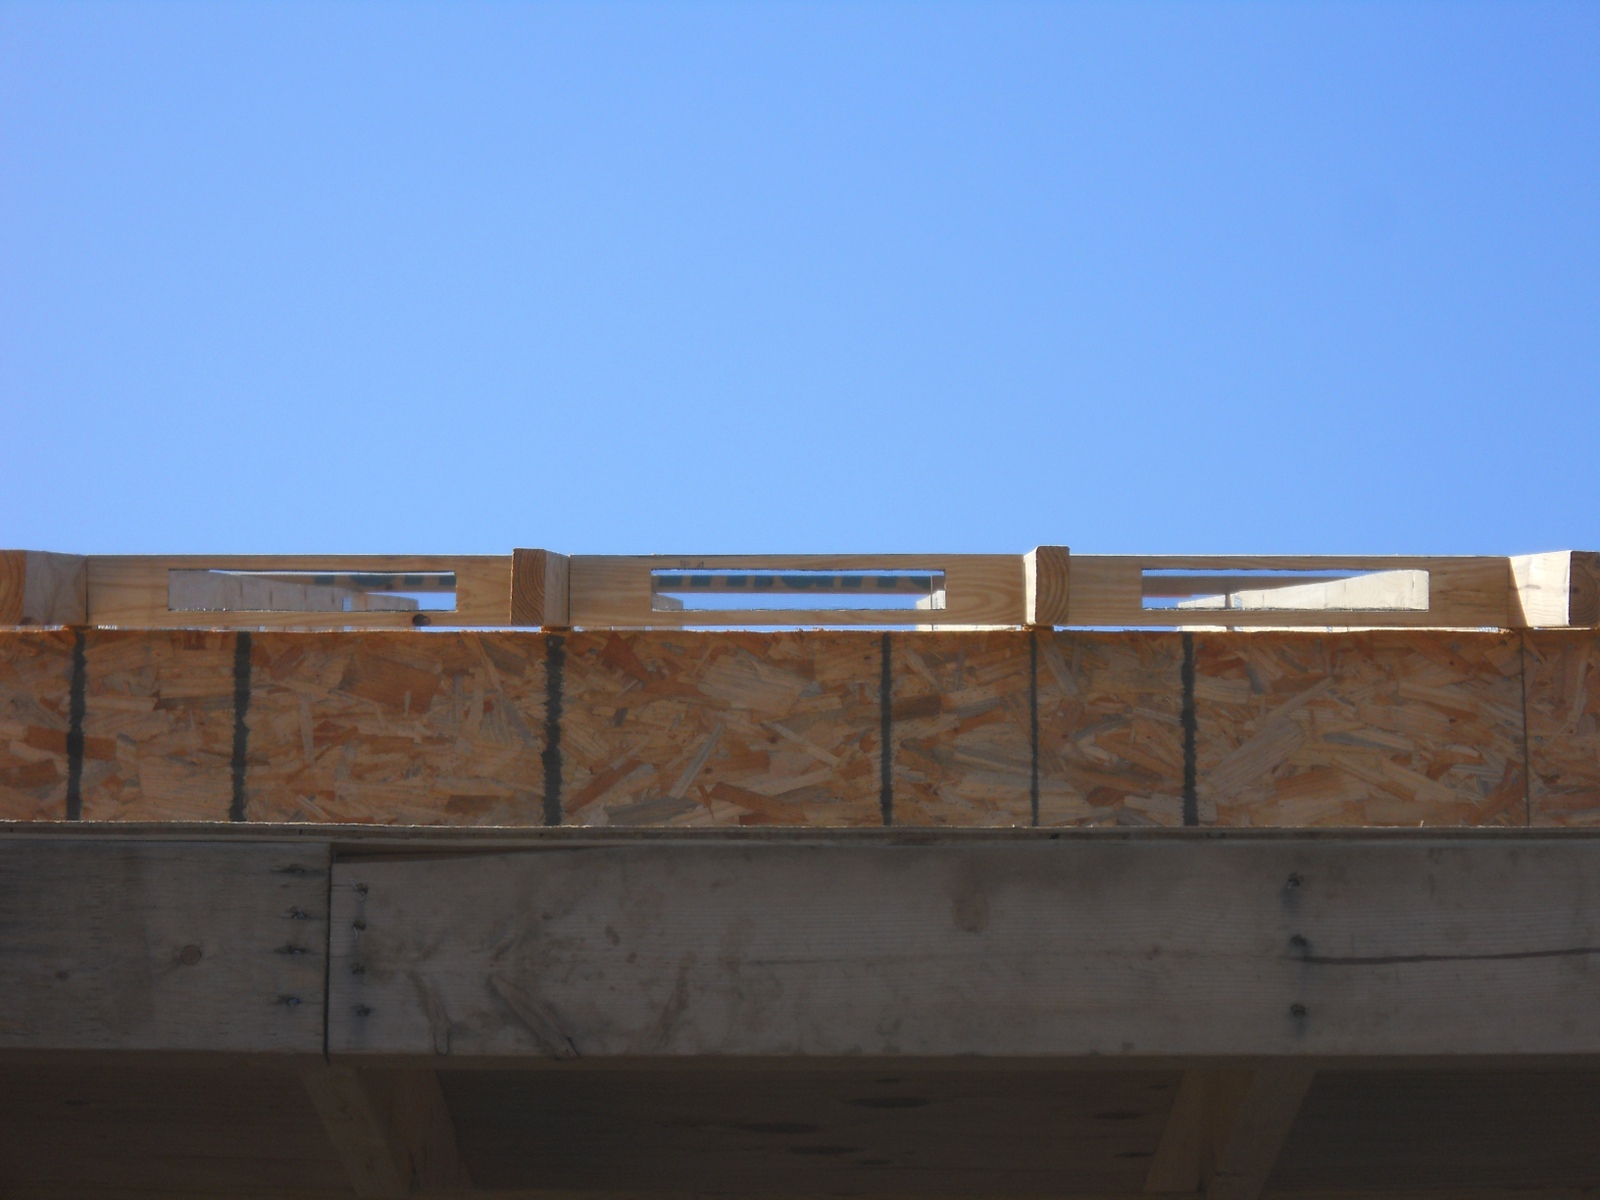
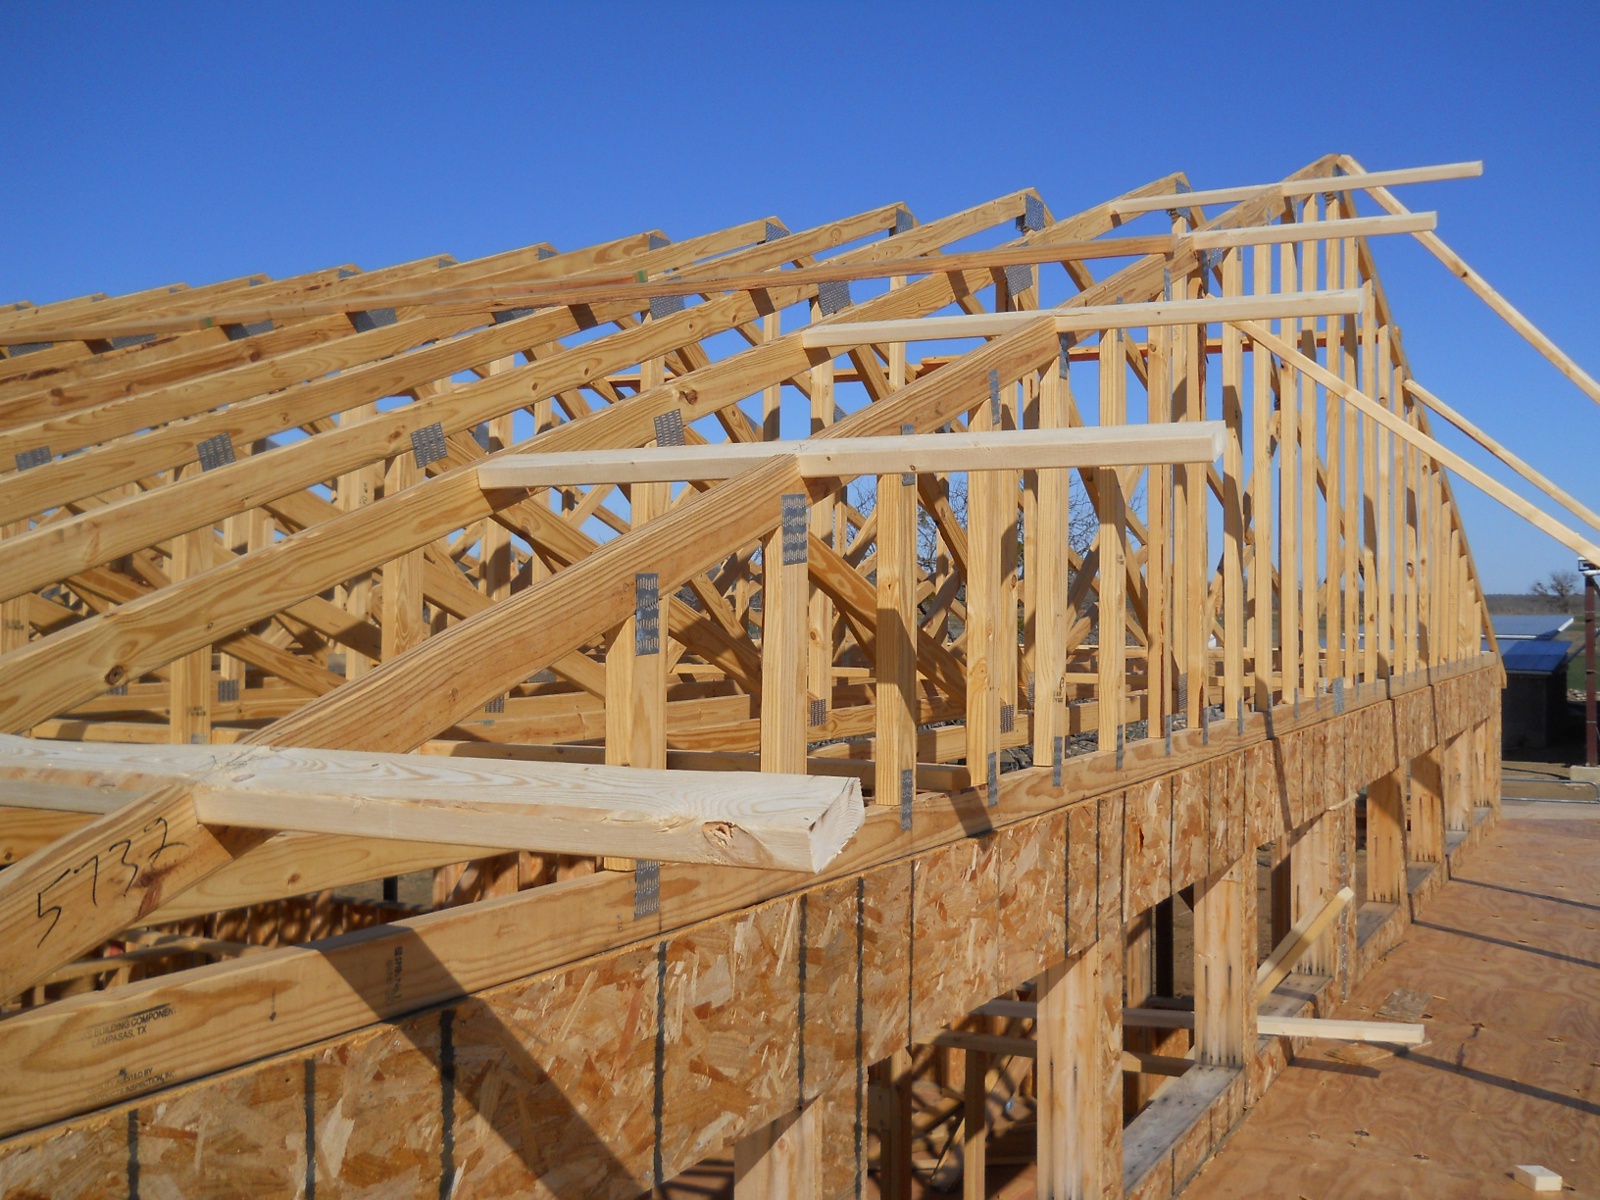
Once the house trusses were installed, it was time to start covering the roof. In order to allow maximum air flow in the attic area, I decided to add vented blocks to each space between the trusses. Here is how our house-building helper designed them, cutting them and chipping them out with a chisel. This is the back side:
And this is the back side with the screening in place. We used aluminum window screening:
And here is the front side:
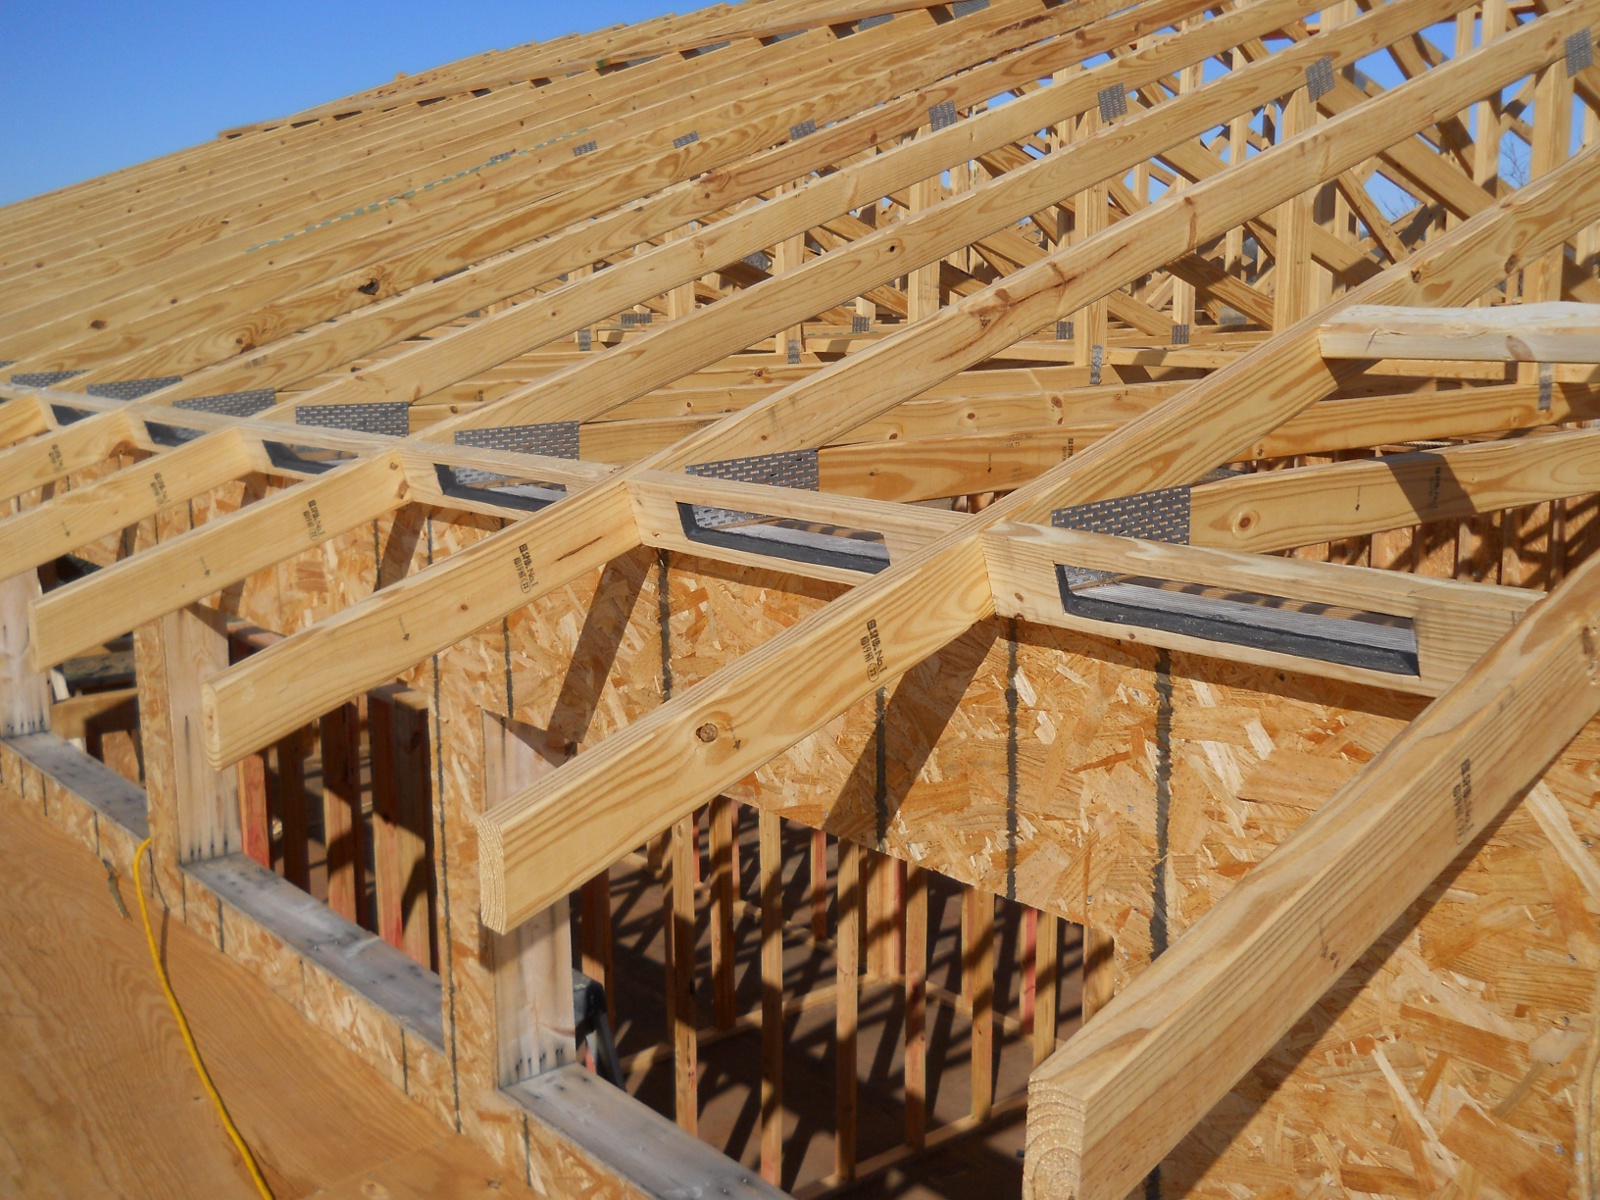
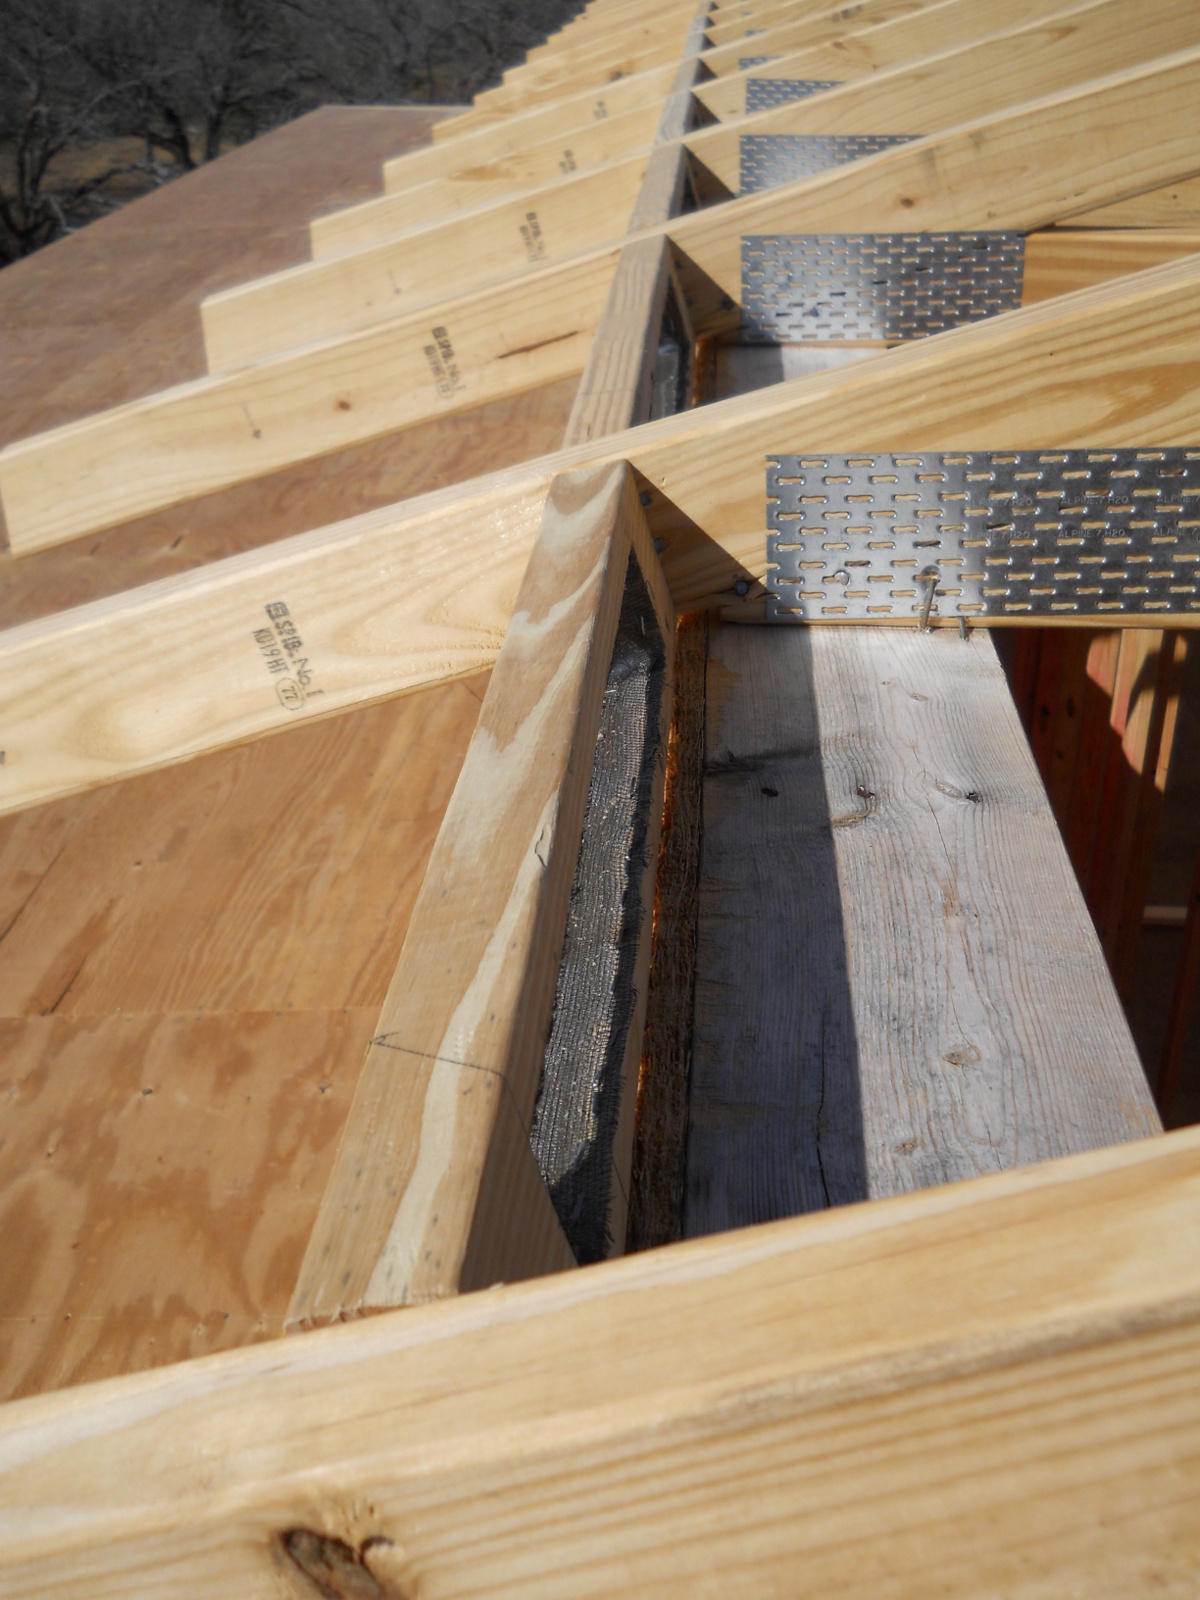
And here are the vented blocks installed:
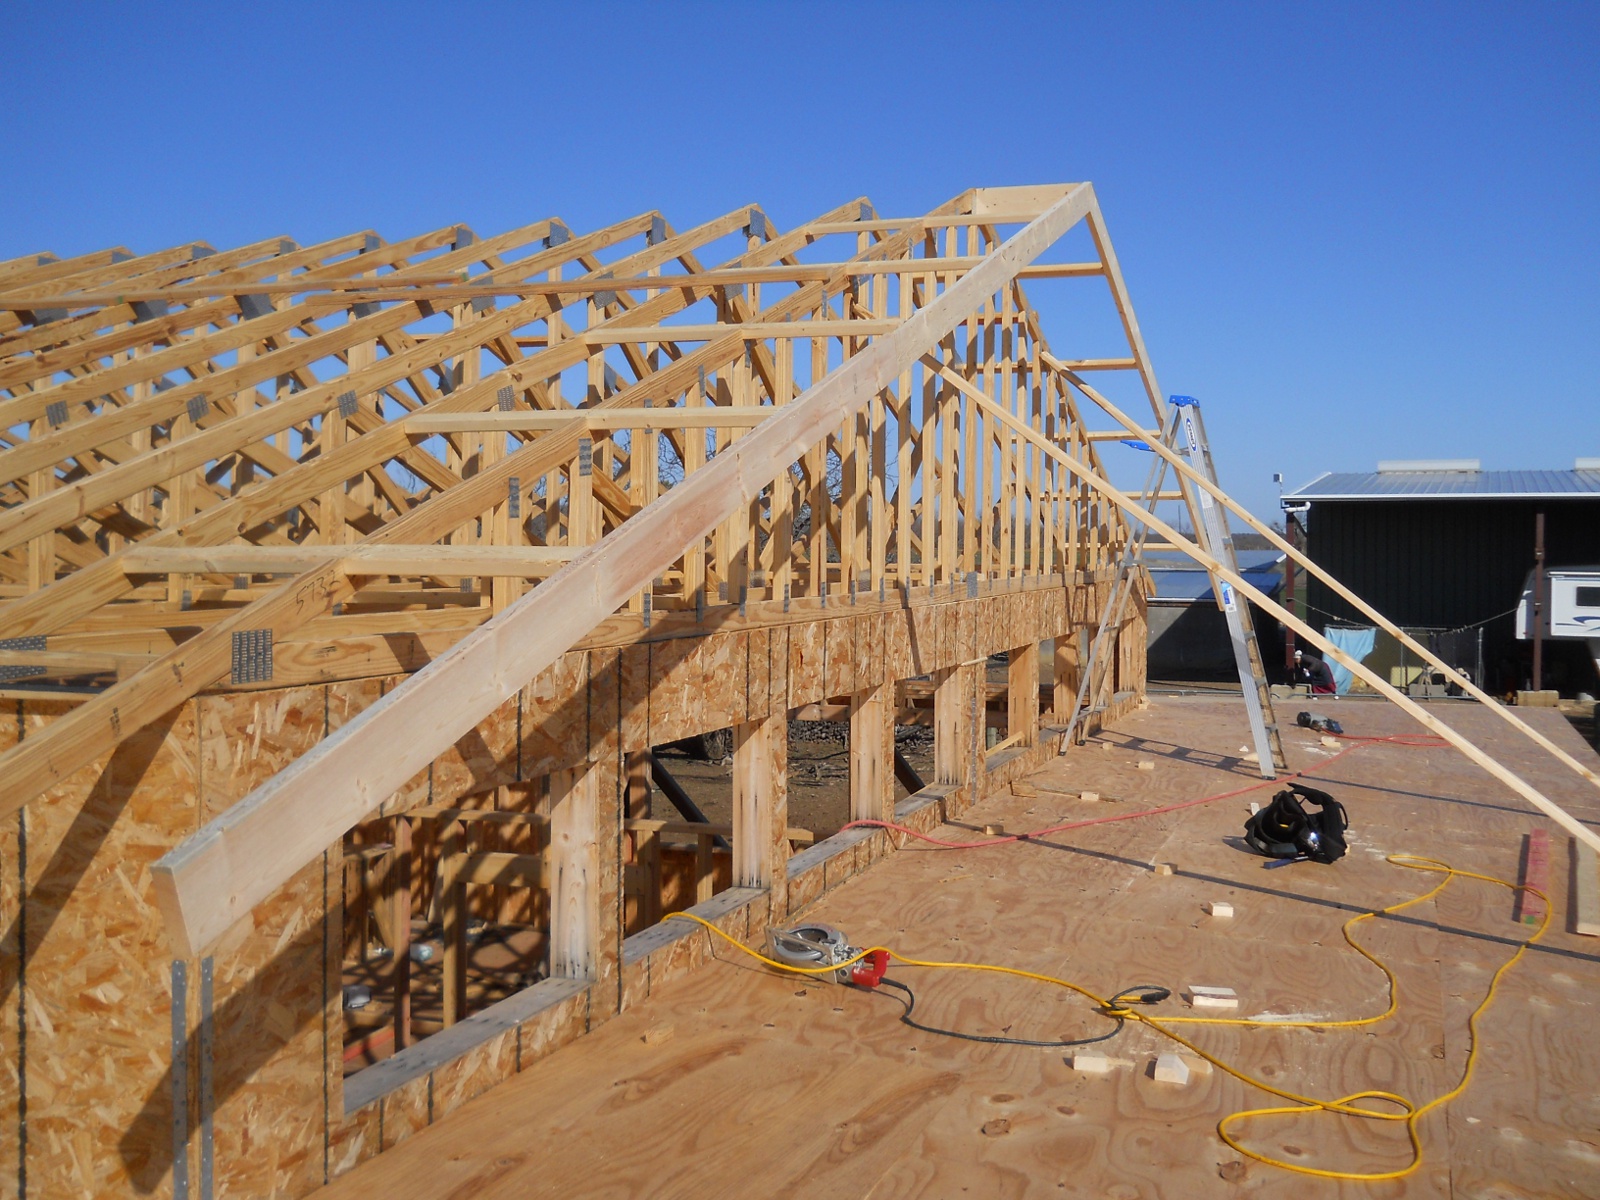
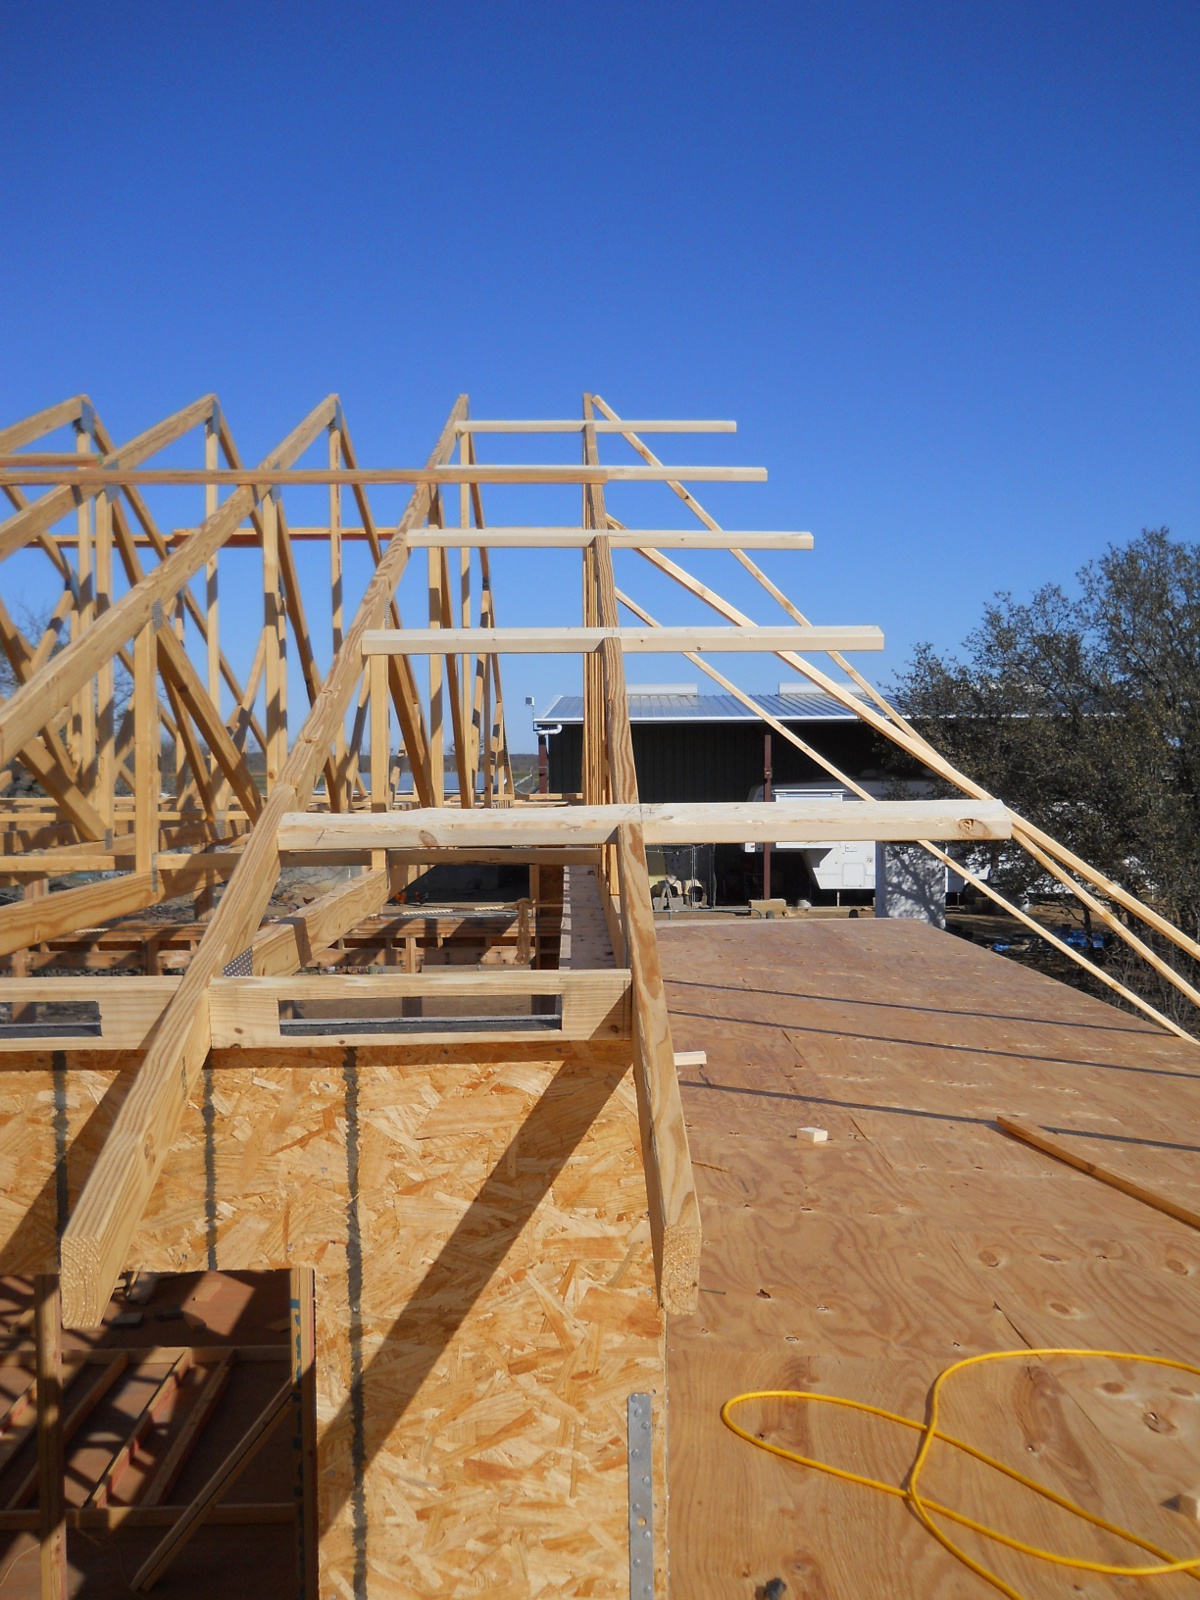
Then, it was time to add the gabled-side overhang, which was for two feet overhang. First, the 2×4 braces were added by cutting into the top of the trusses notches to hold them; and then the 2×4 braces were installed:
And here is the overhang fascia added:
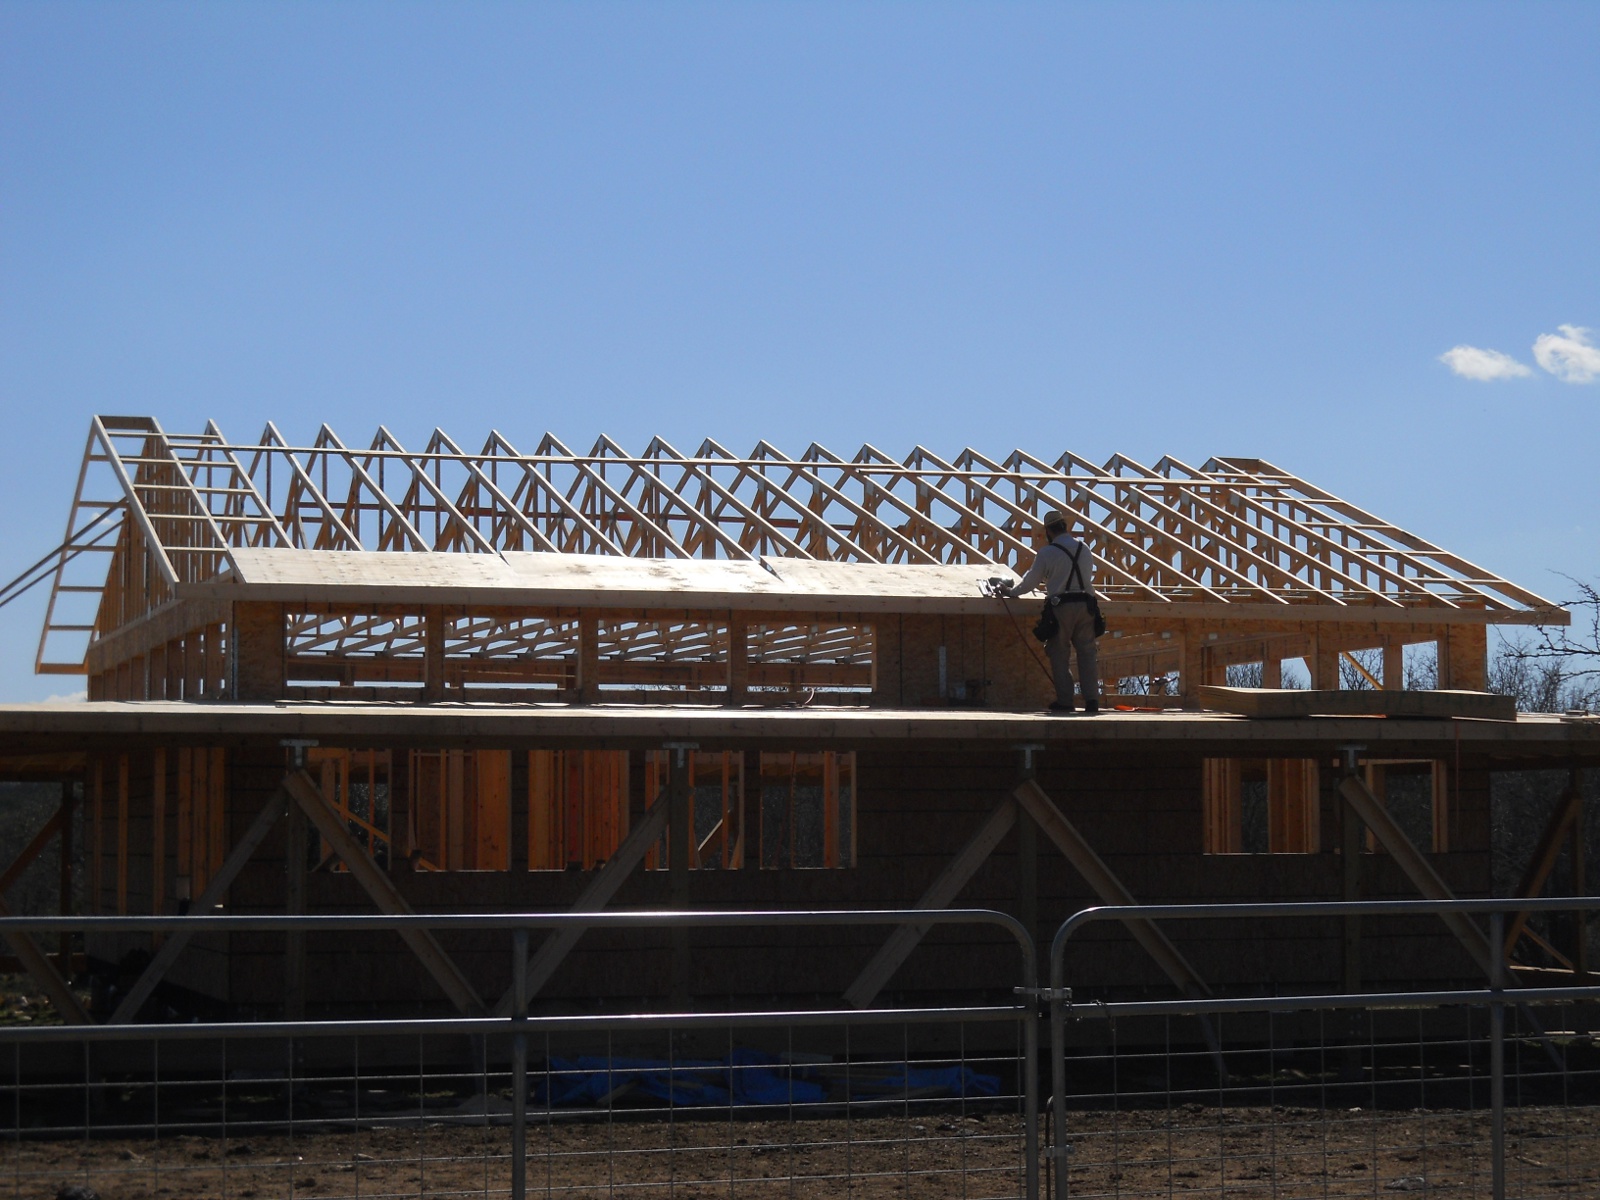
Then, it was time to add the covering surface that would go under the main roofing material. The plan was to have radiant barrier OSB (OSB that has aluminum foil on one side), which helps reflect heat, for most of the roof area, but use CDX plywood for the exposed overhang places:
And here it is complete:
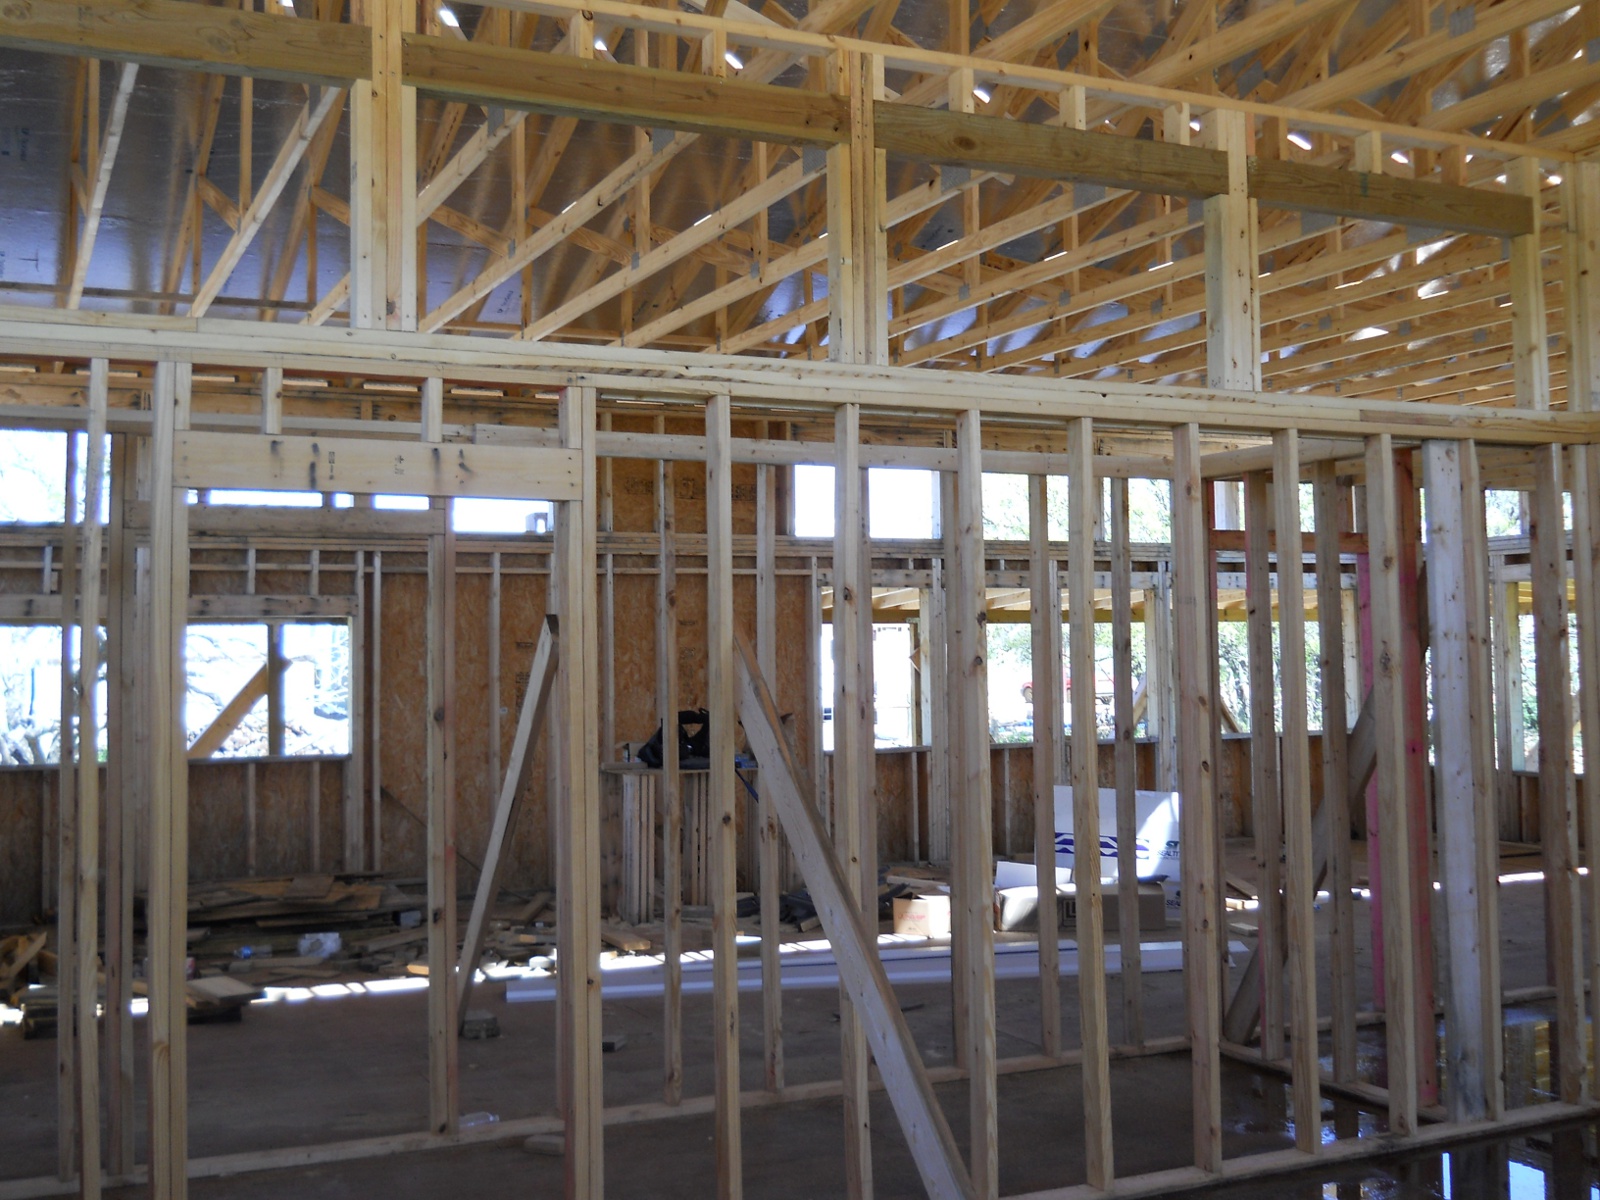
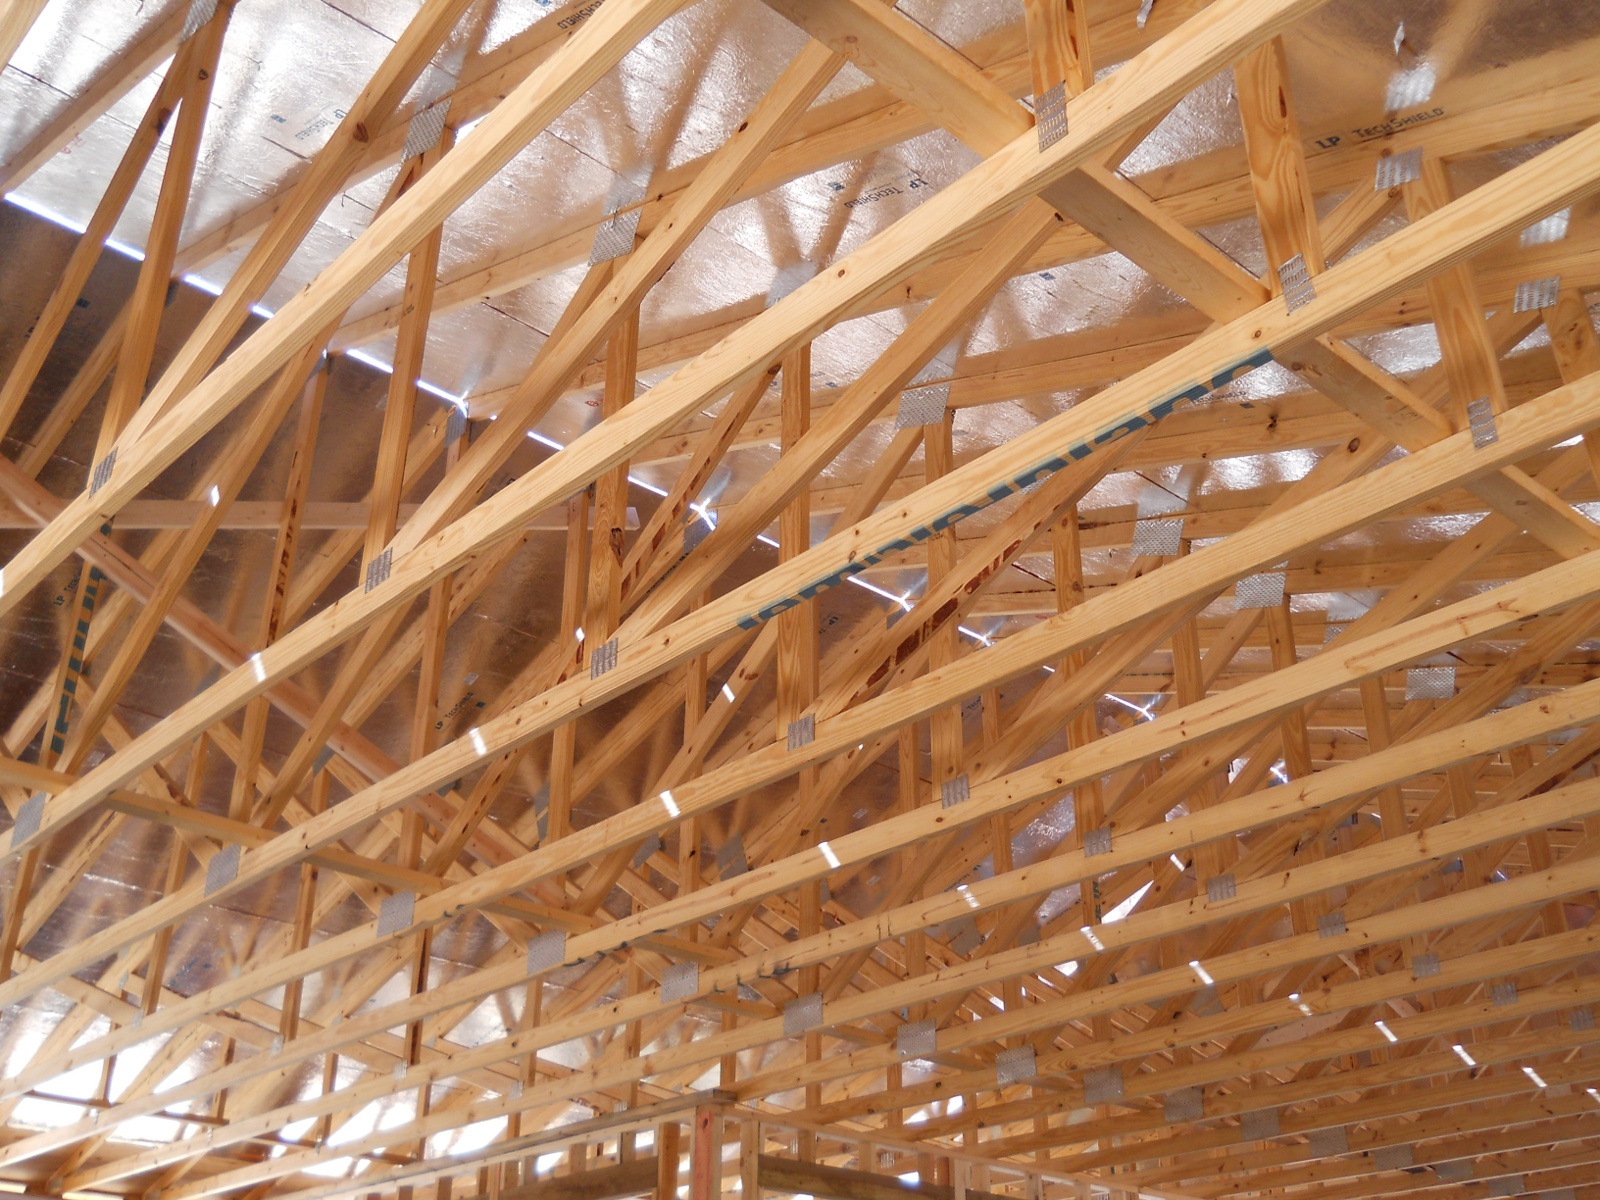
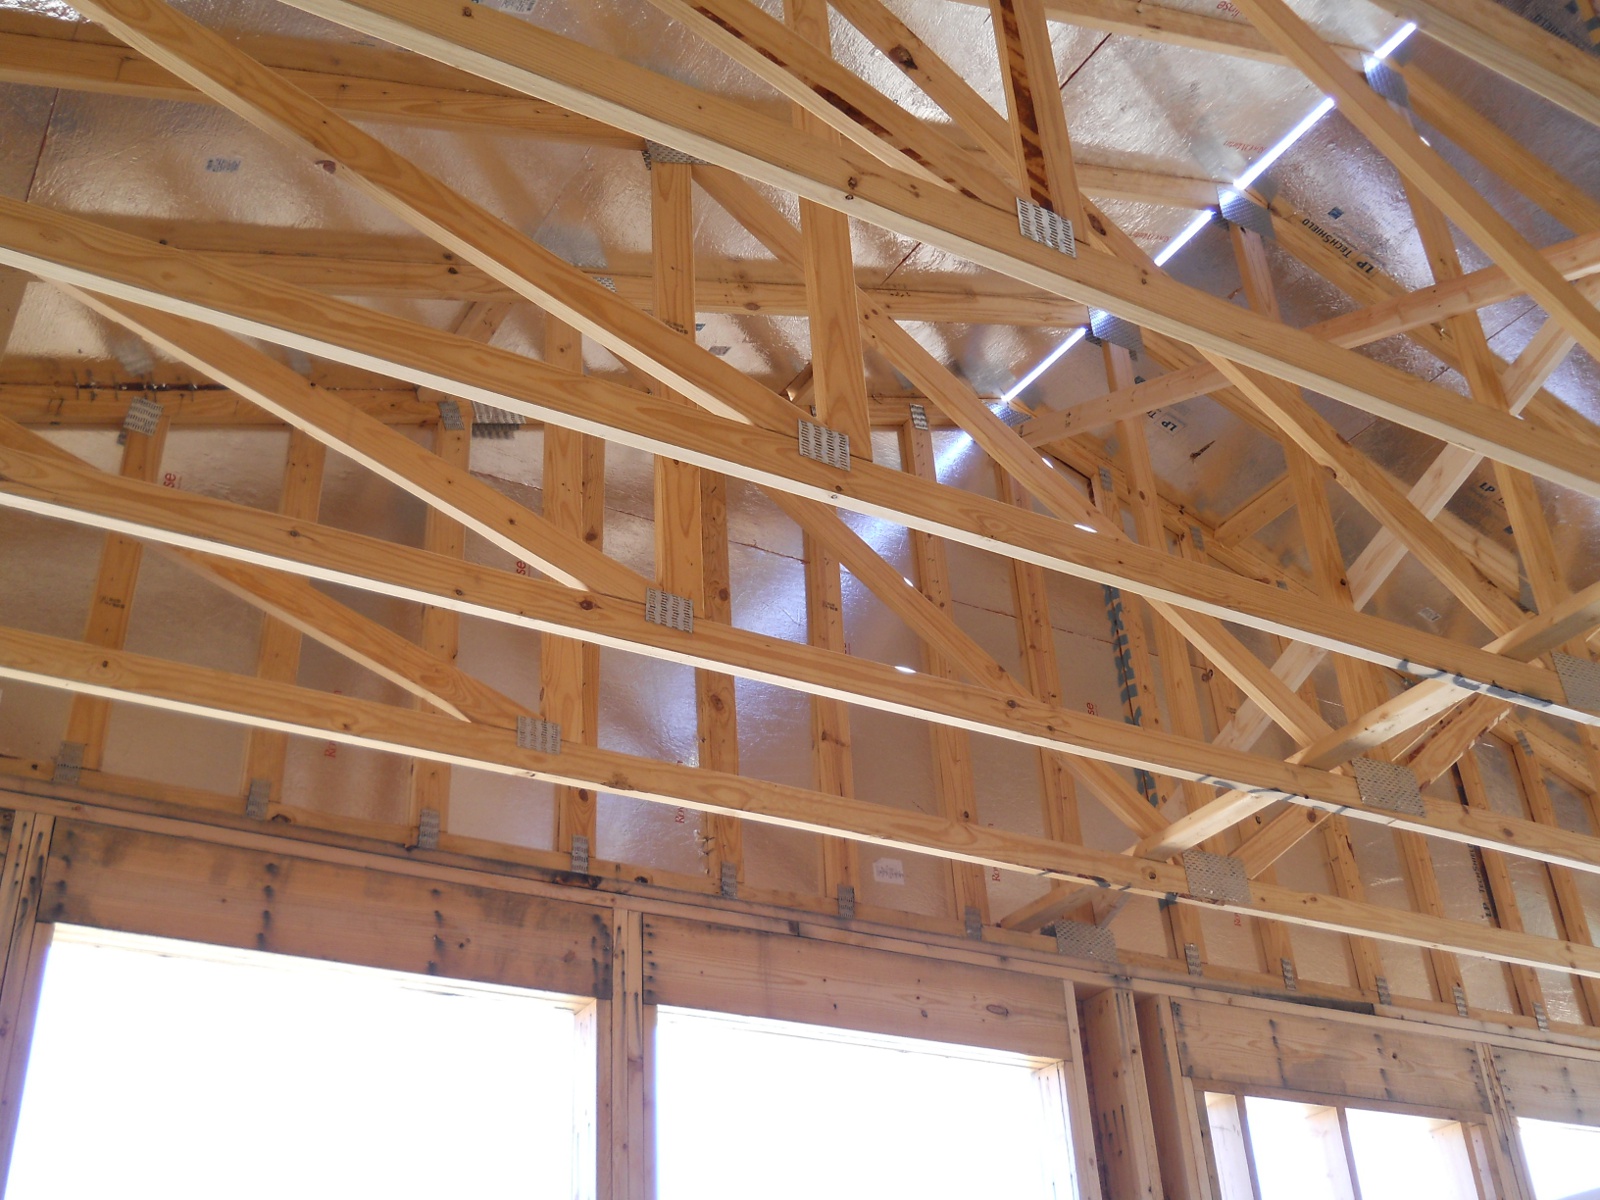
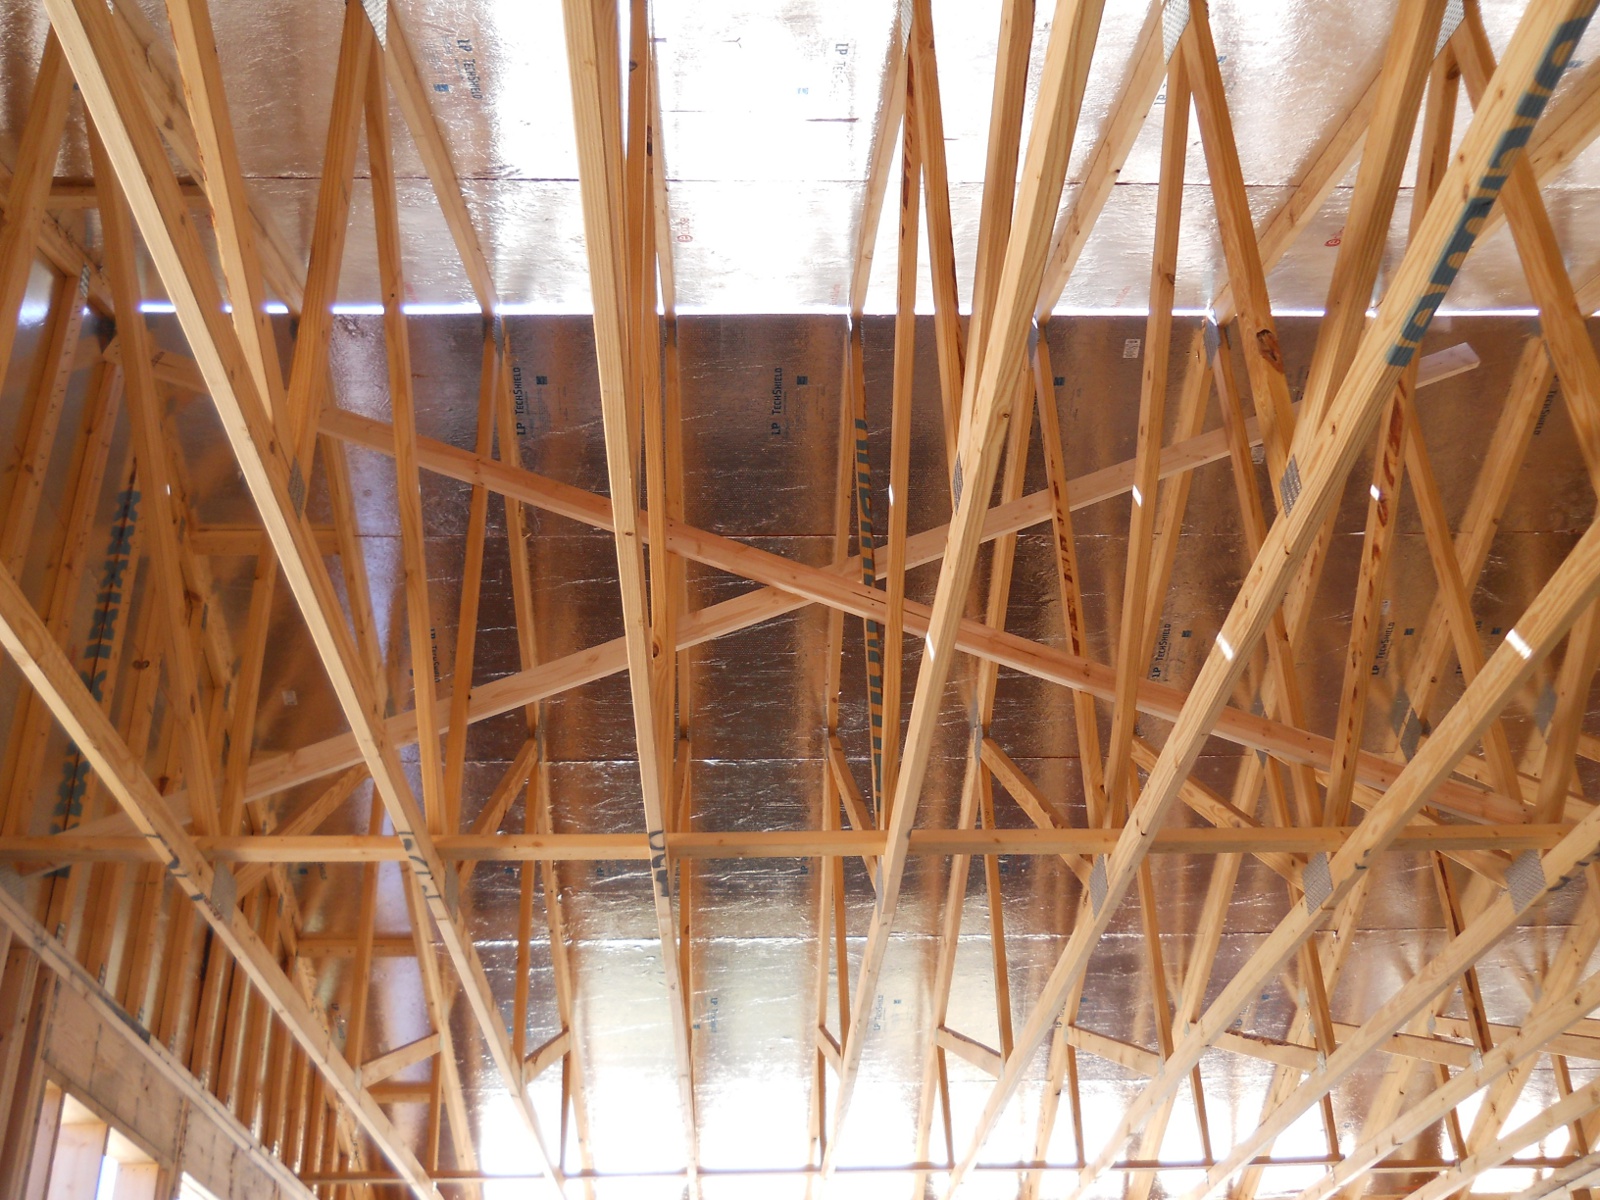
This is what the roof looks like from the inside of the house:
Finally, the gabled end trusses needed their underneath siding, which again were covered with radiant barrier OSB:
And here is the inside look at that:
Finally, thanks to one of the kind listeners to our teacher teacher’s Internet radio show helping us out with some truss bracing information, in order to prevent them from “racking” (where the trusses basically can domino over) we added X-braces along the center posts of the trusses, on one side running from the high end of the gabled truss to the lower part of the internal trusses, attaching to each truss as it goes, and on the other side running low to high; and this was done for both gabled ends:
We are thankful again to the Lord for His provisions for the house, and for the continued progress.
Recently, someone in the group here came across a video about how a fellow in Washington state had an interesting idea about how to keep moisture in the soil and keep it well-composted for gardens, orchards, etc. He was in the forest and thought about how the trees never need to be watered, but seem to have no problem being maintained by just rain alone. He looked down and noticed the ground covering of leaves, twigs, branches, etc. and reached down below that layer into the soil, only to discover how moist and fertile-looking the soil was. The lights went on and he thought that if he could replicate this for his gardens, his gardens would do very well.
The main theory behind it is that the soil needs to be covered by something that composts, and he thought about it and decided to use wood chips (ie. mulch). Well, his video is a documentary about the success of that experiment, and is called “Back to Eden.” On that website, you can order the DVD or just watch the video for free. It’s quite interesting, although we don’t subscribe much to some of the gentleman’s spiritual beliefs and concepts.
However, this seemed like a great idea; and so, everyone around here is beginning the implementation of this. We’ve looked into trying to get local tree trimming services to drop their chipped wood on the land; but until that is available, the Brownwood land fill allows people to drop their branches and trimmings there, and they chip it into mulch. They have huge, huge mounds of the stuff; and so it’s just a matter of transporting it to the property since they won’t deliver it outside their county.
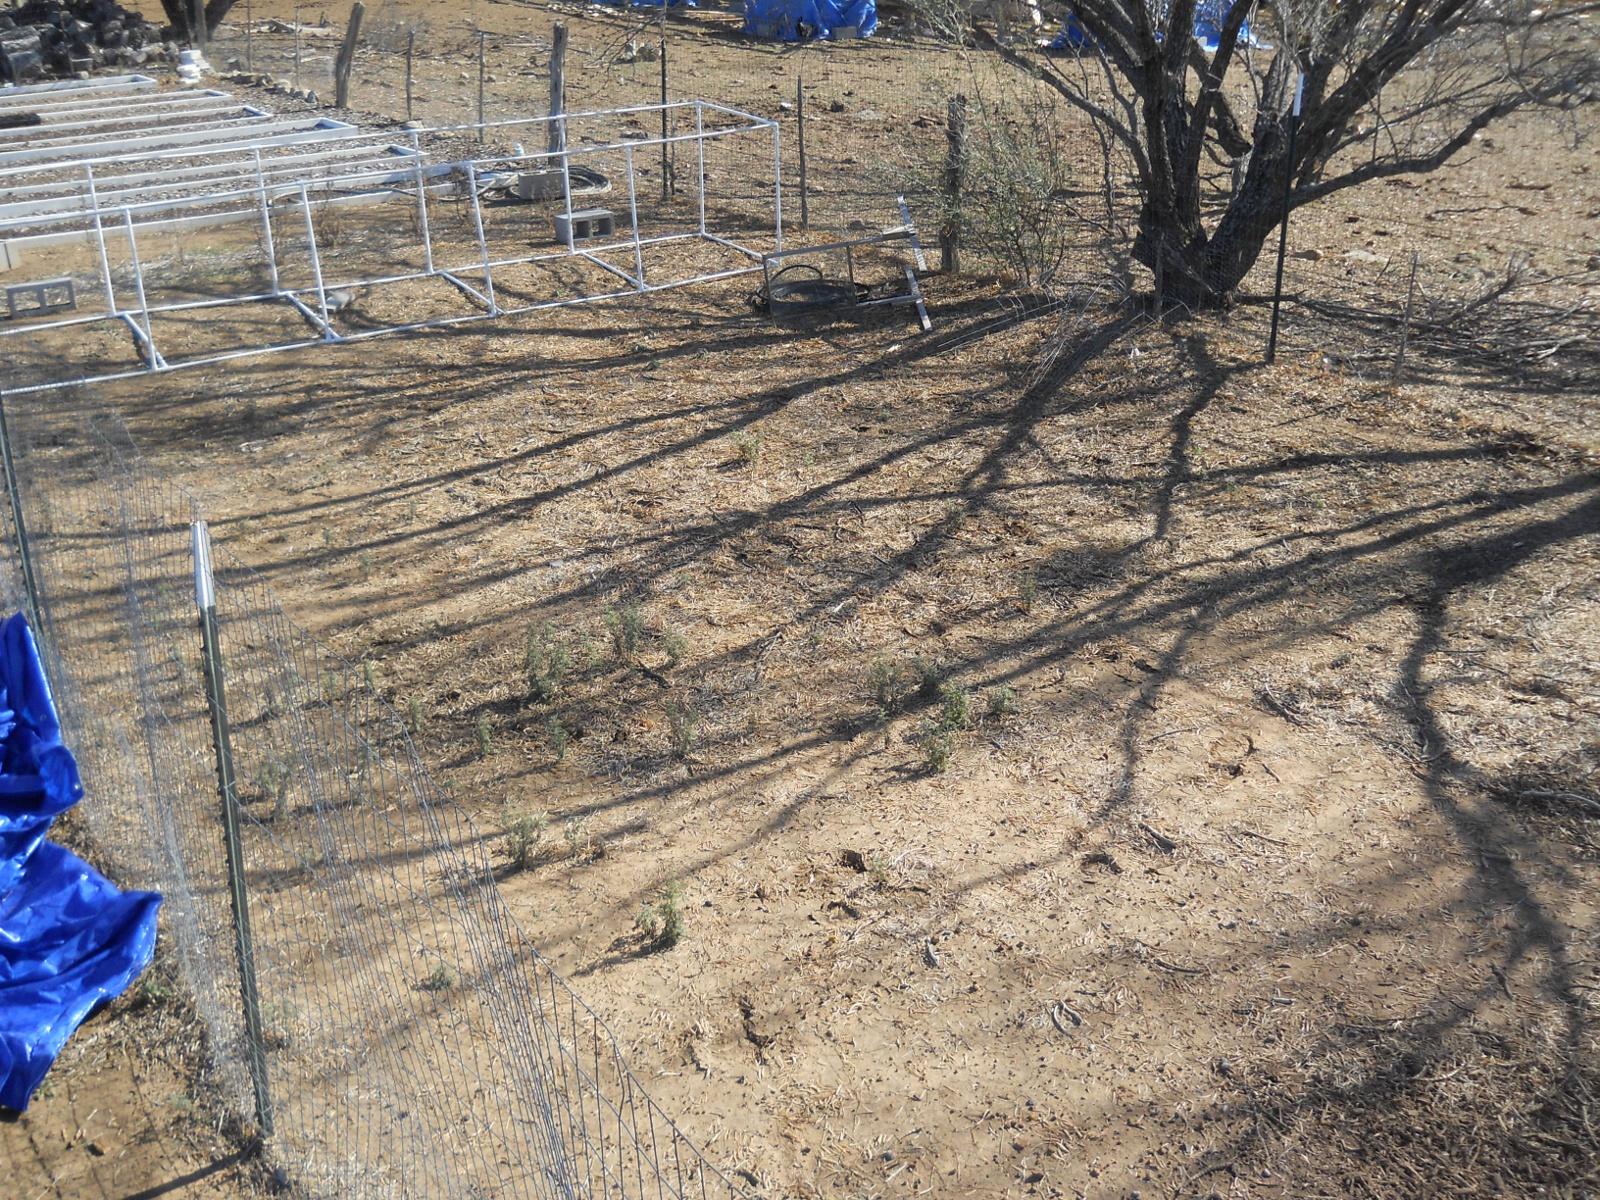
For Sue & I, we have half a garden that, although planned for, has never been turned into garden
beds; and so, I thought that would be a good starting place for our mulching.
Here is that half of our current garden before the mulching:
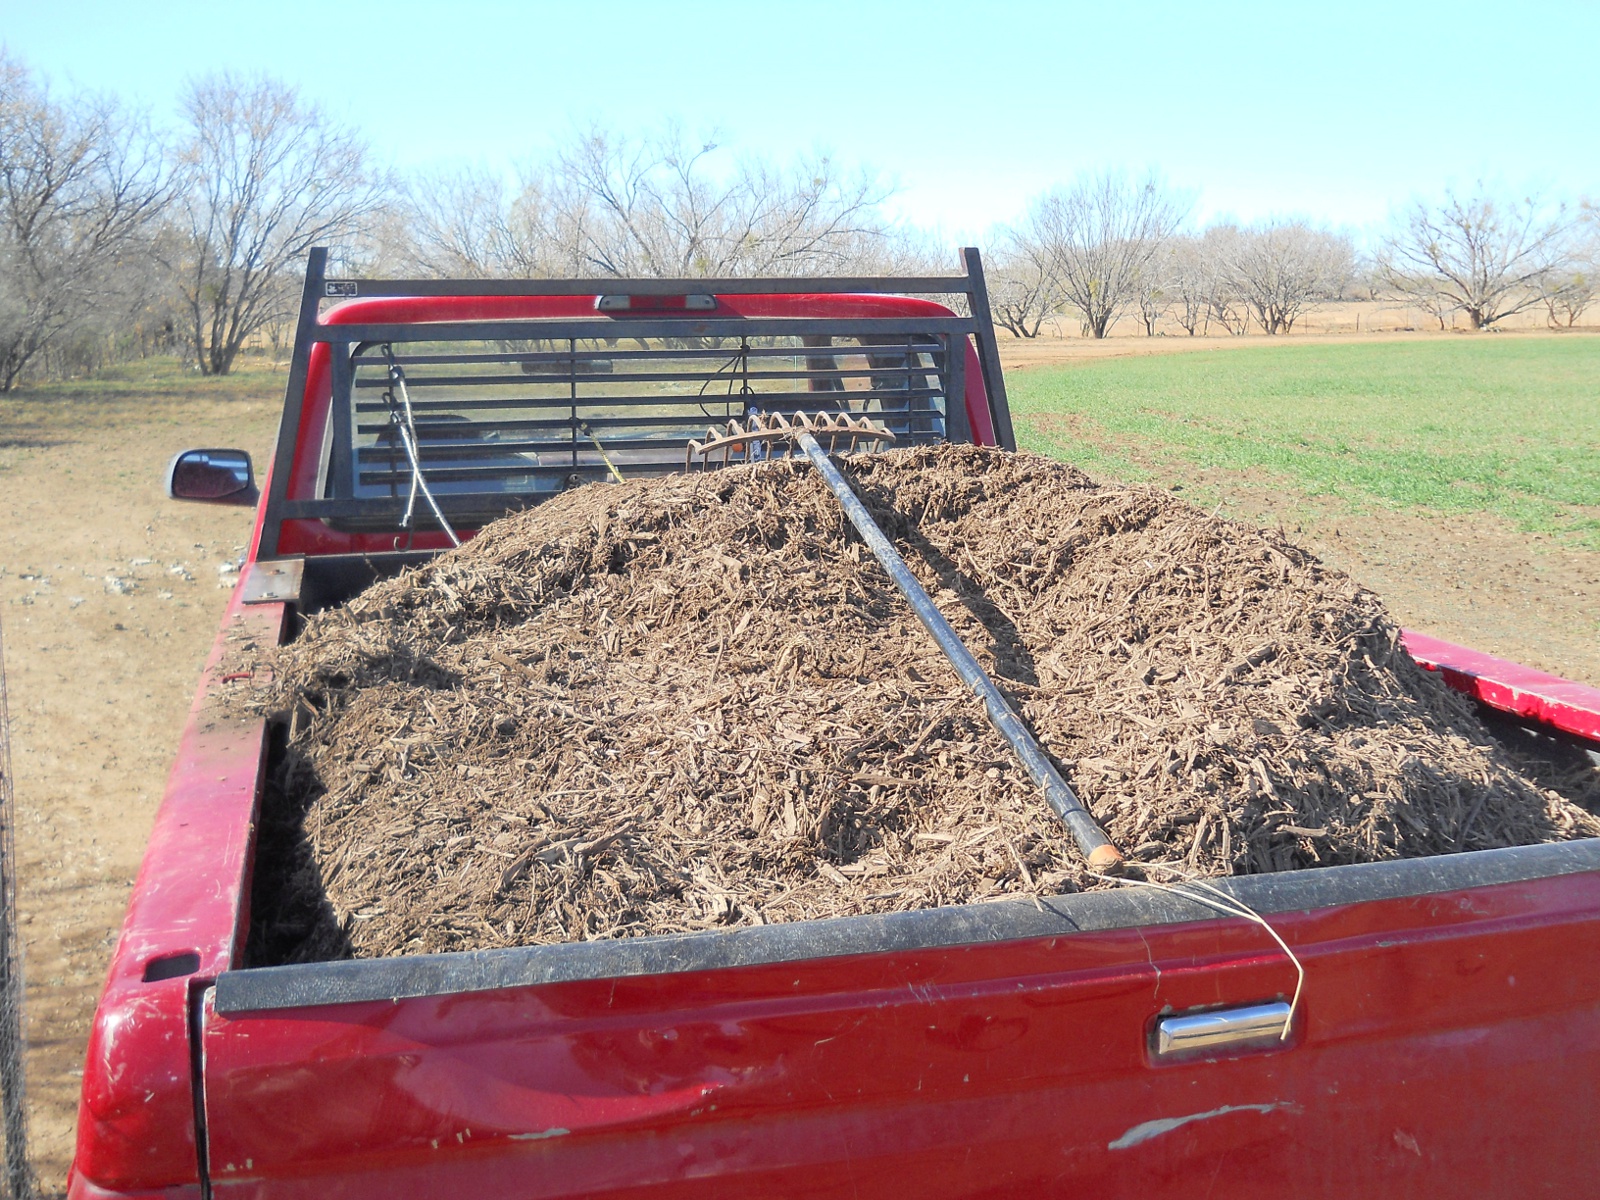
And here’s the first mulch load:
I don’t have a flatbed trailer, and have just been using the truck to get the mulch:
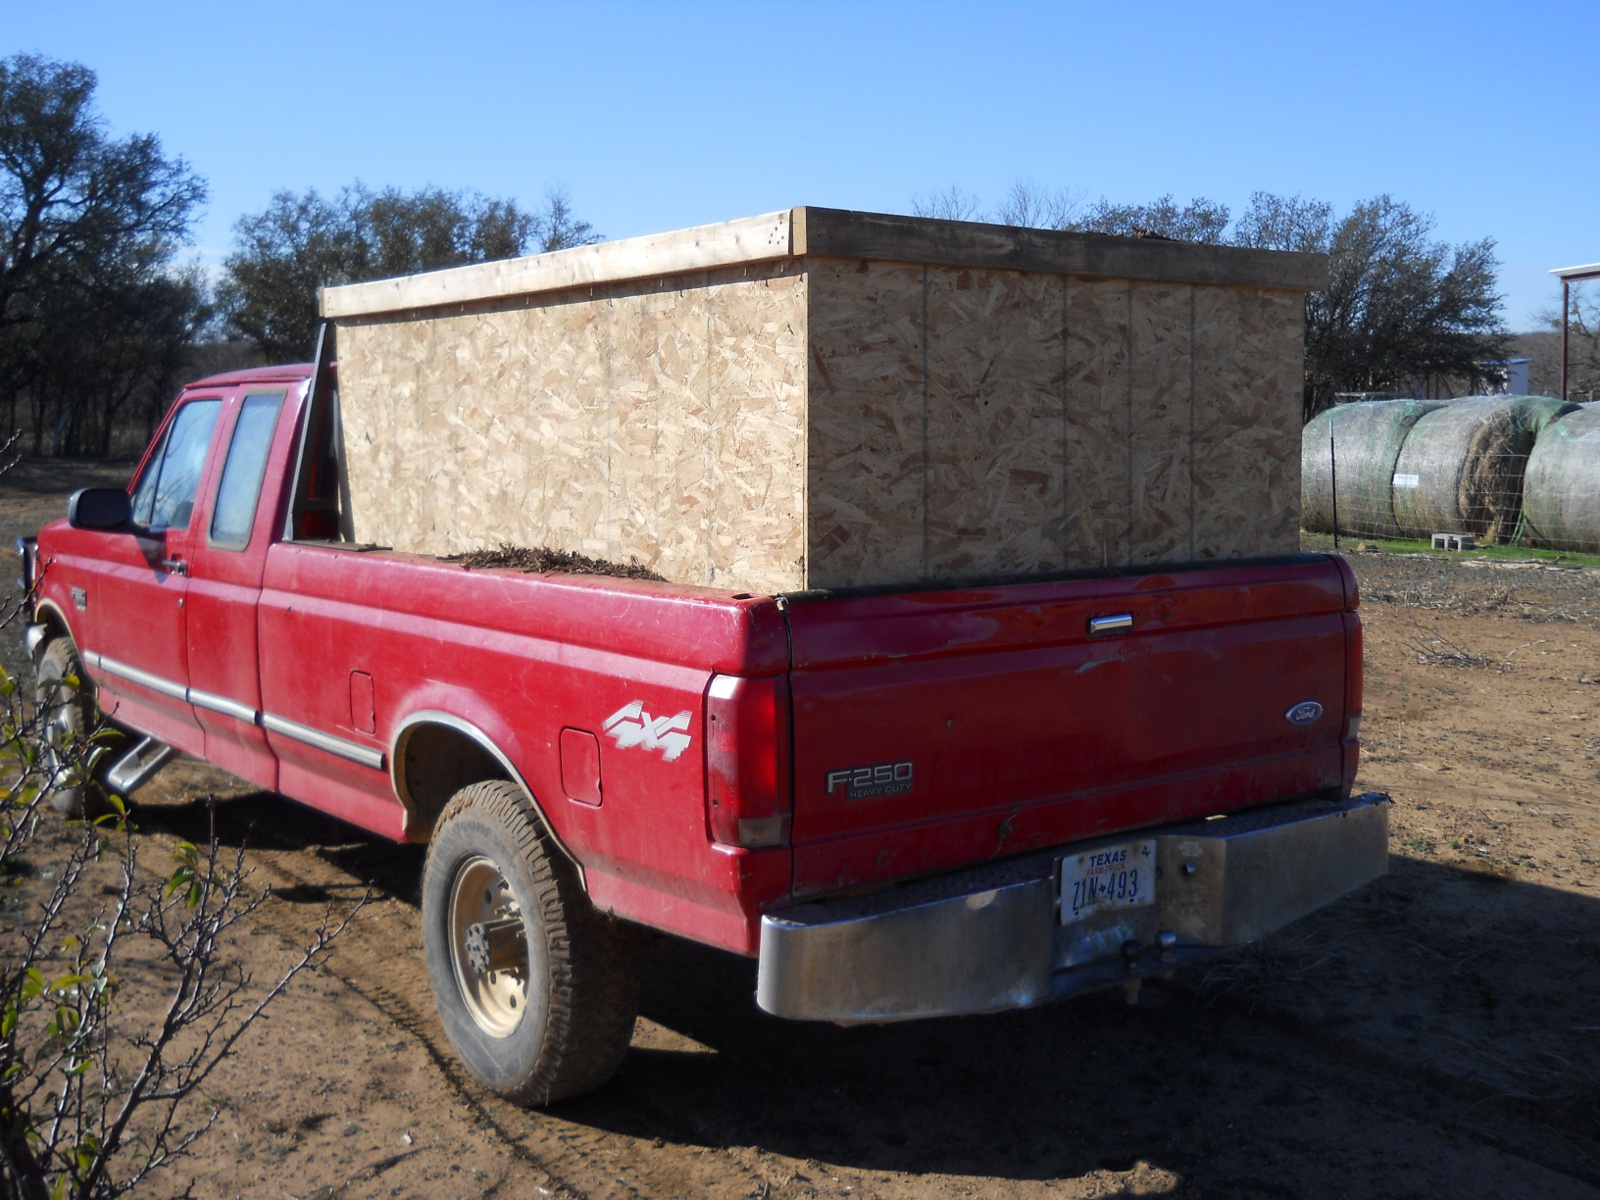
As you can see though, there isn’t much back there; and getting the mulch we need would have taken a long time that way. Plus, the cost per load is the same regardless of how many scoops of mulch you can fit in the bed. So, I built a mulch carrier to fit in the bed, which has doubled the amount of mulch we can bring back in a load:
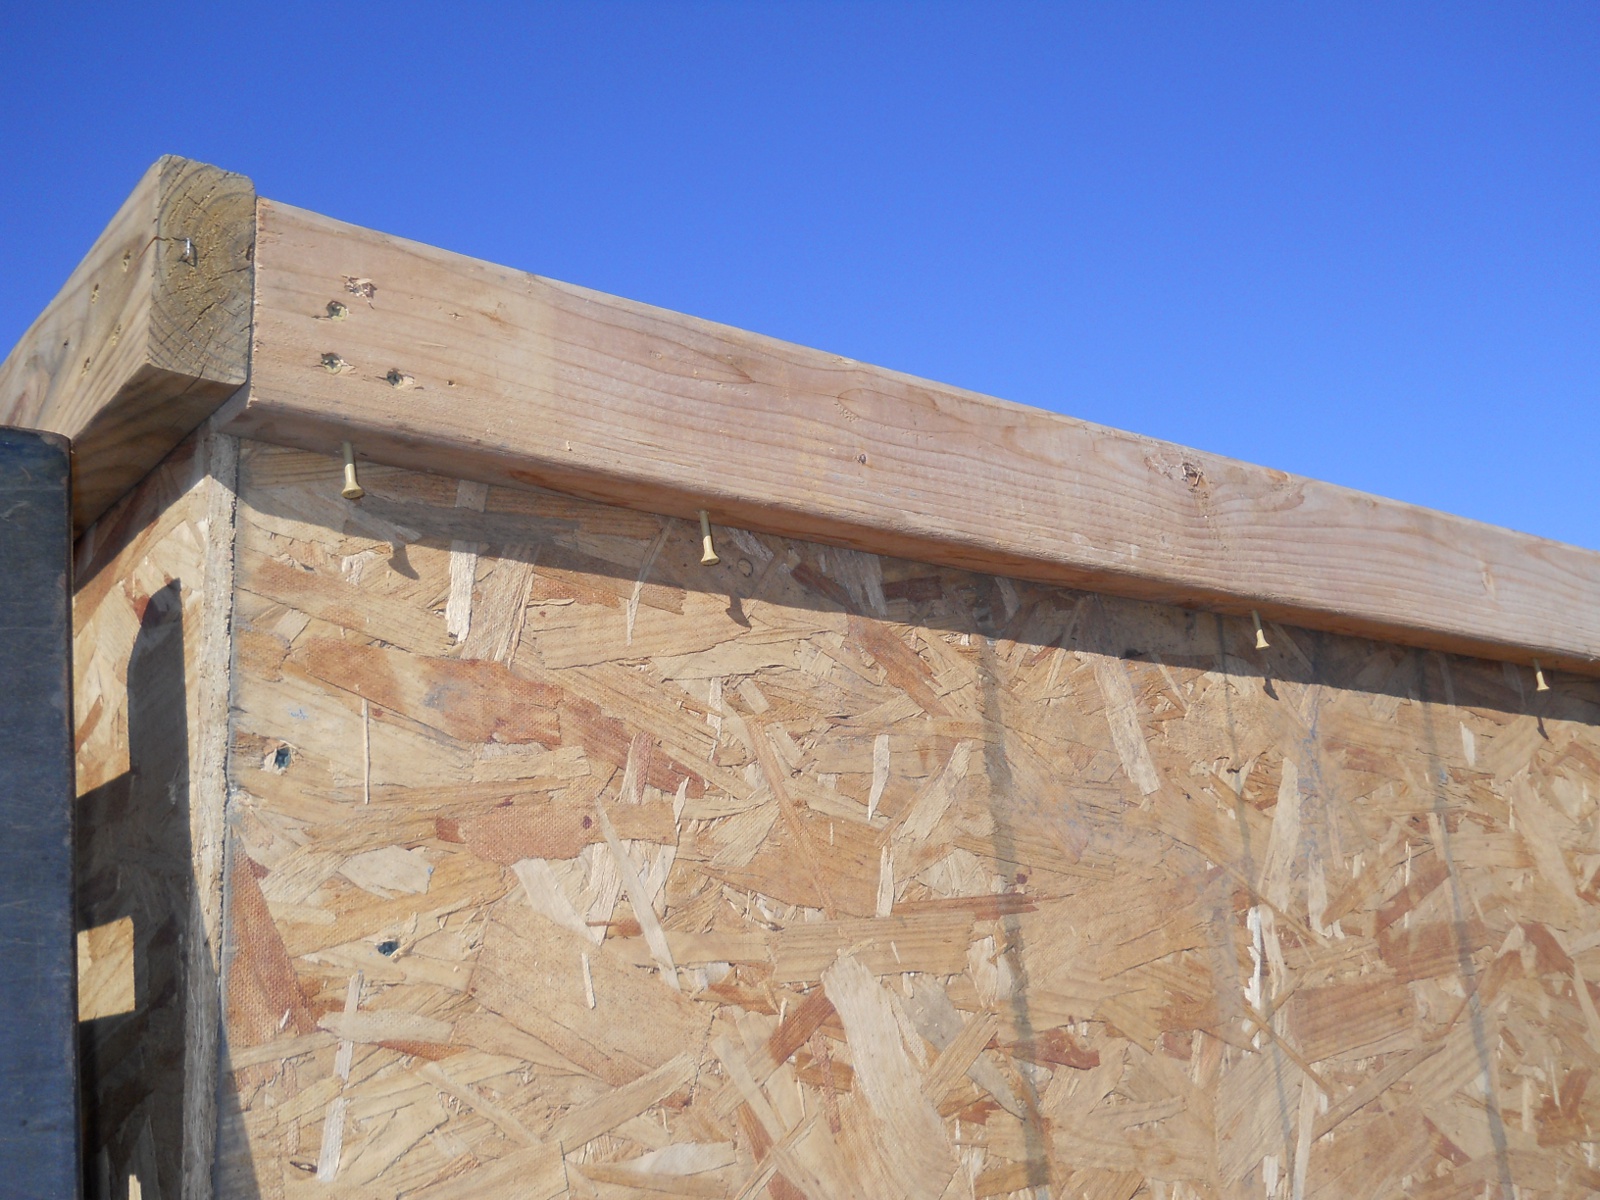
If the mulch ever needs to be covered with a tarp or otherwise, I added some screws to which to be able to attach bungee cords:
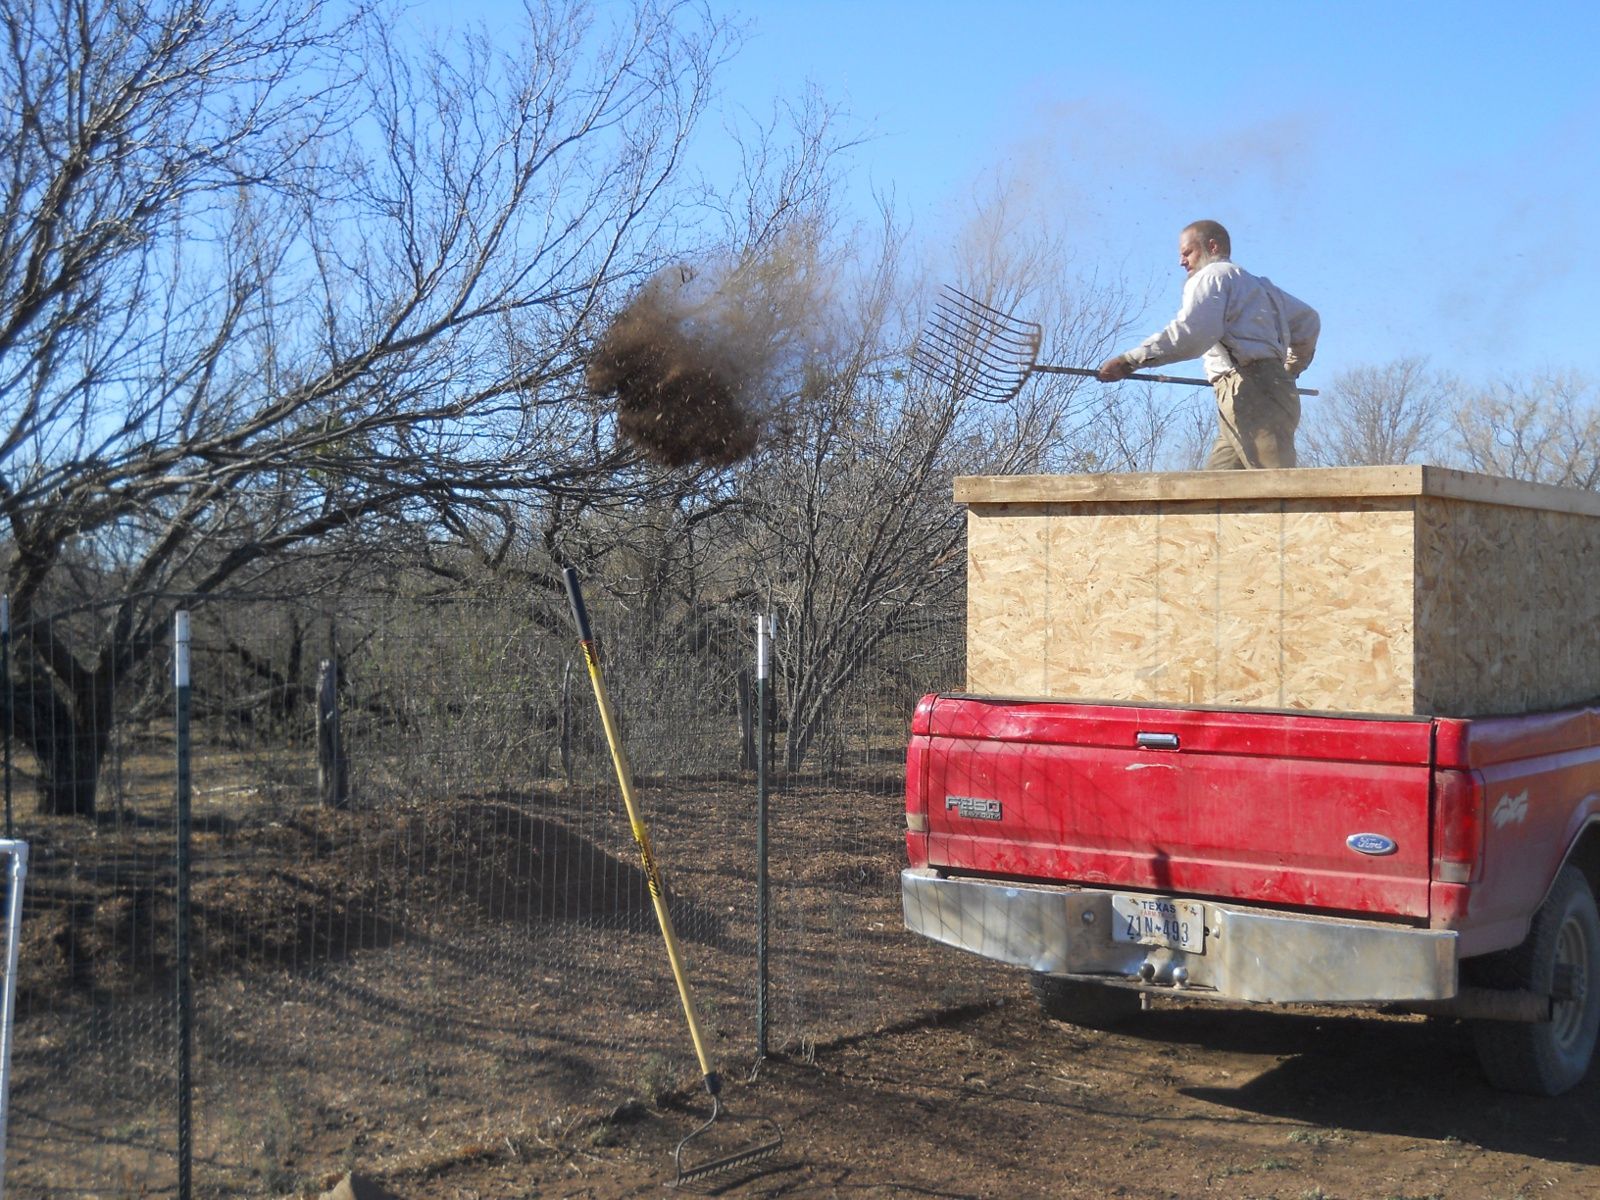
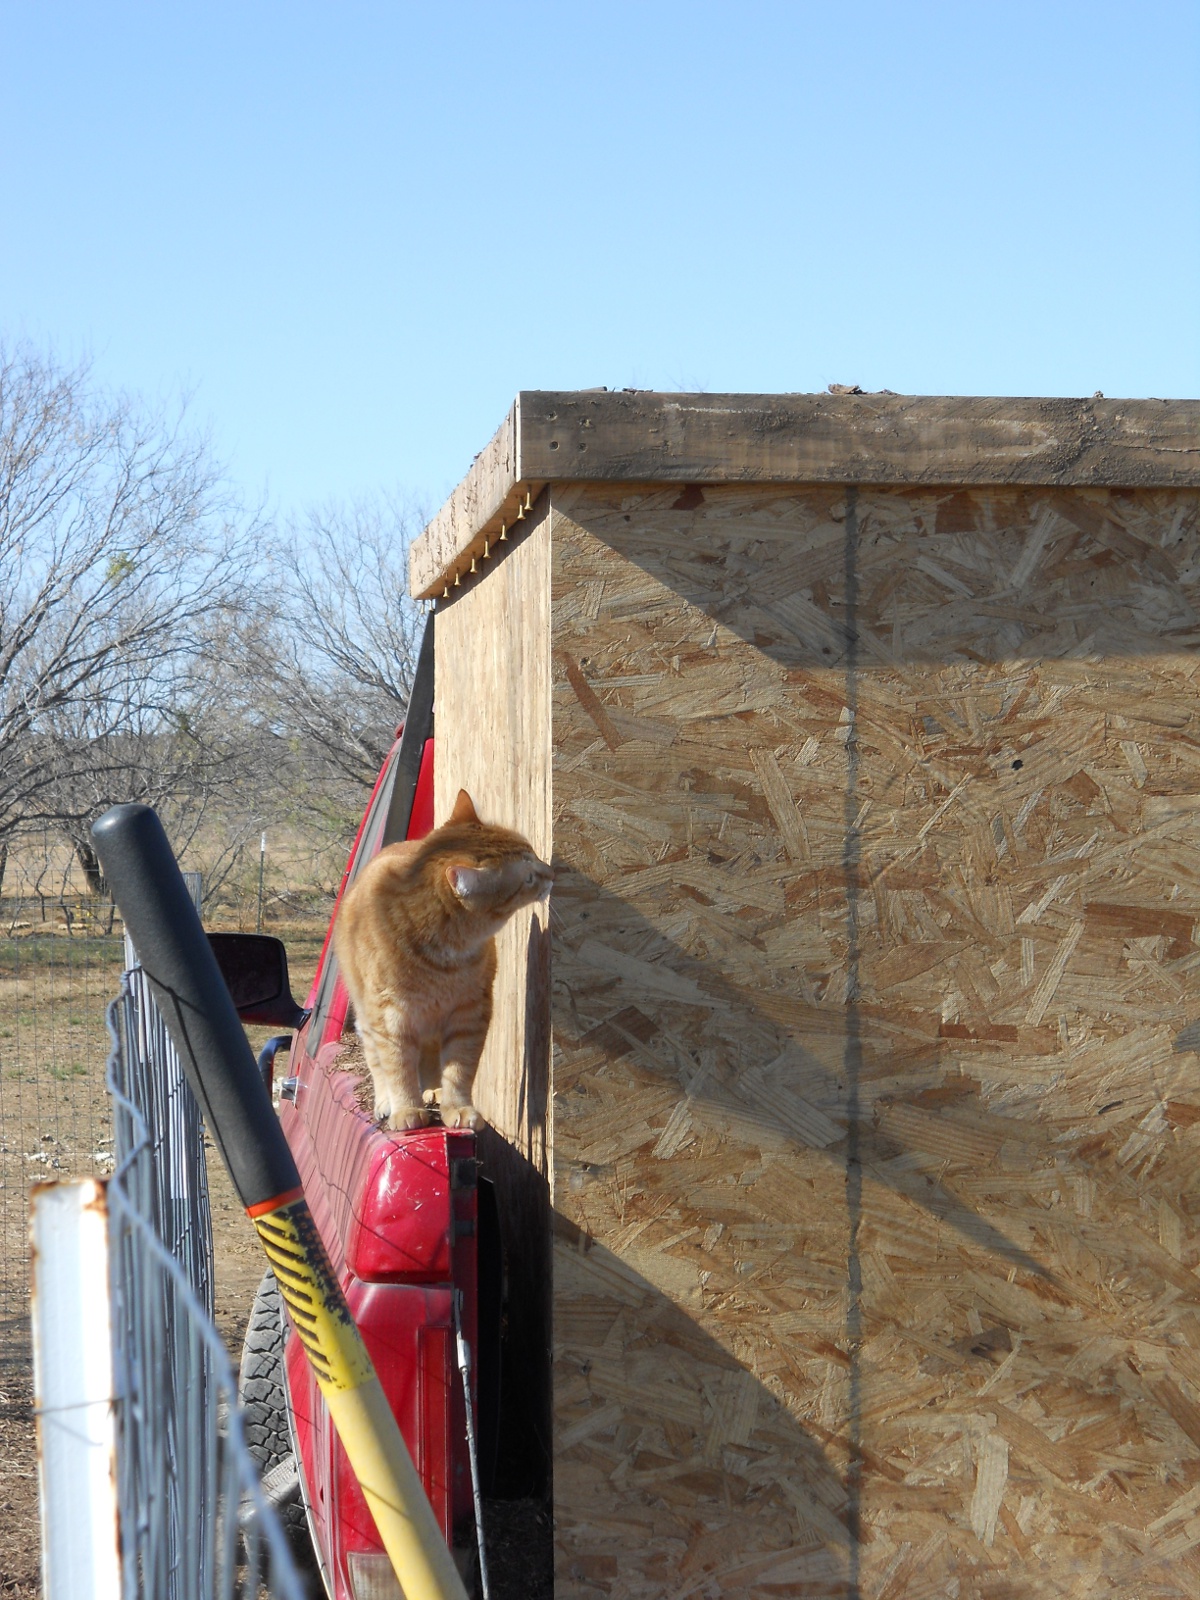
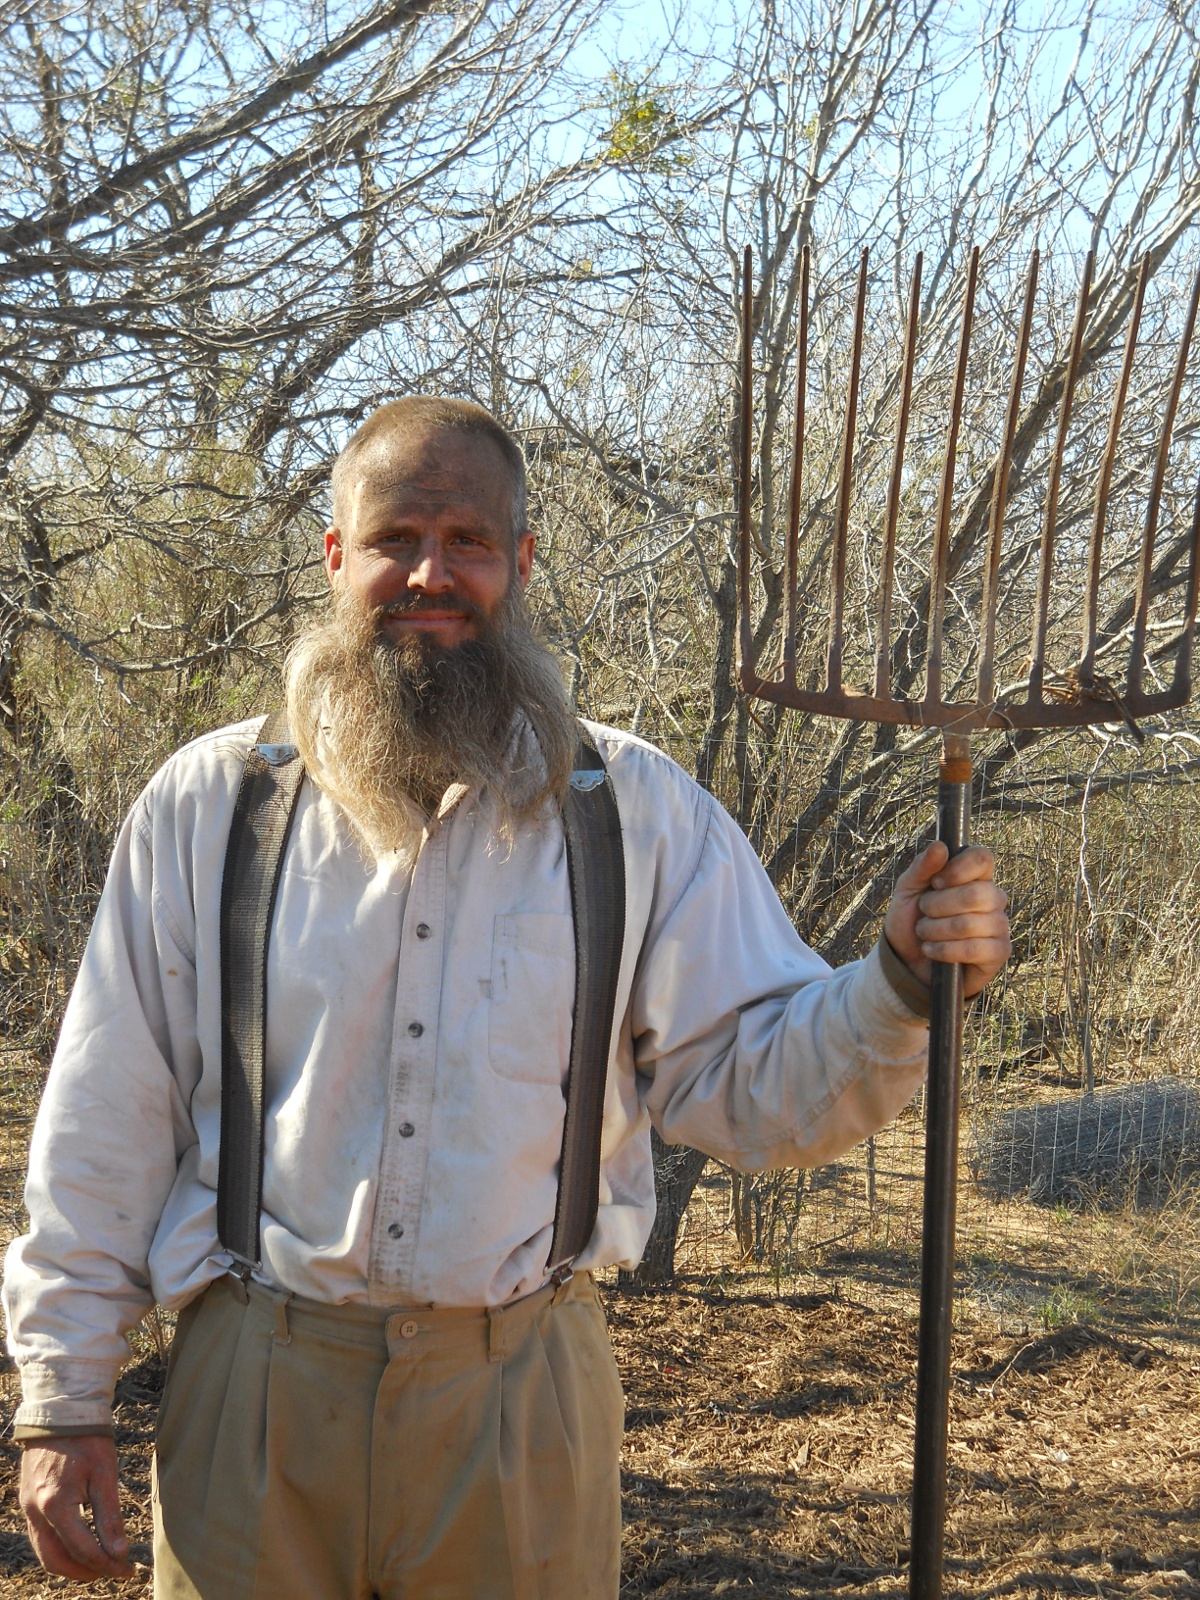
Here I am throwing the mulch from the bed into the garden. That pitch-fork works great!
And here is the result of the dirt shower you get when you pitch mulch on a breezy day:
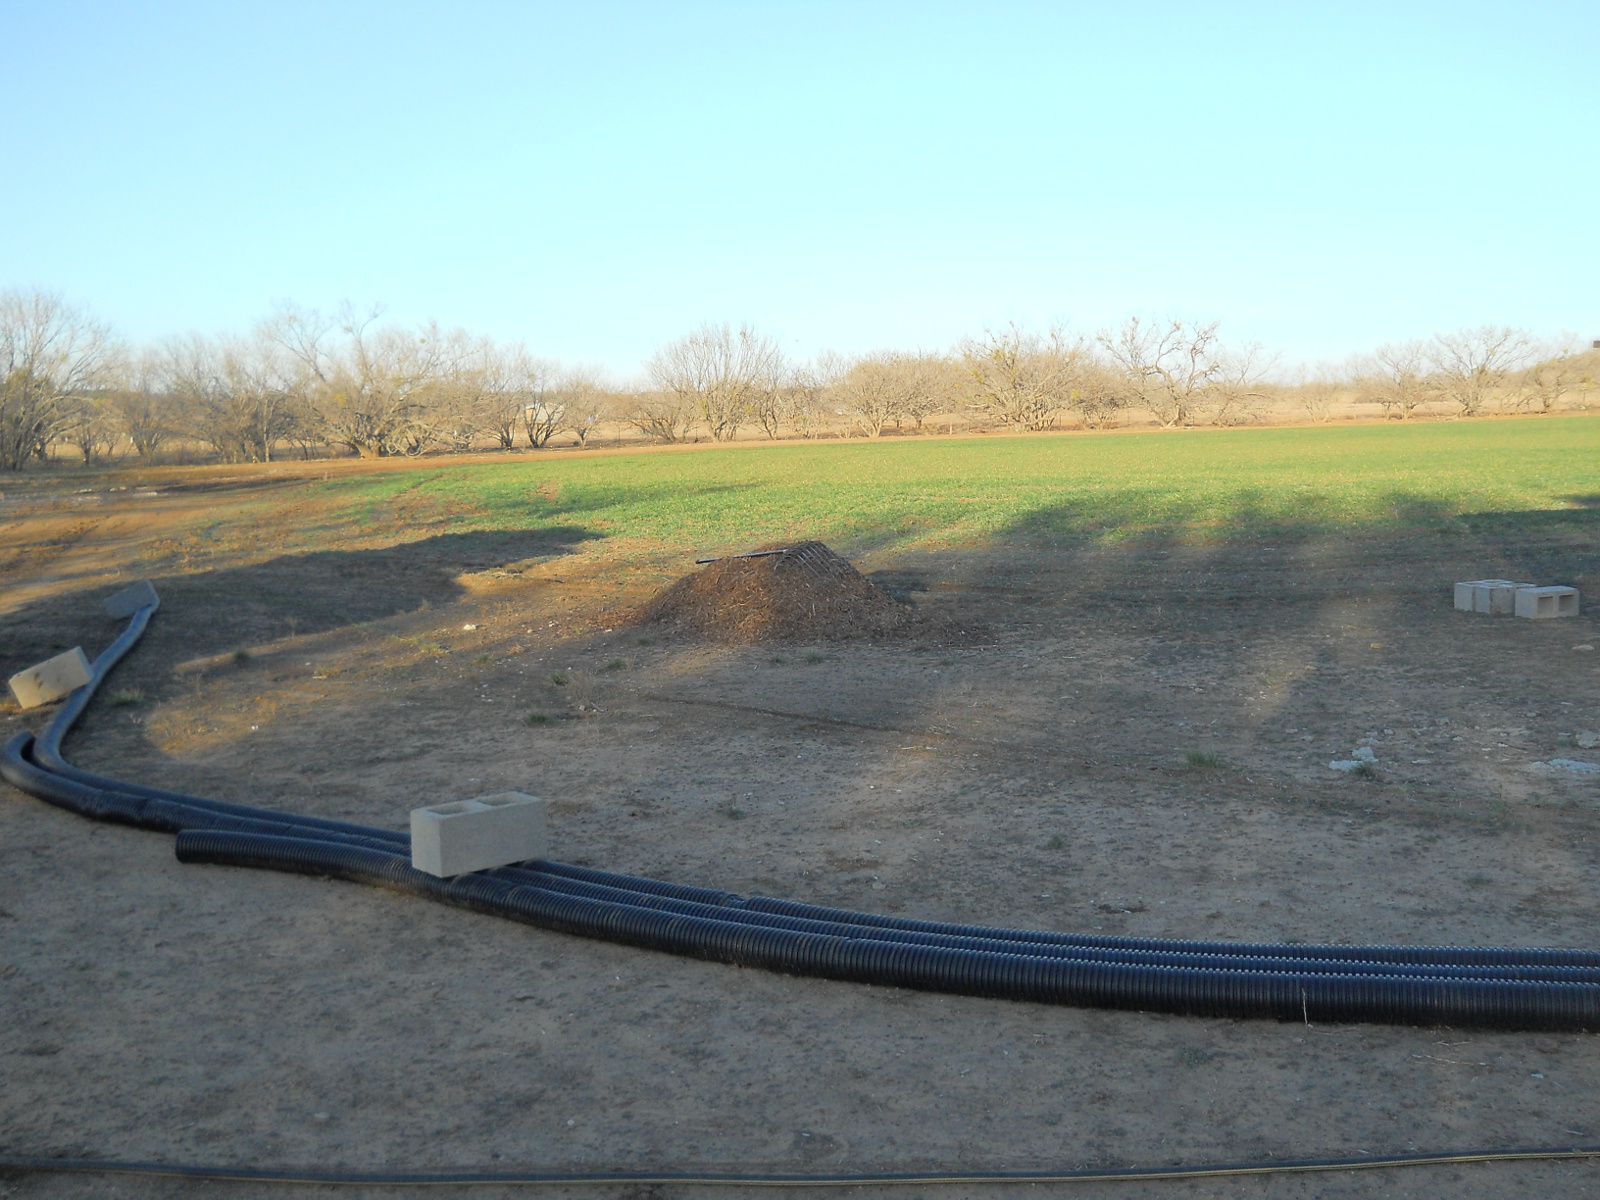
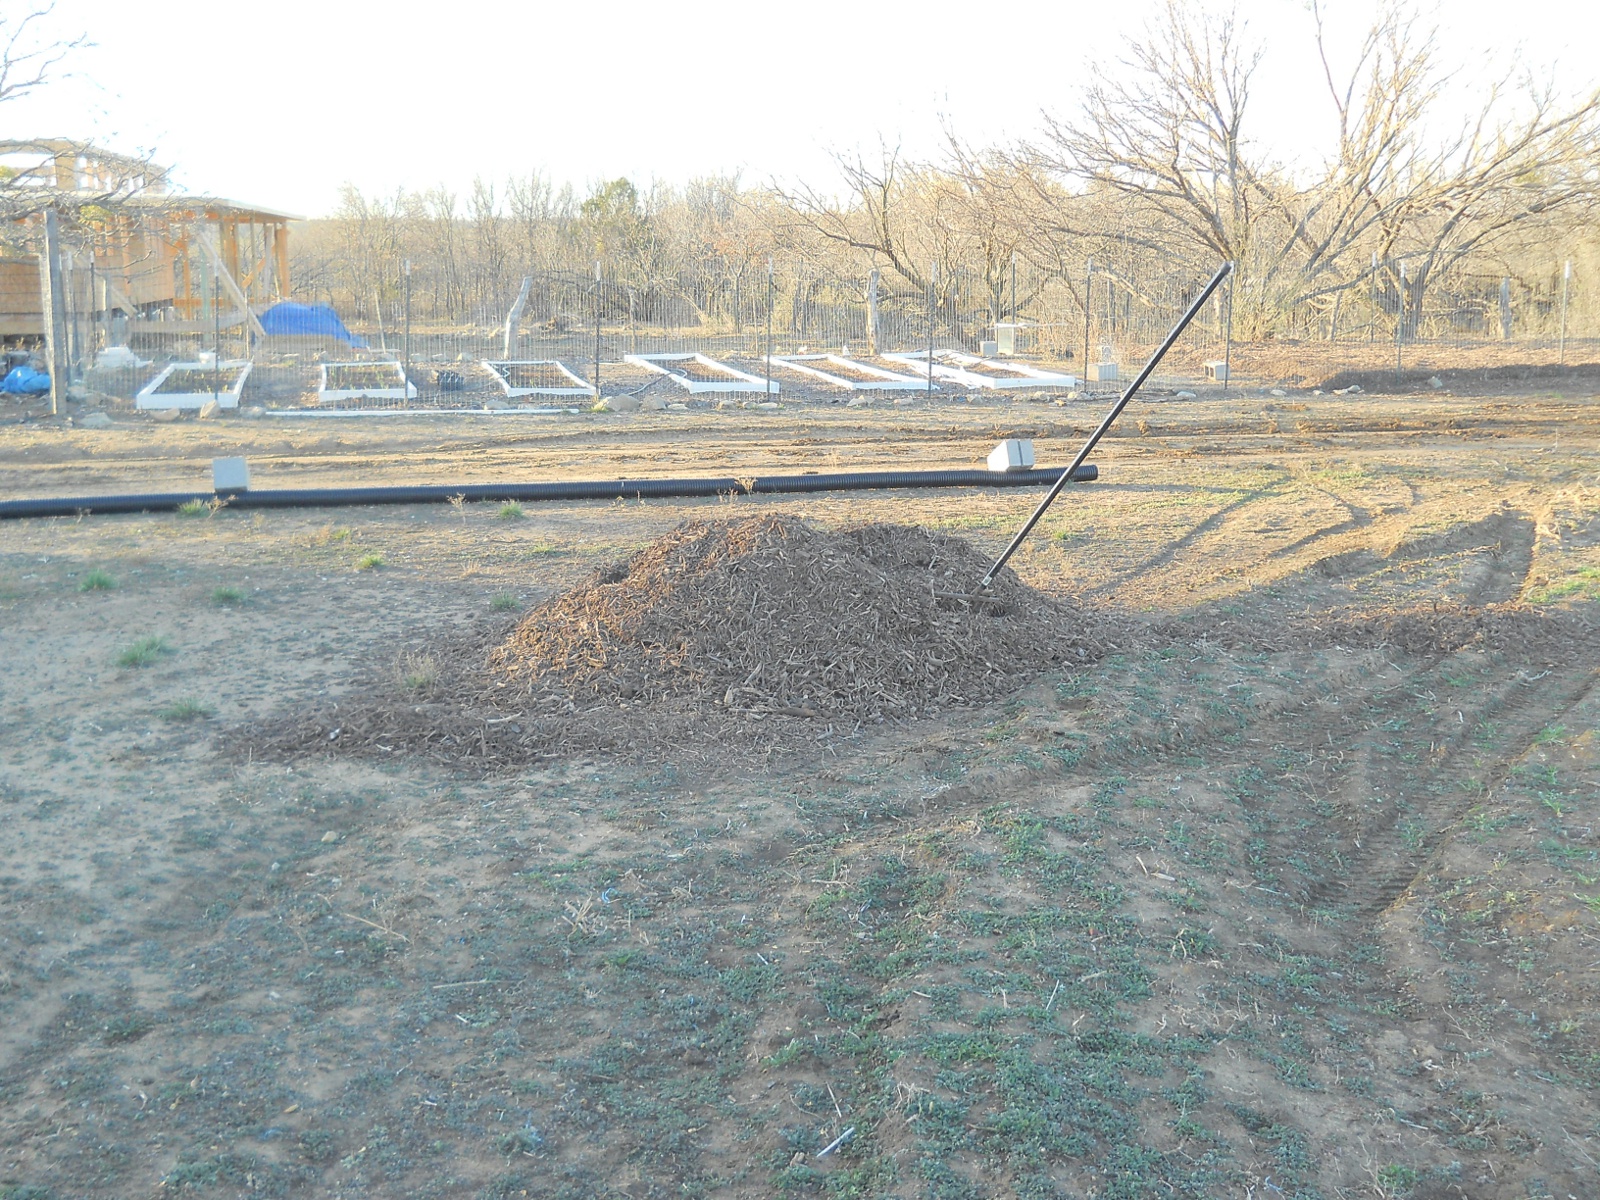
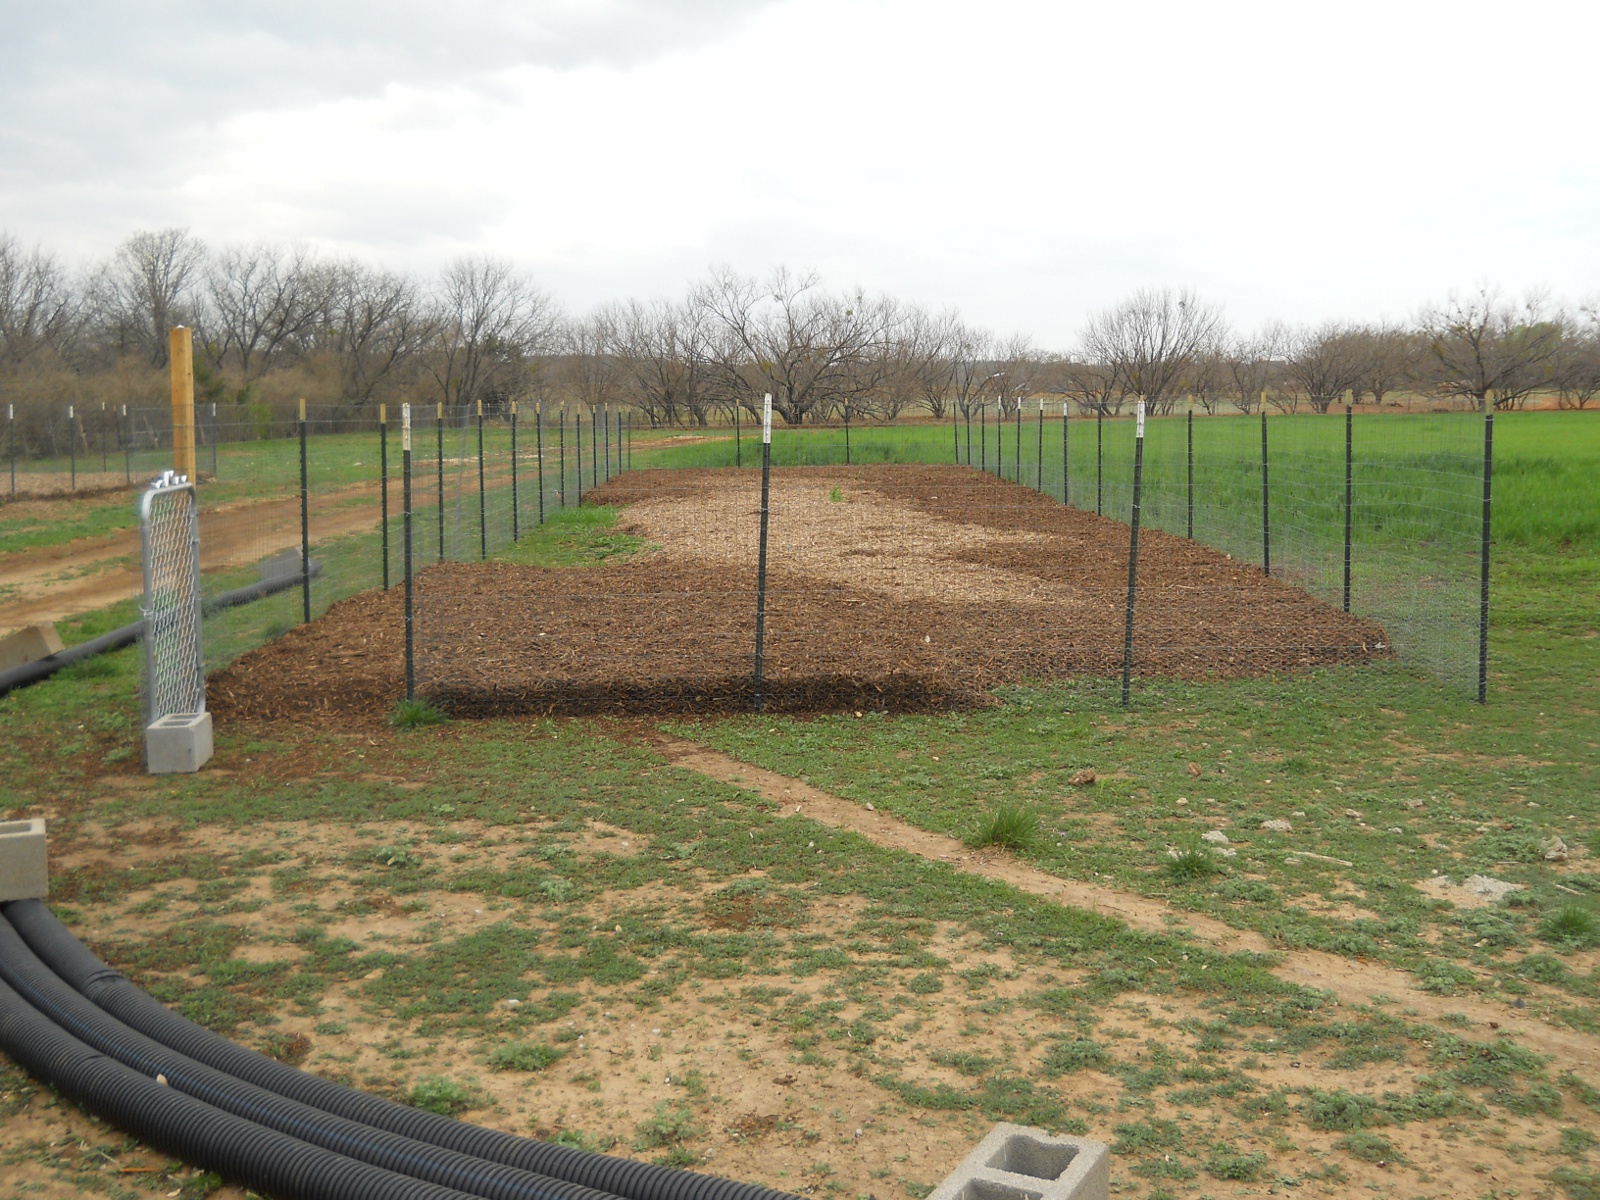
My plan all along has been to have another garden across the way from our current garden, and so I figured it was time to get that going, since we had a quicker way to implement the garden preparation other than digging double dug beds and building raised beds. And so, here is the first pile of mulch for garden #2:
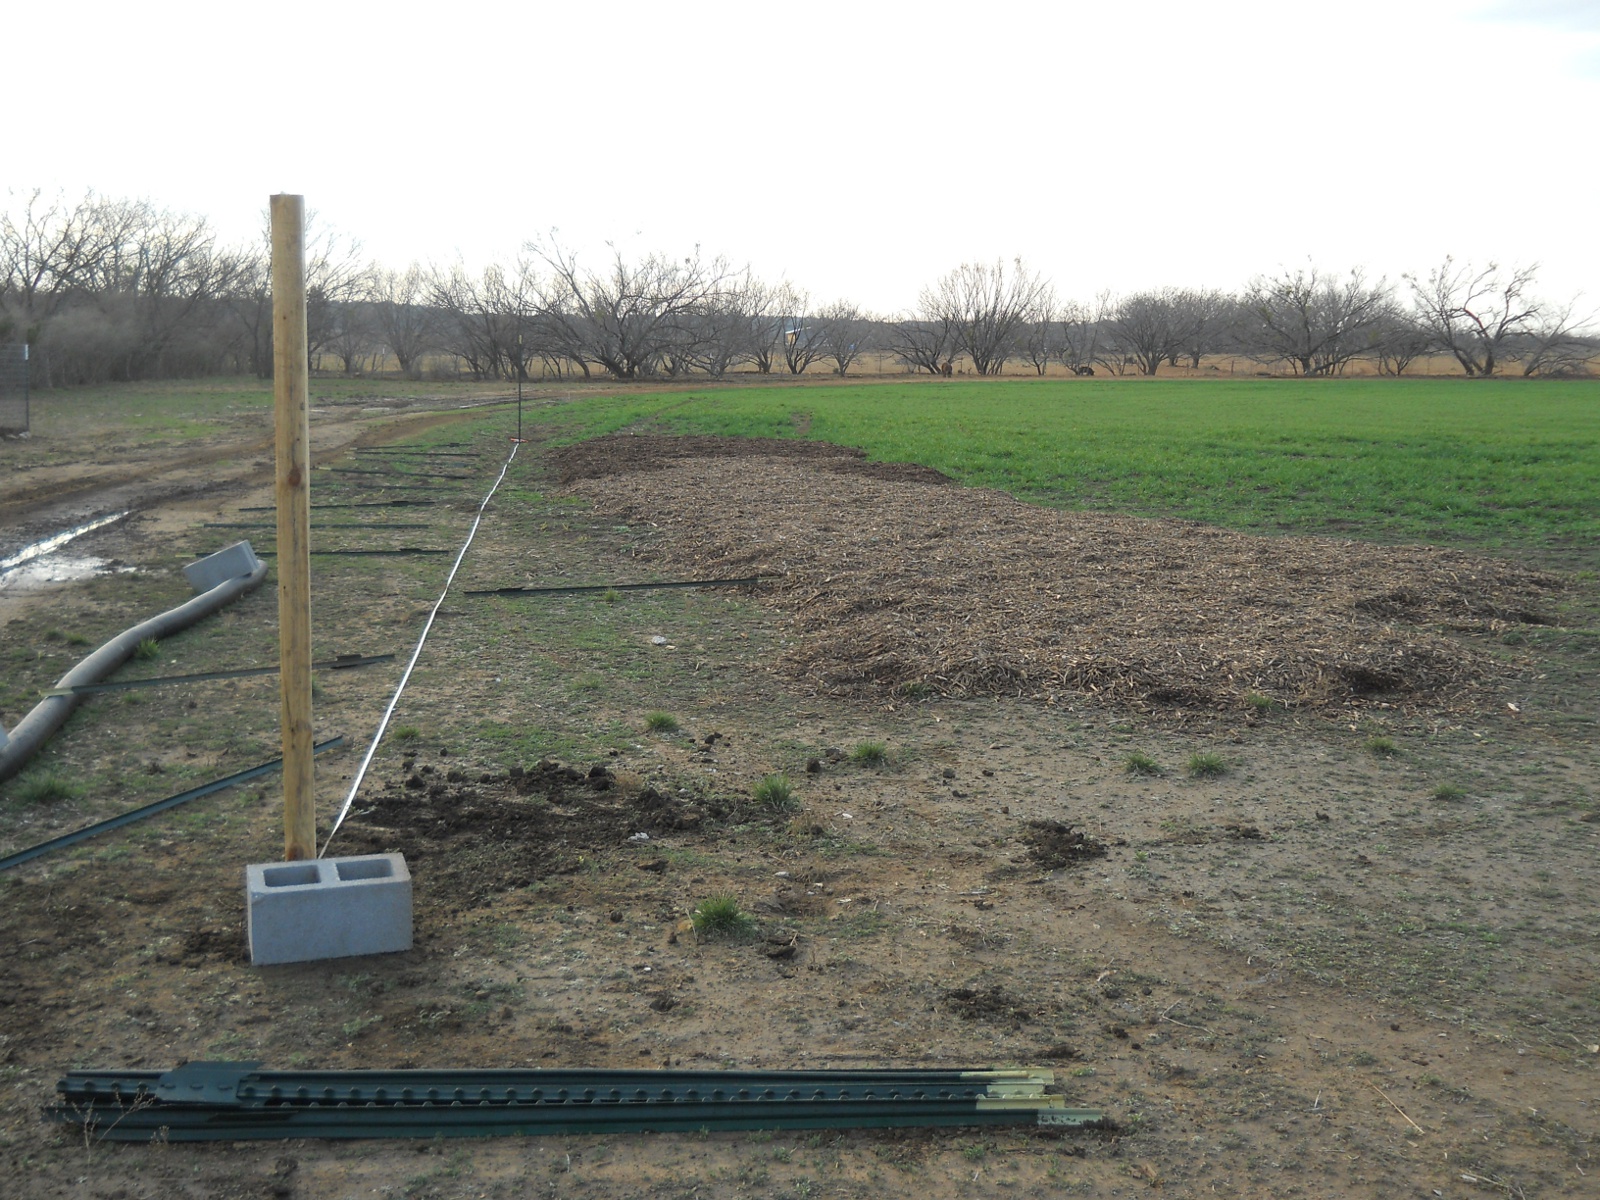
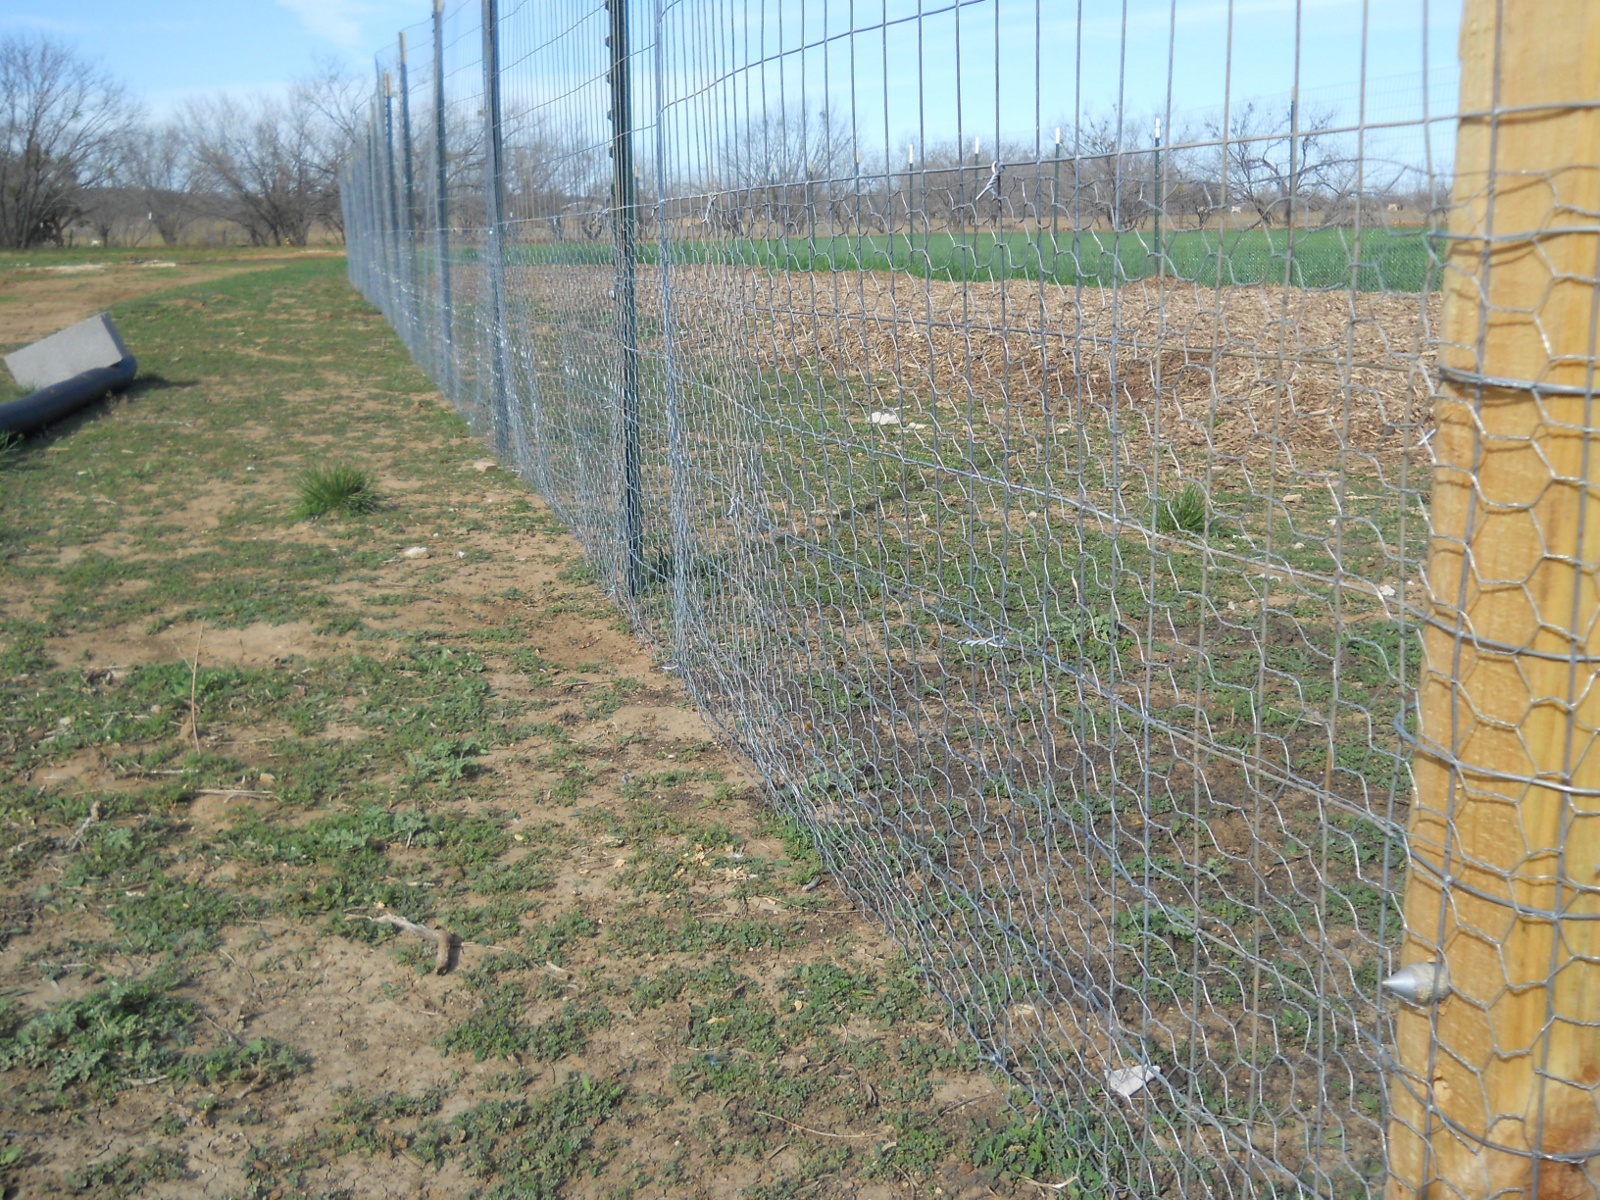
After getting a few mulch piles, I began building the garden fencing:
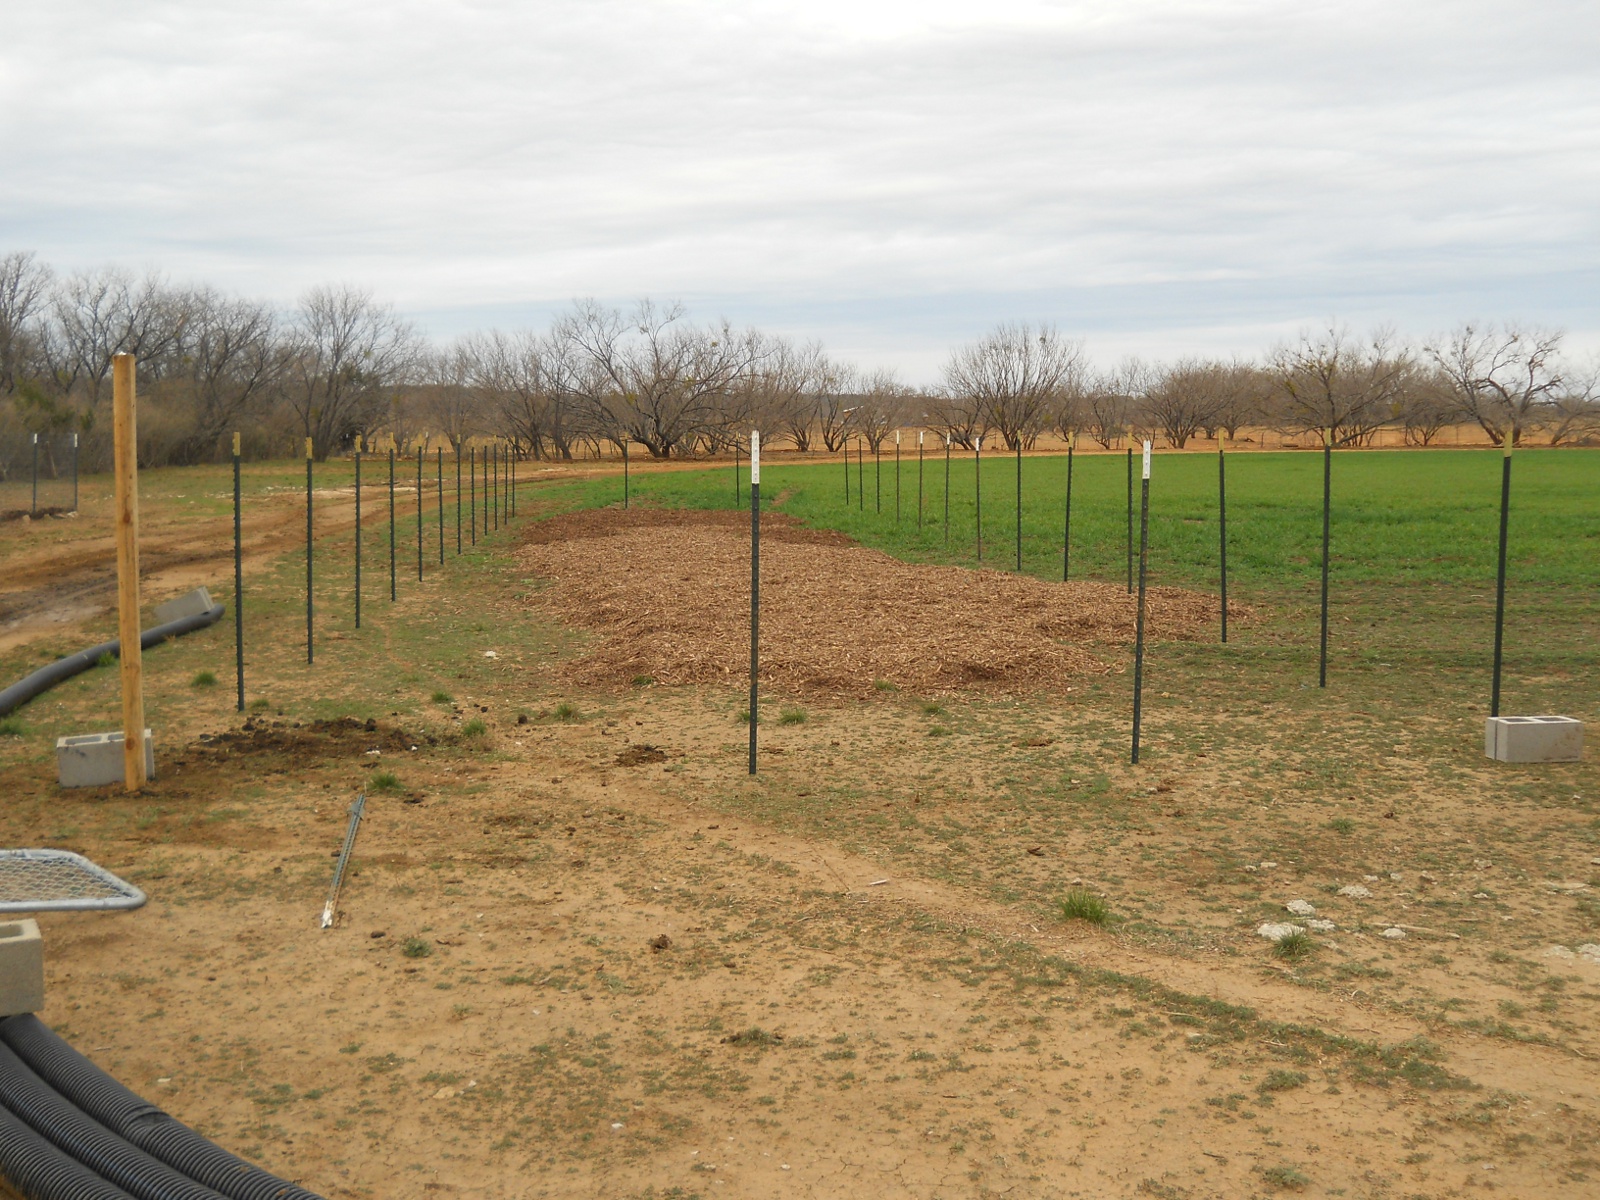
Here are all of the fence posts in place:
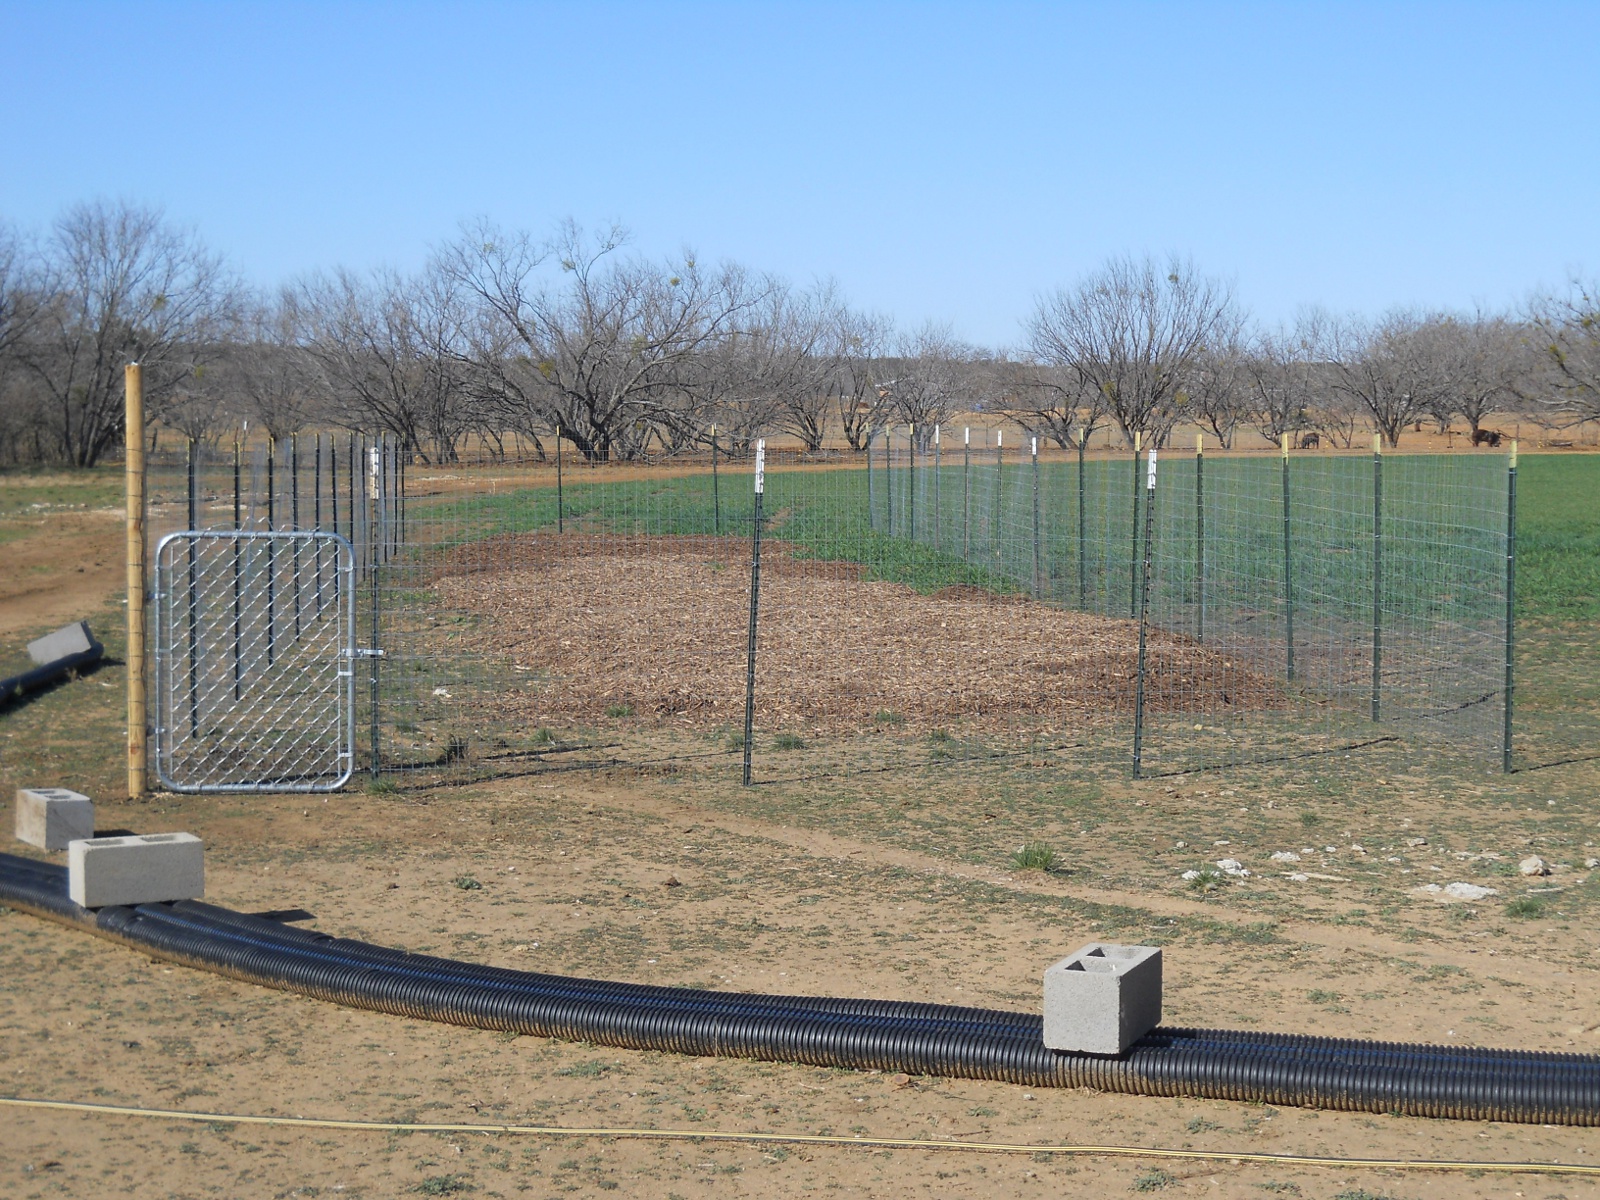
And here is the fencing up. I just used 2″x4″ welded wire pulled hand tight:
And since we have had problems with rabbits getting between the 2″x4″ fence squares, I added chicken wire all the way around:
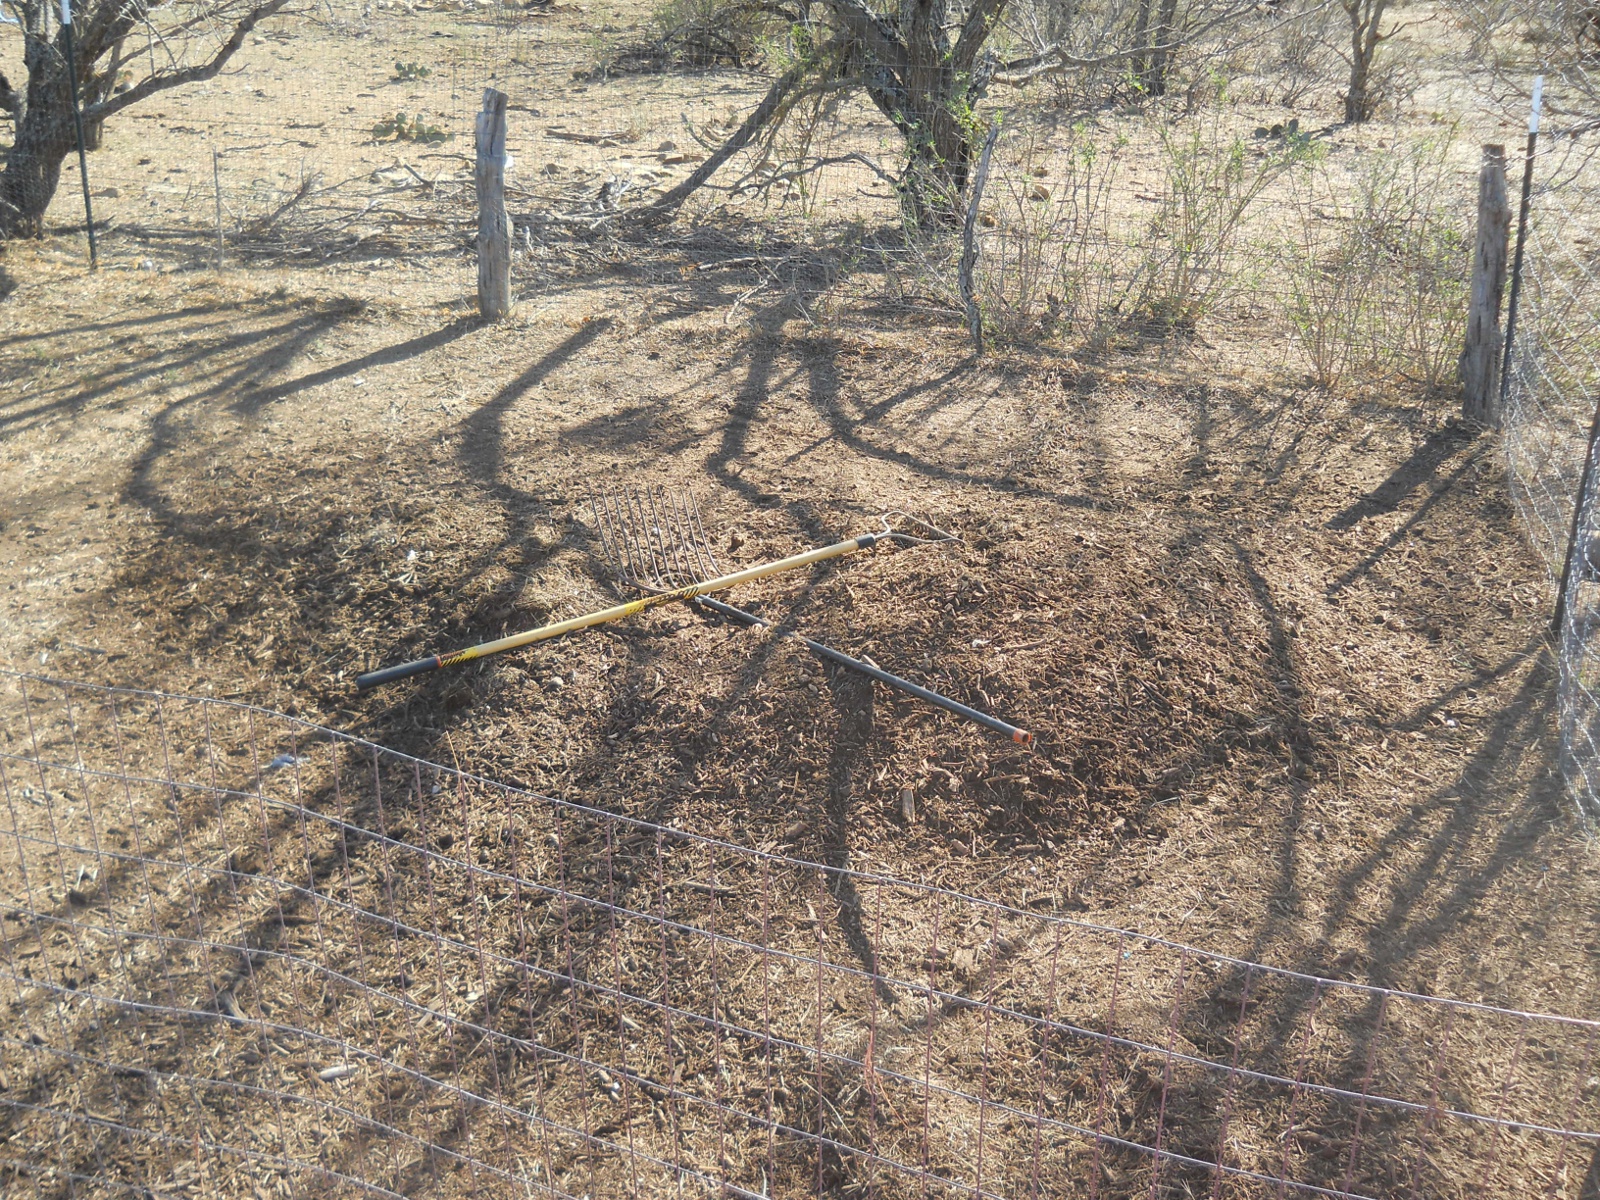
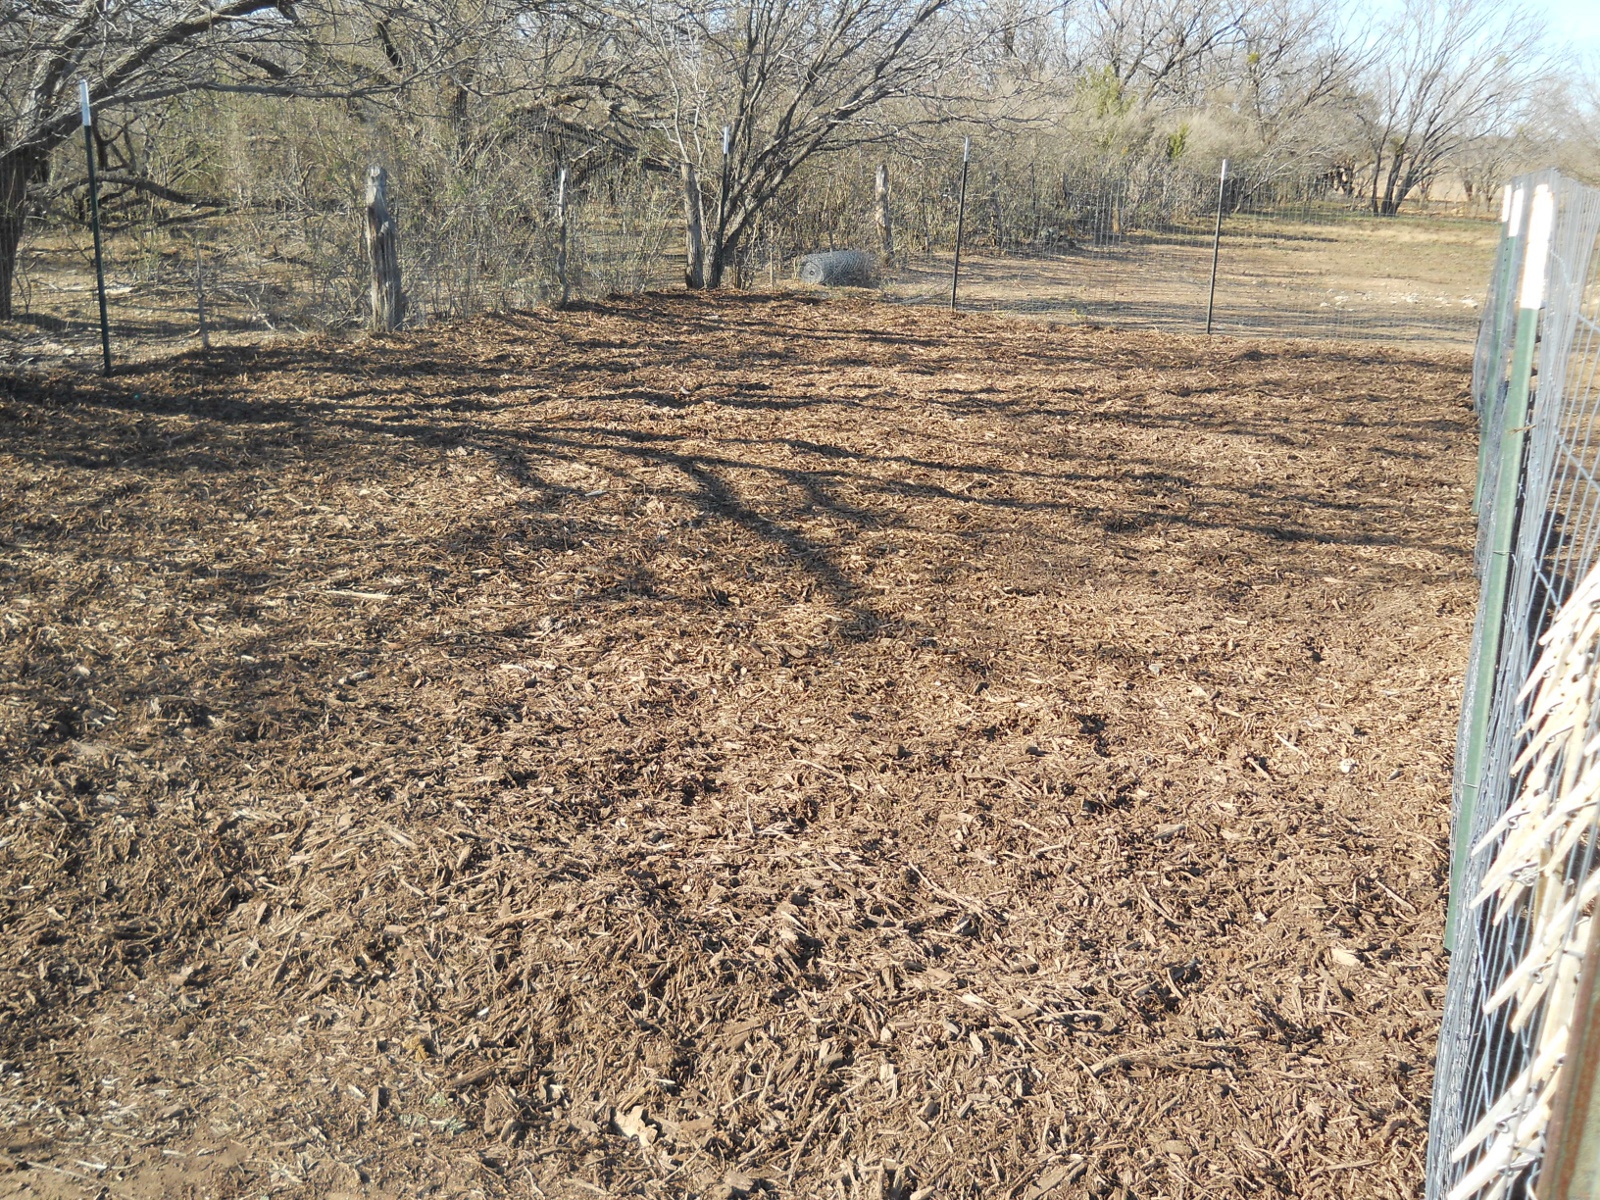
And this is where it stands today, almost completely mulched:
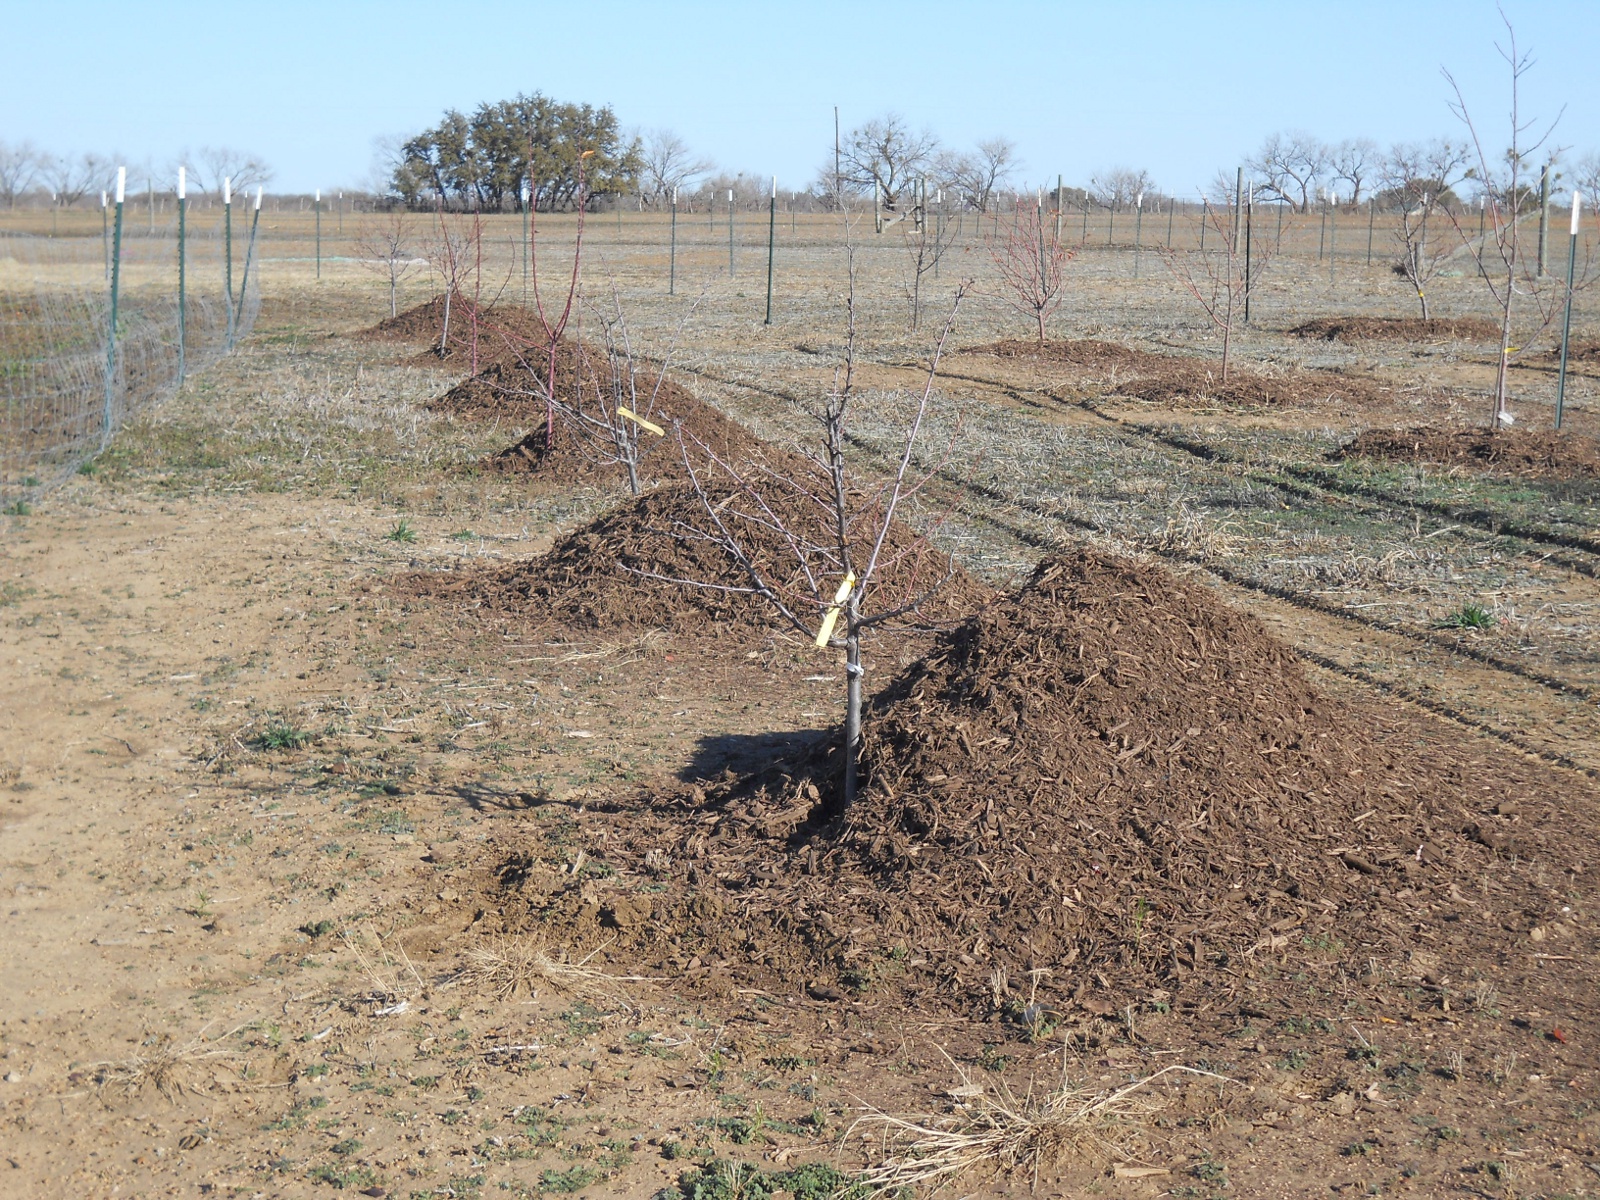
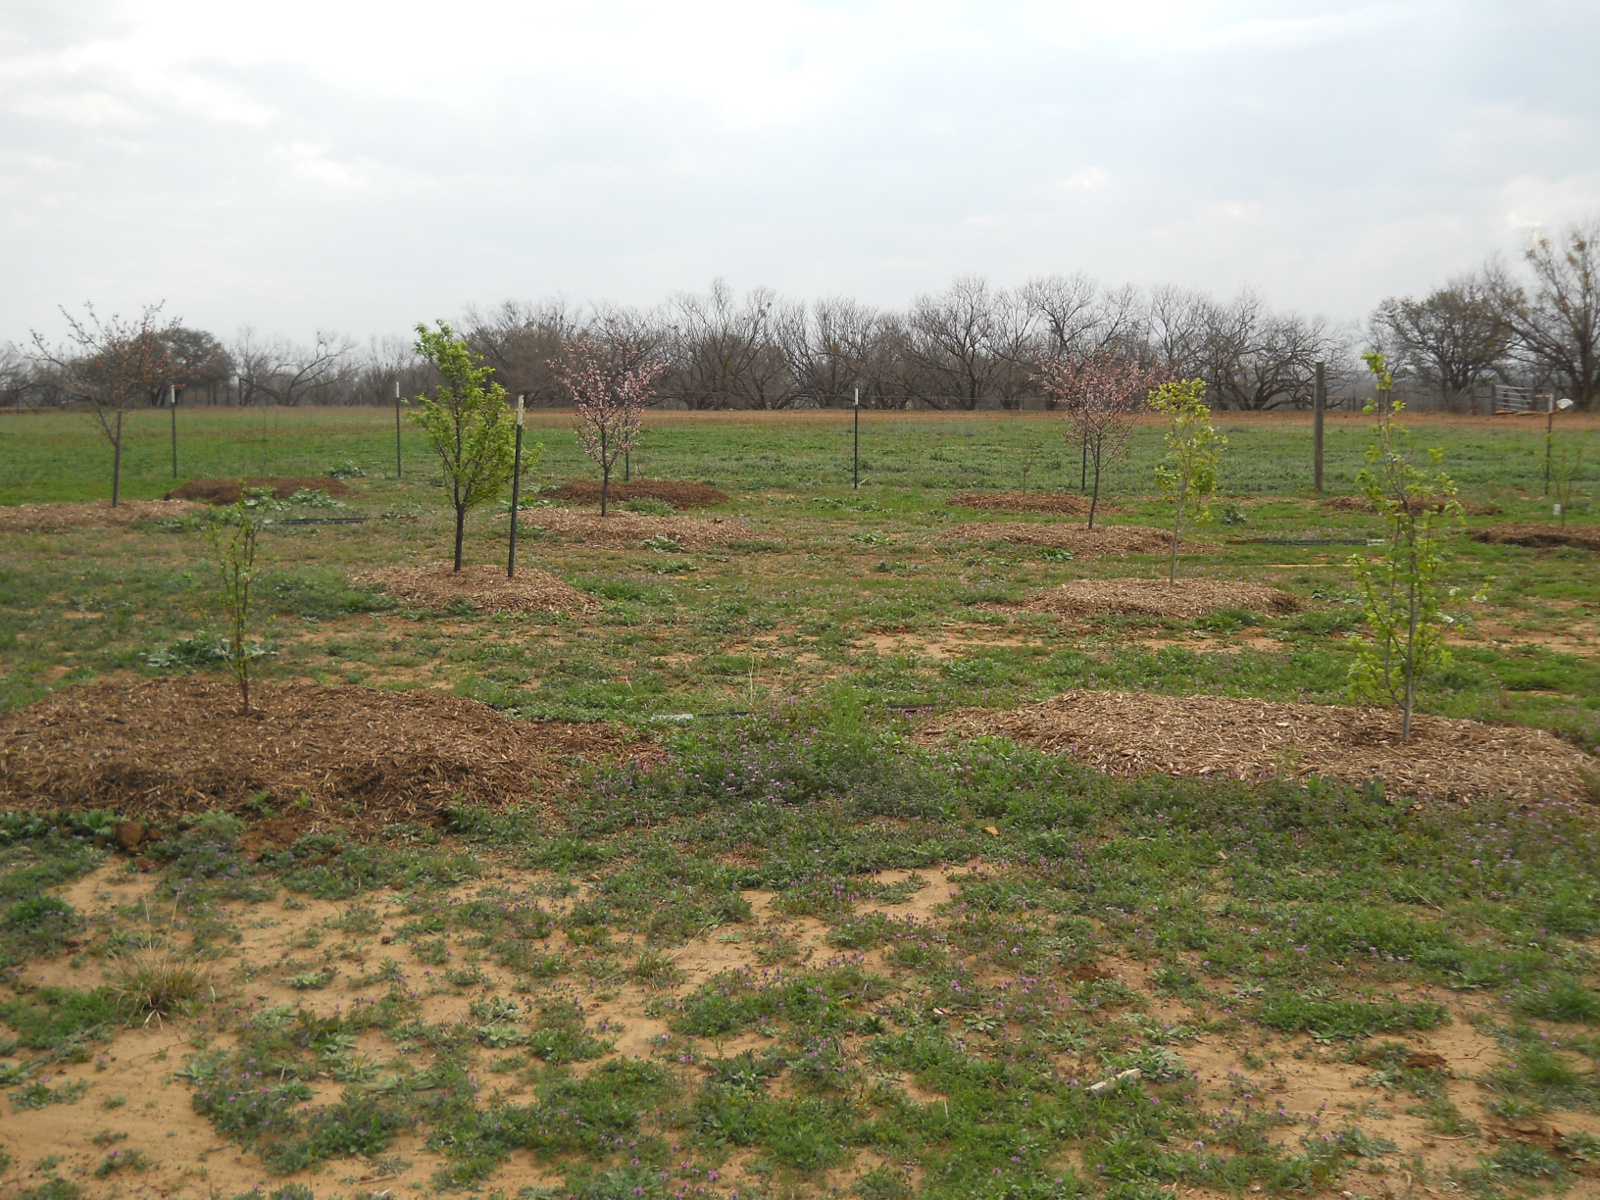
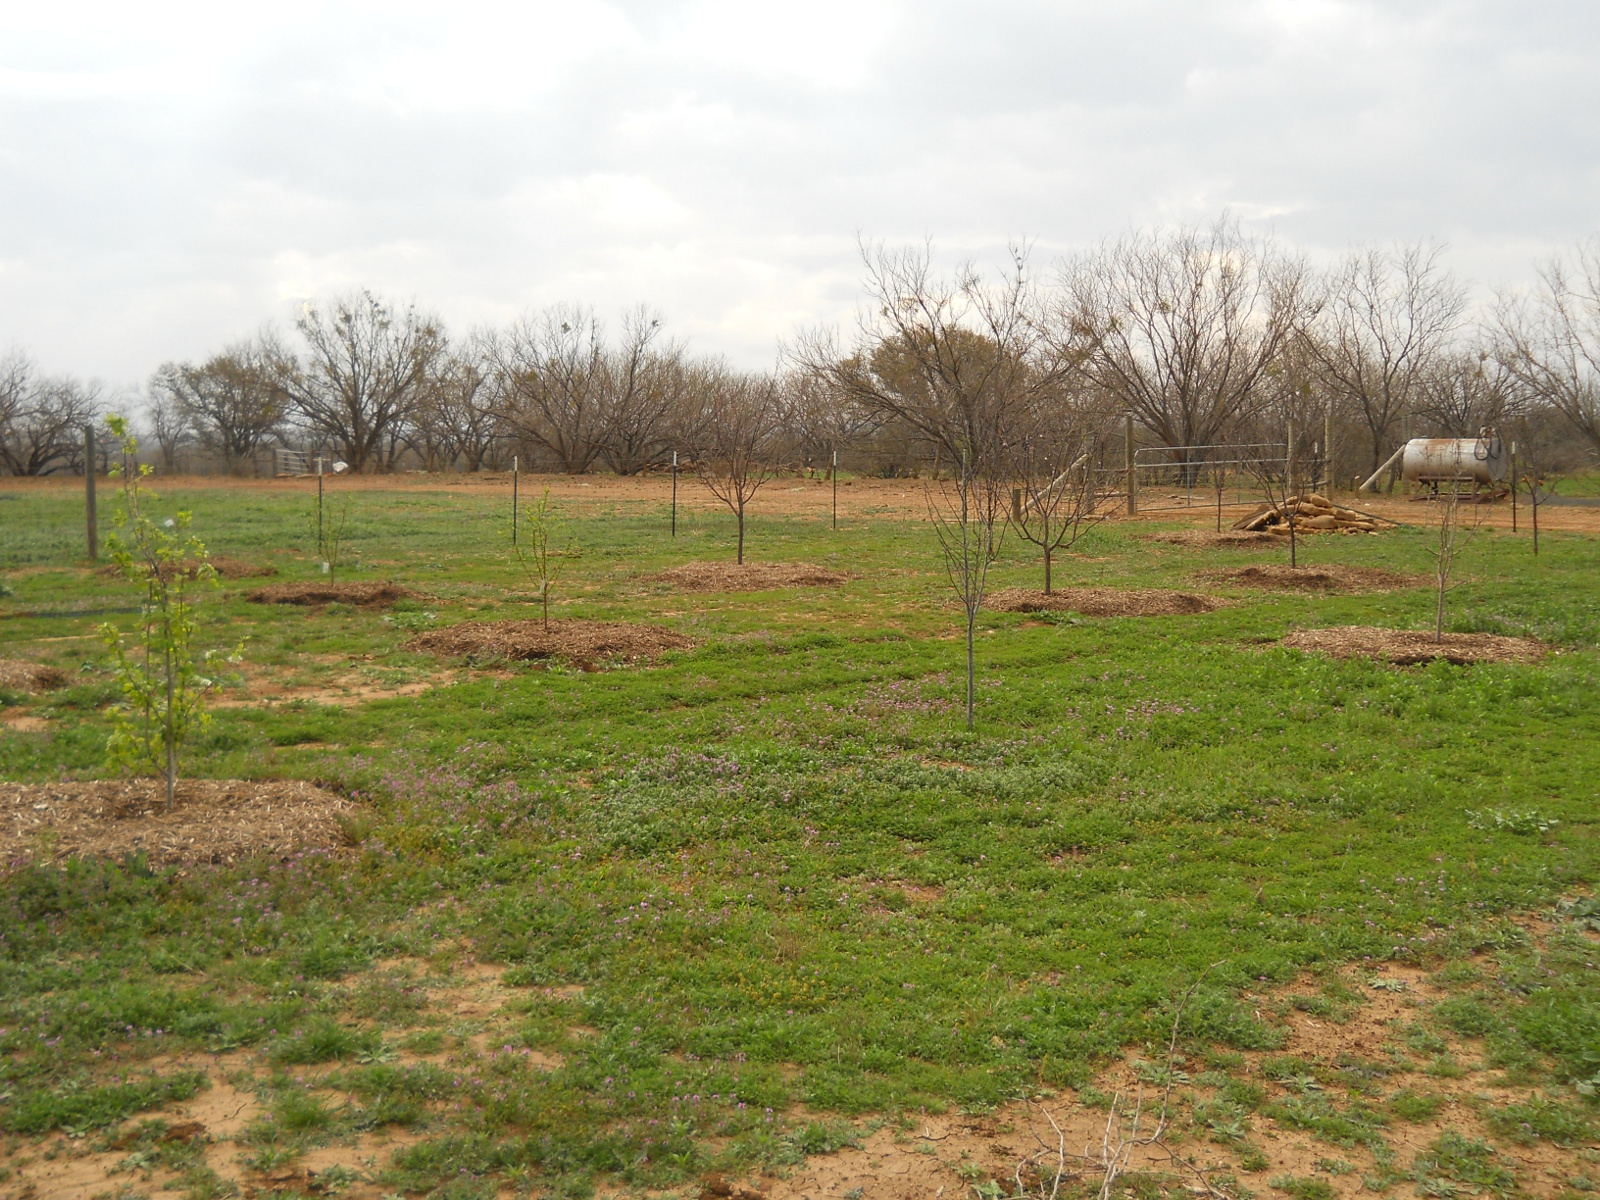
As I mentioned at the beginning, the mulch idea could be applied to orchards; and so, I began the process of mulching our current trees. Here are the piles around some of the trees:
And then them spread around the trees:
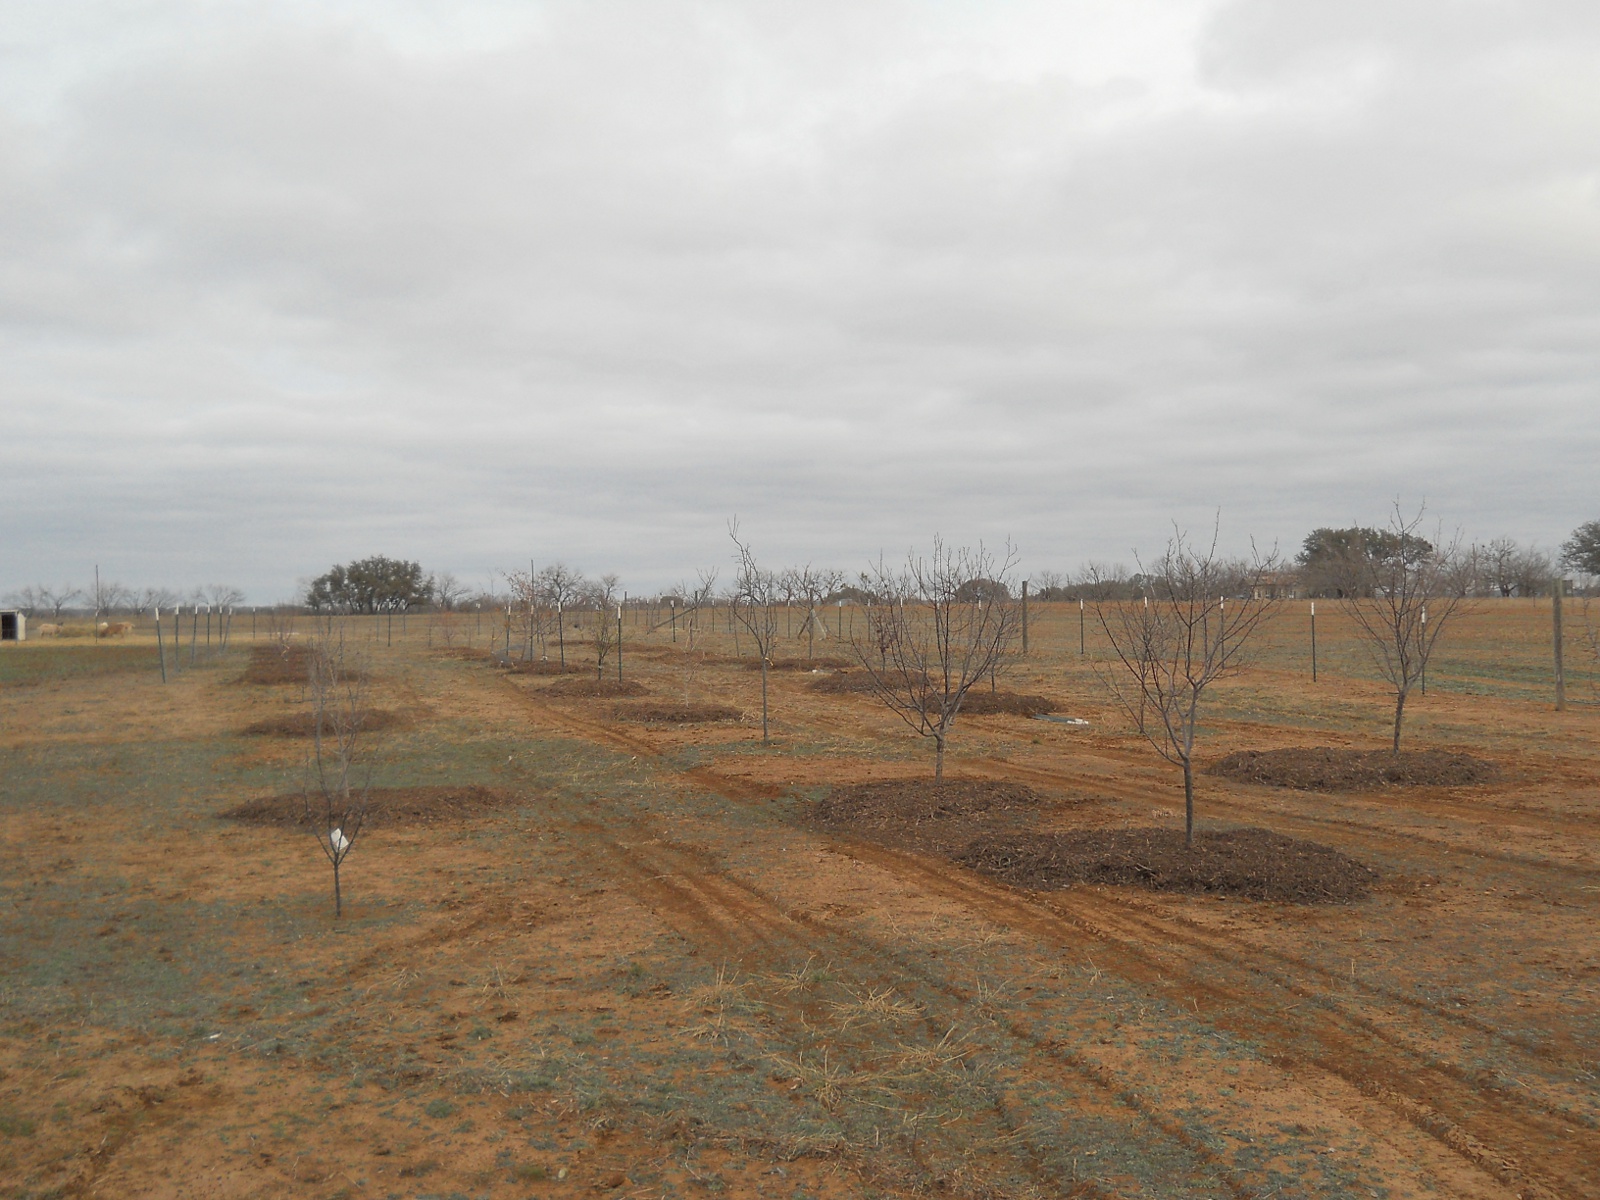
And here is where it stands today, after replacing many of the dead trees from last year’s drought or other years with new ones, and after adding new trees. The idea is to eventually fill-in the entire area with mulch and turn it into another area that can be planted, perhaps with root crops like turnips and/or sweet potatoes:
We’re thankful to God for this soil-covering idea and for the resources and provisions to hopefully, by His graces and mercies, greatly increase the means of provision available on the land so that we may become less and less dependent on the world and more and more under the direct providence of the Lord.
Heb. 11:8-10 - "By faith Abraham, when he was called to go out into a place which he should after receive for an inheritance, obeyed; and he went out, not knowing whither he went. By faith he sojourned in the land of promise, as in a strange country, dwelling in tabernacles with Isaac and Jacob, the heirs with him of the same promise: For he looked for a city which hath foundations, whose builder and maker is God."
Receive New Blog Posts by Email
Usually only 1-3 a month. We will never share your information nor solicit you.