This is our journal of what we pray is our sojourn of life (Hebrews 11:8-10) along the narrow way (Matthew 7:14), even the old paths (Jeremiah 6:16), submitting to the Bible as a light unto both (Psalms 119:105). It is our prayer that these documented moments in our earthly time benefit whom God might choose to edify, but ultimately that God glorifies Himself through them.

Year: 2014 (Page 4 of 6)

Community Singing – June 2014

It’s been a while since we have recorded our Psalms singing from the psalter we use, but this past Lord’s Day/Resurrection Day, we gathered together and recorded the next set of Psalms. As always, it is our prayer that God glorify Himself and that He benefit His Church through these:

Psalms 28A-31G

Previous Psalms singings:

Psalms 1A-12B (minus 4B)

Psalms 4B & 13-18L

Psalms 19A-22E

Psalms 22F-24C

Psalms 25A-27F

Once again, we are eternally grateful to the Lord for His Word, and this opportunity to sing it, and His praises. We thank Him for bringing circumstance in our lives so that the words have much more meaning, and we pray He hears these cries of our hearts, again for His glory and the praise of His name! Amen!

— David

Providence’s Perpetuation Provisions: Third Chick Hatching of 2014

About a day after the hen from the second batch of chicks went broody, another hen, one of our Game Hen breed I believe, went broody as well, in a garbage can in the barn, if I remember correctly. And so, we moved her into the piano room with a set of eggs under her; and by God’s graces, a day after the other hen hatched out her chicks, this one did too! Nine in all, and eight are still going strong!

Here are a couple of pictures:

Third Batch of Chicks Hatched in 2014
More of the Third Batch of Chicks Hatched in 2014

And below is their video. There was one chick hatched out that was cripple — it couldn’t stand up and would just lay on its side, moving its legs almost swimmingly, trying to stand up. If you got it standing, it would just fall over. I tried working with it, feeding it to try to keep it alive, making a runway for it to try to learn to walk. I called it Tiny, because it was such a small little thing:

Our Little Chick "Tiny's" Walking Trough

And for a while I thought it might get it — it would walk along, eat the food I had laid down in the trough, even preen a few times, and seemed to be getting better with its balance; but in the end, sadly, about a week after hatching, it died.

Still, one thing that was interesting to me was that I would place it in its runway, come back later, and it would have crawled its way out, and slide-crawled itself through the 1-inch chicken wire around the cage area, I assume to try to get to its mommy. This happened at least twice. It was an inspiration in dedication to me, and led me to think and then pray that we strive after the Lord Christ Jesus the same way. May we be able to hide under His wings, and may He maybe grant a sense of that (see these several Psalms references).

Although I wasn’t able to capture those times with Tiny, you can still see it in this video:


We are once again very grateful to the Lord for granting us the continuation of the flock, and we pray He always glorifies Himself through these things, including in His sovereign giving and taking of anything, in accordance with His will.

— David

The Barn – Update II – The Loft – Update I

Recently, my brother Kevin, whom I hadn’t seen in quite some time, graciously offered to take some time off and come out and visit! It’s the first time he’s been this way, and it was very nice to see him!

David with His Brother Kevin When He Visited

He was here for around five days, and during the time, he graciously helped around the farm. With him here, I decided the main project he and I could work on was continuing with the barn loft, which I talked about in this blog post here. And so, since the beams were in place, it was time to start adding the floor.

Given the approximated 10-foot span, and I decided to go with 2×10 joists spaced at 16-inches:

Barn Loft First Floor Joists

Before implementing this phase, based on costs, I decided to use 3/4-inch plywood for the floor with 2×4 blocks, instead of 3/4-inch tongue-in-groove OSB or plywood; and here are the blocks on the back side:

2x4 Blocks Between Joists

And then for the blocking over the second beam, I decided to use full 2×10 blocks for added stability. While this picture shows the joists extended over the beam, we eventually slide the joists back so the blocks and joists would only cover half of the 4 1/2-inch wide beam, so Lord willing when the floor is extended from beam 2 to beam 3, half of the block-joist end covers the other half of the beam:

Full 2x10 Blocks Between Joists Over Second Beam

Since there was going to be some overhang of the plywood because of the horizontal metal purlins of the barn, I added a couple of 2x4s to help support under the plywood that was going to extend over. Quite frankly, I probably didn’t need to do this, or maybe I only needed one 2×4 instead of two:

2x4s Attached to Extend Floor Parallel to the Joist Blocks

And I added one to the joist running parallel to the barn purlins:

2x4 Attached to Extend Floor Parallel to the Joists

Here are the 2×4 blocks to support under the edge of the plywood at four feet. Before we tacked down the floor joists to the beams, we squared the whole section from corner to corner:

2x4 Blocks at Four Foot Spaces to Block for Plywood Sheets

And here is the first piece of plywood in place:

First Plywood Sheet in Place

We then added more floor joists along beams 1 and 2:

More Floor Joists Extending the Floor

And then added more plywood. Now, we need to add more floor joists to be able to continue adding plywood:

Several Plywood Sheets Installed

And here are Kev and I standing on the loft:

David's Brother Kevin and Him Standing on the Barn Loft

We are very thankful to the Lord for granting the resources to be able to make some progress on the barn loft, and we are very grateful to Him for allowing us the time and resources He did for Kev to come and visit!

— David

Providence’s Perpetuation Provisions: Second Batch of 2014 Chicks

As I mentioned in our blog post about the first chicks that the Lord granted us in 2014 1, we had another hen go broody, an Australorp, which we showed in our mini chicken tractor, and by God graciousness, He granted that she hatch out a bunch o’ chicks! Out of 13 eggs, 11 hatched out, and all 11 are still rolling along just great, it appears!

Here are a few pictures:

Second Hatching of Chicks in 2014
More of the Second Hatching of Chicks in 2014

And their video:


As always, we are so very grateful to the Lord for His granting of these provisions. We’ve had to butcher some more roosters recently to get the rooster-hen ratio better, and it is humbling and joyful to be eating the food the Lord has directly provided! We are very thankful.

— David

1 P.S. You’ll have to forgive me, as in the previous post I said one of our Australorps was the mother of those first hatchlings, and that wasn’t correct — I’ve corrected it since.

Garden – Spring 2014

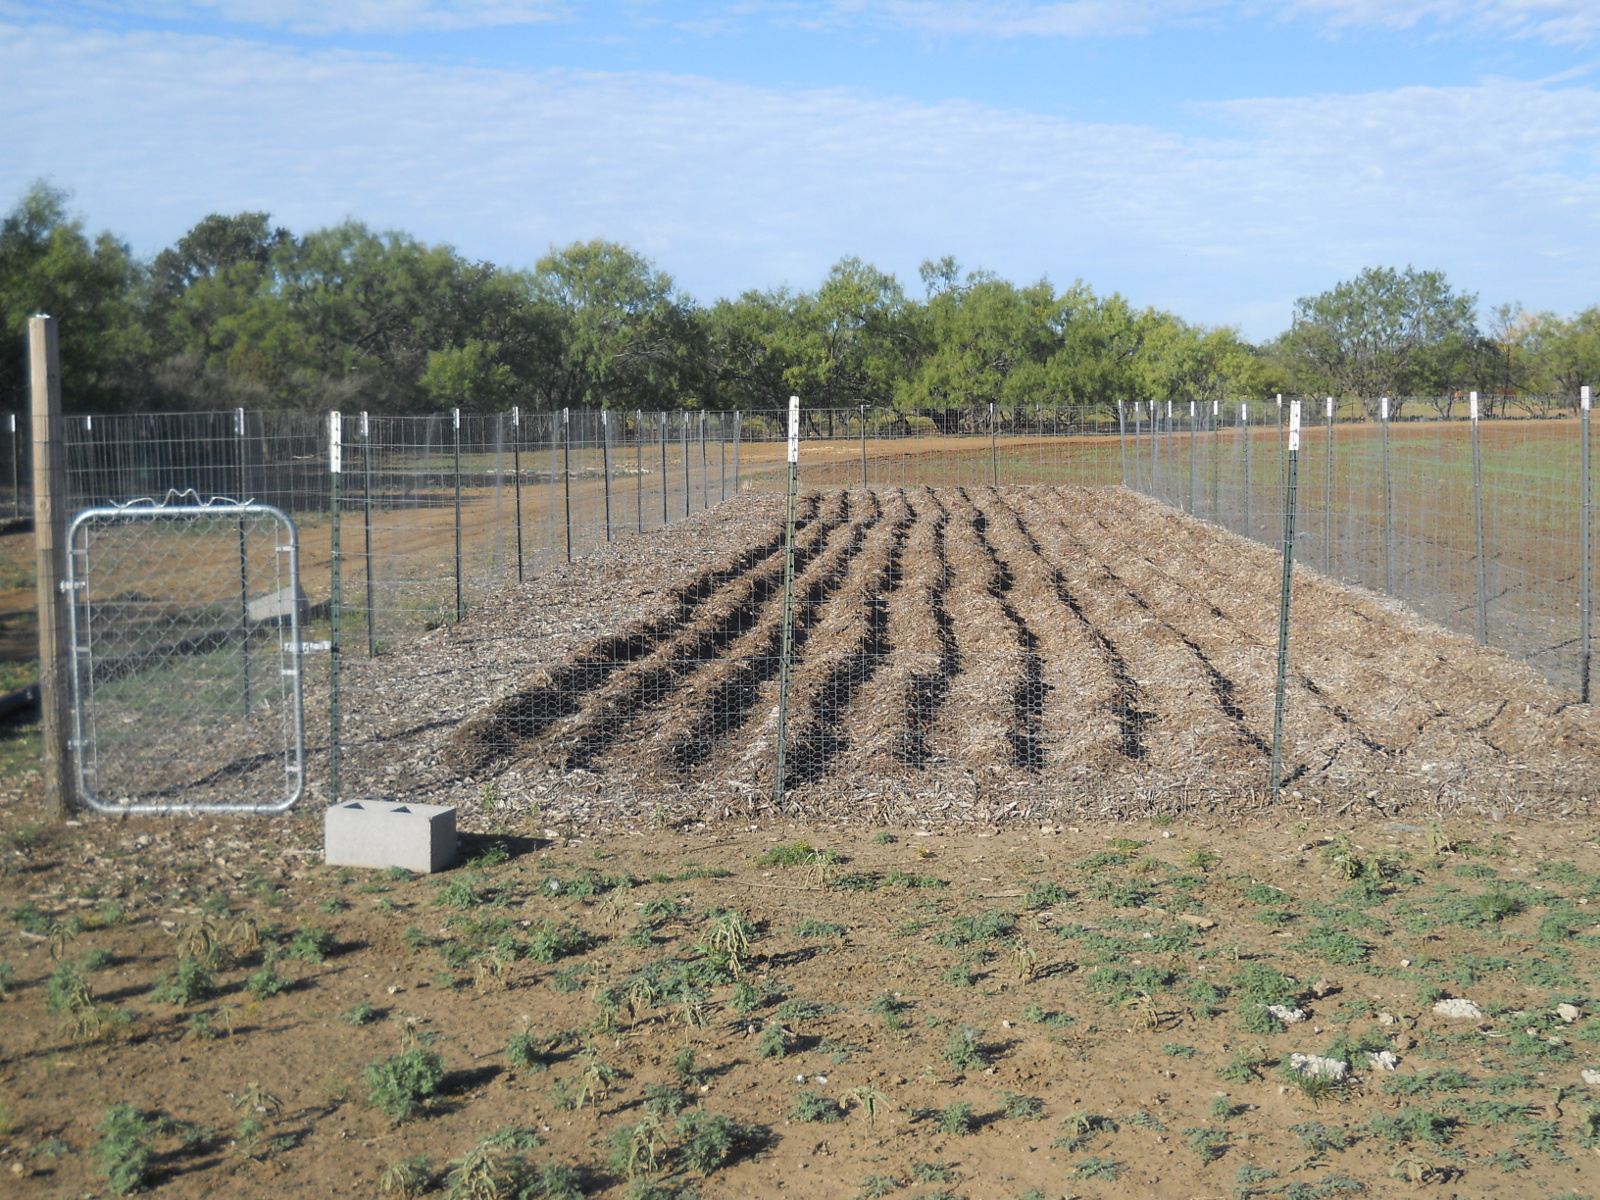
At least for me, it’s always nice to start coming out of Winter into Spring time, with the warmth and the anticipation of planting the gardens! Since the last time we planted a garden, given we took last year off for our land sabbath, we had done some expansions, mostly based on the idea of mulch-bed/forest gardening, in our original garden area, and then adding a new garden area, and my first attempt at an hugelkultur bed.

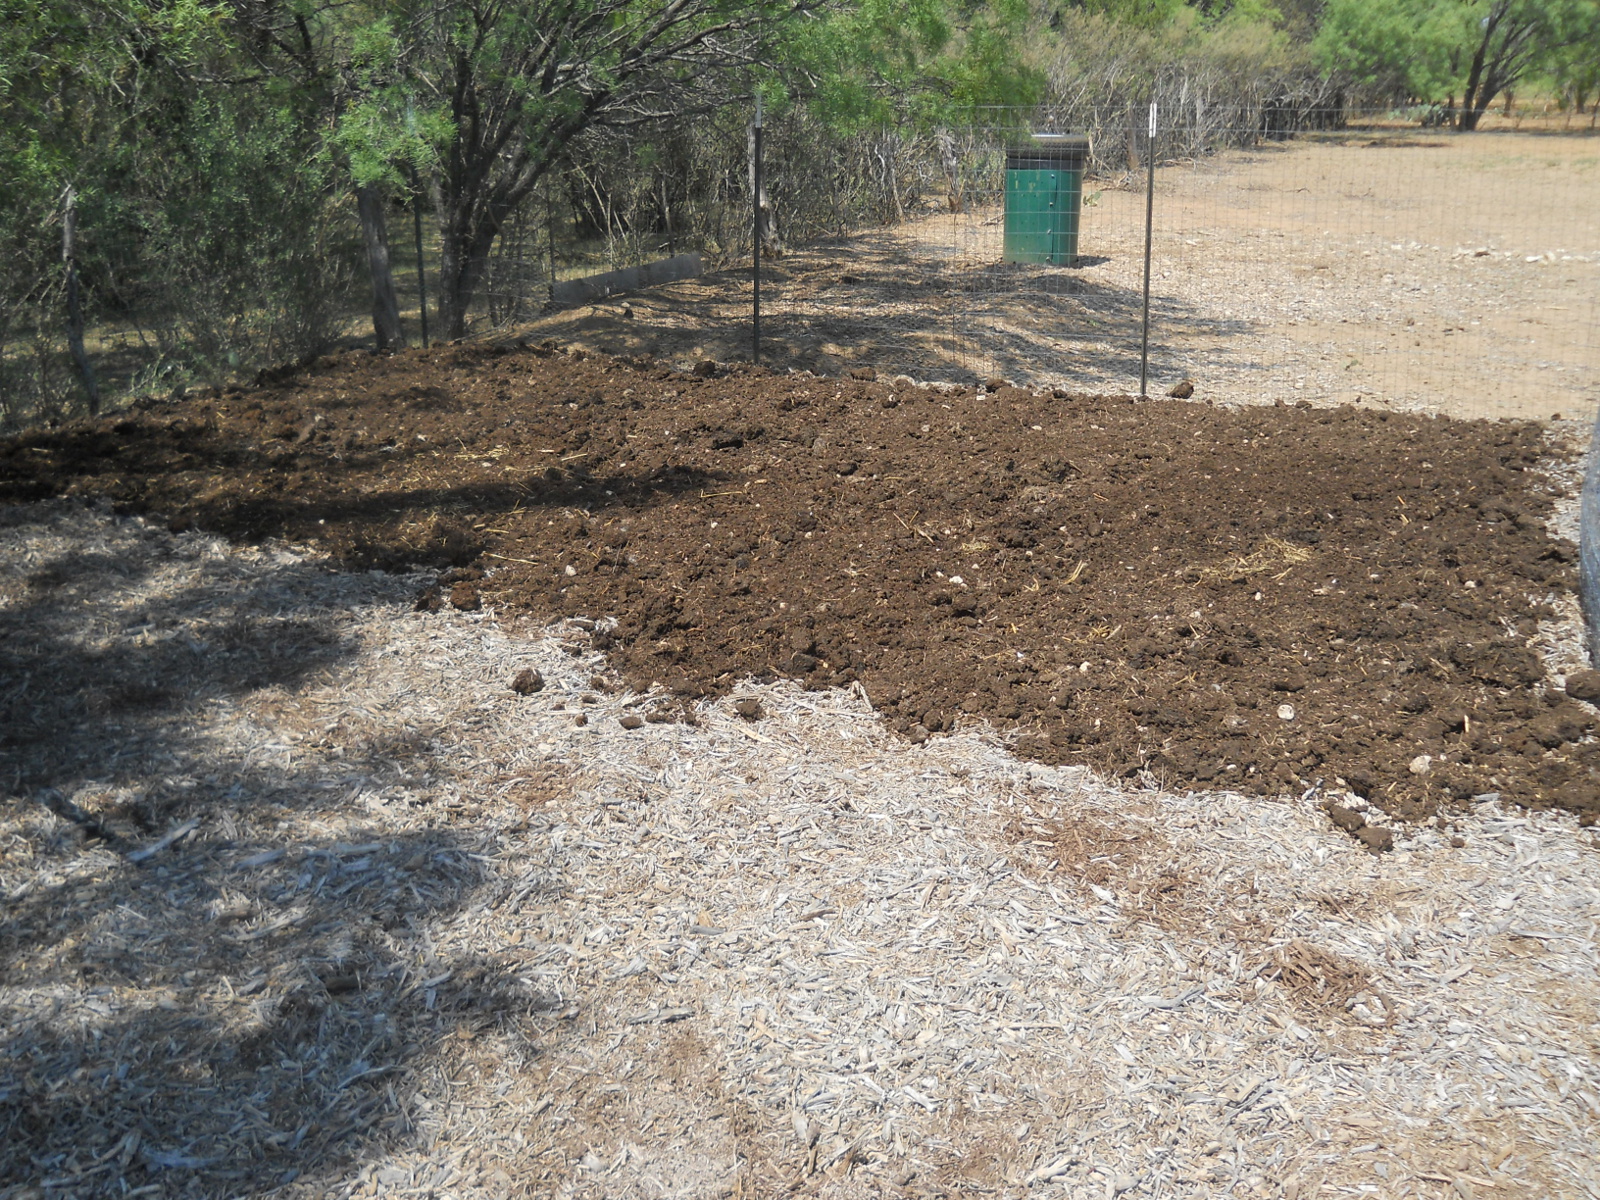
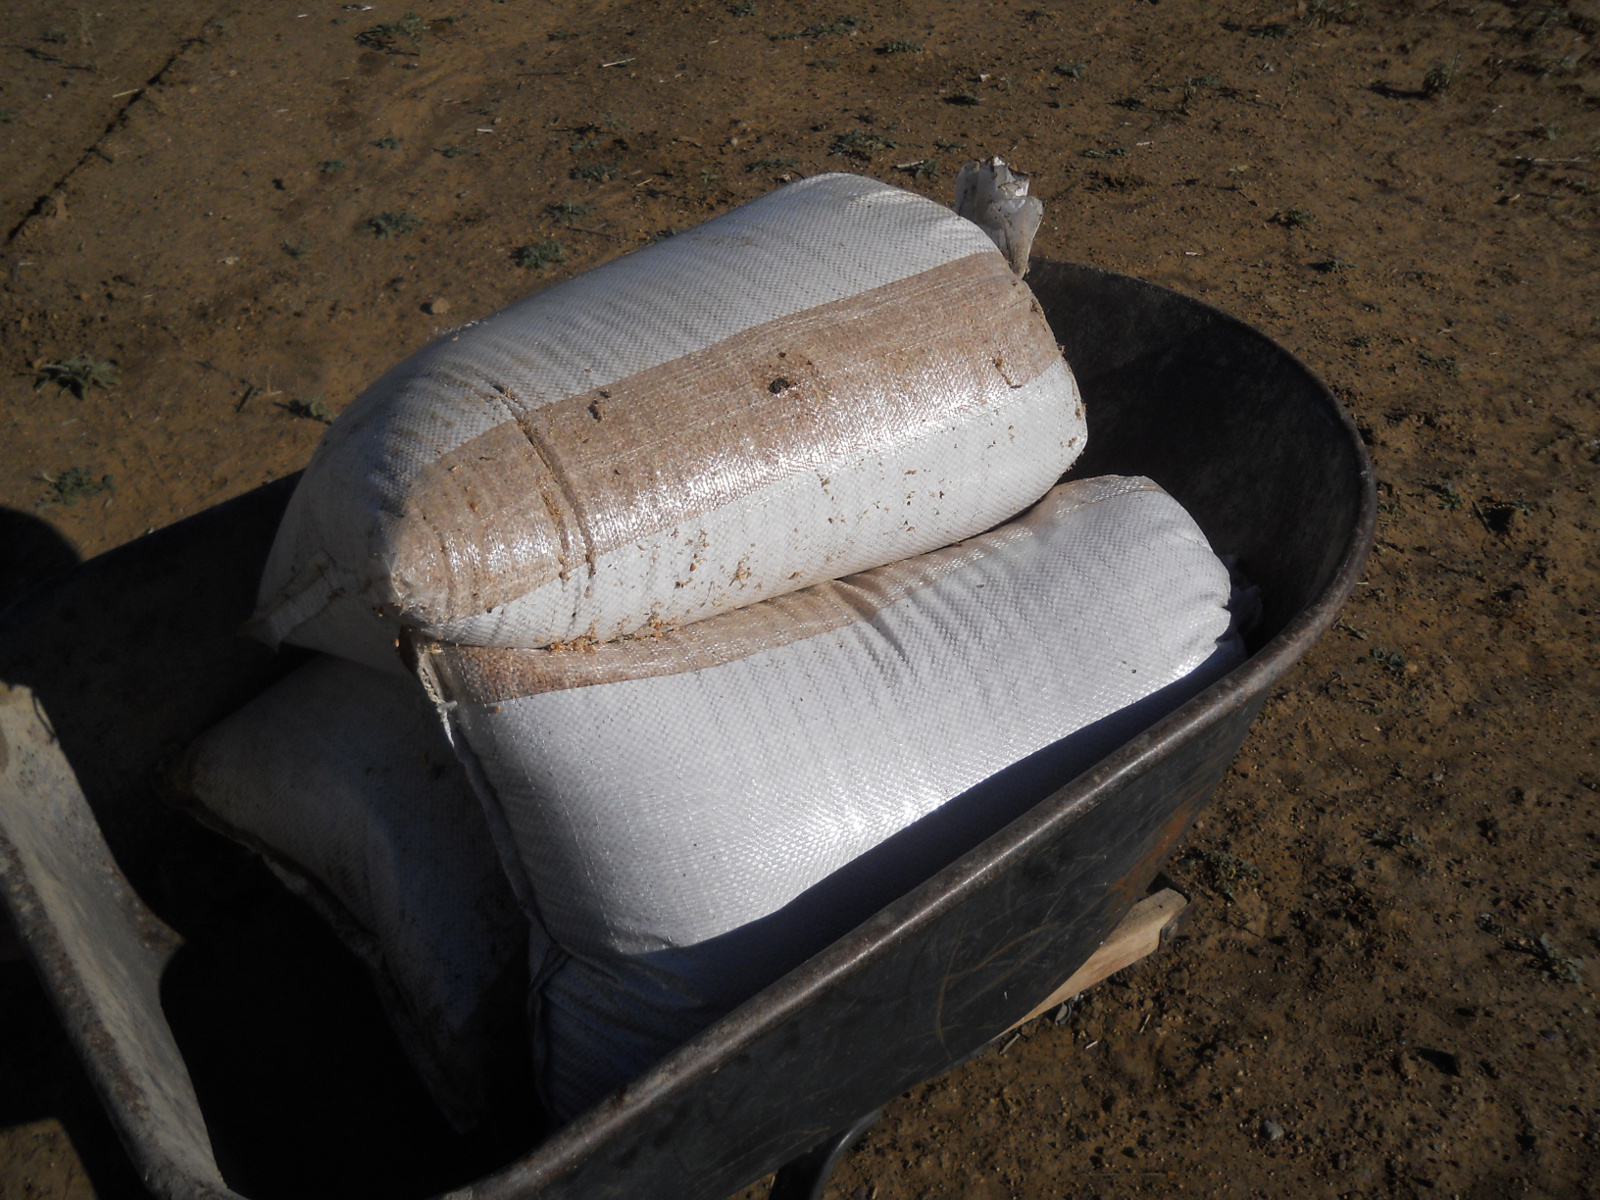
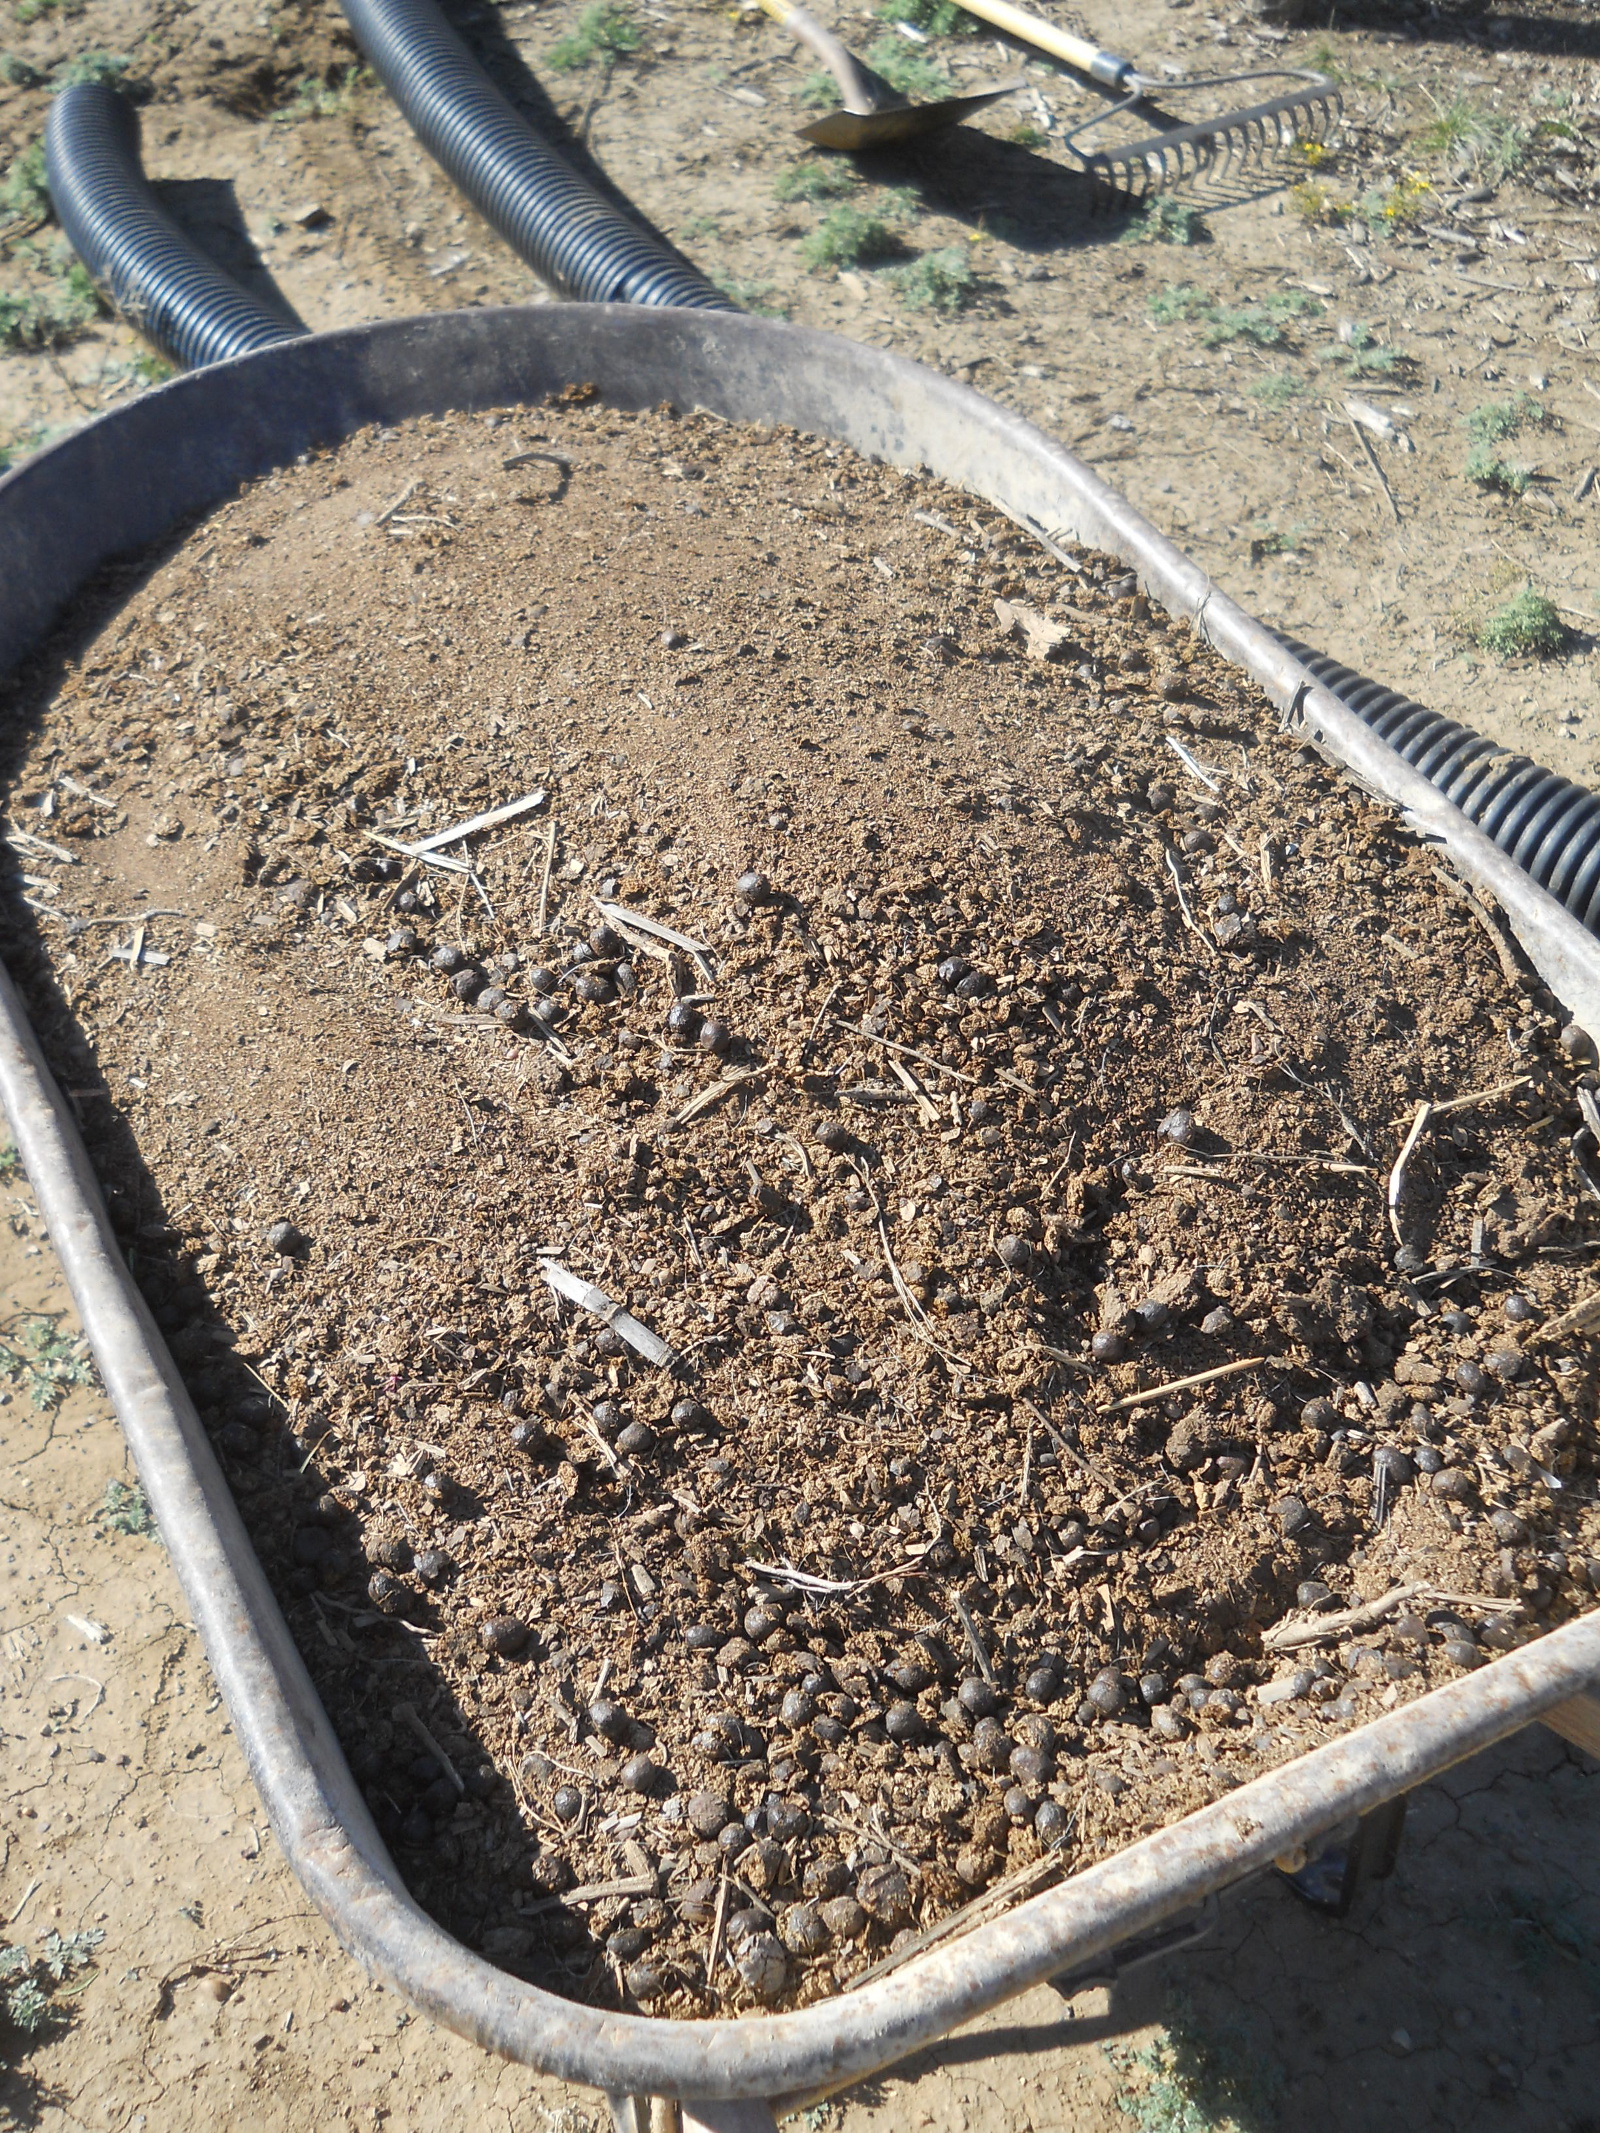
Also, last July, I added a layer of manure we got from the local cattle sale barn:

Manure on Mulched Garden Bed

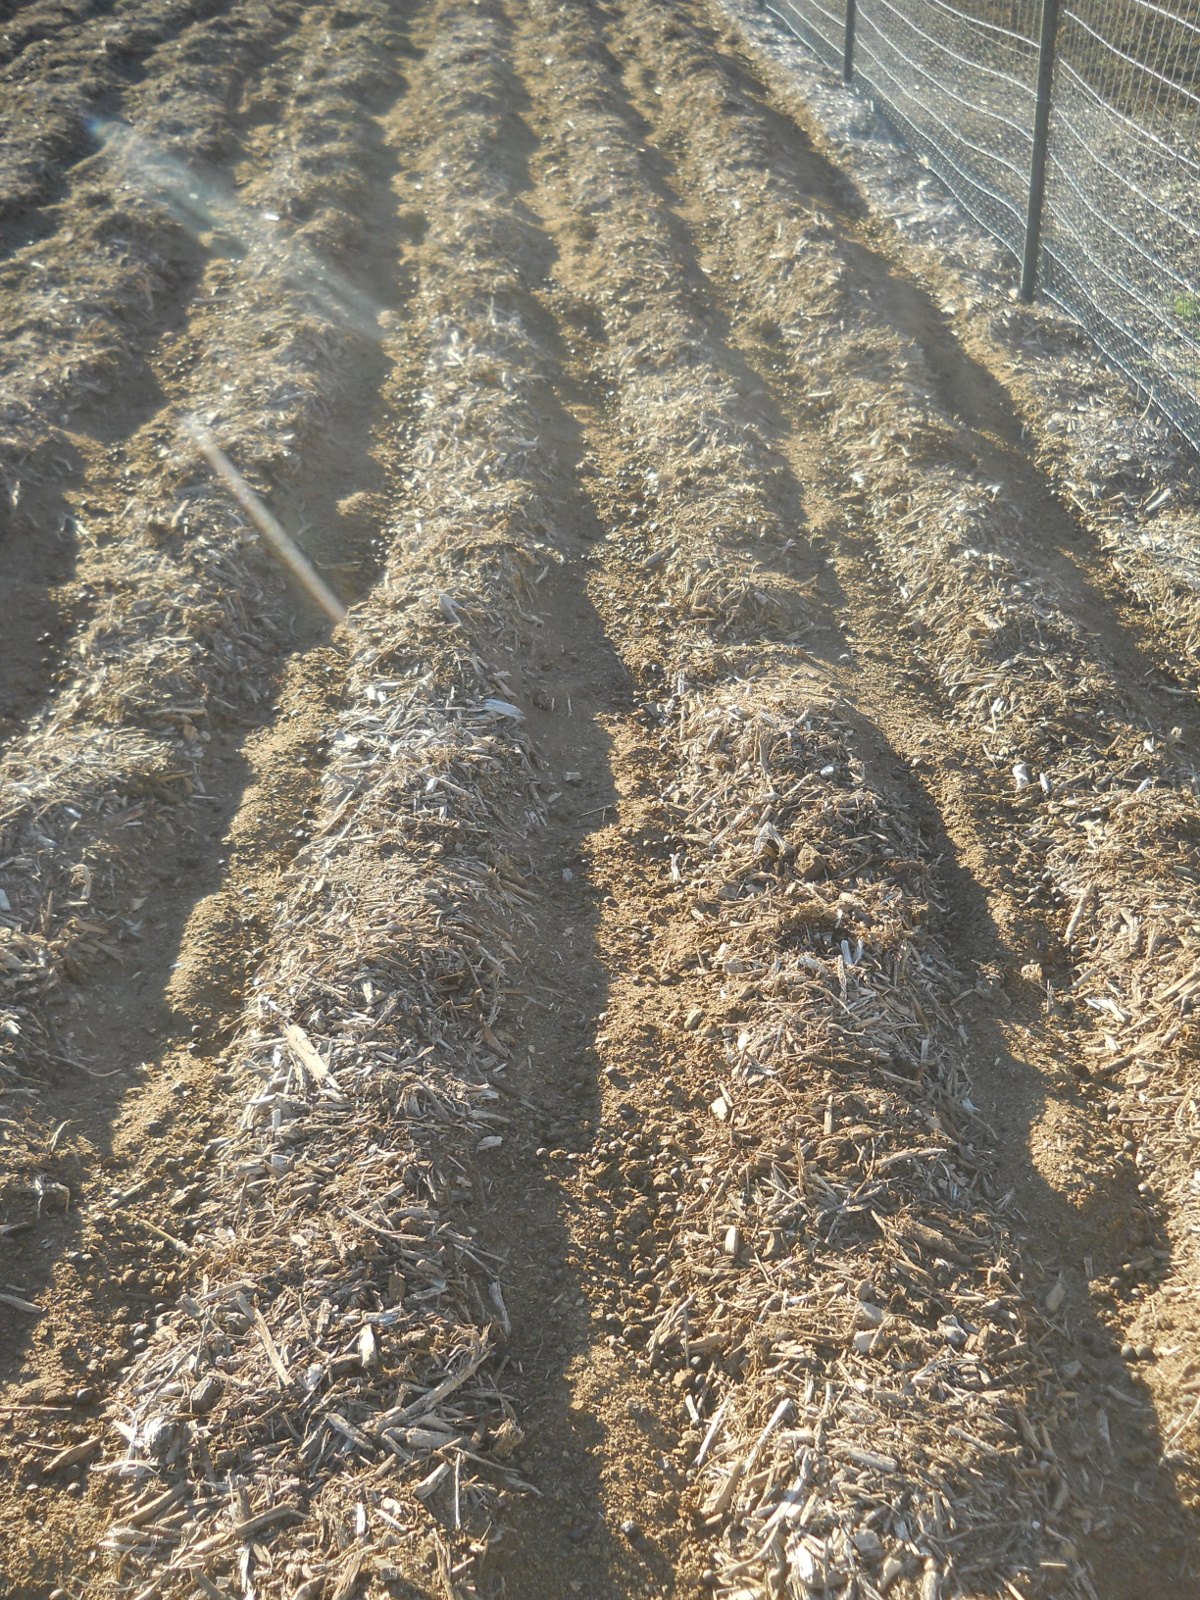
Given the very often dry and hot conditions, I have concluded that our mulch beds are going to need to work for gardening out here to work — watering in raised beds without a really good layer of mulch is just going to take too much water. And so, prayerfully, we started to plant in the mulch-bed gardens.

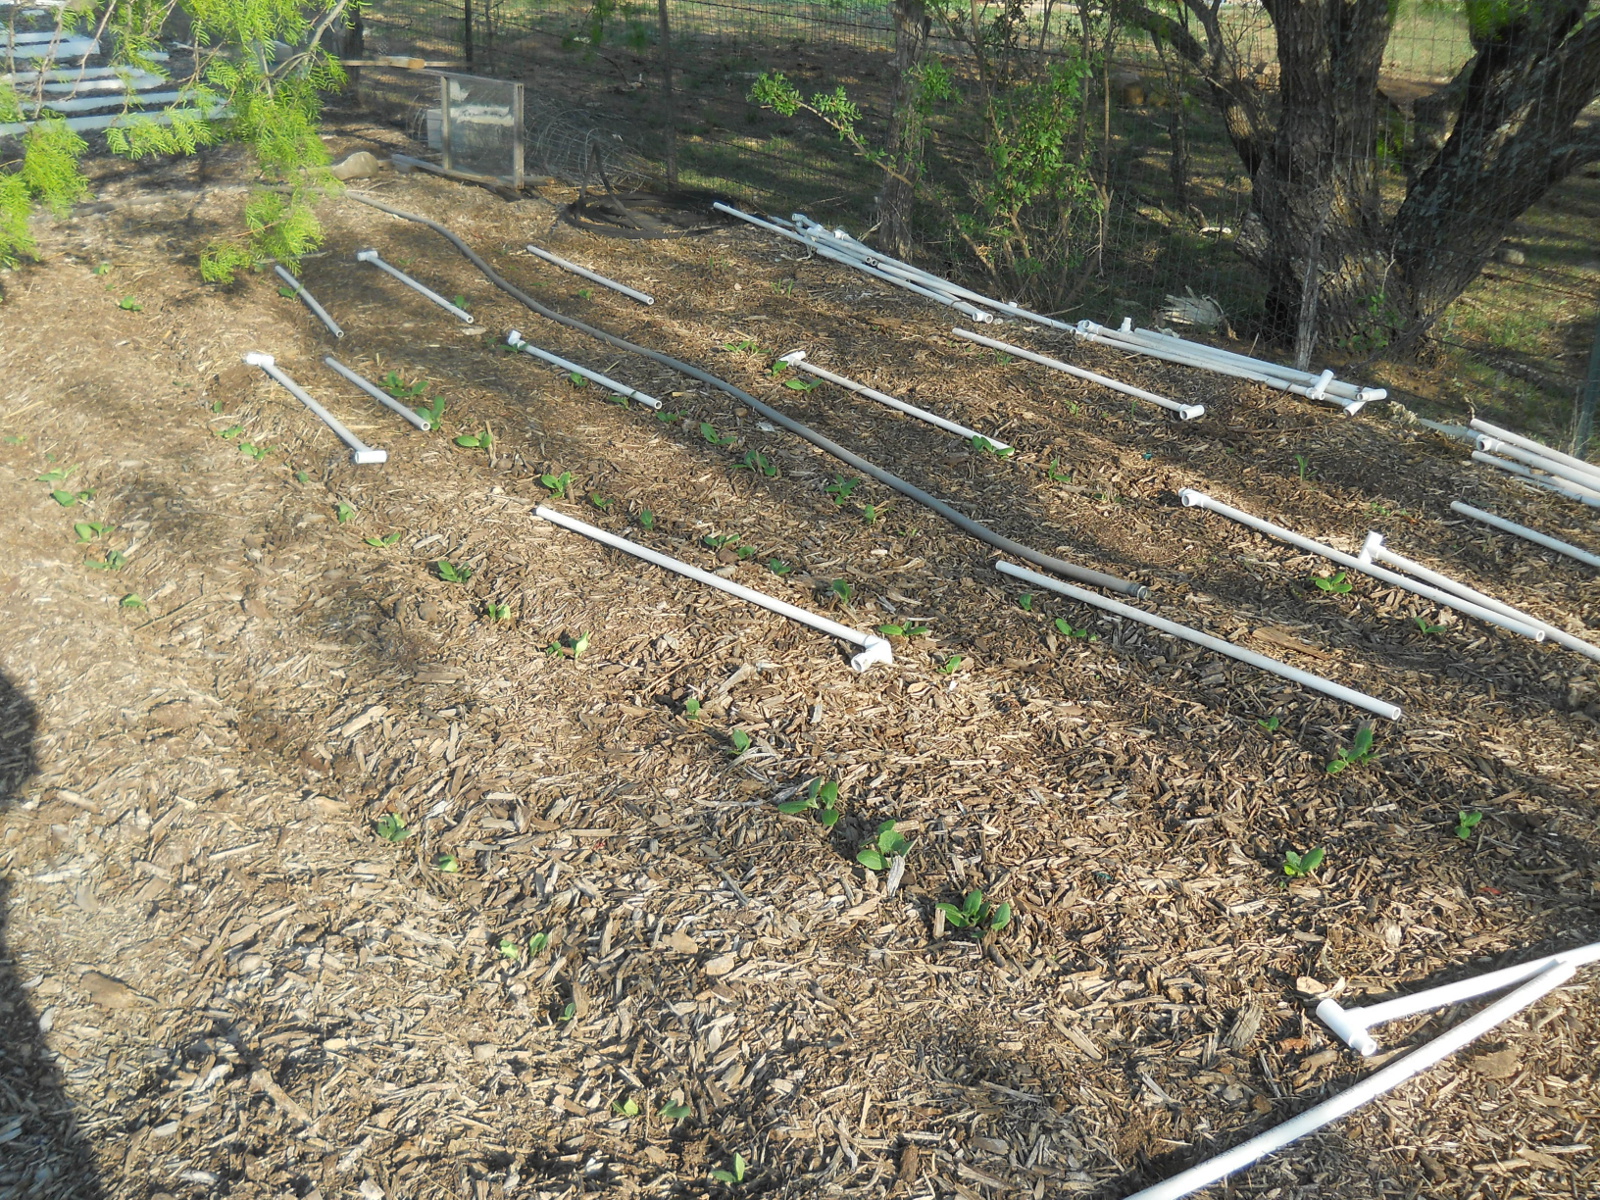
As for what to plant, I decided to stick with what has worked around here in the past: zucchini/squash, beans and tomatoes, and hopefully okra later when it gets warmer. I also learned you need to plant deeper, making sure to get to where there is soil, or the seeds won’t really germinate (no…really?? 🙂 ). Our garden 1 is also in the shade, so I thought that might help with some of the more sensitive plants, especially the tomatoes. I also decided to move some of the goat-area compost I had put in garden 2 for the Winter turnips over to garden 1 to try to make sure there was some decent soil available.

I wasn’t sure how this was going to work, but we were very thankful when little sprouts started to show up! I did plant some broccoli, but nothing germinated with them at all. These are about a month ago:

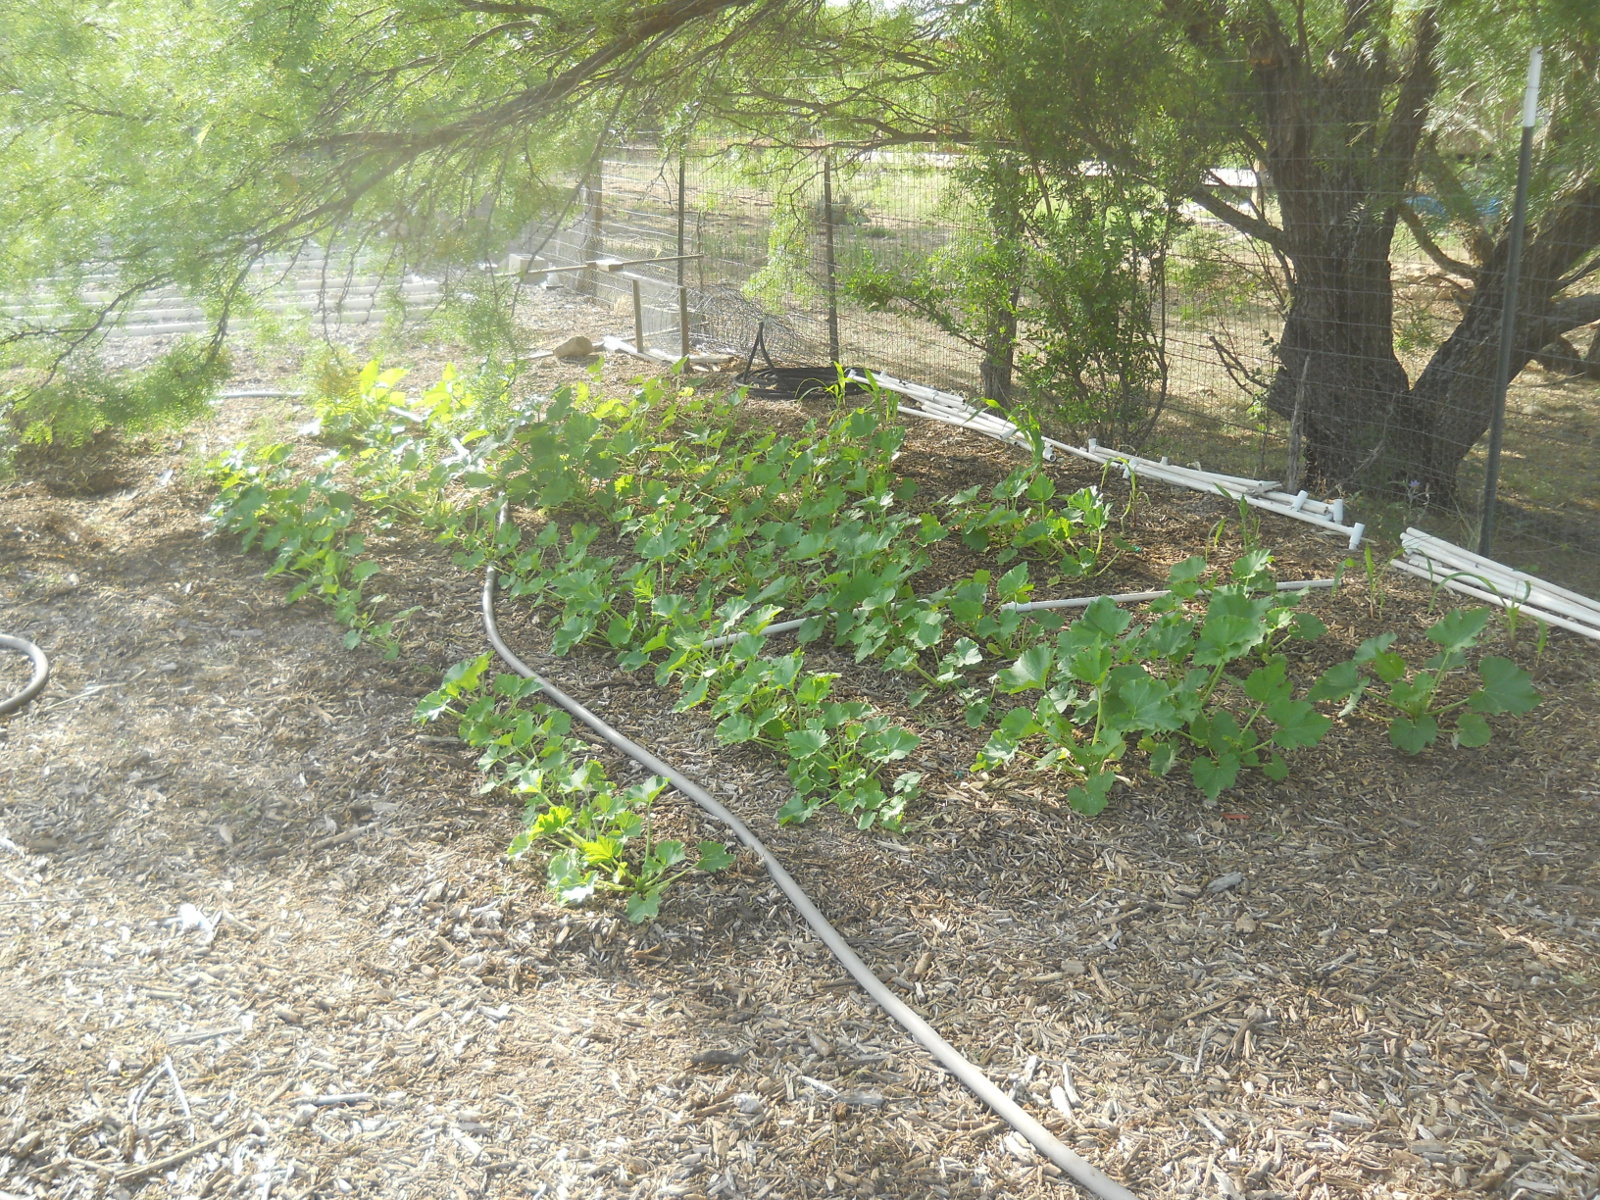
The zucchini (I thought I had bought squash seeds, but didn’t realize I hadn’t until I went to plant — so it’s all zucchini this year). The PVC pipes are just markers as to where I planted:

Zucchini Sprouting

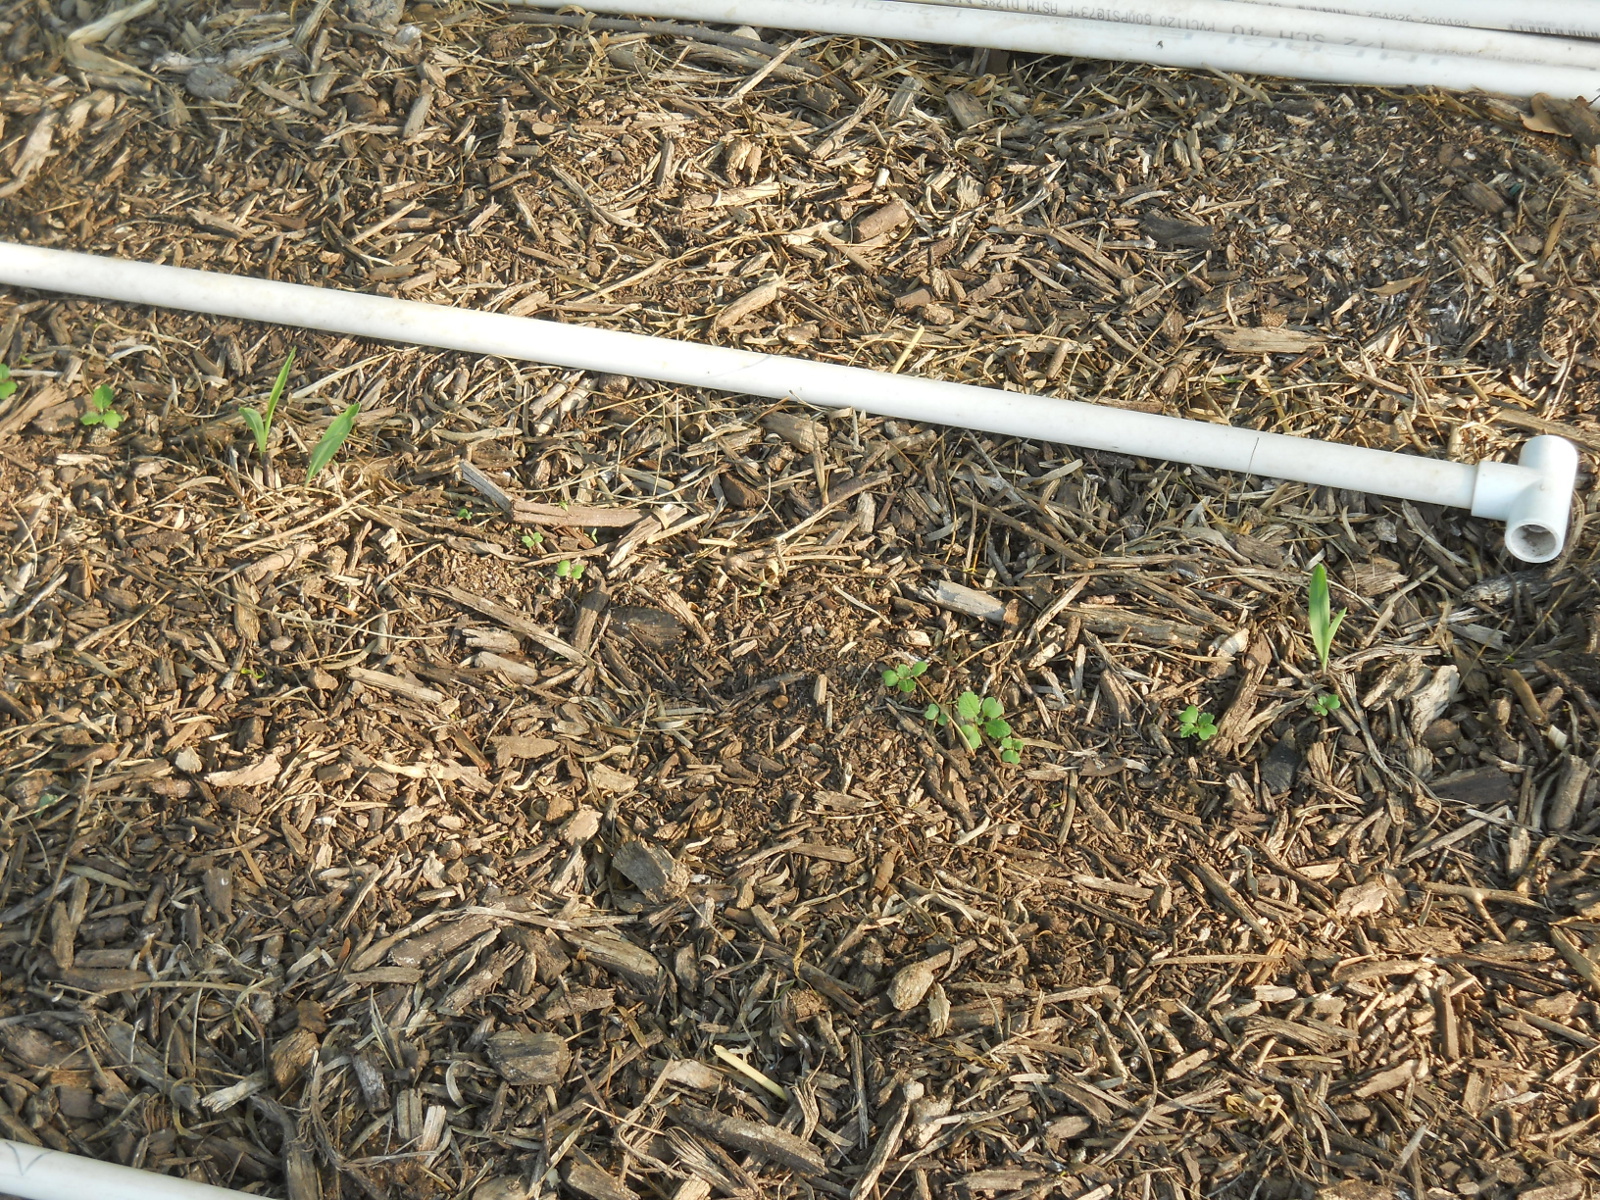
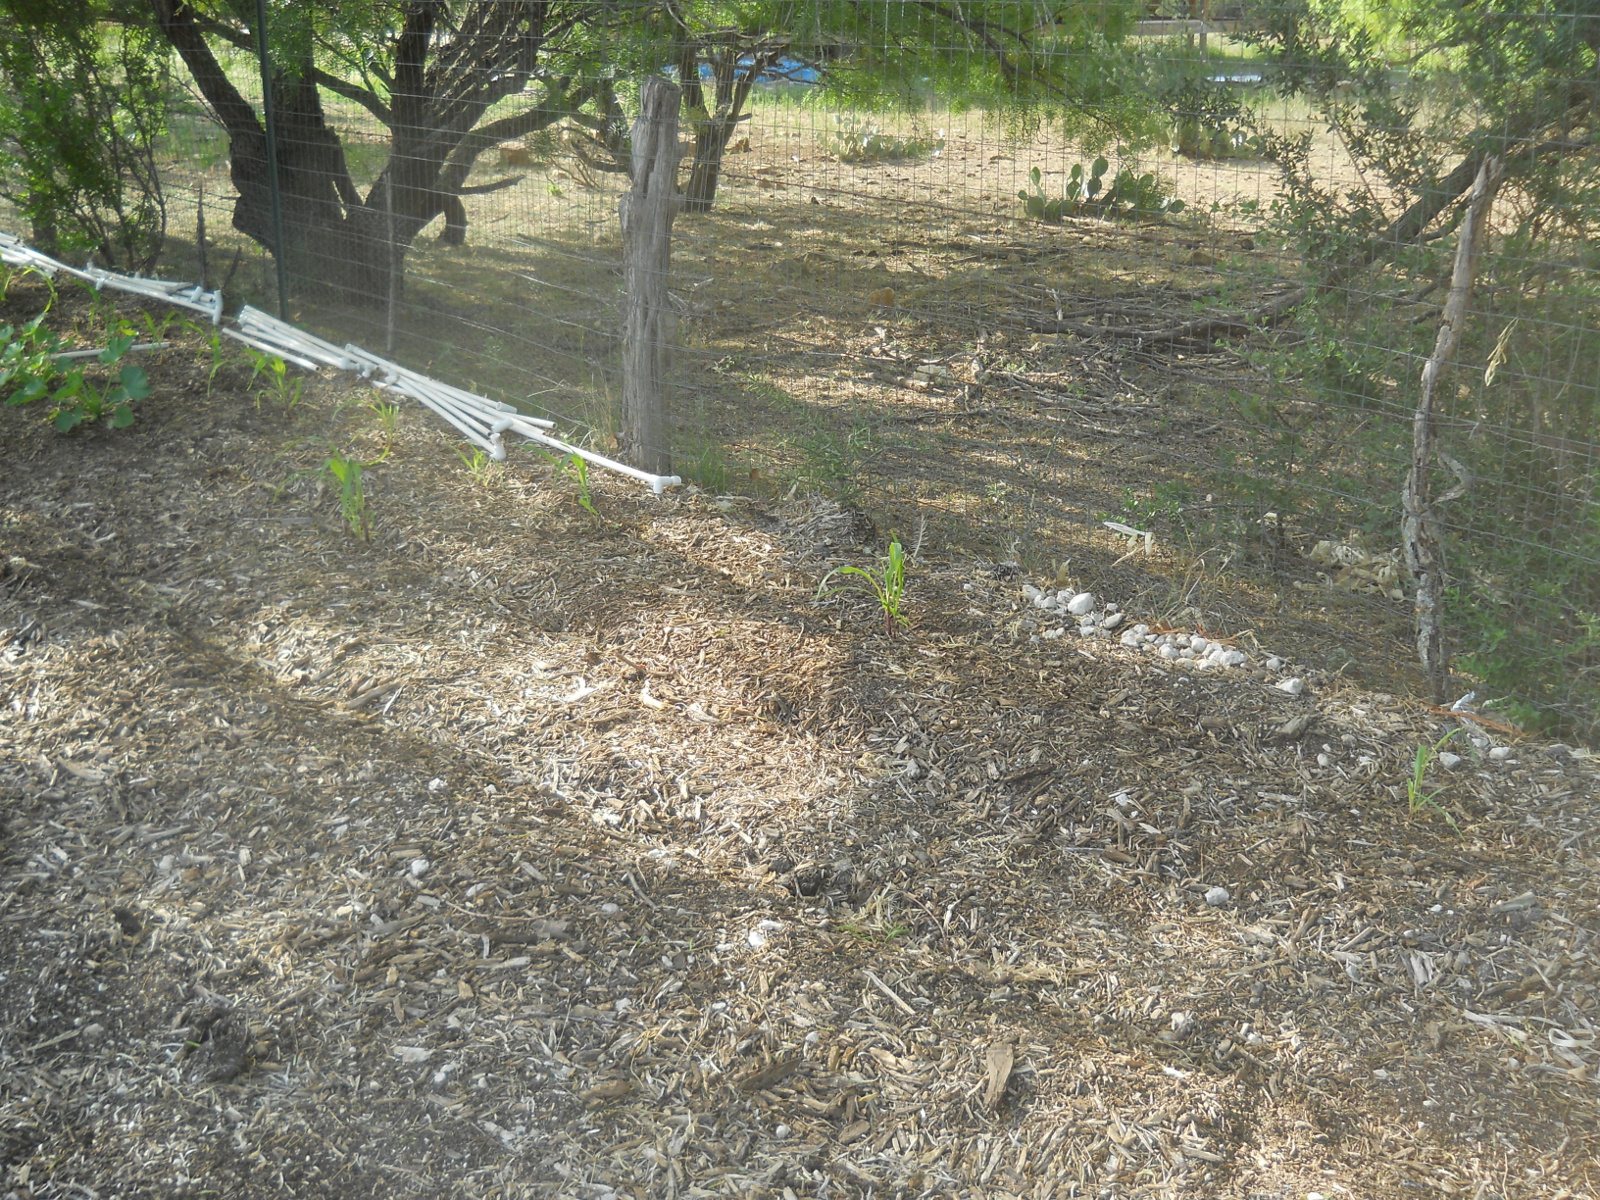
Just to see what would happen, given the hopes of much more moisture in the mulch-beds, I thought I’d throw a little corn in the ground to see what happened; and it started to come up:

Corn

And here are the tomatoes in the hugelkultur bed:

Tomatoes in Hugelkultur Bed

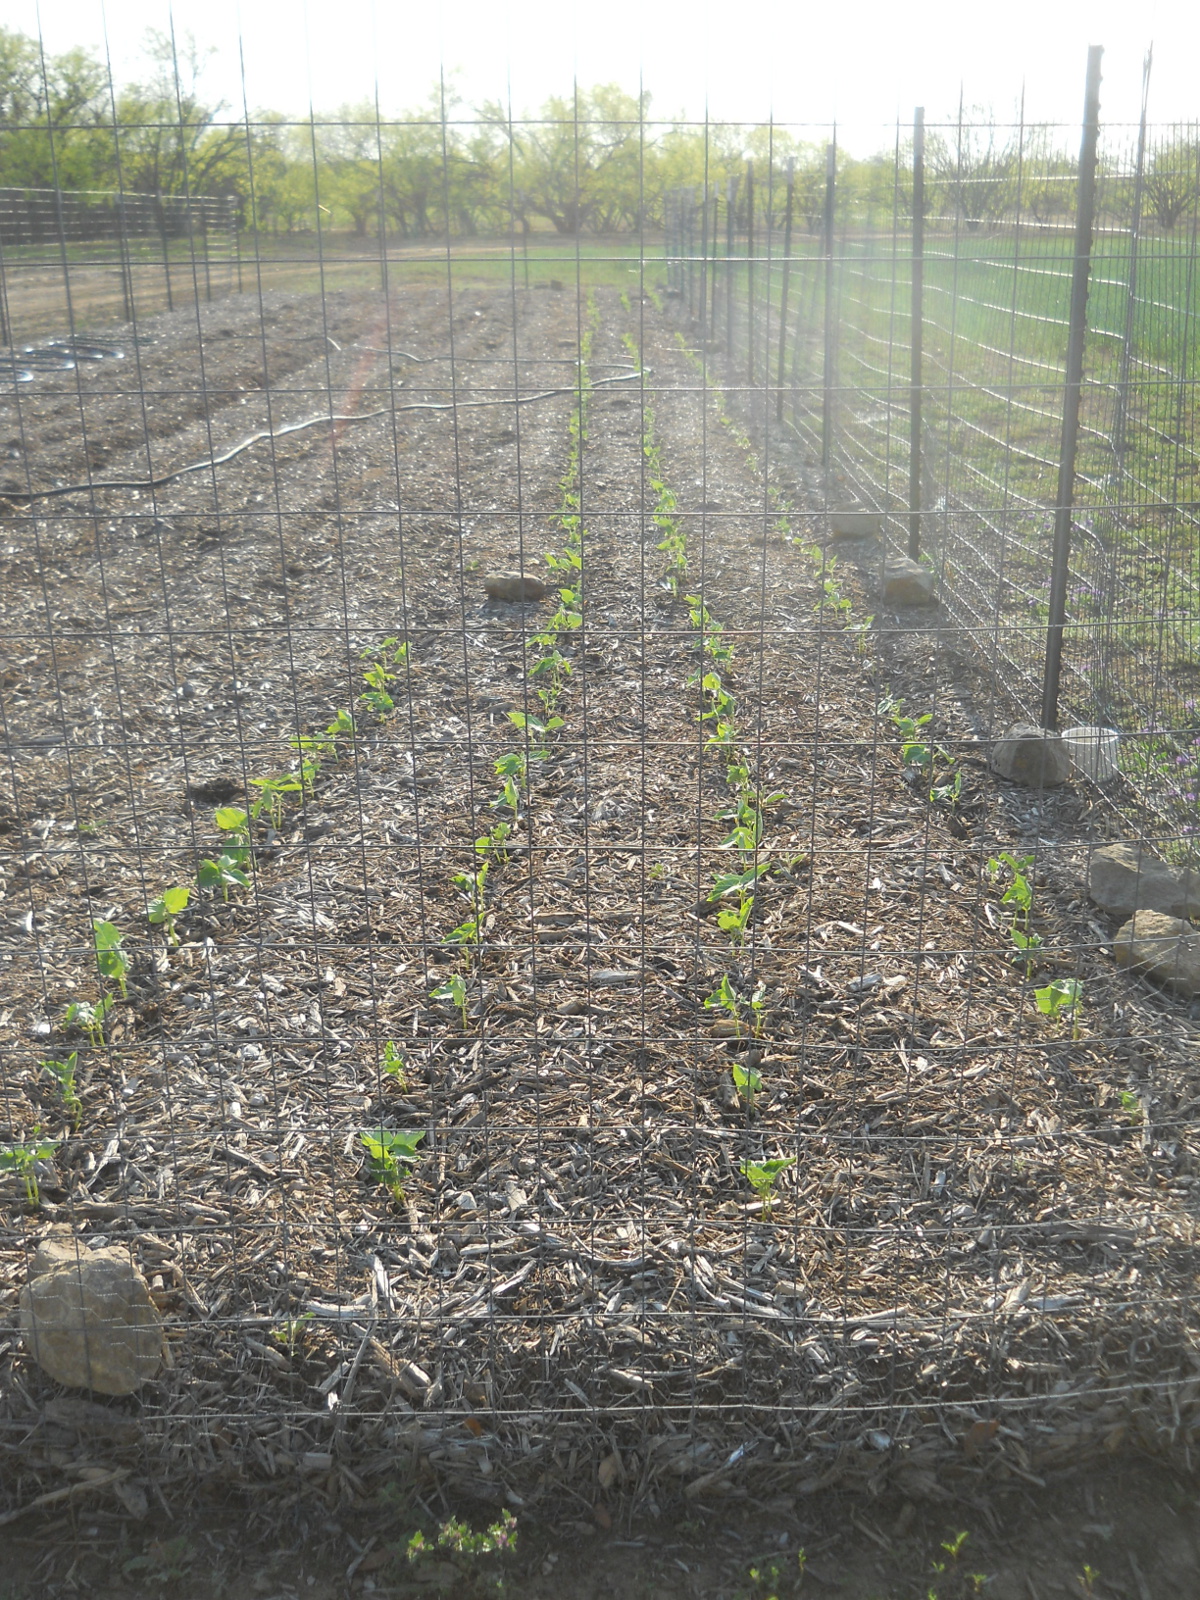
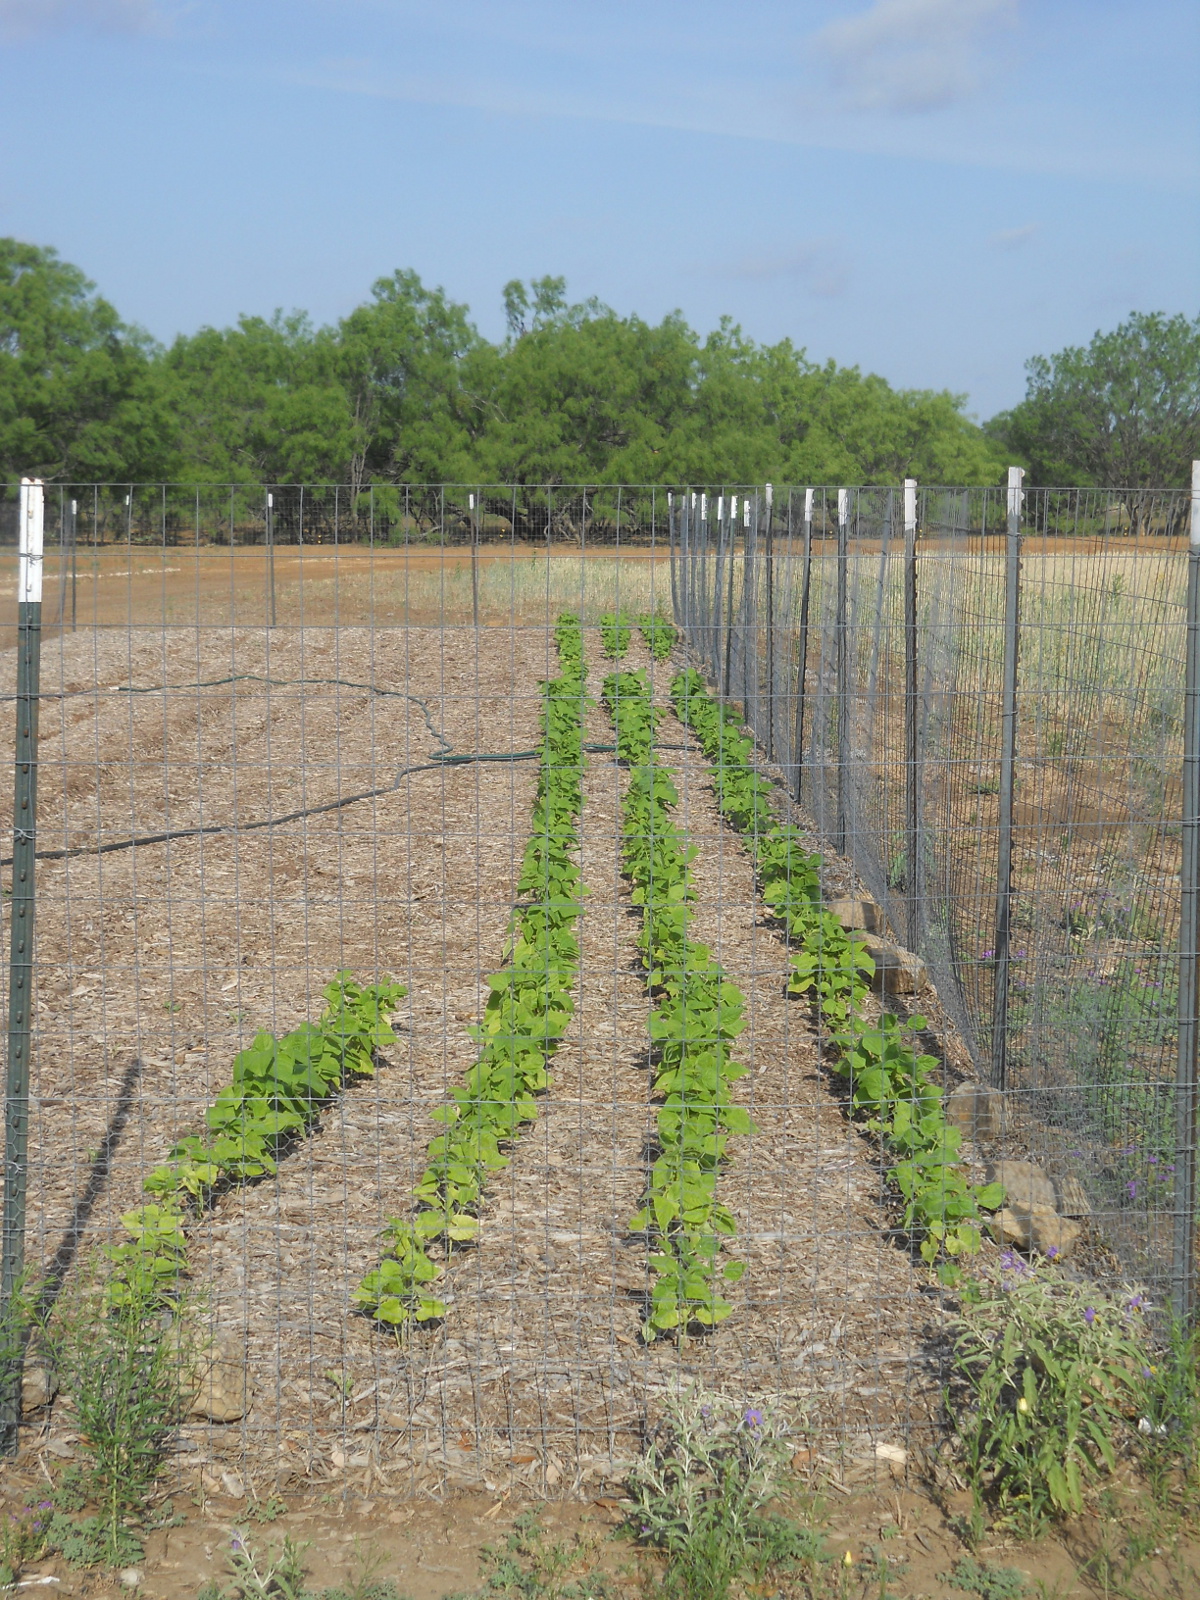
And the green beans in garden 2:

Green Beans Sprouting

And then just a few days ago…

The zucchini. I had planted just a few in some dried chicken manure to see what would happen, but none of that came up:

Zucchini Growing

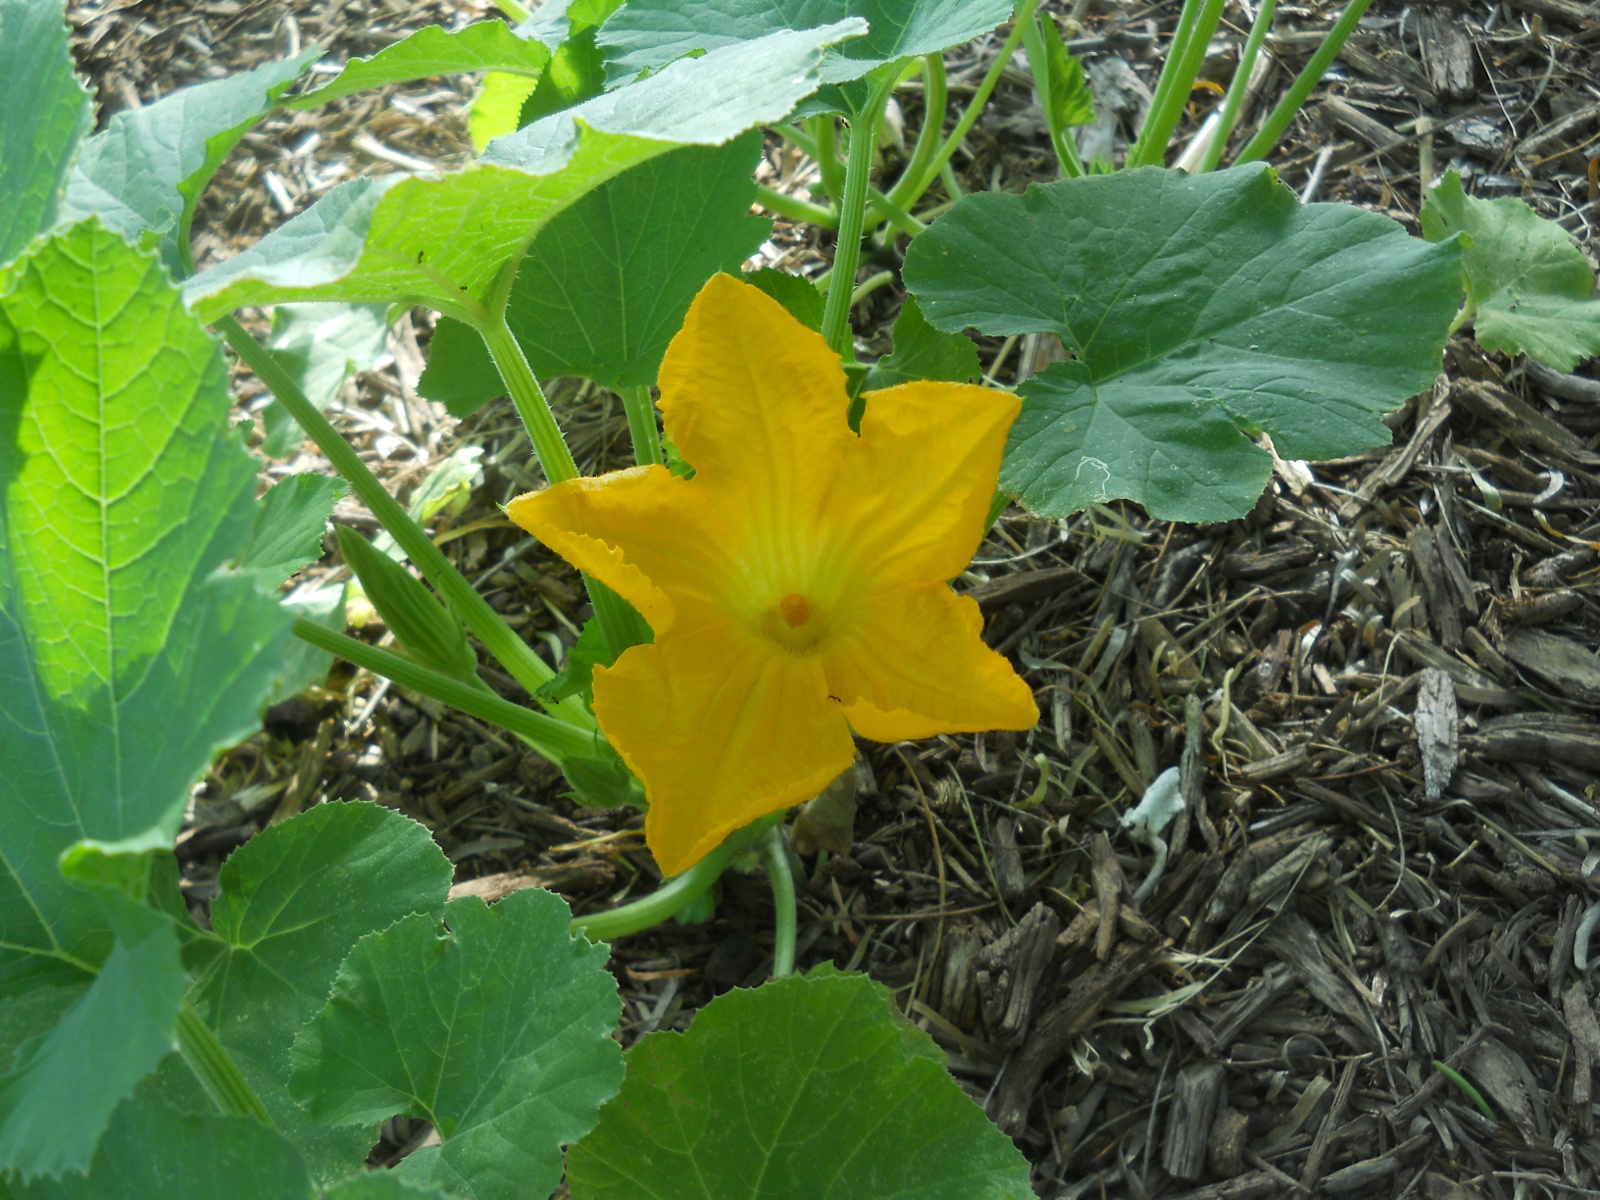
From this morning…beautiful, in a couple of different ways:

Zucchini Flower

Corn:

Corn Growing

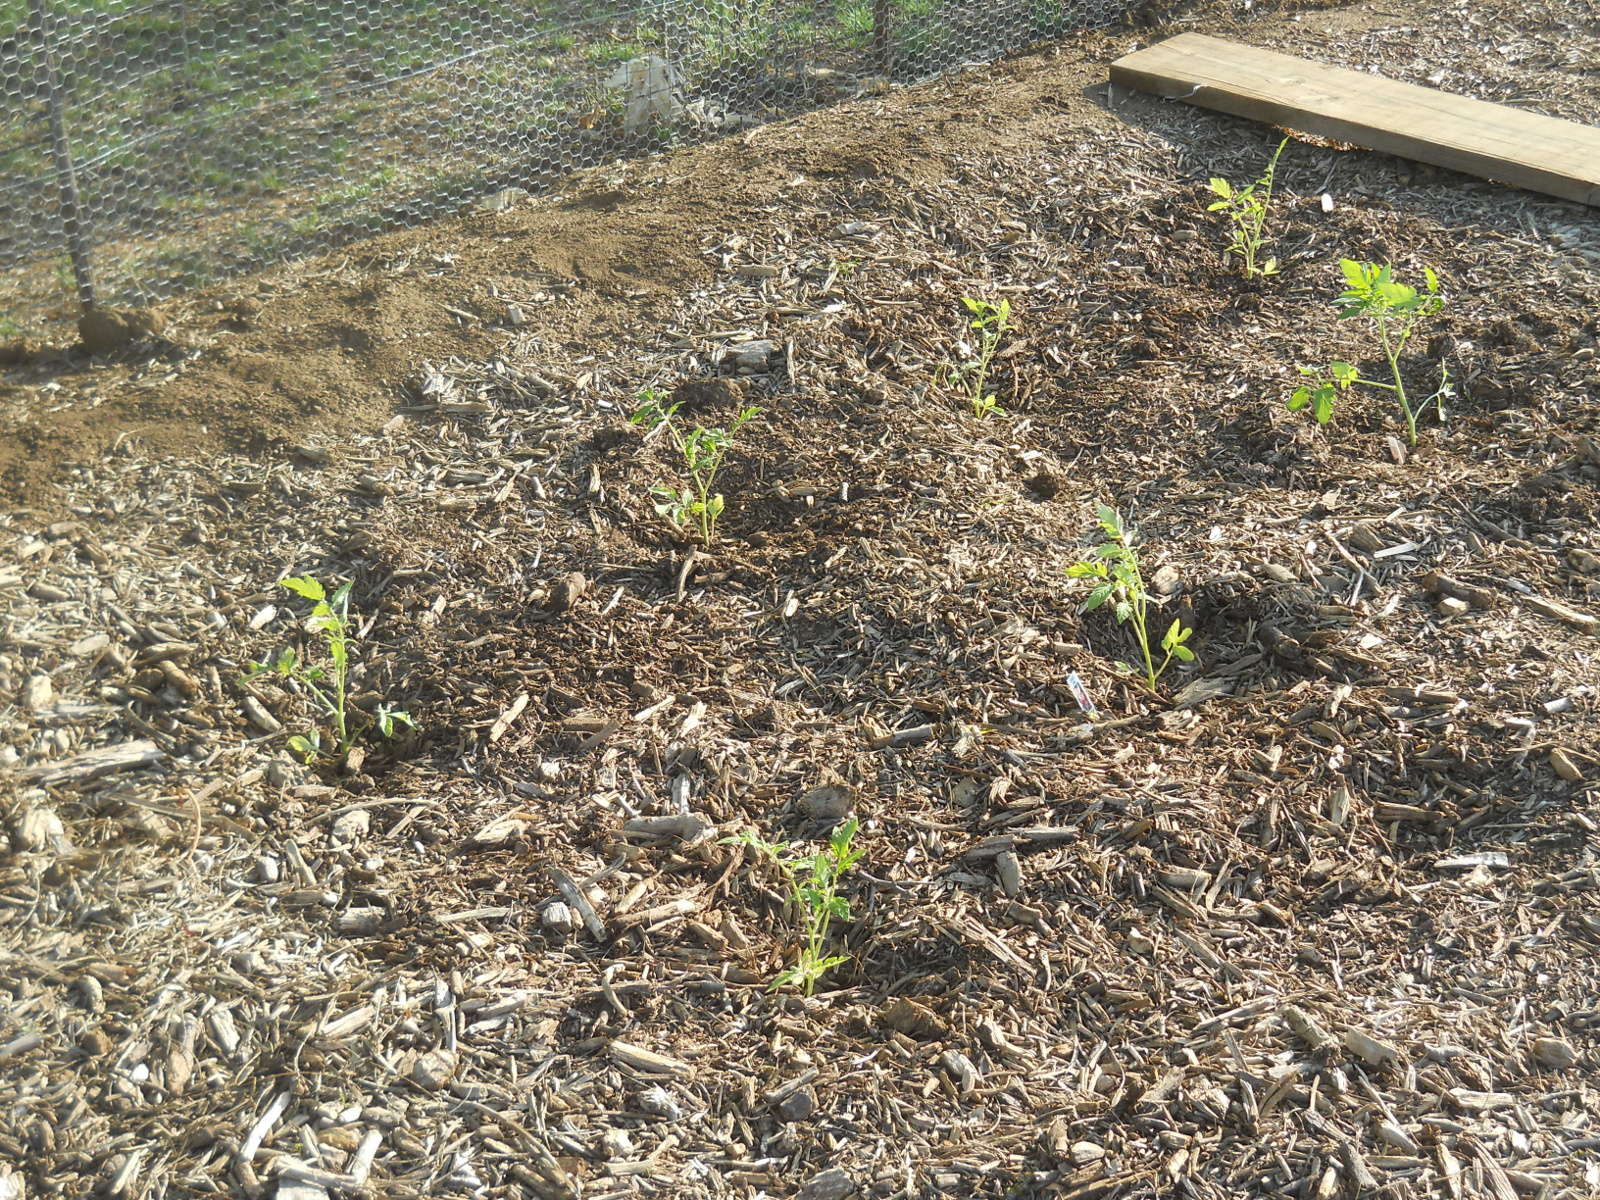
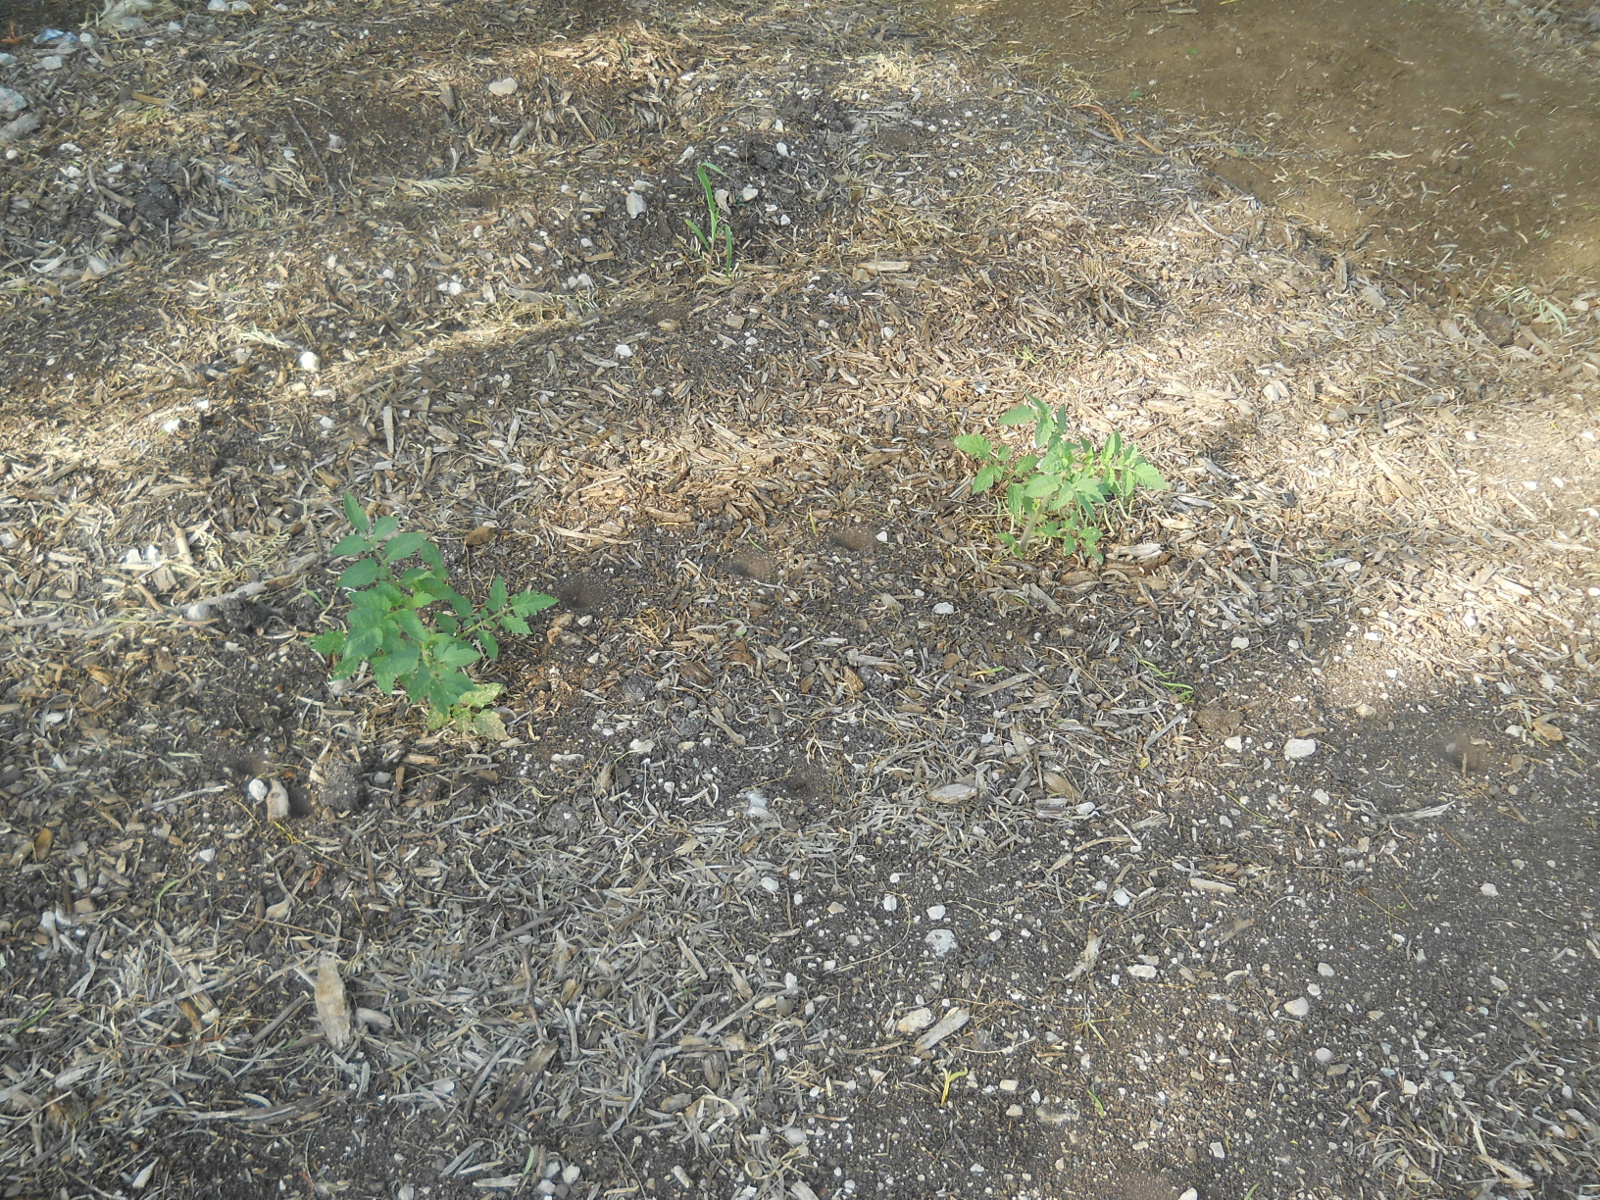
Tomatoes — these aren’t doing too well, as I don’t think what I planted in was good enough soil — I think it’s still composting, and that I’ve found in the past doesn’t work either:

Tomatoes Growing in Hugelkultur Bed

The Bunkers graciously gave us some tomato plants, and I thought I’d put a couple in the manured area; and these actually seem to be starting to do well:

Tomatoes Growing in Mulch Bed

And the beans:

Green Beans Growing

One nice thing about the mulch/forest-bed gardens is that I haven’t had to water nearly as often so far as I would have in our normal beds, which has helped, given the low rainfall from this Spring time.

We are very thankful to the Lord for granting us the forest/mulch-bed gardening idea, and for Him allowing it to apparently work! We’re thankful for the water He has granted, and we pray for His continued provisions, both spiritual and temporal, in accordance with His will.

— David

A House – Update XXV – External Siding – Update I

Well, after putting on the siding for the upper west side of the house, I decided to try to knock out the upper north side, given it was during Winter, which is from where most of the rains come, and that the water running off the main roof has a tendency to bounce back toward the house — something I hadn’t considered in the design. I guess the worst part is having to close the north and south upper windows if it rains, which is only a minor inconvenience.

First was the tar paper, which Sue and I are able to do:

House Upper North Side Tar Paper

And then the window trim. Once again, we’re using cedar fence slats for the siding, for aesthetics and durability:

House Upper North Side Window Trim

And then the main courses for the siding. After climbing the ladder himself, here is foreman William, our cat, making sure I do a good job on things:

William Our Cat Supervising Putting on the Siding

And here is some of the siding complete:

Cedar Fence Slat Siding Partially Done

Here’s supervisor William up on the roof again with me. He had tried to jump up to the main roof, but didn’t quite make it; so I set him up there, and he went and took a look around:

William Our Cat Supervising from the Upper Roof

And here is the upper north siding complete!

House Upper North Side Cedar Fence Slat Siding Complete
Another View of the Completed Siding of Upper North Side

So that’s two upper sides done now, both of which I’m starting to paint with wood preserver.

We are once again very grateful to the Lord for granting the provisions to continue on the house, and safety while we are up there.

— David

Wheat 2014

After our land Sabbath last year, in Autumn, we decided to plant wheat again, using the wheat we harvested back in 2012, which has also been used to supplement the chicken scratch.

Here is one of the sacks of wheat:

Wheat Seed from 2012

And then in the grain drill:

Wheat Seed in the Grain Drill

Here’s the prepared field:

Plowed Field Ready for Wheat Planting

And then me out there planting the wheat seed:

Planting Wheat Using the Tractor and Grain Drill

We did it shortly after a good rain, so it sprouted pretty quickly; and here it is growing well about 10 days after planting:

2014 Wheat About 10 Days After Planting

The Winter weather had some pretty good cold snaps this year, and not a lot of moisture, and we weren’t sure anything was even going to grow. I also didn’t do a very good job of making the ground even when I plowed it, so there are quite a few bare spots. Here it is near the end of March,:

2014 Wheat Late March

But here it is again almost a week ago, and thankfully there is some wheat growing:

2014 Wheat Early May
Closeup of 2014 Wheat Early May

Also back in 2012, I planted turnips next to the wheat using the grain drill, and those actually worked out fairly well. With our mulch garden beds though, I thought I’d try planting turnips in there. Here are the rows ready for planting, dug out using a rake:

Mulch Garden Bed Rows Ready for Turnip Seed

I had noticed that, the hay, pee and poop from the goat sheds, and the area around them, after time, rain and being trampled, turned into what looked like really nice compost, so I thought I would add that to the mulch-bed rows. Here it is:

Goat Area Compost in Wheel Barrow

And then in the rows:

Goat Area Compost Placed in Mulch Garden Bed Rows

I planted the turnip seeds in the rows, and thought I’d try just scattering some on the non-row area left in the mulch-bed garden, but it appeared that with the cold snaps, the turnips, even though some germinated, just couldn’t get going. I have a feeling I waited too late in the year to get them planted. And so, the rows basically looked like that after Winter. Bummer.

Still, we’re thankful to the Lord for granting the wheat He appears to be granting, and we look forward to perhaps being able to harvest it in due time, according to His will.

— David

« Older posts Newer posts »