This is our journal of what we pray is our sojourn of life (Hebrews 11:8-10) along the narrow way (Matthew 7:14), even the old paths (Jeremiah 6:16), submitting to the Bible as a light unto both (Psalms 119:105). It is our prayer that these documented moments in our earthly time benefit whom God might choose to edify, but ultimately that God glorifies Himself through them.

Category: garden (Page 4 of 8)

Garden – Spring 2015

A little over a month ago, with the weather looking like it was going to hold and not bring another freeze, it was that time of year to begin the garden! Always a joyous time of hope!

The War of the Weeds

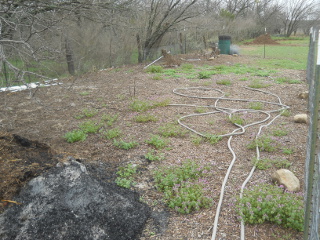
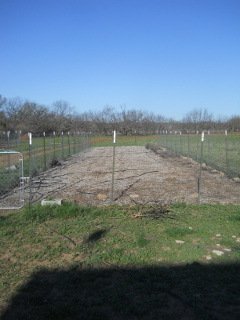
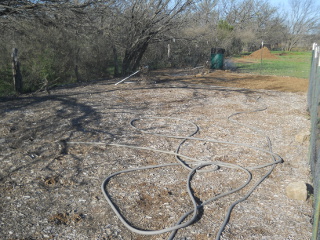
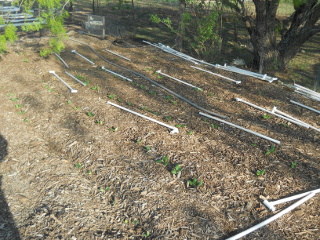
As always too, there is a constant war with the weeds. Over the Winter, they certainly had their way with the garden areas:

2015 Winter Weeds in Garden II

2015 Winter Weeds in Garden I West

2015 Winter Weeds in Garden I East

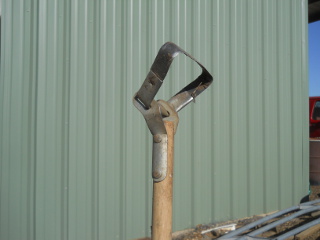
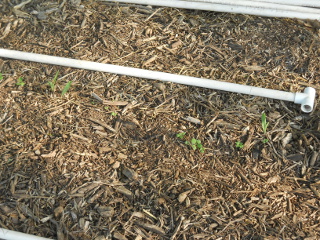
But I had the tool and the power! 🙂 These hoop hoes work great!

Hoop Hoe Used to Weed the Gardens

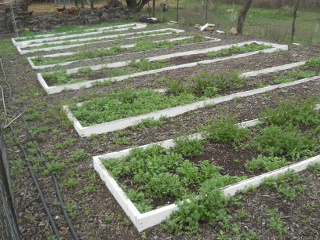
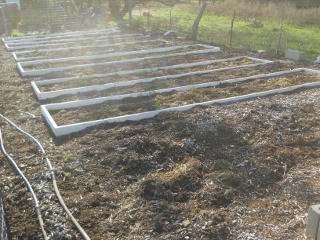
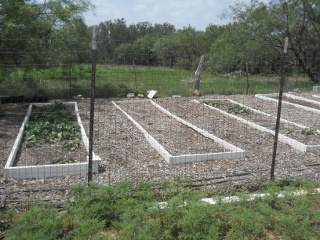
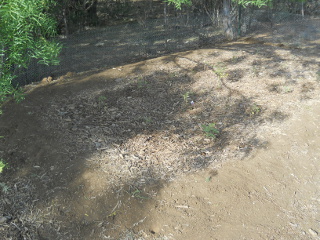
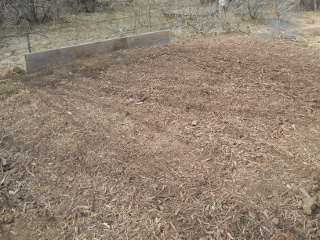
And here are the results!

Garden II 2015 Weeded

Garden I West 2015 Weeded

Garden I East 2015 Weeded

May the Spirit of Christ weed the garden of our hearts continually by His almighty power!

Planting

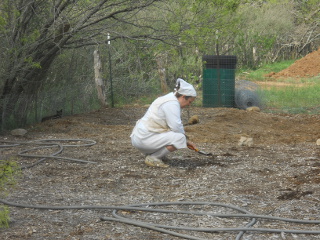
Once I figured we were clear of a freeze, we got to it, sowing seeds. Here Sue is helping:

Sue Planting the Garden

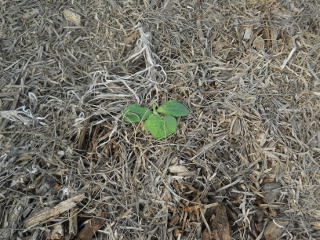
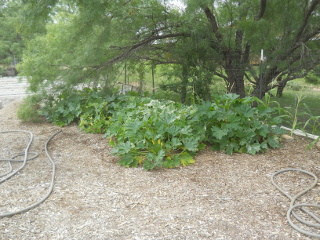
We also discovered that a zucchini we had planted last year decided to start growing now!

Zucchini Planted Last Year Germinated

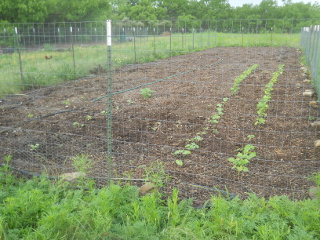
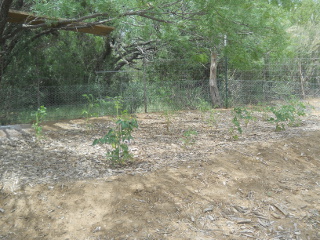
And here we are as of today, freshly weeded again yesterday. 🙂 I’ve been a little disappointed because a lot of things didn’t germinate, not to murmur as we know all of these things are in God’s sovereign and wise hands, but to maybe understand if I’m doing something wrong. We’re still learning about planting in the mulch beds, and perhaps I really need to get them started in small containers first. Also, someone here asked if the seed was old, and it was, so I’m hoping that’s the real problem.

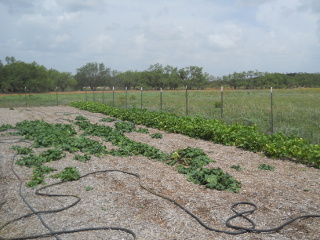
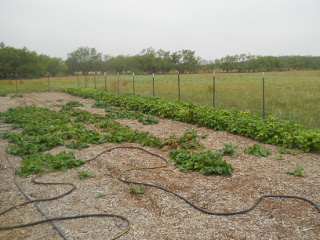
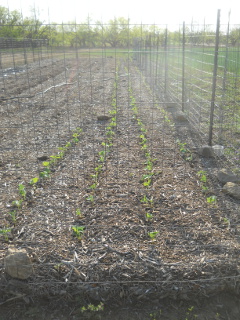
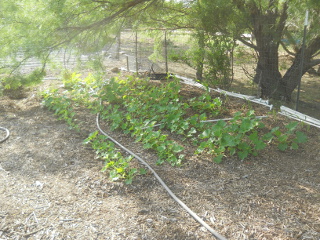
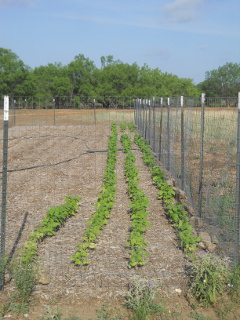
Anyway, we are thankful for what the Lord is granting! The beans always do great around here. There is also some squash to the left. Between them were peppers, but none of them sprouted:

Garden I Growth Early May

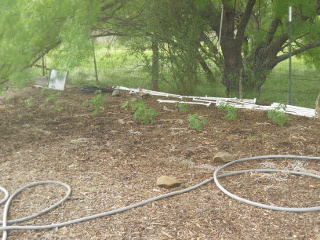
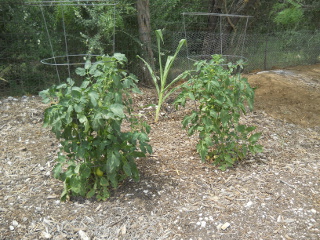
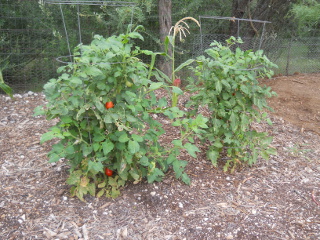
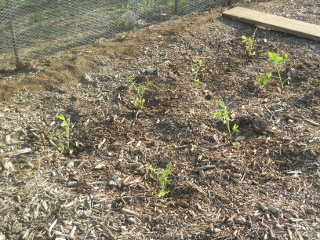
These are the tomatoes. We’re trying putting them in the shaded area to see how they do there:

Garden I Tomatoes

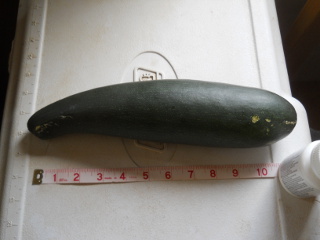
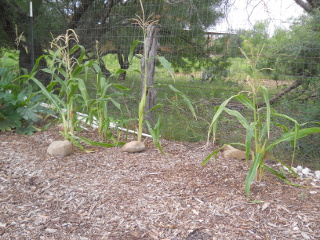
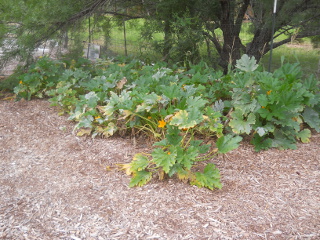
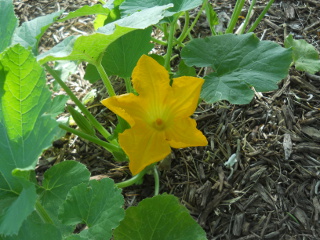
And this is that zucchini from last year! That’s kinda funny to me. 🙂

Zucchini Planted Last Year

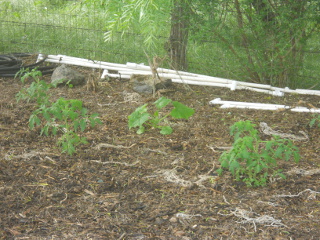
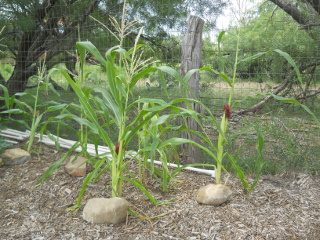
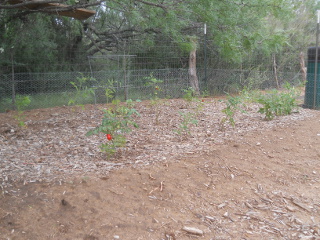
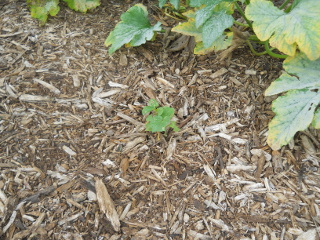
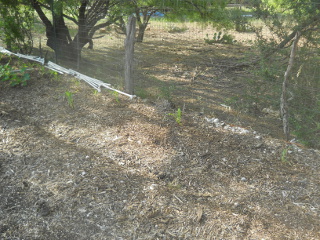
And if you look closely, you can see just a few others, I think maybe a pumpkin, and maybe some more okra:

Garden I Other Small Plants

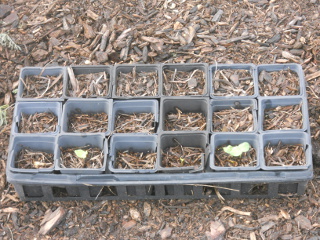
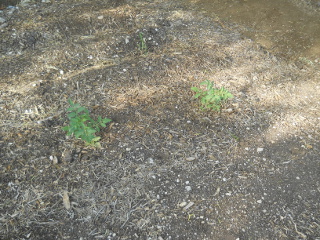
I thought I’d try starting some more in some good soil, but only the okra (I believe) is coming up. This might help confirm that “old seed” theory:

Seed Starting

We are always thankful for the provisions the Lord grants, even daily for our daily bread! We pray He continues to direct us in these agrarian activities.

May He grant us good soil in our hearts, not hardened (where Christ and His truth make no impact and are stolen away by sin, temptation and the devil), not stony (where faith withers under trials and persecutions), nor thorny (where they are taken away by the cares of the world). Mark 4:4-20

— David

Garden – Spring 2014 – Update II

Just recently our Spring garden wrapped up for the year, and so we thought we’d show the progress since our last update in July:

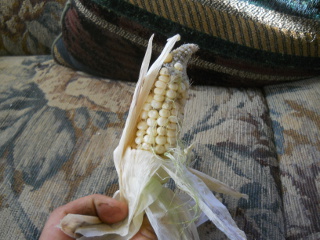
Shortly after that blog post, I believe, all of the zucchini plants pretty much dried up. The corn didn’t fare too well, but here is one ear we received — not too appetizing looking, but the corn was an experiment and tasted just like corn! 🙂

Sweet Corn Ear

However, through the Summer, with the green beans really slowing down, the turnips continued to do well in the mulch garden beds, even though I didn’t manually water them:

Garden 2014 July Turnips

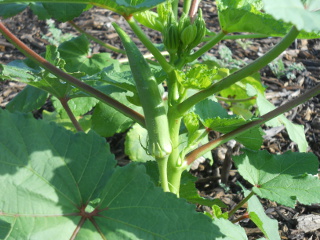
And the okra started to take off too!

Okra

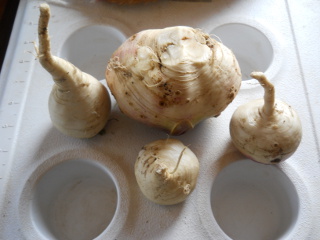
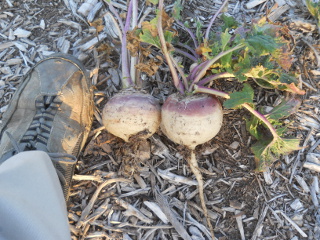
In September, here were some turnips I pulled to give to the piggies:

2014 September Turnips

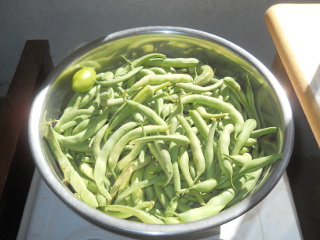
And with things cooling by October, the green beans started taking off again:

Garden 2014 October Green Beans

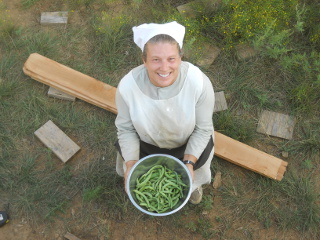
While working on the house from up on the porch roof, Sue showed me some more October beans:

More Garden 2014 October Green Beans

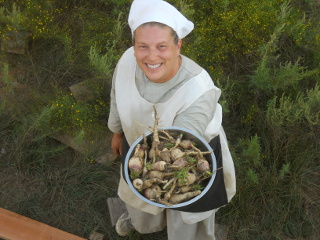
And some turnips!

2014 October Turnips

By mid November, here is what the gardens looked like:

Mid November 2014 Garden Green Beans & Okra
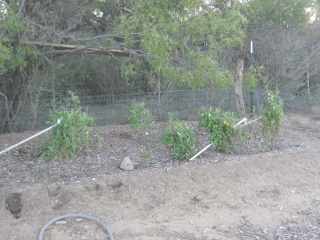
Mid November 2014 Garden Tomatoes

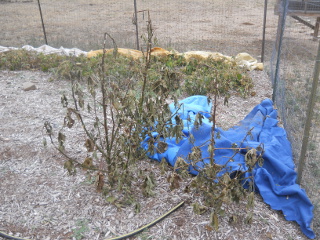
But, the cold was coming, and we covered with blankets as much as we could, which was almost everything. However, after several nights, most everything didn’t make it:

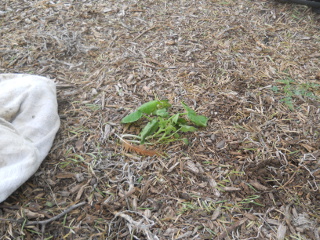
Okra After Freeze Nights
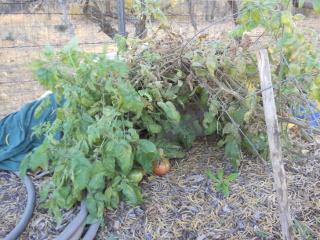
Tomatoes After Freeze Nights

…except for this late-germinating zucchini. But, a few weeks later, this even succumbed to the cold:

Late Germinated Zucchini

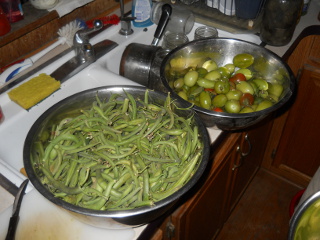
And here is the last bean and tomato haul after the freezing nights:

Final Green Beans & Tomatoes Haul

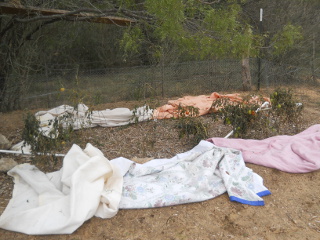
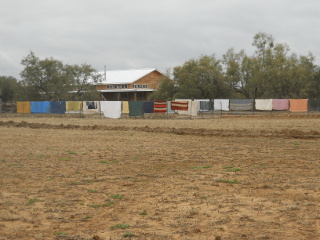
And a final, nostalgic look at the gardens with the blankets hanging to dry:

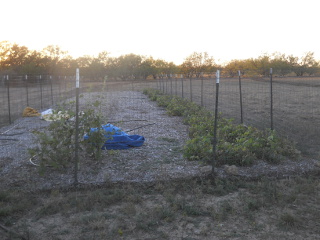
Final Look At Garden With Drying Blankets

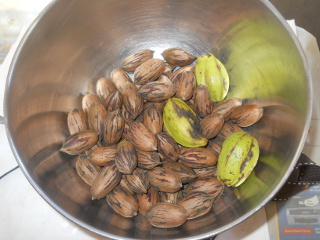
And finally, the Lord also granted some pecans again from our pecan trees!

2014 Pecans Haul

We are very grateful to God for His gracious and merciful provisions from the garden this year, the successes and failures, and learning more about gardening and mulch garden beds. We look forward to the next growing season, if the Lord wills it to see us to that point — the season of new life after the time of cold and death, much like a cold, dead soul being brought forth in new life by the work of the Holy Spirit.

— David

Garden – Spring 2014 – Update I

It’s been a couple of months since our last garden update, and so we thought we’d show the latest from the garden!

Here is some of the first produce the Lord granted!

First Garden Produce 2014
More First Garden Produce 2014

And here, we’ll show you around the gardens from early in July. In our 2014 wheat blog post, I mentioned that we had planted turnip seeds back last year, and that nothing had grown. Well, a couple of months ago or more, God granted somewhere around 7 1/2 inches of rain in a few day period; and lo and behold, a bunch of turnips sprouted! Here you can see them (again, early July) in Garden 2, along with the green beans on the right:

Green Beans & Turnips, Early July 2014

And more turnips in the raised beds. The ants started getting to those, so I have since pulled them and fed them to our pig (they were really small):

Turnips in Raised Garden Beds, Early July 2014

Again from early July, the zucchini:

Zucchini, Early July 2014

The corn:

Corn, Early July 2014

Tomatoes:

Tomatoes, Early July 2014

And in the hugelkultur bed:

Tomatoes in Hugelkultur Bed, Early July 2014

The following from just yesterday. We’ve been eating the greens from our turnips in salads and sandwiches, and we hope to start to preserve them by lacto-fermentation, which would be our first attempt at that with turnips:

Beans & Turnips, 3rd Week in July

Also, I mentioned in the previous garden blog post that I thought I might try planting okra. I believe I planted them the next day, and none germinated. And so, I tried again, and here are a few that have started!

New Okra, 3rd Week in July

And here are the tomatoes:

Tomatoes, 3rd Week in July

And again, in the hugelkultur bed:

Tomatoes in Hugelkultur Bed, 3rd Week in July

The corn:

Corn, 3rd Week in July

And zucchini. We’re getting to the time with them where the inner leaves start to die and any further growth starts occurring farther from the root. We’ve had a lot of flowers, but not a lot of actual fruits, which to me is interesting (apparently other folks here have had some similar issues), but of course, we are thankful for what the Lord has granted:

Zucchini, 3rd Week in July

And here’s another okra:

More New Okra, 3rd Week in July

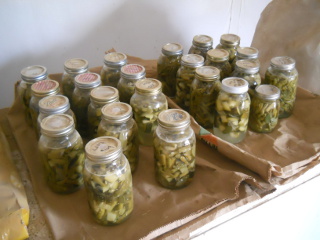
And here is a lot of the produce being lacto-preserved:

Lacto-Fermented Preserved Garden 2014 Produce

As always, we are so very grateful for the food the Lord is granting us through the gardens; the rains he has brought, with His direct watering, and allowing us to have water stored to water the gardens; and the mulch garden beds, which has allowed for a lot less watering and allowed me to water areas of the gardens without having to monitor the watering minute by minute.

— David

Garden – Spring 2014

At least for me, it’s always nice to start coming out of Winter into Spring time, with the warmth and the anticipation of planting the gardens! Since the last time we planted a garden, given we took last year off for our land sabbath, we had done some expansions, mostly based on the idea of mulch-bed/forest gardening, in our original garden area, and then adding a new garden area, and my first attempt at an hugelkultur bed.

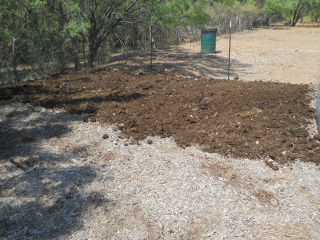
Also, last July, I added a layer of manure we got from the local cattle sale barn:

Manure on Mulched Garden Bed

Given the very often dry and hot conditions, I have concluded that our mulch beds are going to need to work for gardening out here to work — watering in raised beds without a really good layer of mulch is just going to take too much water. And so, prayerfully, we started to plant in the mulch-bed gardens.

As for what to plant, I decided to stick with what has worked around here in the past: zucchini/squash, beans and tomatoes, and hopefully okra later when it gets warmer. I also learned you need to plant deeper, making sure to get to where there is soil, or the seeds won’t really germinate (no…really?? 🙂 ). Our garden 1 is also in the shade, so I thought that might help with some of the more sensitive plants, especially the tomatoes. I also decided to move some of the goat-area compost I had put in garden 2 for the Winter turnips over to garden 1 to try to make sure there was some decent soil available.

I wasn’t sure how this was going to work, but we were very thankful when little sprouts started to show up! I did plant some broccoli, but nothing germinated with them at all. These are about a month ago:

The zucchini (I thought I had bought squash seeds, but didn’t realize I hadn’t until I went to plant — so it’s all zucchini this year). The PVC pipes are just markers as to where I planted:

Zucchini Sprouting

Just to see what would happen, given the hopes of much more moisture in the mulch-beds, I thought I’d throw a little corn in the ground to see what happened; and it started to come up:

Corn

And here are the tomatoes in the hugelkultur bed:

Tomatoes in Hugelkultur Bed

And the green beans in garden 2:

Green Beans Sprouting

And then just a few days ago…

The zucchini. I had planted just a few in some dried chicken manure to see what would happen, but none of that came up:

Zucchini Growing

From this morning…beautiful, in a couple of different ways:

Zucchini Flower

Corn:

Corn Growing

Tomatoes — these aren’t doing too well, as I don’t think what I planted in was good enough soil — I think it’s still composting, and that I’ve found in the past doesn’t work either:

Tomatoes Growing in Hugelkultur Bed

The Bunkers graciously gave us some tomato plants, and I thought I’d put a couple in the manured area; and these actually seem to be starting to do well:

Tomatoes Growing in Mulch Bed

And the beans:

Green Beans Growing

One nice thing about the mulch/forest-bed gardens is that I haven’t had to water nearly as often so far as I would have in our normal beds, which has helped, given the low rainfall from this Spring time.

We are very thankful to the Lord for granting us the forest/mulch-bed gardening idea, and for Him allowing it to apparently work! We’re thankful for the water He has granted, and we pray for His continued provisions, both spiritual and temporal, in accordance with His will.

— David

Hugelkultur Garden Beds

One of the garden bed methodologies we’ve learned about is hugelkultur. Generally, this involves burying (below and/or above ground) tree materials, like stumps, trunks or even branches, under your garden soil. Apparently, as the tree material rots, it also becomes very absorbent, and is supposed to help with holding moisture in the garden bed. There is lots of information and videos about it on the Internet, but here is our first attempt at doing one of these. Since we’re observing a land sabbath and aren’t growing gardens or crops this year, I definitely wanted to start on these while I had extra time.

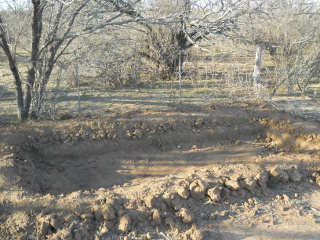
I decided to just locate the beds as an extension of our main garden area, and here is the first level dug out. I thought using the dug-out dirt as a berm around the bed would help even make it deeper:

First Dug Out Level of Hugelkultur Garden Bed

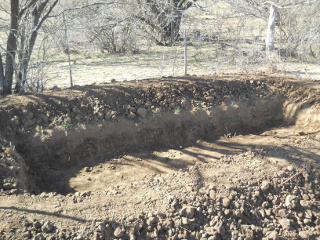
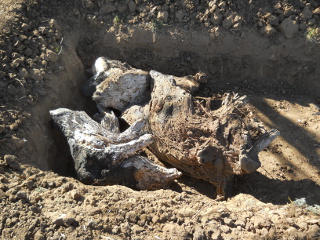
After the first digging, in looking at it, and I think even trying it out by putting a stump in place, it just wasn’t deep enough, so I dug out another round:

Second Dug Out Level of Hugelkultur Garden Bed

Then, it was time to gather the wood material. For this first bed, I thought I’d go with larger items, and so I went around trying to collect old stumps and similar things:

Hugelkultur Garden Bed First Wood Stumps in Place

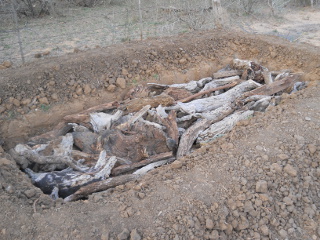
And here is the bed full. It was like a puzzle trying to place the pieces to fit as tightly as possible:

Hugelkultur Garden Bed First Rest of the Wood in Place

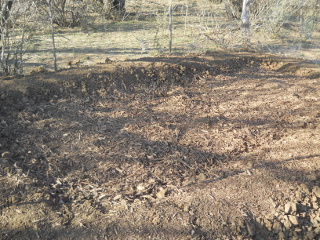
The plan was to then cover the bed with mulch. I had originally wanted to fill the entire thing with sifted mulch, but realized that was going to take a lot of effort for probably not much gain, since I could fill the bed up leaving 8-10 inches at the top with the wood-chips mulch we get from the landfill, and then sift from there, which is what I did. This is the mulch in place:

Hugelkultur Garden Bed Wood Chips in Place

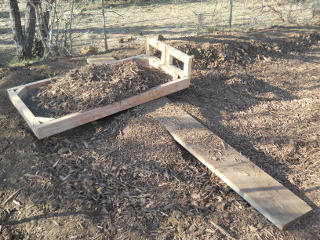
And then the sifting process. I used that long board across the bed for sliding the mulch sifter back and forth:

Sifting Mulch on Hugelkultur Garden Bed

And here it is complete!

Hugelkultur Garden Bed Complete

Lord willing, I hope to add another bed in front of this one.

Composting

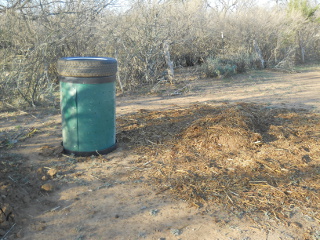
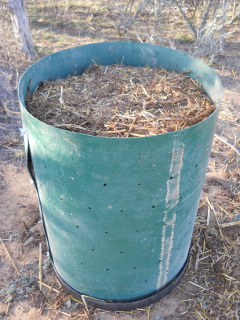
We had recently discovered that the area all around our goat sheds, where we put the hay and goat “evacuations” cleaned out from the sheds, with rain water collecting there, and over time, was composting nicely into this fine, fluffy dirt. Some time ago, we were given a composting container; and so I figured, since this goat material seemed to compost well, it was time to get that process going; and here is the container set up, and then a look inside. The container has holes on the sides and the top and bottom pieces:

Compost Container
Composting Material in the Compost Container

We thank the Lord for granting us the opportunity to continue on the process out here of trying to grow our own food, and for hopefully new and beneficial ideas; and we thank Him for the physical strength and materials to do these things.

— David

Garden – Spring 2012 – Update III

Our Texas gardens seem to be like snowflakes, there are none alike. This year we planted what we thought were to be large tomatoes, but they came out the size of cherry tomatoes. Cherry tomatoes are like candy to me, so they were a treat nevertheless. And we also planted an heirloom tomato plant that didn’t produce one solitary tomato until mid-Fall. Go figure. But it almost seemed fitting because Dave and I both are late bloomers ourselves and always root for the underdog, so we were excited when we started seeing little yellow blooms starts to form 🙂 So I thought I’d give an end of the garden “Where Are They Now” update:

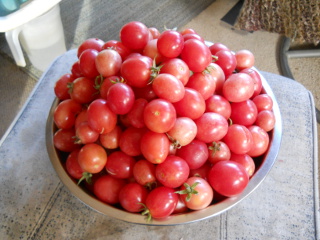
God blessed us with an abundance of these cherry tomatoes. We enjoyed them on our salads and in pasta and other dishes all through the summer:

Spring Garden 2012 Tomatoes in a Bowl

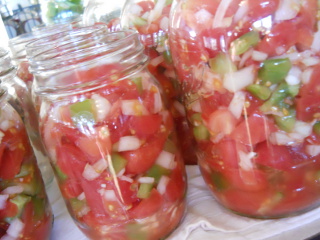
I decided to make some lacto-fermented salsa with some of the tomatoes by adding chopped onions, garlic and green peppers, and then adding a salt brine (1 1/2 Tbsp. salt to 1 pint water) to let it ferment for a few days. This stuff is great with tortilla chips or on salads!

Spring Garden 2012 Lacto-Fermented Tomatoes

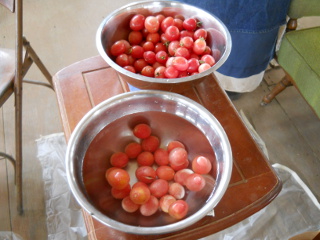
One of the ladies in the community, Shannon, came over one day to help me chop up some tomatoes in preparation for making my first ever batch of tomato sauce. Here the tomatoes are being rinsed and readied to be chopped:

Spring Garden 2012 Tomatoes Ready to Process into Tomato Sauce

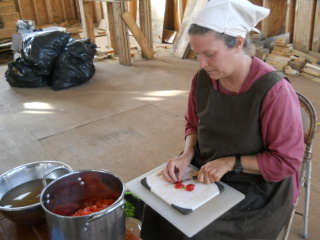
Shannon took an “action” shot of the tomatoes being cut up. Can’t you just feel the excitement in the air?! (By the way, her young boys did a great job of helping pick up construction debris in our new house that day as you can see by the garbage bags in the background – thanks, boys!)

Spring Garden 2012 Cutting Tomatoes for Tomato Sauce

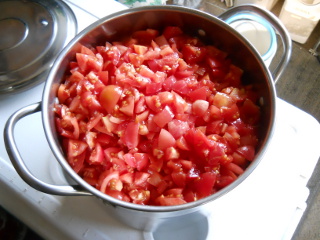
Here are the tomatoes all cut up (thanks again, Shannon!) and ready to be made into tomato sauce:

Spring Garden 2012 Cut and Ready to be Simmered into Tomato Sauce

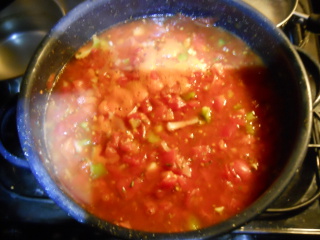
I added other ingredients per the recipe below, and here it is simmering and being prepped to pour into hot jars in order to be pressure-canned:

Spring Garden 2012 Tomatoes Simmering to Become Tomato Sauce

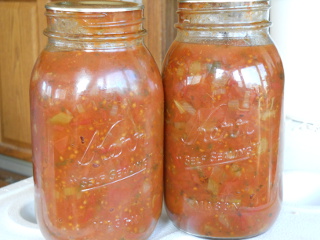
I think the yield was three and a half quarts; but by the time I took this picture, we had already used half our yield! It is pretty tasty stuff!

Spring Garden 2012 Tomato Sauce

As you may know by now, I am all about keeping things simple. So I looked for a really simple recipe. I think next time I may keep it even more simple by adding only garlic and onion, but this recipe is great too. It is titled “Italian Tomato Sauce” in the Ball “Blue Book of Preserving”:

ITALIAN TOMATO SAUCE:

Yield: About 7 pints or 3 quarts

  • 4 quarts chopped (about 24 large), seeded, peeled, cored tomatoes (uh, yeah, right – I only cored and chopped mine and threw the rest in as-is)
  • 1 cup chopped celery (about 2 stalks)
  • 1/2 cup chopped onion (about 1/2 medium)
  • 1/4 cup chopped green pepper (about 1/4 medium)
  • 1 Tbsp. Basil
  • 1 Tbsp. Oregano
  • 1 Tbsp. Minced Parsley
  • 2 tsp. crushed red pepper (optional – I didn’t use it)

Combine all ingredients in a large saucepot. Cover and cook 10 minutes, stirring occasionally to prevent sticking (cook longer if you want to cook out some of the juices and make a thicker, less watery, sauce). Ladle the hot sauce into hot jars leaving 1-inch headspace. Remove air bubbles. Adjust two-piece caps. Process pints 15 minutes, quarts 20 minutes, at 10 pounds pressure (depending on altitude) in a steam pressure canner. SIMPLE!!

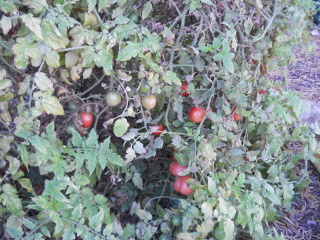
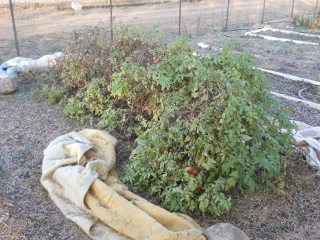
This past Lord’s Day we made the decision to pull the remainder of the garden due to a long, hard freeze that was expected to hit on Monday night (we’ve been covering one of the black-eyed pea beds and the tomatoes with blankets up to this point, for light freezes, which has worked very well; but we covered other black-eyed peas beds with a tarp, and that didn’t work so well). As you can see, the tomatoes were going strong into December:

Spring Garden 2012 Cherry Tomatoes on the Vine in December

The growth seemed to flourish after the temperatures dropped a bit when Fall kicked in:

Spring Garden 2012 Tomato Plants in December

This is the lone, late-blooming, heirloom plant (we had originally planted two, way back in the Spring):

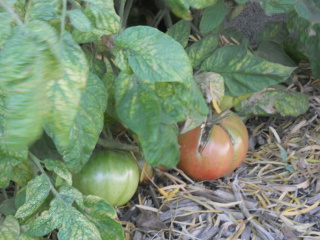
Spring Garden 2012 Heirloom Tomato Plant with Tomatoes

It’s too bad we had to stop it in its prime because it put out some beauties:

Spring Garden 2012 Heirloom Tomatoes

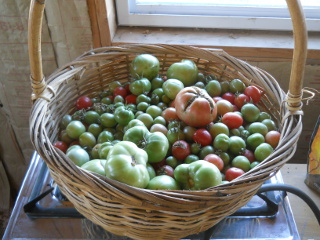
You wouldn’t know it from this picture, but the width of the basket is about 17 inches! Thank the Lord for the tomato bounty! I plan to ripen most of these little pretties in our summer kitchen and make more salsa and tomato sauce. Also, our neighbor made a delicious mock apple pie with green tomatoes (don’t judge until you taste!) for our community Thanksgiving meal, and I was very impressed. So if she’s willing to share the recipe, I plan to make a pie with some of our green tomatoes and share the recipe and process with you all, Lord willing:

Spring Garden 2012 Basket of December Tomatoes

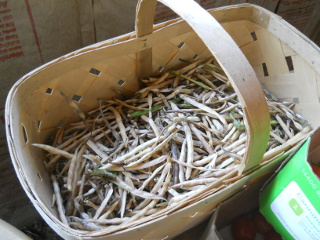
Lastly, but certainly not least….ly (? 🙂 ) We picked the last of our black-eyed peas dried pods. (You can learn more about our other black-eyed peas experience when we picked from the Bunker’s field of black-eyed peas.) We plan to extract the little dried peas from the pods and save them for re-planting in a future garden, or rehydrating them for soups, stews, etc.:

Spring Garden 2012 Basket of Dried Black-Eyed Peas

Even continuing this year on the heels of one of the worst droughts in Texas history last year, we are very thankful to God, our Provider, for granting us water and a bountiful garden enabling us to eat and preserve vegetables for the future. May He receive all the glory.

Susan
Garden – Spring 2012 – Update II
Throughout the summer, even with us entering into a drought situation again, the Lord has granted that we be able to keep the garden going, sometimes by watering from the cistern, and now watering by bucket bailing and hauling pond water in a cattle trough. While the pond water process takes some effort, God has granted, by His mercies, that it start to pay off.

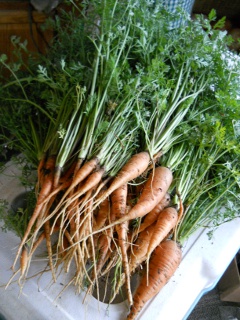
Here is our carrot haul from this year from earlier in the summer. For some reason, the carrots just didn’t work out too well this year. Not sure what the difference was, but we are thankful to have received these:

Spring Garden 2012 Carrots

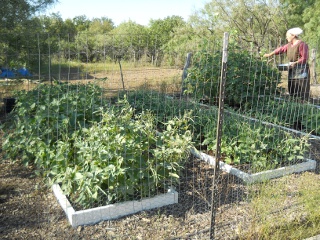
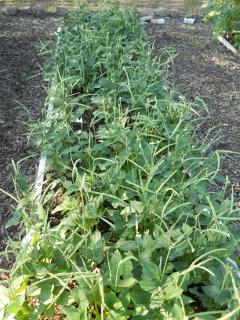
And here is where things are now approaching the end of summer. These are the black-eyed peas:

Spring Garden 2012 Black-Eyed Peas
Spring Garden 2012 More Black-Eyed Peas

And here are the tomato plants. We’ve had a decent amount of tomatoes come from them throughout the summer, although they ended up being cherry tomato size…it could be due to the lack of rain, but I suppose I might have accidentally bought cherry tomato plants. 🙂 However, they’ve just started to blossom and start to show fruit again, so we are looking forward to those, if the Lord wills:

Spring Garden 2012 Late Summer Tomato Plants

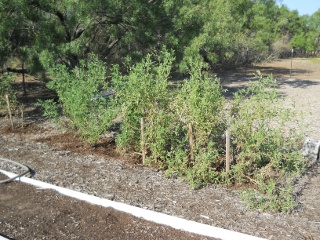
Finally, here is the mulch gardening bed I planted in black-eyed peas and I mentioned in our last garden update. I tried watering them for a while, but just couldn’t continue to spend the time or water resource on them. There are a few there, but I don’t believe we’re going to see any beans from them:

Spring Garden 2012 Late Summer Black-Eyed Peas in Mulch Gardening Bed

We are very thankful to the Lord for granting the provisions for the garden and provisions from the garden this year, and we pray for those continued through the fall, according to His will.

— David

« Older posts Newer posts »