The Sifford Sojournal

Our journal of what we pray is our sojourn of life along the narrow way, even the old paths, submitting to the Bible as a light unto both.

Page 89 of 97

Garden 2008 II Update II – Sauerkraut

We had a drought last Summer and Fall which really affected the quantity and size of many of our garden vegetables. The time came to harvest our red cabbage from our 2008 Fall garden, and the heads were small and did not really look like cabbage heads but more like a bunch of leaves loosely wrapped around or falling away from each other. Dave said we had to at least try to do something with them. Our neighbor, Michael, mentioned you could make sauerkraut with cabbage, so we thought that might be the best way to go.

I looked up the simplest recipe I could find and hoped for the best.

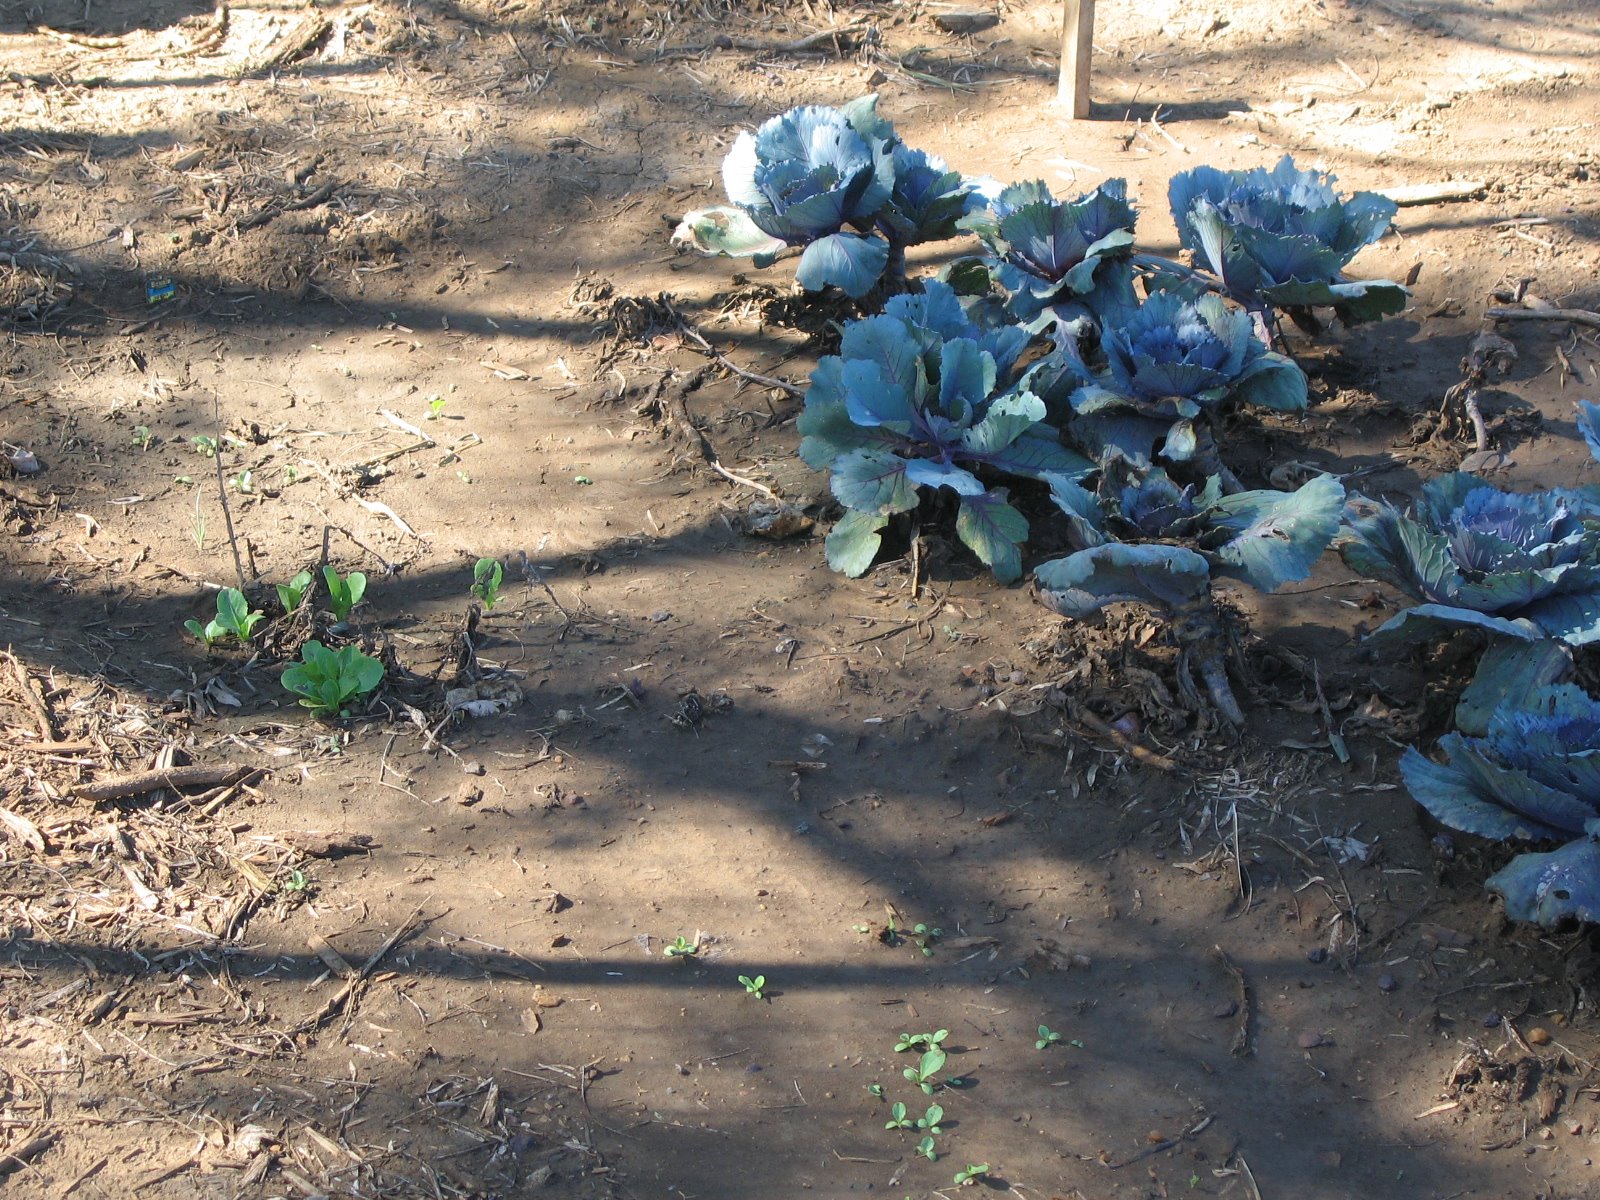
Here is the cabbage in our garden waiting patiently to be harvested by its novice owner (pick me, pick me!!)
I washed all the cabbage leaves and cut them up with a knife because they were too loose to shred with a shredder or grater. I put the leaves in two 9×13″ pans, added the proportionate amount of pickling salt, and mixed well with my hands. There wasn’t much moisture to be drawn out of the leaves, so I had to add a lot more water when putting them into canning jars. After about 24 hours +/-, I prepared pint canning jars and filled them up with the cut-up cabbage leaves adding water, leaving 1″ head space, and screwed on the lids. I followed the instructions to put the jars into a pan (or lined box in my case) because as they started to ferment, there was some (not much) overflow leakage.
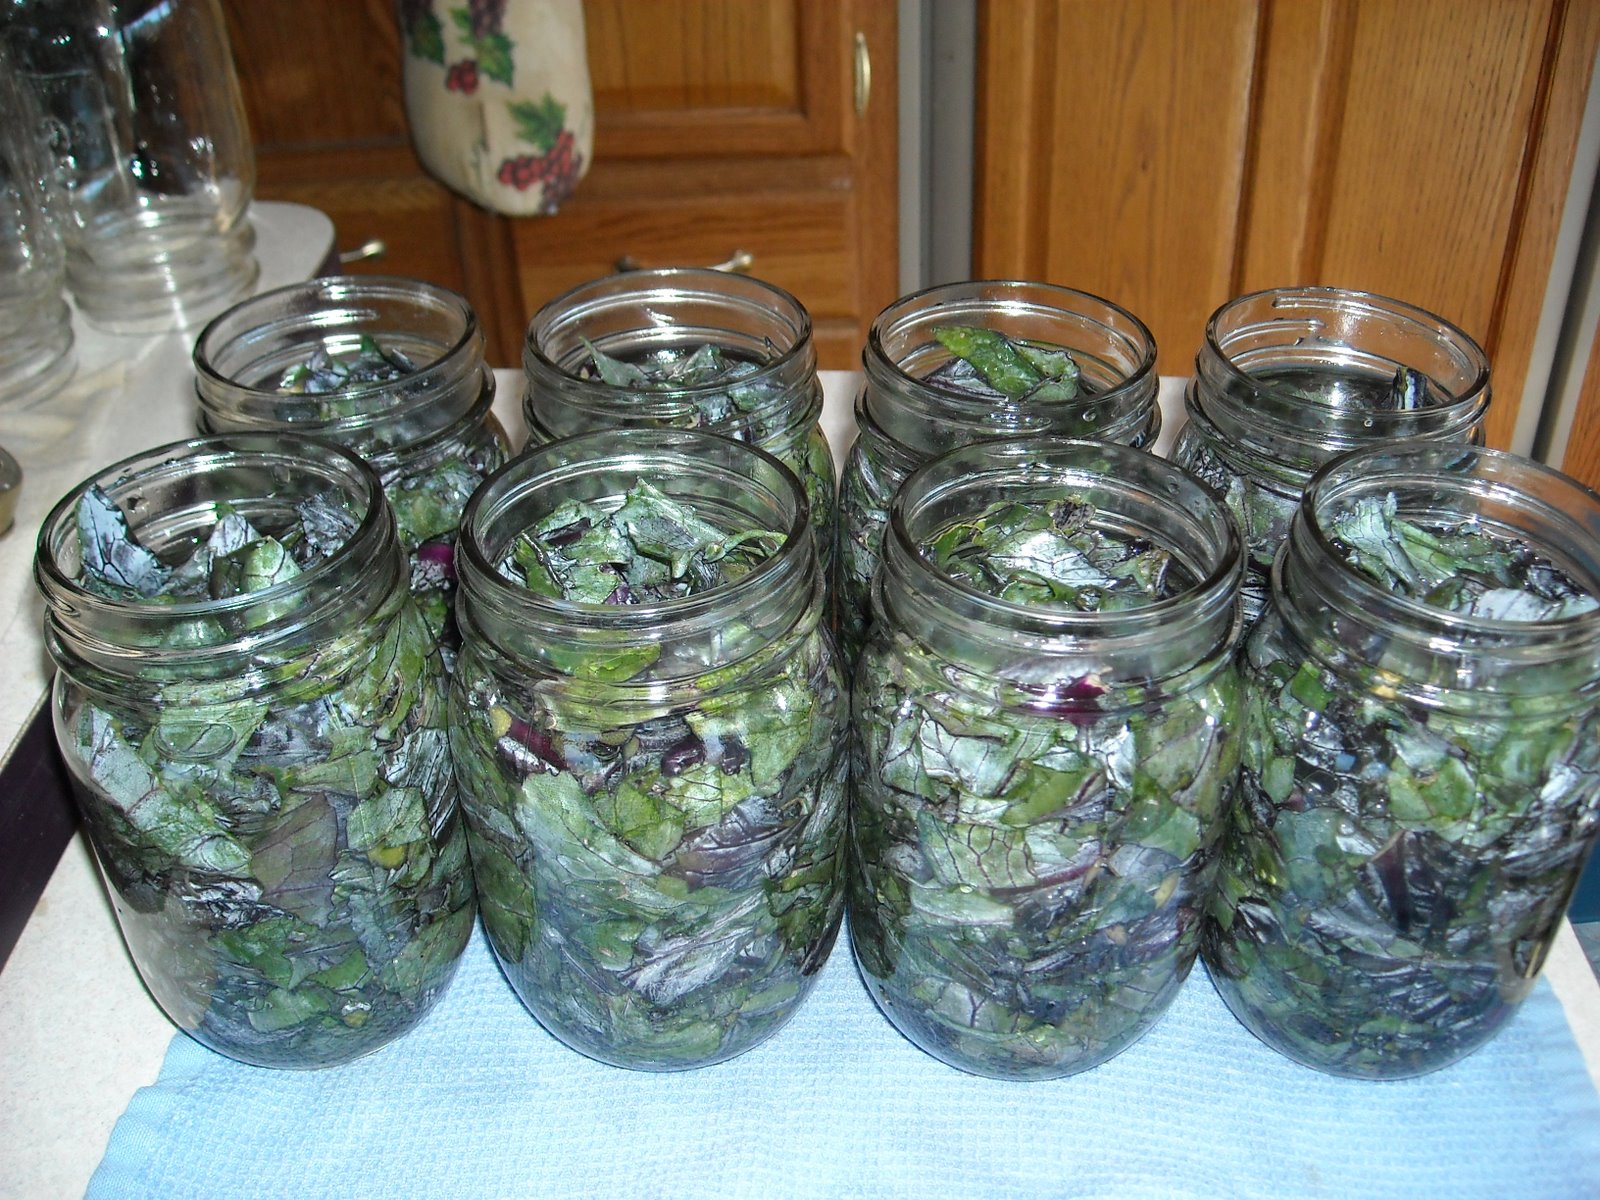
Then I stored the jars at room temperature for six weeks and turned them upside down several times over the course of those weeks to distribute the brine and keep everything moist.
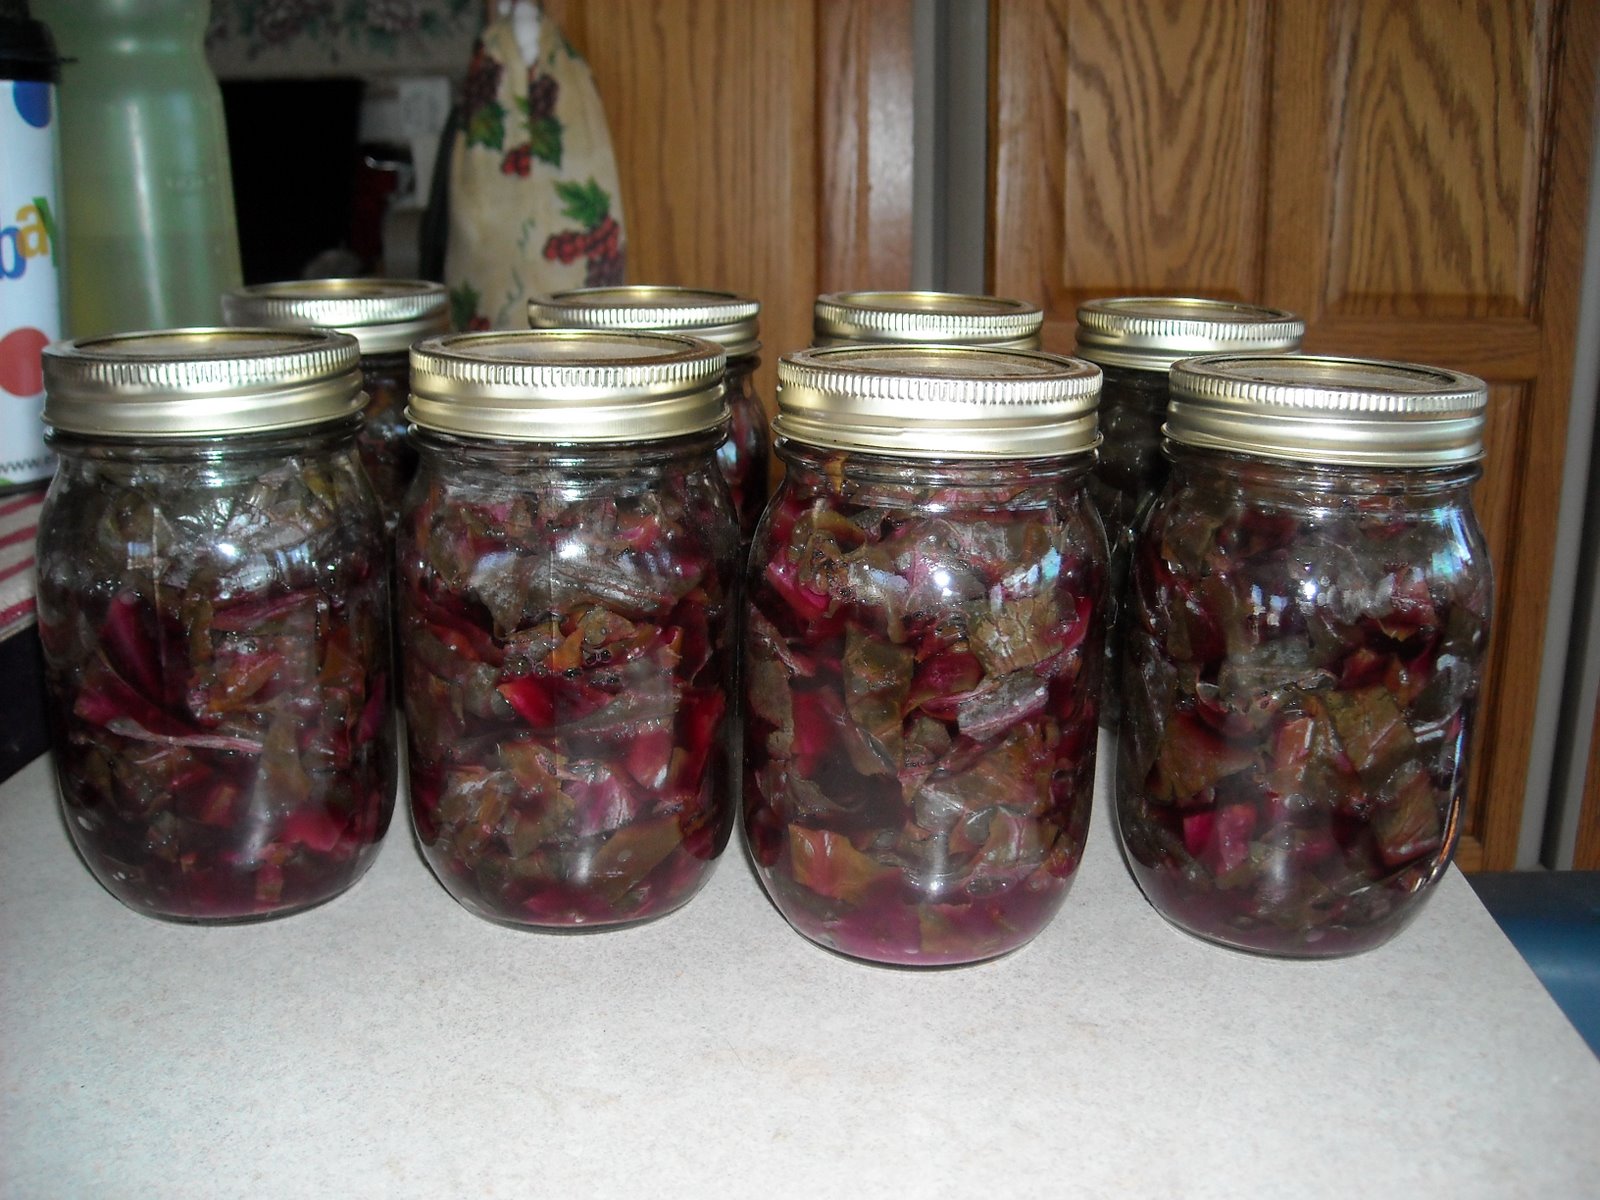
At the end of the six weeks, I opened up all of the jars and emptied them into a large sauce pan, simmering them for about five minutes. Yep, it smelled and tasted like sauerkraut, although it was very dark green and more coarse than the kind you buy at the store. Although turning the cabbage into sauerkraut is a preservation method in itself, I proceeded to can the pints of sauerkraut and put them down in our root cellar in order to preserve them for as long as possible. Since we are not generally sauerkraut eating folks, I needed all the time I could get to figure out more ways to fix it!
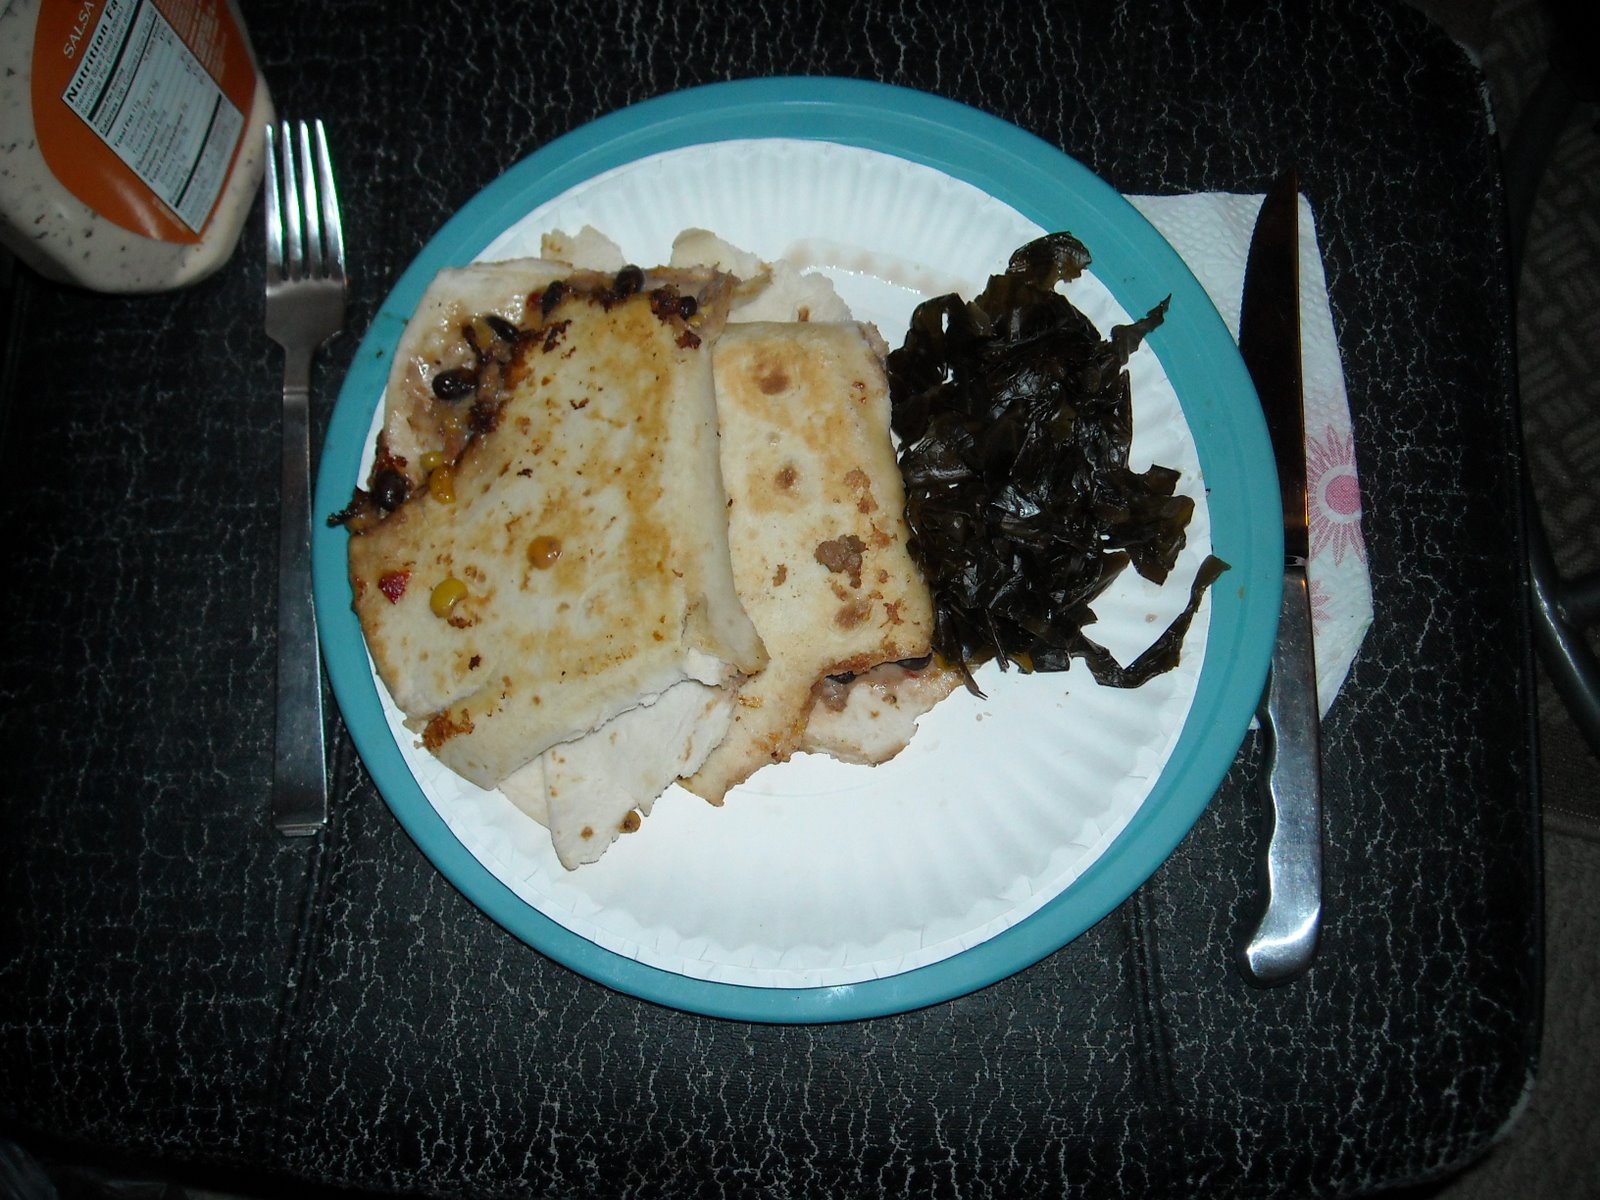
Wow! I couldn’t believe that we were able to make sauerkraut and preserve it from what appeared to be pretty lifeless leaves. What a wonderful blessing! I’m very thankful to be learning these valuable lessons in food preservation and to be able to witness God’s direct provision from planting to our table.

Susan
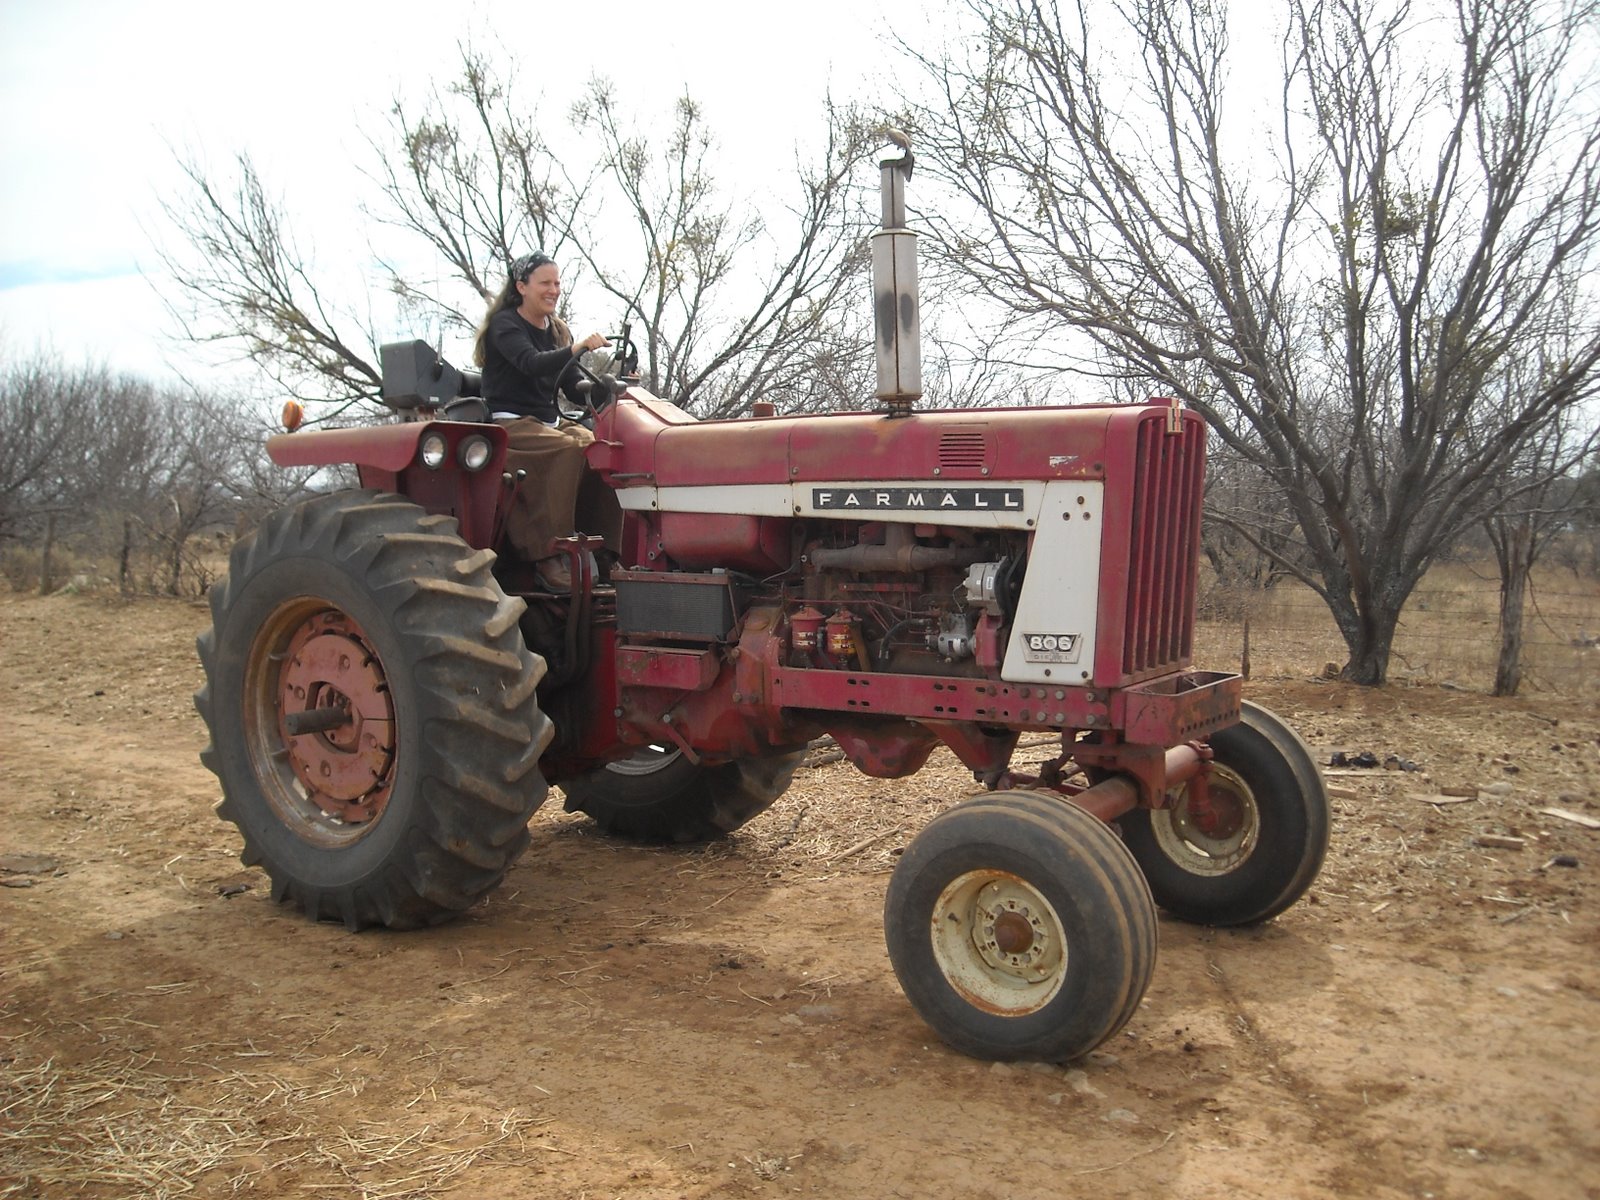
Hi-Ho, The Derry-o, The Farmer is a Belle


I do a lot of the outside chores around the homestead here, and there are ways of doing things that are either required by the task at hand or the implements being used for it, or that are based on good procedures I’ve discovered for performing the work. I try to teach Sue these things and especially why I do them or how the things involved work so that she understands those and can perform them herself if I am not around, not in a robotic way just following directions, but in a way where she can analyze a situation and respond properly.

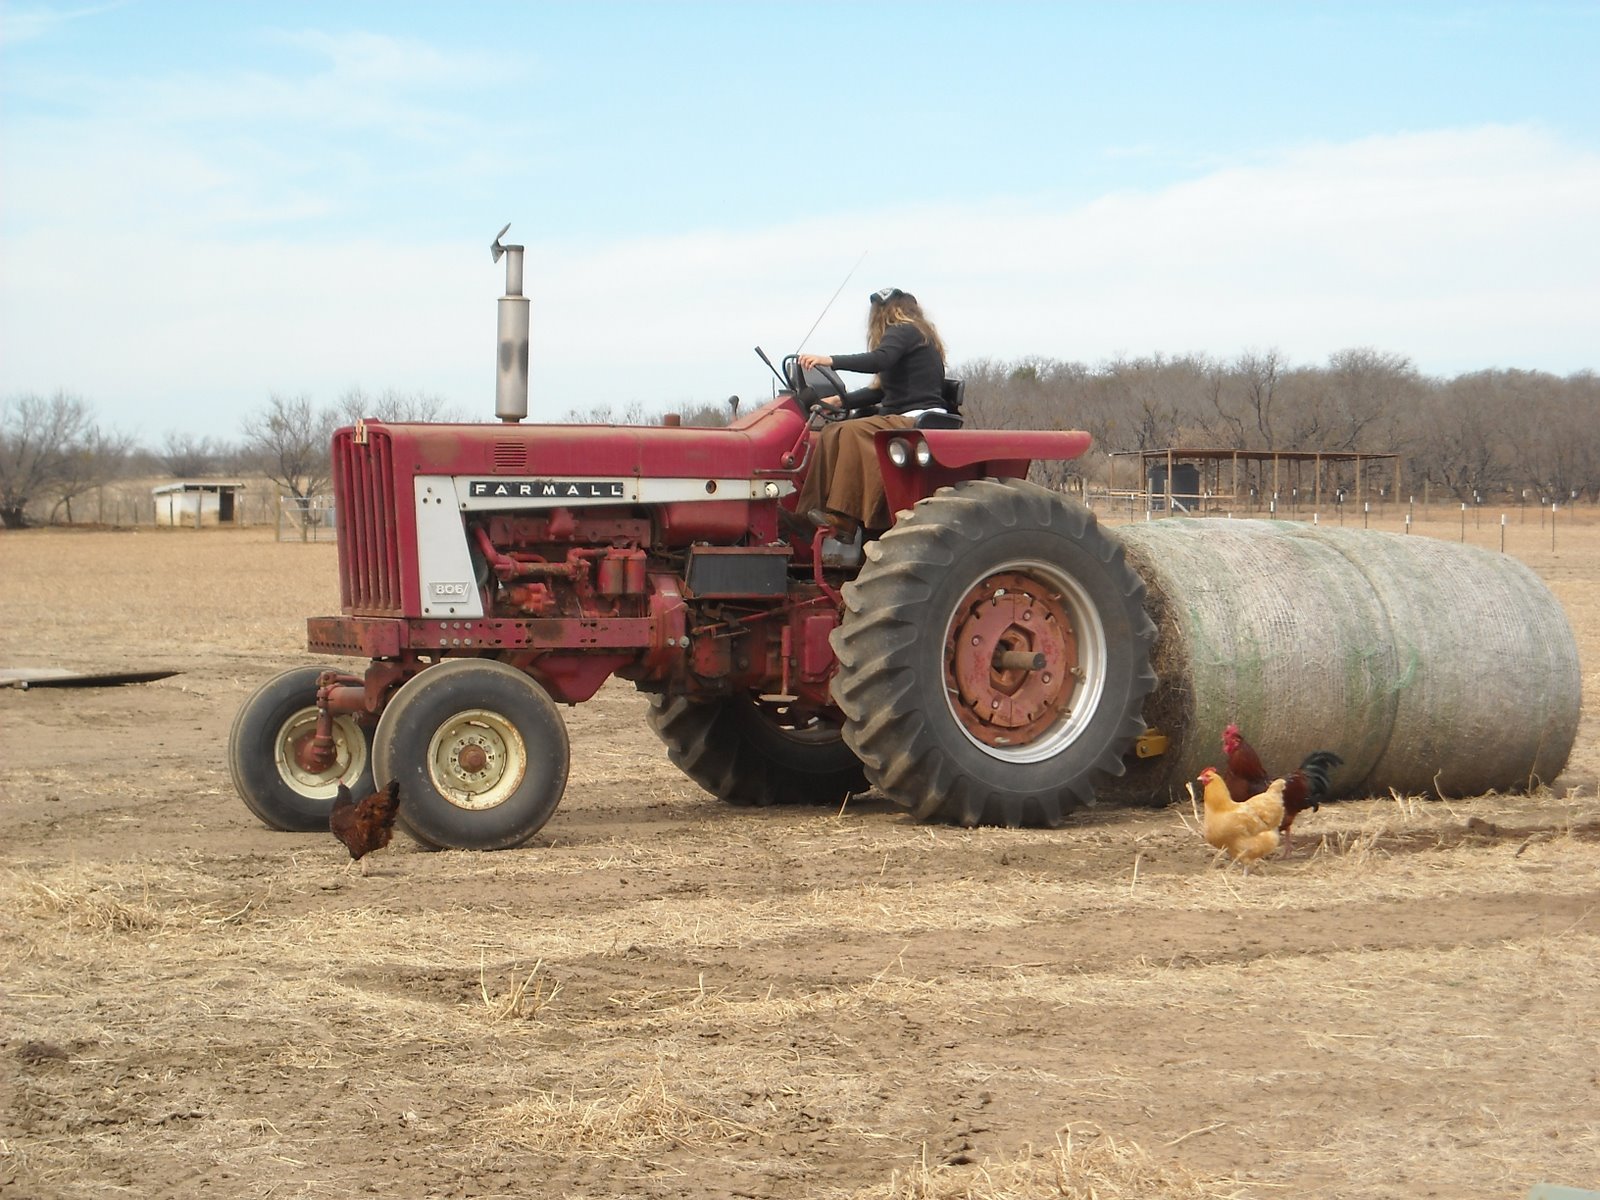
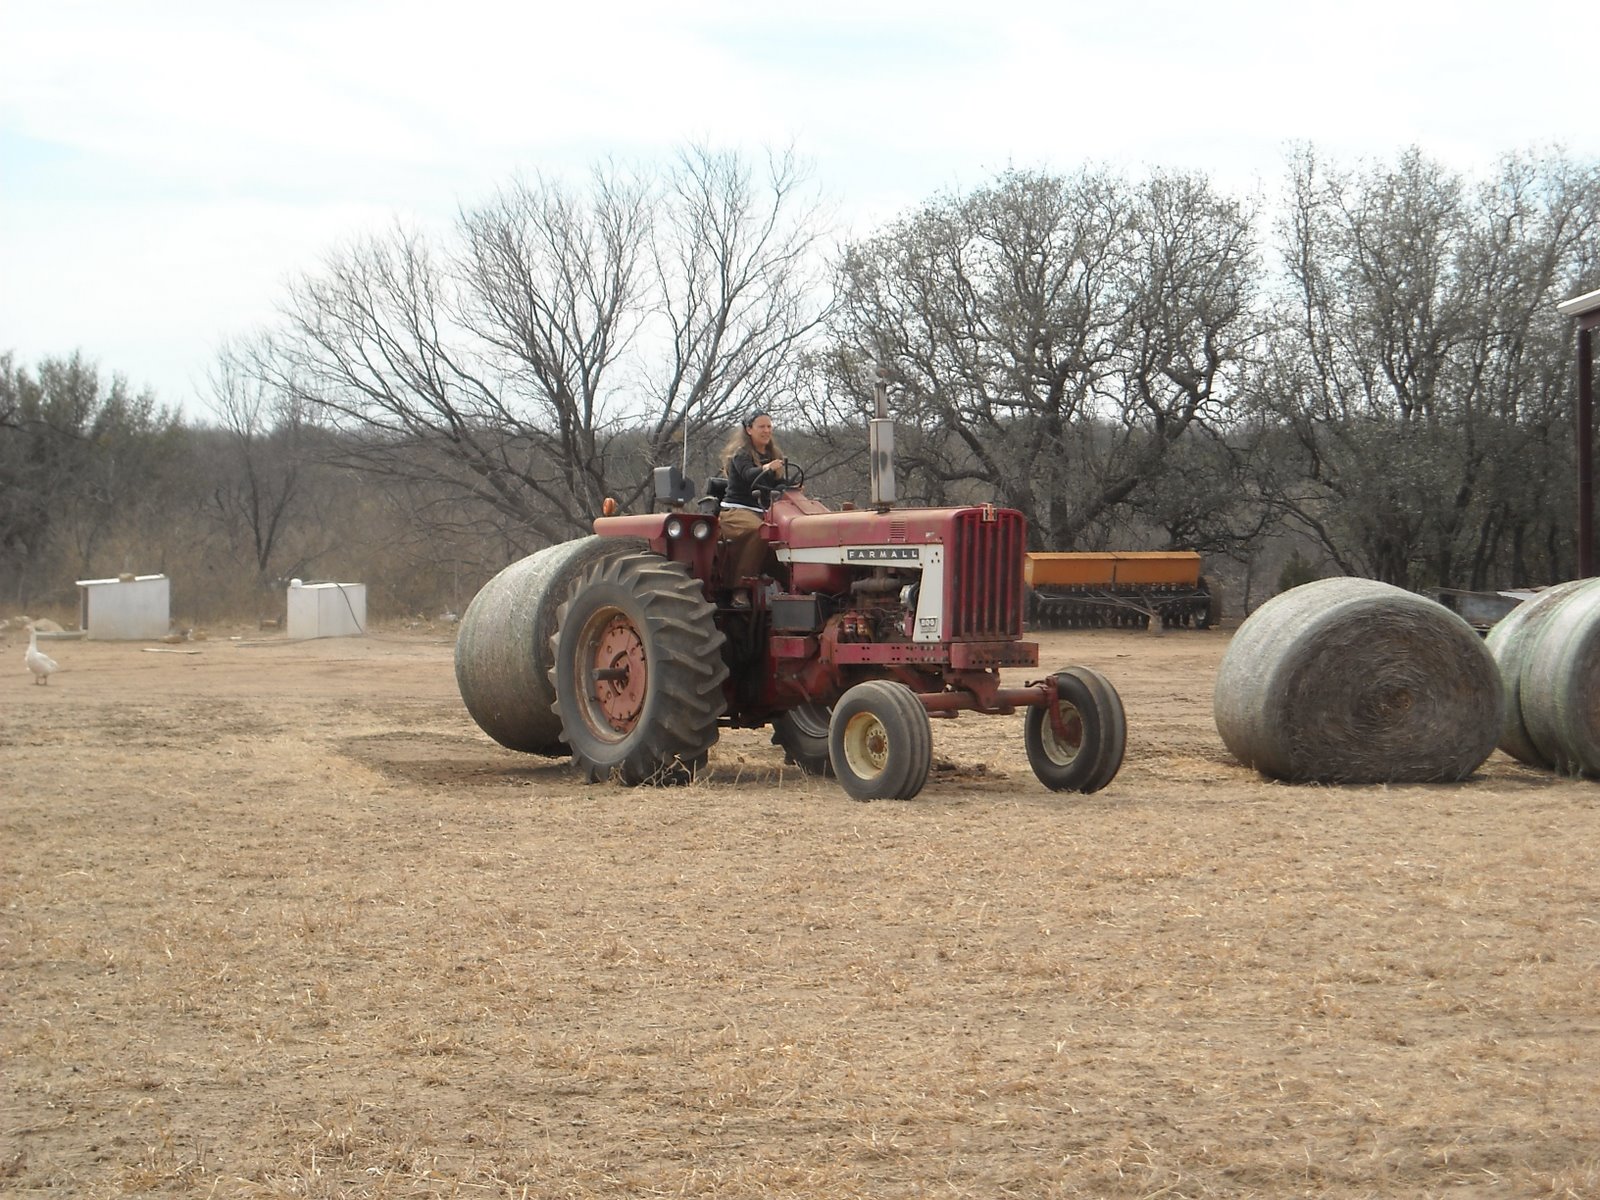
One of thing things I thought would be good for her to know, and might be fun for her to do at the same time, is drive the tractor in delivering hay to our animals:


And so, here is the fun in action! (Please be careful with the volume; it’s often a little loud.)


We are thankful again to the Lord for granting us the resources to feed our animals and perform these duties around the homestead, and I am thankful for the wonderful and willing to learn help meet He has granted me.

— David

Providence’s Providential Provisions: Wild Hogs

Again, one of the reasons we moved out here was to try to remove ourselves from dependency upon the world and its systems and place ourselves directly under God’s providence. Well, as I mentioned with water, the Lord’s faithfulness continues to be shown.

An acquaintance of one of the men on the land here informed us that he had been catching wild hogs, and quite a few of them. This being brought to Michael’s attention, he thought it would be of great benefit to the community to take advantage of this gift of meat from God. And so, he put together a plan, which involved building a pen to hold them. We built the pen, bought the wild hogs for a very nominal fee, and began to raise them. The whole community has been involved and has benefited from this provision from the Lord. We have since been able to gather several more pigs the gentleman has captured.

However, with this has brought the processing of the pigs from the very beginning to end, which for Sue and I has involved a new venture for us in the realm of farming: slaughtering and butchering. For me personally, this has been interesting, given what I said in a previous David’s Digest; however, as we continue to progress into more proper, biblical perspectives, the Lord has shown us that He has granted us dominion over these animals and has provided them as food.

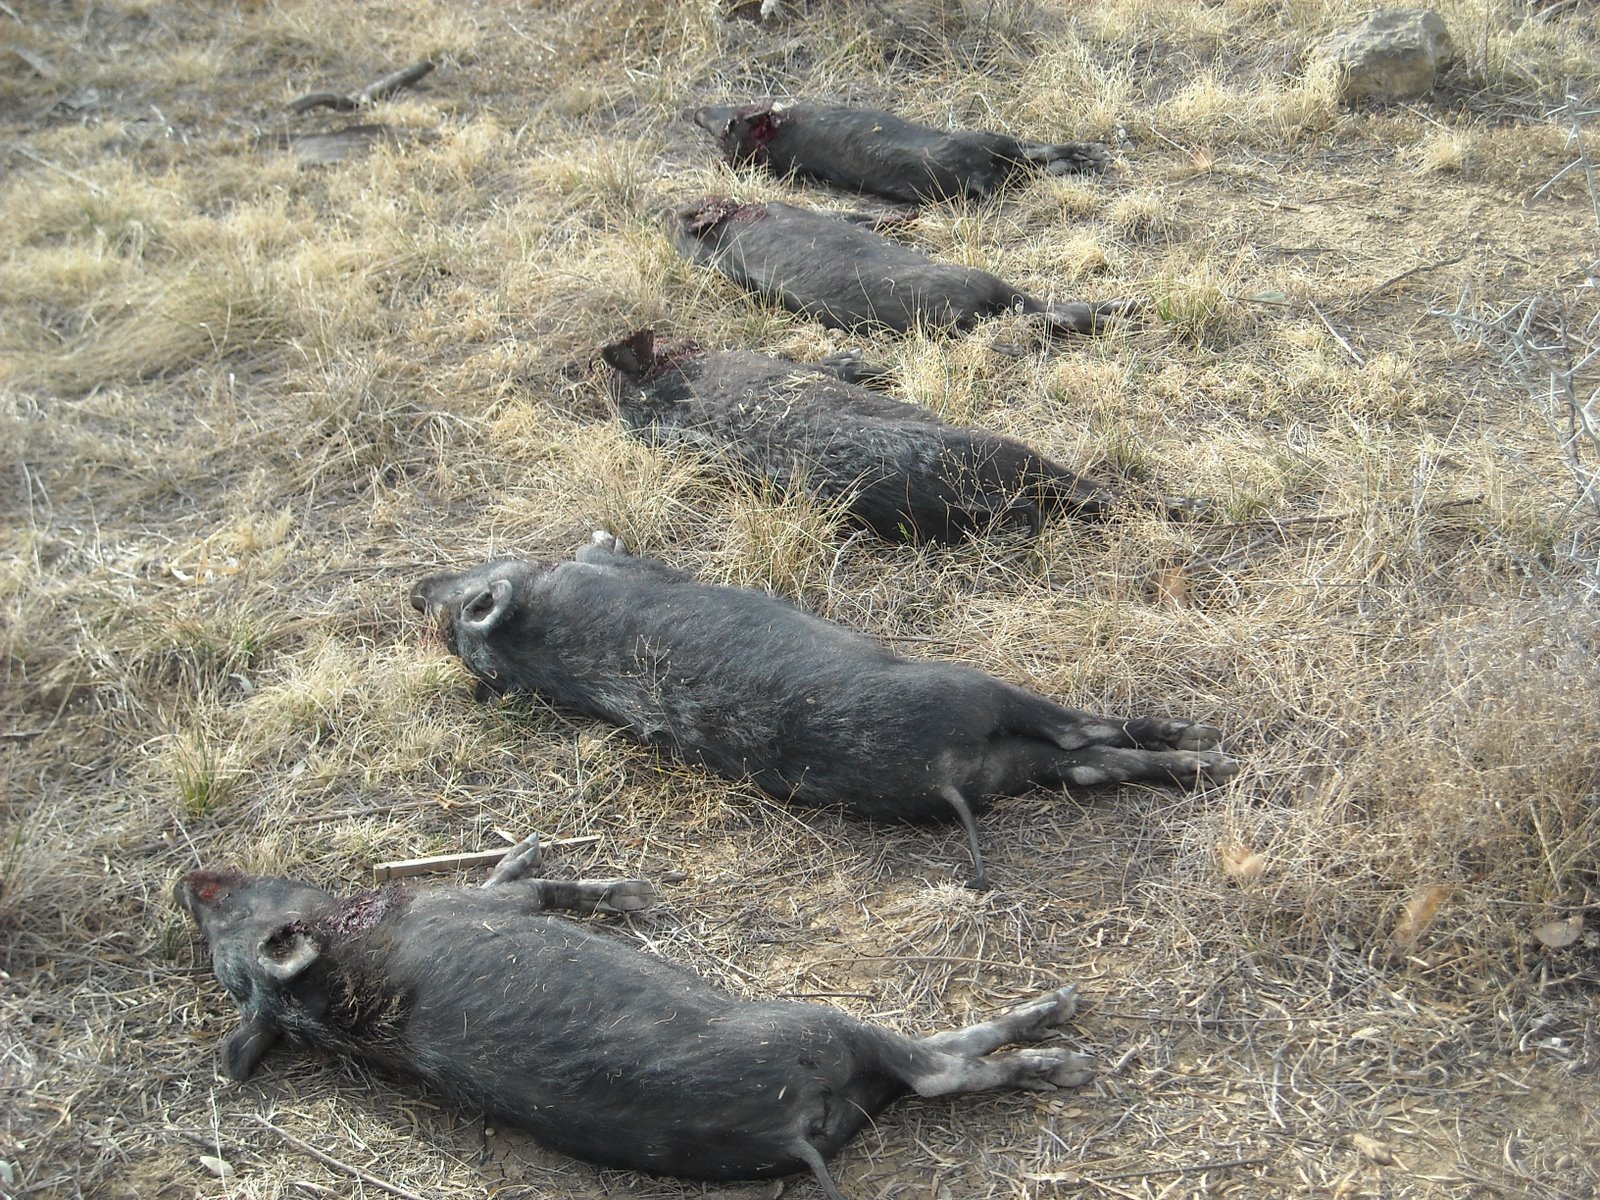
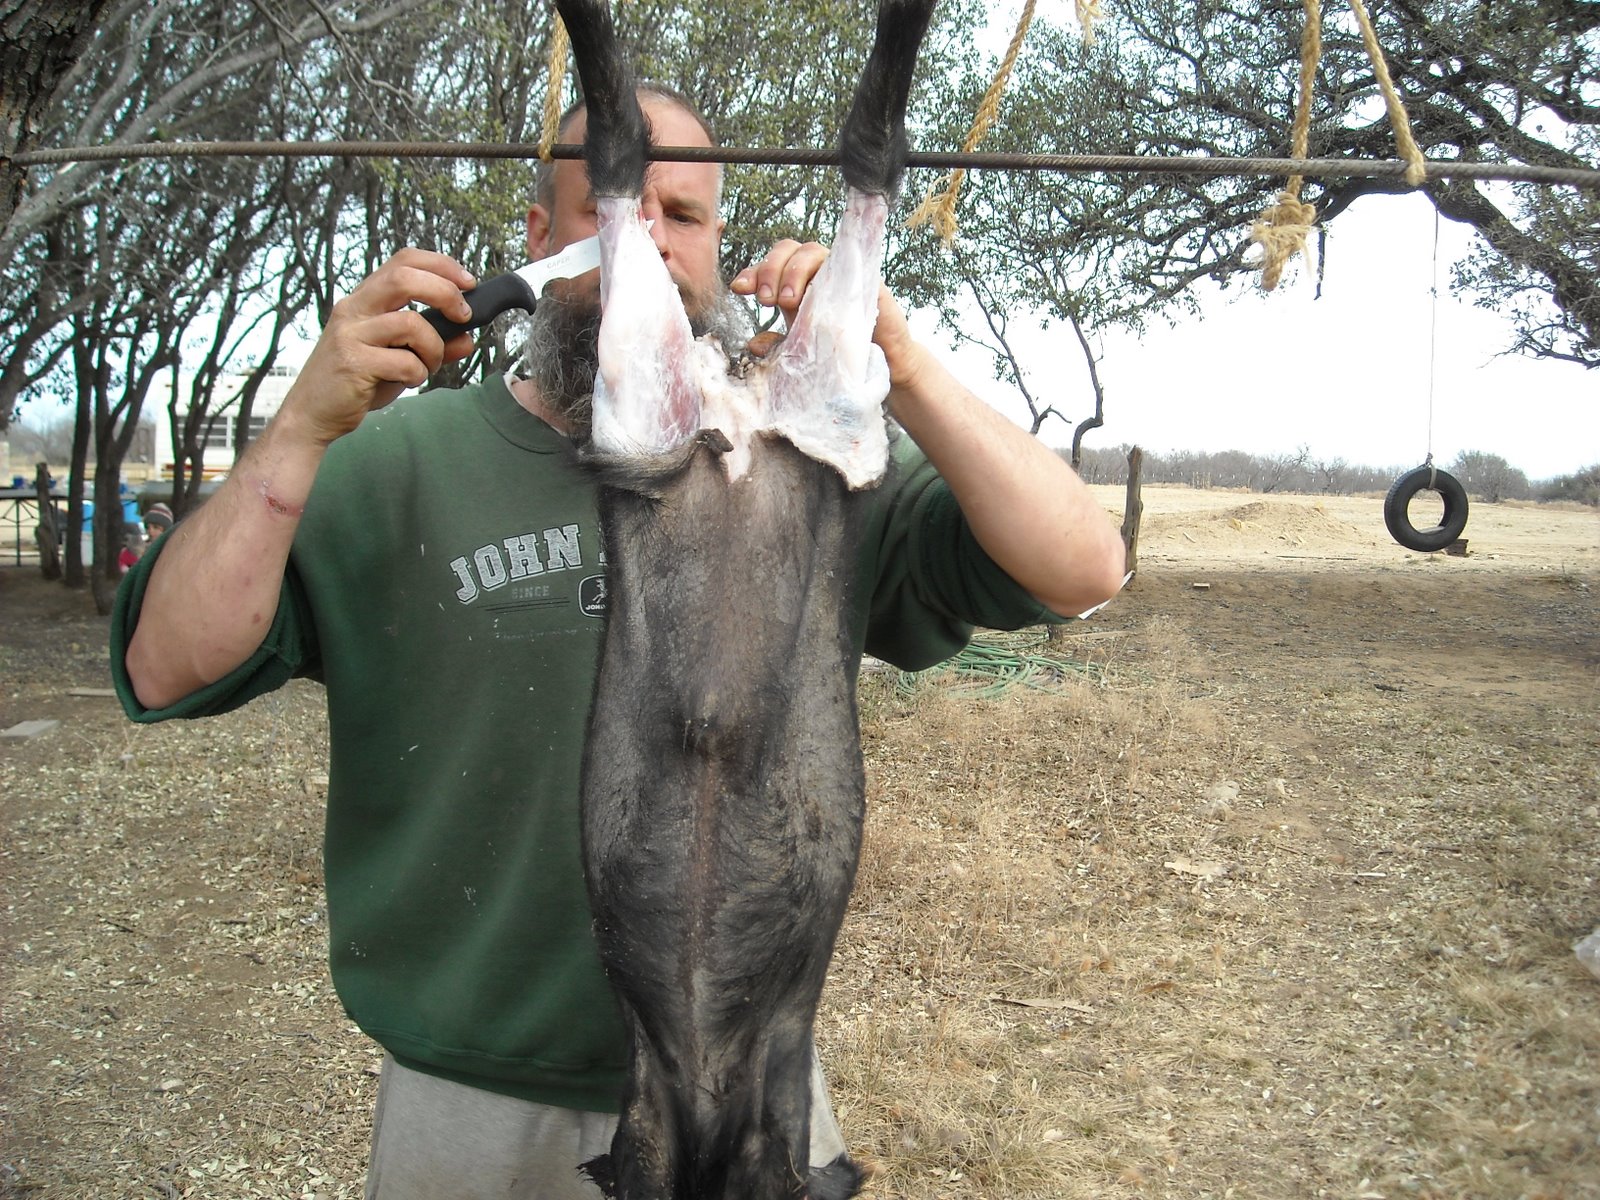
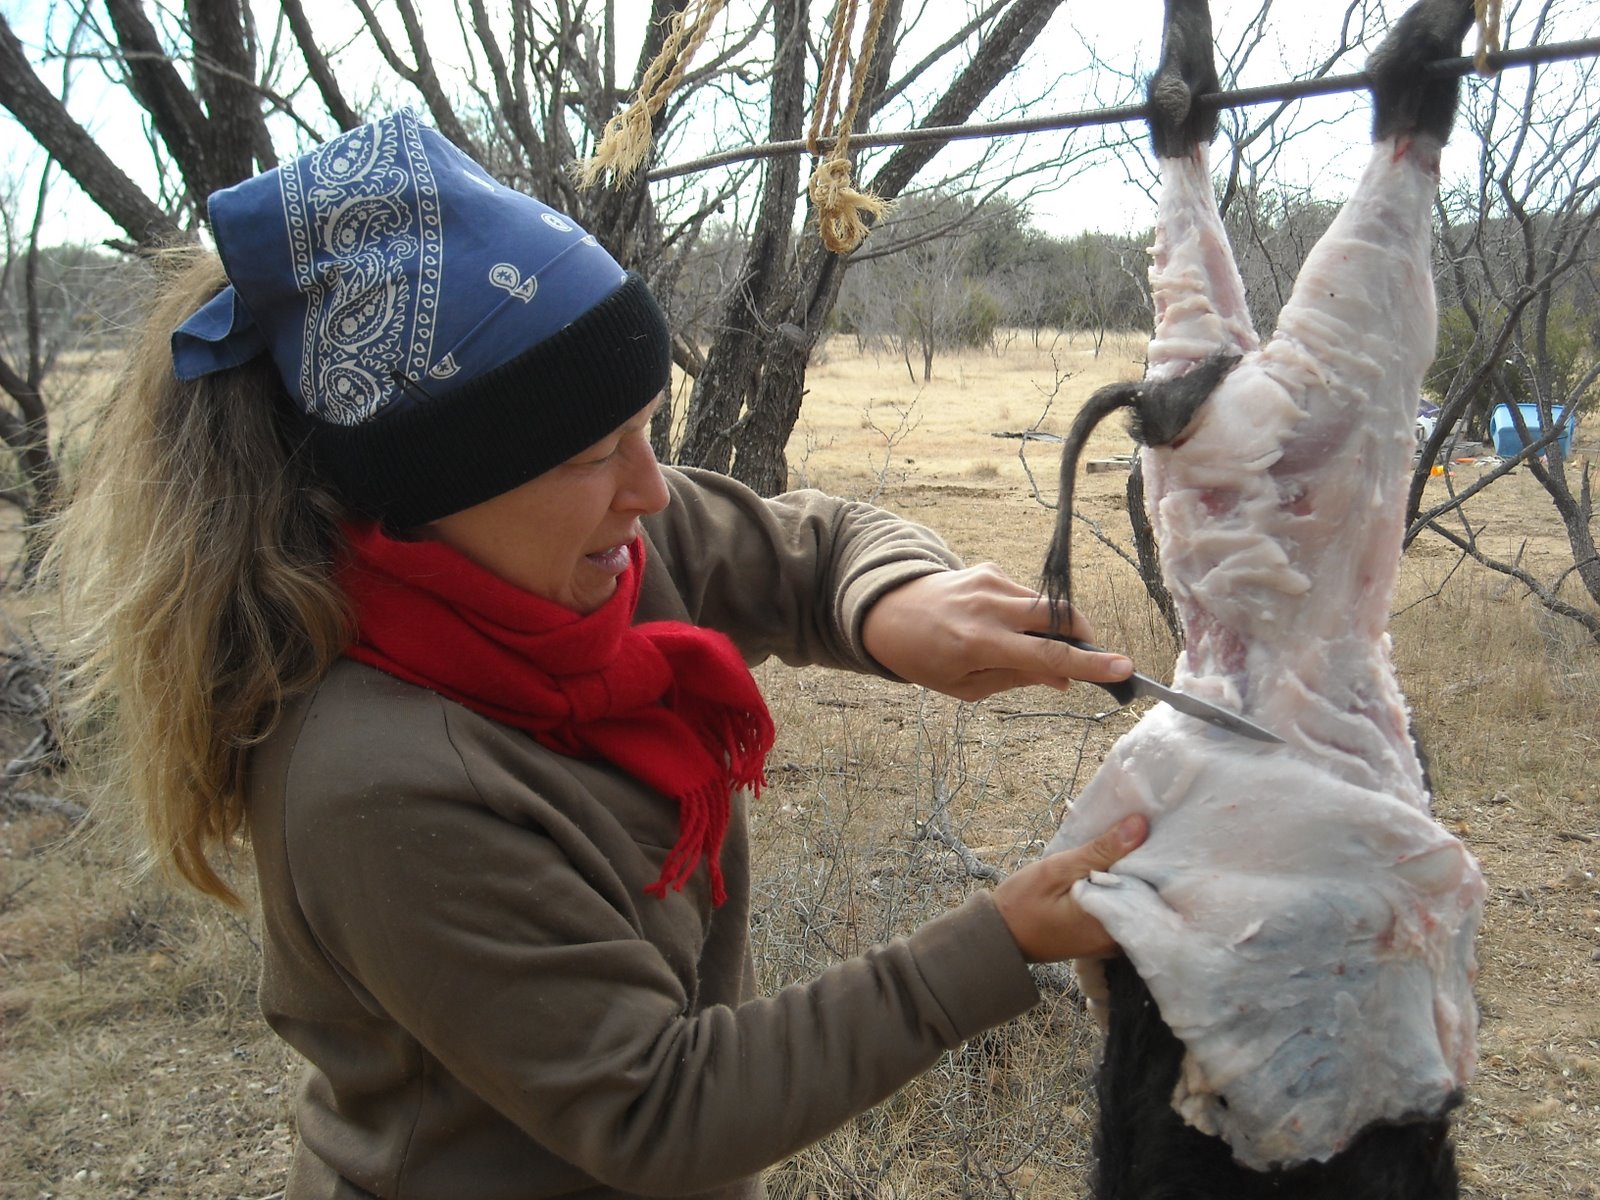
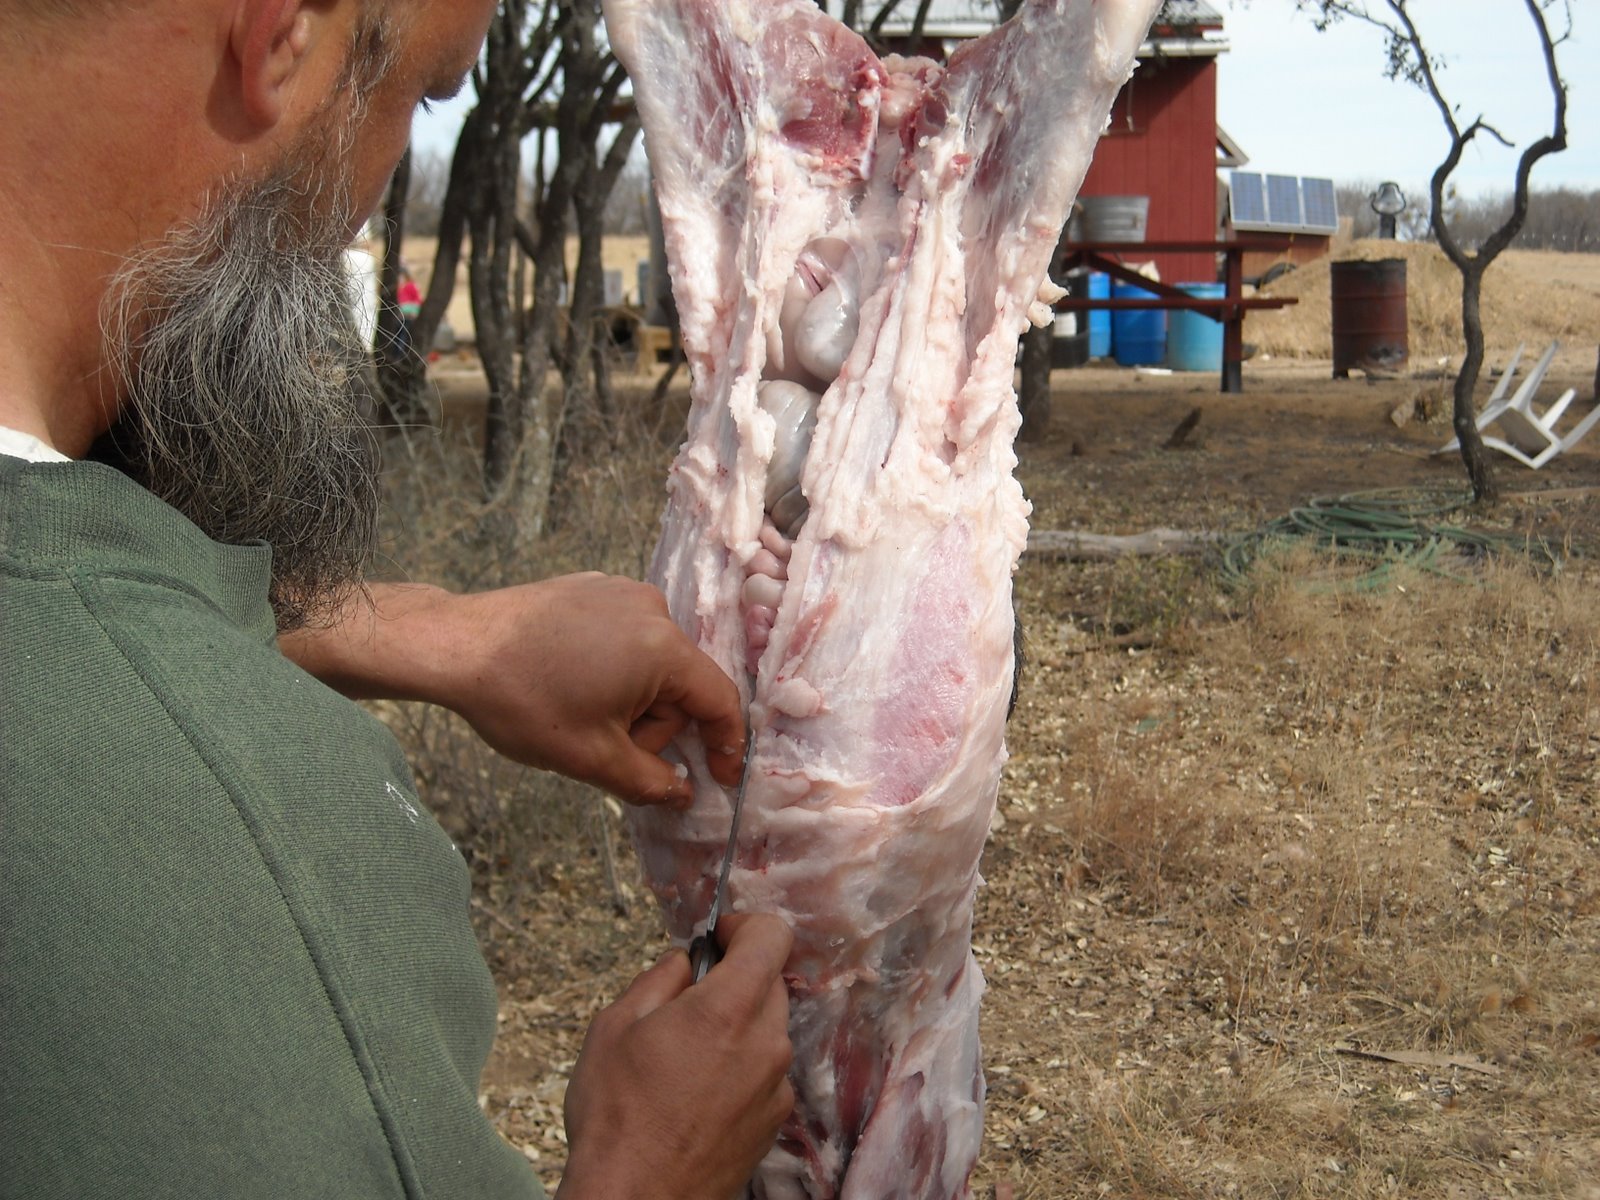
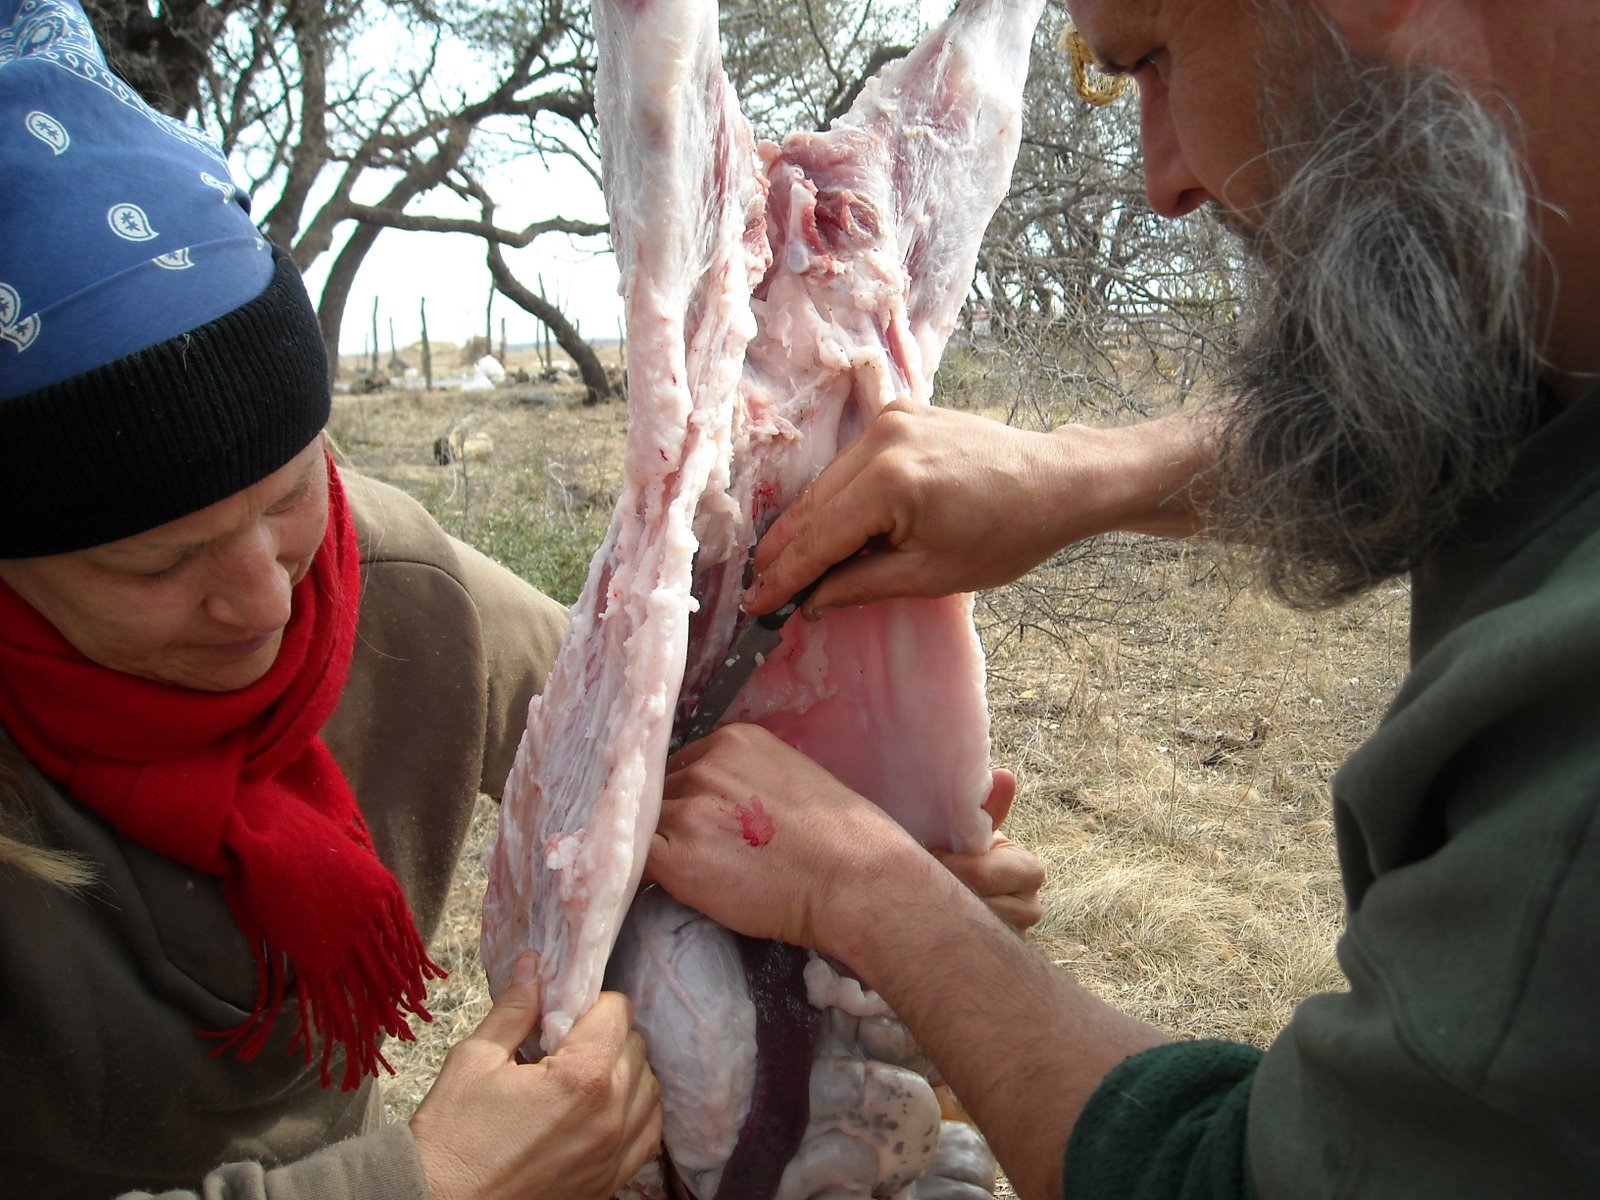
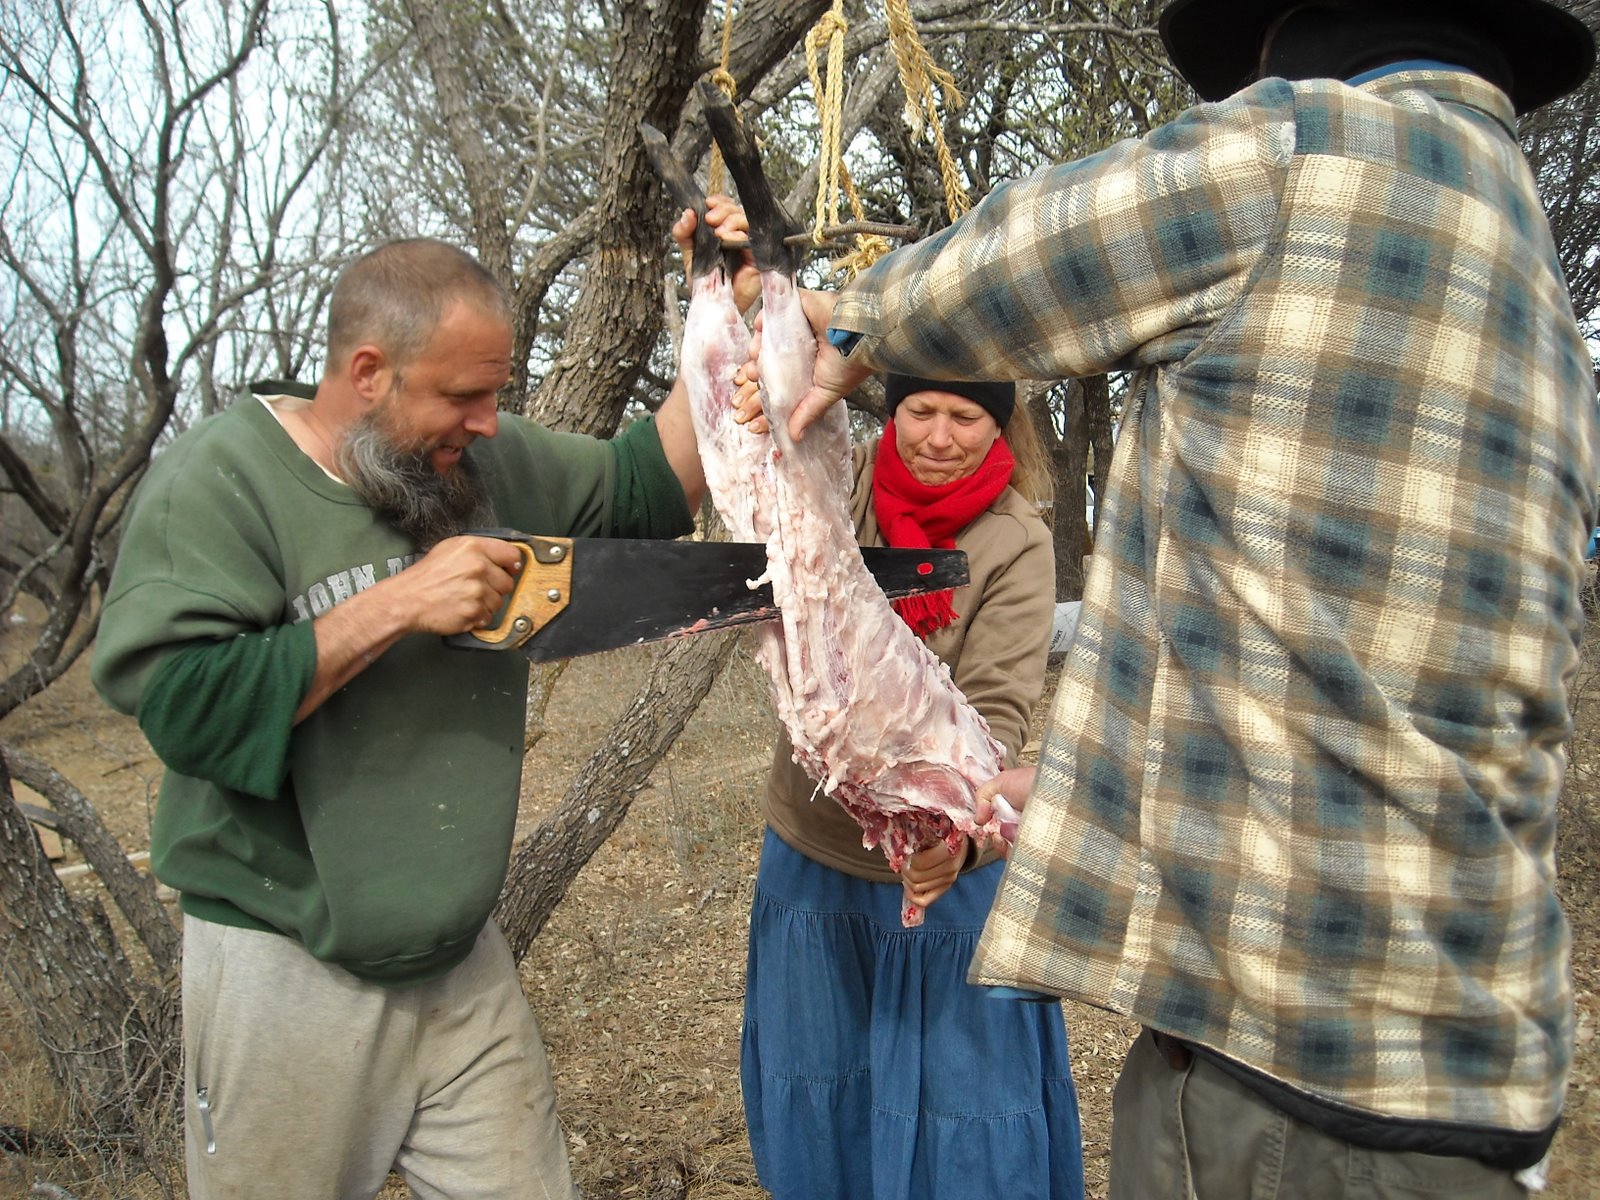
And so, it had come time to do what needed to be done. Here are some pictures (for those that aren’t used to seeing this process, it may be a little discomforting).

Here are several after being shot in the head with a .22 caliber rifle (meaning they were basically instantly dead) and their throats being cut to bleed them out:

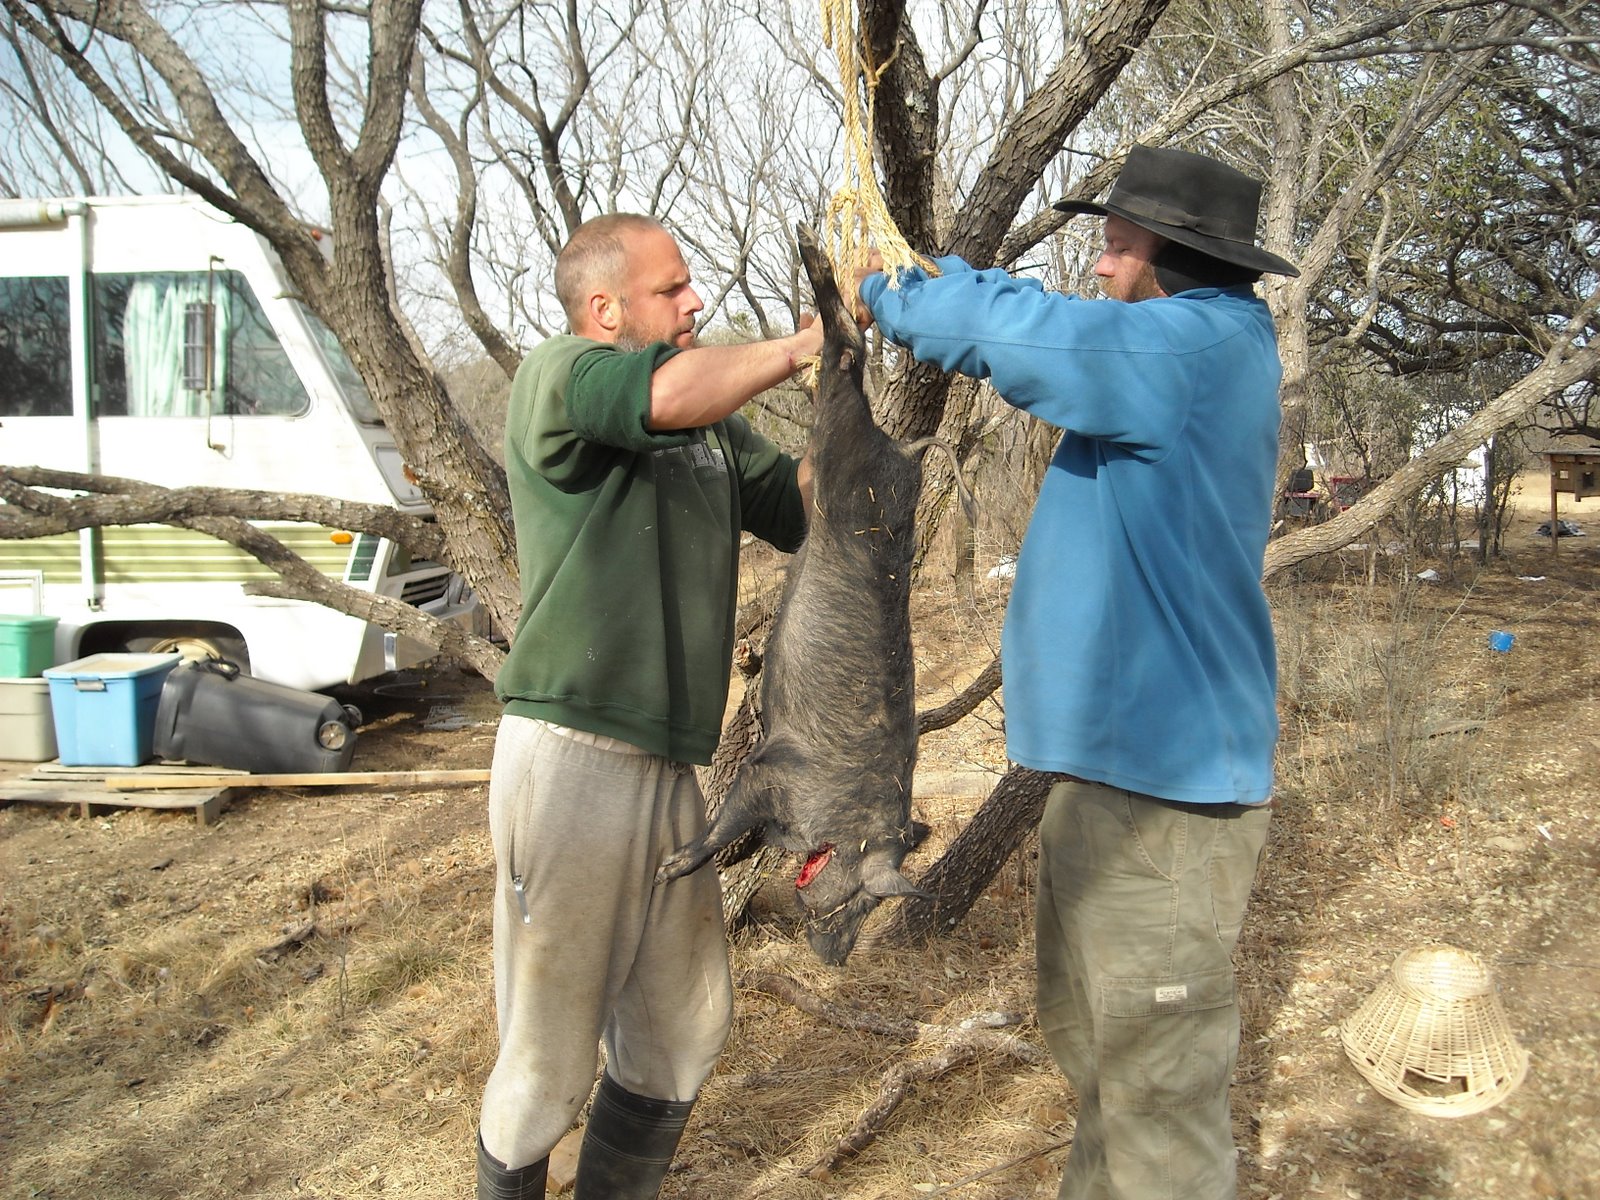
And then the butchering began:


In reality, it wasn’t too bad. And for me, once you get the skin off, it really just starts to look like meat from the store. Also, now after participating in this process several times, it is not as shocking as it was at first.

Preserving

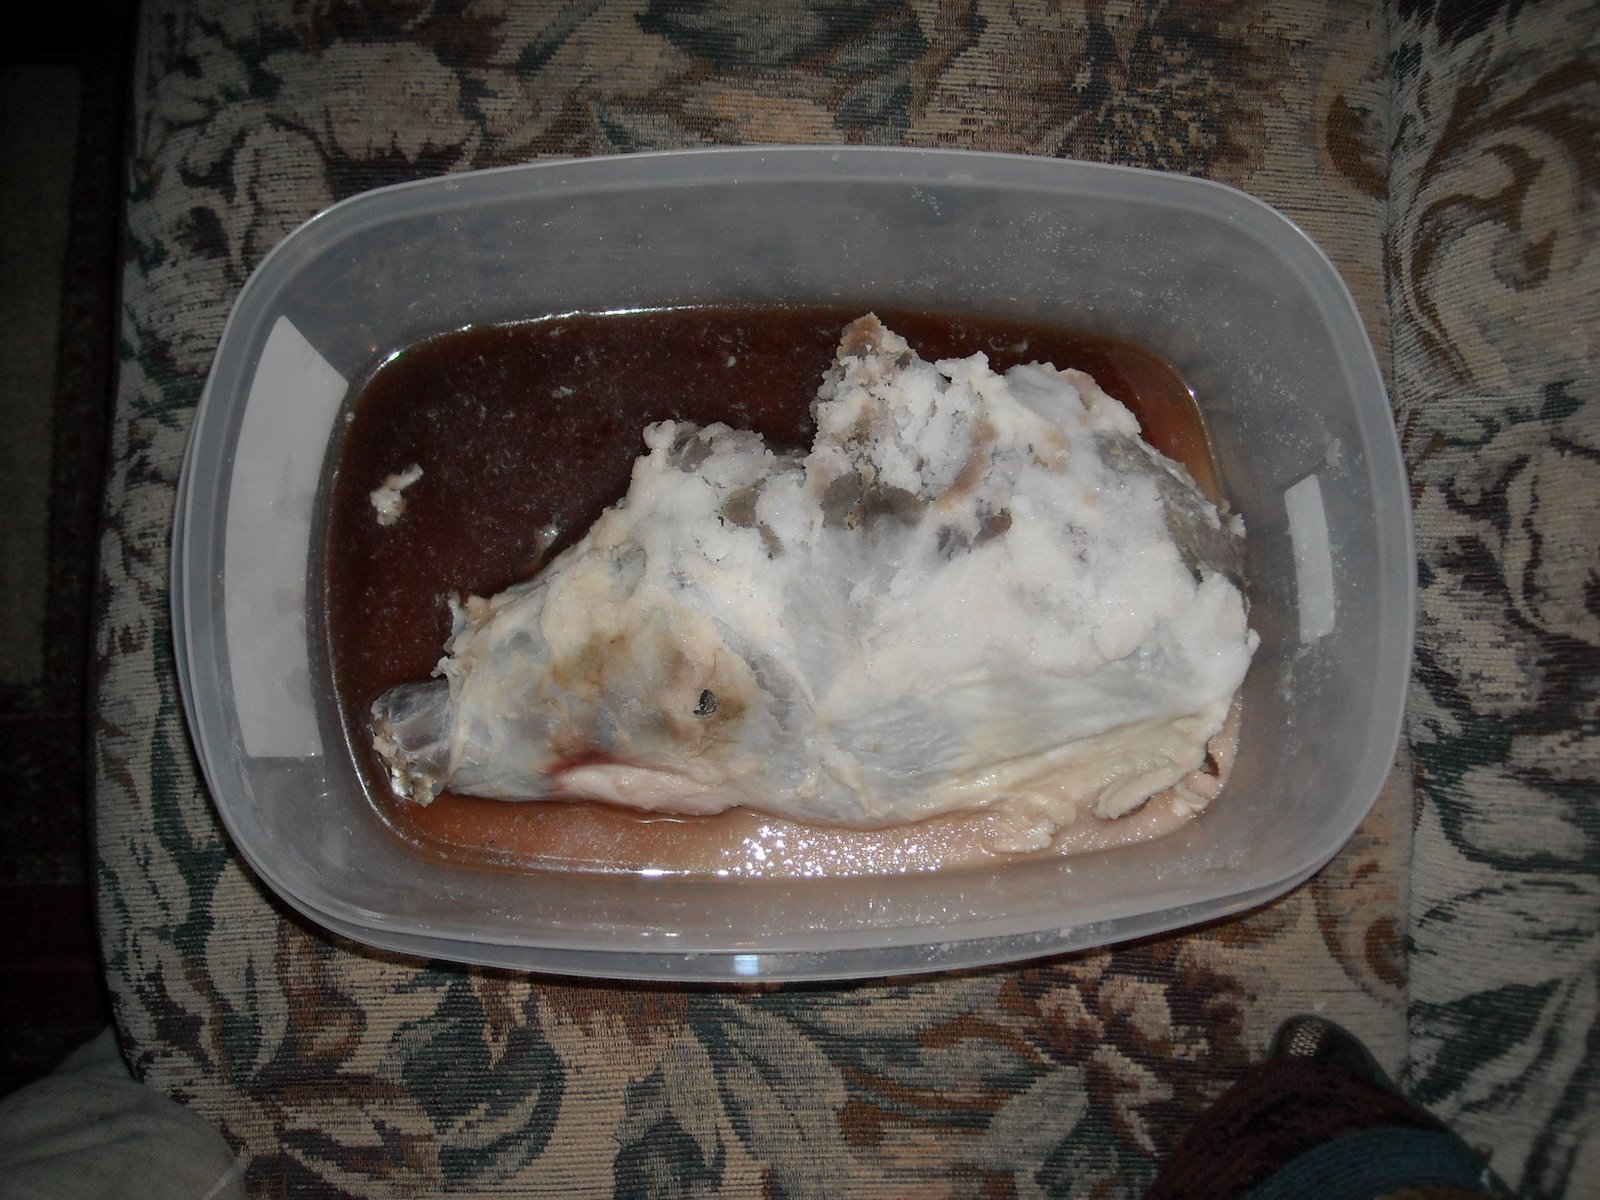
Typically with our pigs in the past, we would simply can the meat in all of its various forms (bacon, sausage, chops, etc.) after getting it back from the meat processing place. This time though, in hoping to continue our education in the old paths, which includes reducing our dependency on the world for its canning supplies, I wanted to take one section of the meat obtained from one of the pigs, and dry cure it by hand. And so, Michael gave us a recipe, which started by rubbing the meat all over with a mixture of salt, sugar and salt petre, followed by covering it with a cloth and storing it in the root cellar for a week, after which time the container is cleaned and the rub-down step is repeated. This sits in the root cellar for 1 week per inch of meat thickness. After that, it is washed and soaked for an hour in cold water, is drip dried, and then it sits in the container for 2 weeks to “equalize” the meat, which helps permeate the curing mixture throughout it. And then technically that’s it; it’s ready to be cooked to eat, and should stay preserved in the root cellar for some time. Here is a picture of the ham with the dry cure mixture on it:

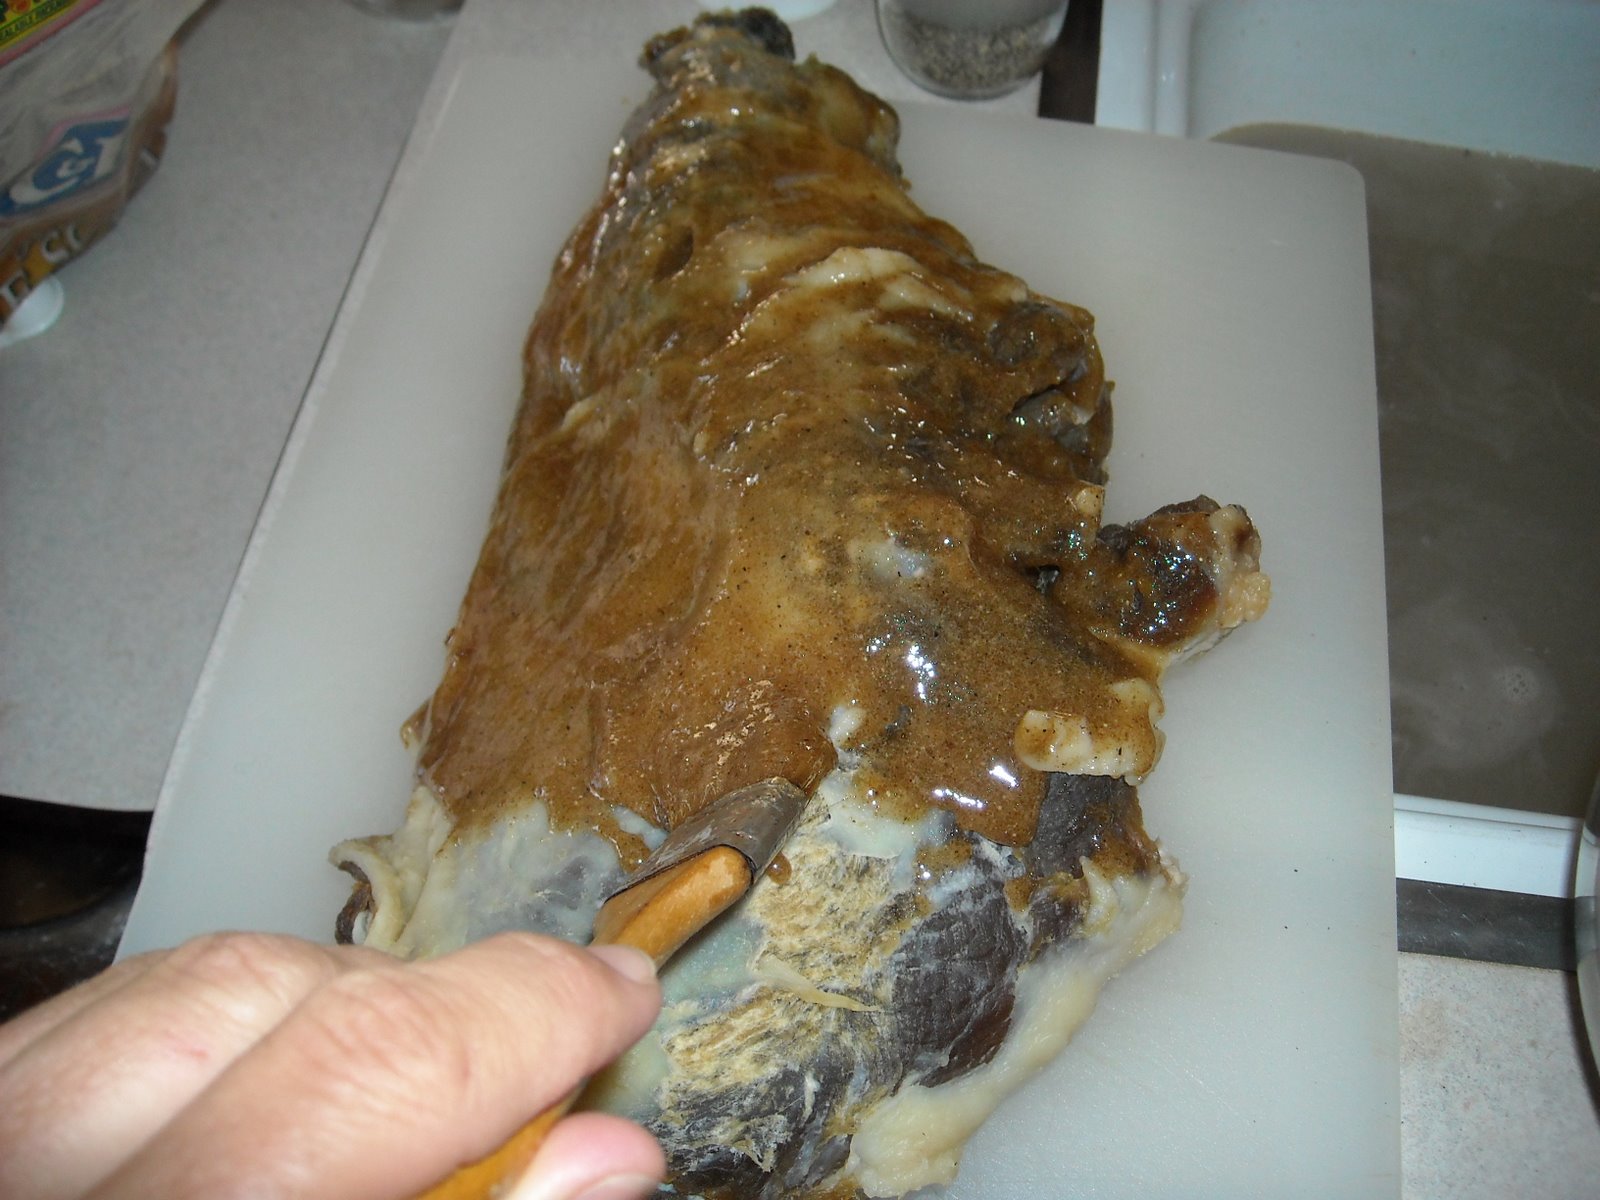
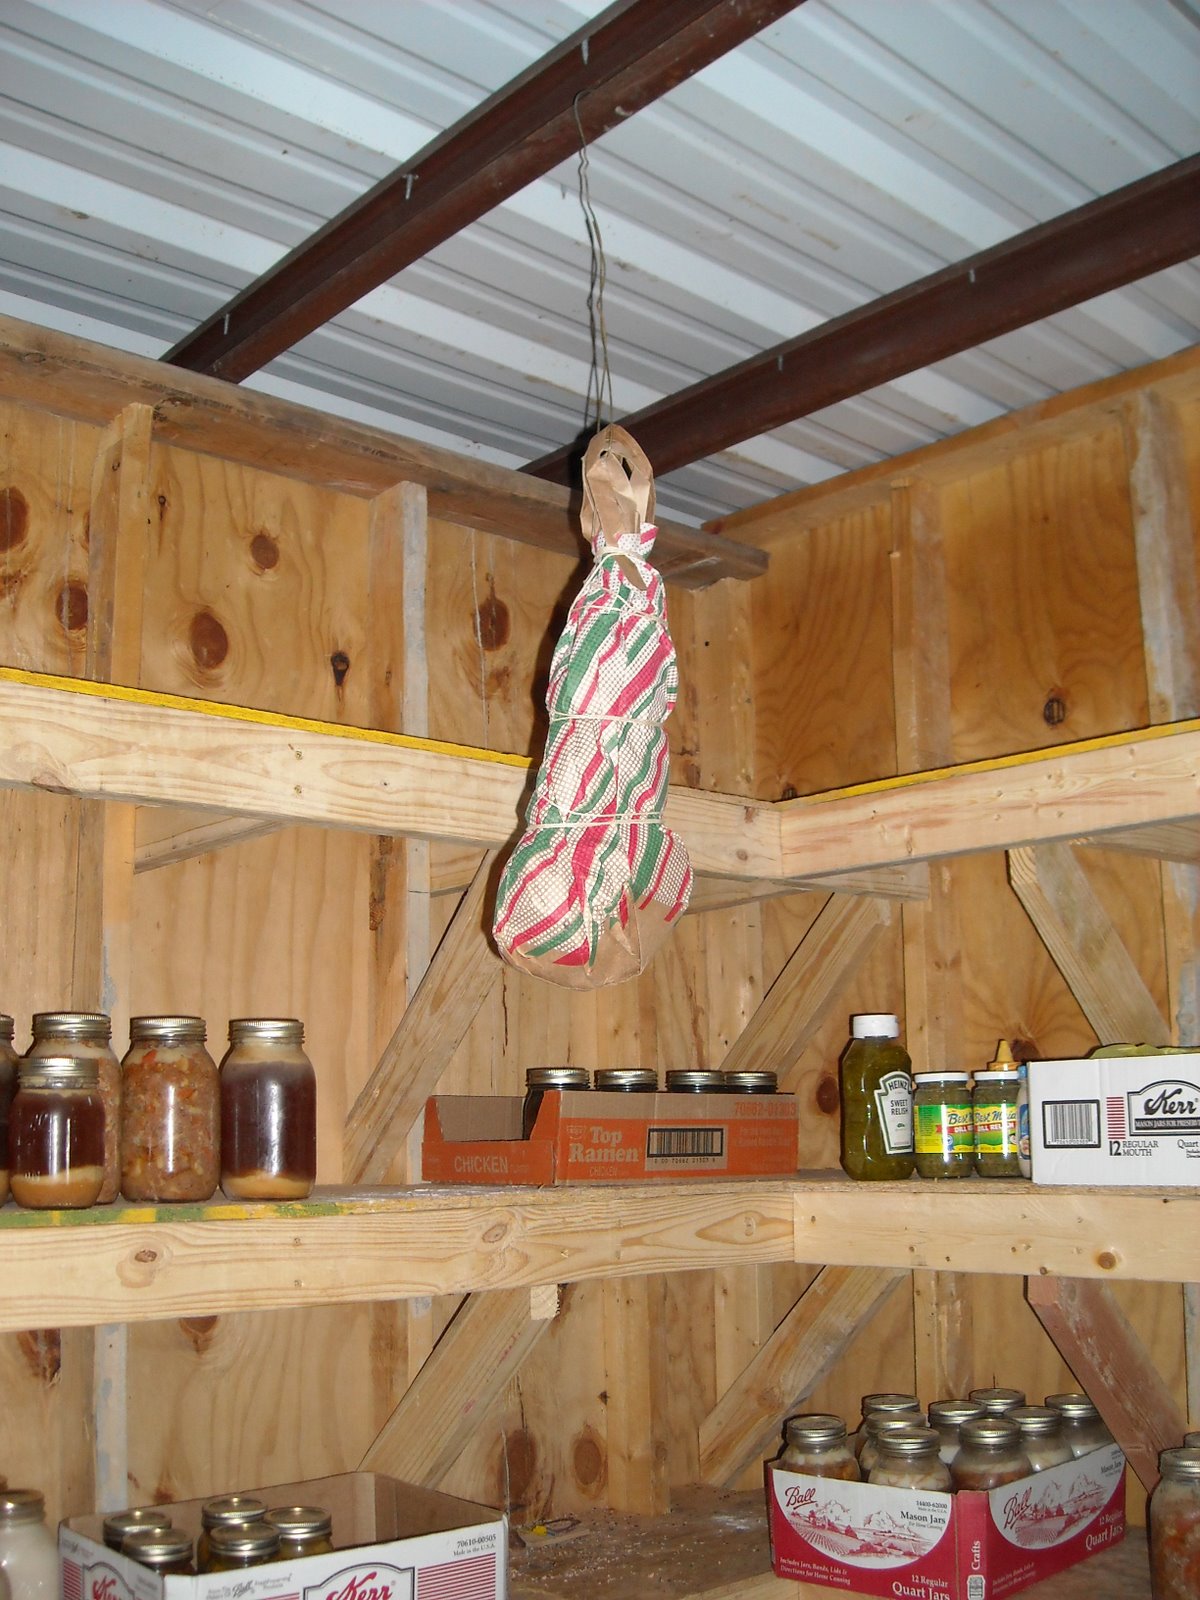
Before final storage, Sue “painted” on a flavoring mixture of brown sugar, honey, pepper and salt petre, and we hung it in the root cellar for future use:


We pray the Lord continue to teach us His ways and grant us His continued provisions, in accordance with His will. And we are most grateful to Him for both.

— David

Air It Out

In trying to continue to get away from dependency on the world, we have looked into preserving food without canning or freezing. One of the methods for doing this with fruits and vegetables is drying. There are food dehydrators available for purchase, some electric, some solar; but it seemed to me this would probably be pretty easy to construct. And so I searched for plans on the Internet and settled on these solar food dehydrator plans (originally available from North Dakota State University), partially because the design was very specifically laid out (which I need), and also because it appeared to be the most compact for the process behind the drying and still large enough to be able to dry quite a bit of food.

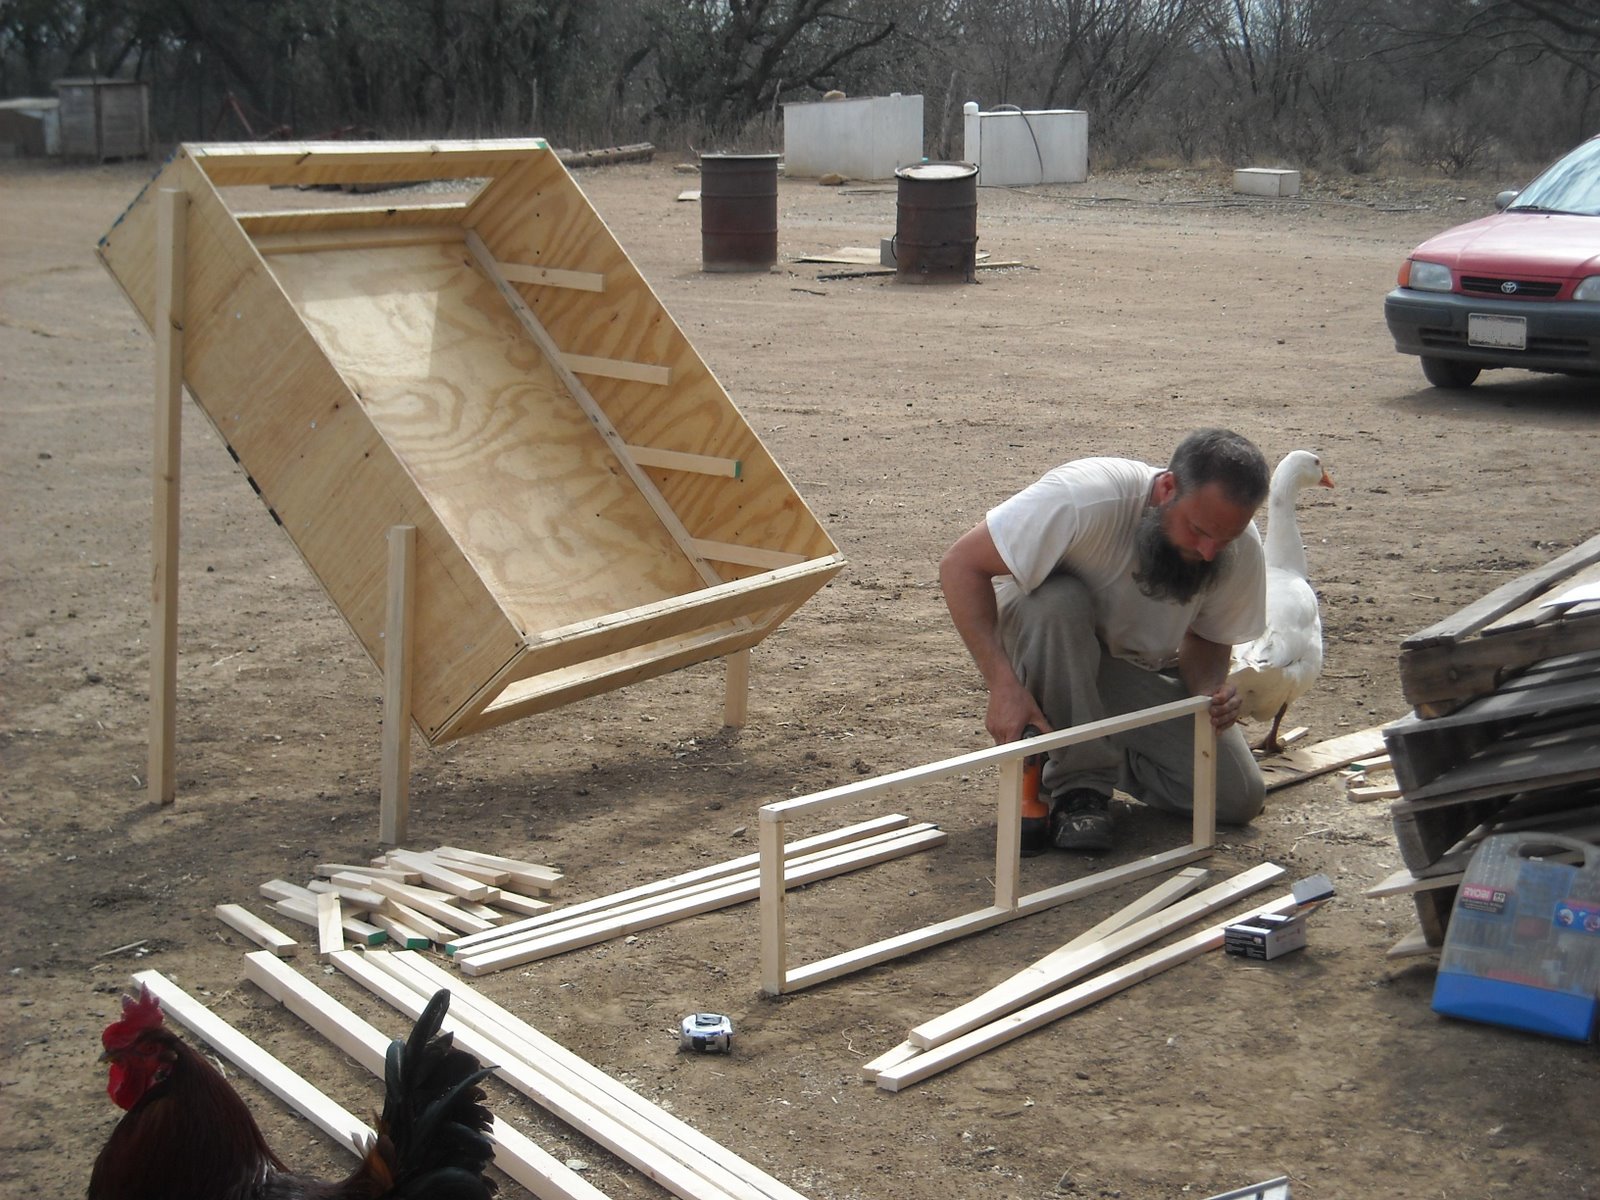
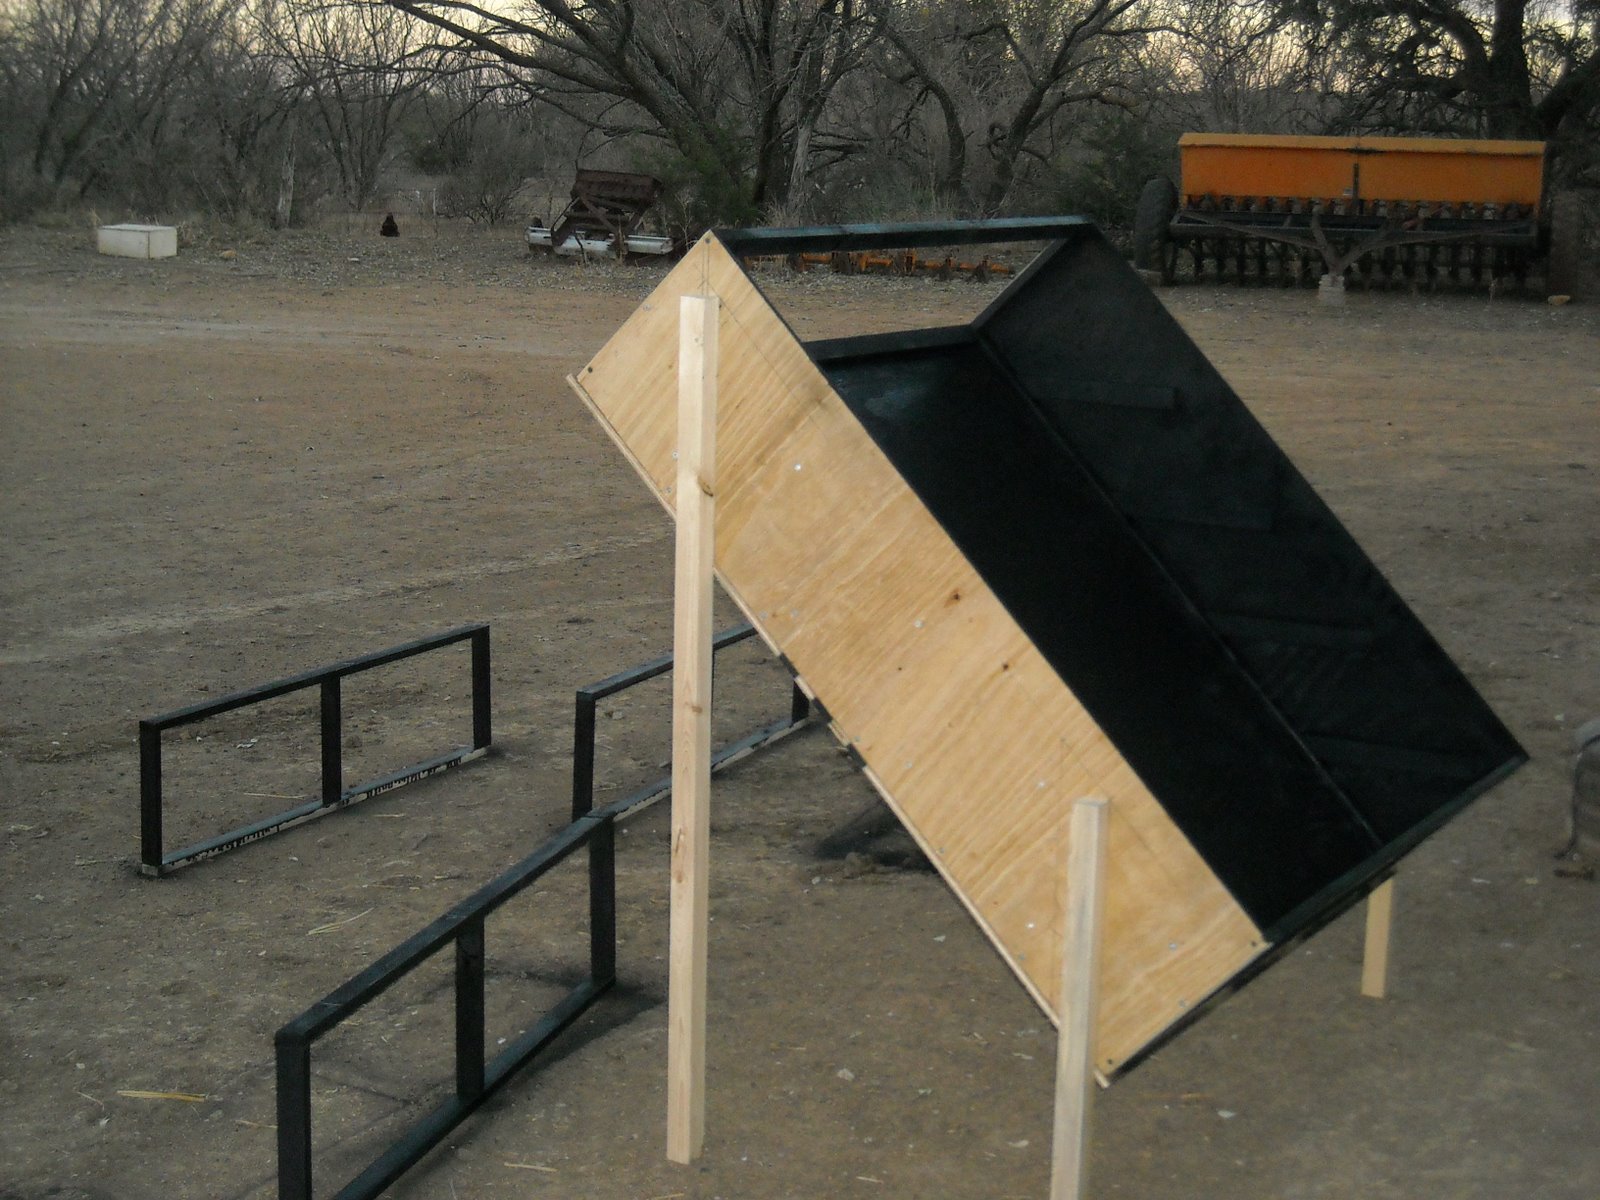
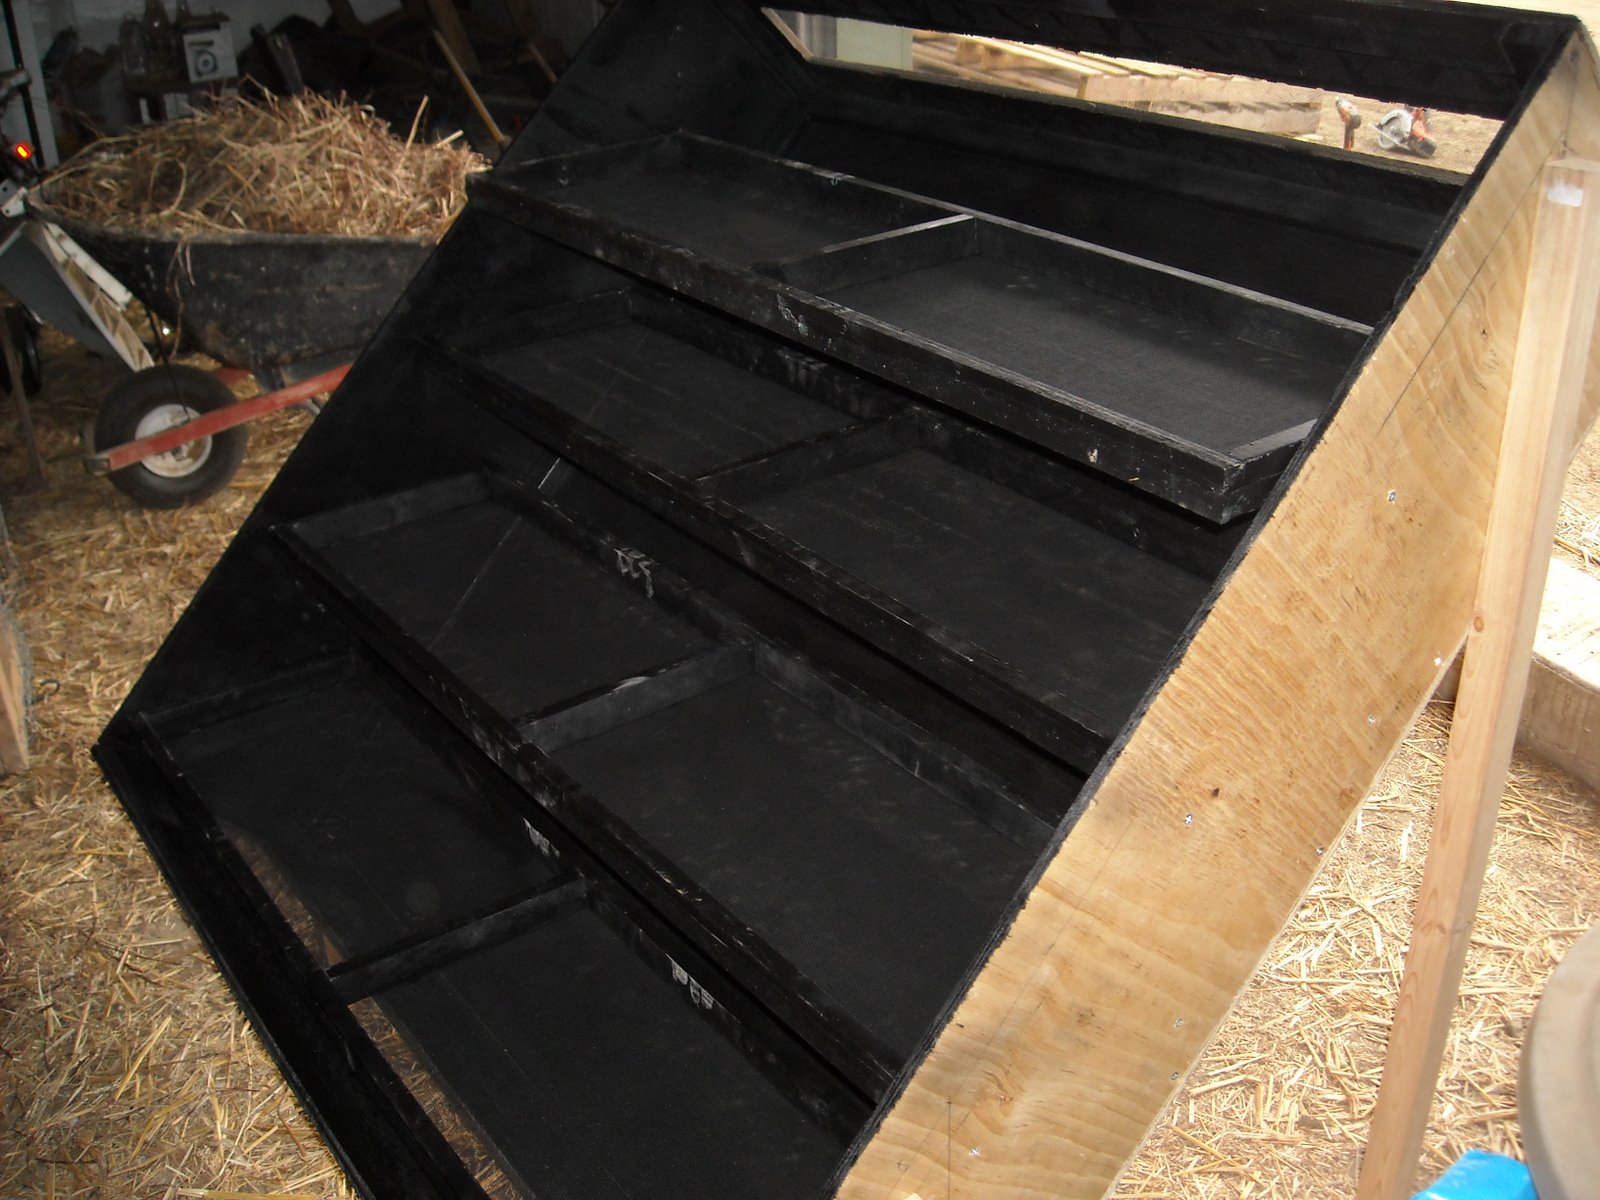
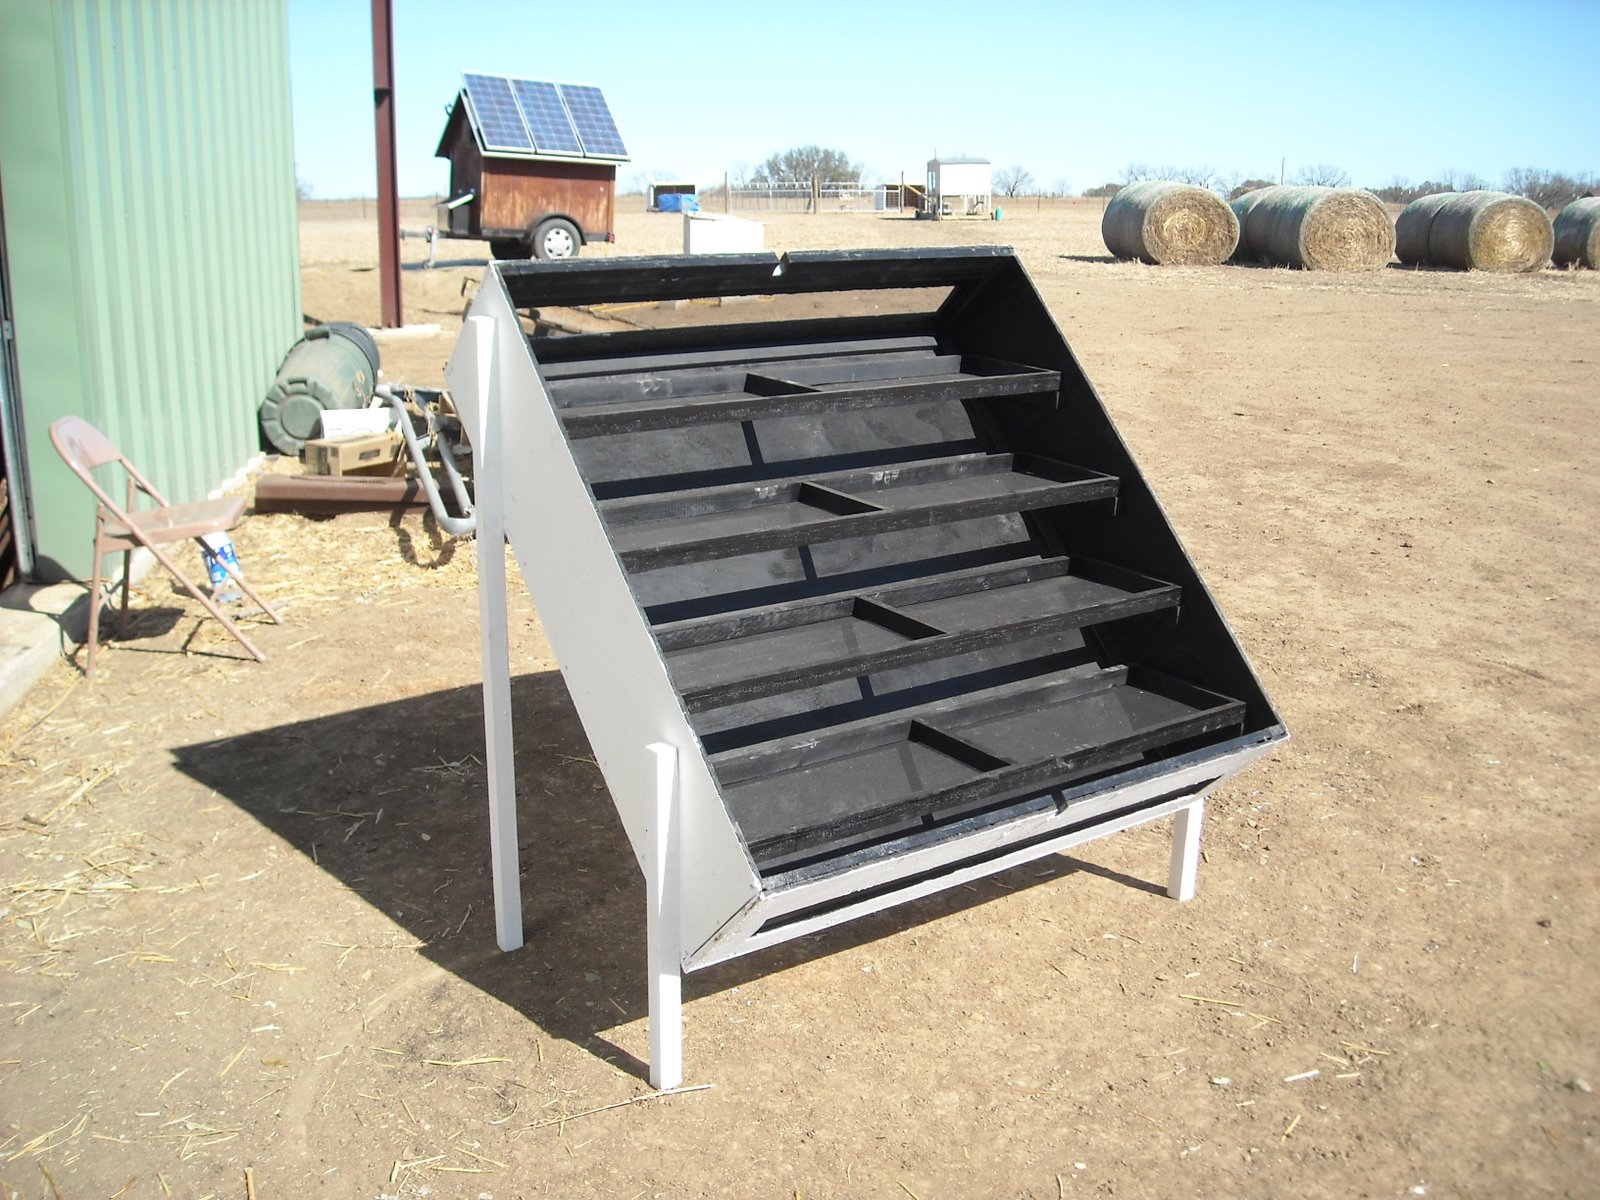
Here are some pictures of ours as I built it:


I decided to use 1″ wood screws and 2″ coarse drywall screws for most of it, and 1 5/8″ deck screws for the legs. I found that a 1/8″ pilot hole worked best with the 1x2s.

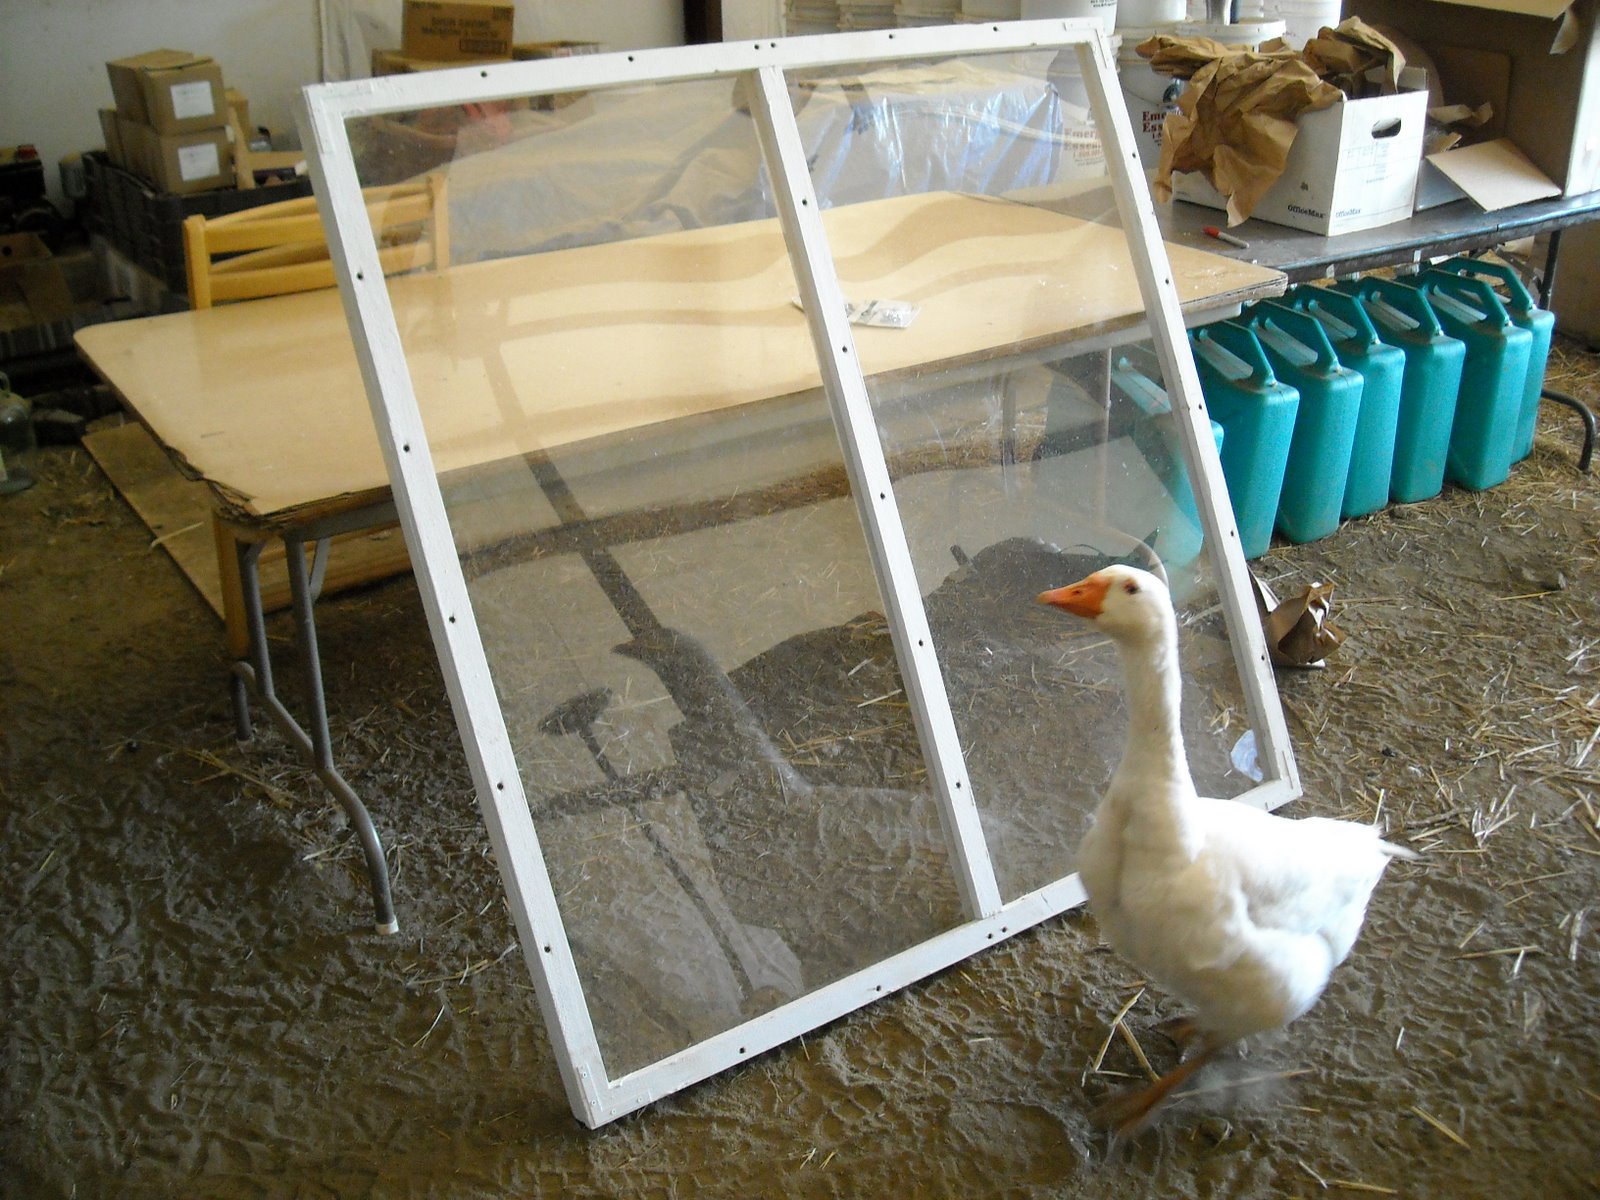
On the top I didn’t use a miter joint on the ends; I simply used butted joints and alternated them for the vertical vs. the horizontal frames. Also, for strength and longevity, I decided to use .93 plexiglas instead of 4-6 mil clear plastic sheeting. I tried to find a 48″ x 48″ piece but couldn’t; and so I thought I would use two 24″ x 48″ pieces with a support in the middle, but the store I was at was out of them. I went to another store, and they didn’t have 24″ x 48″ pieces; and so, I had to buy 30″ x 60″ pieces and a scoring tool. However, that was good because the distance from edge to edge of the top was for me 49 7/8″ (which means the other sizes would have been too small); and so, I was able to cut each piece to fit very nicely. Before I did that though and because of the extra plexiglas I had, I was able to practice scoring and drilling the plexiglas so as to not crack it when setting the real pieces in place. This was good because my first attempts did not work well. After practice though, I was able to get the hang of scoring and drilling, which worked pretty well on the final product:

I learned a few things with plexiglas: the scoring tool would cut into my 4′ level when using it to guide my scoring, and so I switched to a straight piece of wood; I would score only a few times with the wood guide in place and then would do it free hand as I was able to apply much more pressure causing the scoring process to be finished quicker; and I found that quick speed and light pressure was the best way to drill a hole. Also, the drilled hole should be at least the full diameter of the screw so the screw doesn’t put pressure on the hole, which I believe can cause the plexiglas to crack.

After the dryer was completed, I let it sit in the sun with the top off for a couple of days before putting food on the trays to allow the paint to bake in so the fumes would be hopefully removed.

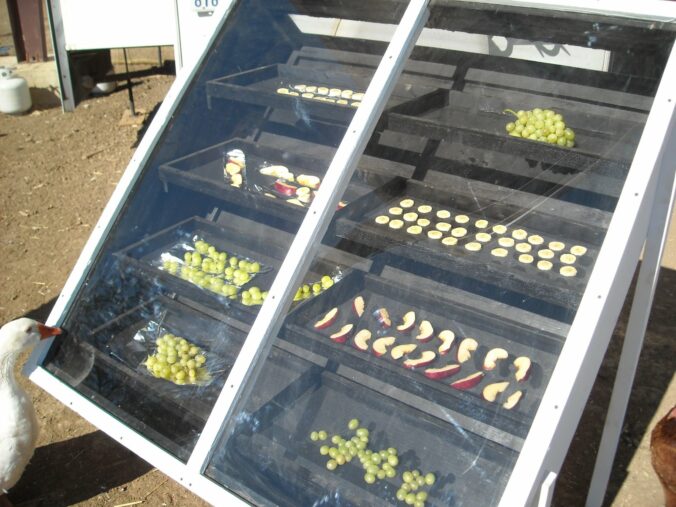
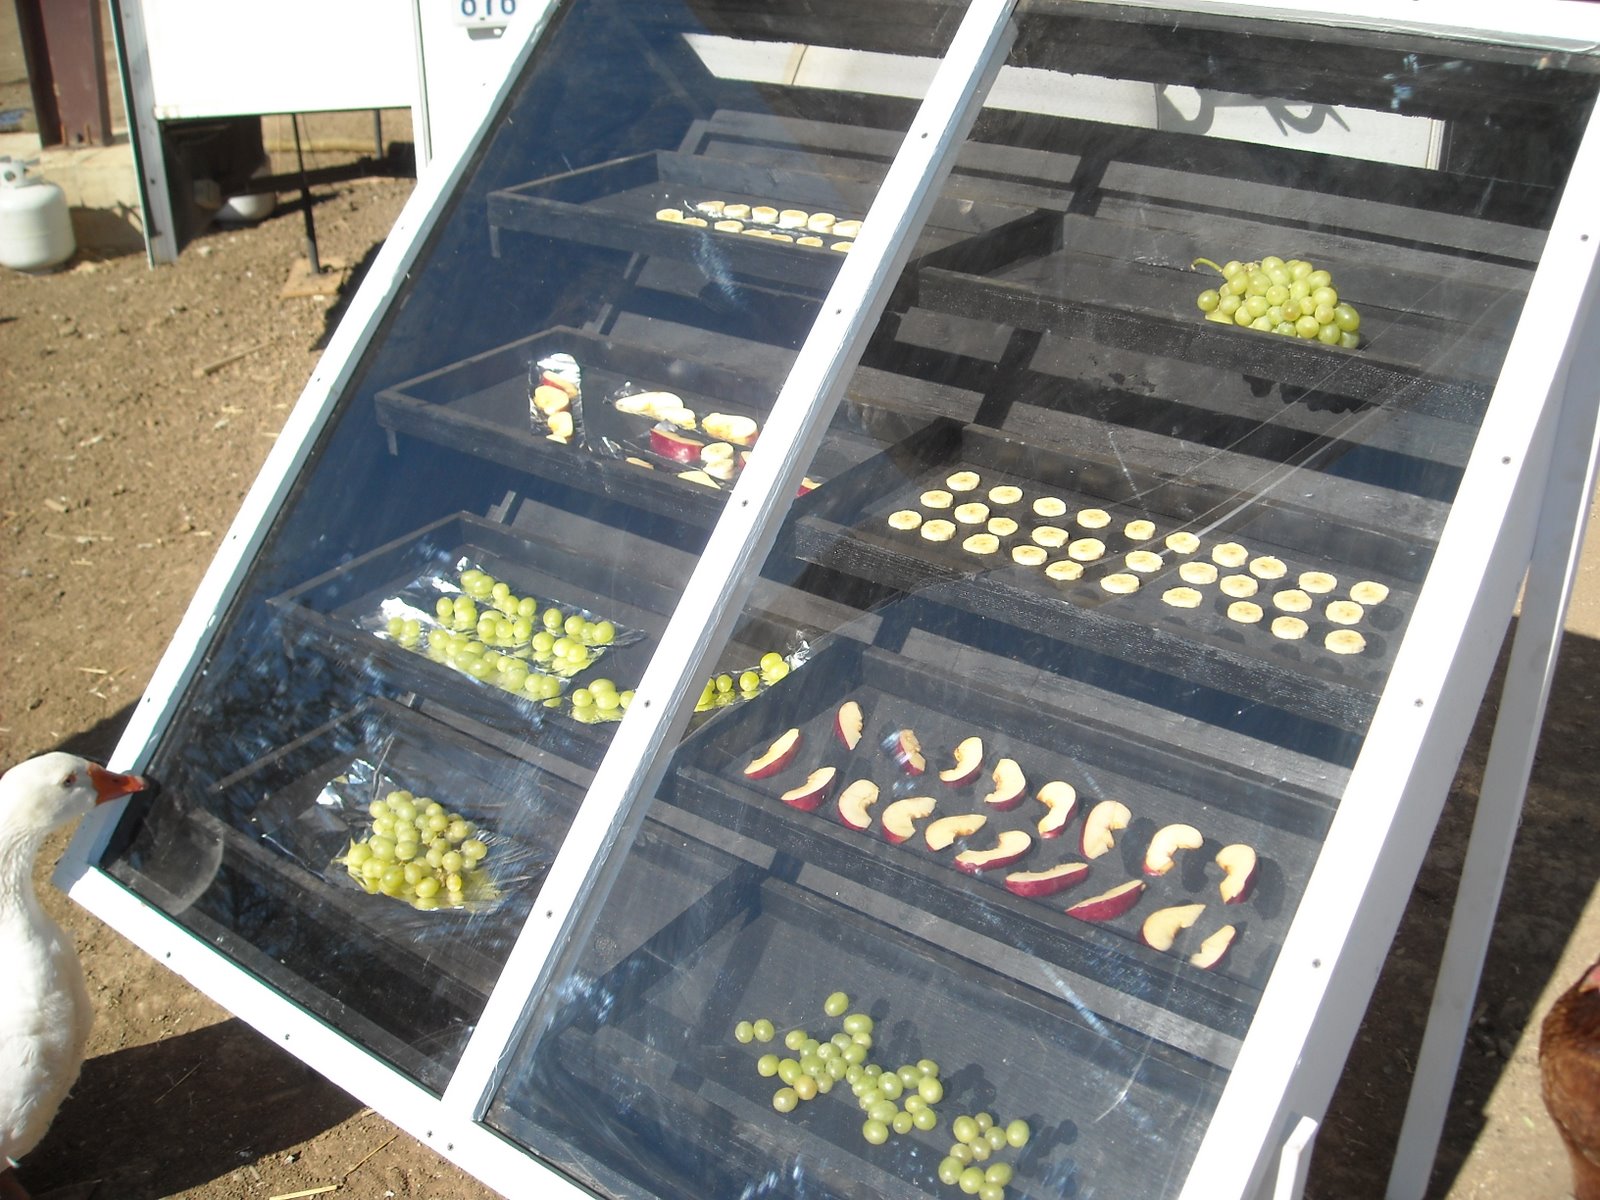
Here is some food drying in it:

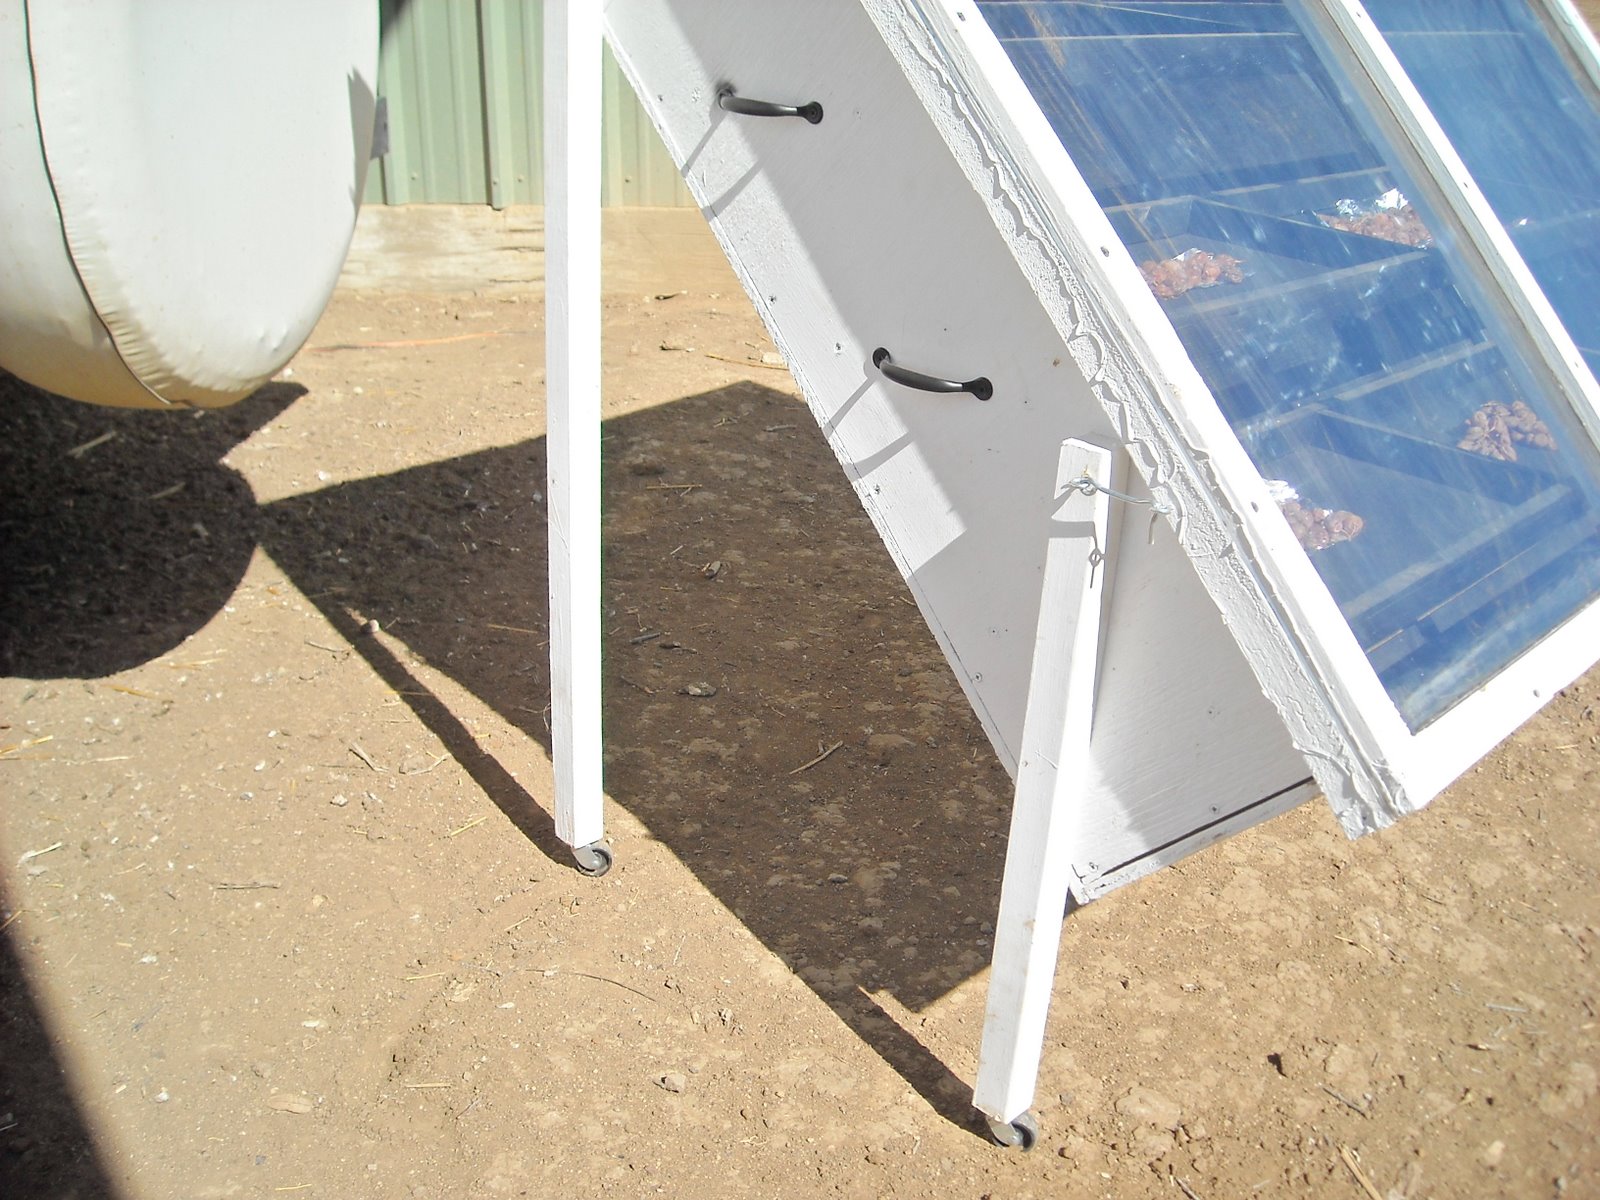
I added casters (swivel wheels) on the bottom of the legs to make it easier to move, and also added some handles which I attached to the sides where the inside food frame supports where located so that the handles would be more firmly secured and the handles’ screws wouldn’t be poking through the plywood siding:

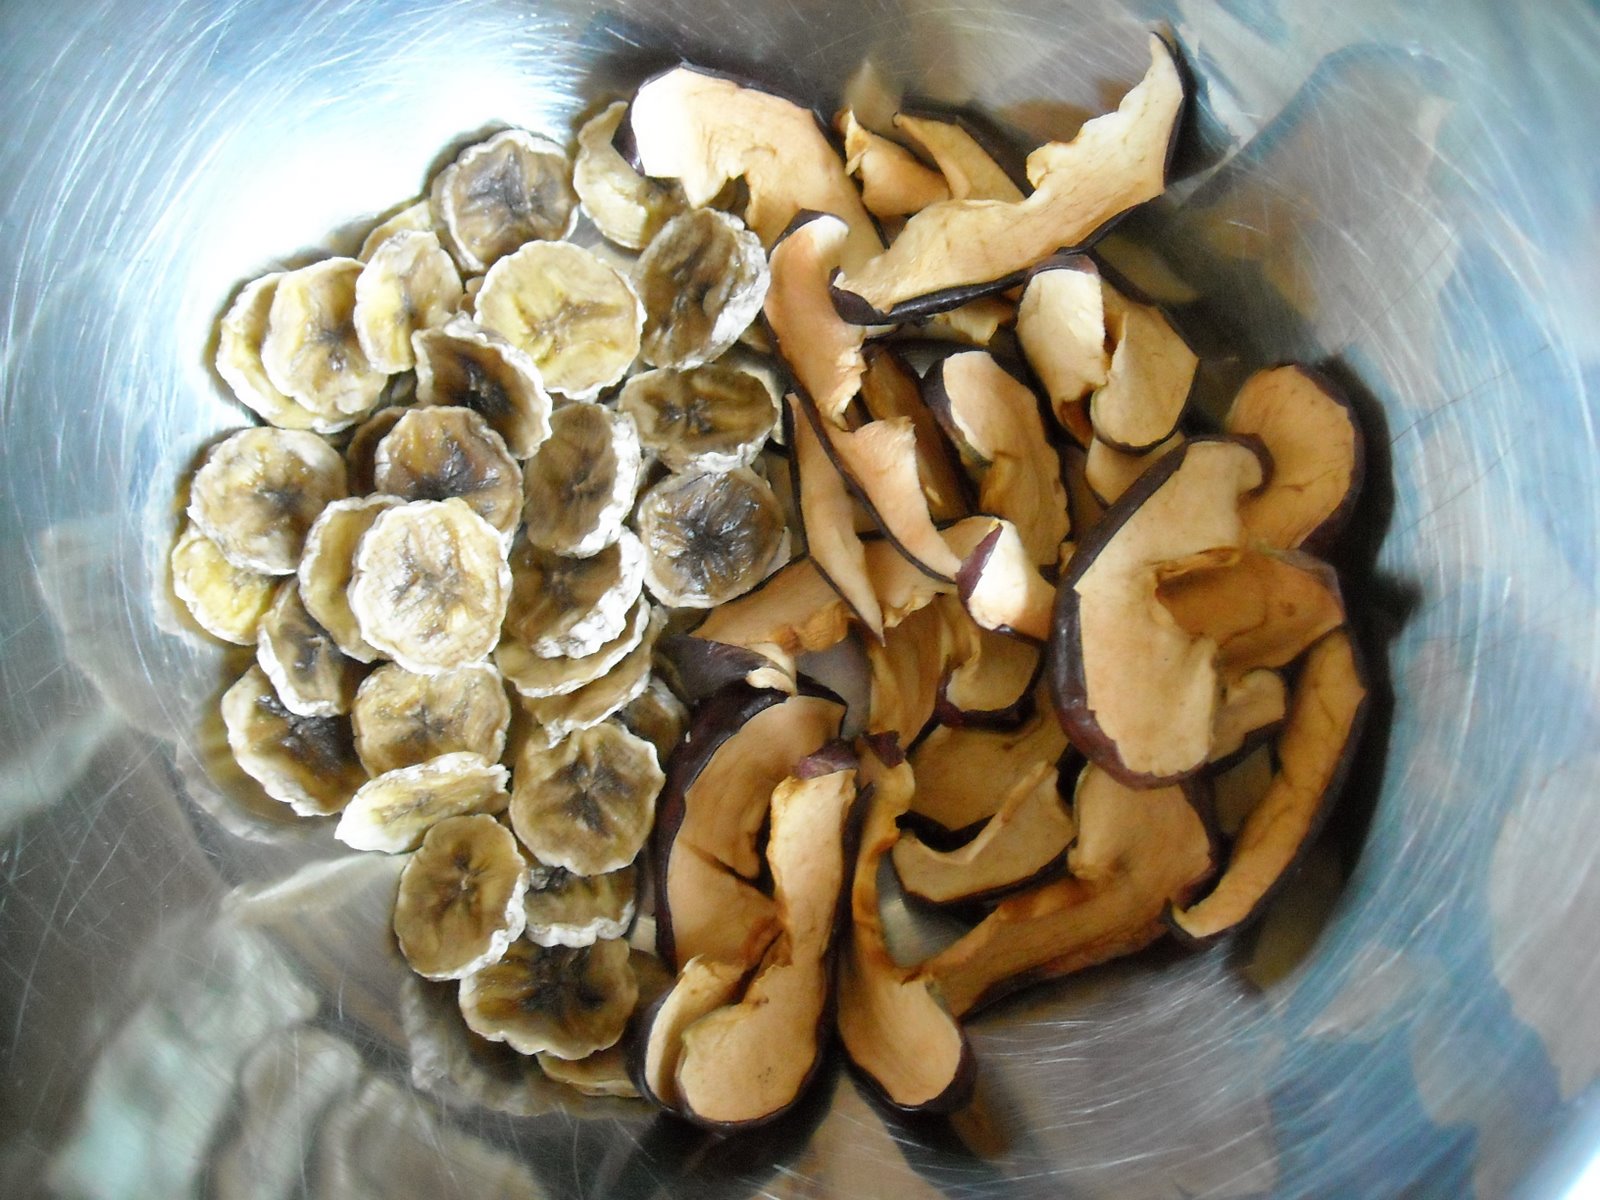
And here are the banana and apple results. Quite tasty!

At this point they can be bagged and stored in the root cellar, and should last for some time.

We thank the Lord for His provisions in being able to make this food dryer, and for His provisions in creation to allow us to preserve in this way the food He grants us.

— David

Providence’s Perpetuation Provisions: New Kids “Donny” and “Marie”

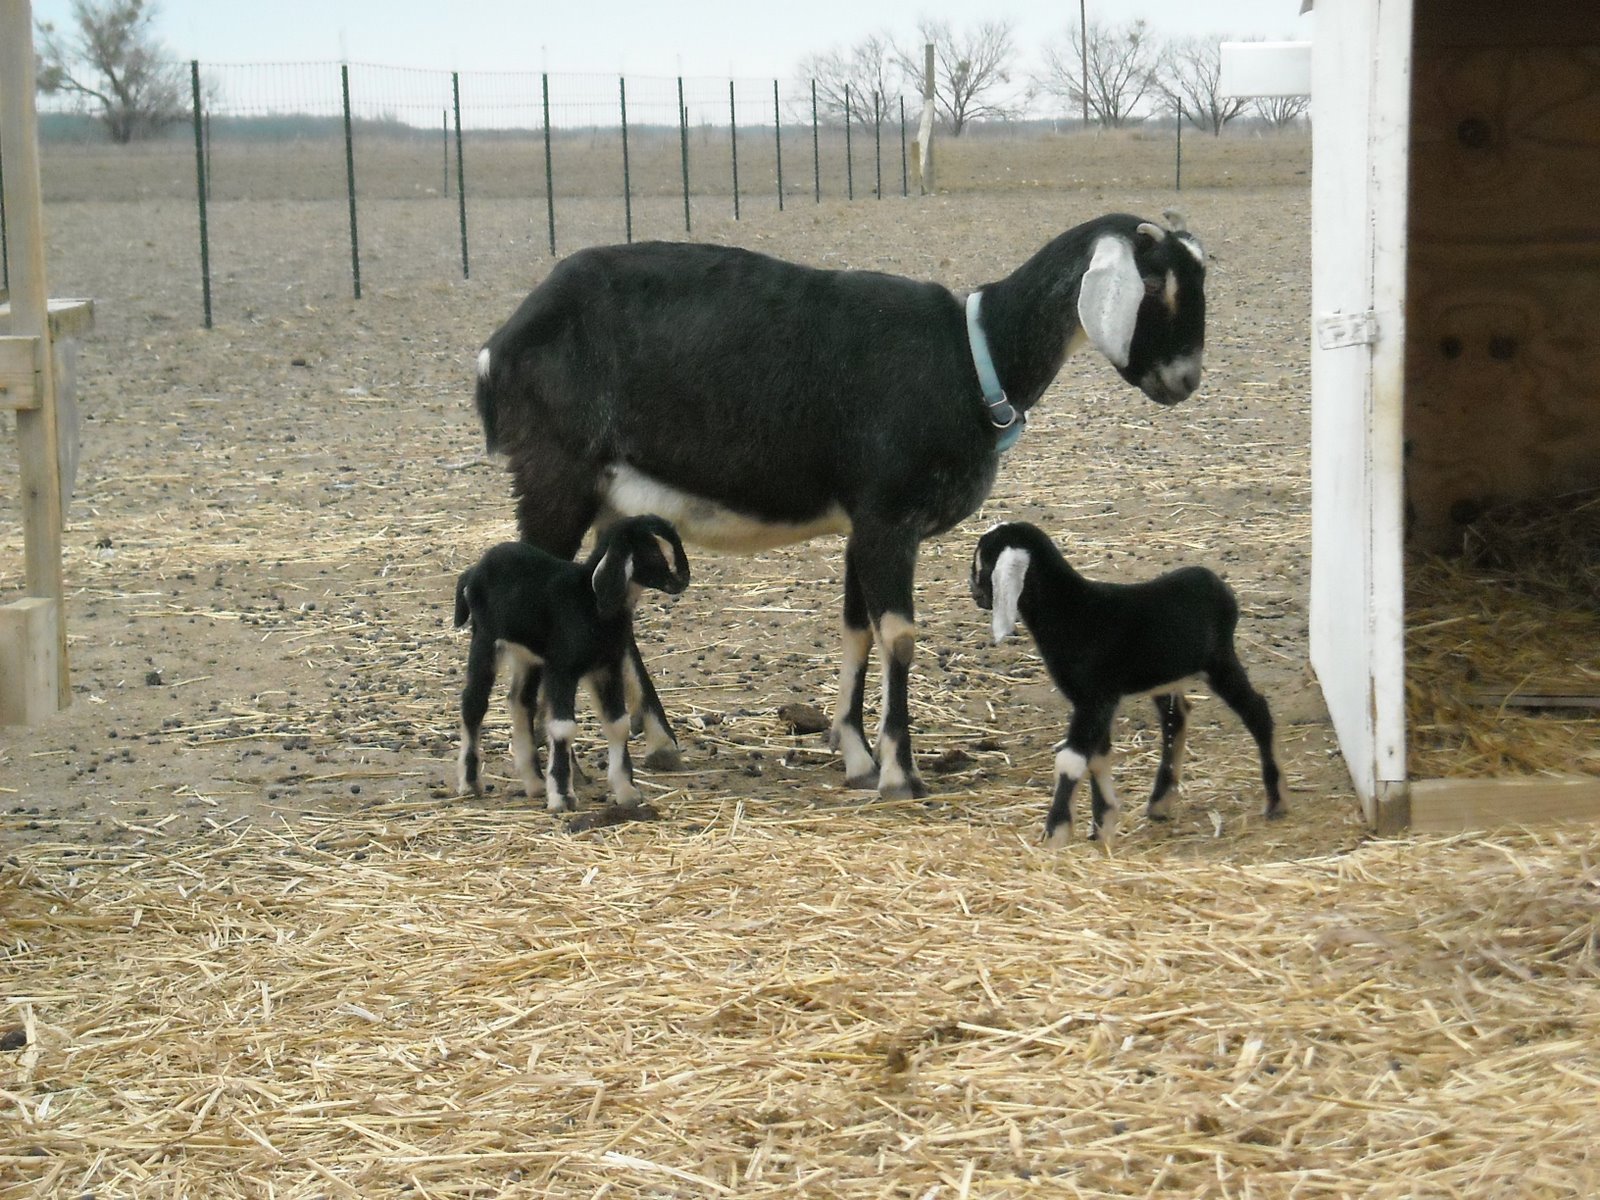
The Lord graciously granted Betsy, one of our nanny goats, to give birth to twins. They are pure Nubians. One is a male, the other a female; and so, please meet Donny and Marie. Here is a picture (Donny’s on the right, Marie’s on the left):

And here is a video:


They were born just before sunrise on a near freezing morning. Due to some confusion in our understanding of when new-born goats need to be up, around and suckling, we let them be for several hours. Well, for some reason Betsy didn’t clean them off, and when we checked on them again, they were still laying down, one struggling to get up stuck in the birth wetness. Needless to say, we got them up and cleaned out their little shed and put fresh hay in it. We went and looked up some new-born information in our goat books, and they indicated they needed to be up and suckling within 30 minutes. Sigh. They looked very weak, weren’t really up and about, and weren’t eating; and so, we decided to milk Betsy for her colostrum and bottle feed them. We did this a few times throughout the afternoon. Before our community meeting that night, we closed them into the shed because it was going to be a cold night again. After the meeting we checked on them, and they appeared to be walking around a bit and even latching on to Betsy’s teats a little, and so we decided to not interfere for the night. And we prayed.

Well, God was merciful, and in the morning they were up and standing when we let them out. We watched them throughout the day and saw that they indeed were suckling. Since then they’ve only gotten stronger and are now getting around quite well.

Here is another video:


We are thankful once again for the Lord’s provisions, and his mercies in allowing the new little ones to live and begin to grow healthy.

— David

David’s Digest: The War of the Weeds

From the moment we got out here, there have been some things that have been ever present, and all around us; and for those of you who have dealt with the soil at all, you understand. Those things are weeds, and they are everywhere.

Here are some things I’ve discovered about them:

They grow without planting. They are just there.

They grow back when you cut them down, especially if you don’t pull out by the root.

They grow in whatever soil, around anything in their way, and through it if possible.

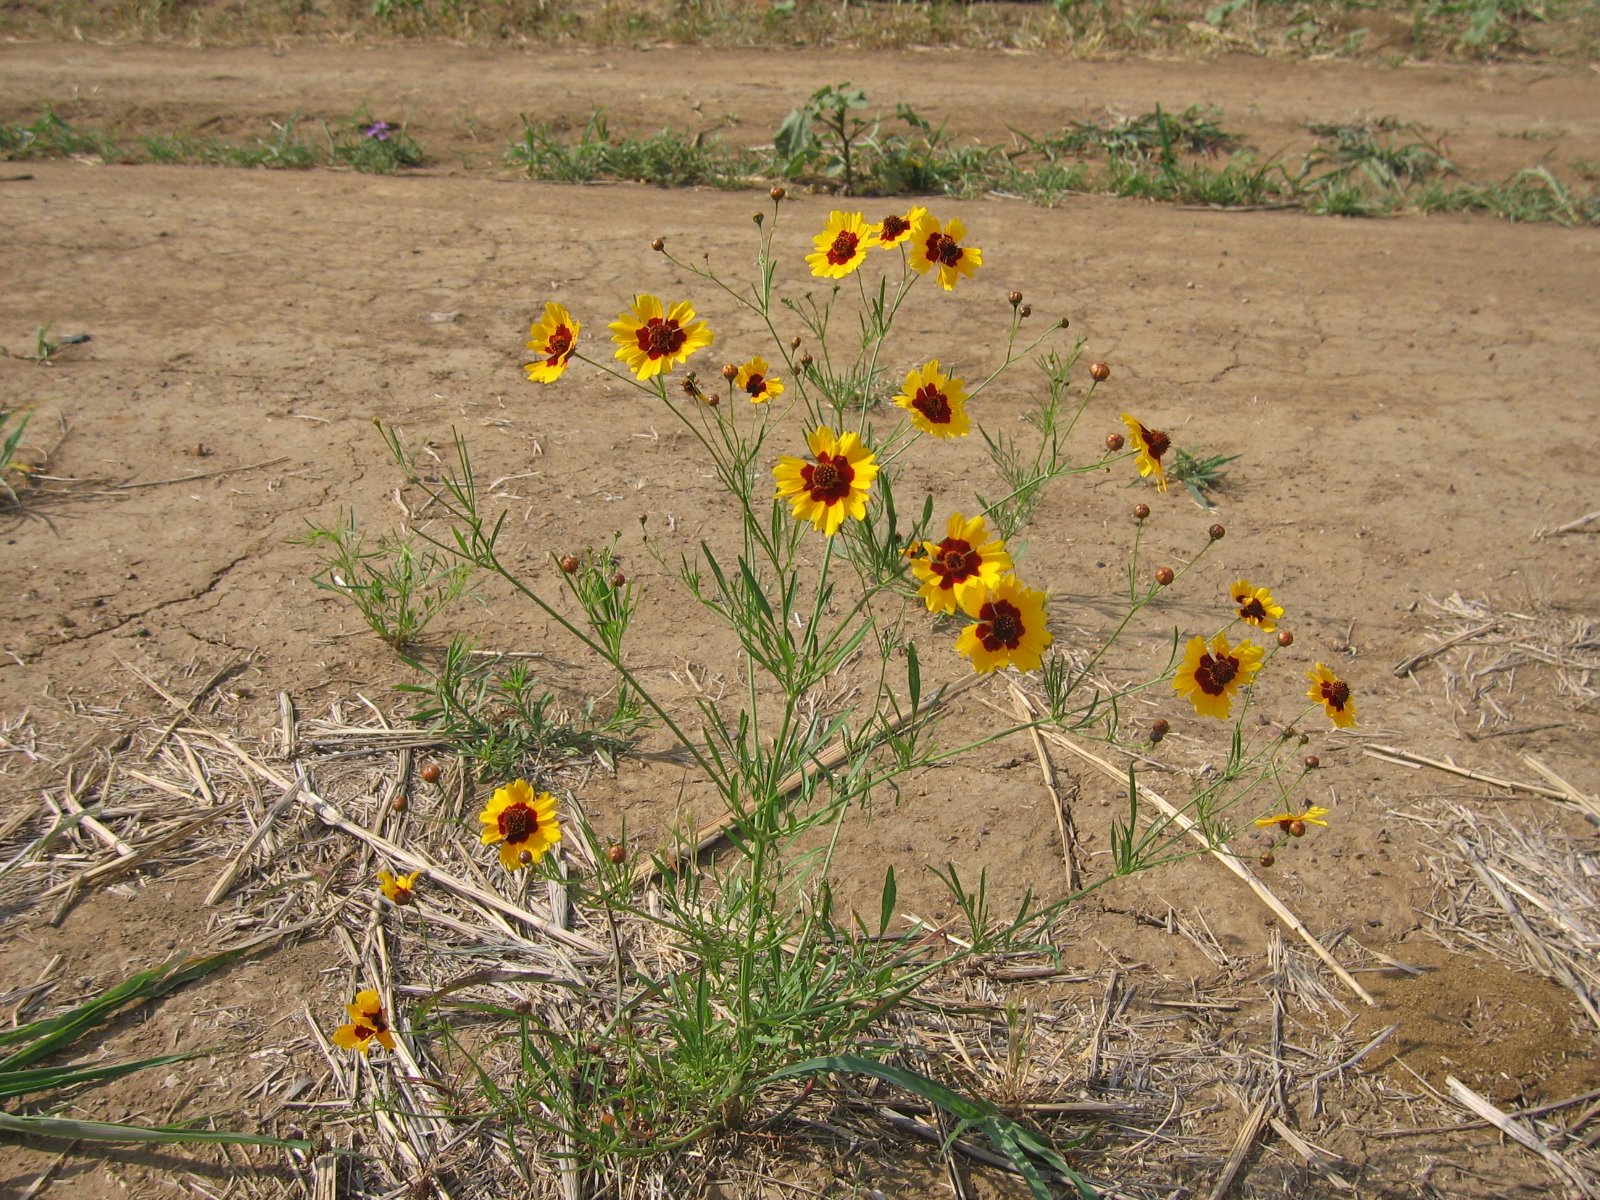
They can often be attractive. Notice here the pretty flowers:


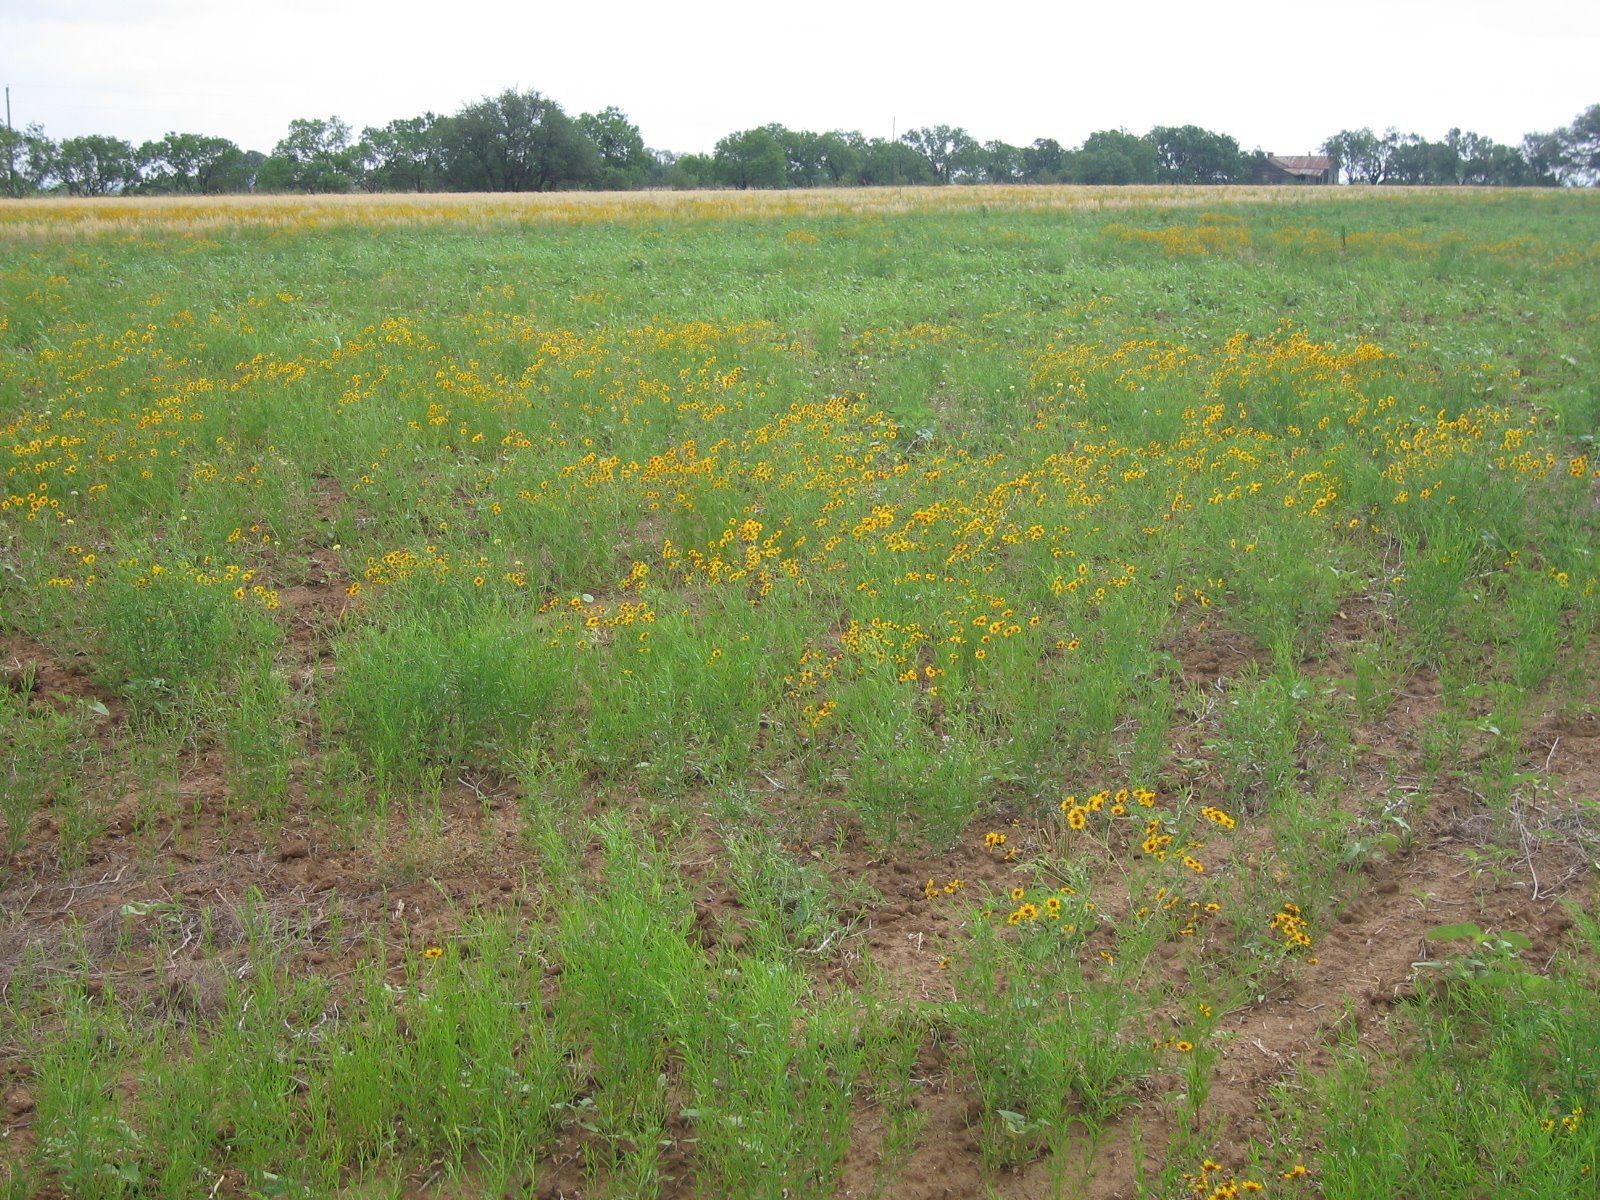
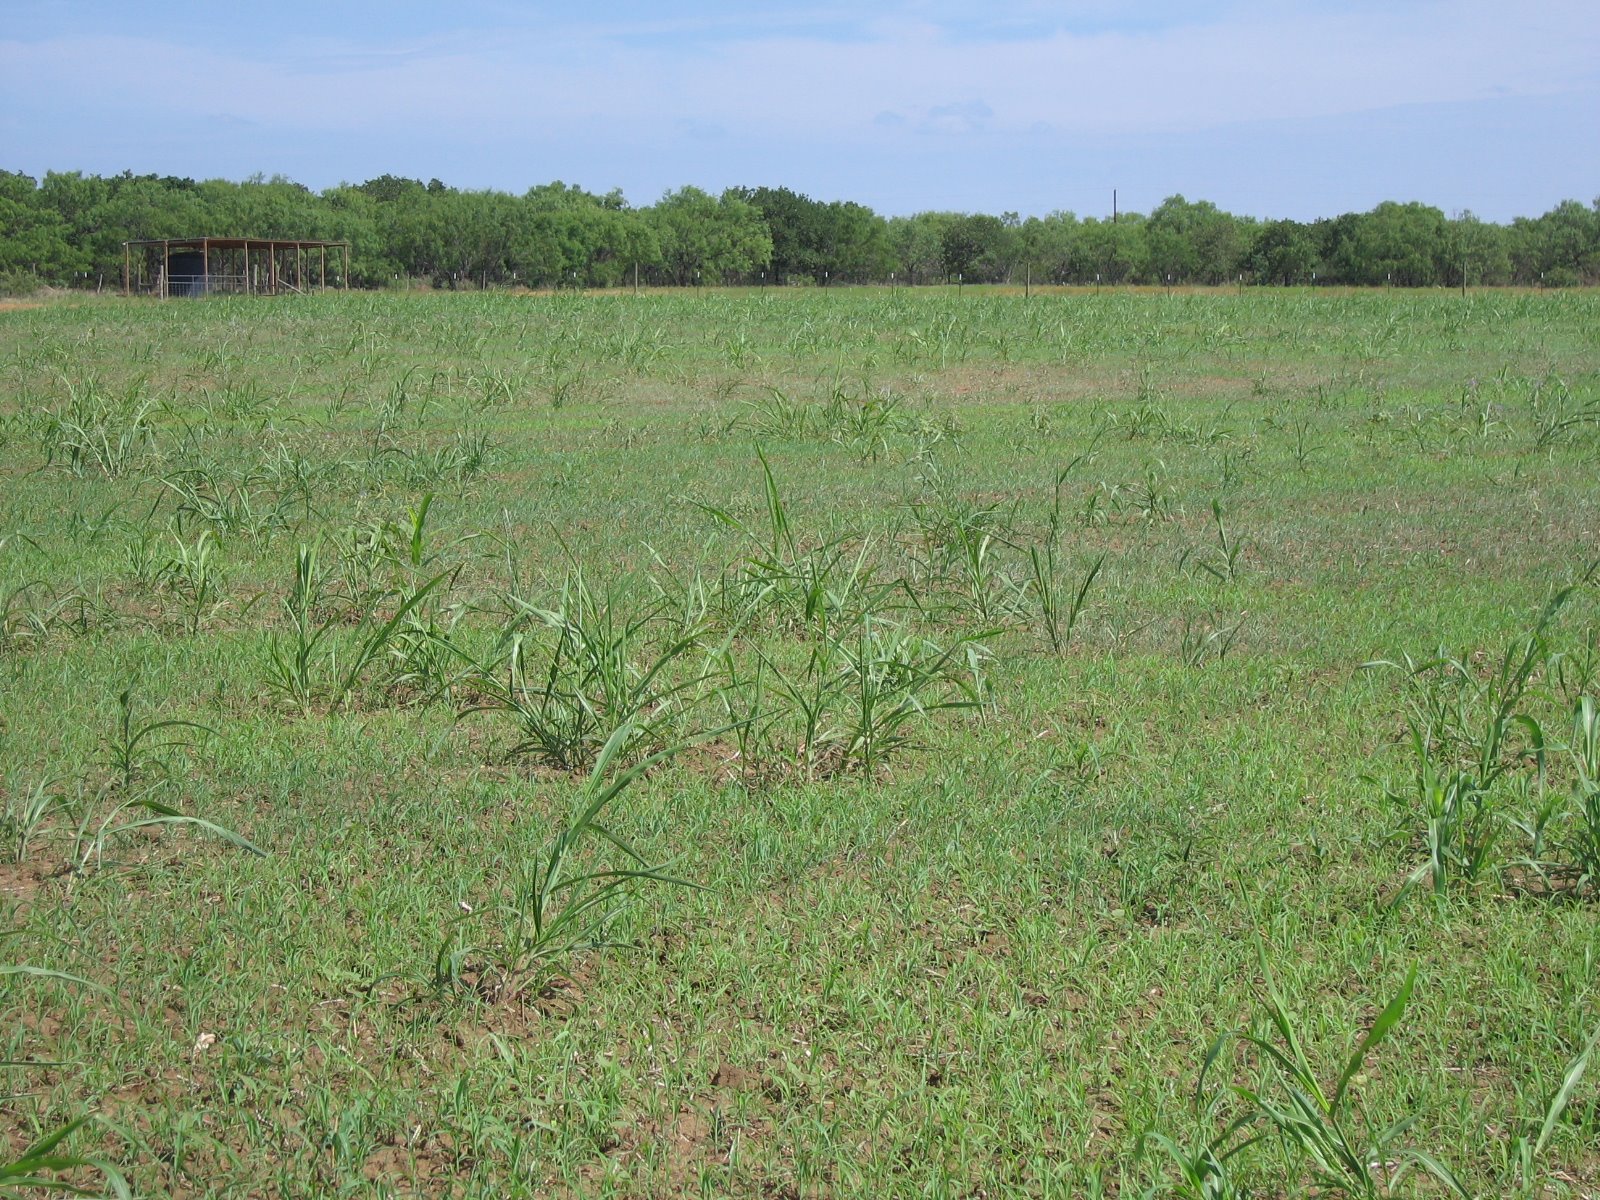
Or the field of green:

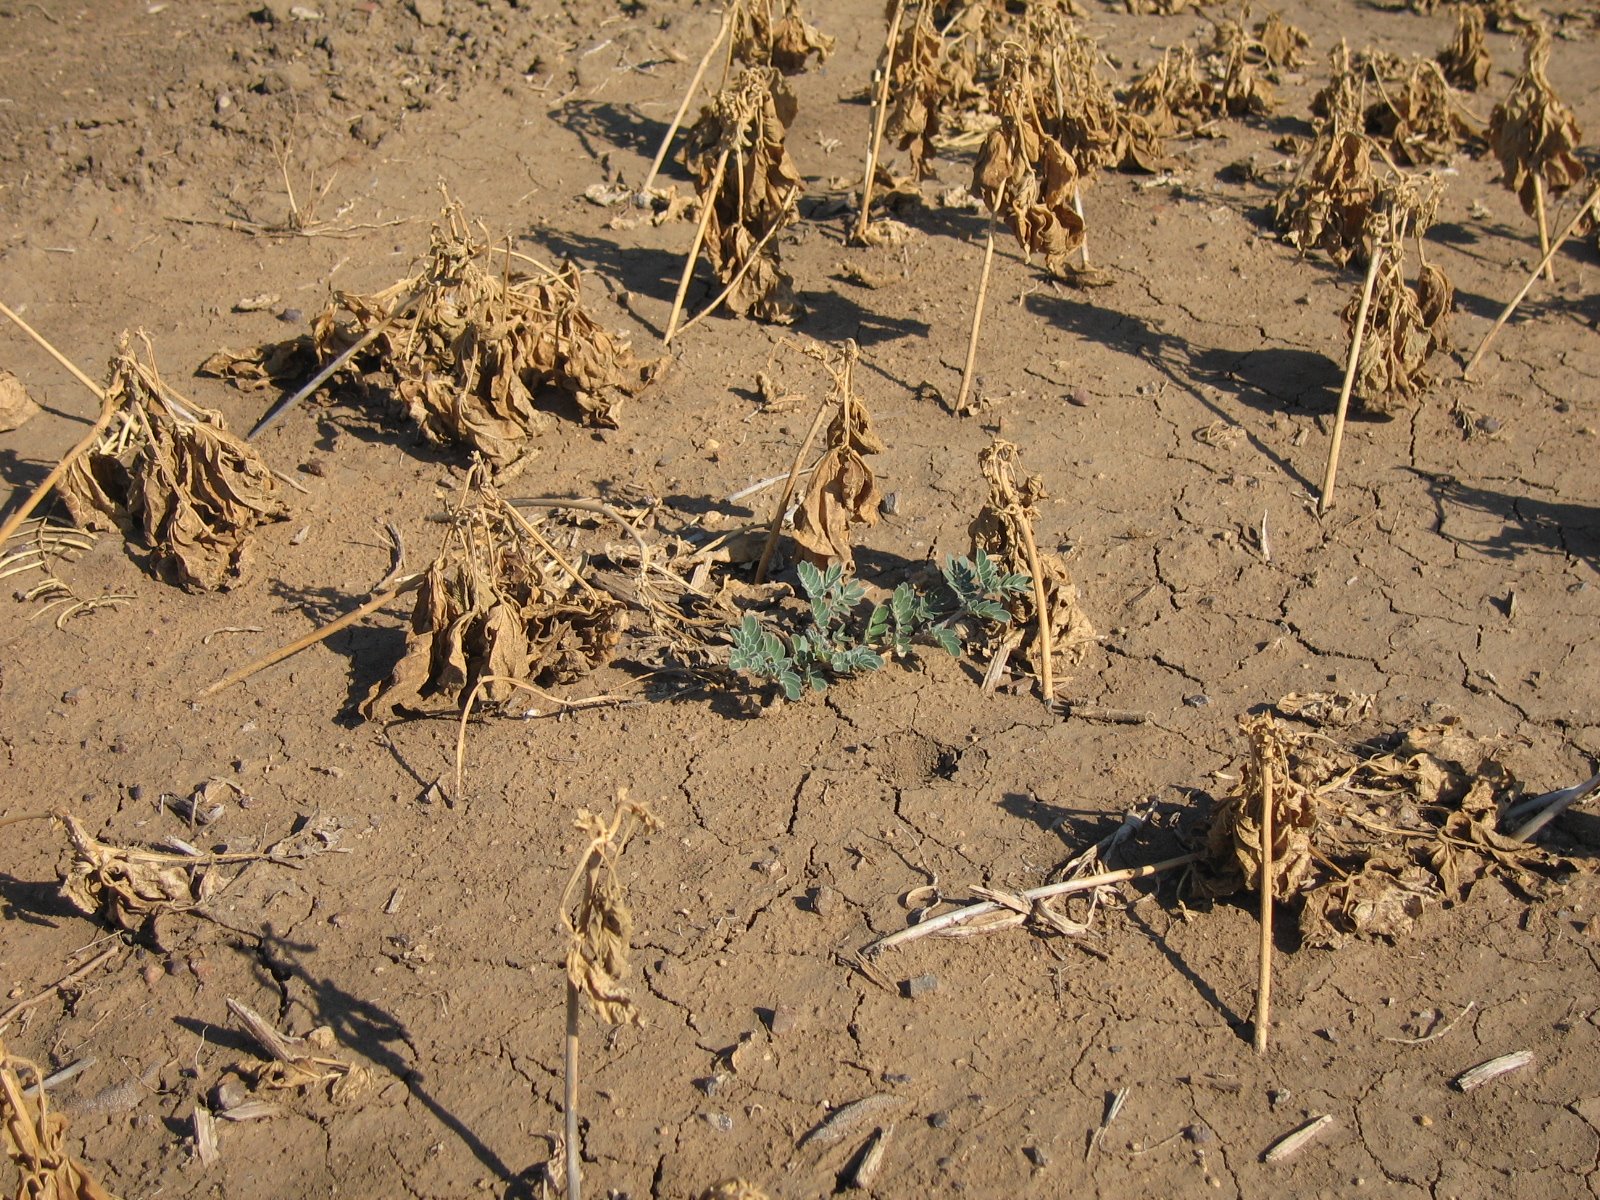
They grow even when it doesn’t rain. Here is a picture of one of our garden beds after we were unable to water it. Notice what is green and living:

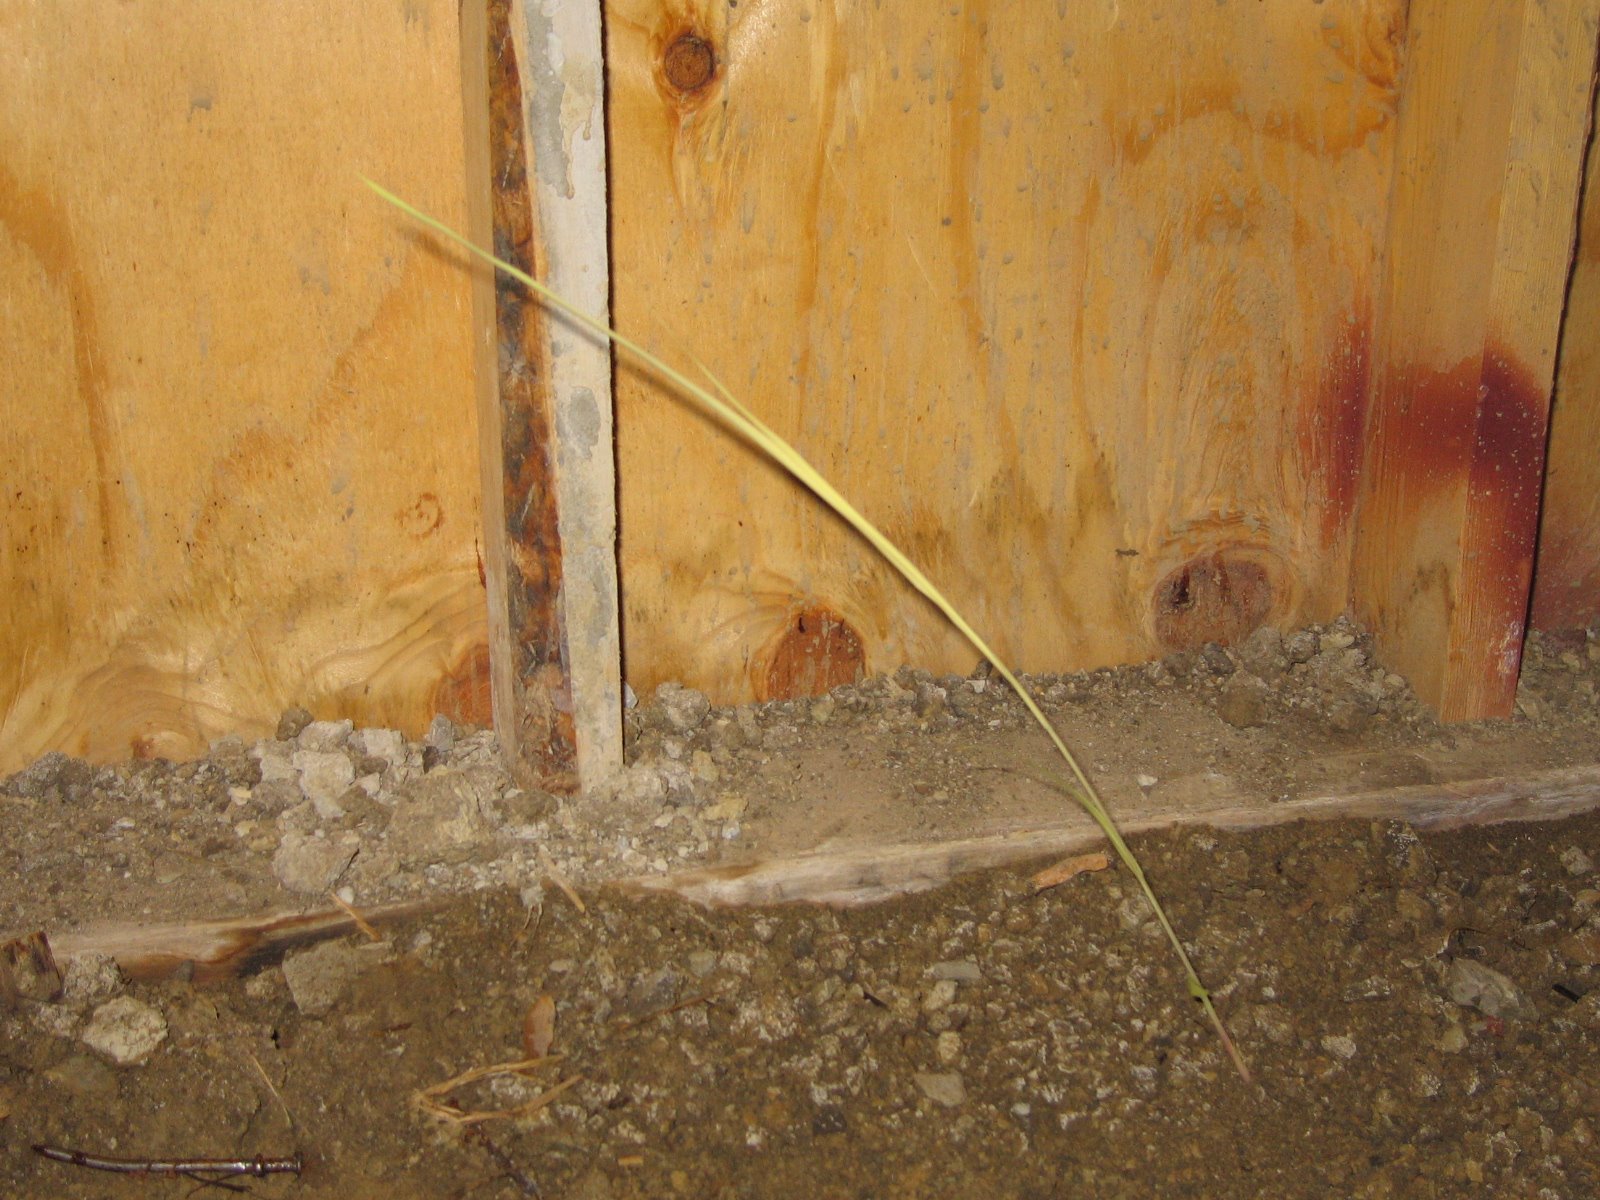
They grow even where they shouldn’t be able to grow, as this little one was in our root cellar:

It seems that there is no way to get rid of them entirely, and I believe this to be generally true based on the curse (Gen 3:17-19). And it seems like all there is to do is try to control them, and in my opinion, this means WAR. They must be cut, hacked, pulled, chopped, and sometimes even burned in order to get the better of them. Everything must be done to keep them down, and this is a constant struggle, one that I believe won’t end until the Lord returns.

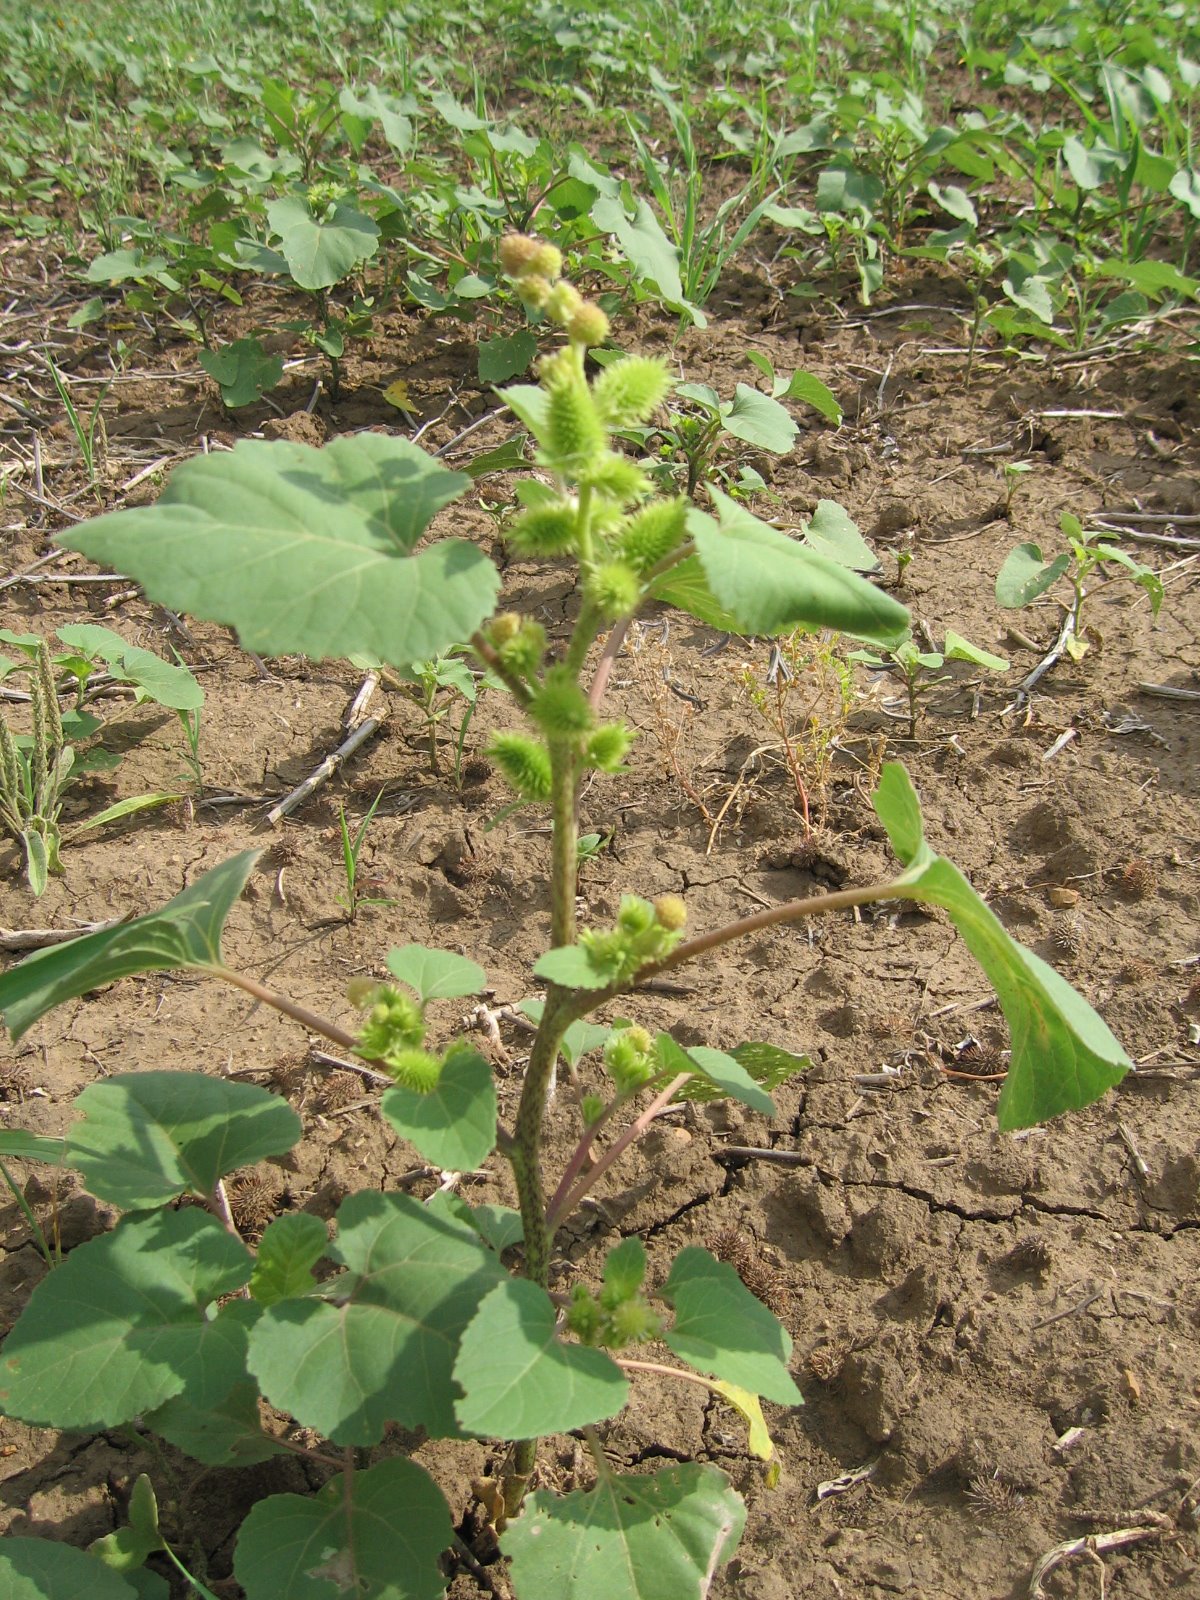
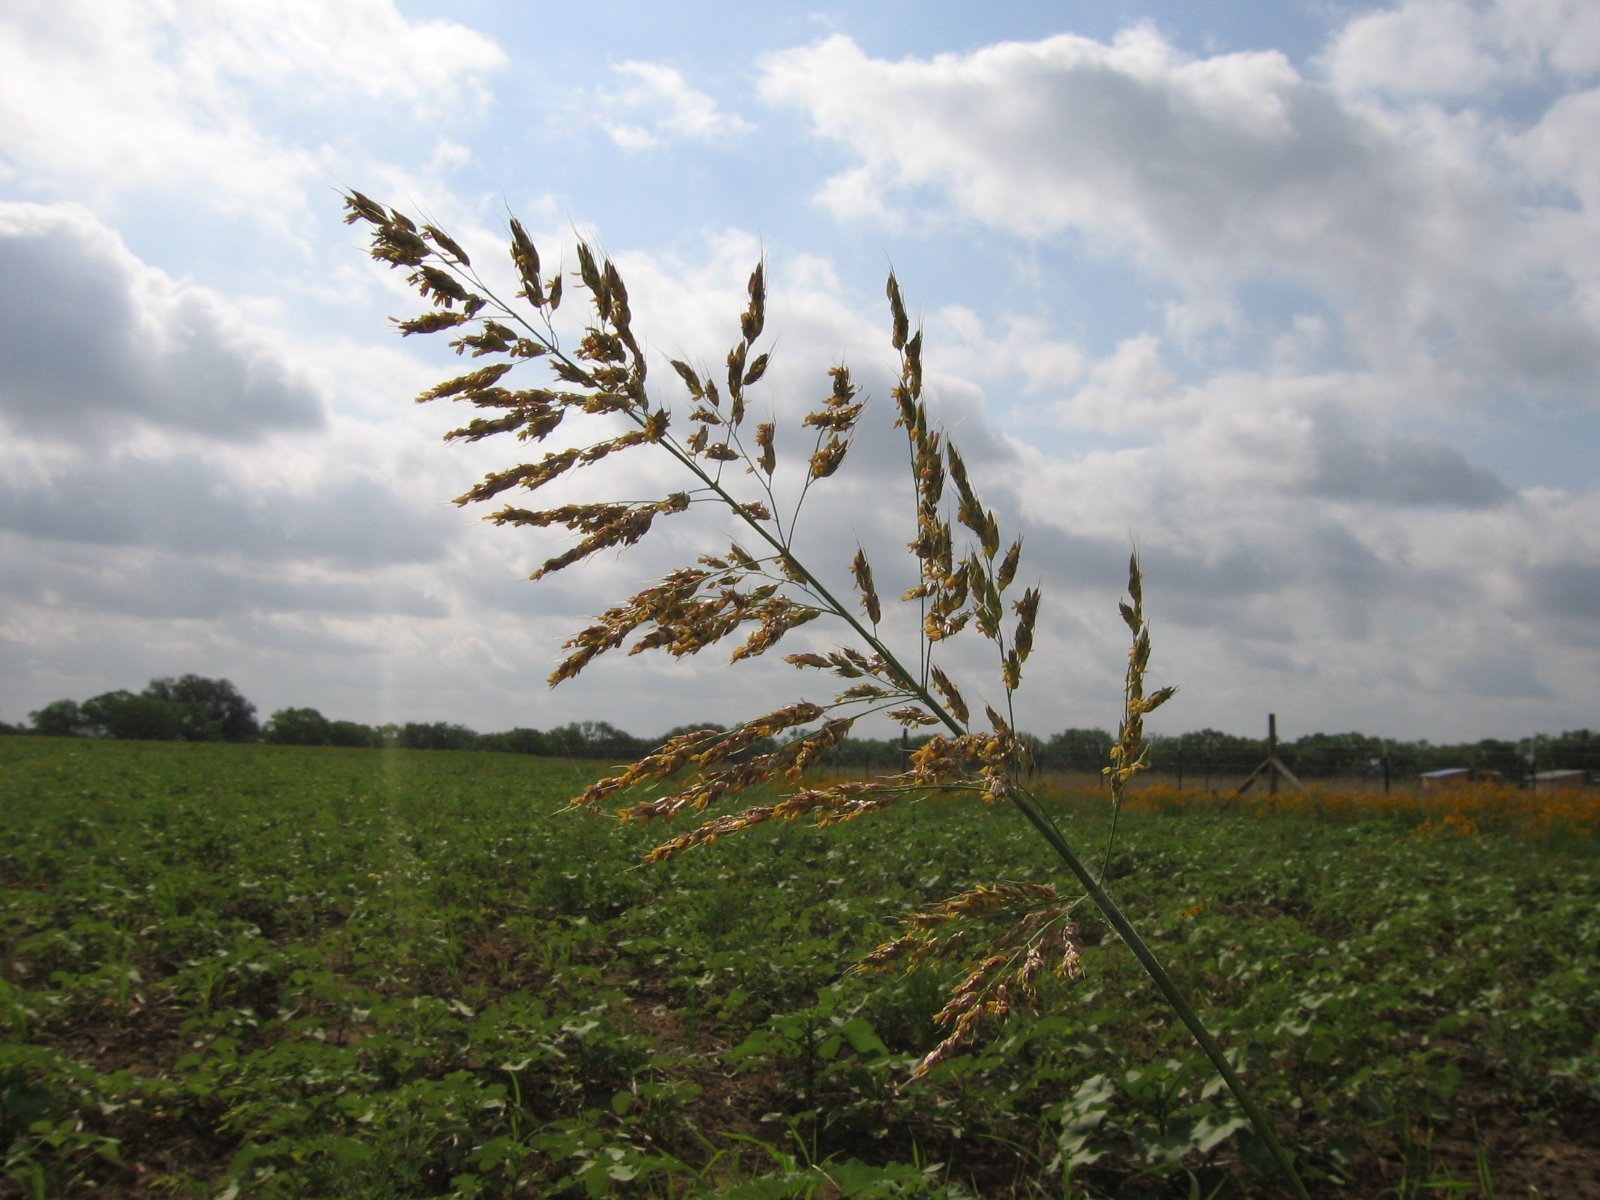
If they are not removed, they reproduce themselves exponentially. One cocklebur plant will reproduce itself many times, as this picture shows:

Other have even more seeds:

We have also discovered that in the planting of “good” seeds (oats, for example), and if they are able to germinate and grow, these new plants will suppress the weeds, keeping them more at bay, and choking them out.

The point is that they need to be combated constantly in order to maintain a footing against them. Otherwise, they take over.

Now here is the important part in all of this. It is our prayer the Lord teach us His ways and His spiritual lessons from the temporal world around us. In watching and pondering weeds, by God’s graces it seemed to me that there is a similarity between them and something in the spiritual realm. And so given the above observations about weeds and the actions necessary against them, we pray, with the granting of the Father, the power in the blood of Christ, and with the indwelling help of the Holy Spirit, that God gives us the desire and strength to wage the battle daily against the weeds of sin in the carnal-man fields of our souls.

Rom 8:13 – “For if ye live after the flesh, ye shall die: but if ye through the Spirit do mortify the deeds of the body, ye shall live.”

Col 3:5-6 – “5 Mortify therefore your members which are upon the earth; fornication, uncleanness, inordinate affection, evil concupiscence, and covetousness, which is idolatry: 6 For which things’ sake the wrath of God cometh on the children of disobedience:”

For more on mortification, please read this.

With God’s help, we need to give constant attention to our souls, and not only work on mortifying our flesh, but filling ourselves with God’s Word, so that He, the Lord Jesus Christ, the Good Seed, is the predominant Life that is growing within us.

— David

Homestead Development

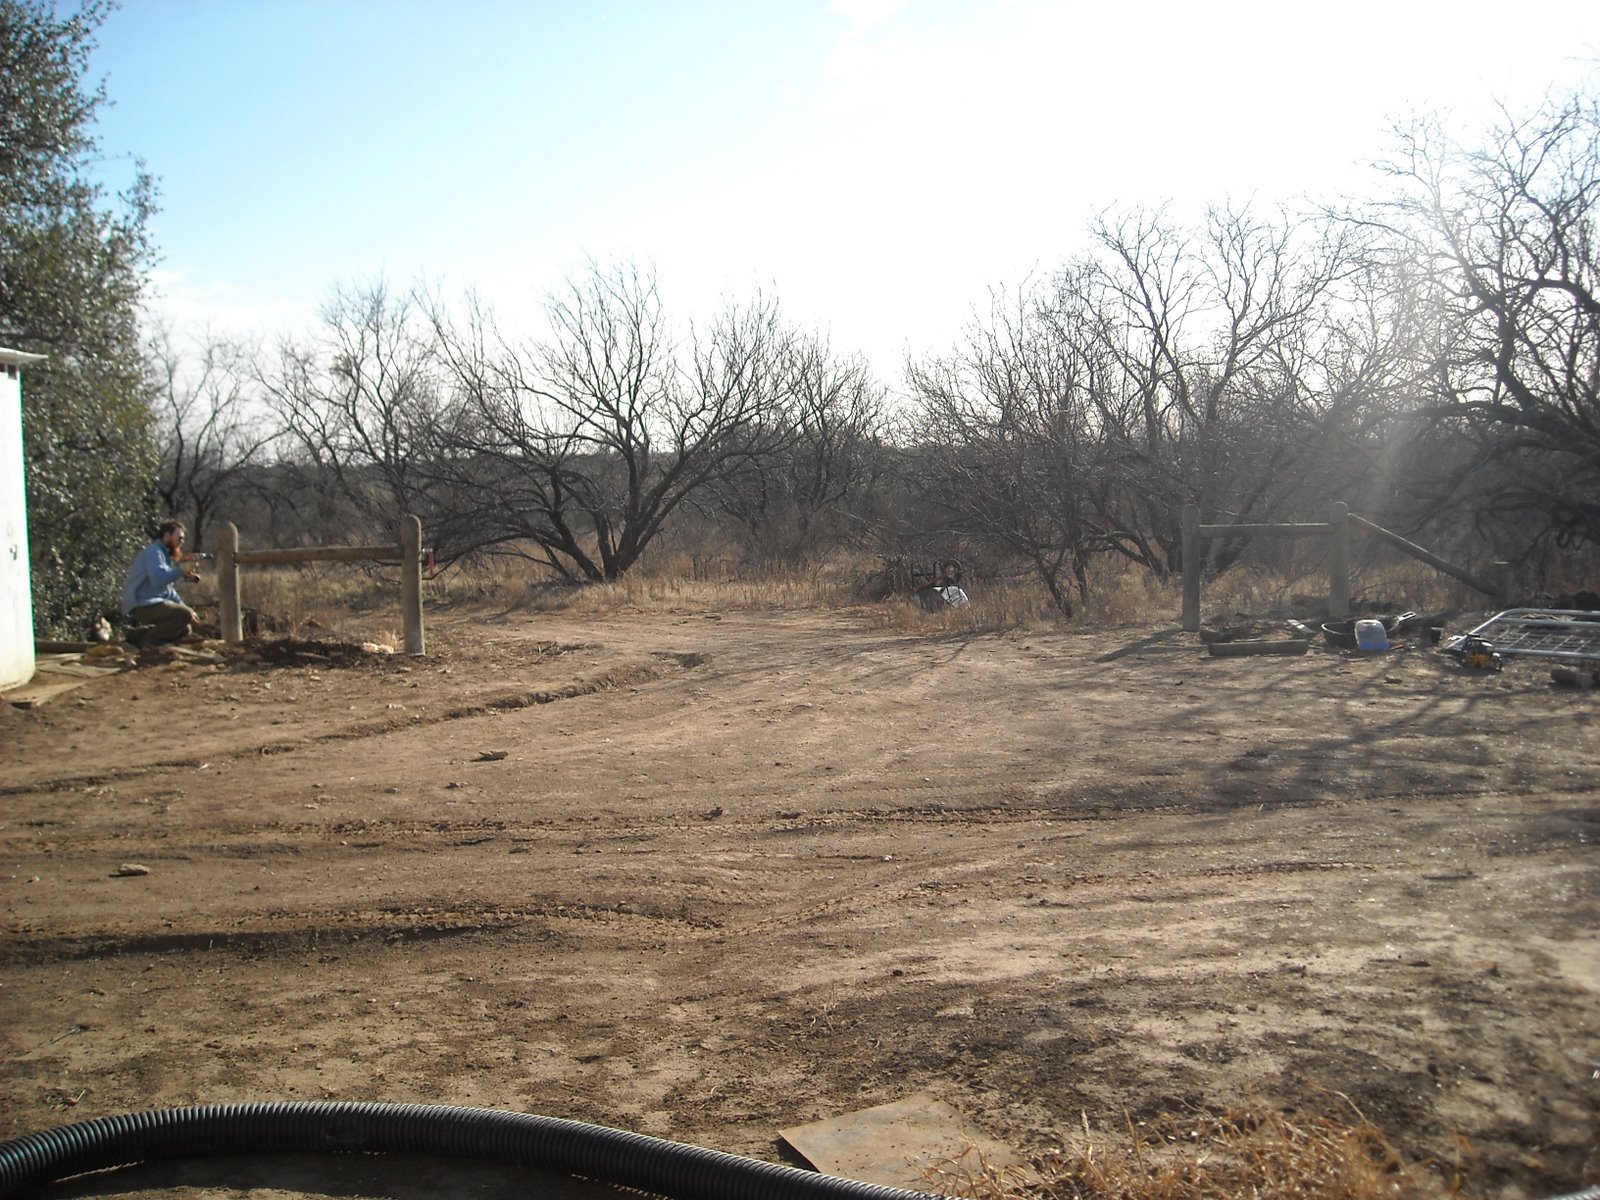
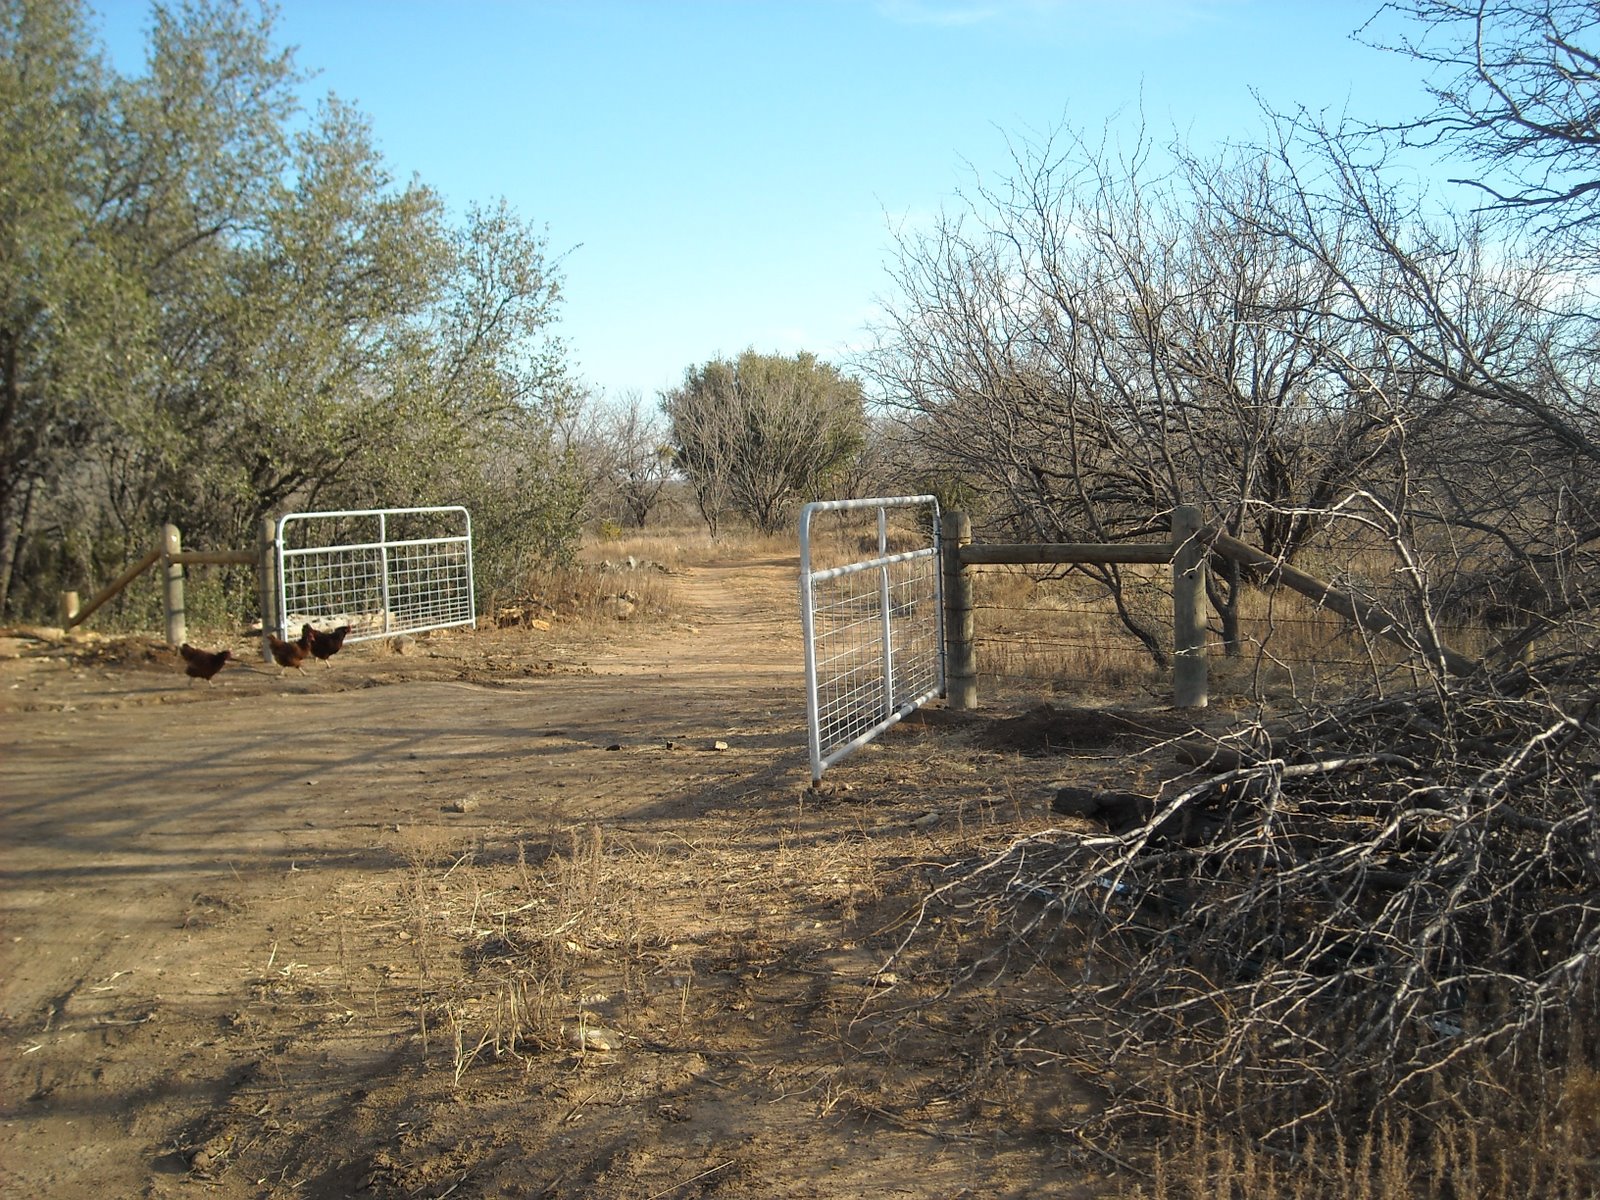
Slowly we have been building a fenced in area that is essentially a controlled environment, set apart for most of our homestead endeavors and free from roaming cattle, which if given the opportunity get into everything, and will eat other animals’ feed, fruit trees and other planted vegetation. At some point we hope to allow the cattle to free range the entire land, which would require each homestead to fence off areas they do not want to allow the cattle access. For us, the final section of fencing that we needed to close off was behind the barn, which was originally a complete fence; but I opened it up so we could drive through the woods to one of the public roads so that we didn’t have to go through several other gates to get to that road. Also, we hope to put a house just behind the fence; and so, I thought we would add a couple of 12 foot gates in that opening, which together would span the road nicely and would allow for large equipment and the like to get through.

Once again, we hired our neighbor Kelly to work on this. Here are some pictures of him working on the project, and finally the gates set in place:


Once again, we thank Kelly for his work; and we are grateful to the Lord for allowing us to be able to complete the enclosing of our main homestead area.

— David

« Older posts Newer posts »