Our journal of what we pray is our sojourn of life along the narrow way, even the old paths, submitting to the Bible as a light unto both.

Author: David & Susan Sifford (Page 69 of 97)

Providence’s Perpetuation Provisions: Chicks, Ahoy!

The Lord has shown extra graces this year in the amount of broody hens we’ve had. We almost can’t keep up, for which we’re very thankful!

And so, after the first round of chicks hatched for 2012, here is the next round from the hens that were in the “nurseries” mentioned in that previous blog post.

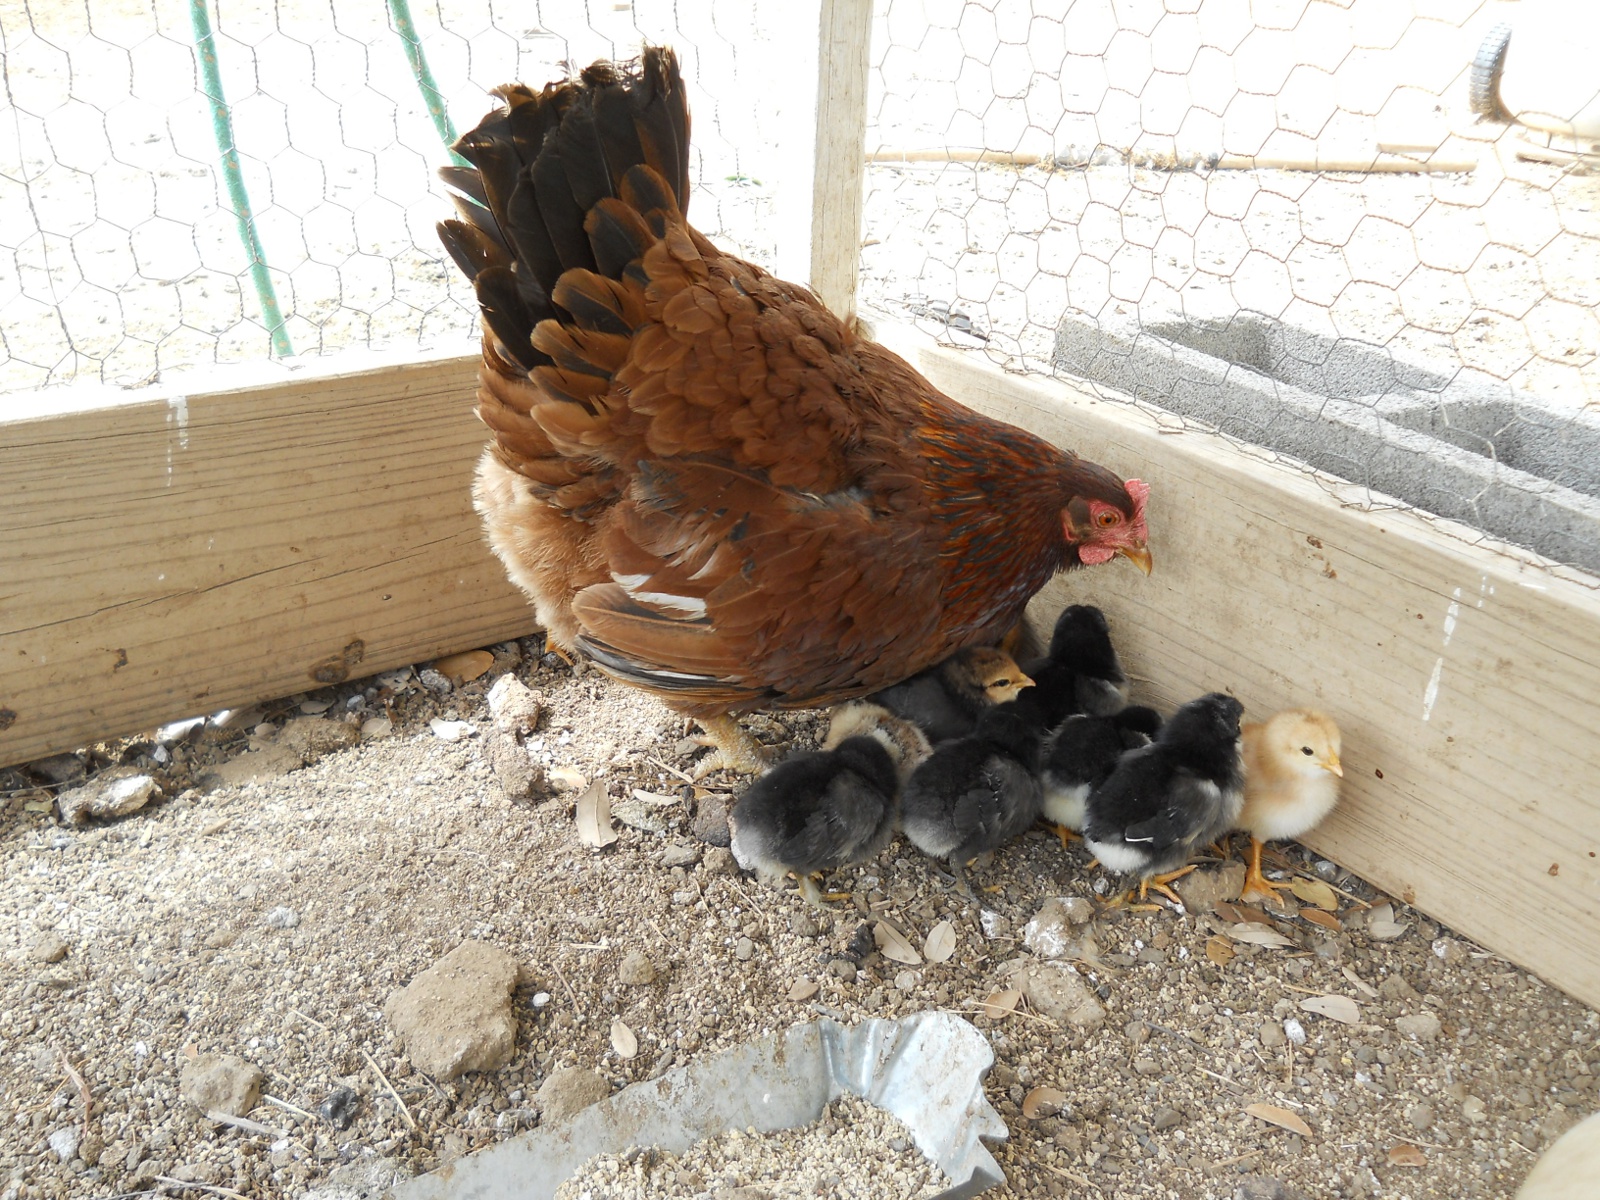
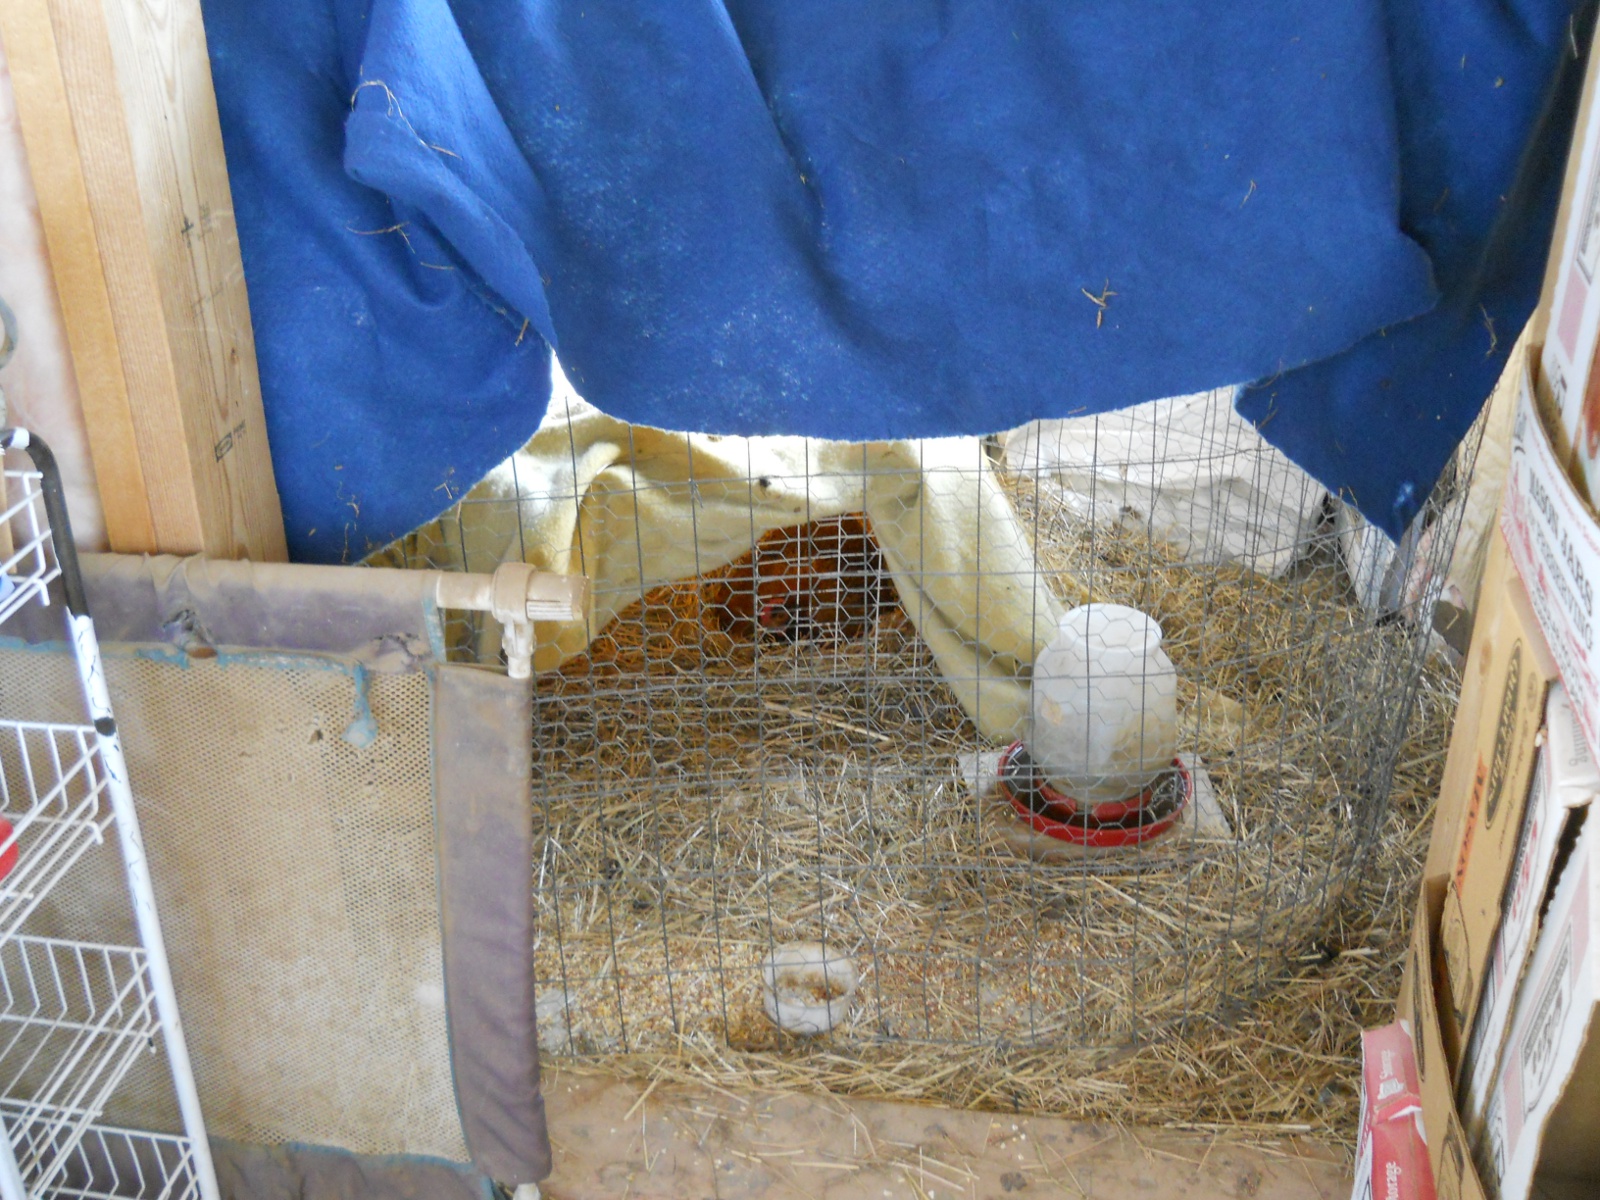
This was the next hen to hatch some out (this one wasn’t mentioned in that last blog post; these chicks are Group 2). We had her in our chicken pen area:
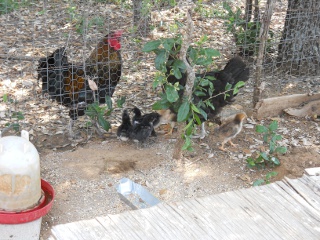
New Chicks 2012 Second Hatching

Going onto the “nursery,” this was the next hen to hatch her chicks (Group 3):
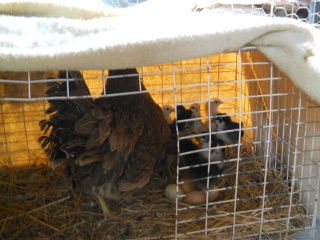
New Chicks 2012 Third Hatching

And then here’s the next one (Group 4). You can see the struggling one at the bottom — I didn’t think it was going to make it; and it looked like it had trouble walking; but by God’s graces it did, as you can see in the video below. I did add some “shackles” to its legs using duct tape, as it looked like it might have been spraddle-legged; I don’t know if it was for sure, but if it was, the shackles seemed to help (I got the shackles info from http://www.poultryhelp.com/spraddle.html, although our little chick didn’t look as bad as the example on that page). We have tried the shackles before on a very young rooster, and by God’s granting the shackles definitely helped:
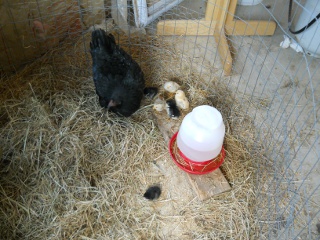
New Chicks 2012 Fourth Hatching

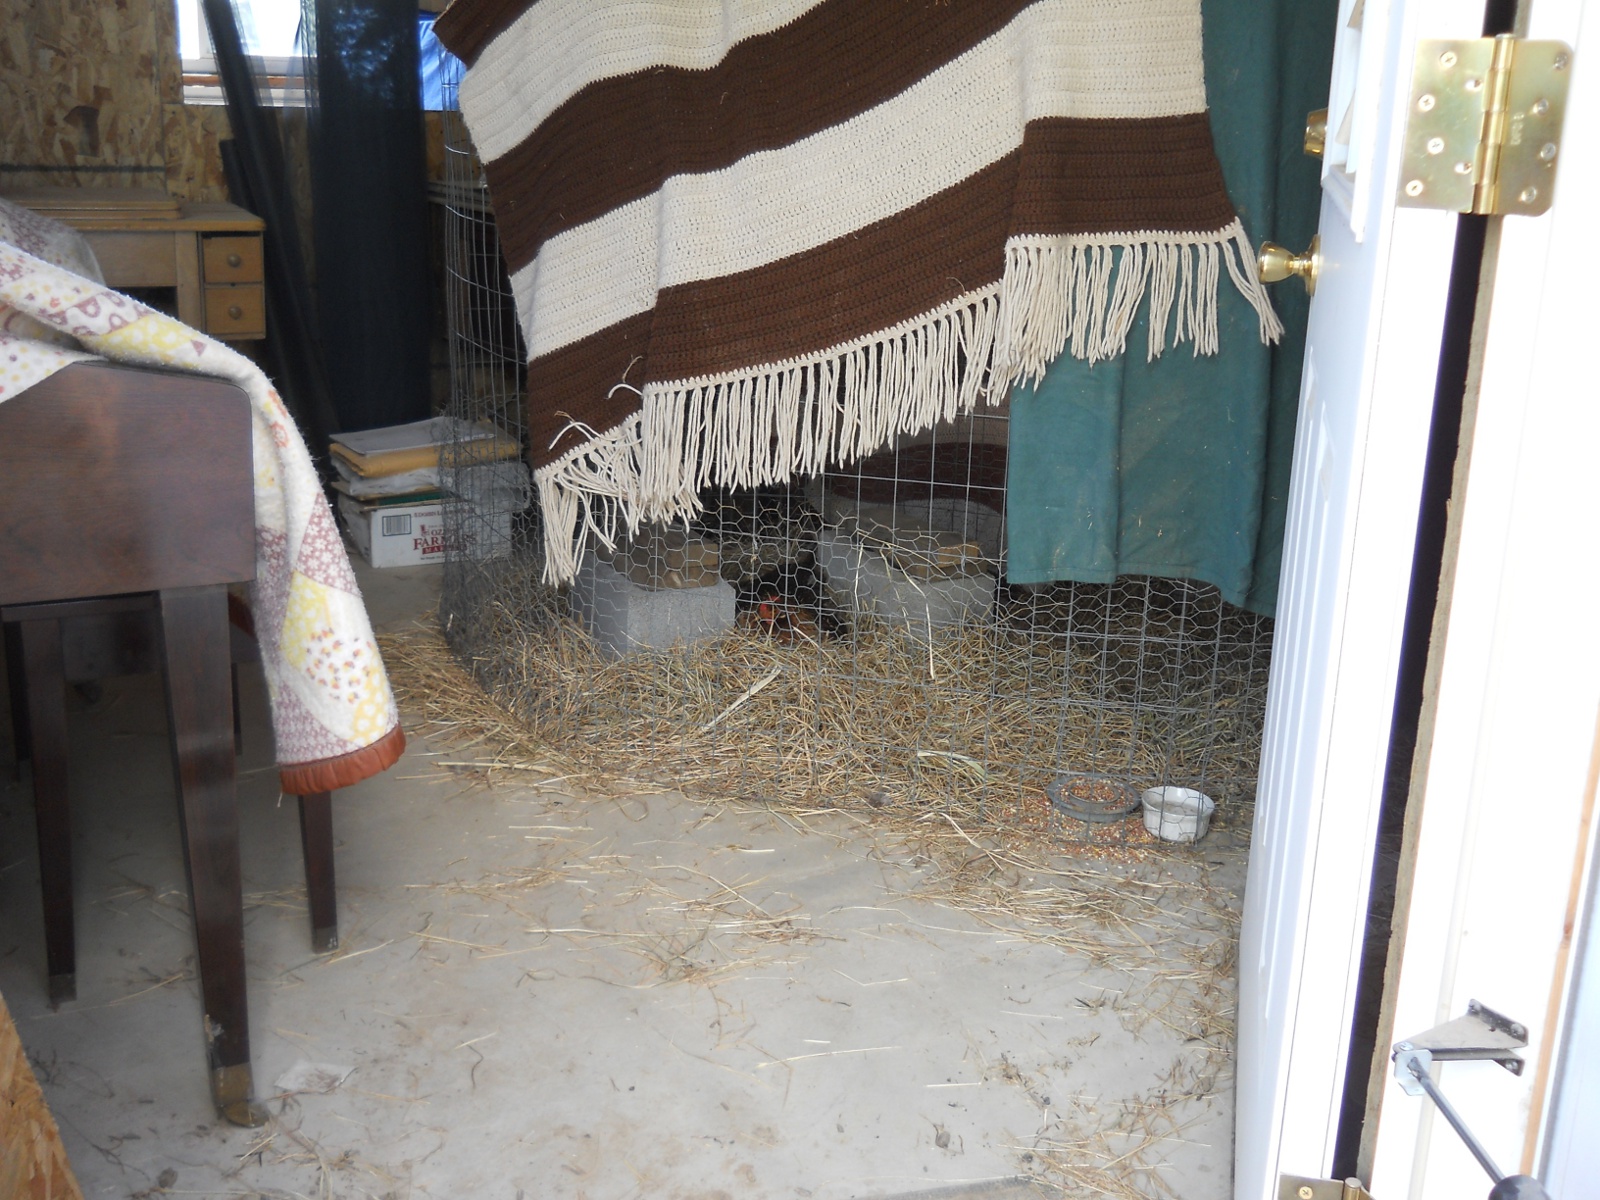
And then here’s the hen and her chicks that are in the piano room (Group 5). This one also had a chick that really looked like it wasn’t going to make it — it had trouble standing, looked very sleepy, and couldn’t really get around very much. I actually put the spraddle-leg shackles on it too, but it was having so much trouble dealing with them (it was just falling over with its talons pointed backward) that I removed them. I thought for sure it wasn’t going to make it; but, again by God’s granting, it did, and it seems to be getting around pretty well now:
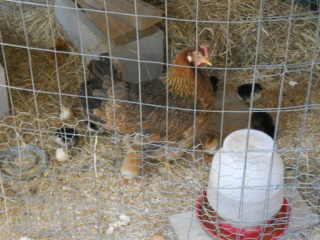
New Chicks 2012 Fifth Hatching

Finally, there were a couple of broody hens in our main chicken tractor that we just didn’t have a place for in any of our other buildings — they were both in the same nest; and so, we waited until they were supposed to hatch them, and they did hatch two before we could move them. Then, having removed the mother hen from Group 1 from the previous chick-hatching blog post, we also removed the mother hen from Group 2 that is in the chicken pen area, shuttled Group 1 to the chicken pen, and moved one of the mother hens (we just picked one), the chicks, and the rest of their eggs to the mini-tractor; and since, she has hatched out two more (Group 6):
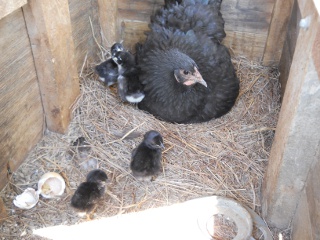
New Chicks 2012 Sixth Hatching

And here’s a video about them all:

Whew! But, apparently we aren’t done yet, Lord willing — there are now even more broody hens; and so, we plan to keep the shuttling-to-the-chicken-pen area/opening-up-a-nursery-area process going.

This one is scheduled to hatch out next. She decided to get broody in an empty garbage can (which she leaves every once in a while to get food and water), where chickens sometimes lay eggs:
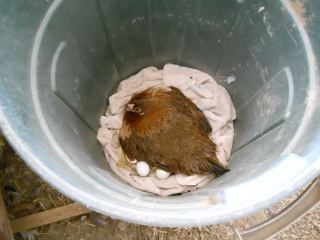
Game Hen Brooding in Garbage Can

And here are the nests in the main chicken tractor. The game hen in the upper right is scheduled next after the garbage can hen, and then we just added eggs under the three Australorp hens on the bottom nests (the other hens I think were just “playing” broody at the time of the picture). I believe the hen in the bottom right nest is one of the ones that helped hatch out Group 6:
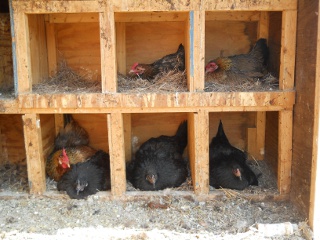
More Broody Hens in the Chicken Tractor

And so, once again, we are very thankful to God for this “problem” of many broody hens; and we thank Him for these many safe hatchings.

— David
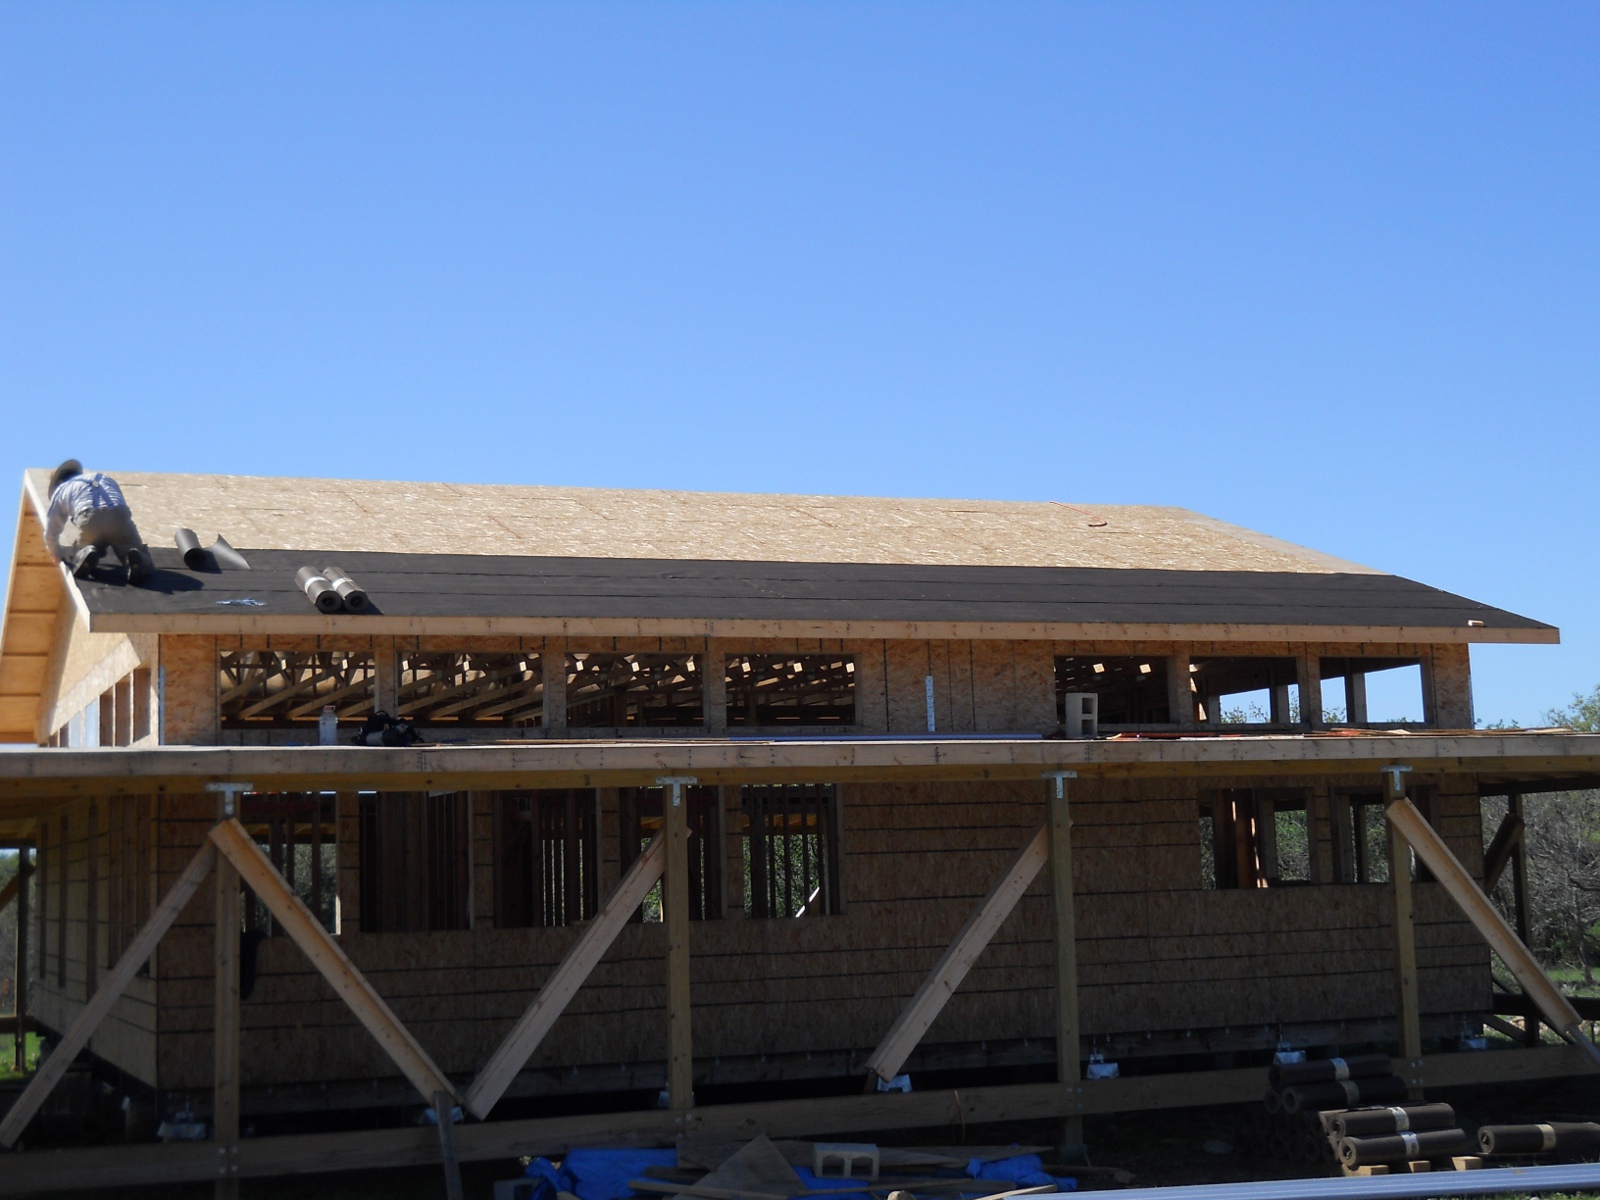
A House – Update XVII – Main Roof – Update I

With the house internal walls framed, it was time to finish on the roof. I decided to go with metal roofing, for its longevity.

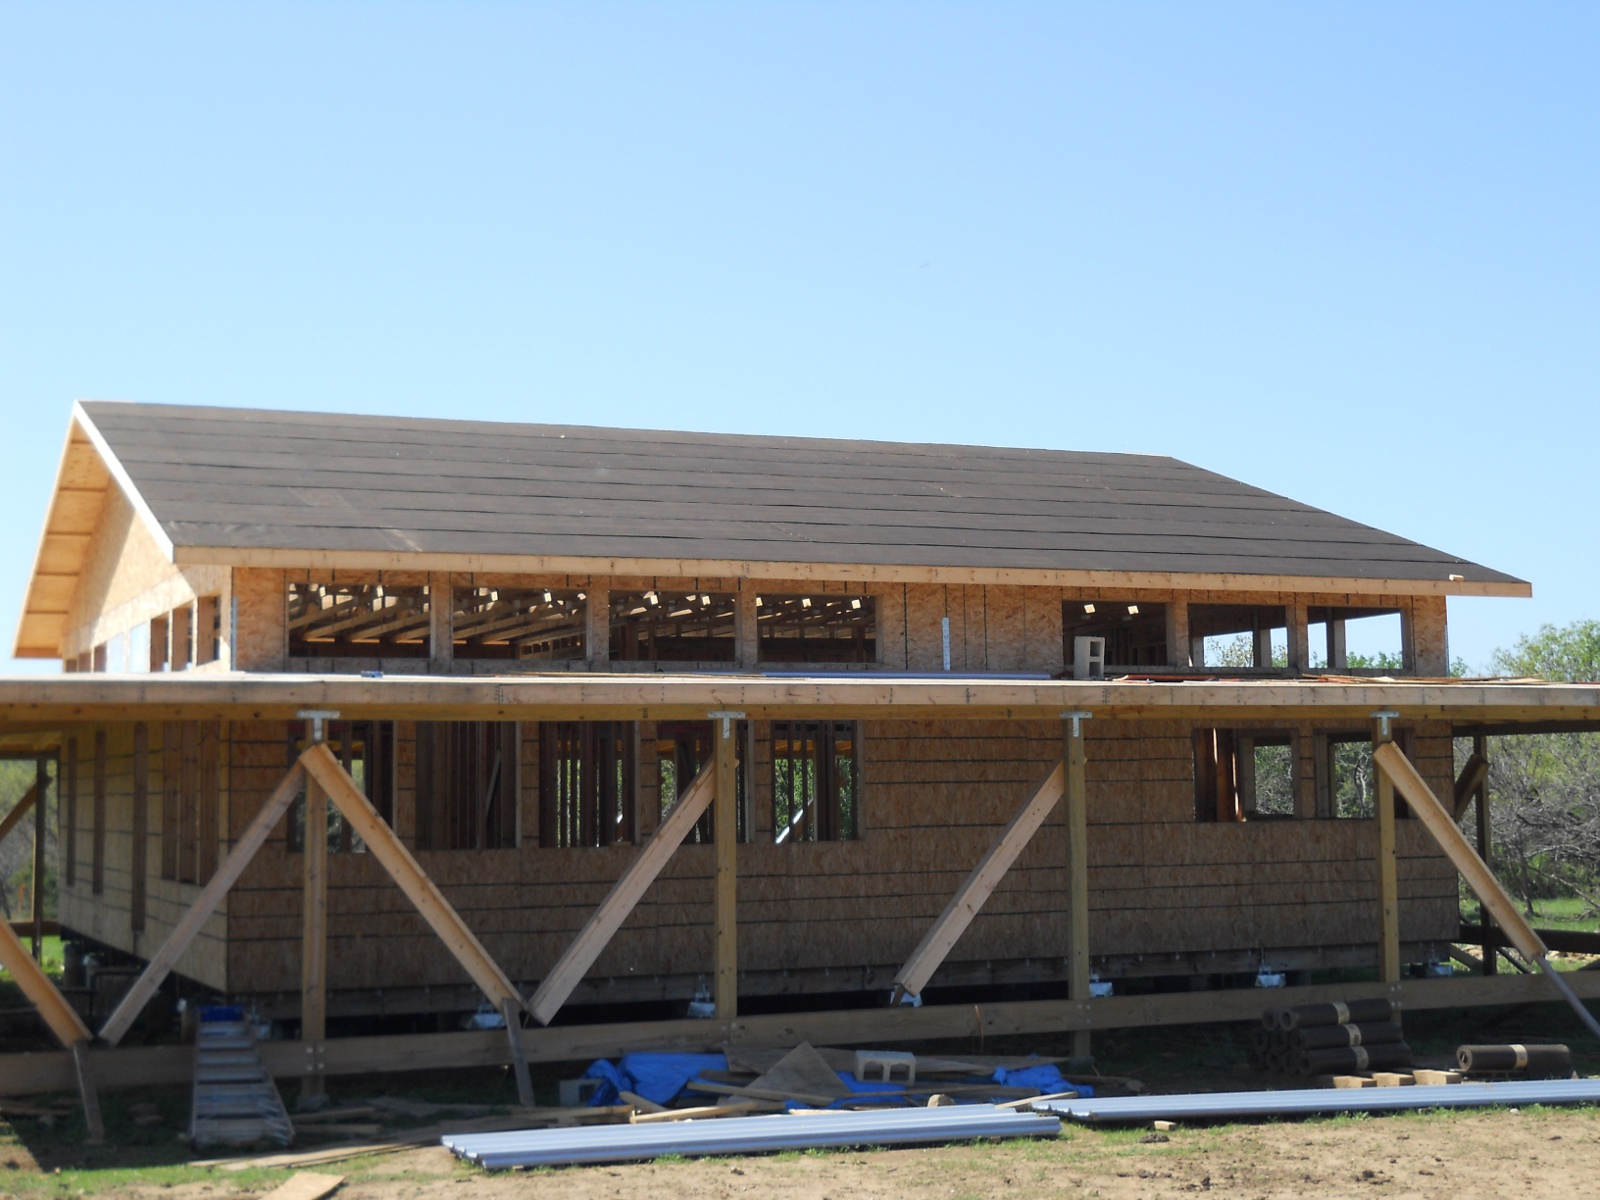
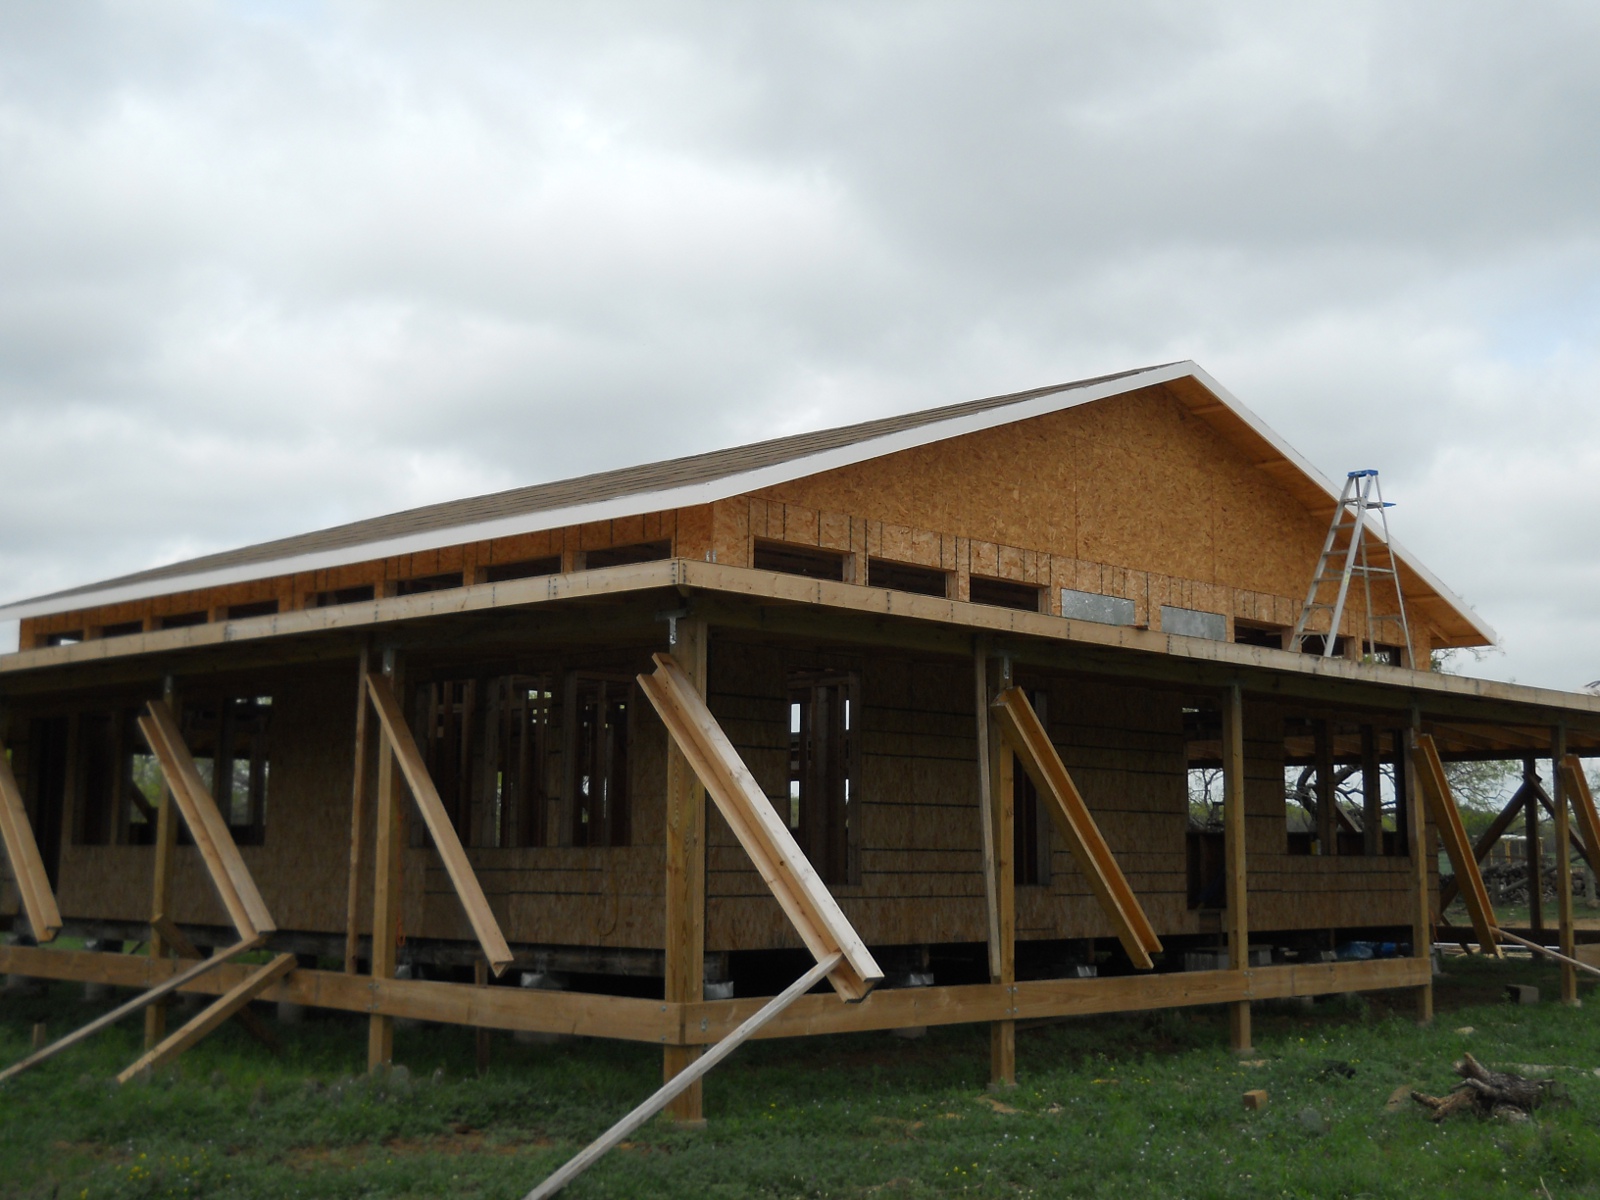
First, the tar paper (roof felt) was installed with a hammer stapler:

House Roof Tar Paper/Roof Felt Being Installed
House Roof Tar Paper/Roof Felt Finished

And we painted the face-plates:

House Roof Face Plate Painted

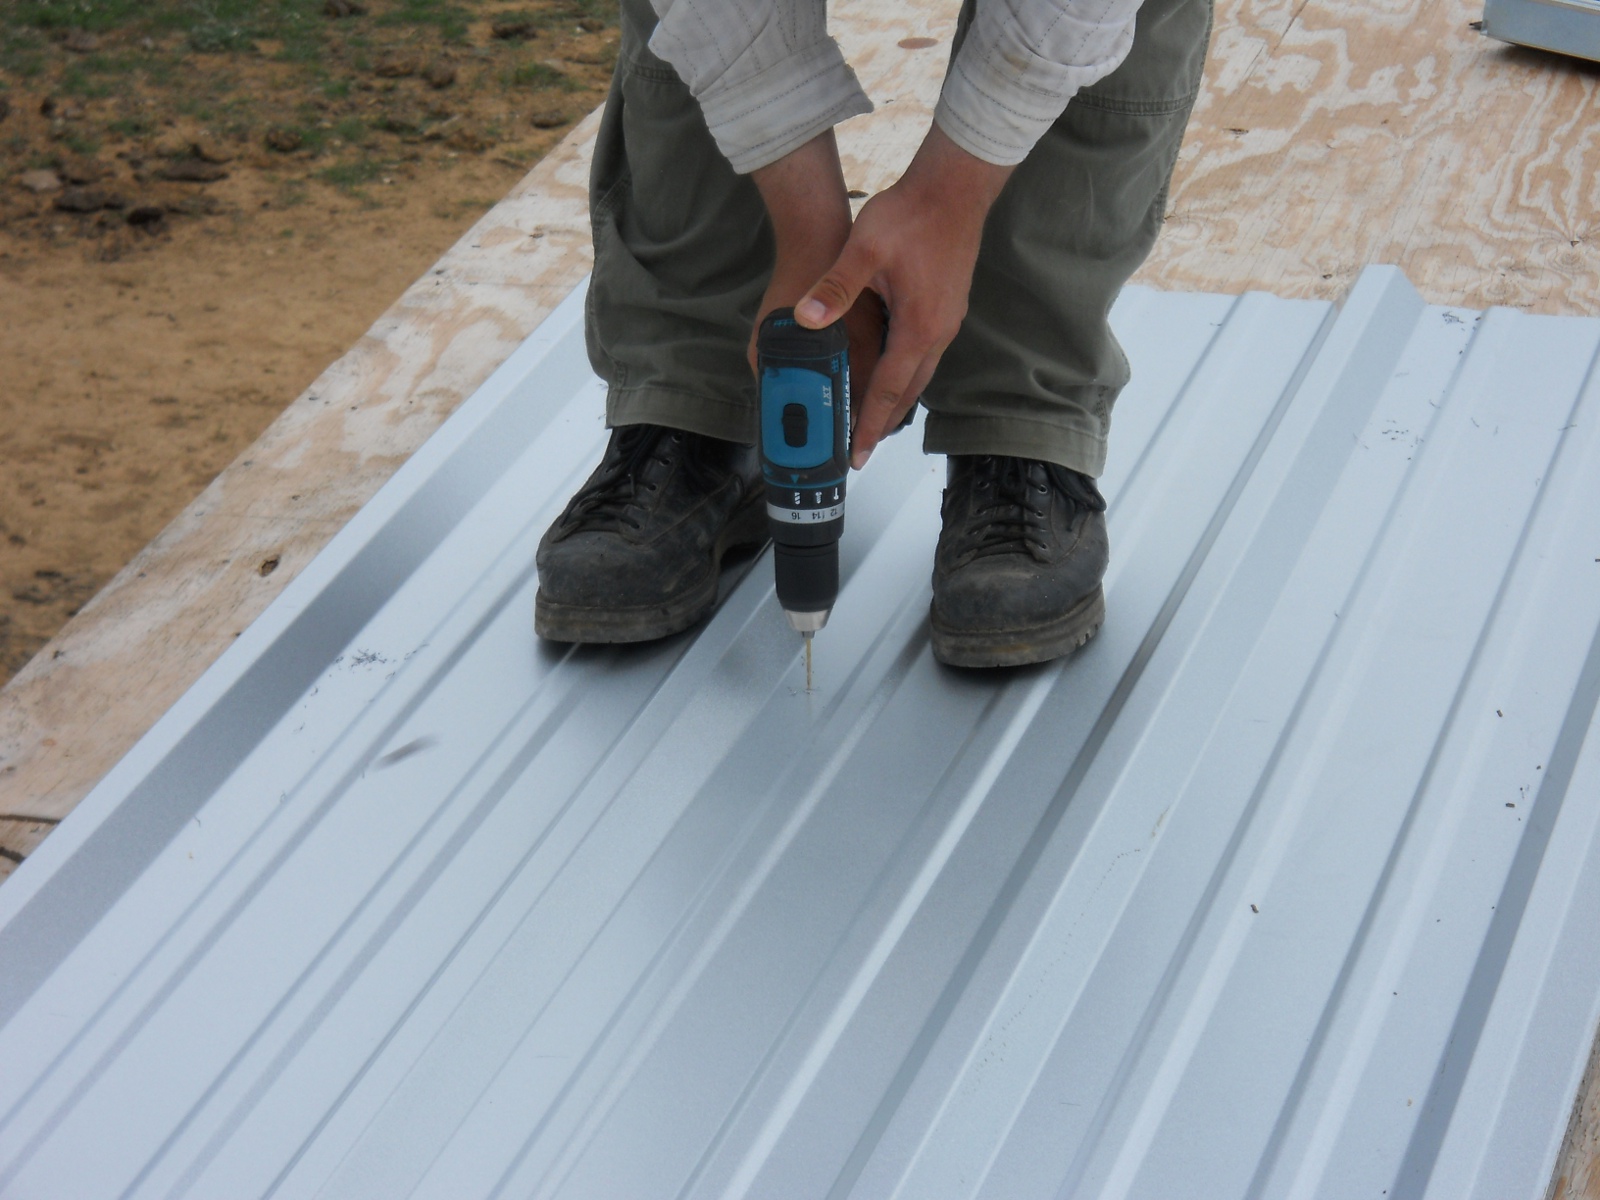
Then it was time to put up the metal. First, we pre-drilled the holes where the grommeted screws were to be put. I chose to do them 2 feet apart up the metal pieces:

Pre-Drilling Holes in Roofing Metal

And here is the first piece installed:

First Piece of Roofing Metal Installed

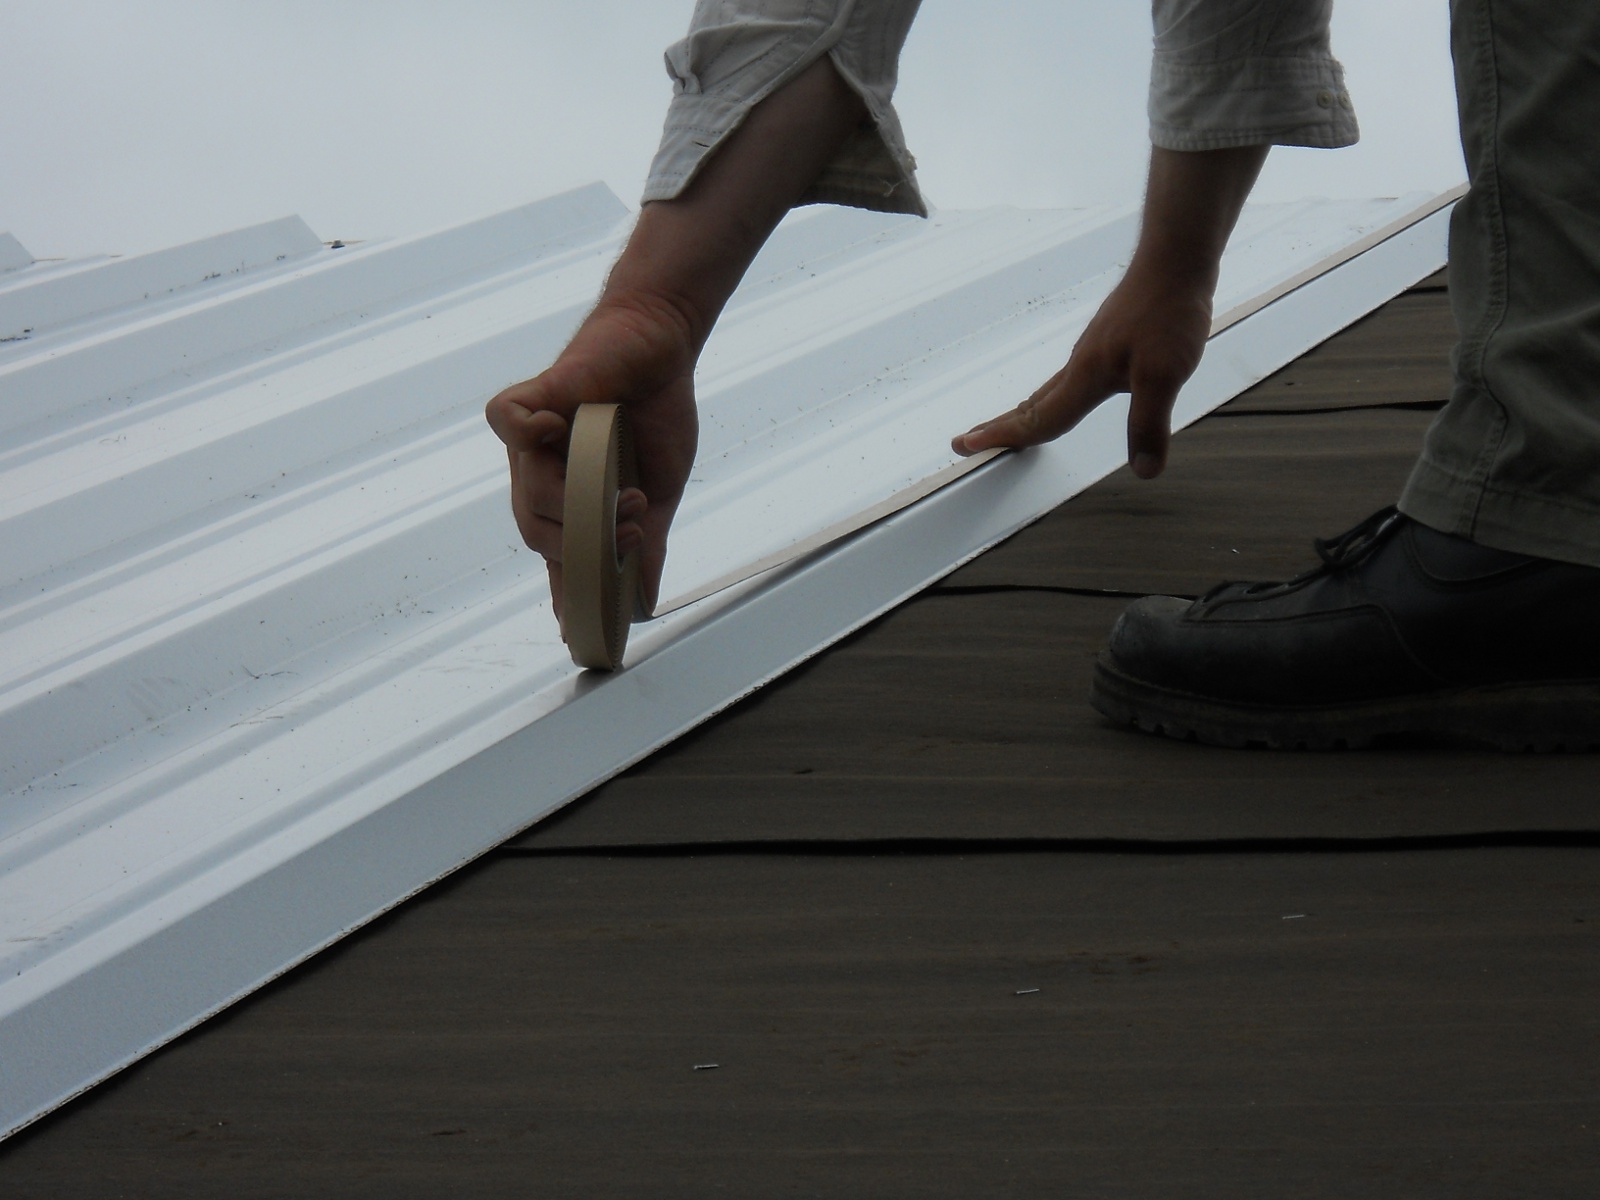
Between each piece of metal, we laid down “tacky tape” where the next metal piece would overlap:

Laying Down Roof Metal Tacky Tape

And we installed metal edging with the fitted foam on top underneath the roof metal. We found that putting the foam on first and placing the edging in place before laying down the metal piece worked best:

Metal Edging with Roof Metal Fitted Foam

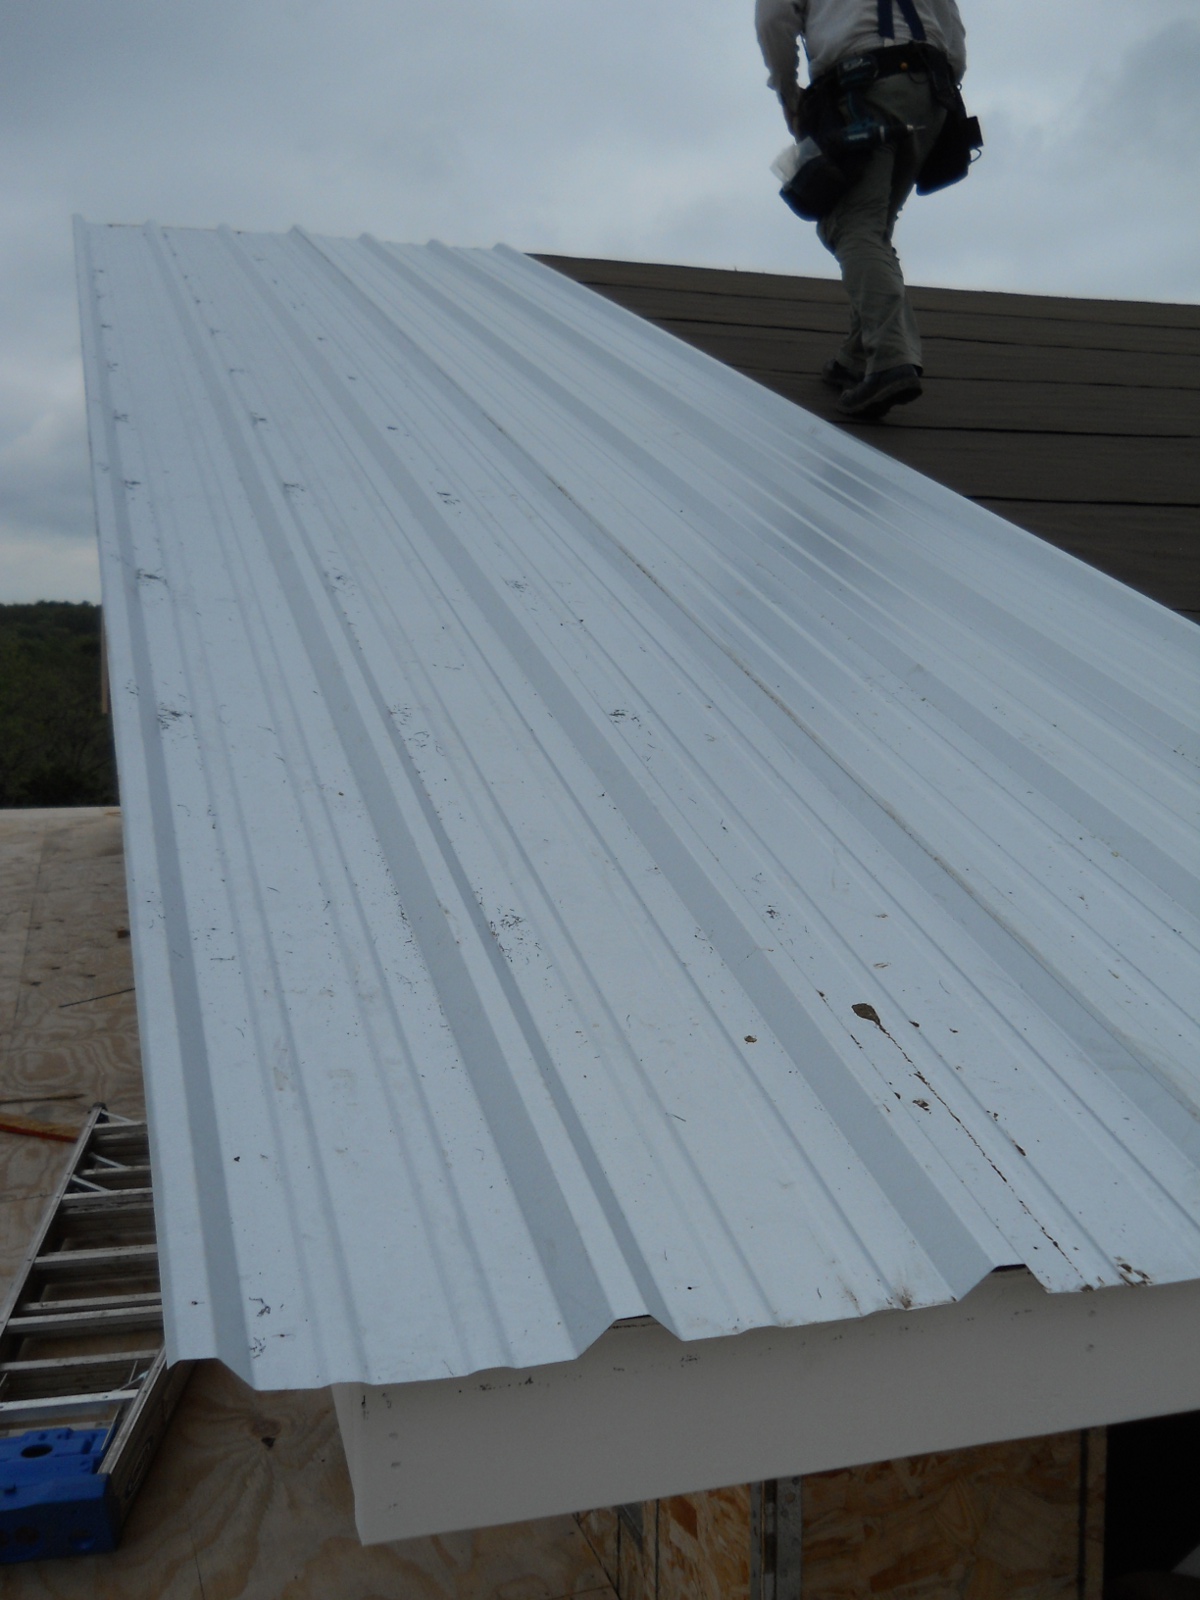
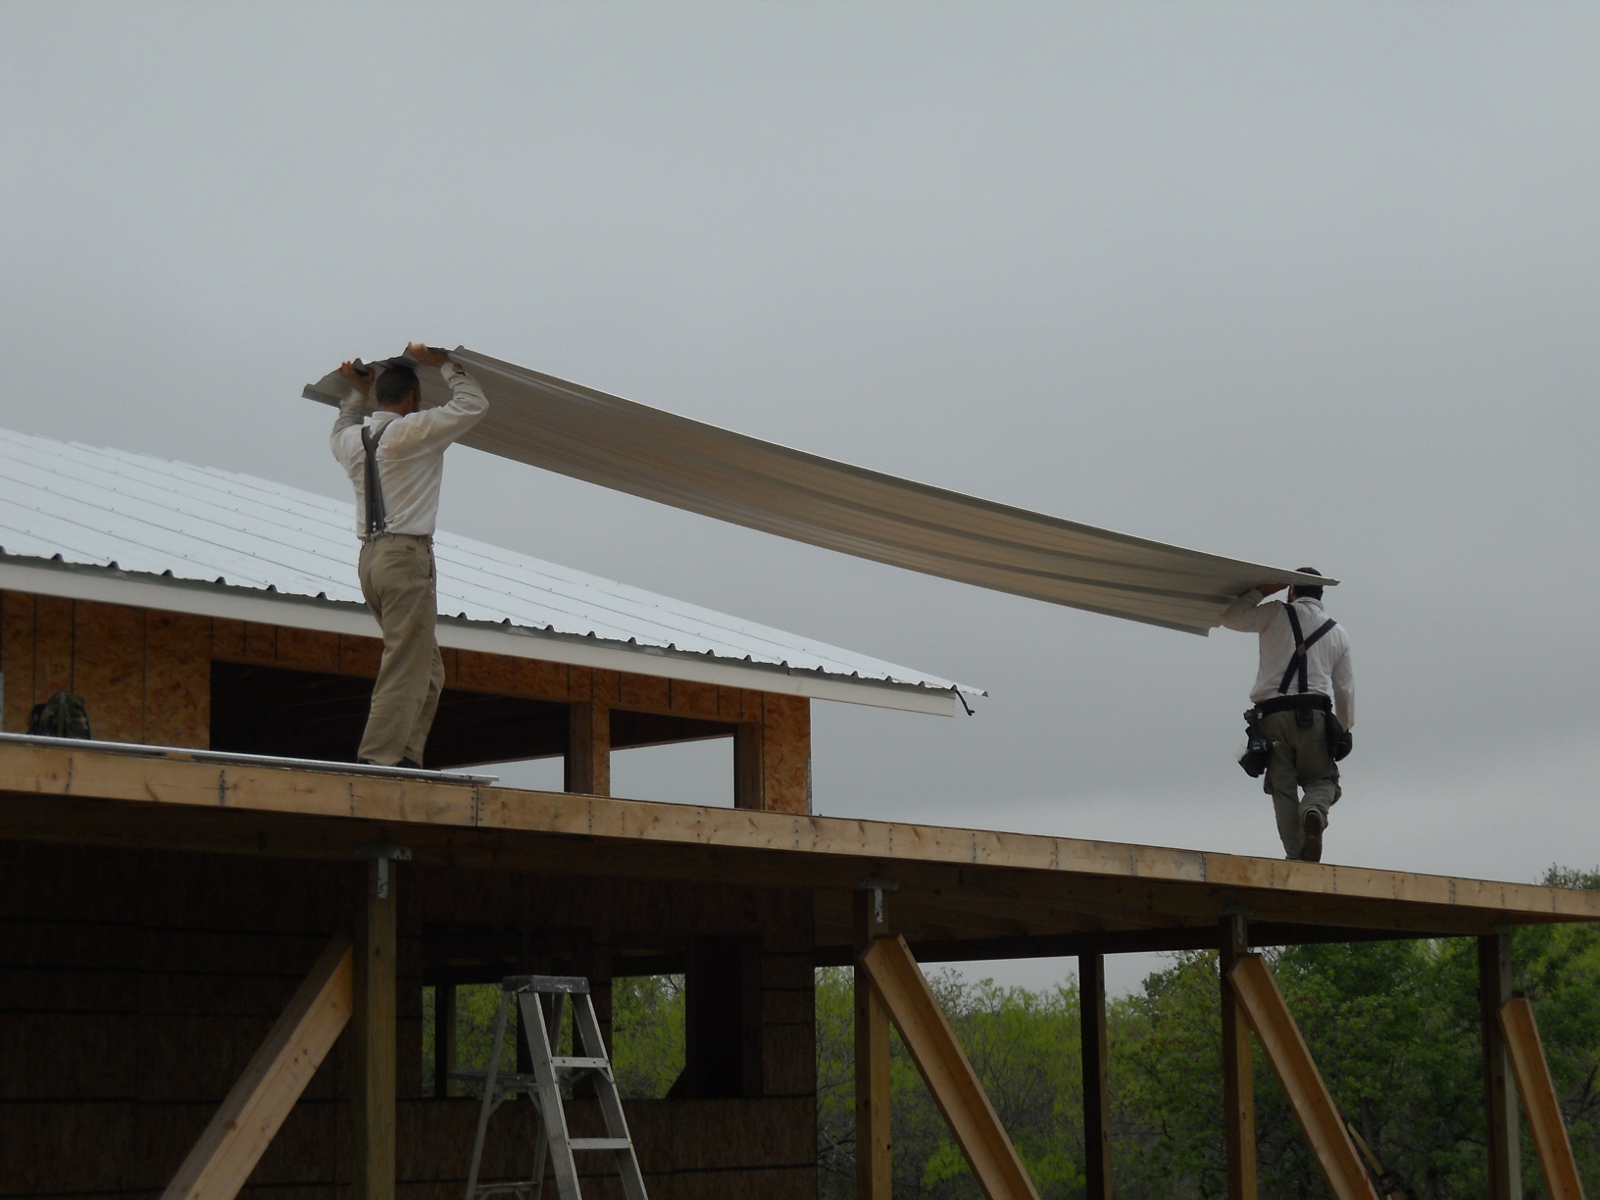
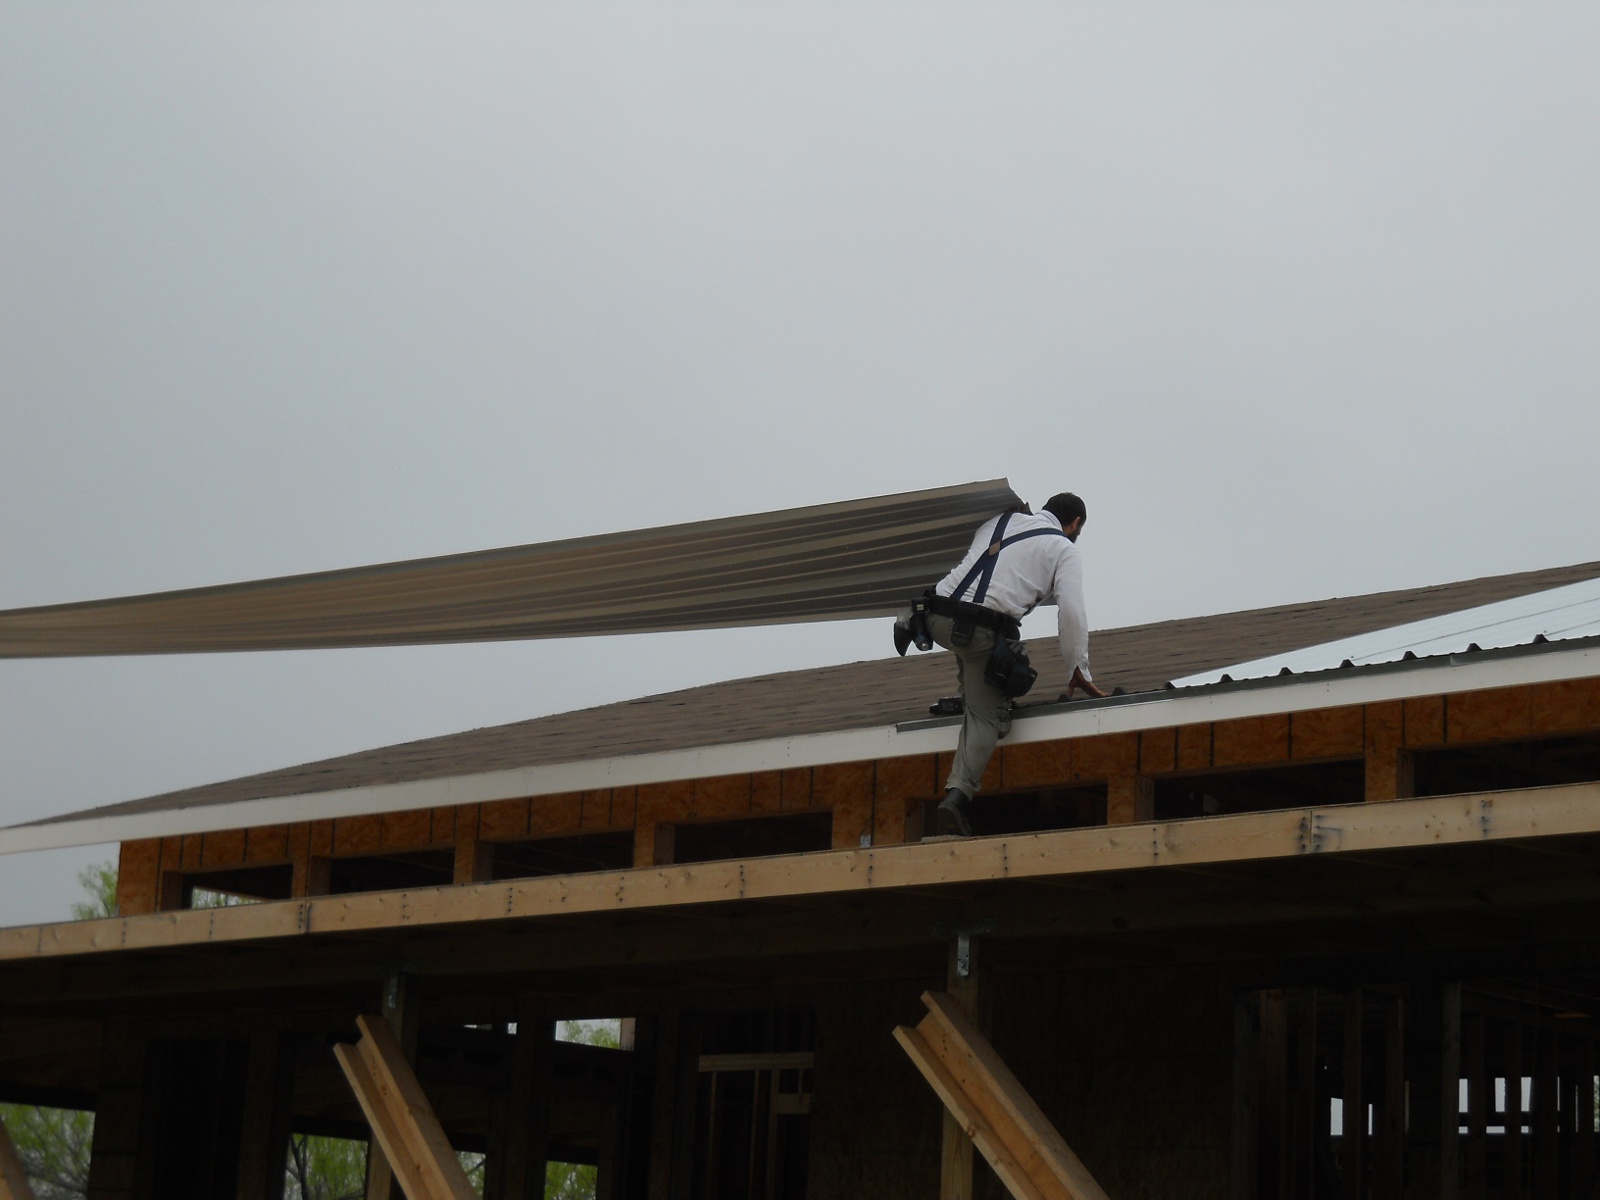
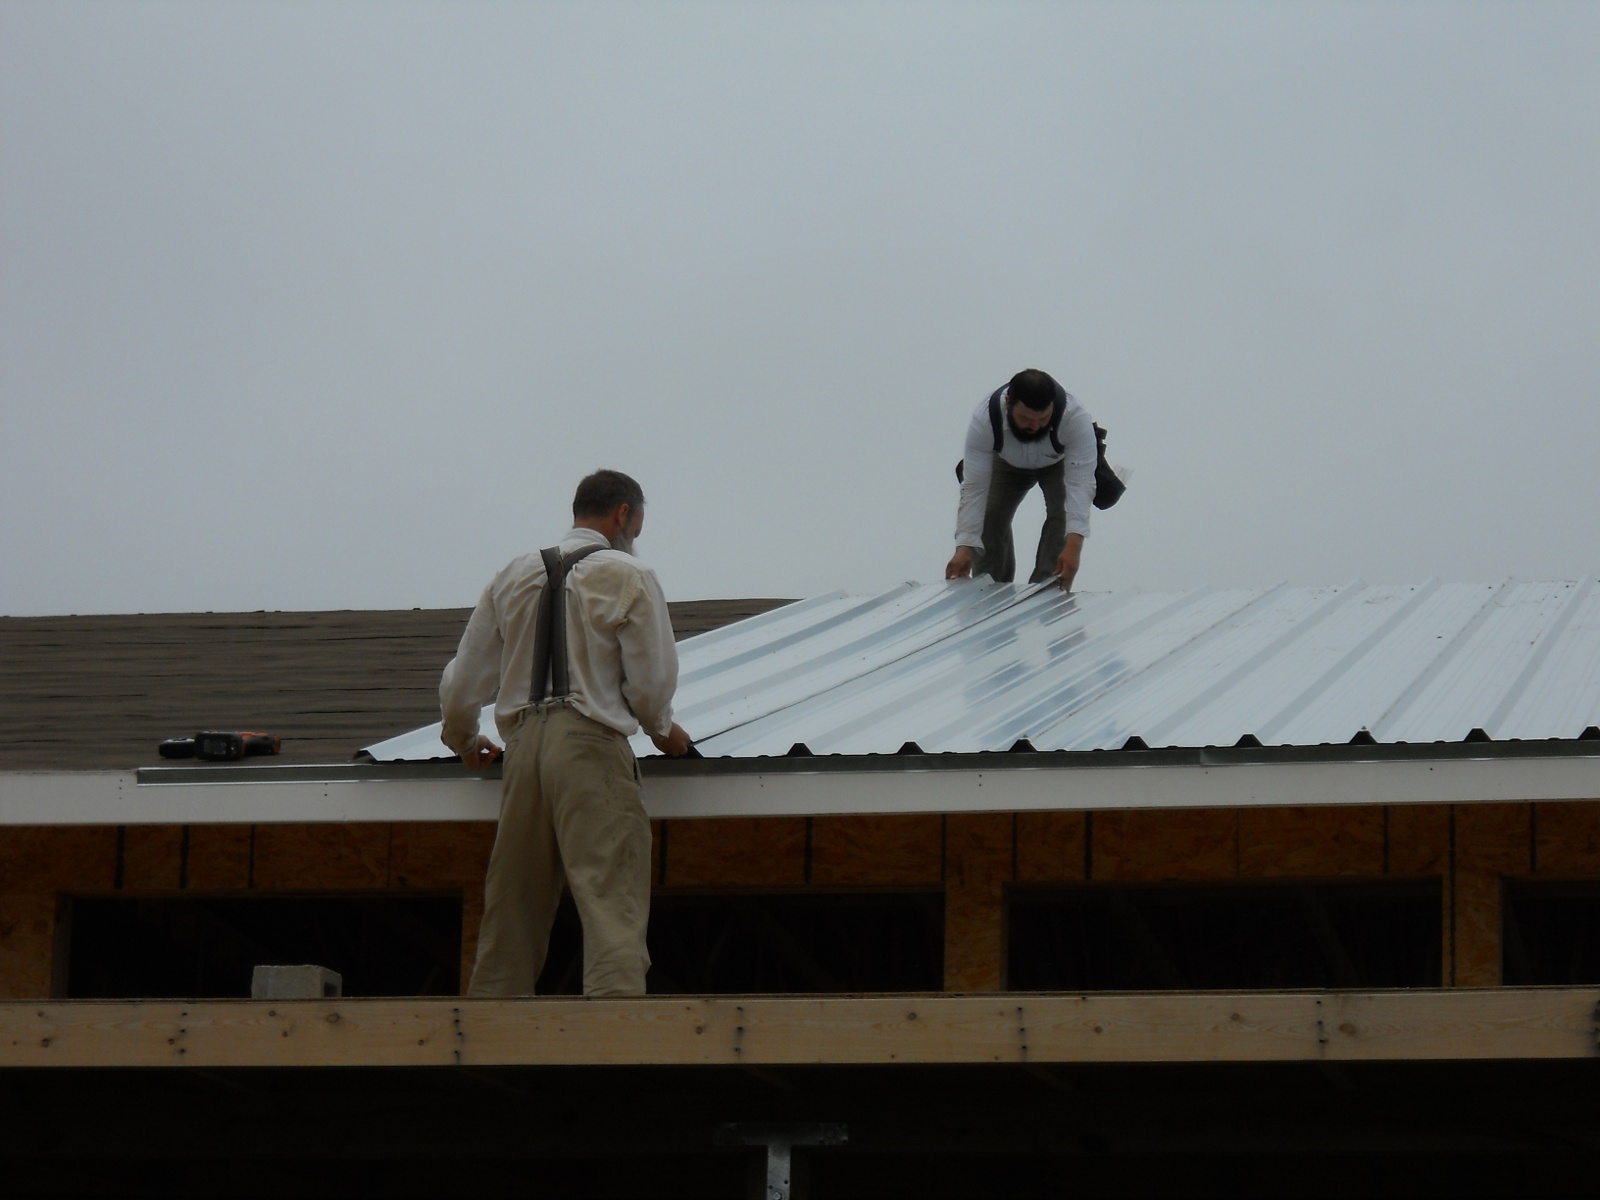
For these long pieces, we really needed two people to put up the roofing:

Carrying the Roof Metal on the Porch Roof
Carrying the Roof Metal onto the Roof
Placing the Roof Metal on the Roof

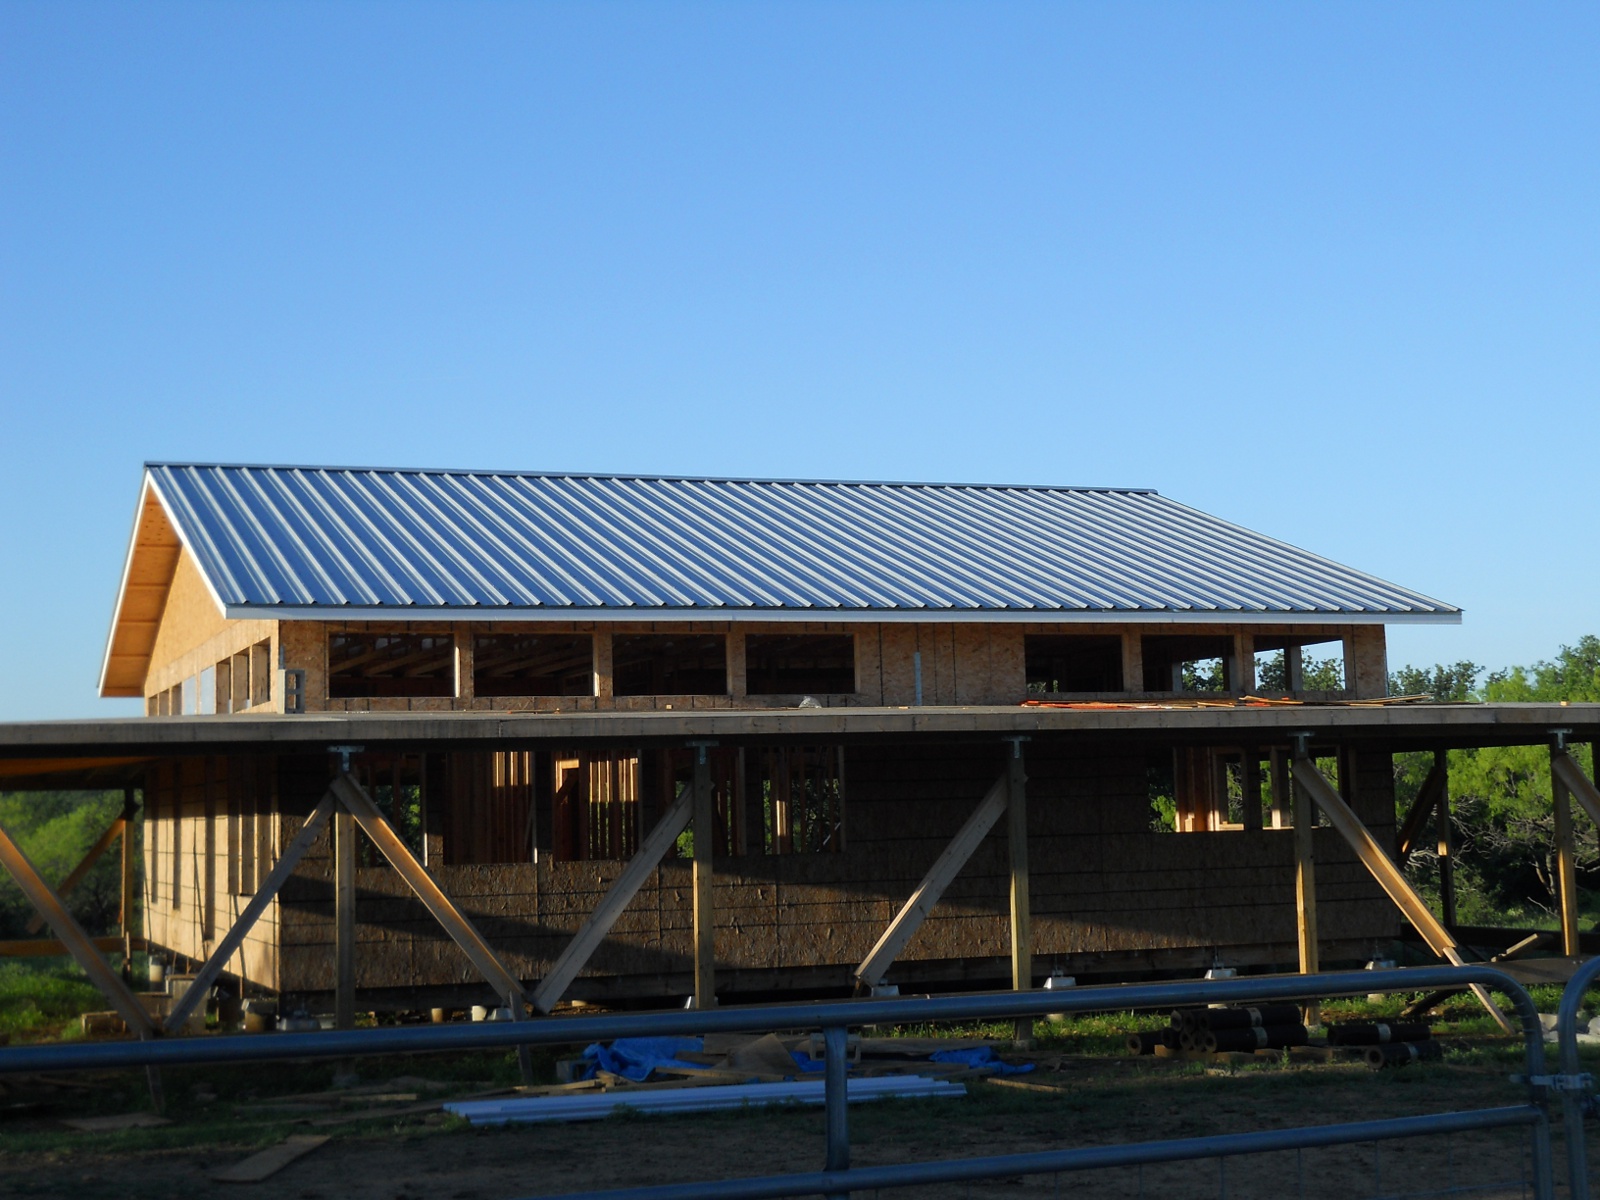
And here is the roof with all of the metal in place, including the ridge cap:

Roof Metal Complete

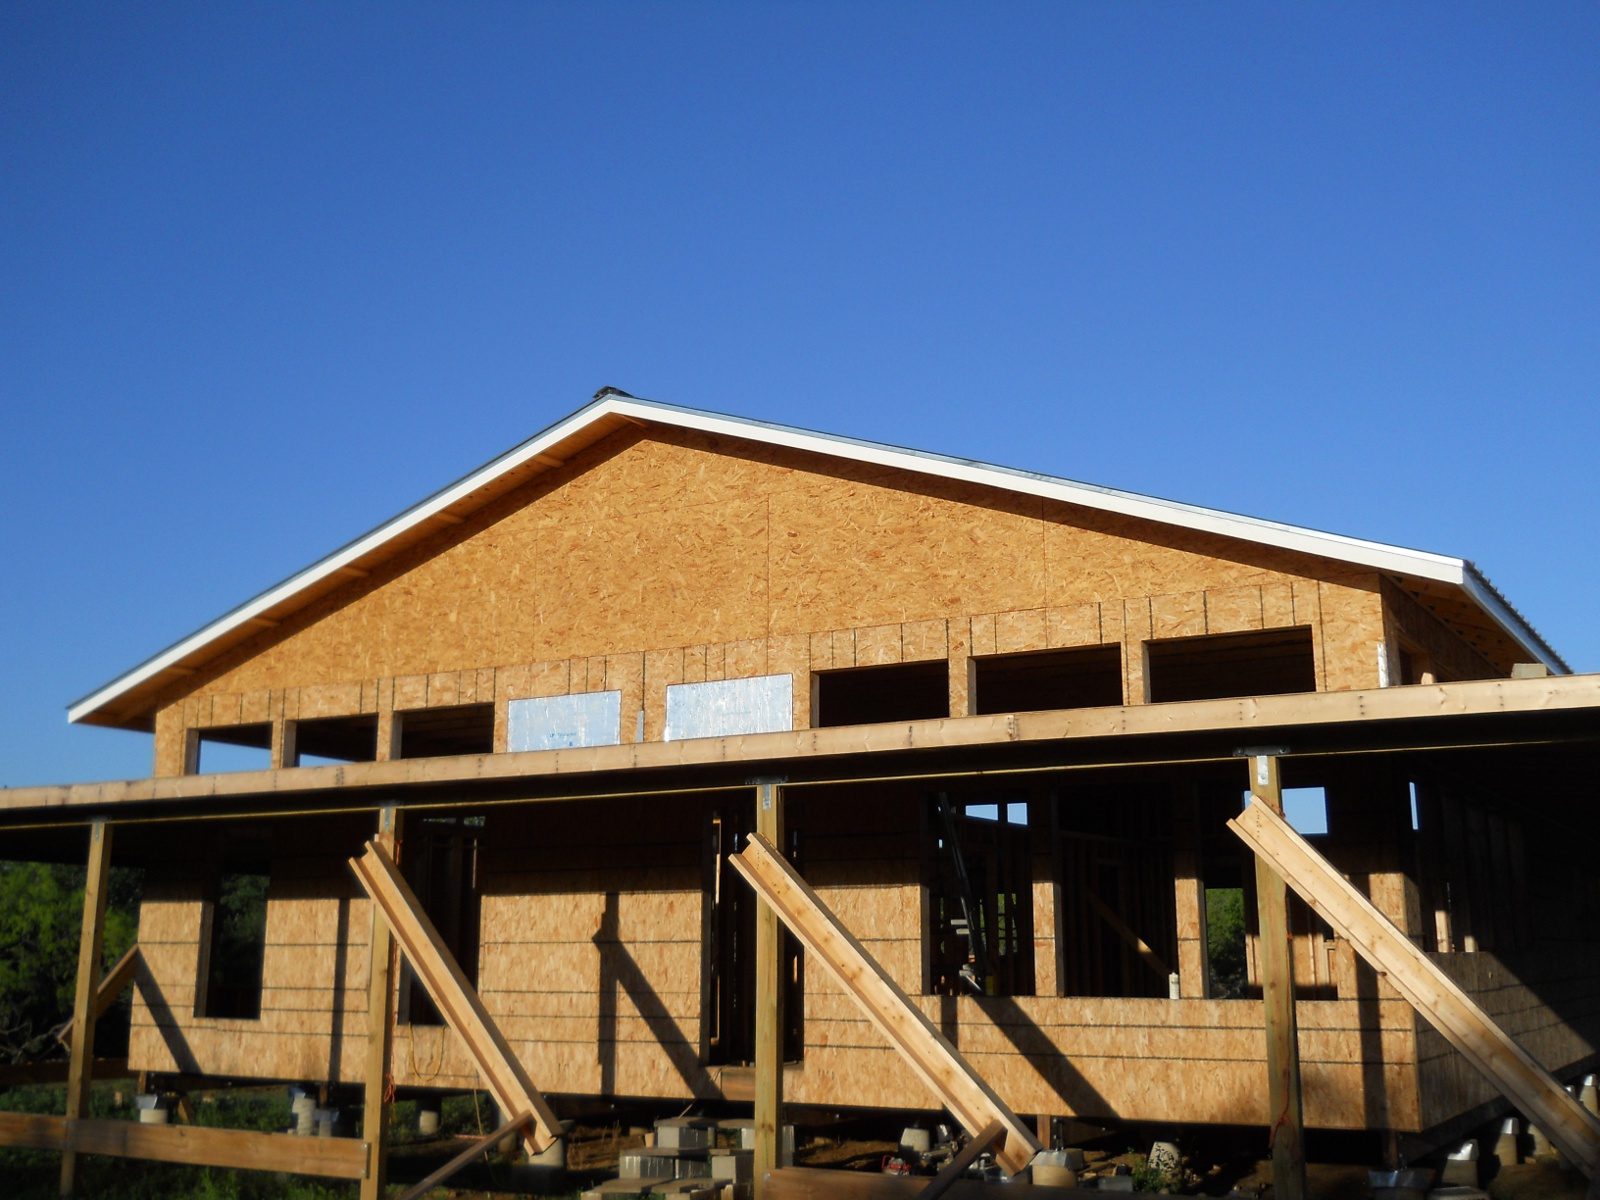
We put metal edging on the gabled end of the roof as well:

Roof Gabled End with Metal Edging

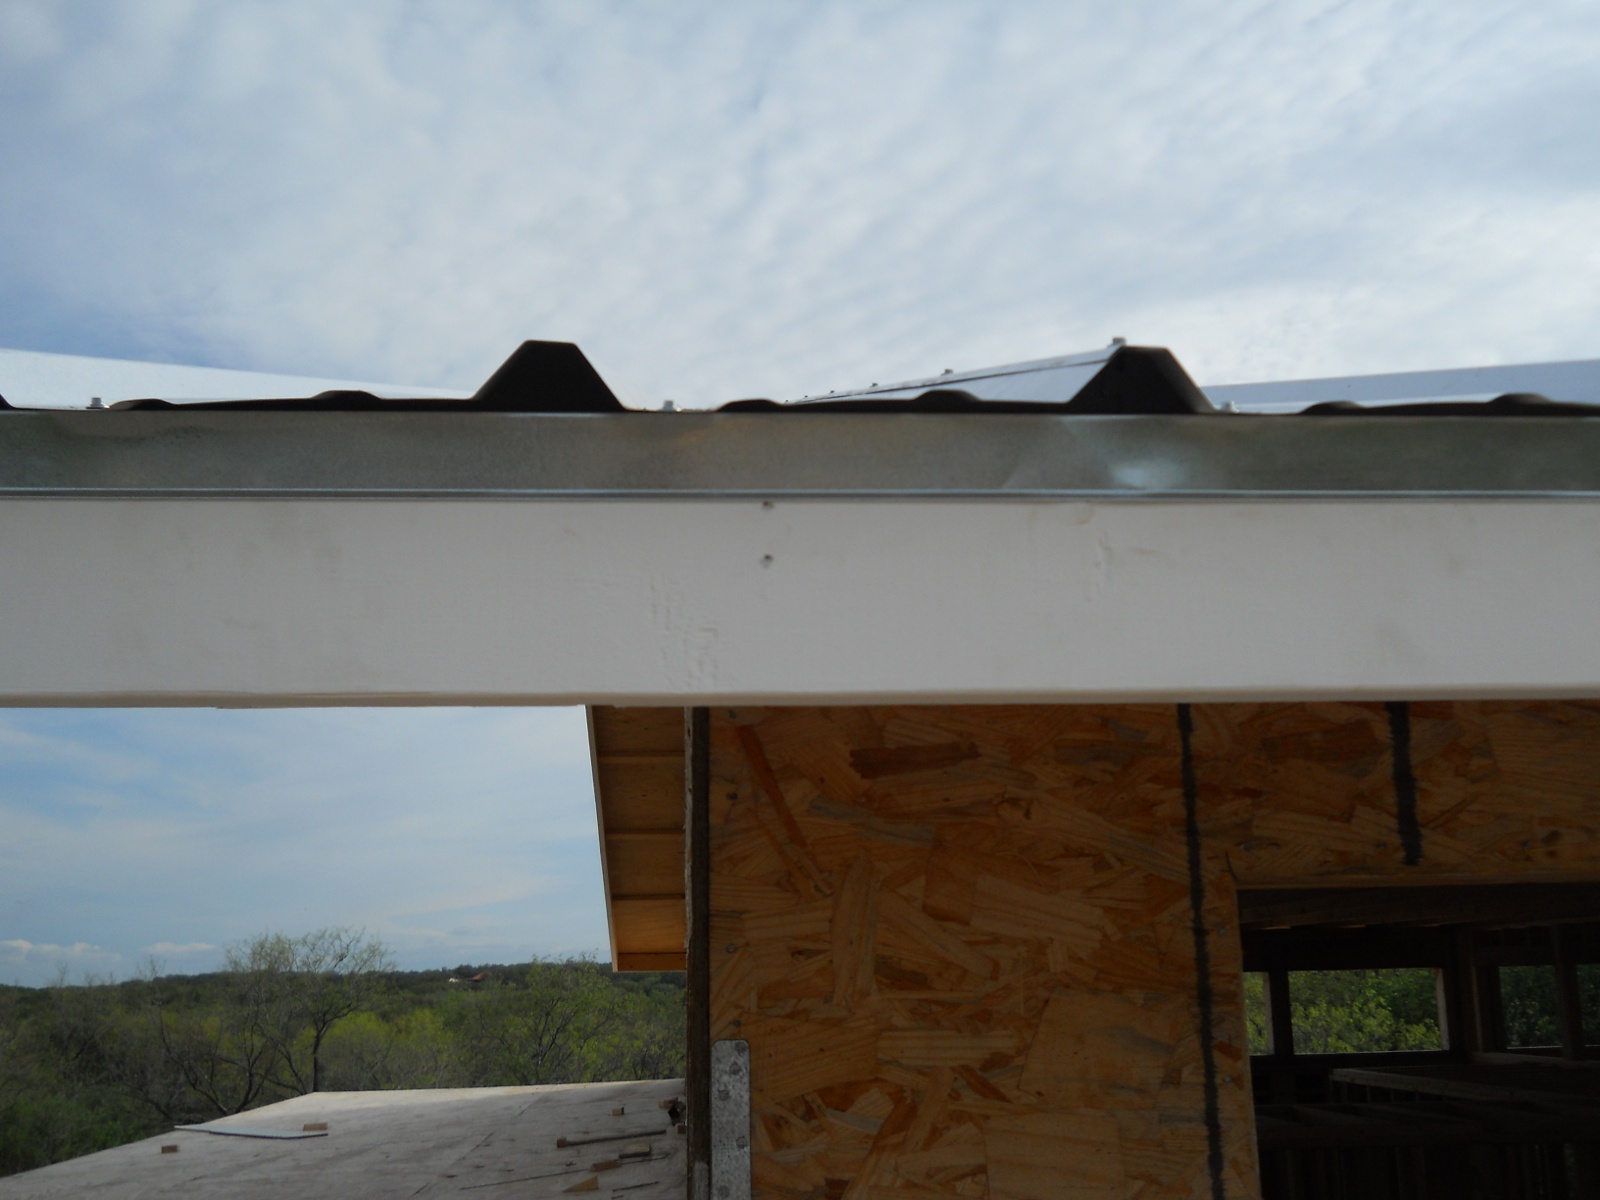
And here is a closer view of the end of the ridge cap. Mr. Gurau thought to stuff fitted foam in the ends, and with that and some caulking, that seemed to work pretty well without having to buy the typical metal roof trim and end caps. Hopefully what we did will be ok in the long-run:

Metal Roof Fitted Foam in Ridge Cap end

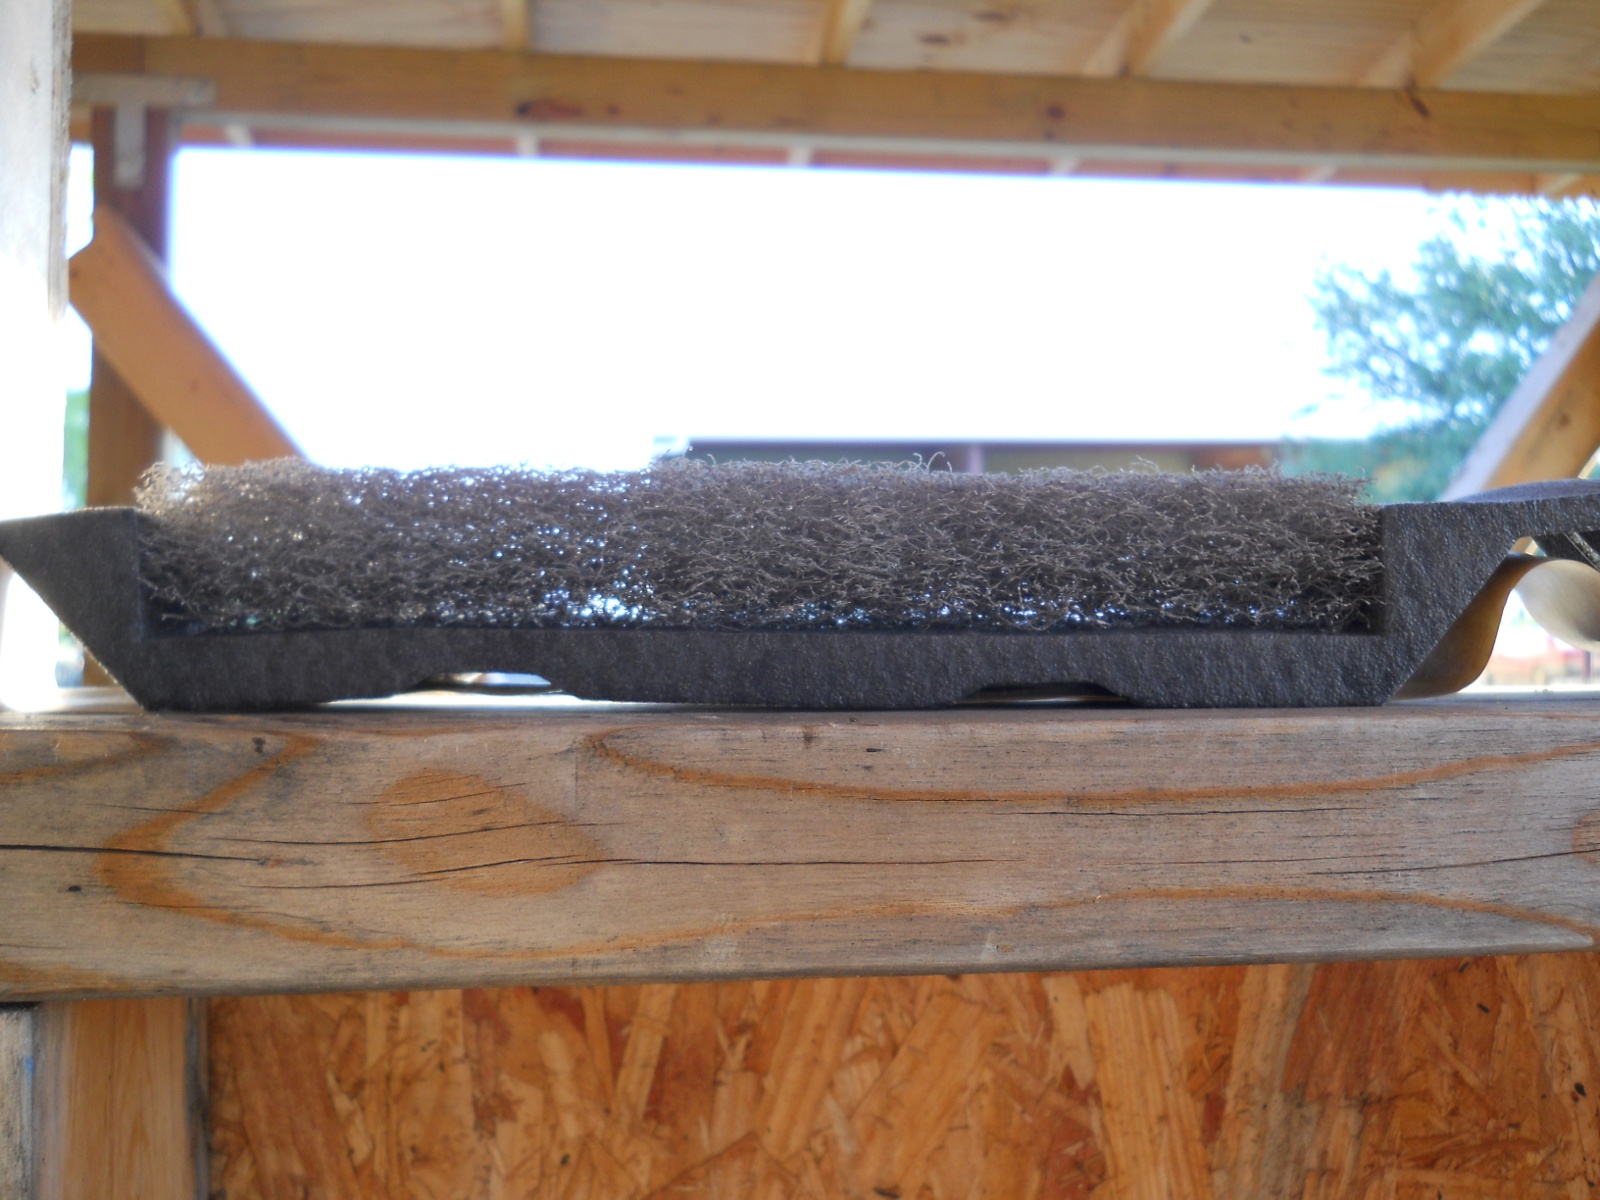
Since we don’t have air conditioning, air flow is everything, in trying to vent out the air that is heated in the attic space. Rather than buy the typical ridge vents, I decided to try a vented foam that simply is installed under the ridge cap: it’s less expensive and is supposed to vent very well:

Ridge Cap Vented Foam

And finally, here is a look up at the ridge cap with it and the vented foam installed:

Inside View of Ridge Cap Installed

Once again, we are grateful to the Lord for allowing continued progress on the home, and thank Him for the resources to do so.

— David

Providence’s Perpetuation Provisions: First New Chicks of 2012

Last year, the Lord granted that some of our hens would be broody and sit on eggs — something that hadn’t really happened much until then. Well, God has continued to be gracious in that way, granted one of our hens to get broody; and by God’s graces, she hatched out 13 new chicks out of 14 eggs!

We’ve since lost one, but here is a picture of them:

New Chicks Hatched Early April 2012

And a quick video:

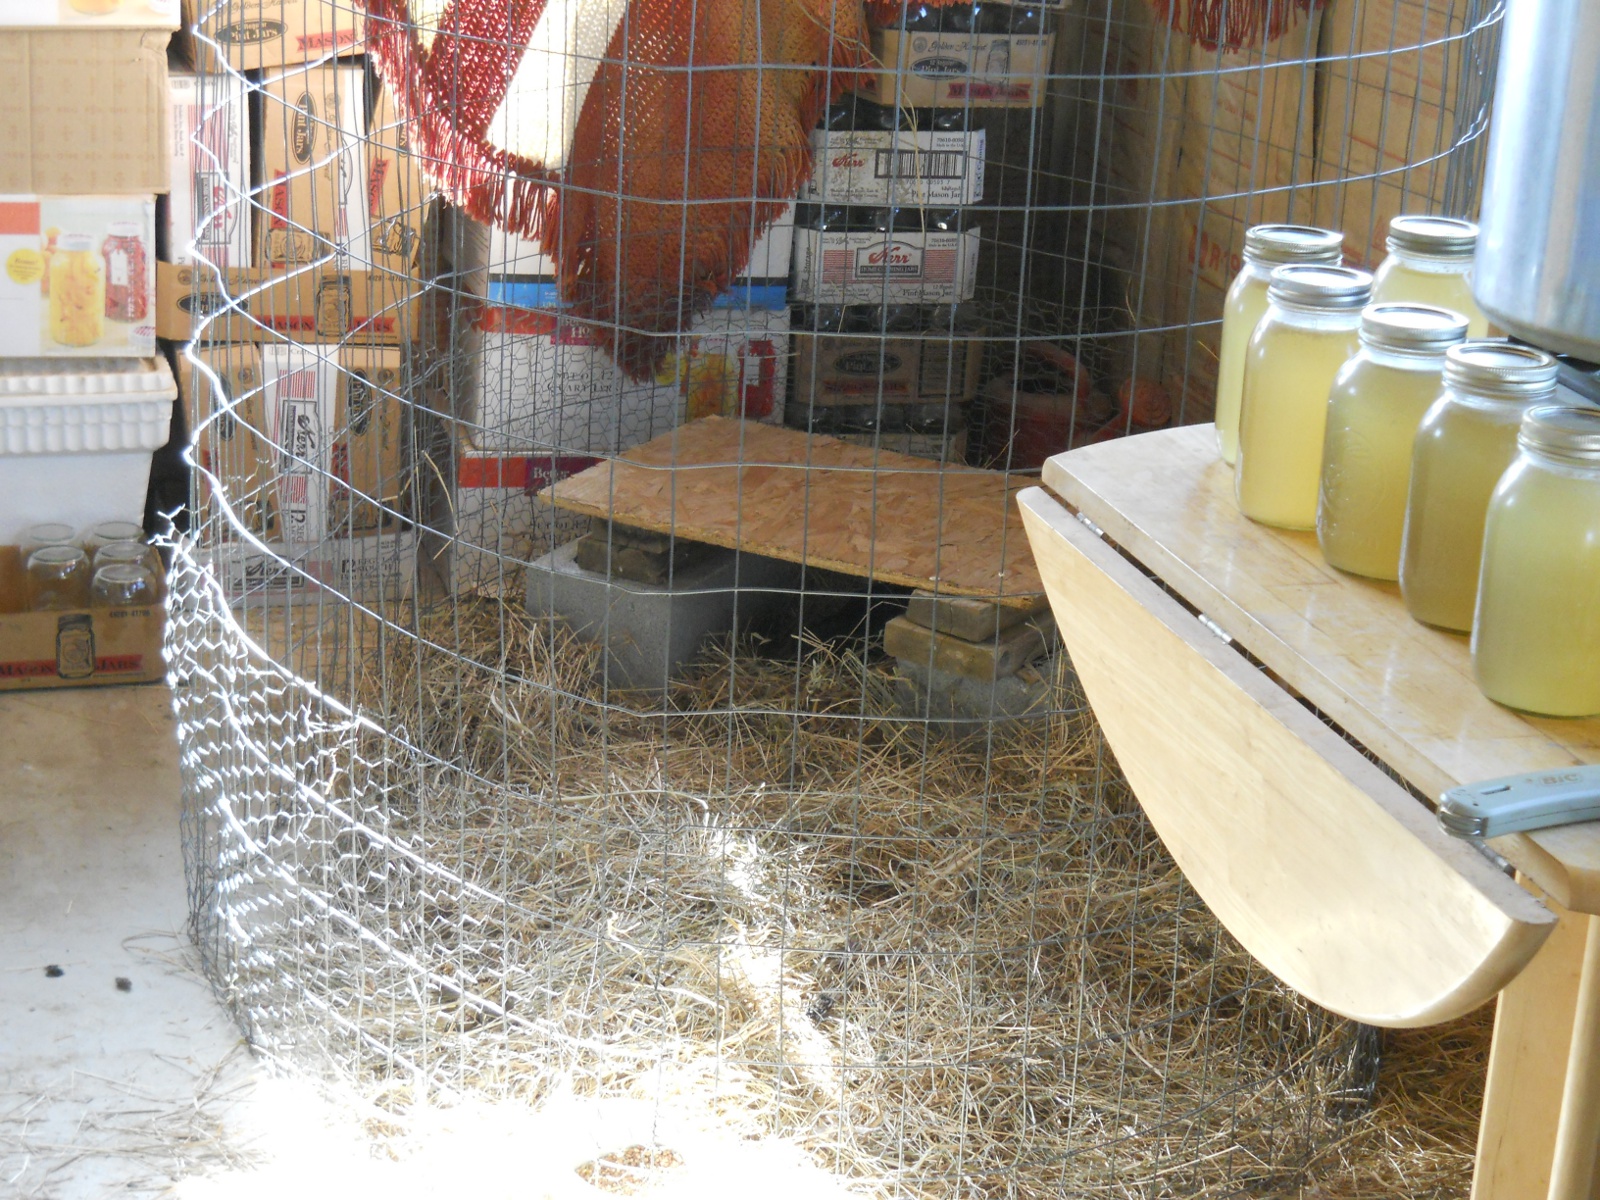
Along with this hen, we suddenly had an avalanche of broody hens! We’ve had a hard time finding where to put them, but we put one in our chicken coup in the chicken pen, and turned our summer kitchen into a chicken nursery.

Here’s one sitting in the piano room:

2012 Spring Chick Nursery in Piano Room

And another in the summer kitchen area:

2012 Spring Chick Nursery in Summer Kitchen

And the pantry:

2012 Spring Chick Nursery in Summer Kitchen Pantry

There are two (sometimes three in two nests) more in the main chicken tractor that we’re not sure where to put, but hopefully we will figure that out before the chicks hatch (if the Lord wills).

We are very grateful to the Lord for granting this “problem,” and we pray for continued healthy hatchlings, according to His will.

— David

Spring Ranchfest 2012

Twice a year we gather as a community for a week to work on projects for our teacher, Michael, and his family; and to provide an opportunity for guests to come by and help out and meet the folks here, etc.

And so, it was that time again for “Ranchfest” — Spring 2012!

The men had two projects they were working on throughout the week: building a cabin for the community’s betrothed couple; and doing finishing work on the inside of Michael’s cottage.

The Cabin

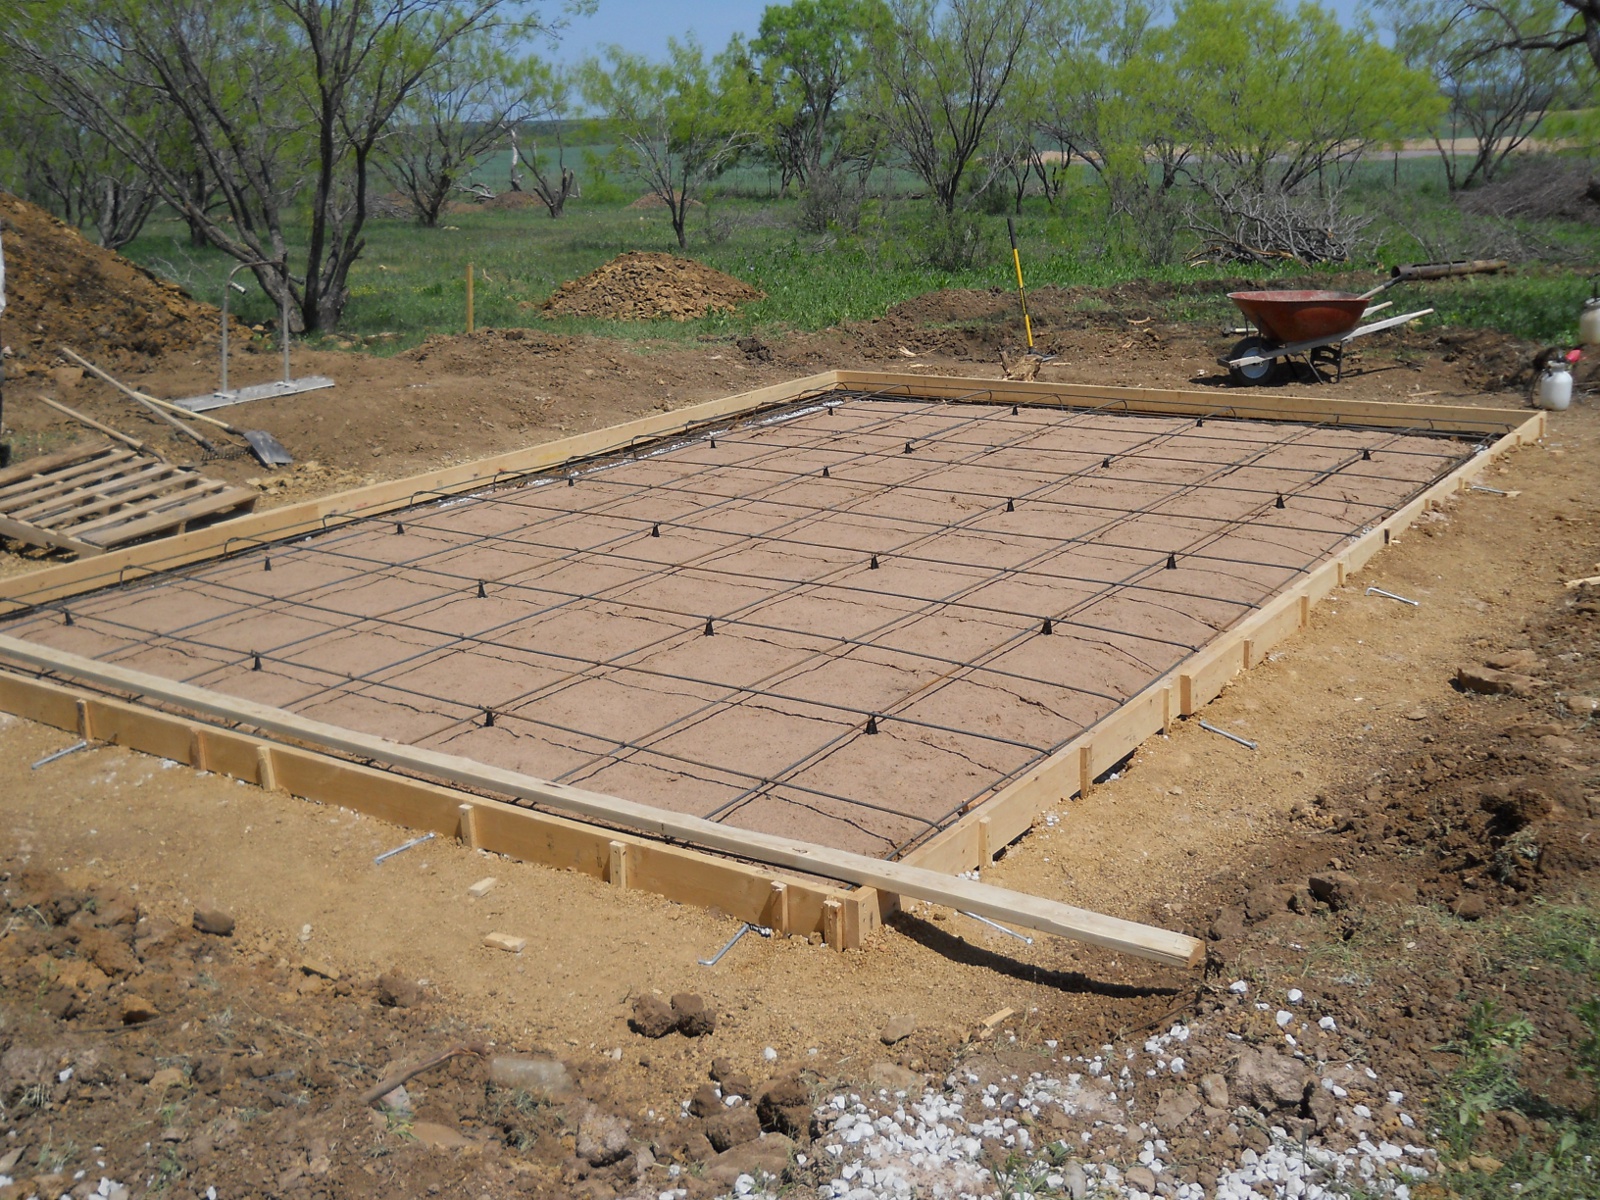
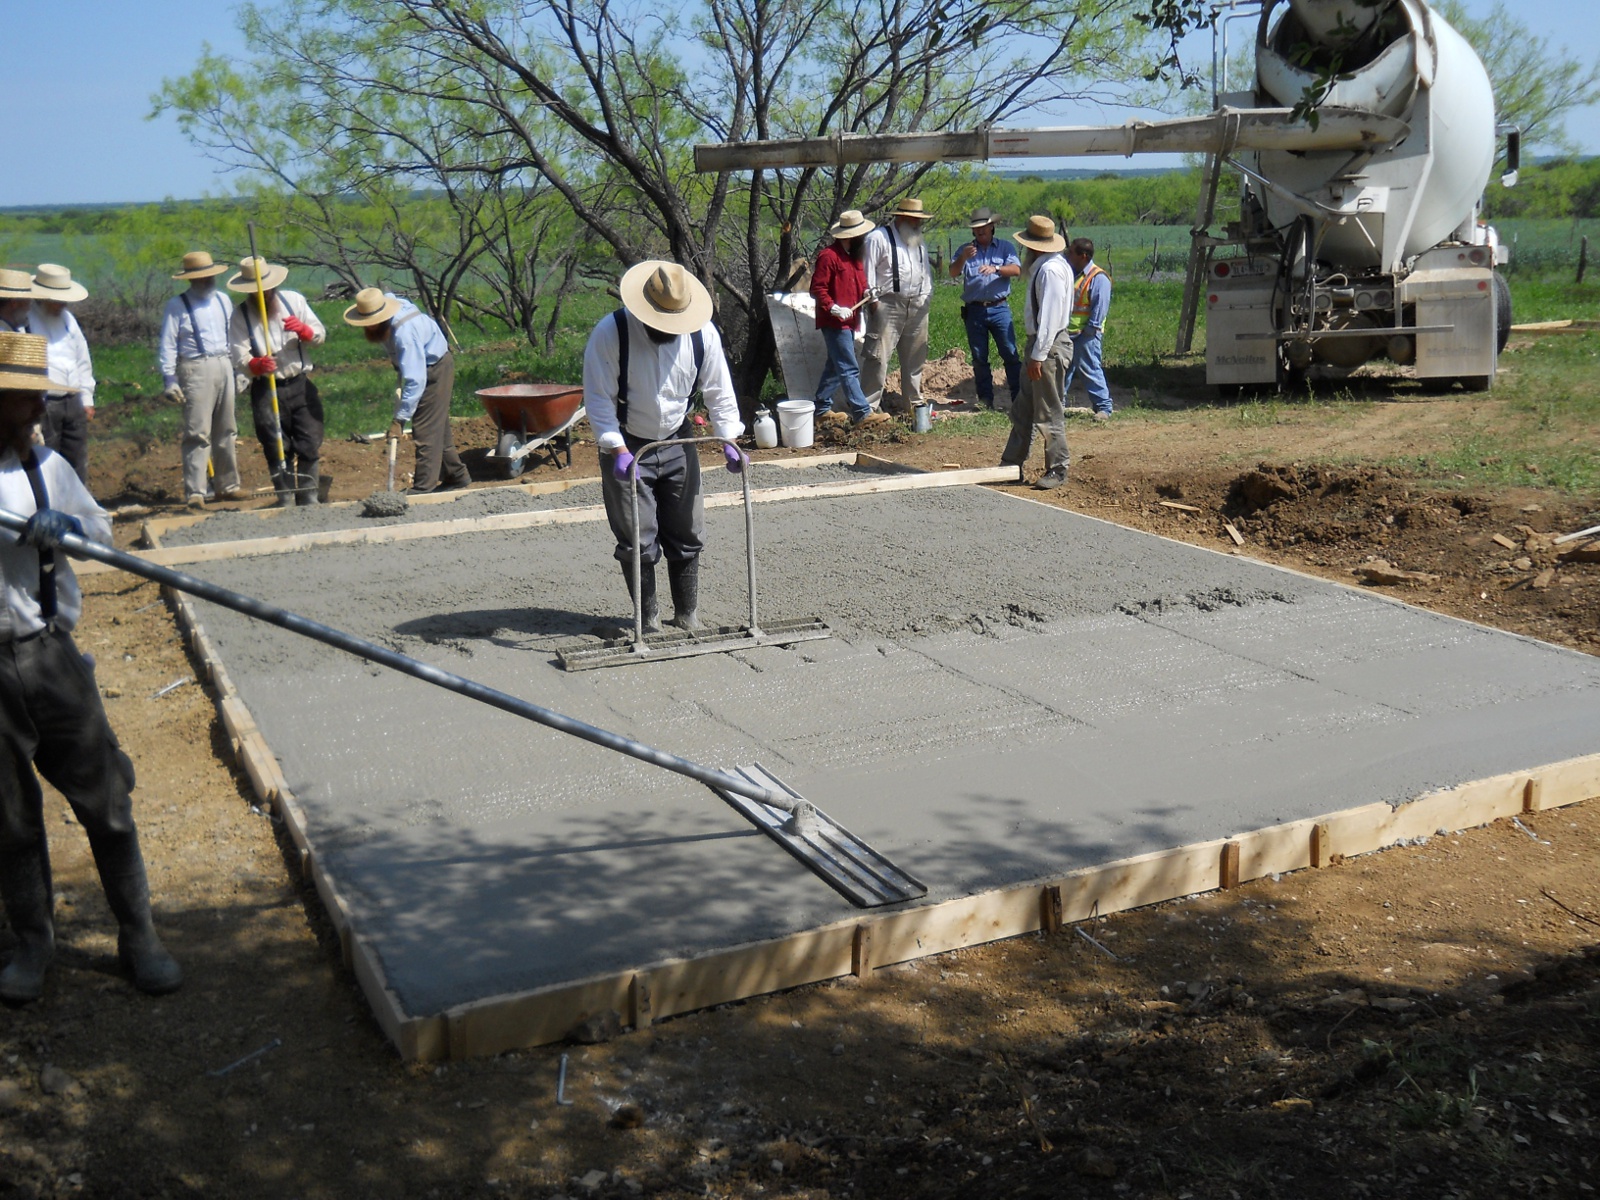
For the cabin, we started on Friday with a concrete slab pour. This was the group’s first real concrete pour on the land, and the guys did a lot of study and prep work in getting things ready. Here is the area formed with the rebar:

Spring Ranchfest 2012 Cabin Foundation Forms and Rebar

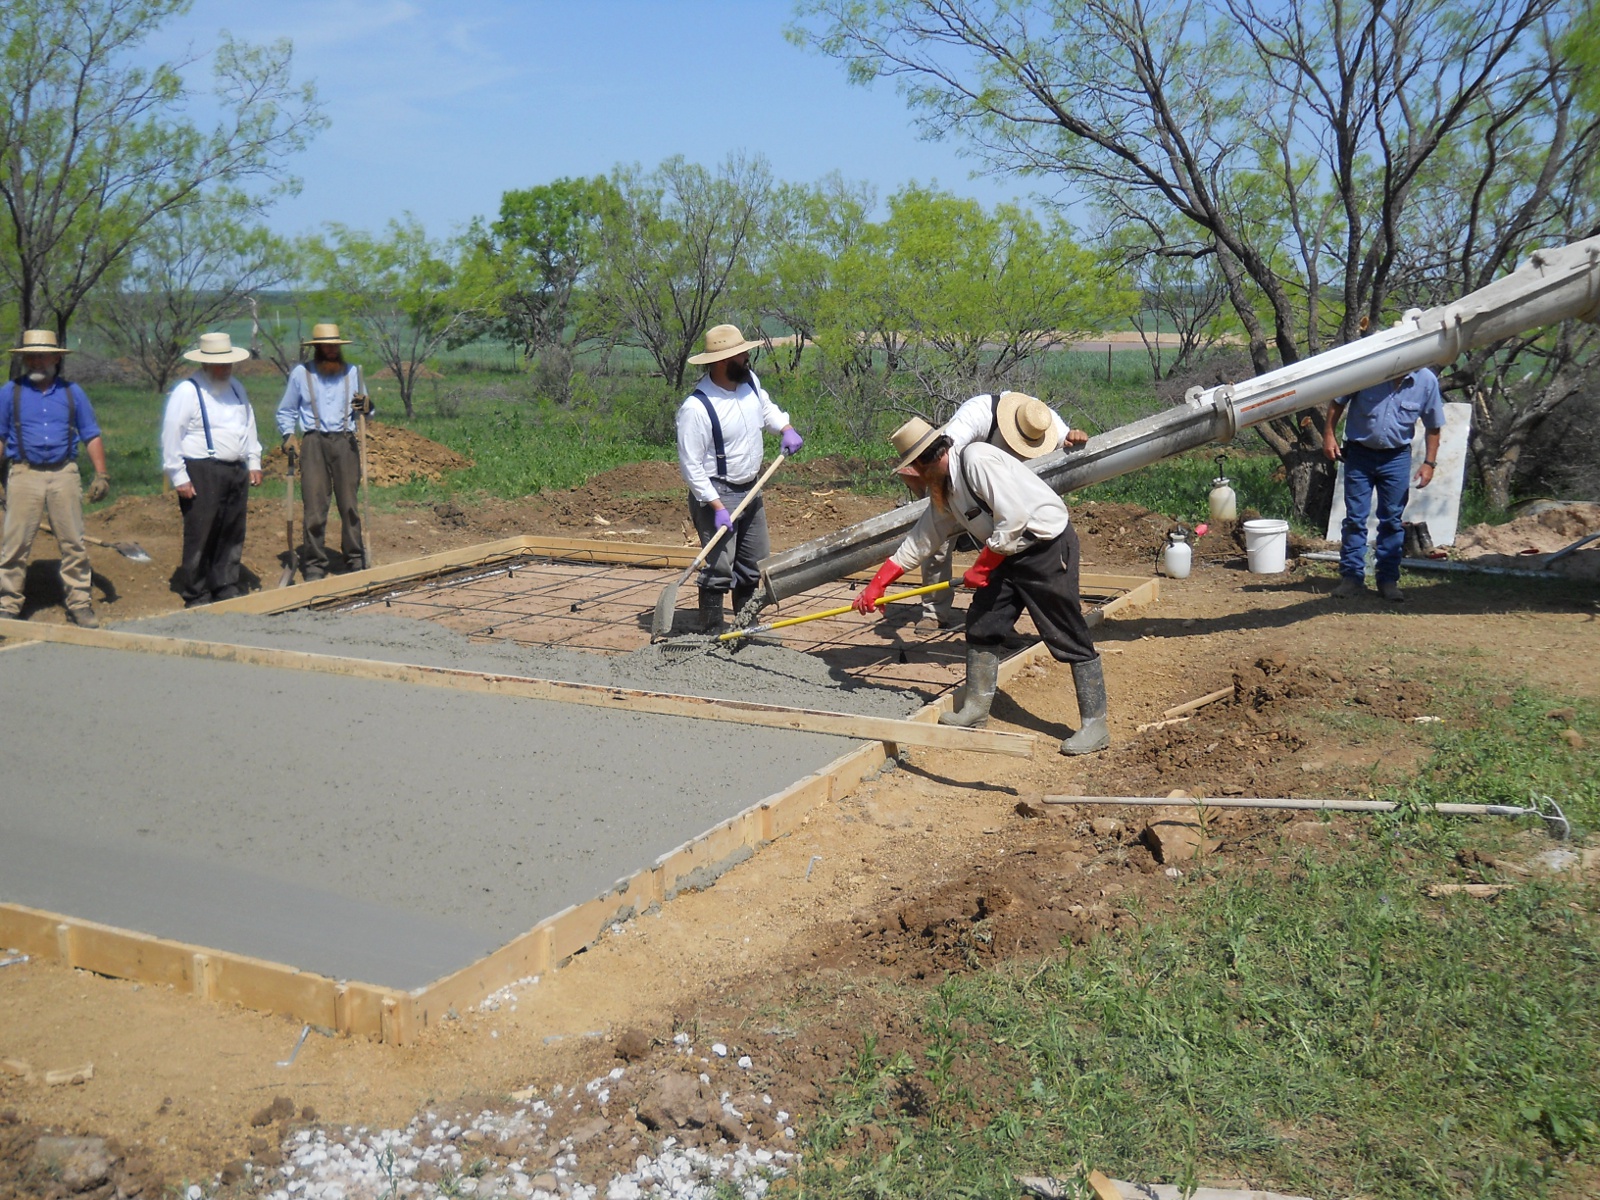
And here begins the concrete pour:

Spring Ranchfest 2012 Beginning Pouring the Concrete

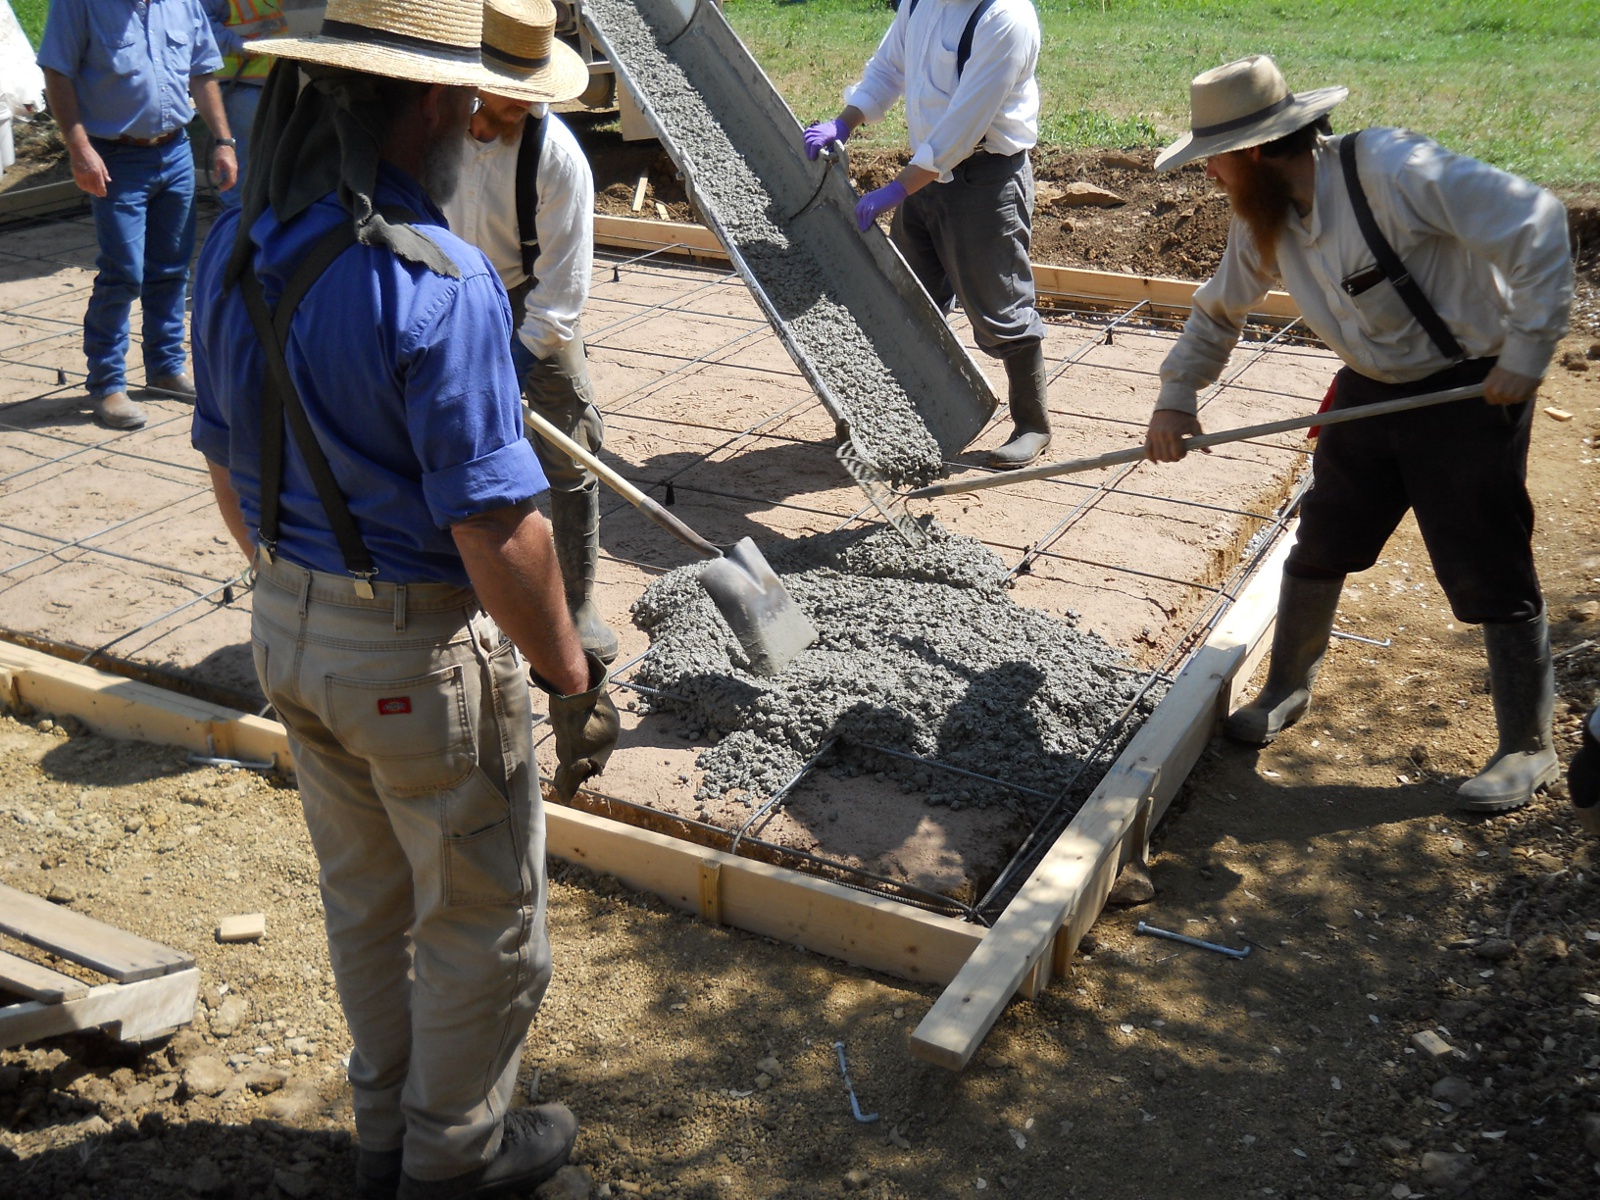
And more of the pouring and after “screeding” (or spreading) it out with the long 2×4 that spanned the whole width:

Spring Ranchfest 2012 Continuing Pouring the Concrete

Here the concrete is tamped lightly by what they call a “jitterbug”, and a “bull float” is used to smooth out the concrete surface:

Spring Ranchfest 2012 Floating and Tamping the Concrete

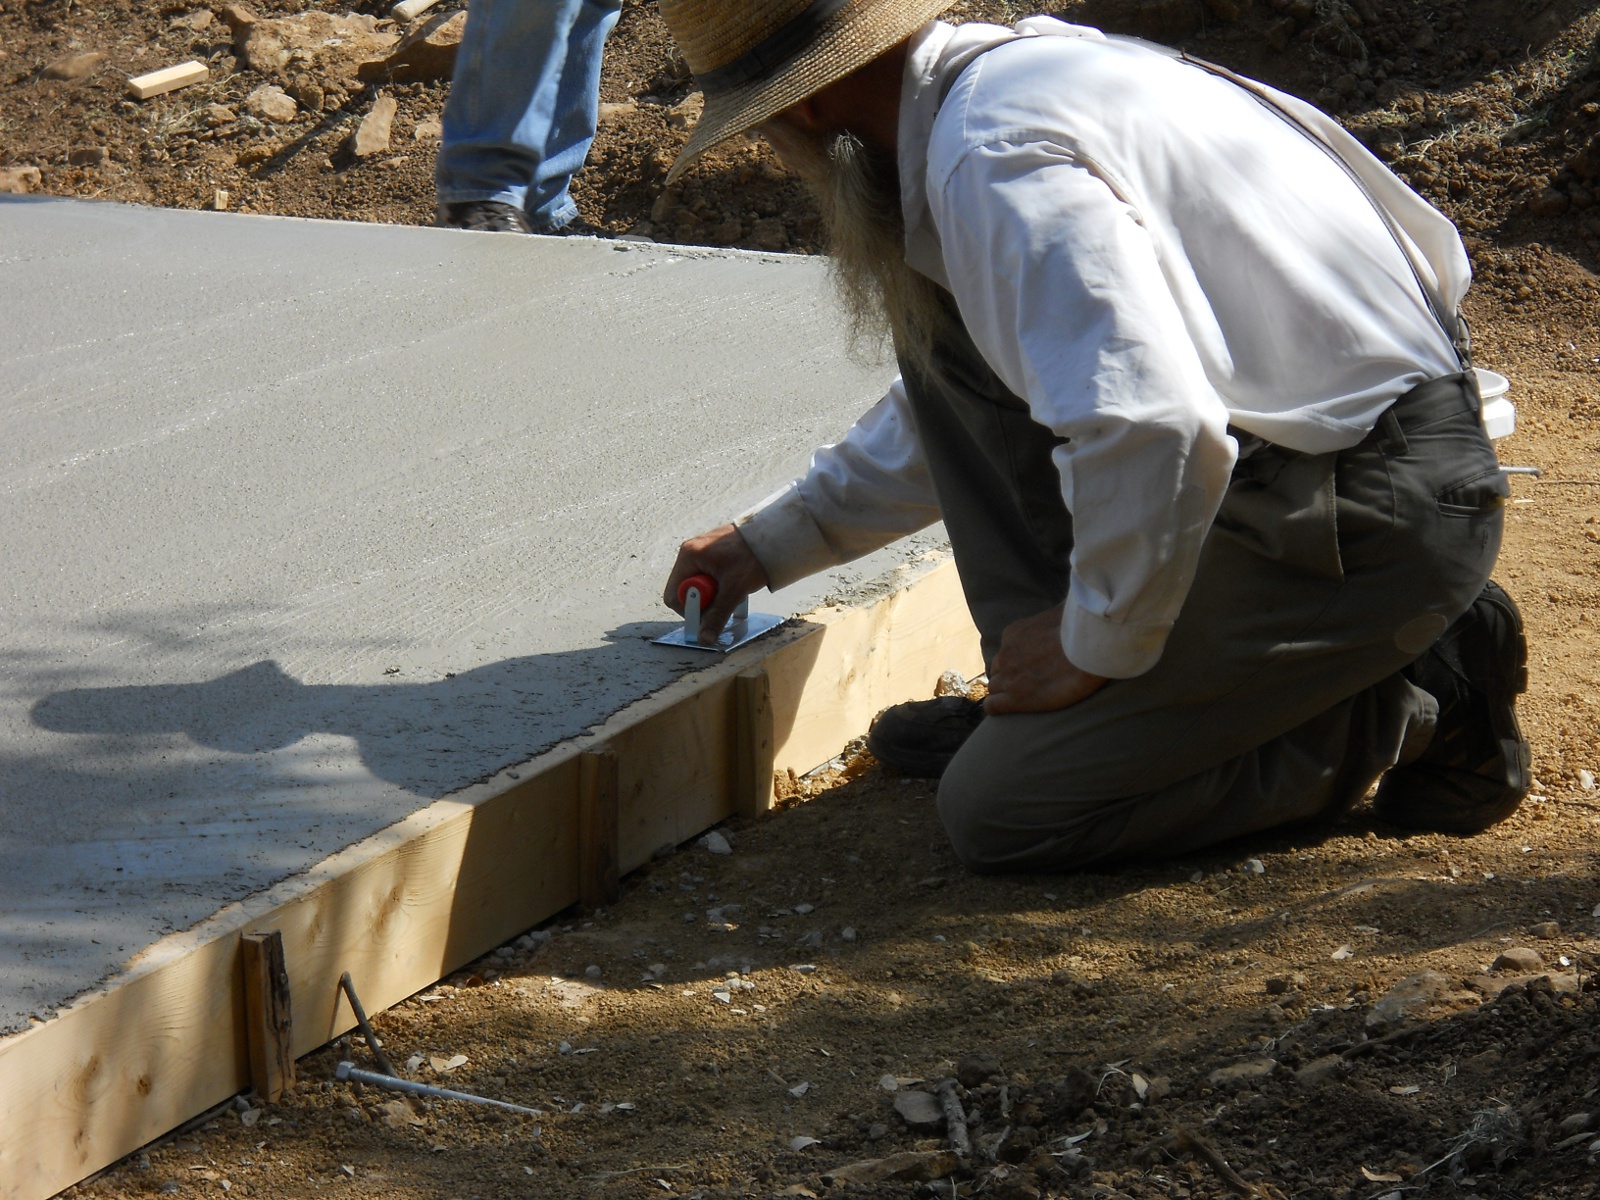
And then it was edged so the edges are rounded, to help keep them from chipping. One fellow also went around the sides with a hammer, lightly tapping the forms to help keep the concrete from “honeycombing”:

Spring Ranchfest 2012 Edging the Concrete

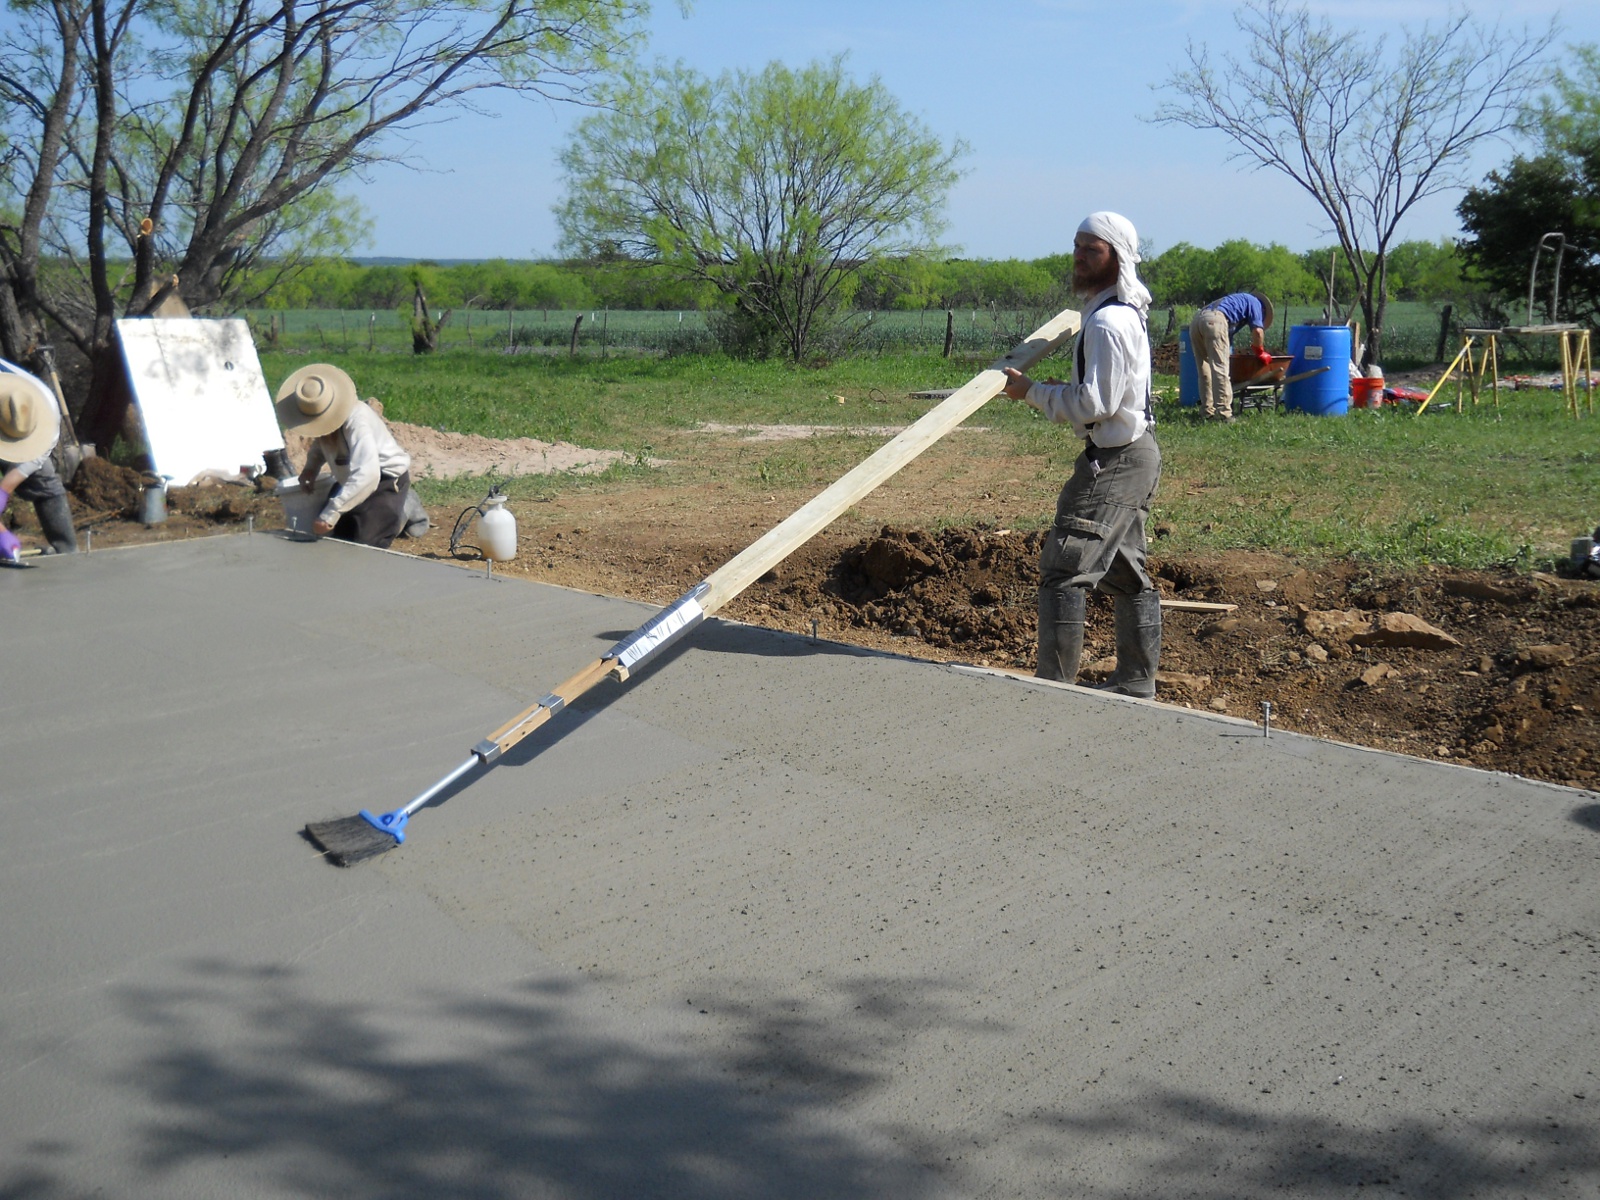
Here’s the groom-to-be and his improvised concrete texturizer:

Spring Ranchfest 2012 Texturizing the Concrete

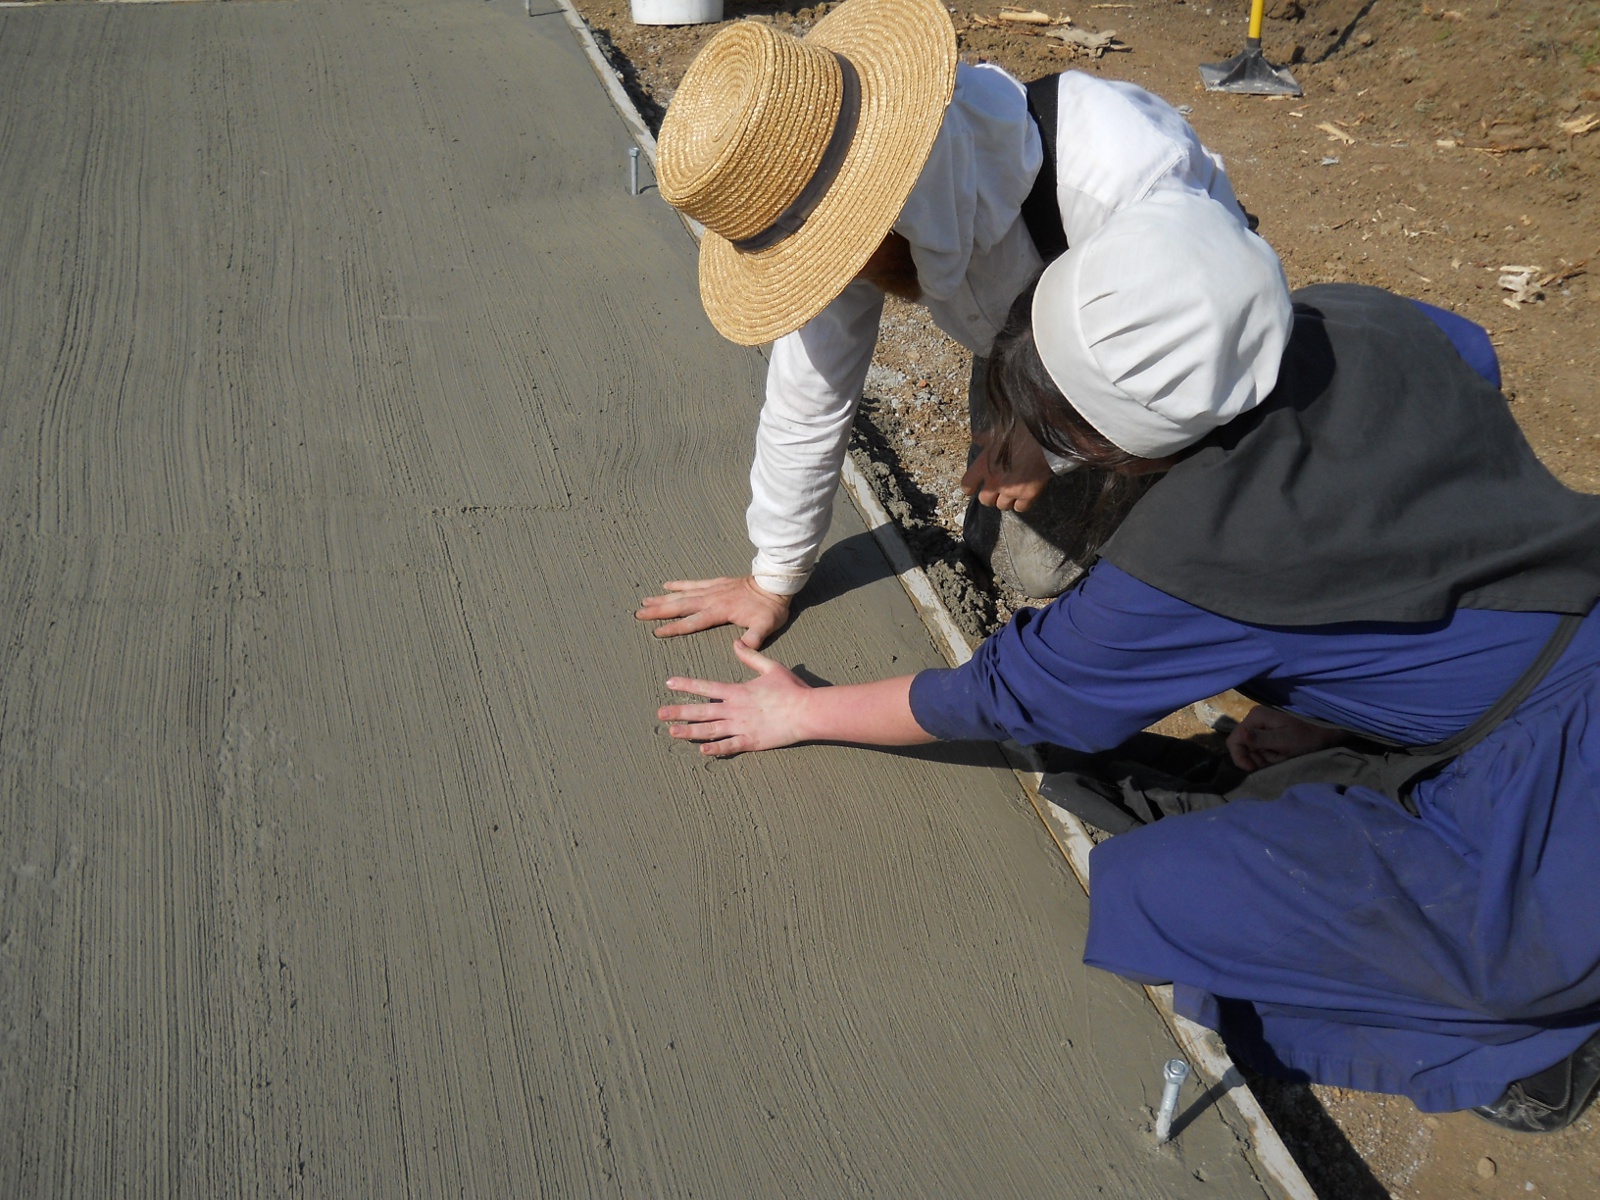
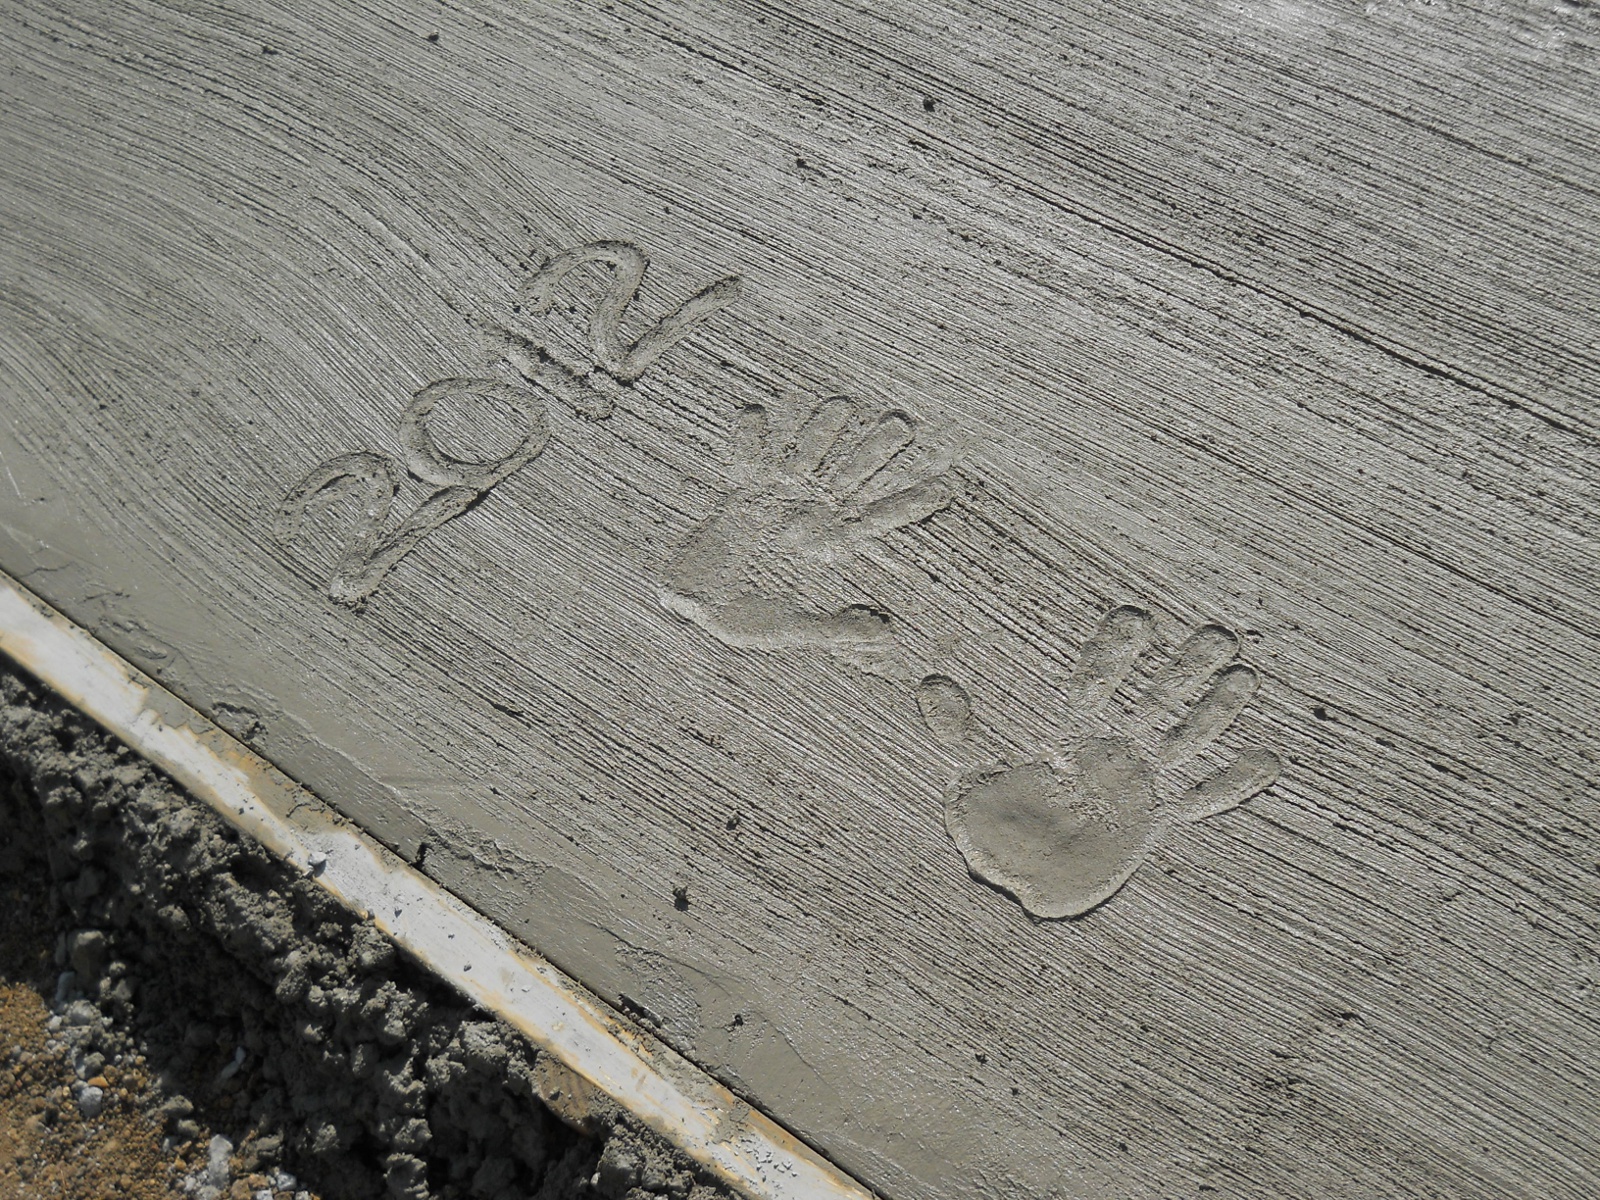
And finally, the betrothed couple thought they’d mark a memory of the event:

Spring Ranchfest 2012 Betrothed Couple Making Handprints in Concrete of Their Eventual Cabin
Spring Ranchfest 2012 Betrothed Couple's Handprints in the Concrete

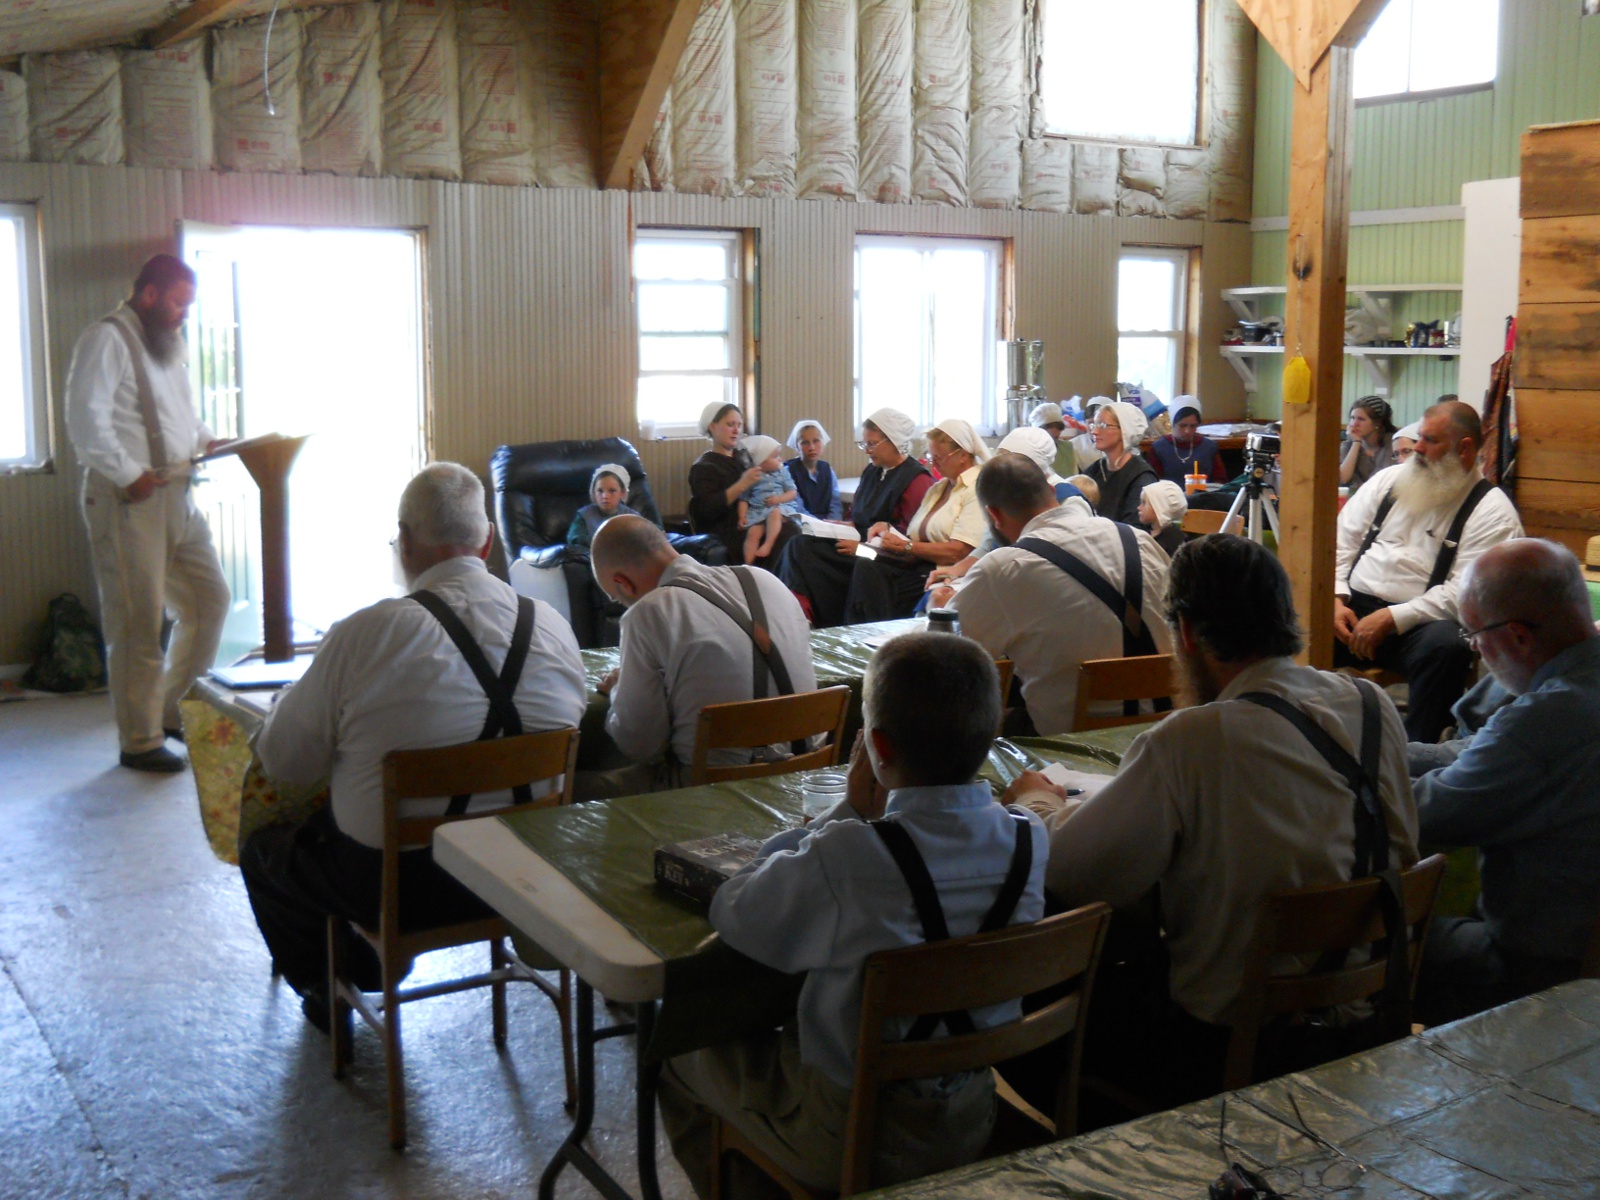
Friday Night Sermon

On Friday evenings, Michael is going through in an in-depth way the last chapters he included in a book he wrote, which was an article series he wrote called “What is the Gospel?”:

Spring Ranchfest 2012 Sermon

Passover

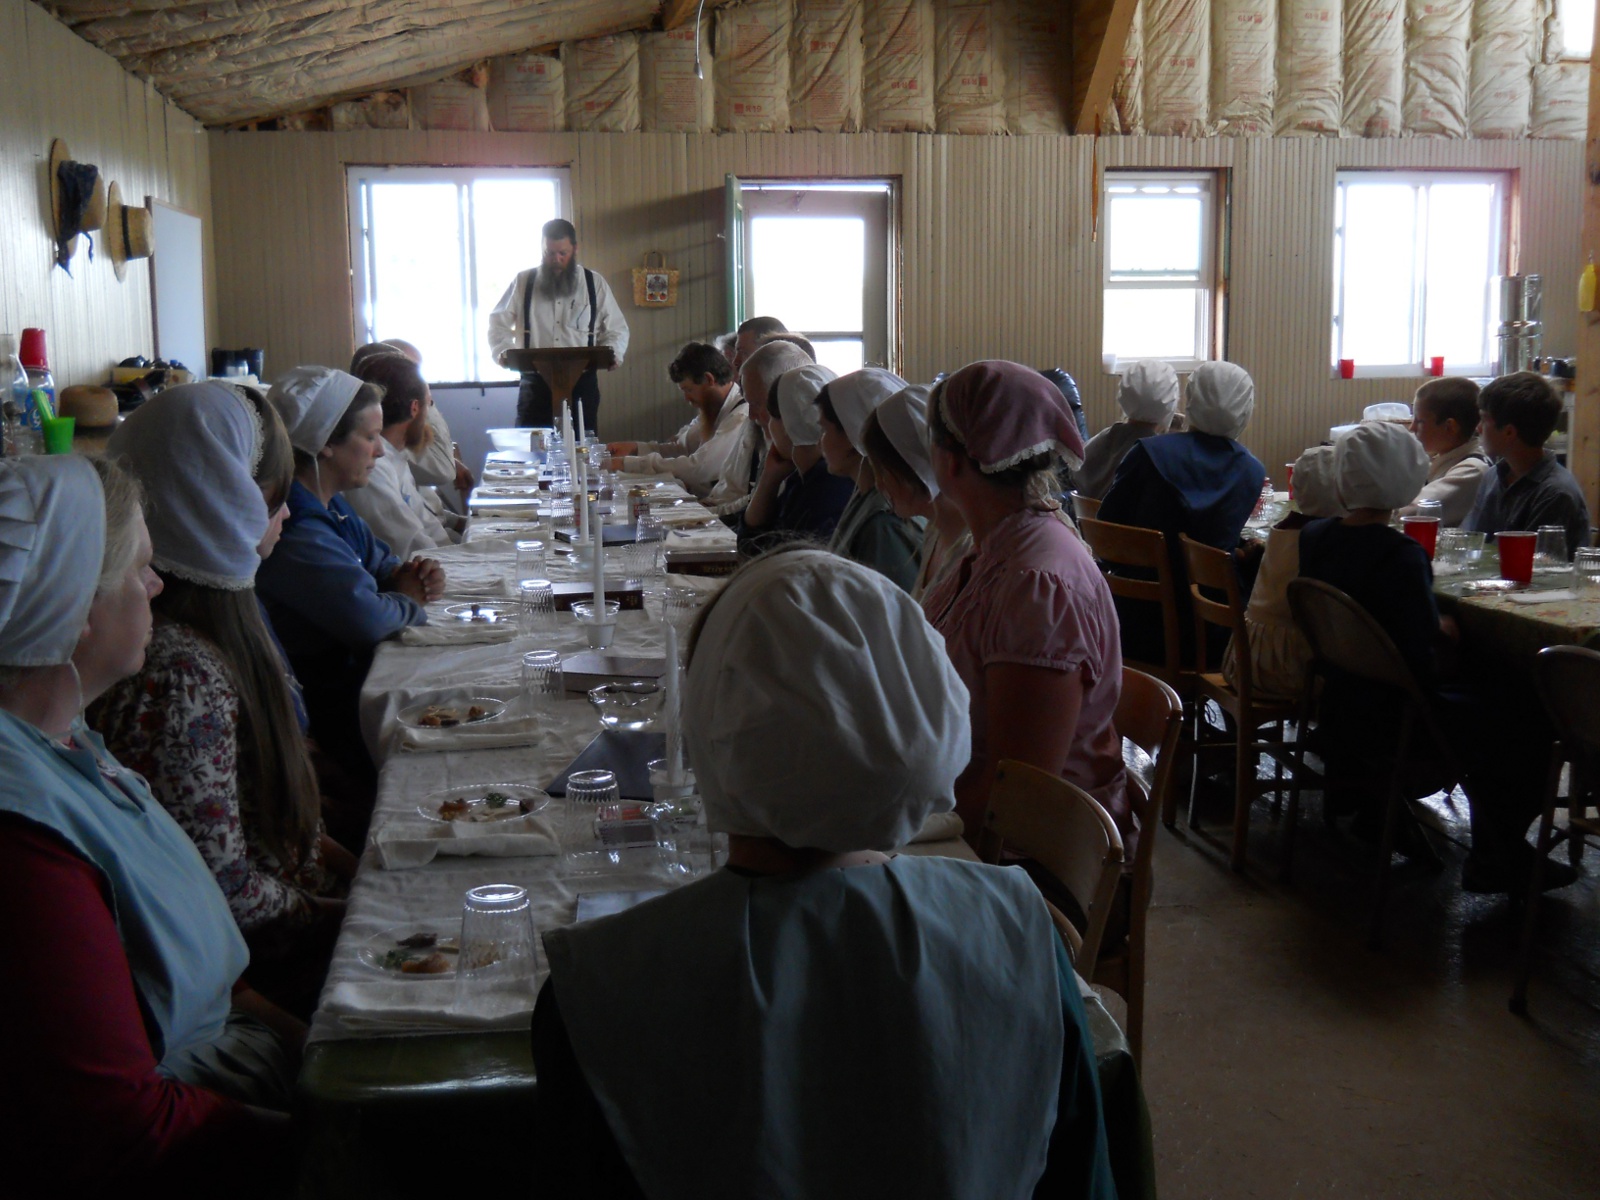
Ranchfest times are often planned around the Passover time, which we observe as a teaching method for the children (and as a memorial for the adults) of the types and shadows used in the Passover feast representing Christ.

Here is the Passover “ceremony” time:

Spring Ranchfest 2012 Passover Seder

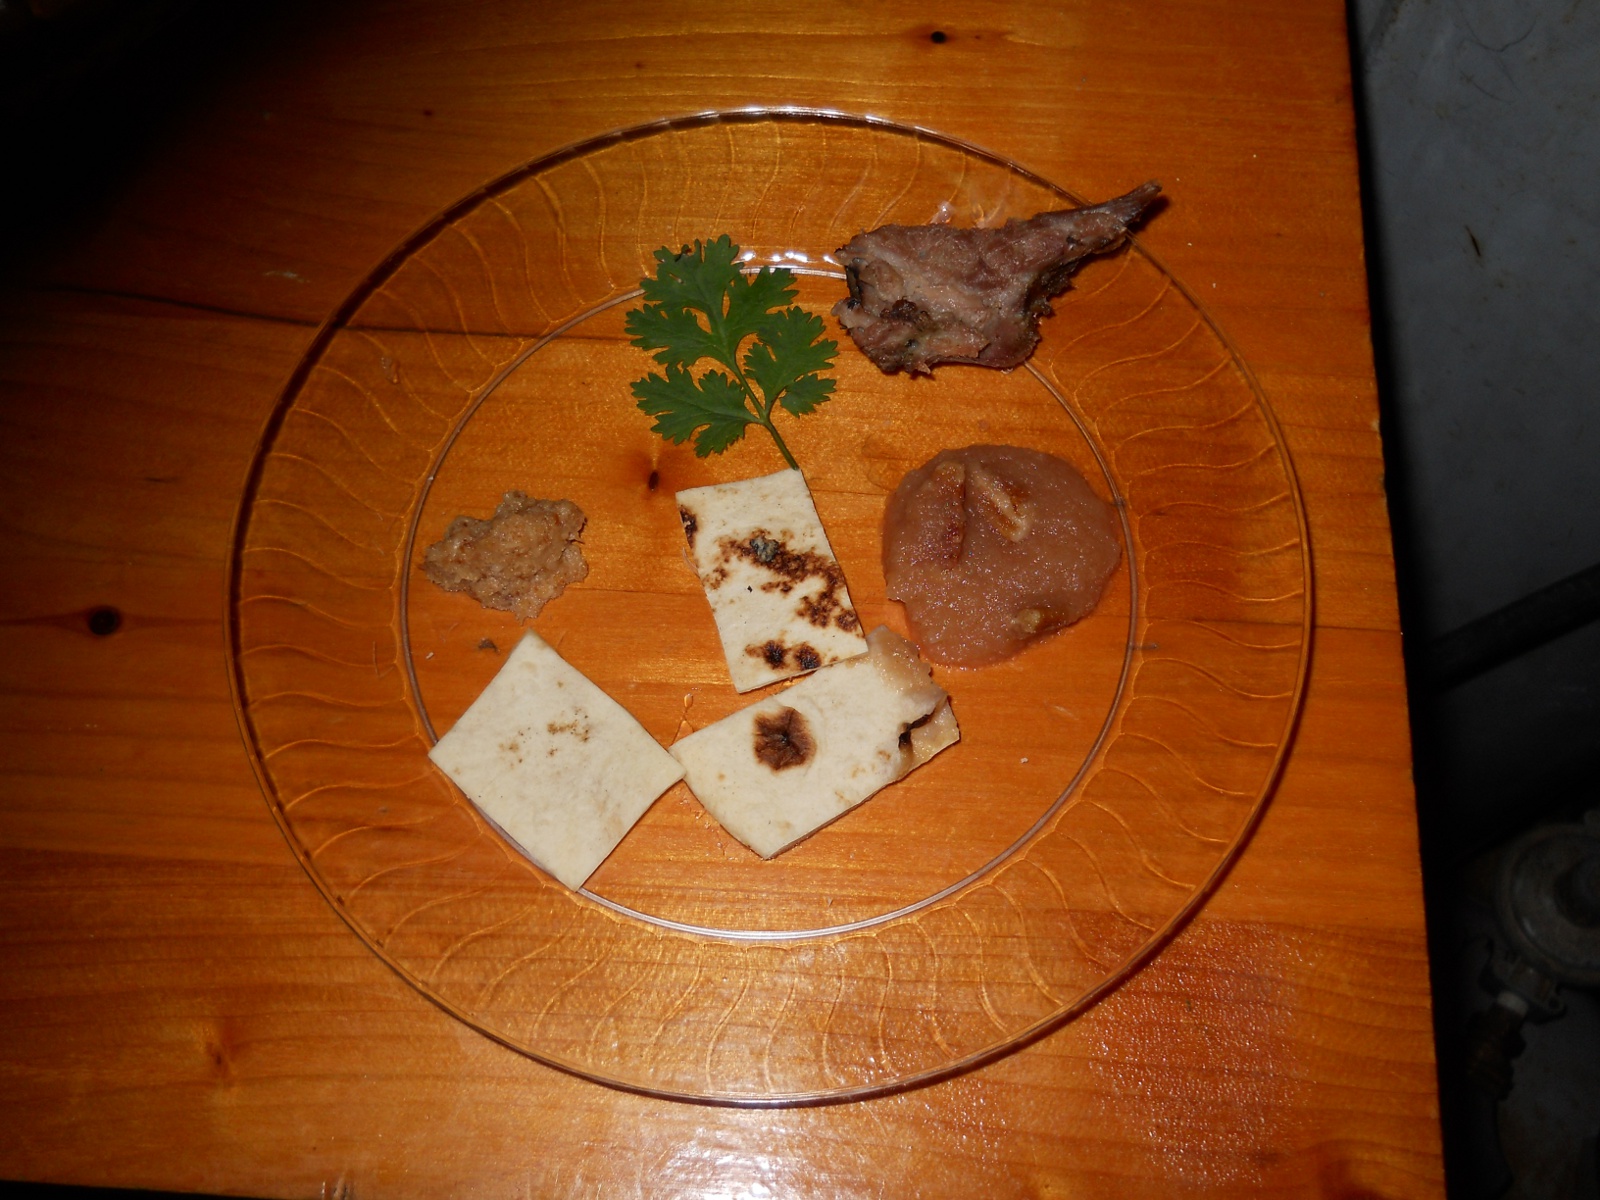
And the seder plate, with each food element representing some part of the event of the Passover time of the Hebrew people in and leaving Egypt:

Spring Ranchfest 2012 Passover Seder Plate

We also sang Psalms 113-118 from our psalters, and here is a video of a few of those psalms being sung:

The Cottage

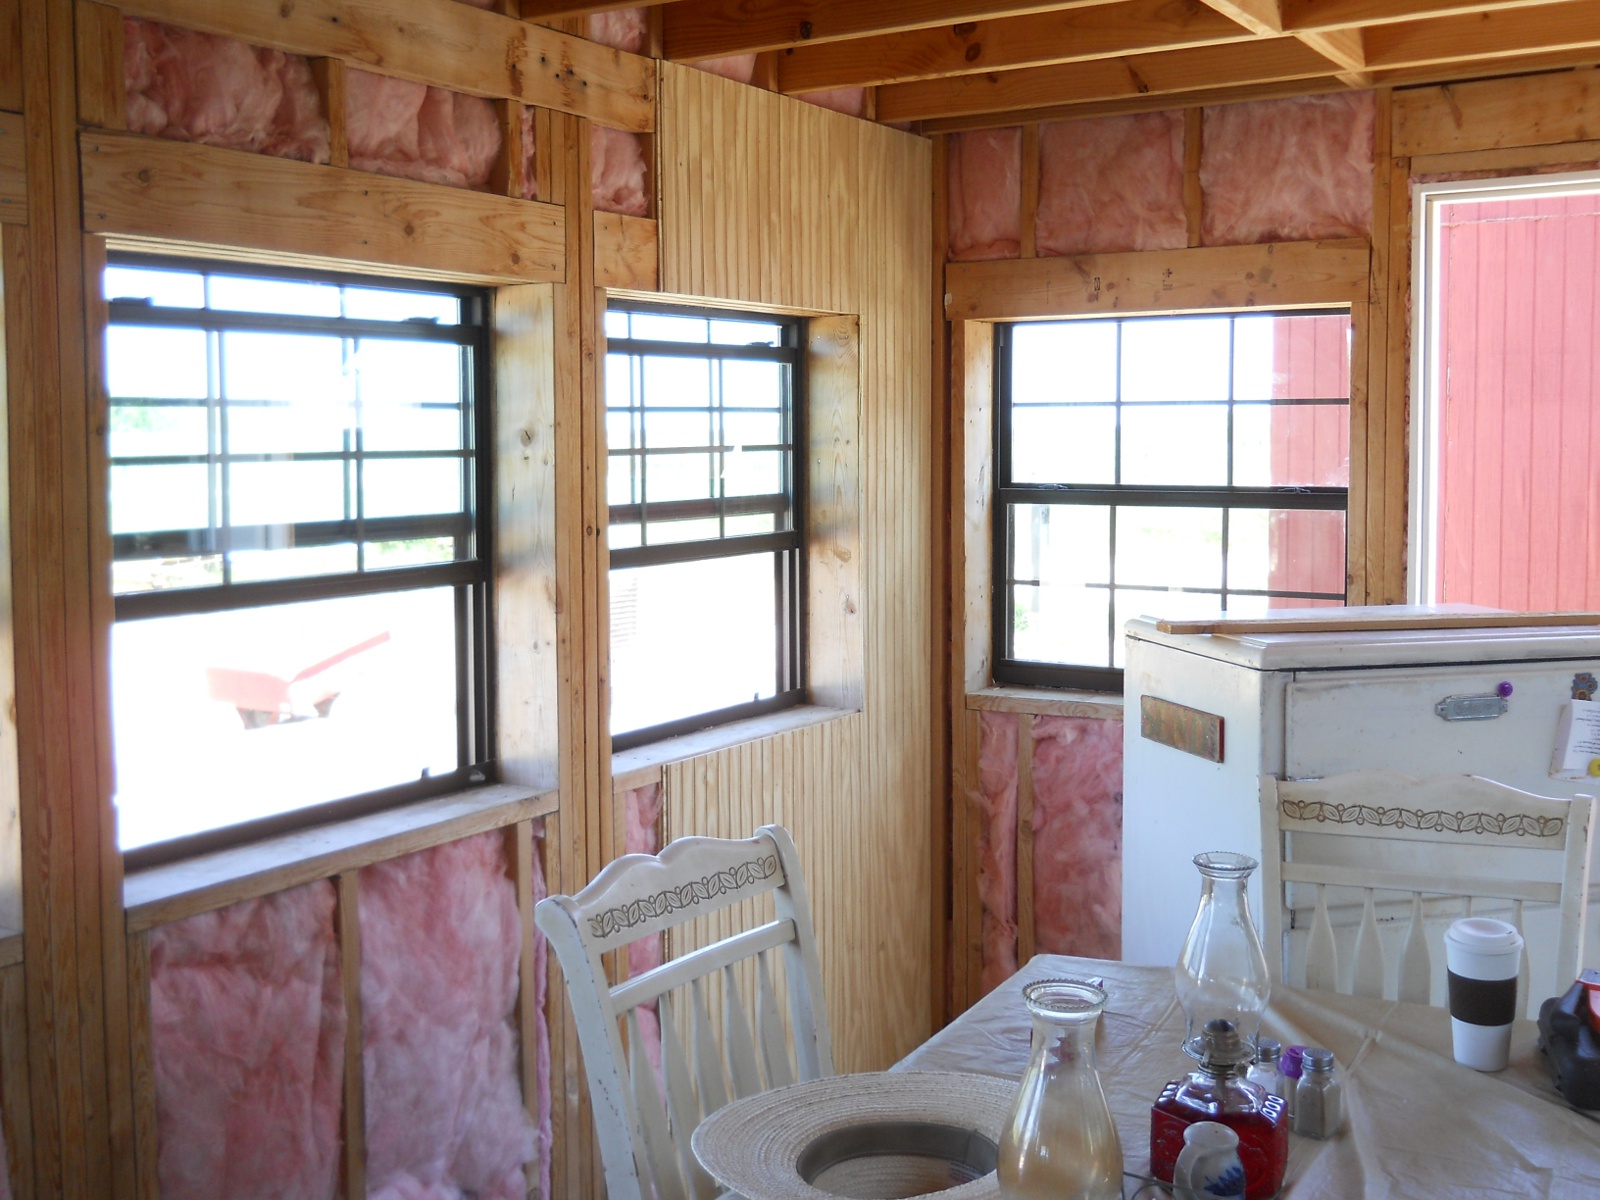
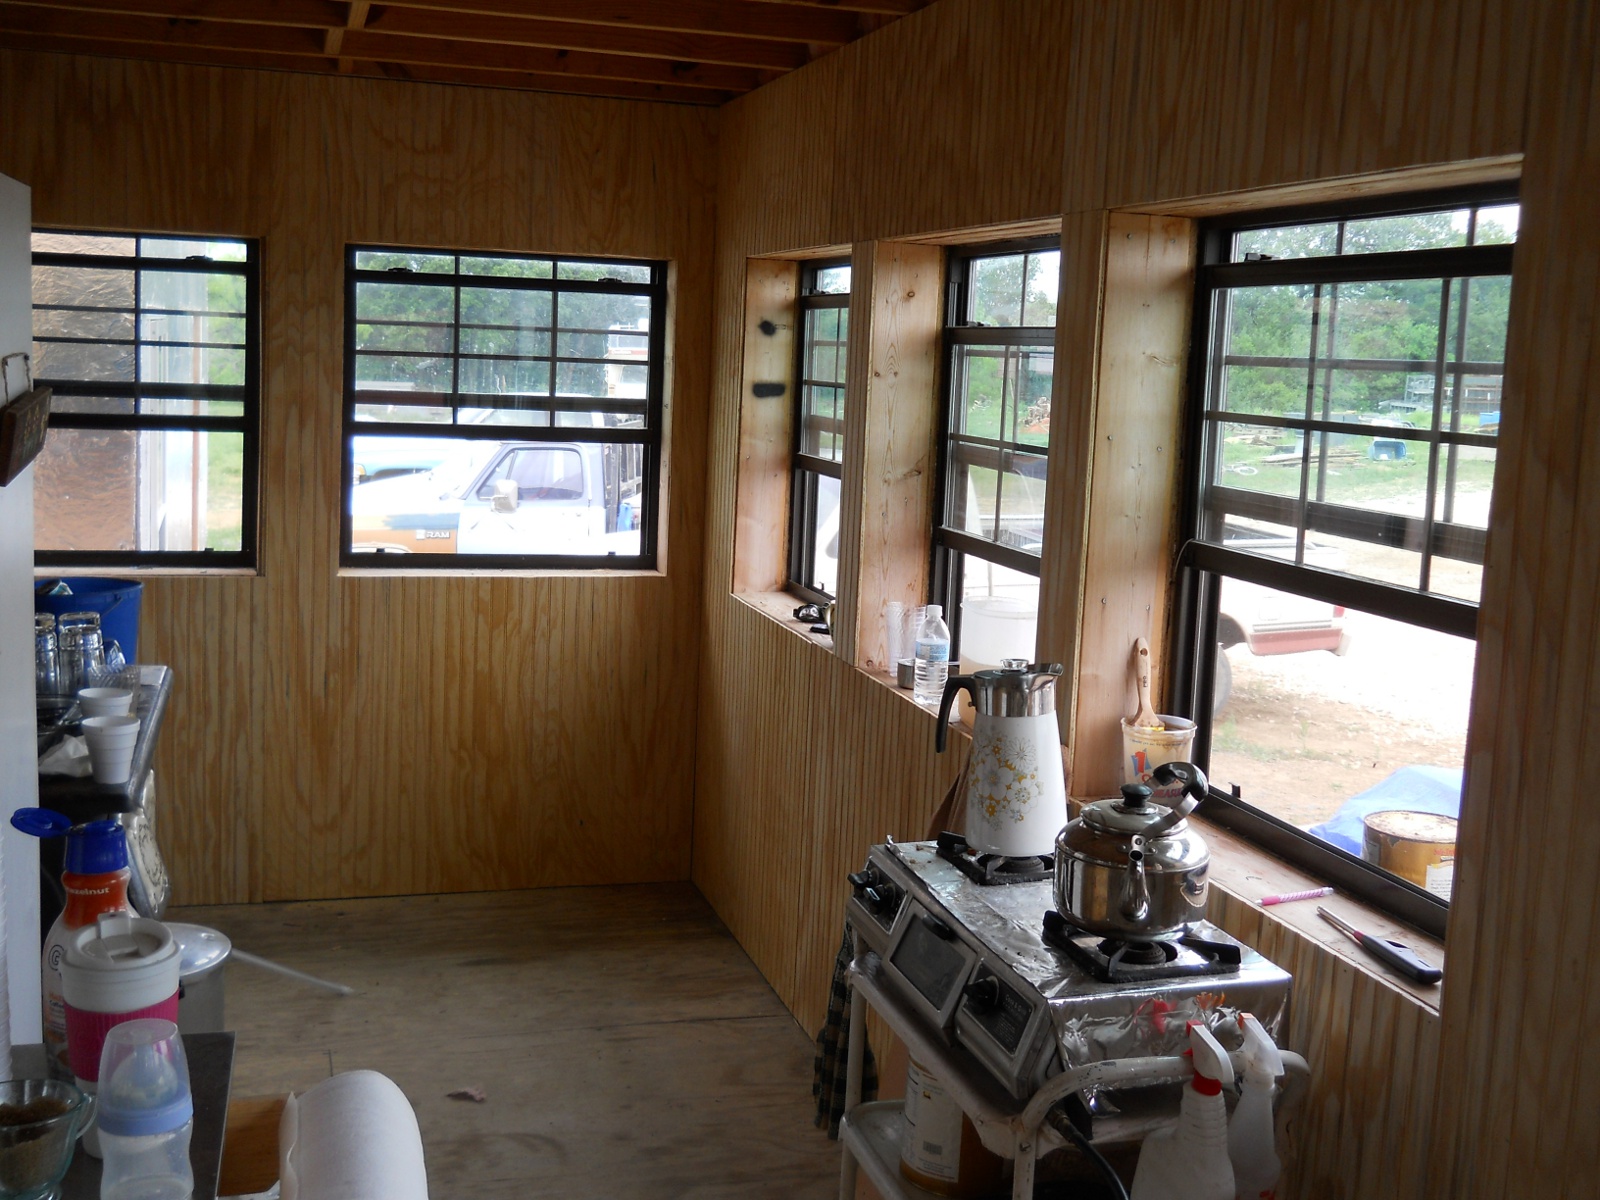
As I mentioned, the other project was working on the internals of Michael’s cottage, putting up insulation and siding.

And here is some of the completed work:

Spring Ranchfest 2012 Cottage Insulation and Siding
Spring Ranchfest 2012 More Cottage Internal Siding Completed

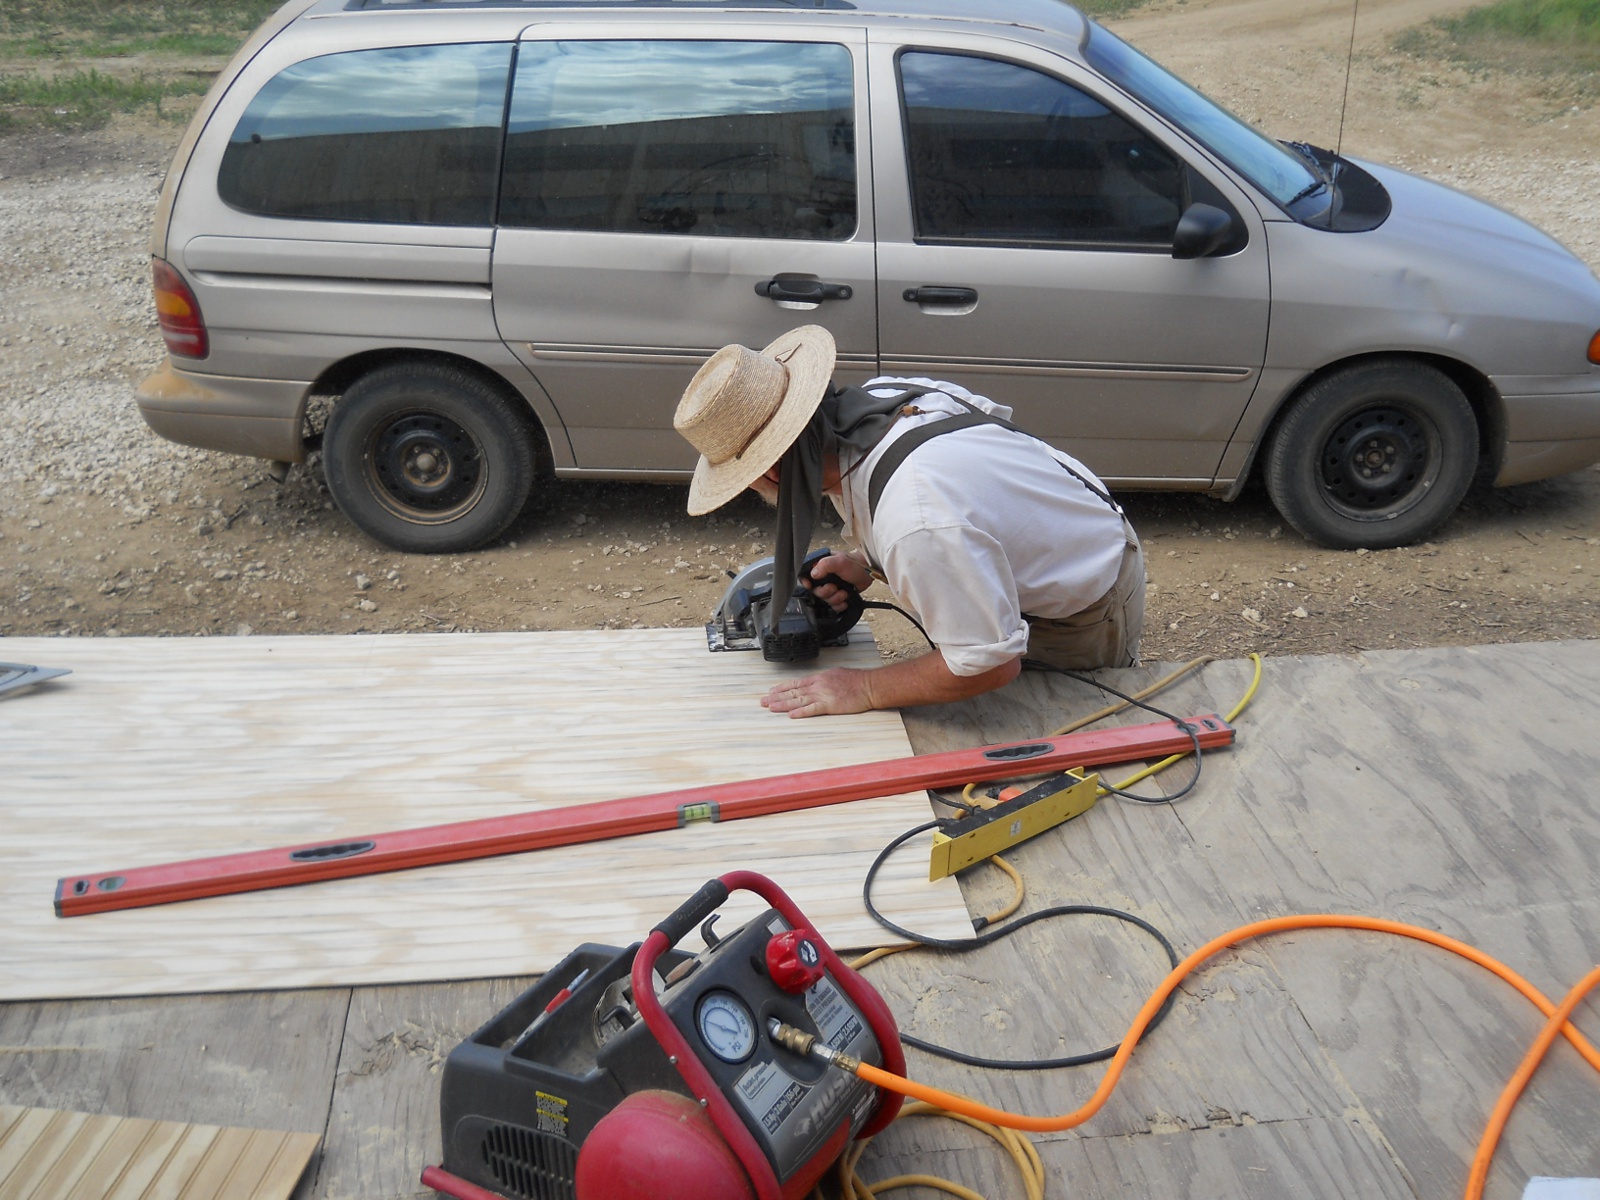
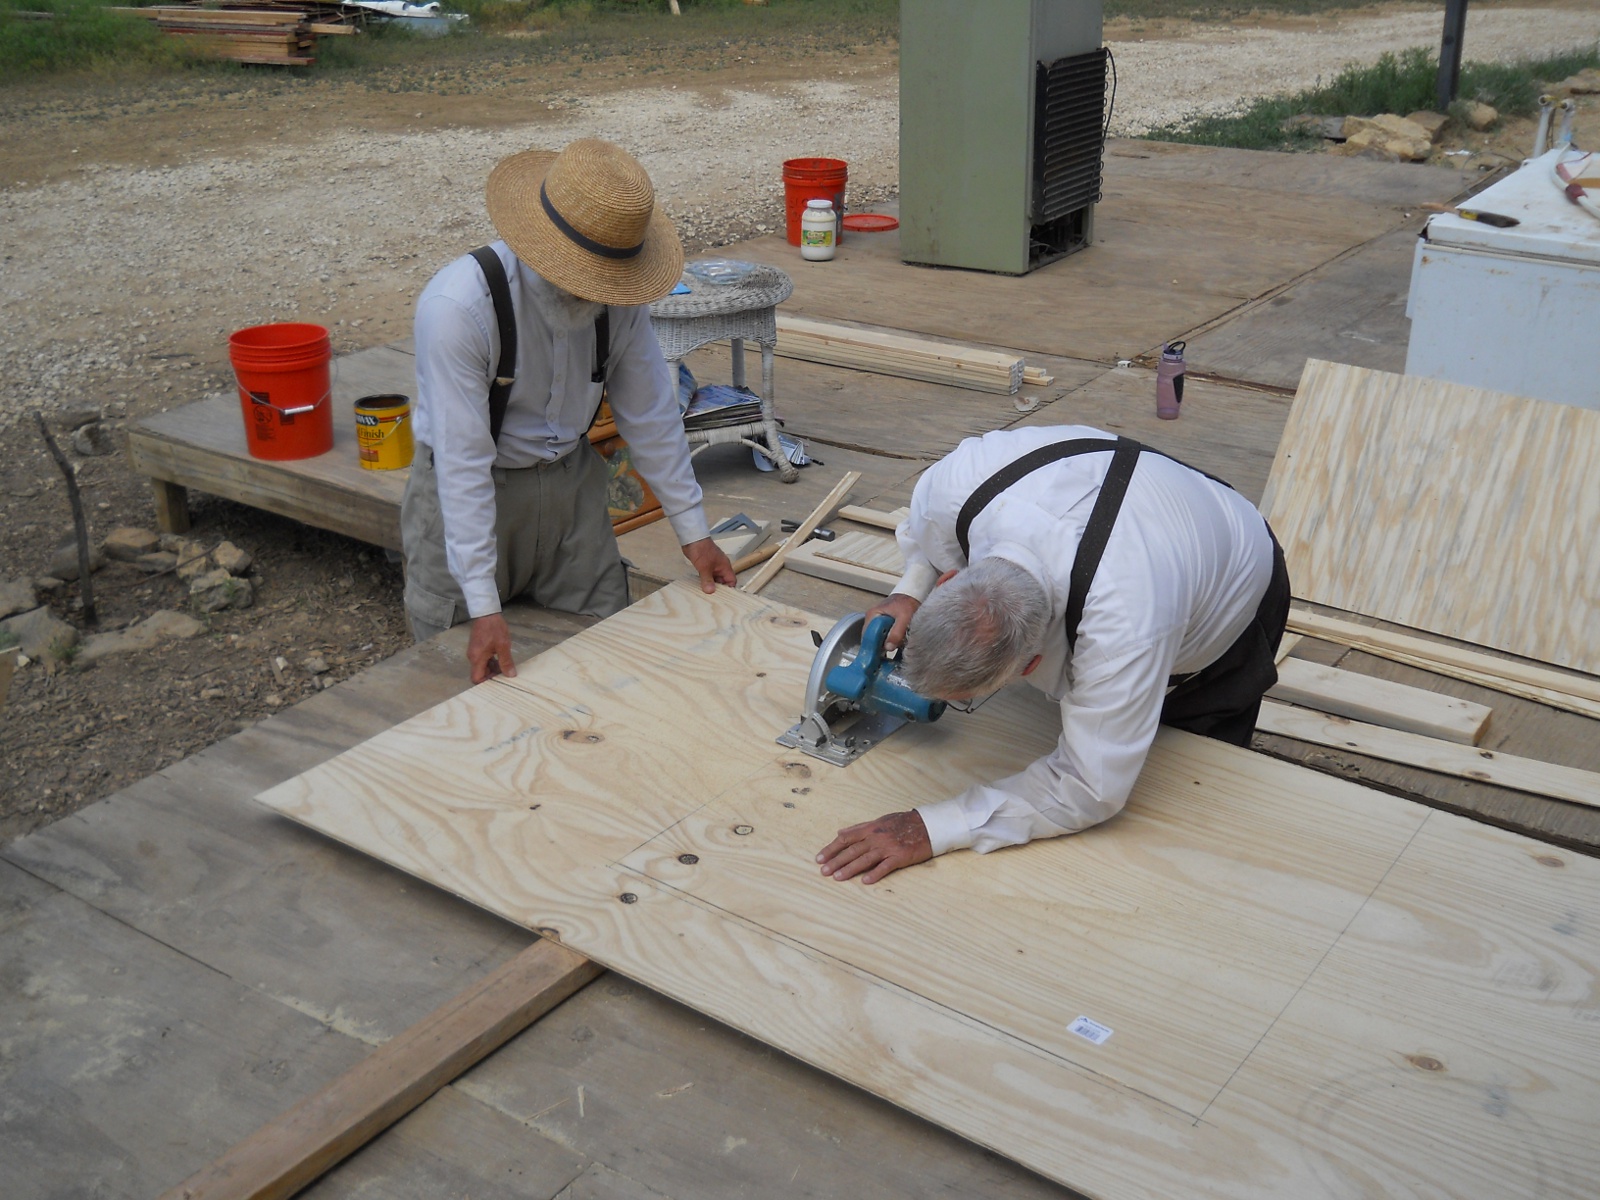
Here are the men cutting the siding:

Spring Ranchfest 2012 Cutting the Cottage Internal Siding
Spring Ranchfest 2012 More Cutting the Cottage Internal Siding

And here is some staining work of the siding being done:

Spring Ranchfest 2012 Staining the Cottage Internal Siding

More Cabin

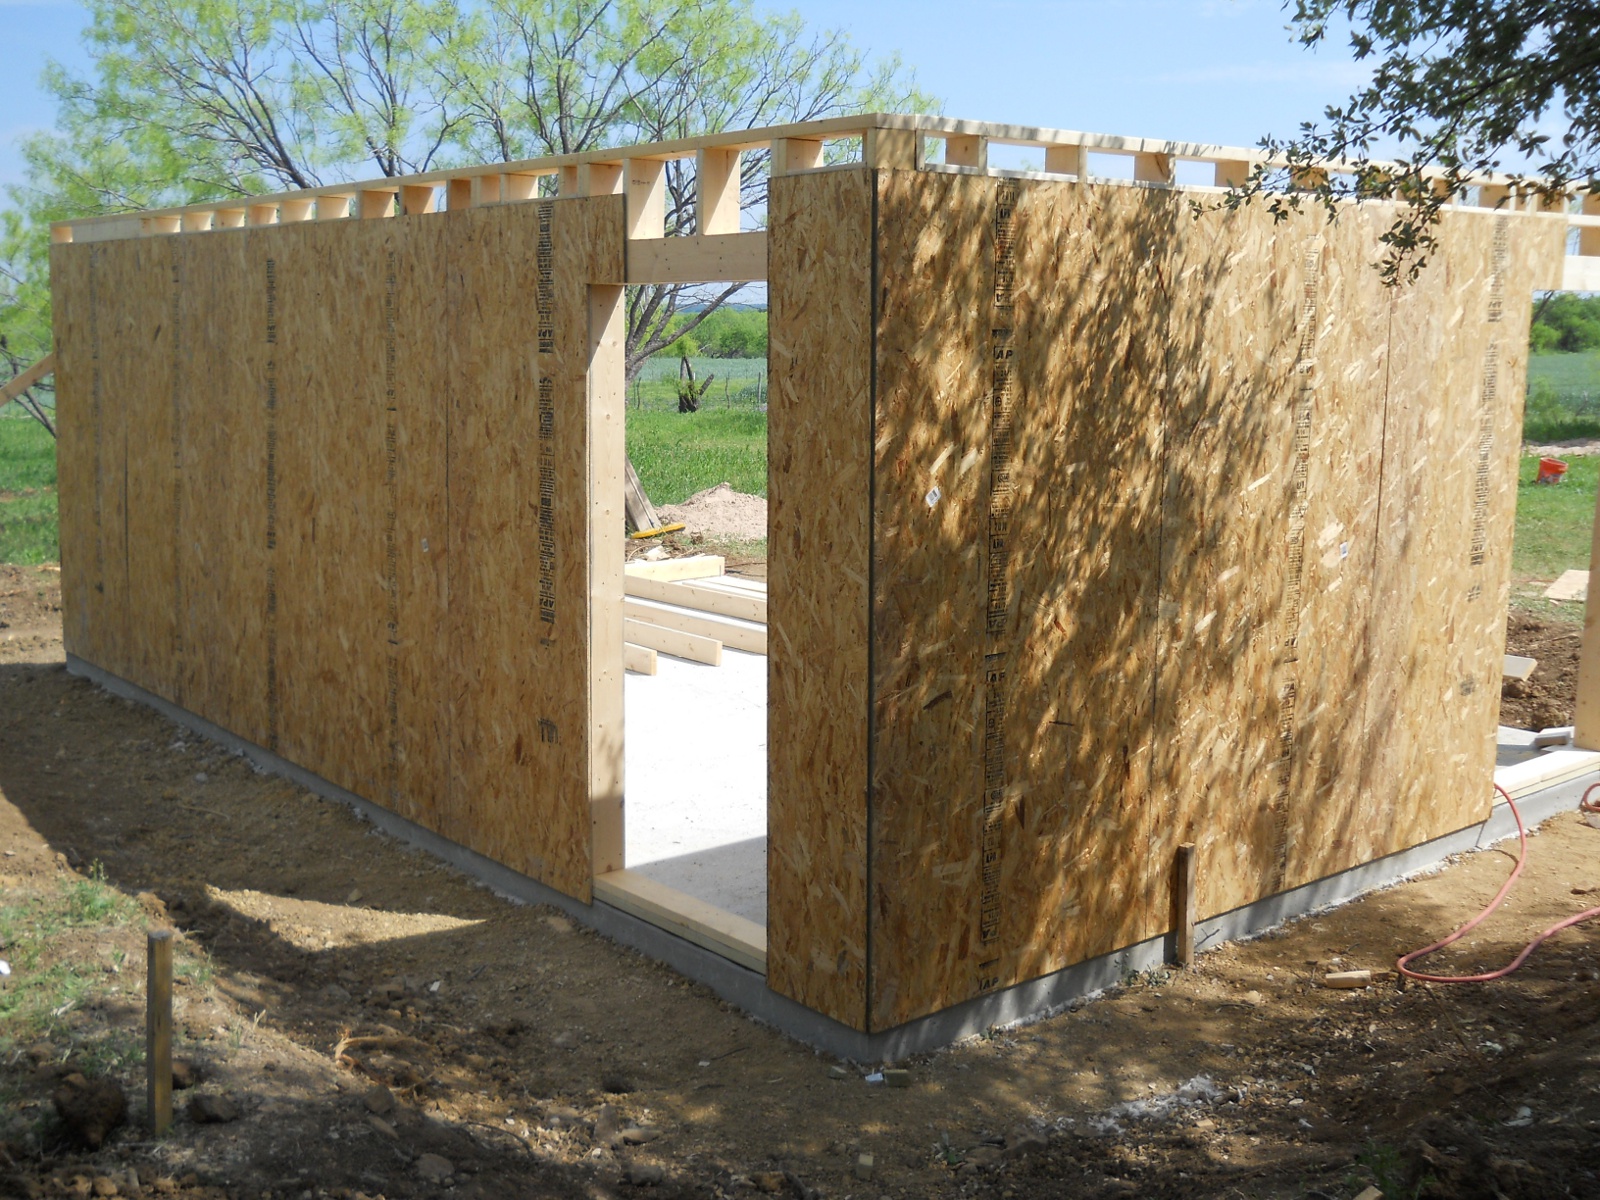
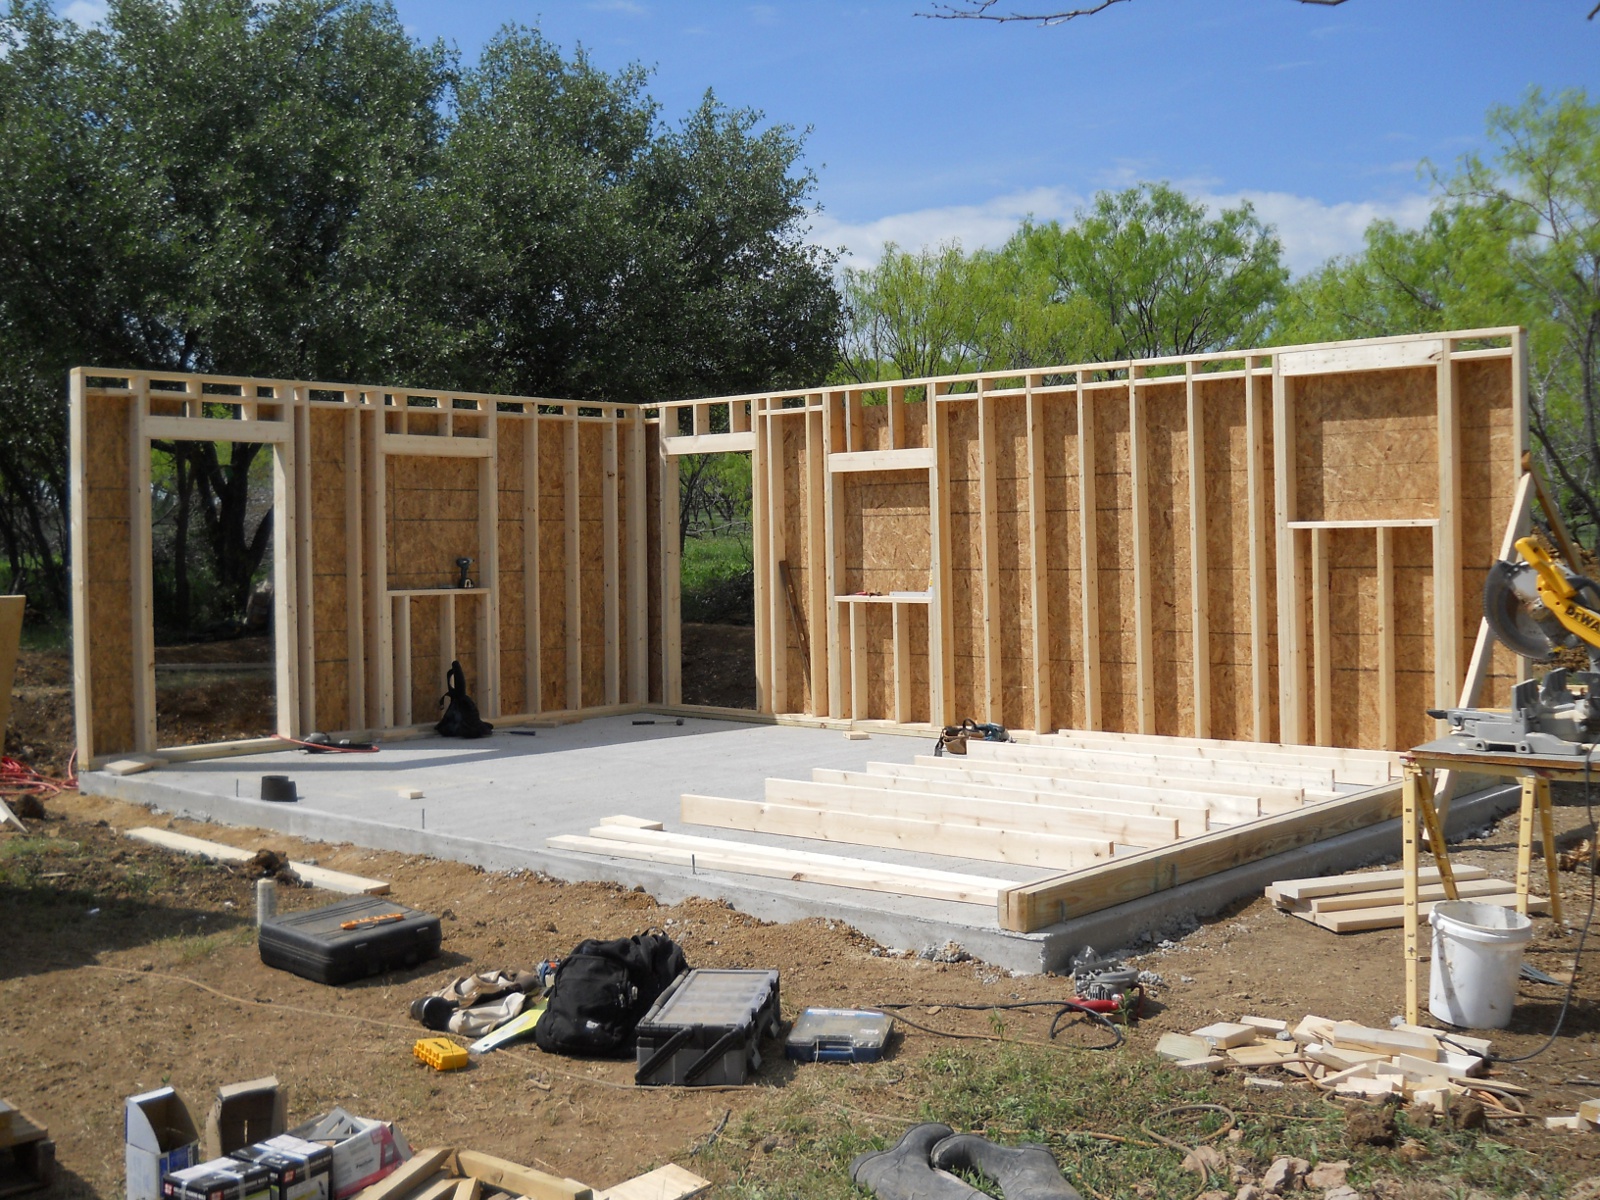
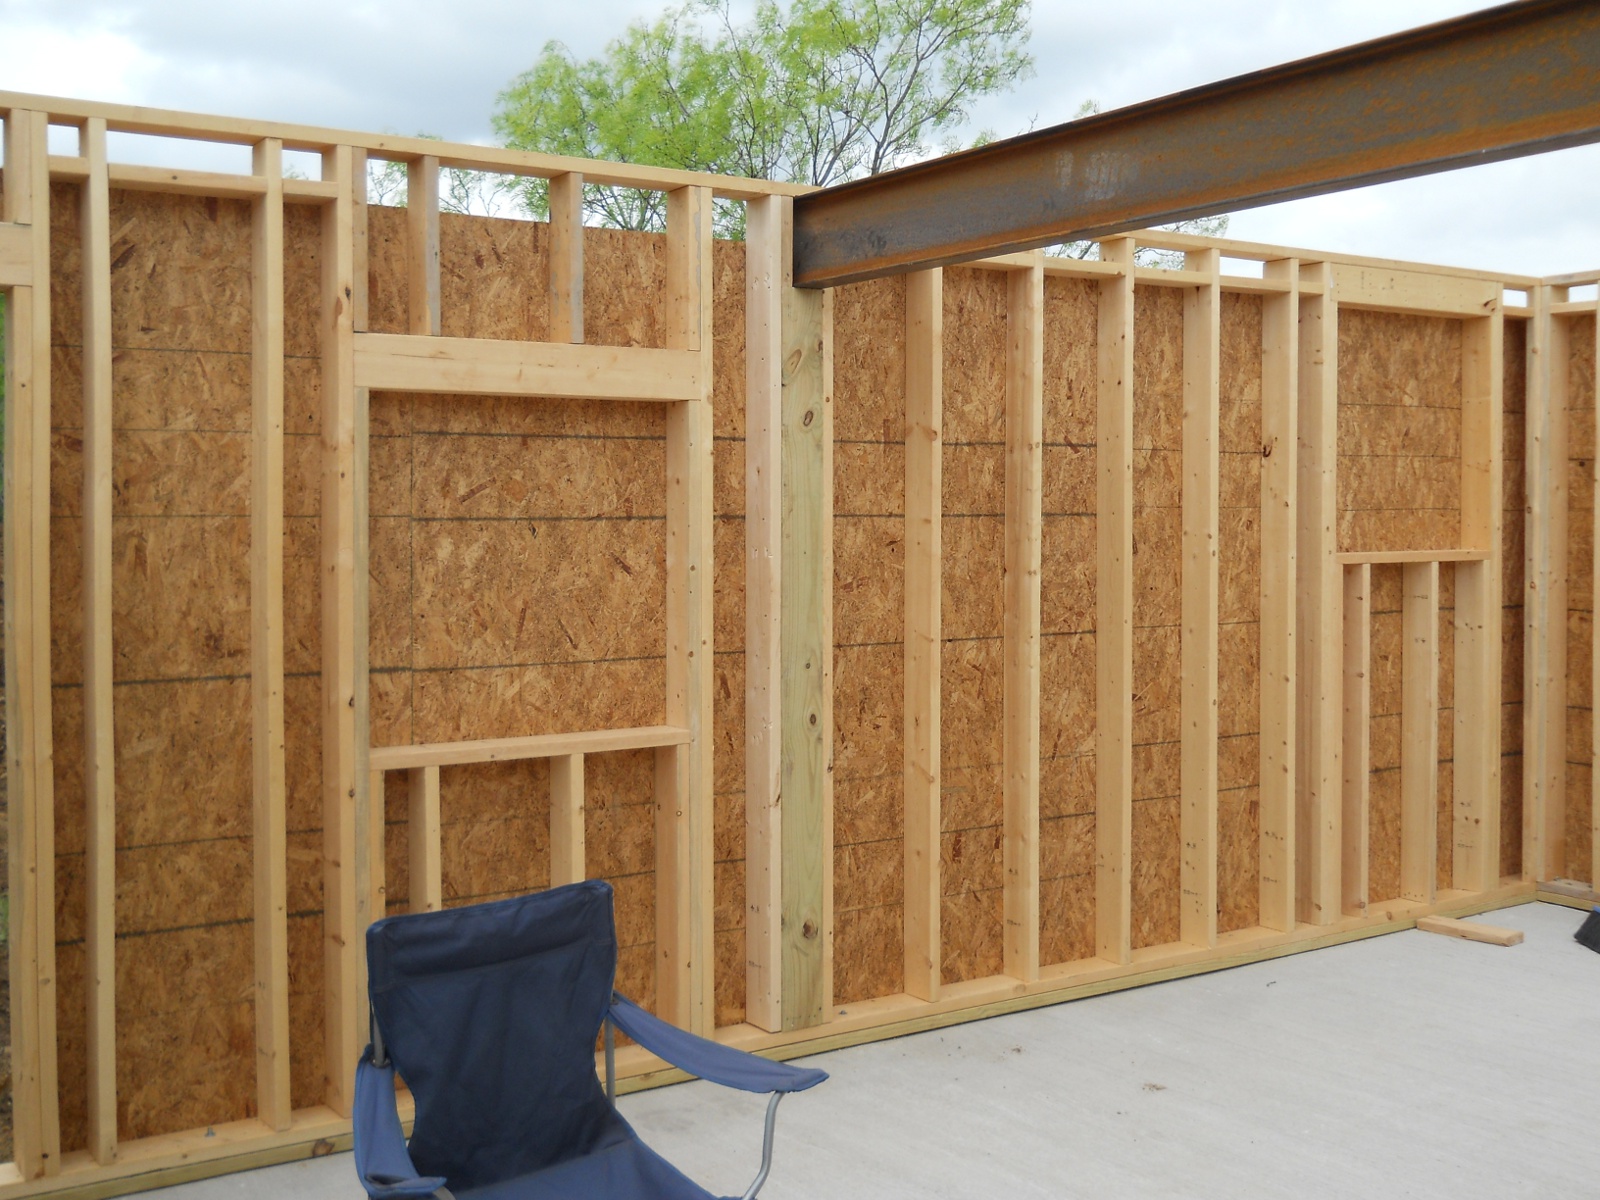
Once the concrete slab was completed, it was time to build and raise the walls. Here’s the cabin with two of the walls raised:

Spring Ranchfest 2012 Two Walls of Cabin Raised
Spring Ranchfest 2012 Two Walls of Cabin Raised - Inside View

And then with all four walls in place:

Spring Ranchfest 2012 All Four Walls of Cabin Raised

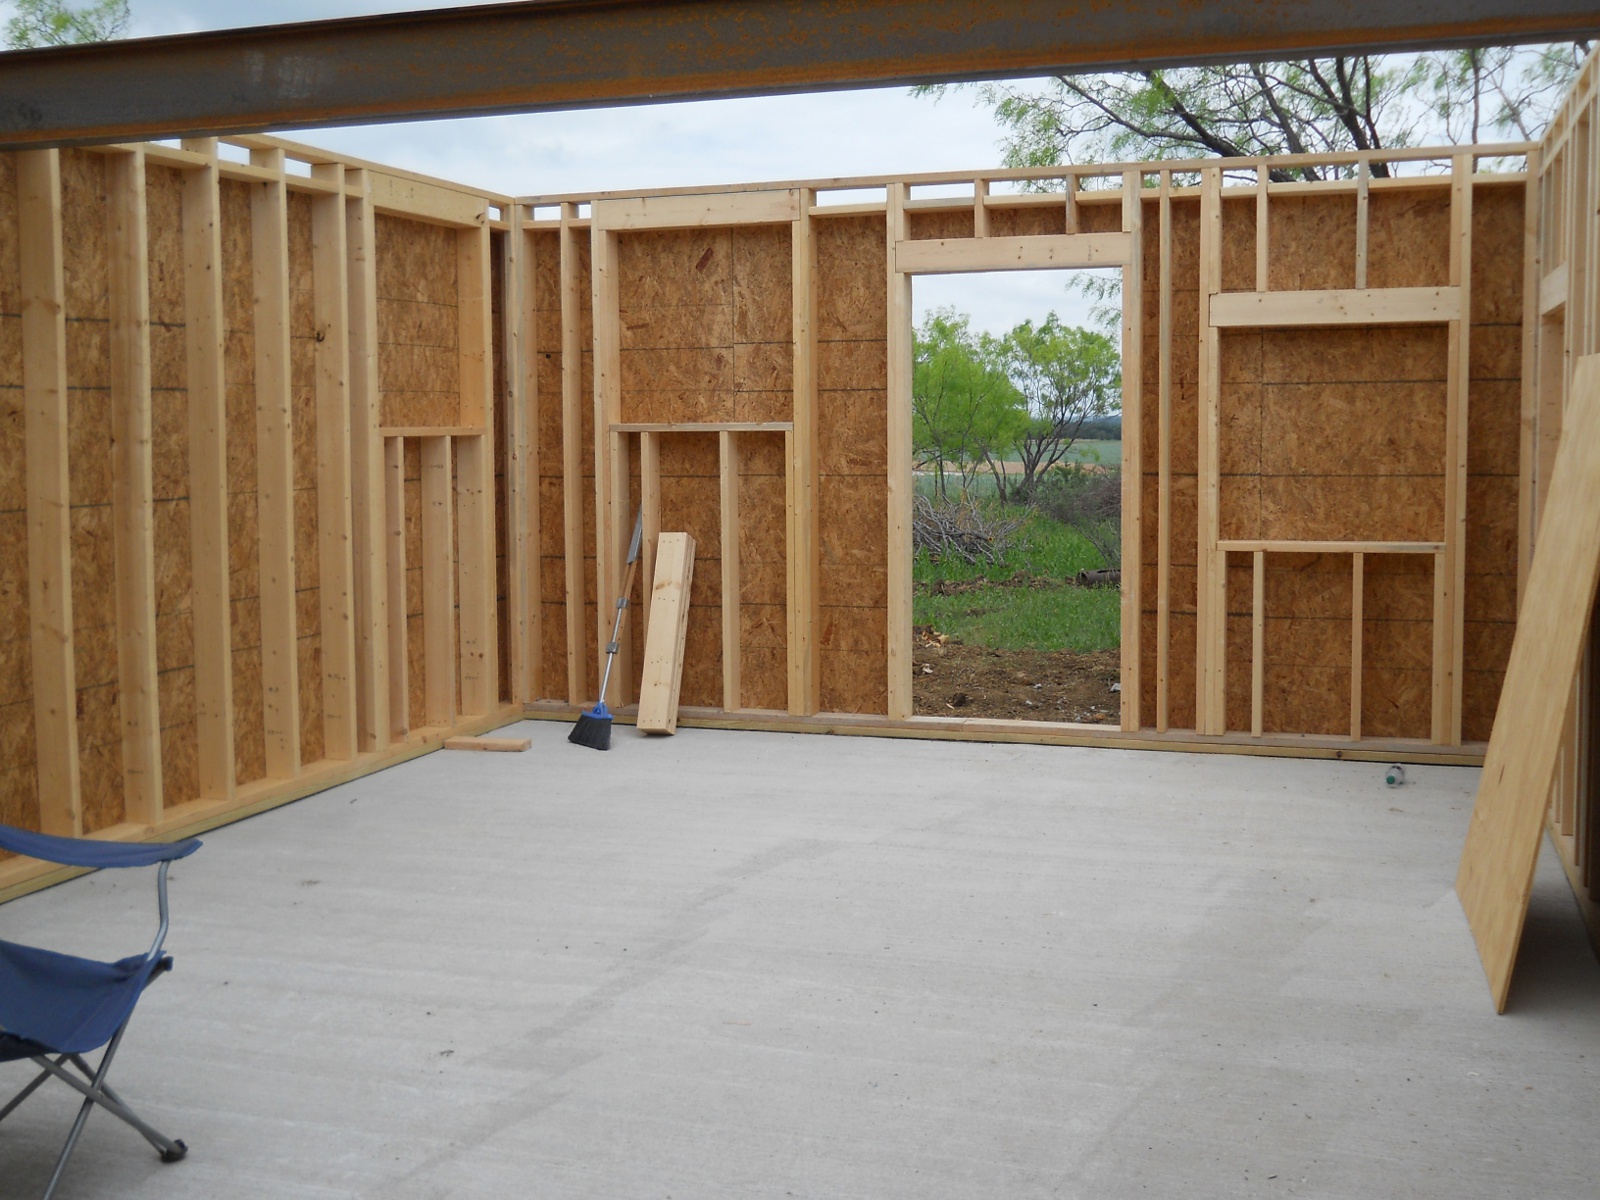
Apparently, the plan is to have a second story; and so, they are using a 10 inch I-beam spanning the width, which will be the support for the upper level floor:

Spring Ranchfest 2012 Second Floor I-Beam in Place

More Cottage

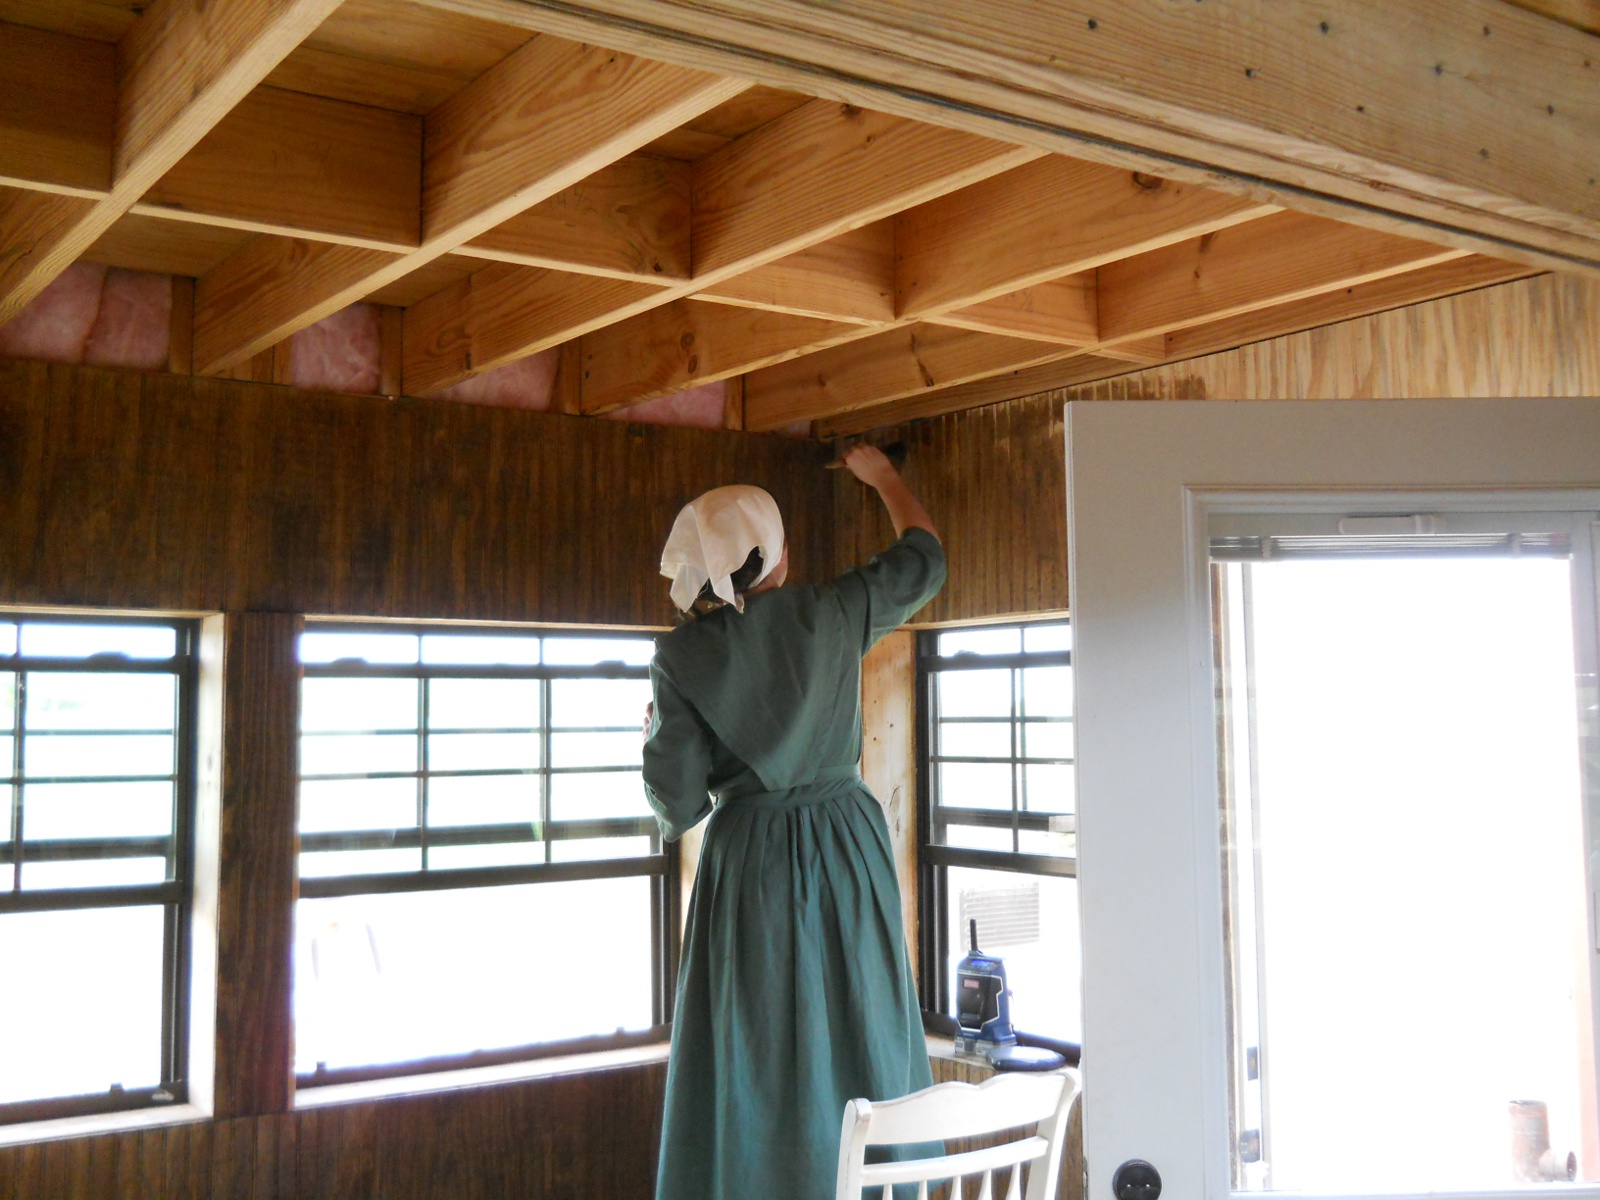
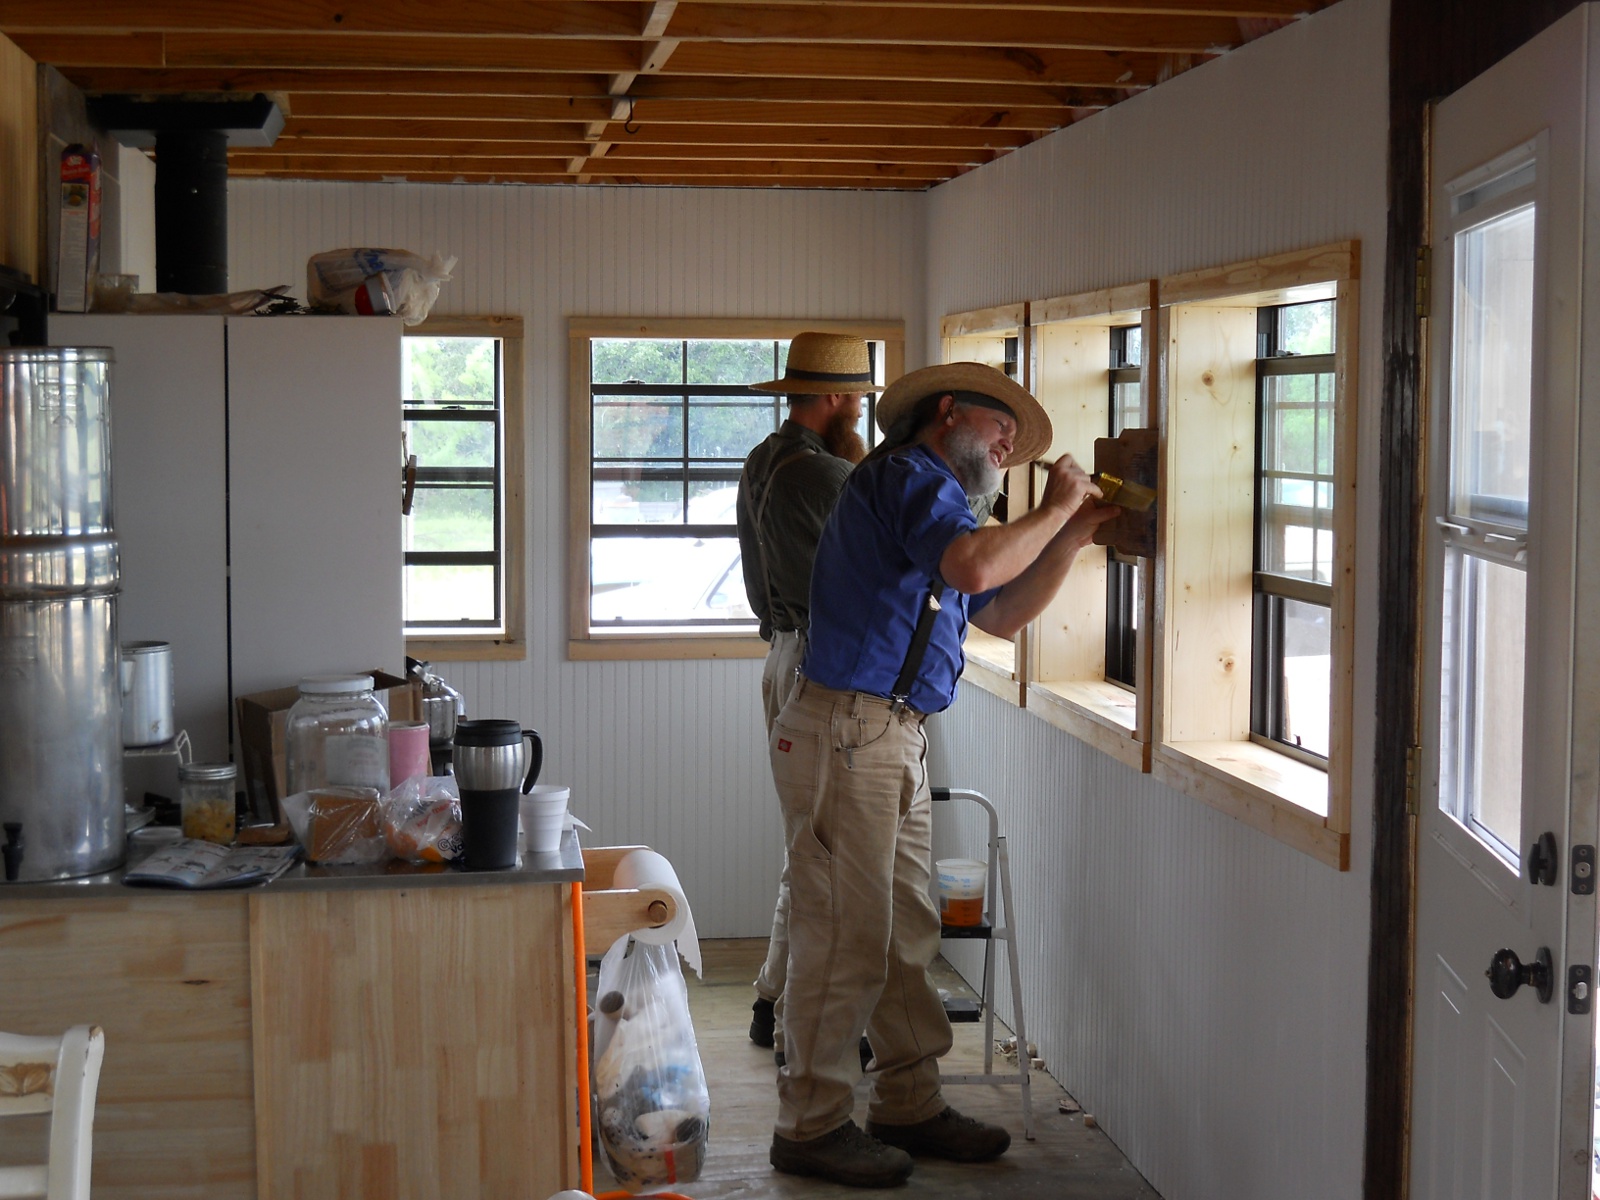
Back at the cottage, after the siding was in place and stained or painted, the window sills and trim were cut, installed and painted with a clear wood protector:

Spring Ranchfest 2012 Coating the Cottage Window Sills

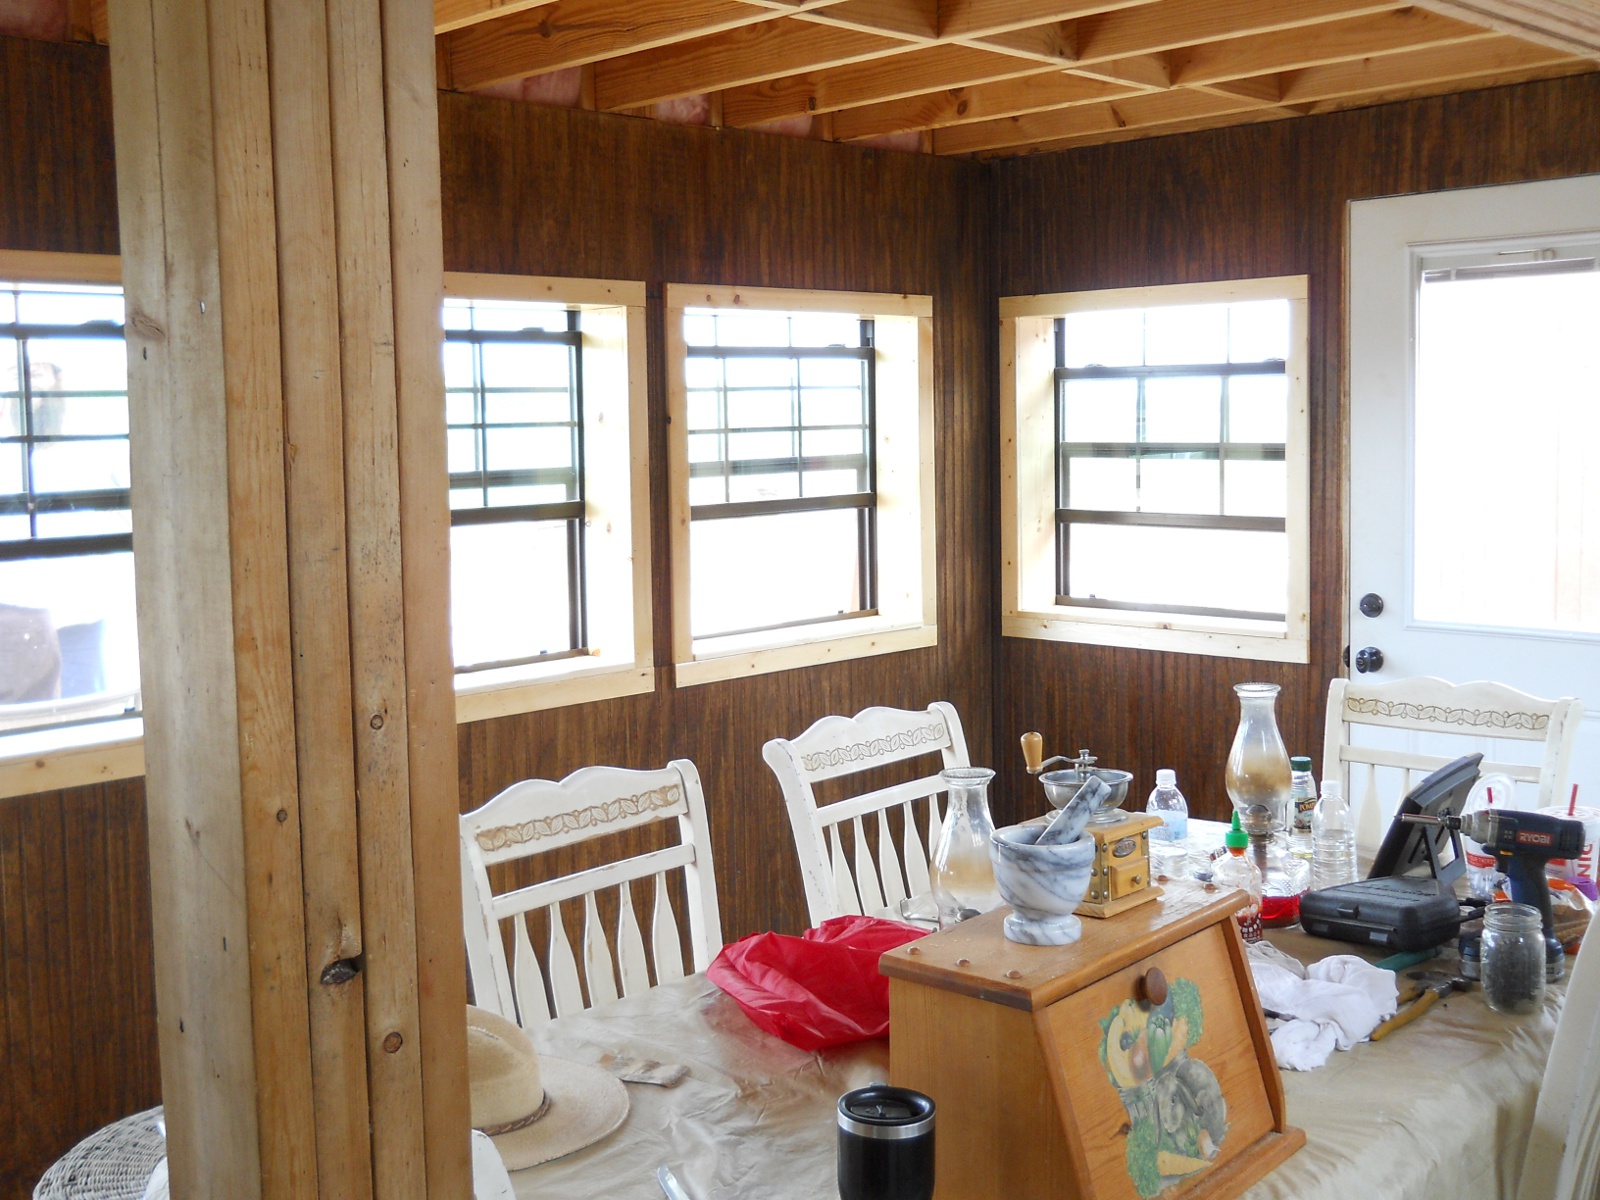
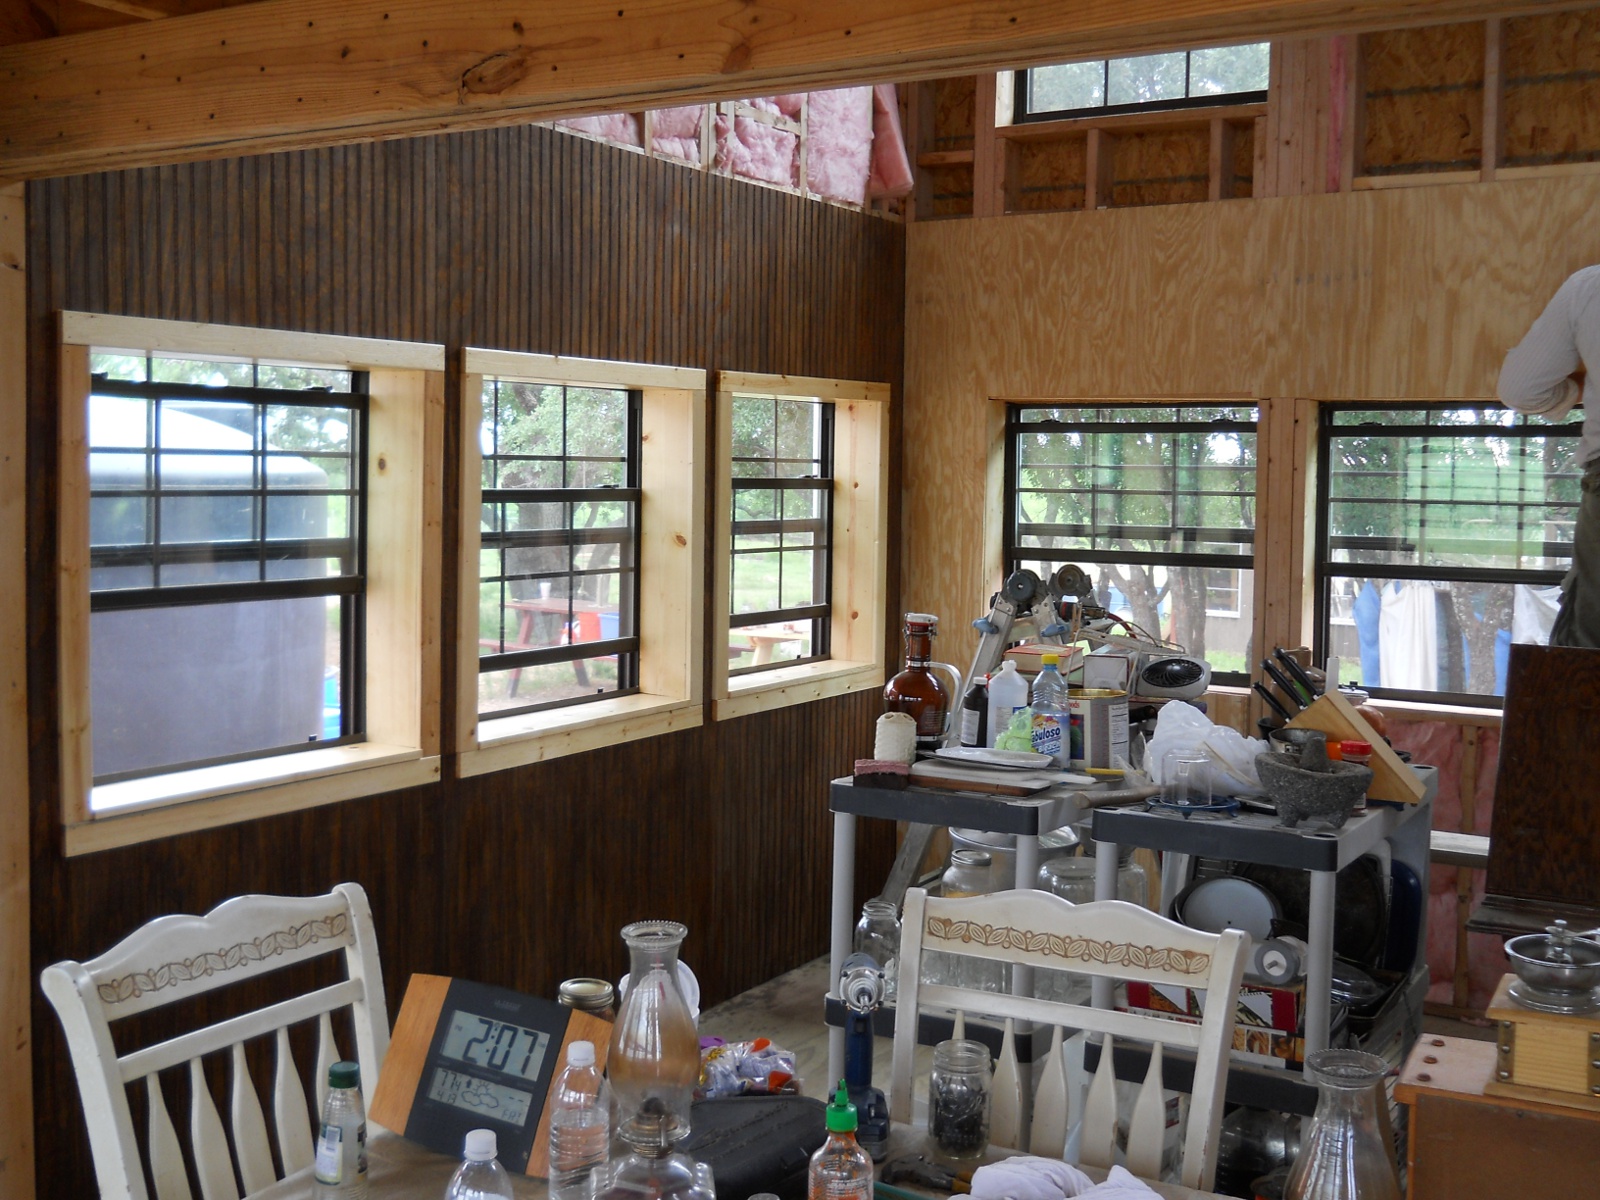
And here are a couple of final pictures of the cottage work for the week:

Spring Ranchfest 2012 Cottage Internal Siding and Trim in Place
Spring Ranchfest 2012 More Work Done in the Cottage

Ladies Work

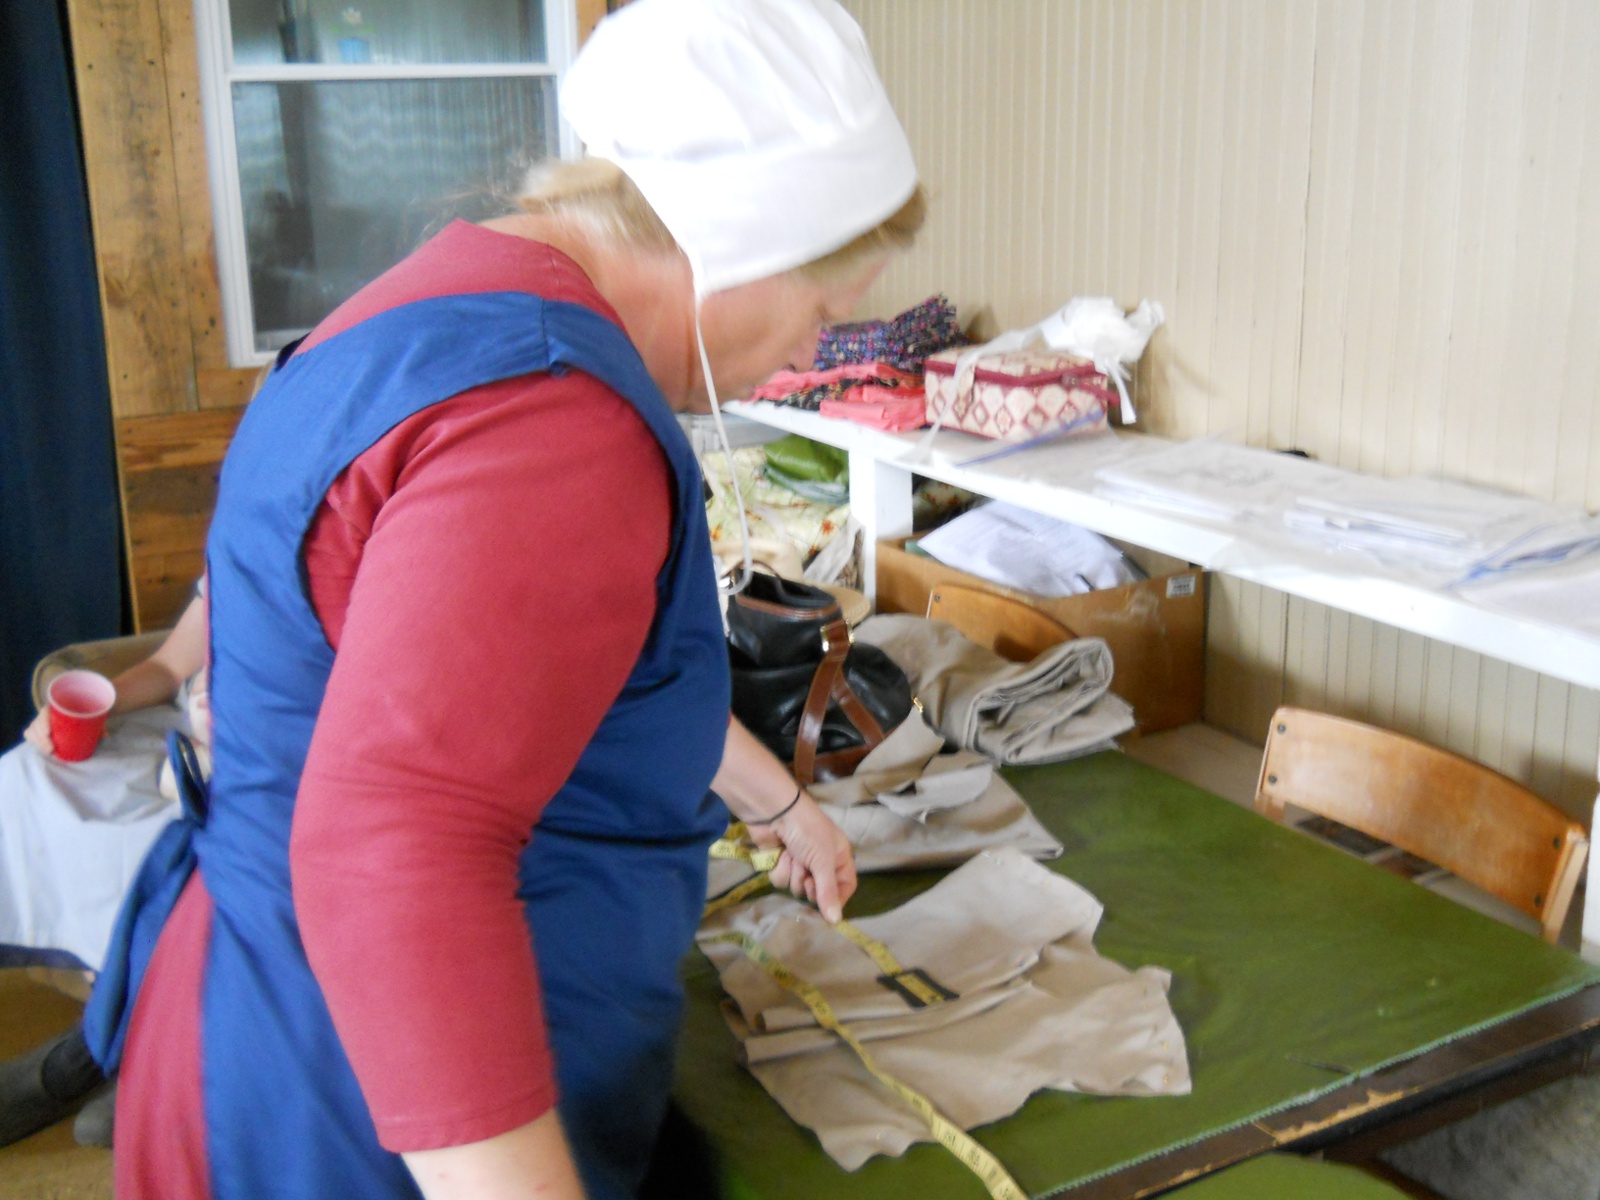
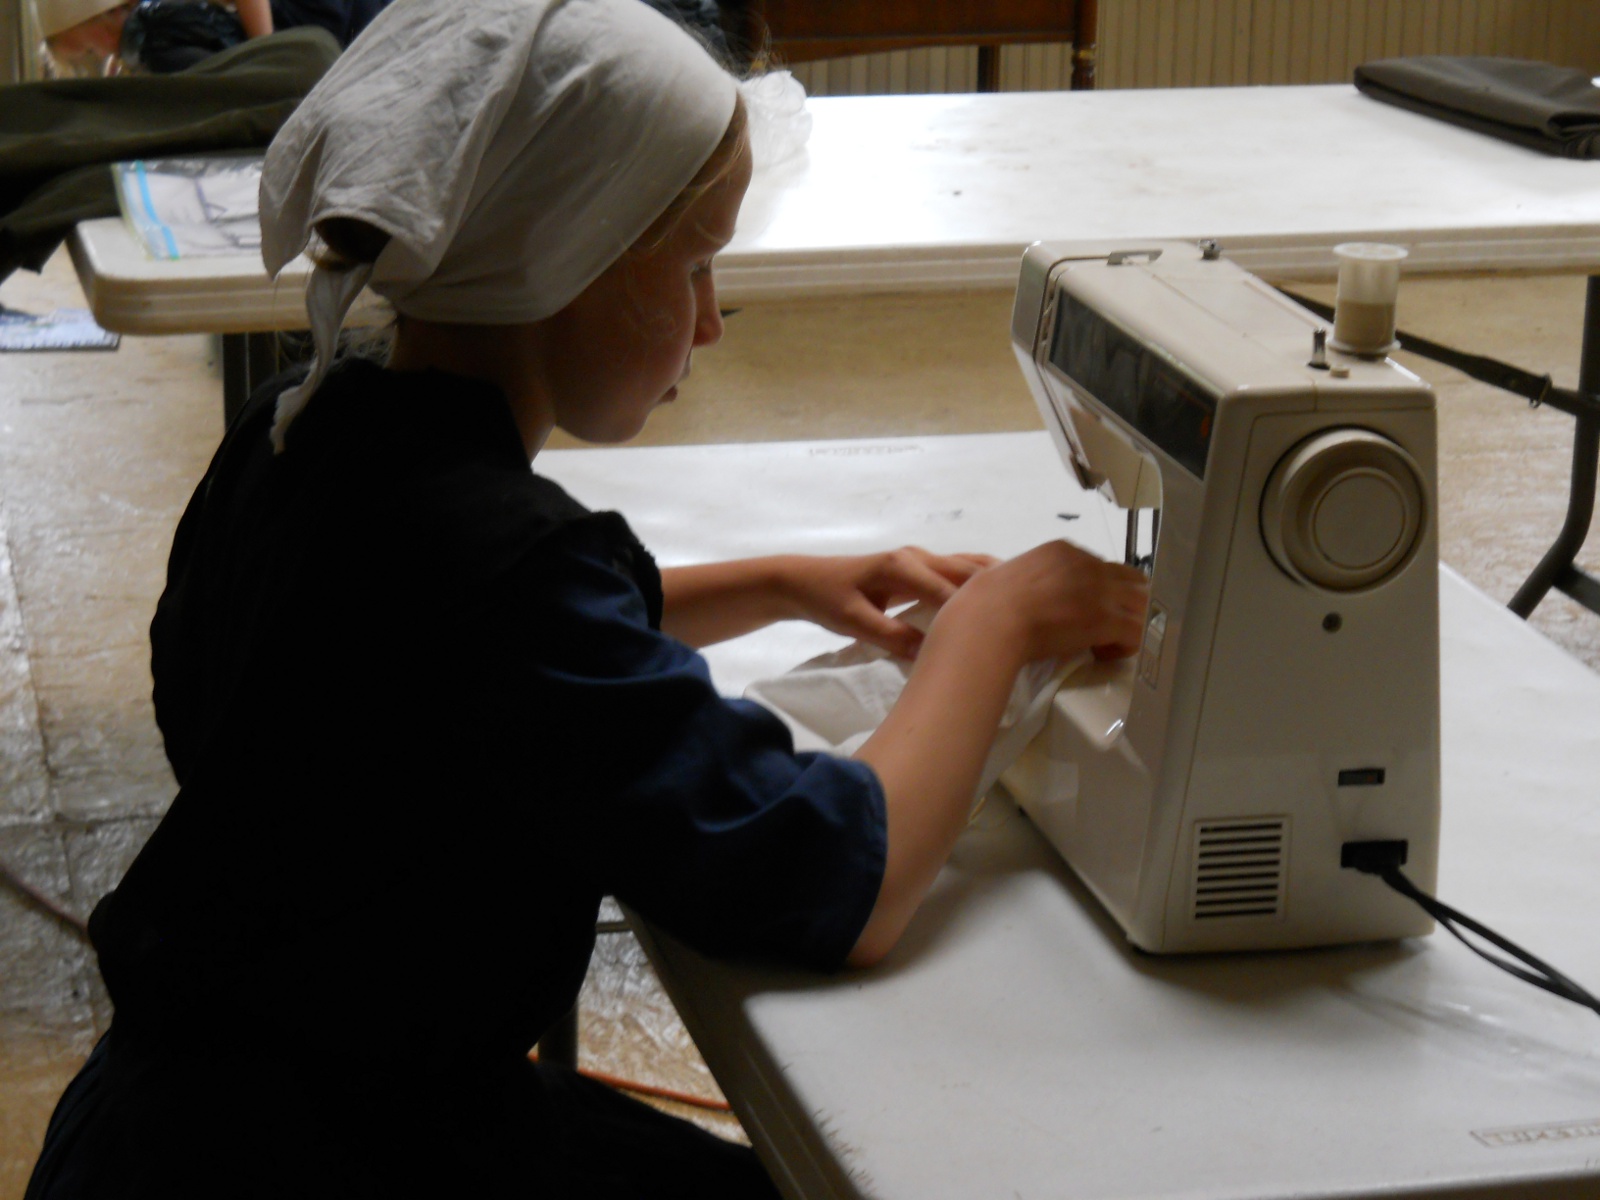
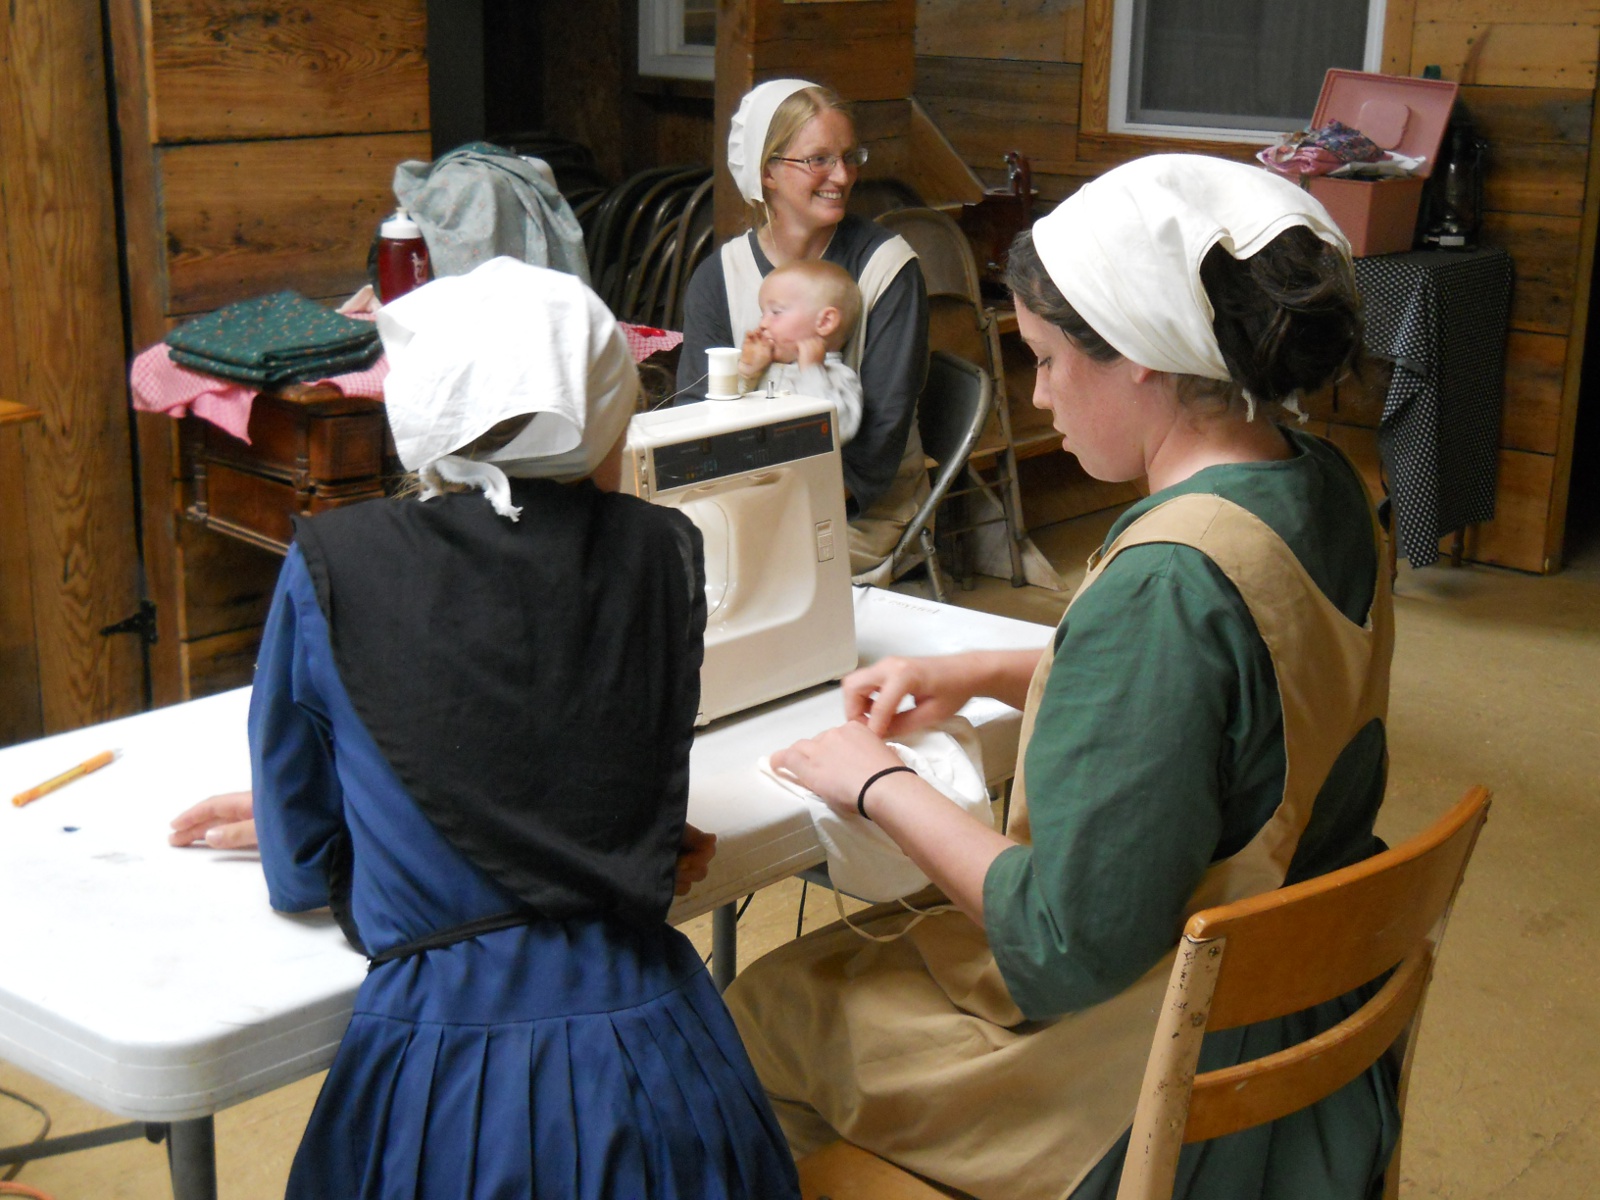
Besides all of the group meal preparations the ladies did for the week, they also had other projects, which this Ranchfest included sewing for the Michael’s family and snapping mesquite pods, which they use for their mesquite coffee.

The main sewing project was for curtains for the cottage, although there was some clothing-making worked on. Here are some sewing preparations being done for some clothing:

Spring Ranchfest 2012 Preparing Sewing Patterns

And here, even the younger ones helped:

Spring Ranchfest 2012 Sewing
Spring Ranchfest 2012 More Sewing

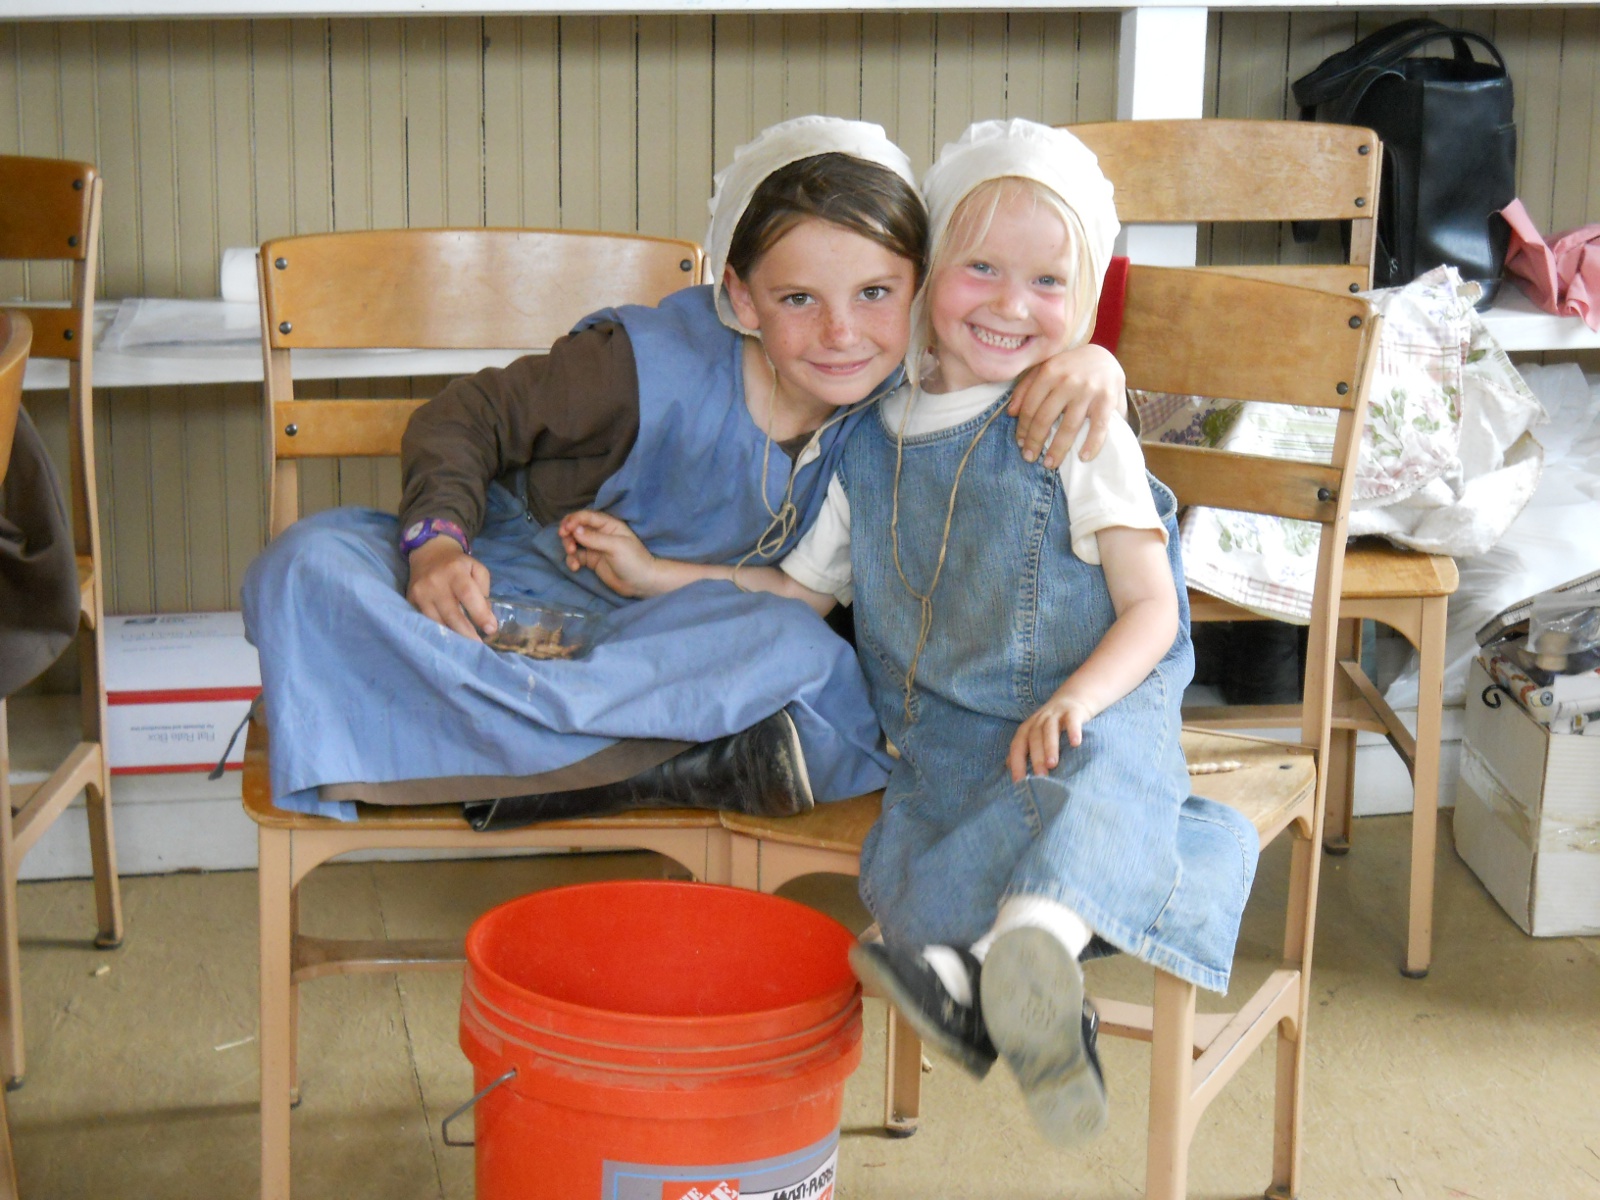
Seems to be a fun time too!

Spring Ranchfest 2012 Young Ones Smiling

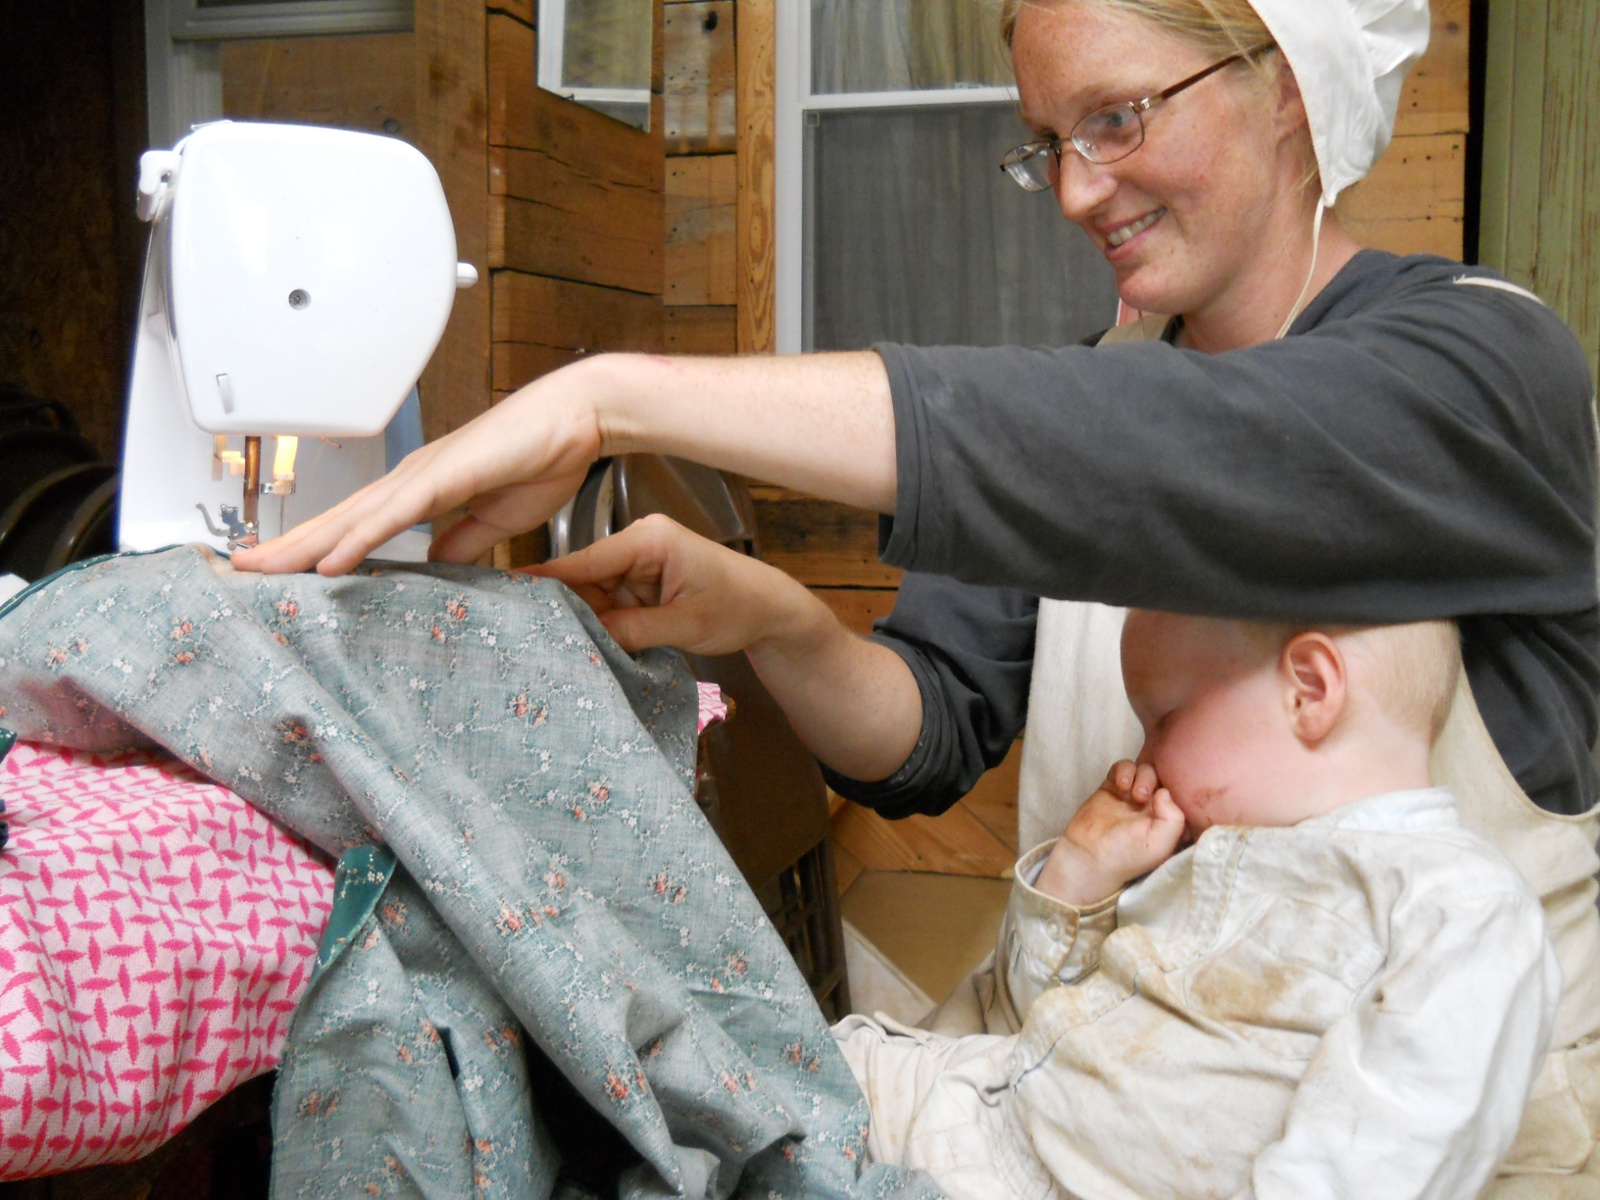
And here, one of the mothers is functioning as a seamstress and a lounge chair 🙂 :

Spring Ranchfest 2012 Sewing with Sleeping Baby

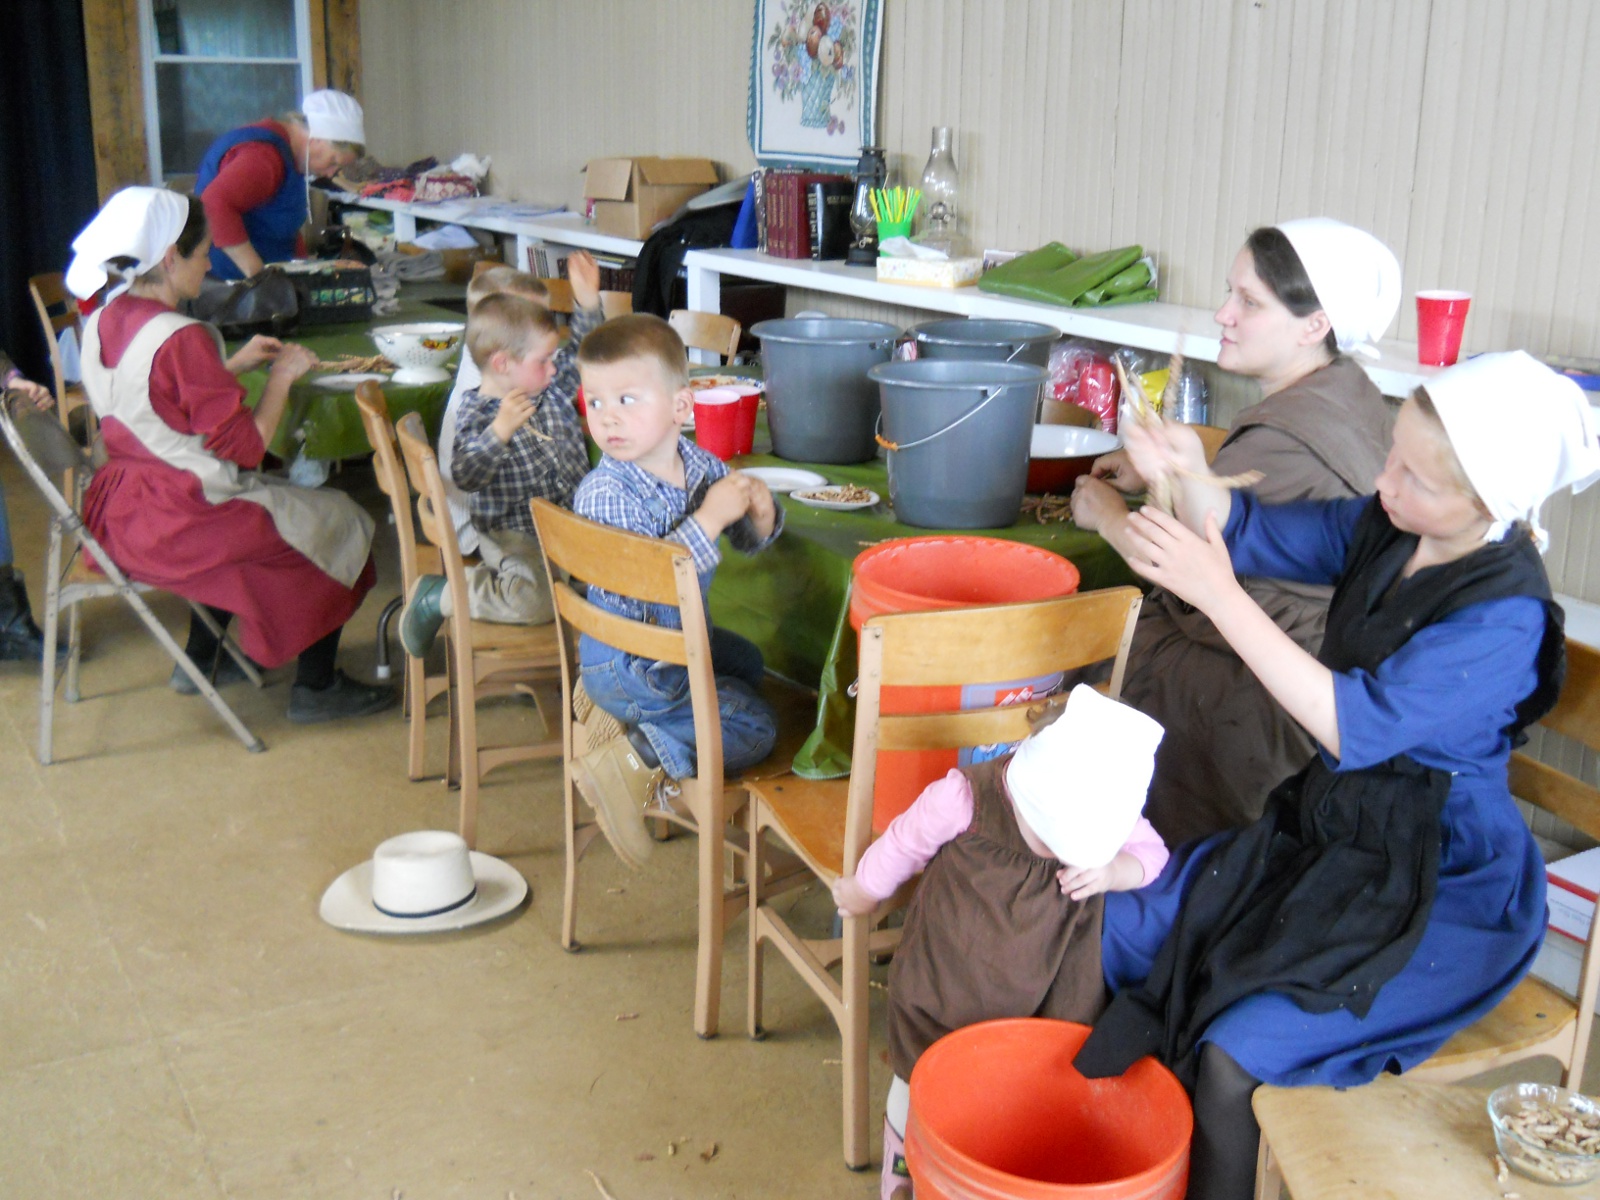
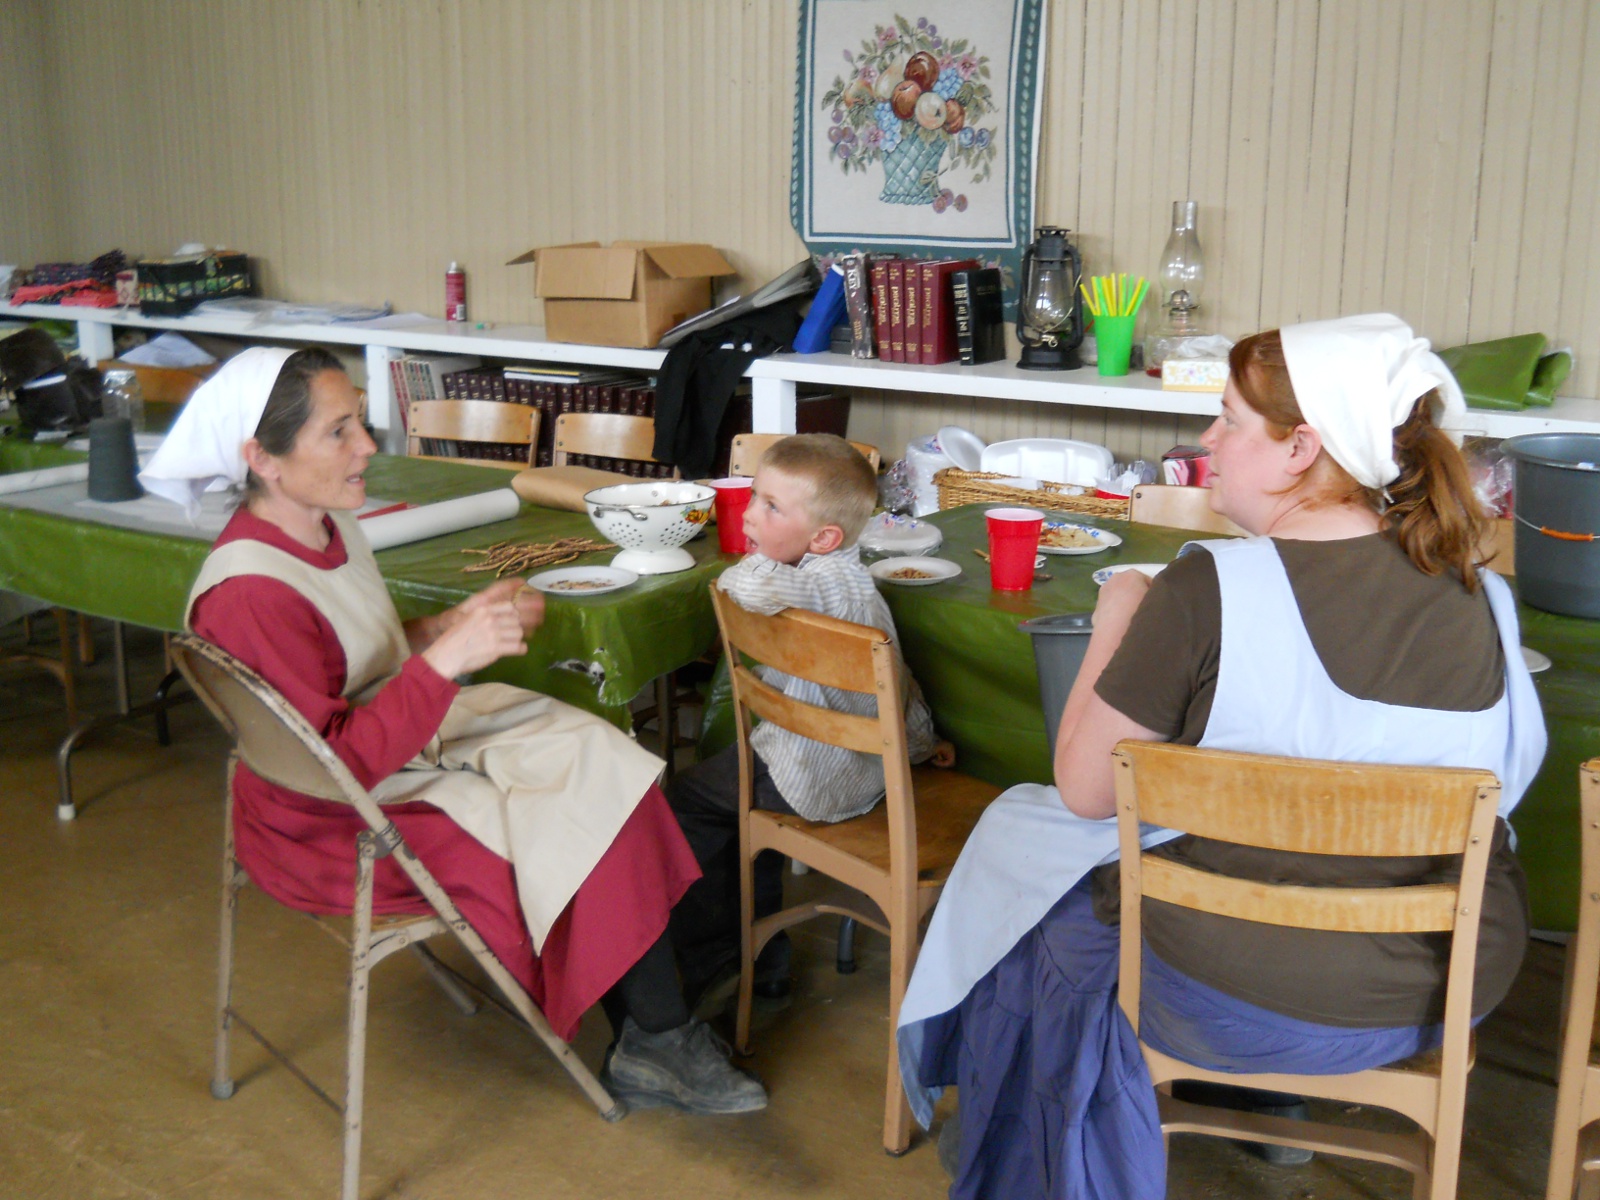
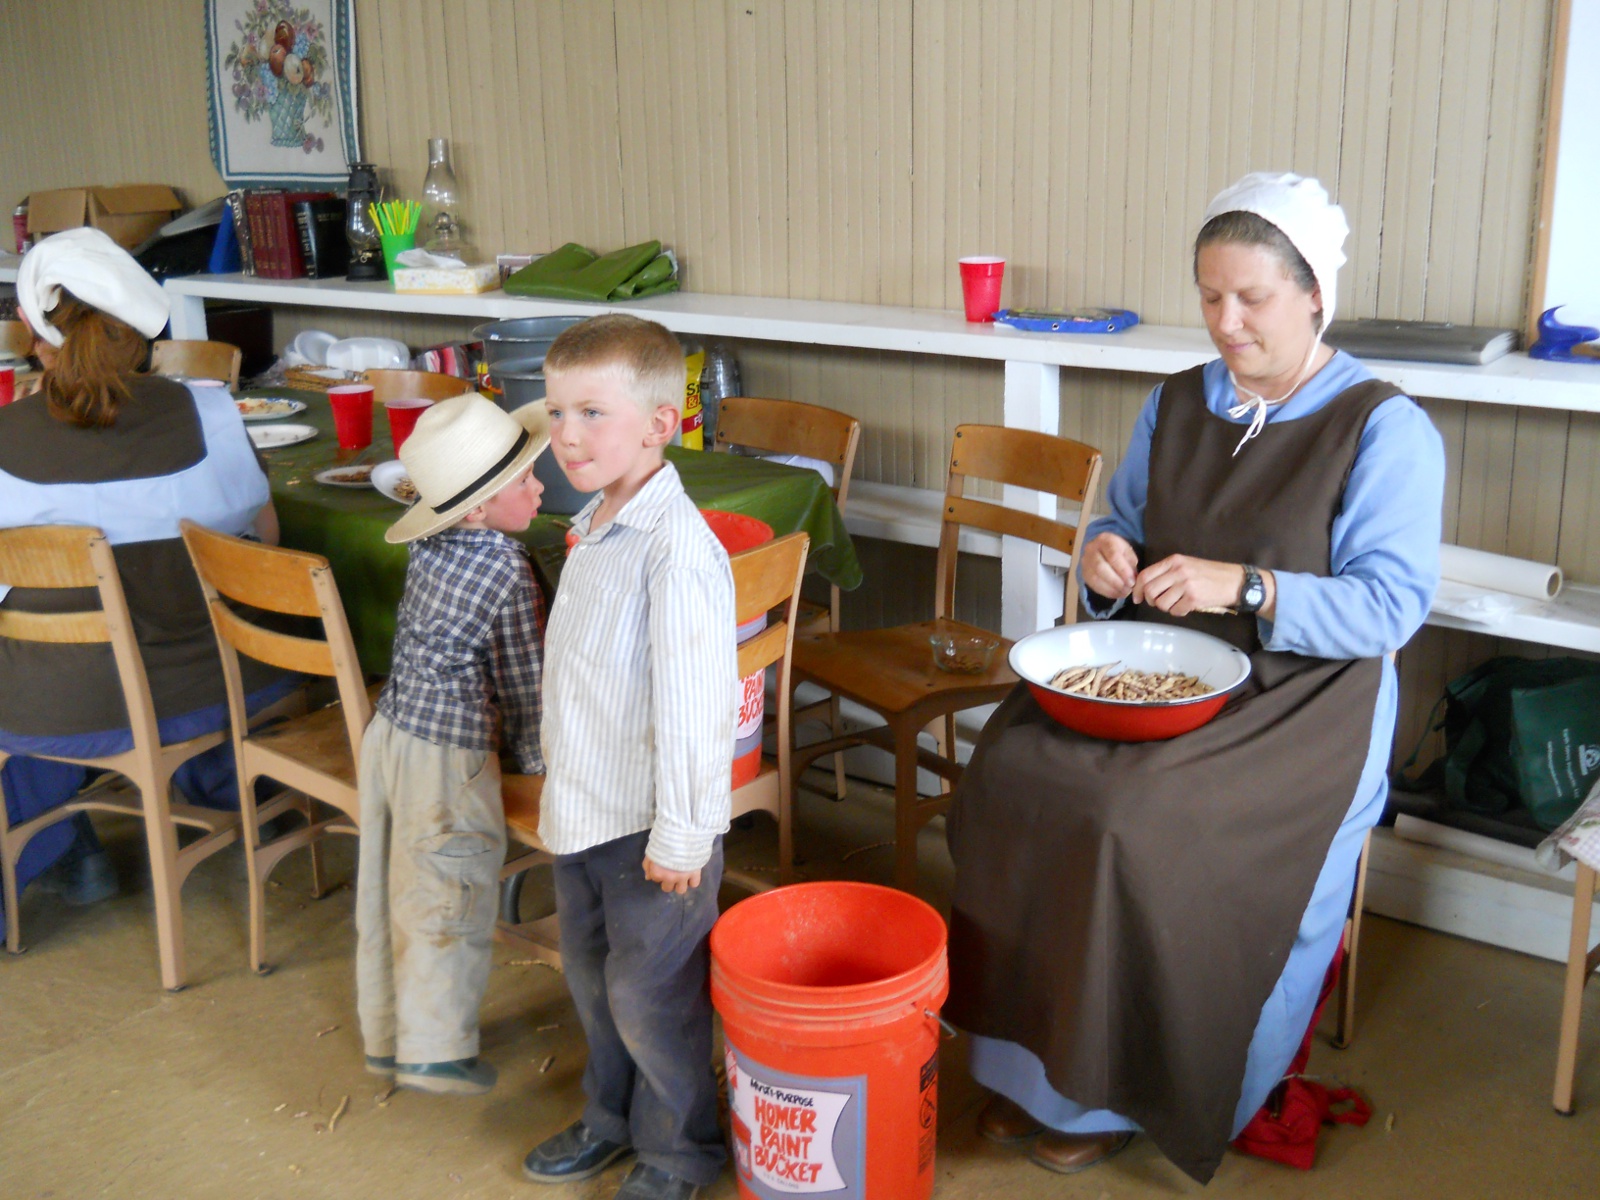
And finally, here are some of the ladies and children helping with the mesquite pods:

Spring Ranchfest 2012 Ladies and Children Helping Snap Mesquite Pods
Spring Ranchfest 2012 Snapping Mesquite Pods
Spring Ranchfest 2012 Snapping More Mesquite Pods

All in all, it was a very nice time of fellowship, community and work. It’s tiring, but rewarding as well. We did have a few guest families that visited this year, and it was a pleasure to see them again or meet them, and we thank them for the help and work they provided.

We are grateful to the Lord for the opportunity to gather in His name to work together, and we’re thankful for the teacher He has granted us.

— David
Garden – Spring 2012

After last year’s drought and not being able to plant a garden (other than the tomatoes, which I mentioned in our Mercy in the Drought blog post), with rains we received over the winter time, we were grateful to the Lord for granting us this year to be able to do so!

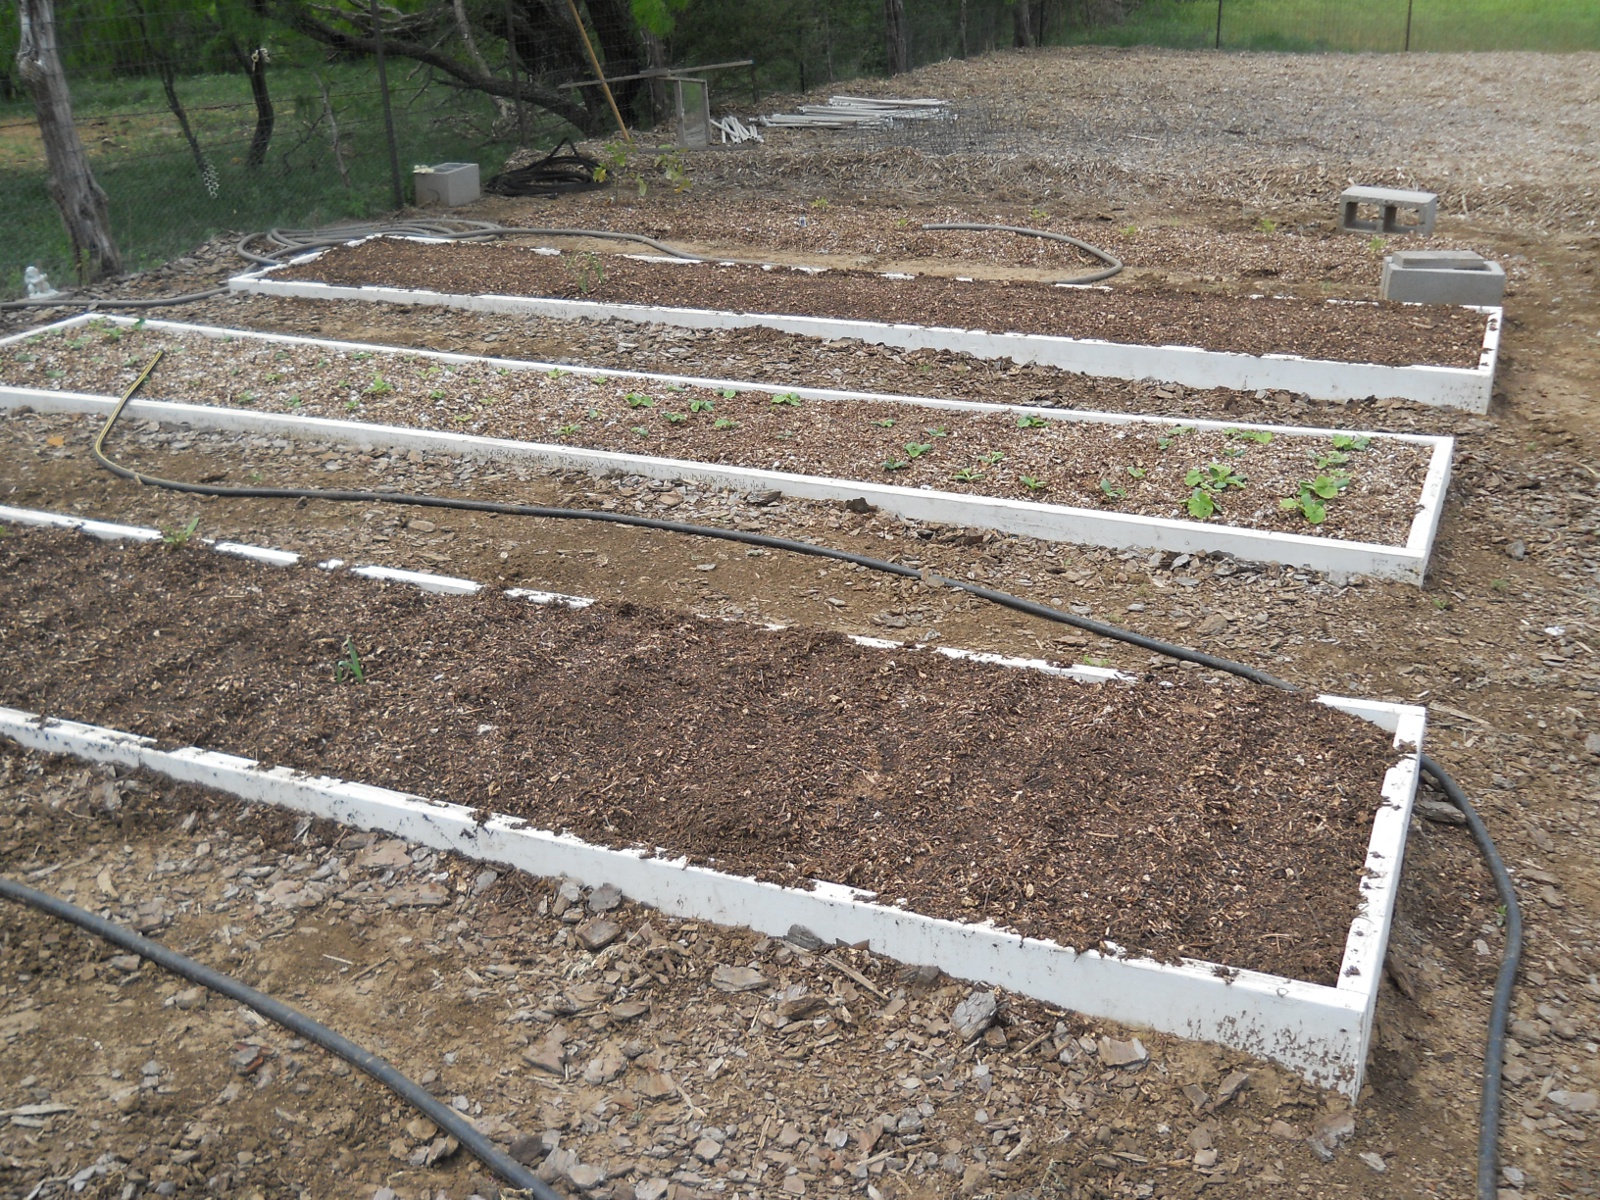
We have prepared several garden and orchard areas with the mulching for long-term composting, and since those aren’t immediately ready, I figured we would just continue to use the raised beds we have. Several are still in garlic for this year; but for the other ones, I bought compost, and just dumped and spread it on top of the soil that was already there, thinking I could plant directly into the compost (assuming compost in general was a good thing to plant in). What I failed to think through was that compost you can plant into is already composted, whereas the stuff I bought I believe still needed to compost. After planting in them, only the squash and zucchini, and a few okra sprouted — the beans and carrots didn’t (but for a few exceptions; I’m wondering if the squash/zucchini sprouted because of the seeds having hard-shells). I should have done my research *before* I planted. 🙂 And so, I decided to go in and mix the compost with the soil underneath a couple of the beds and replant the green beans and carrots.

Also, in watering the beds that have only compost on top, just running even quite a bit of water on them didn’t seem to cause the compost to get wet at all. I couldn’t understand what was going on — I mean, the water had to be going somewhere. Well, it appeared that if I just let the water run and soak in underneath, on the next day or two, the compost was indeed moist all through; and so, I figured that the water was just soaking upward after watering.

And here are the beds planted. I also planted already-growing tomato plants in the far, not-raised bed, in just the compost, although fairly deeply; and they are still living, but don’t seem to be growing much; so we will have to see how they turn out:

Garden Spring 2012 Raised Beds

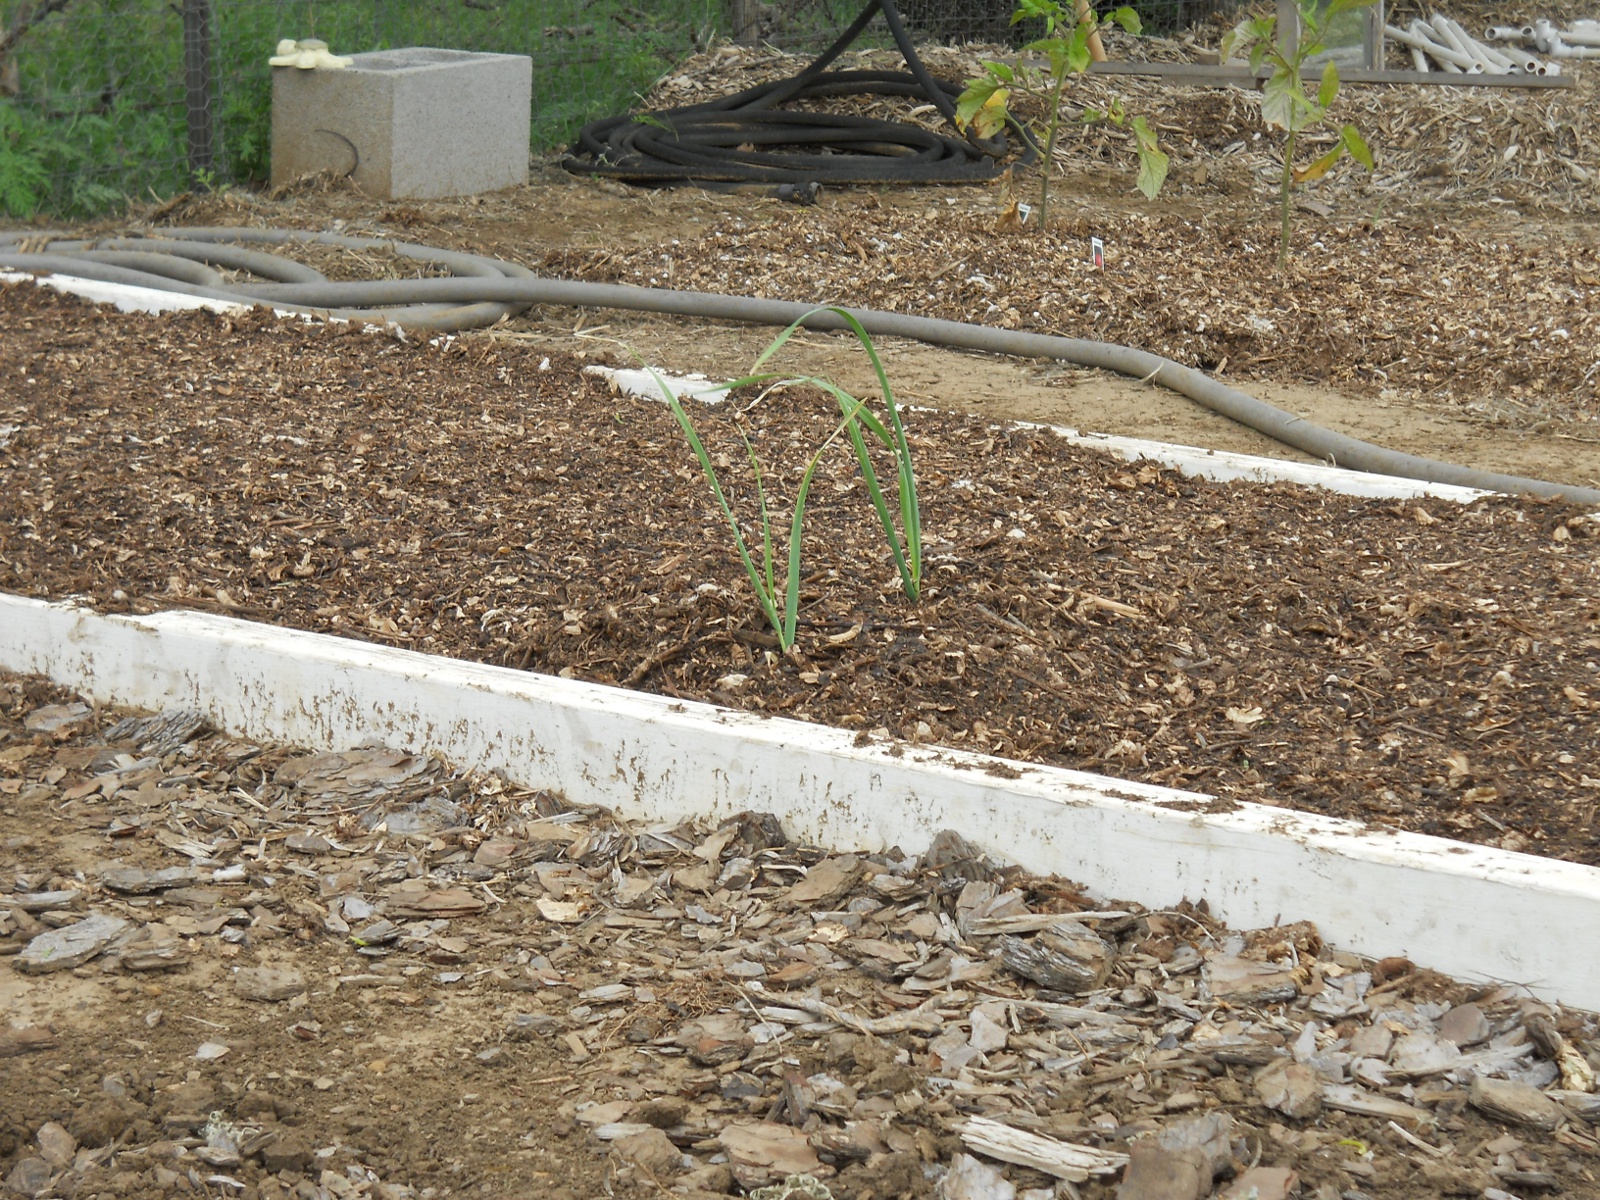
And here is the okra area in the far side of one of the garlic beds:

Garden Spring 2012 Ocra Area

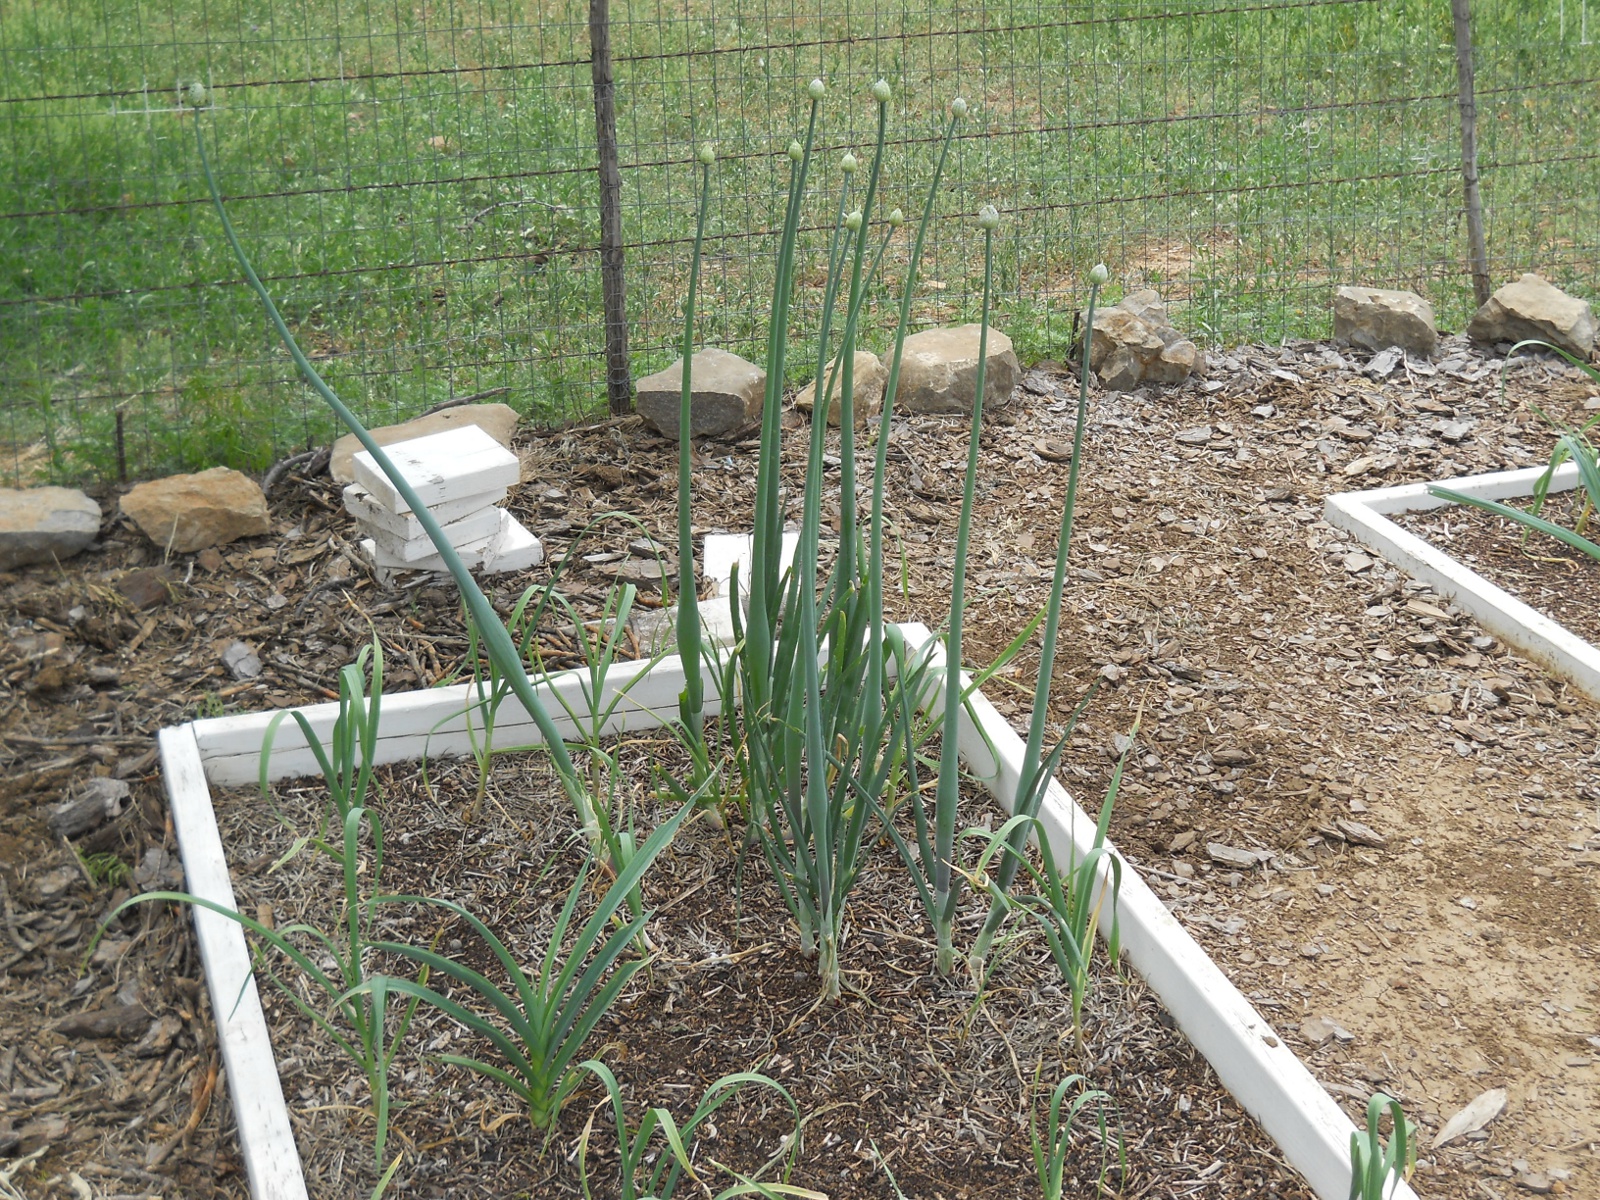
Interestingly, in one of the garlic beds, we had planted onions several years ago; and after last year’s drought, there wasn’t much left of them (some of them had continued to grow each of the previous years). Well, I thought I had cleared them all out for the garlic, but apparently not. We basically just use the green tops as I don’t believe bulbs are really growing, but I suppose we will see how that goes too, Lord willing:

Garden Spring 2012 Green Onions

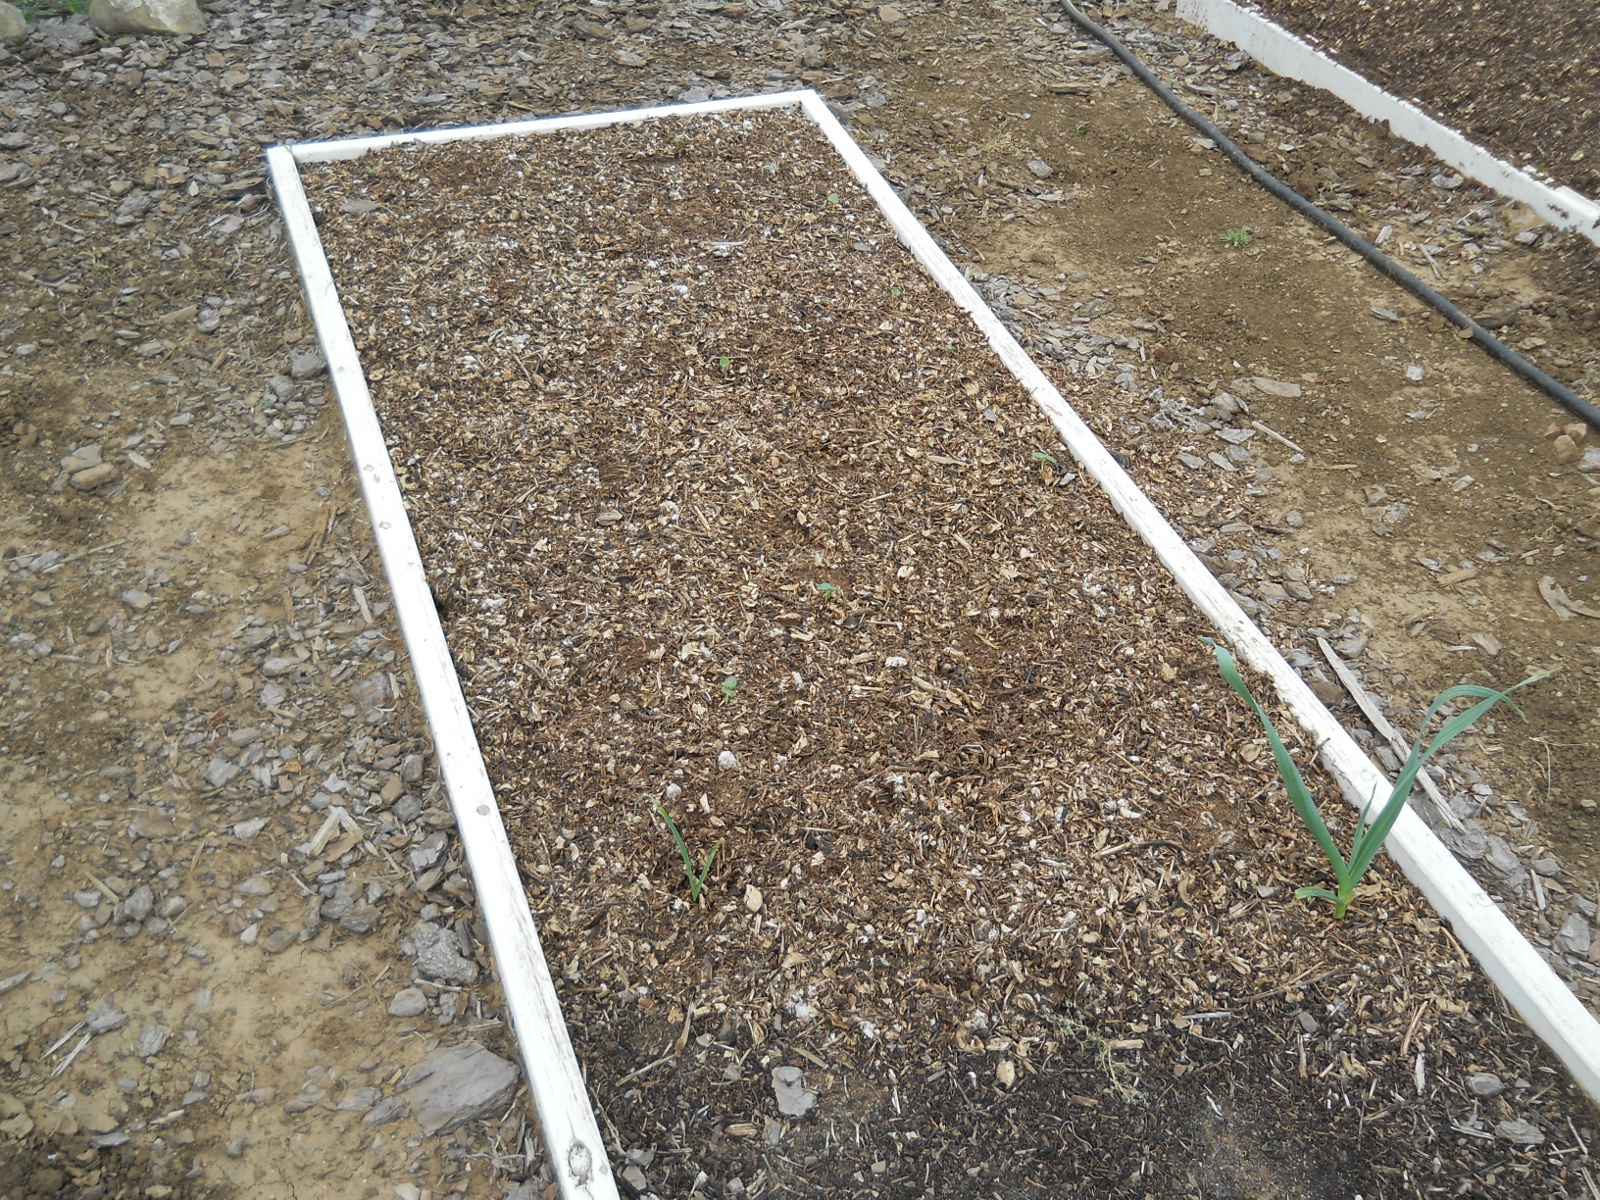
Also interestingly, although I didn’t plant garlic in them this year, apparently there was some remnant cloves from last year, still in them. Here is the carrot bed with a couple of garlic plants growing:

Garlic from Last Year in Spring 2012 Garden Bed

We are truly thankful to God for the opportunity to plant and water this year, and we pray He might grant provisions from the garden, in accordance with His will.

— David
A House – Update XVI – Internal Walls – Update I

Once the main roof of the house was covered, it was time to finish the internal walls.

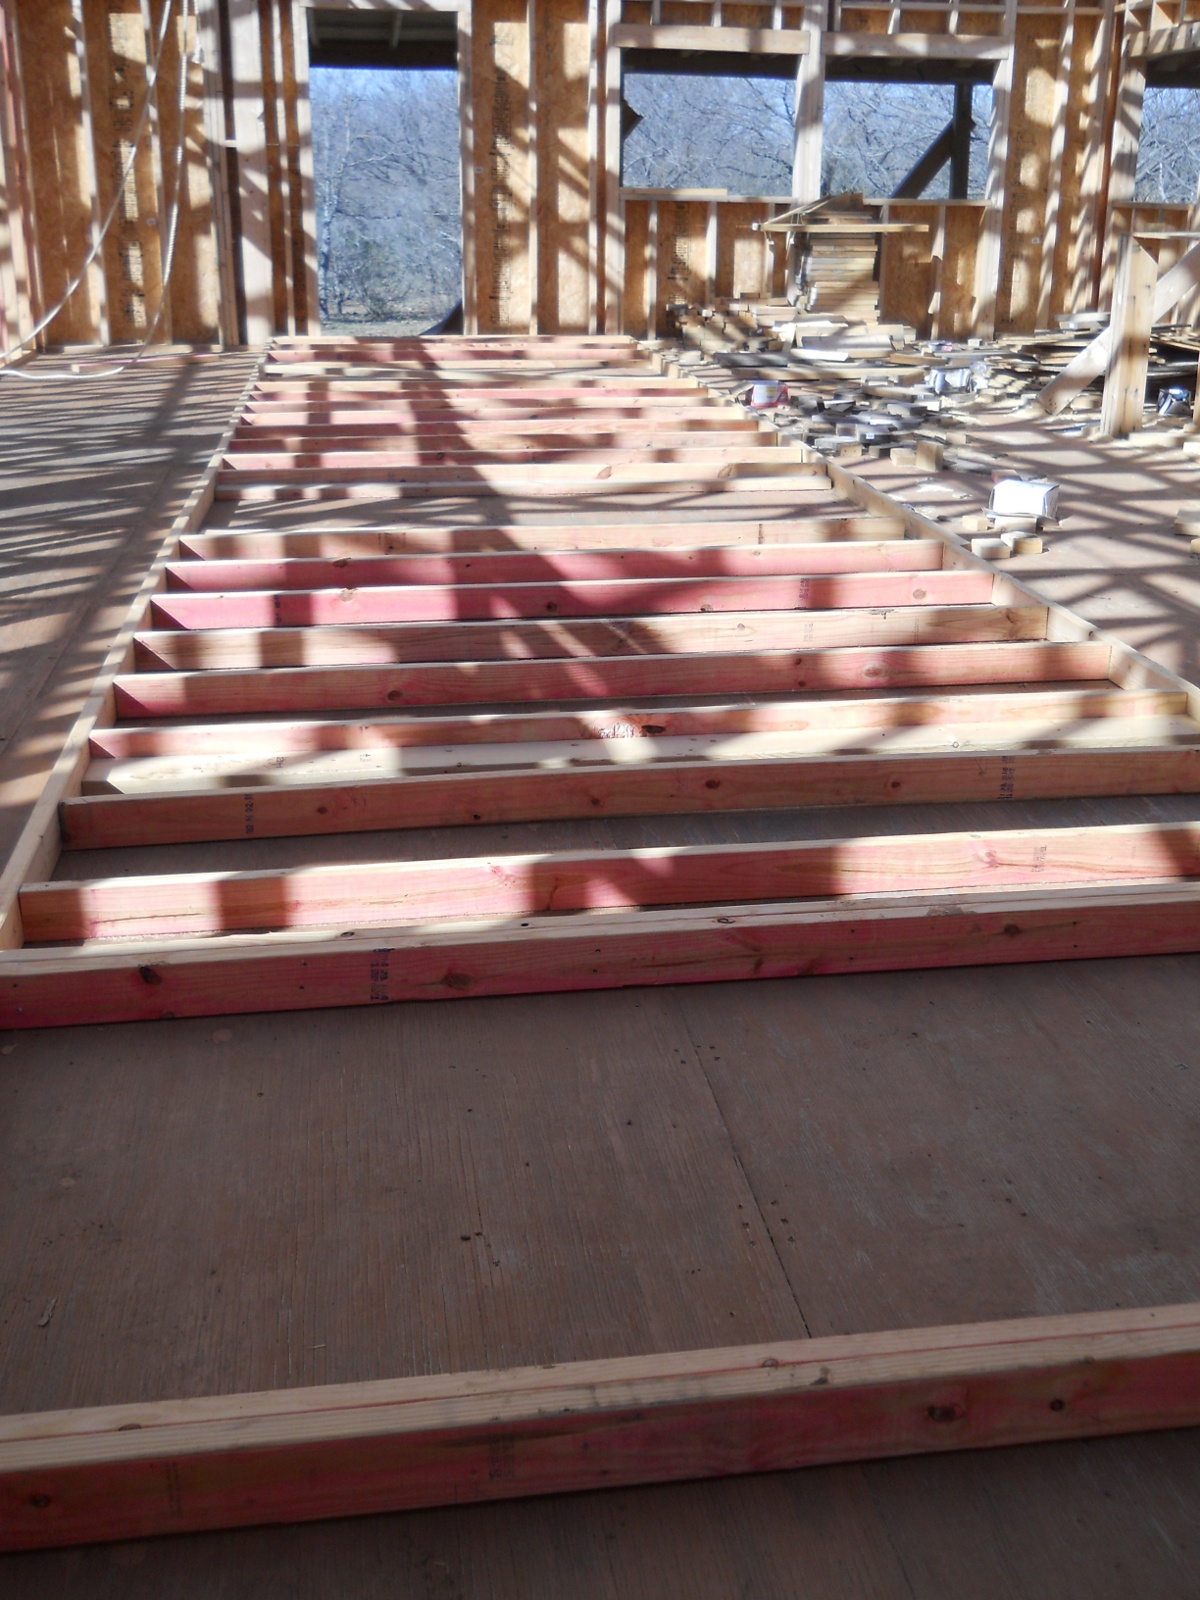
Here’s the last main wall that needed to be completed, before it was raised:

House Internal Wall Frame Before Raising

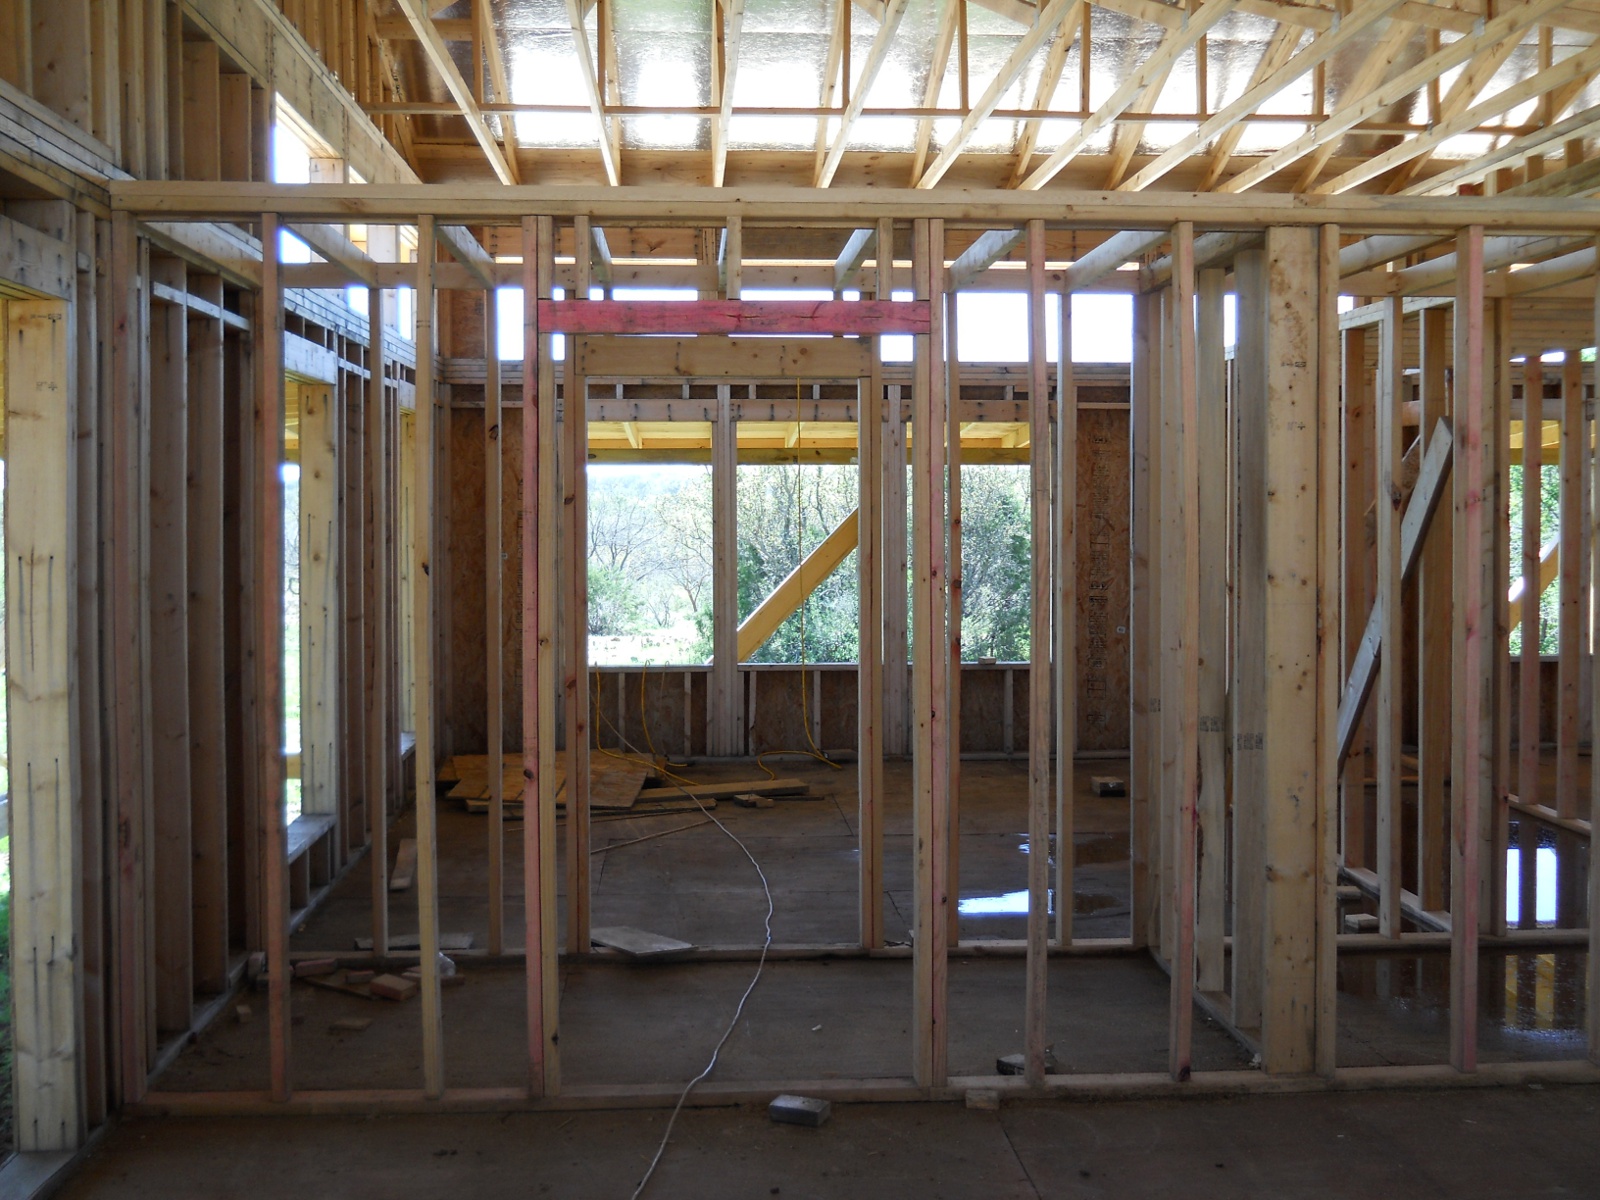
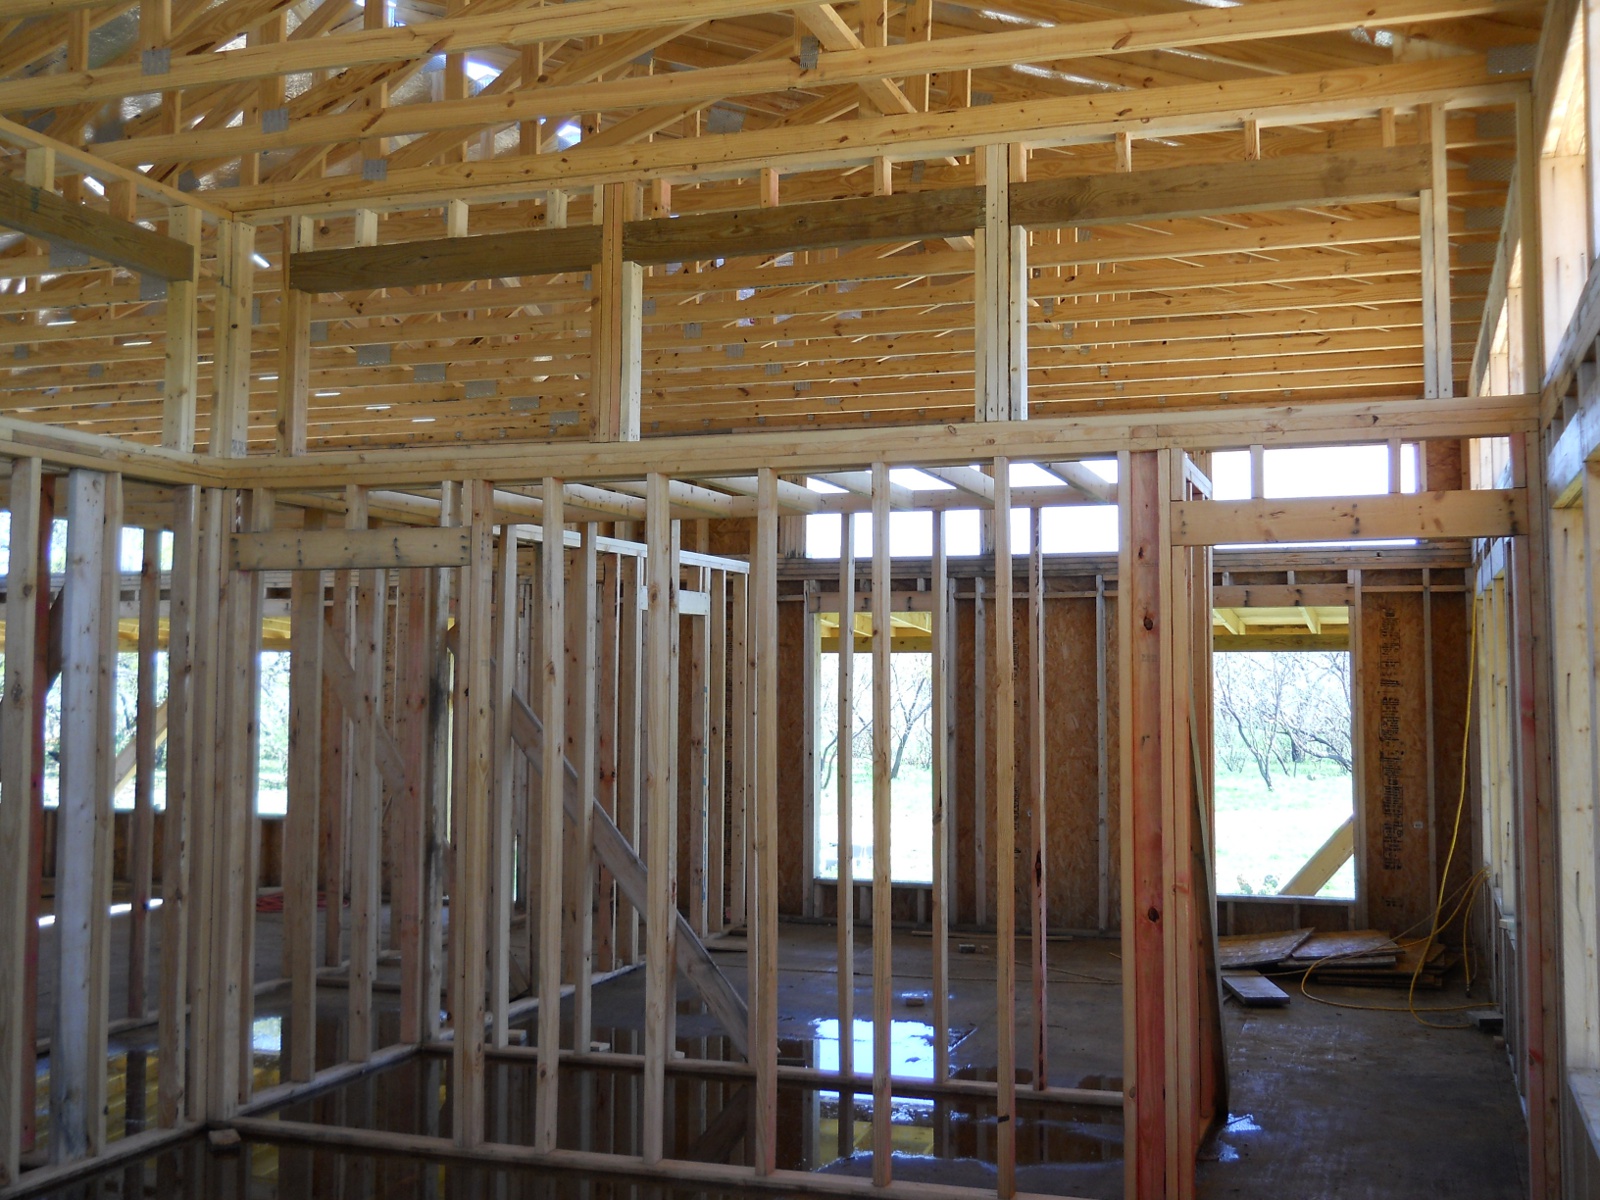
And the following pictures are how the walls look now all up and tied together. This is from the great room facing the library, showing the closet space in between:

House Internal Walls In Great Room Facing the Library

And a picture of the door to the pantry, which is next to that closet:

House Internal Walls Pantry Door

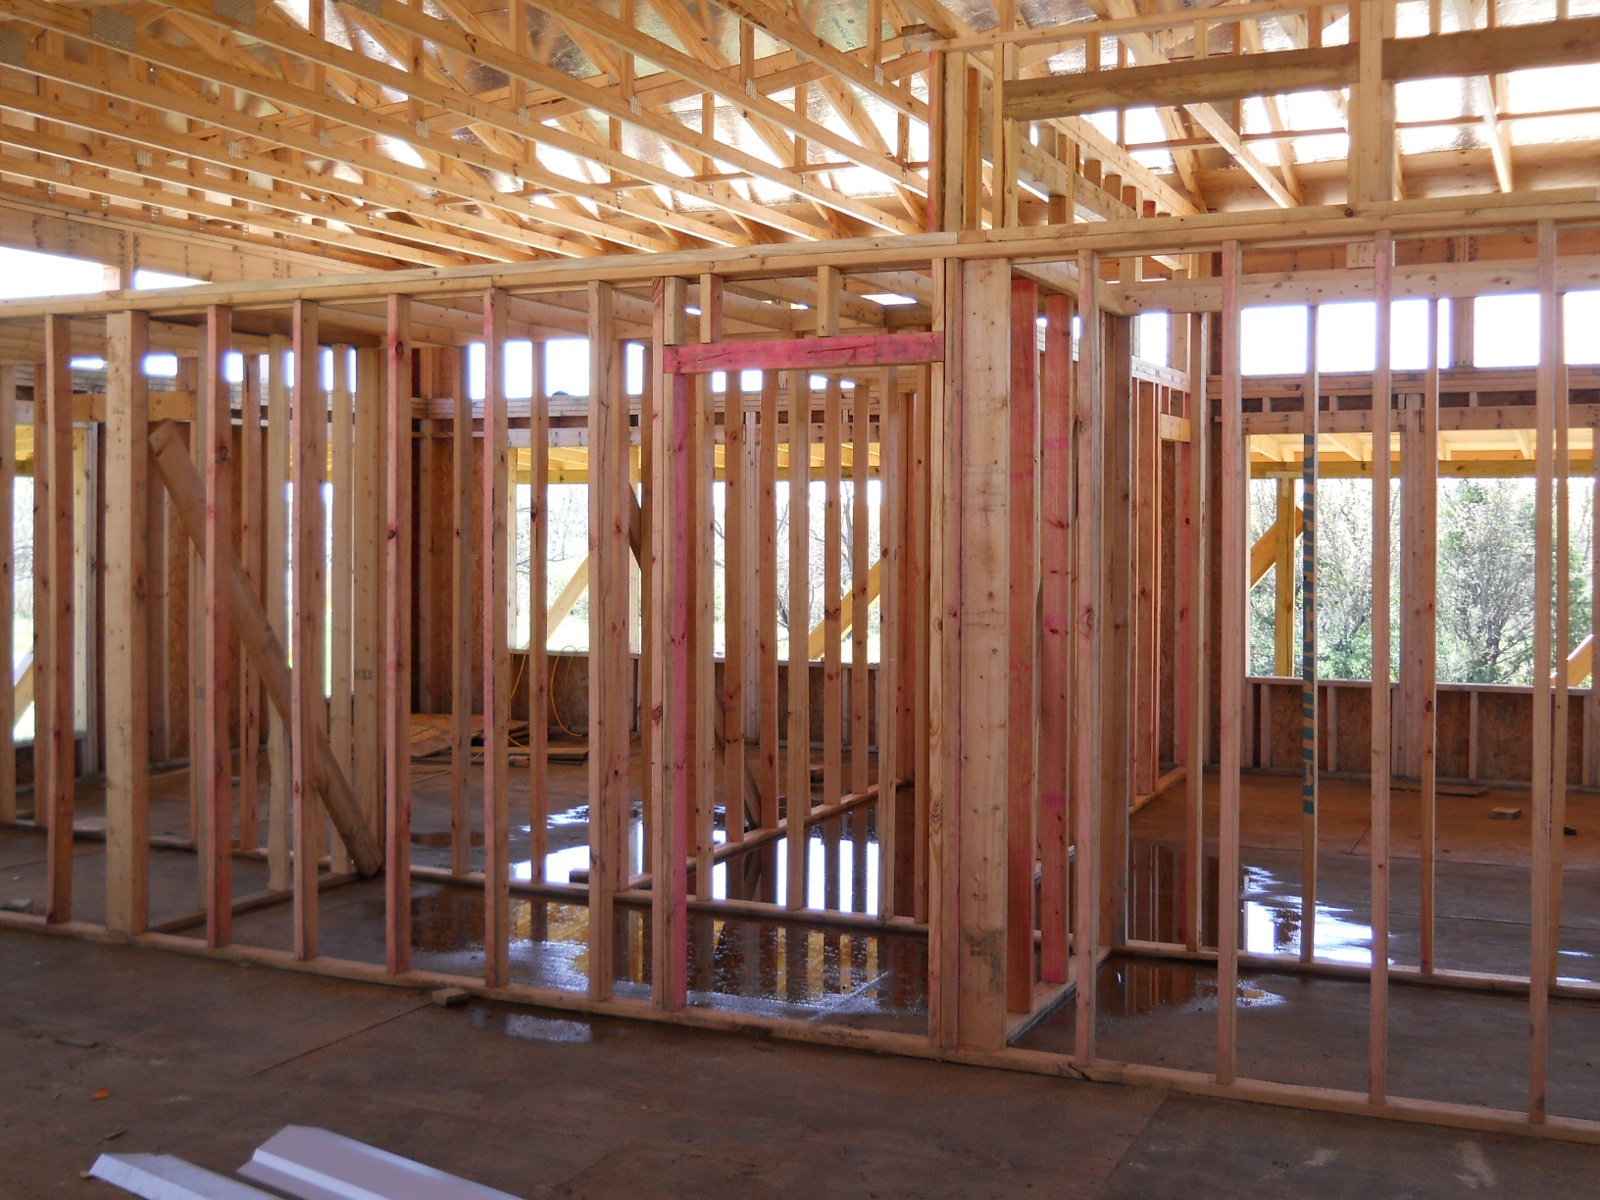
Here is the bedroom from the kitchen area with the bathroom in between:

House Internal Walls In Kitchen Facing the Bedroom

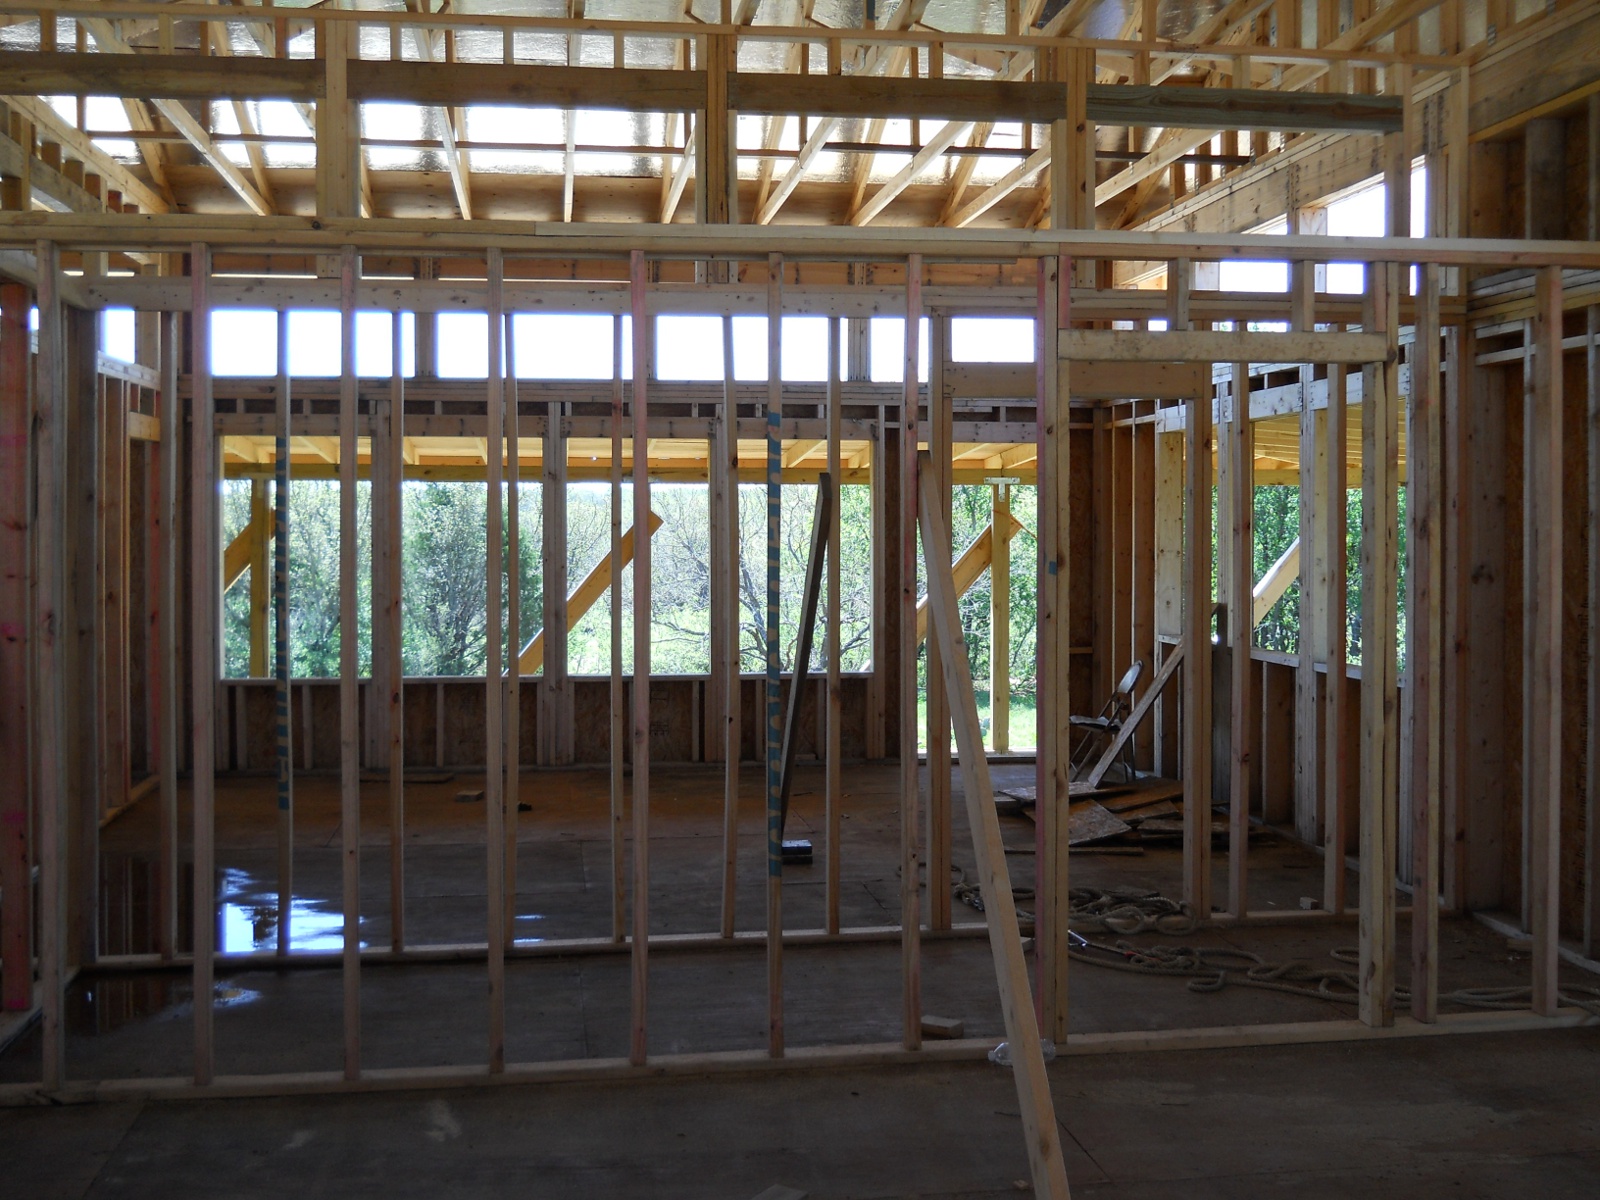
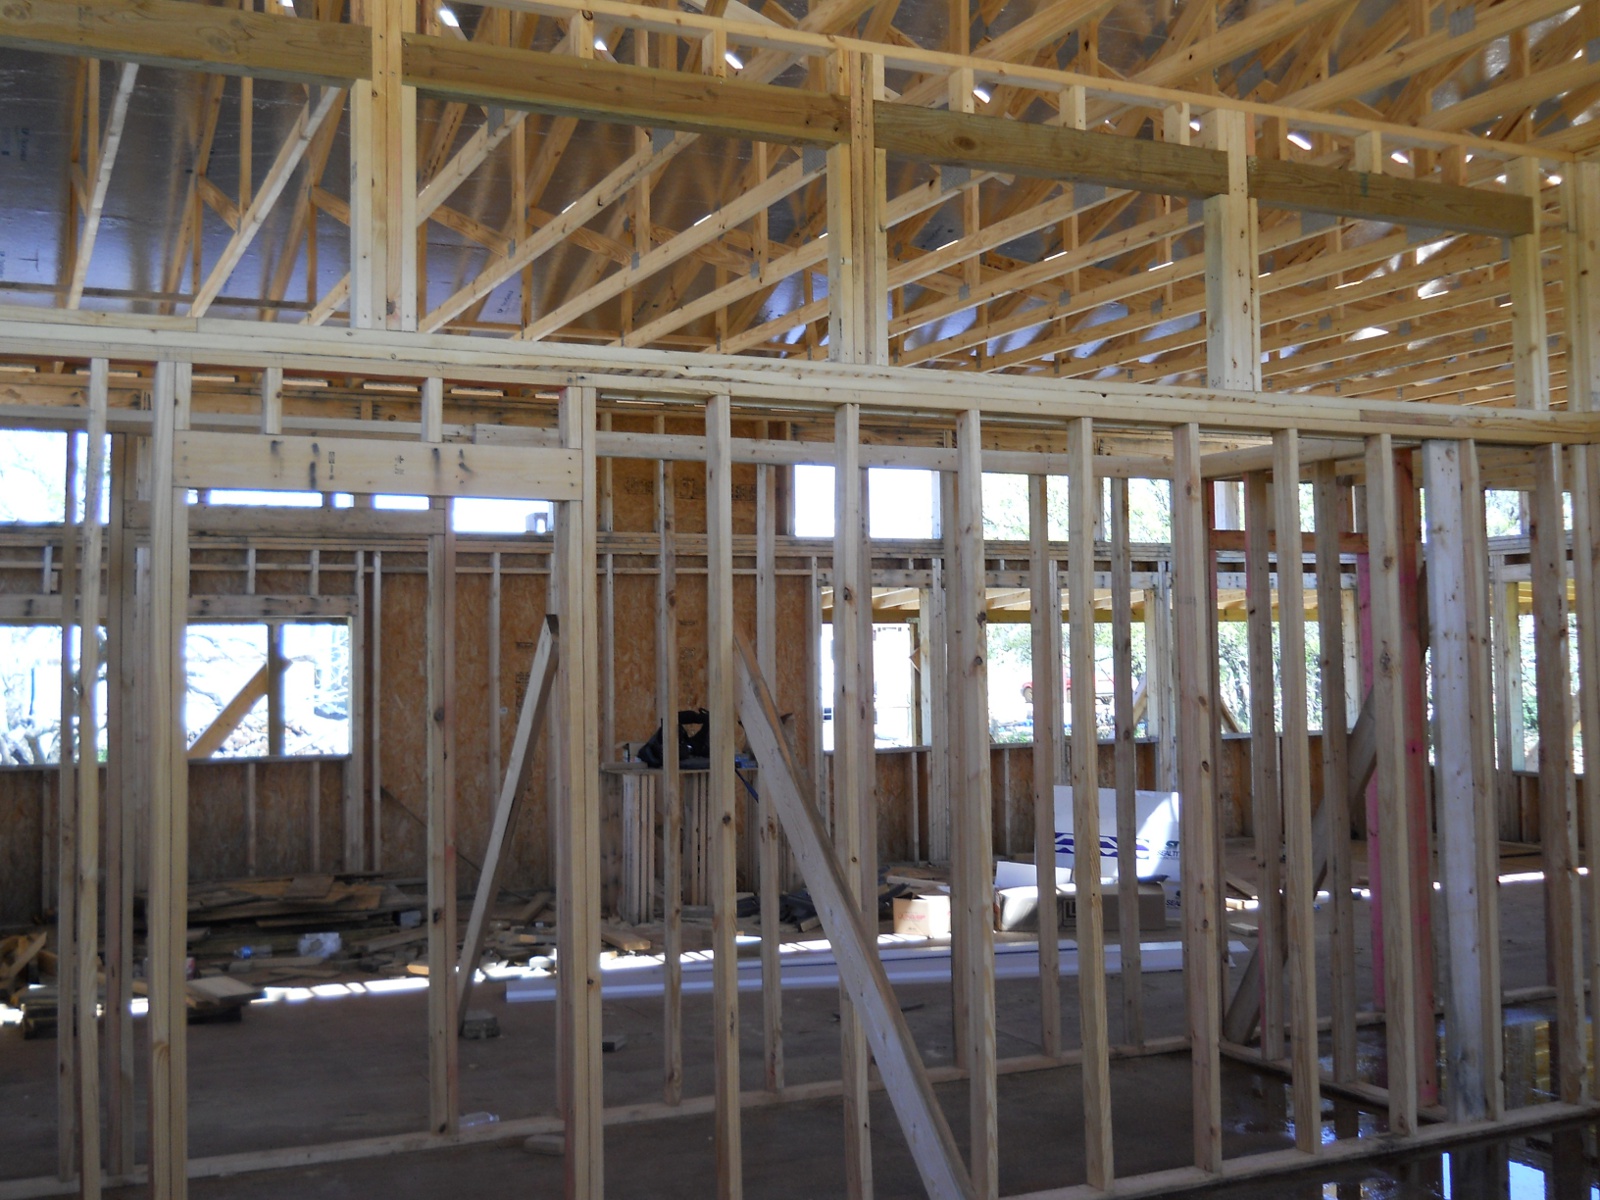
And here is from inside the bedroom facing the library:

House Internal Walls In Bedroom Facing the Library

And then facing the kitchen area. The bedroom is the only room that we plan to enclose with windows to be able to keep heat in during the winter while still allowing for air flow during the summer:

House Internal Walls In Bedroom Facing the Kitchen

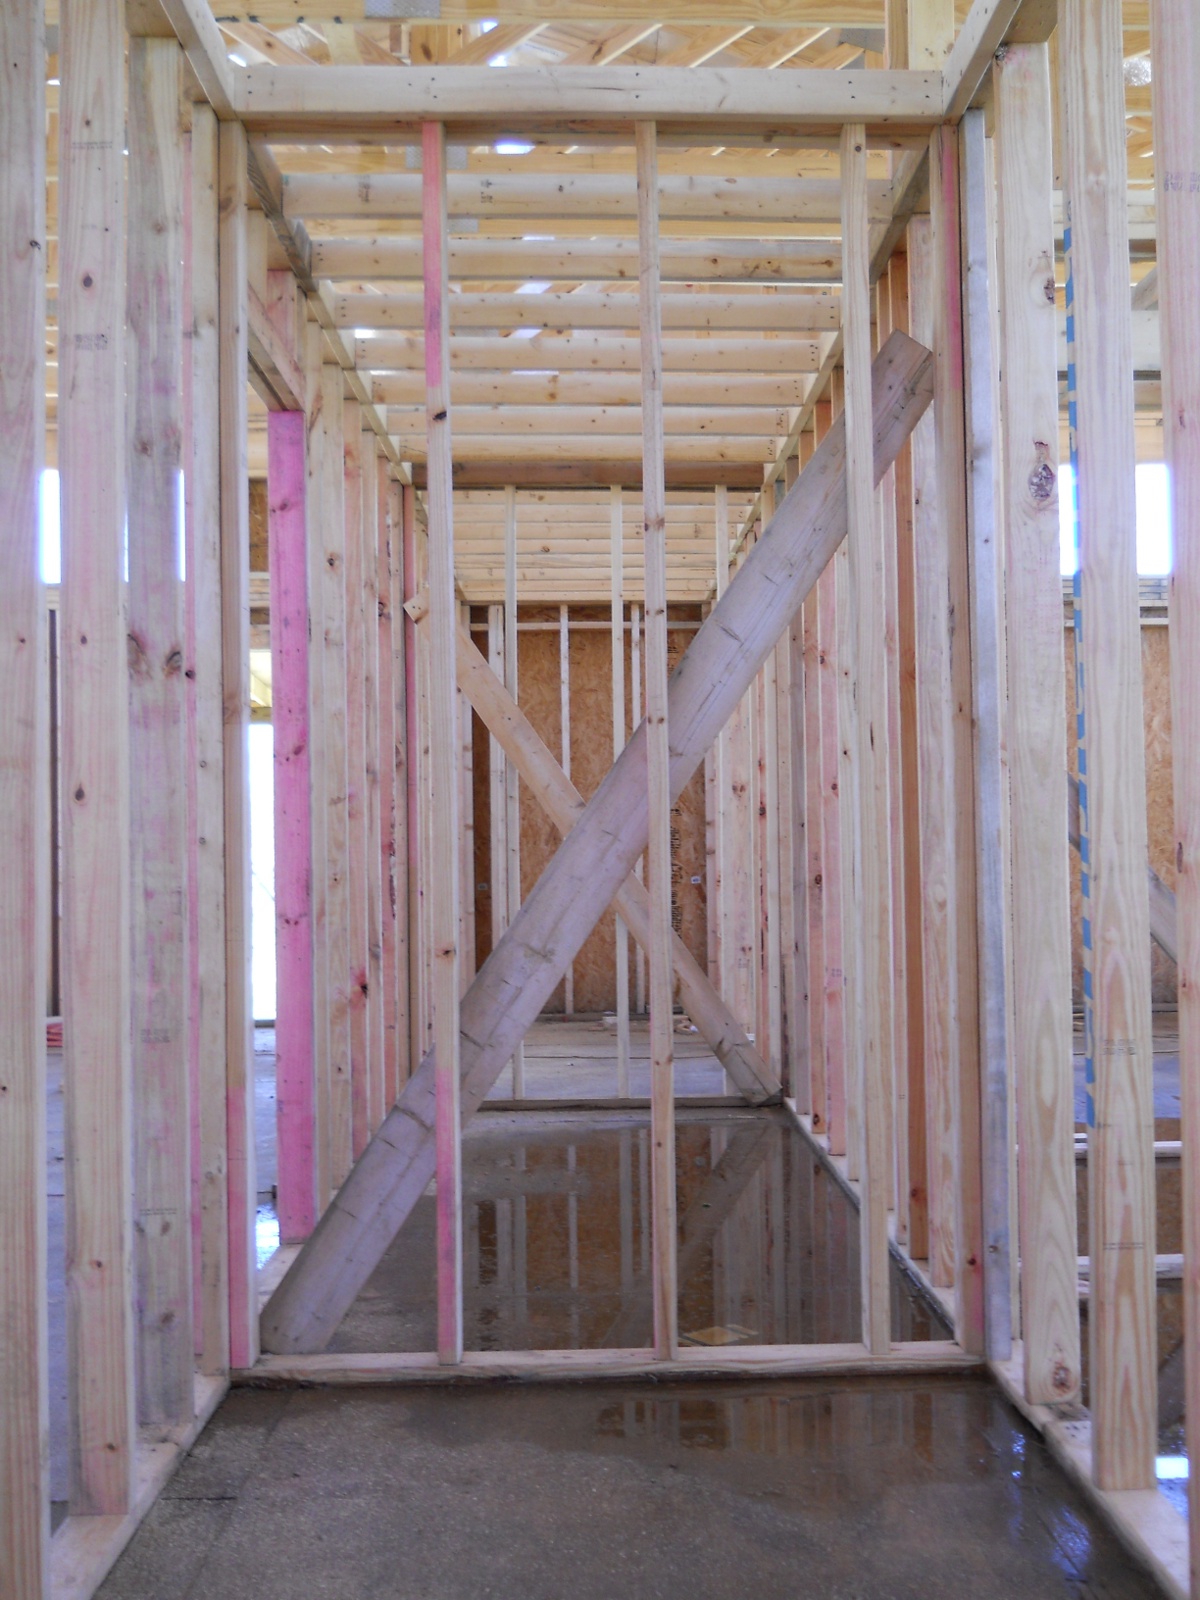
And here is a look down the pantry and closet from the bathroom:

House Internal Walls Looking Down the Pantry and Closet from the Bathroom

We are thankful once again to God for His provisions to allow us to continue progress on the house.

— David
Turnips & Wheat 2012 – Update I

The Lord has graciously brought a mild winter and plenty of rain, and has granted that our turnip and wheat crops begin to flourish!

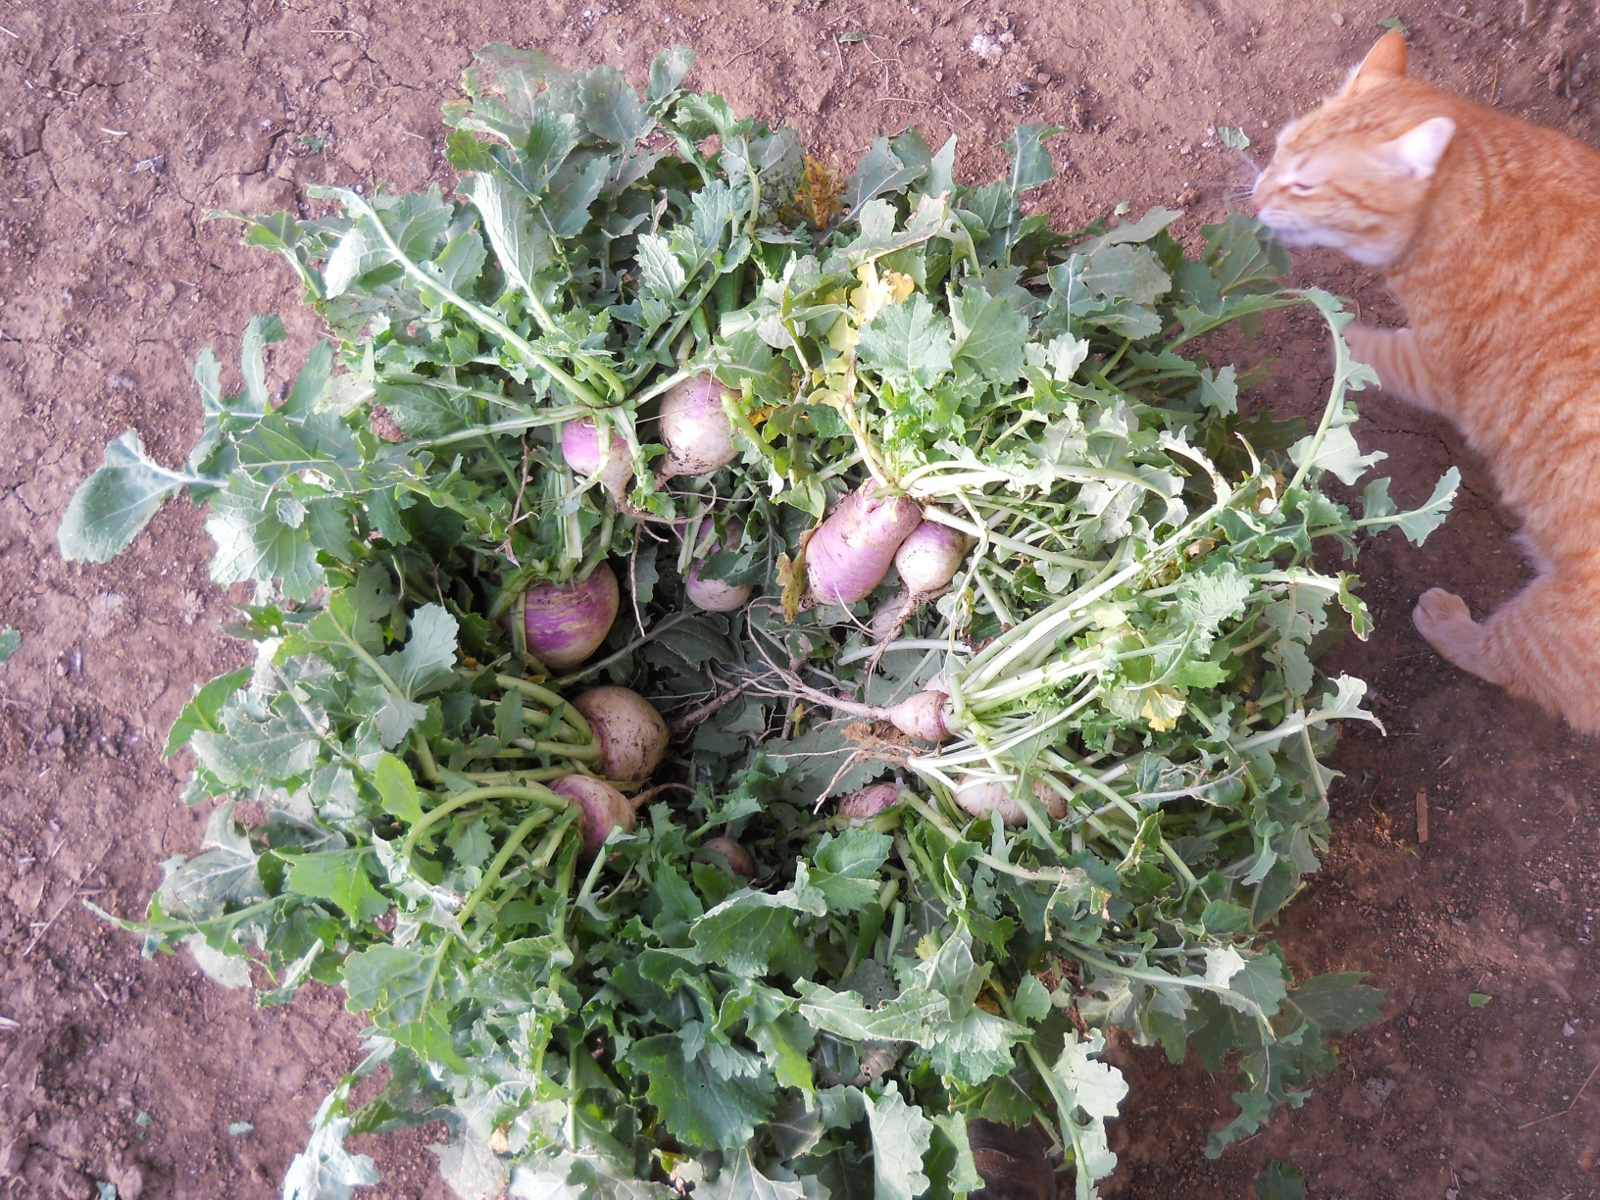
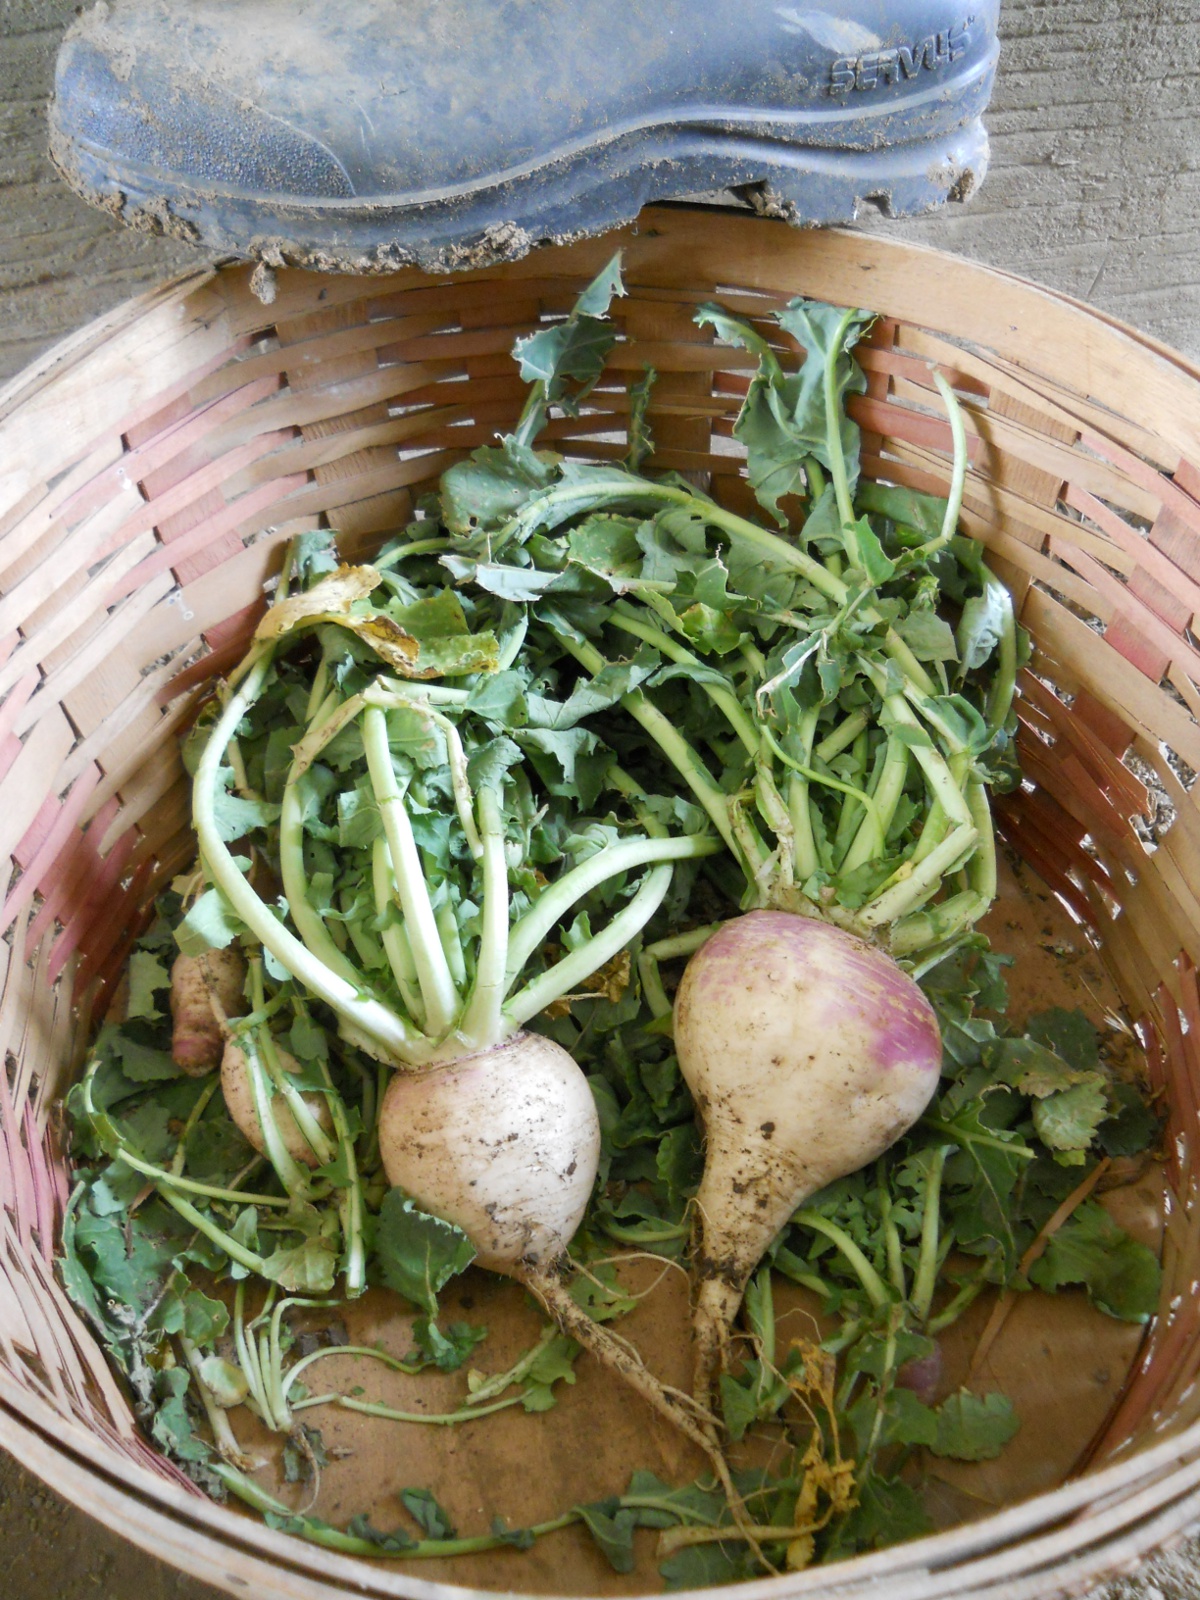
Here are the first turnips collected:

Turnips 2012 Collected in a Basket

You can see the size reference with the boot on top of the basket. They’re not all this big, but indeed some are fairly large:

Turnips 2012 Size Reference

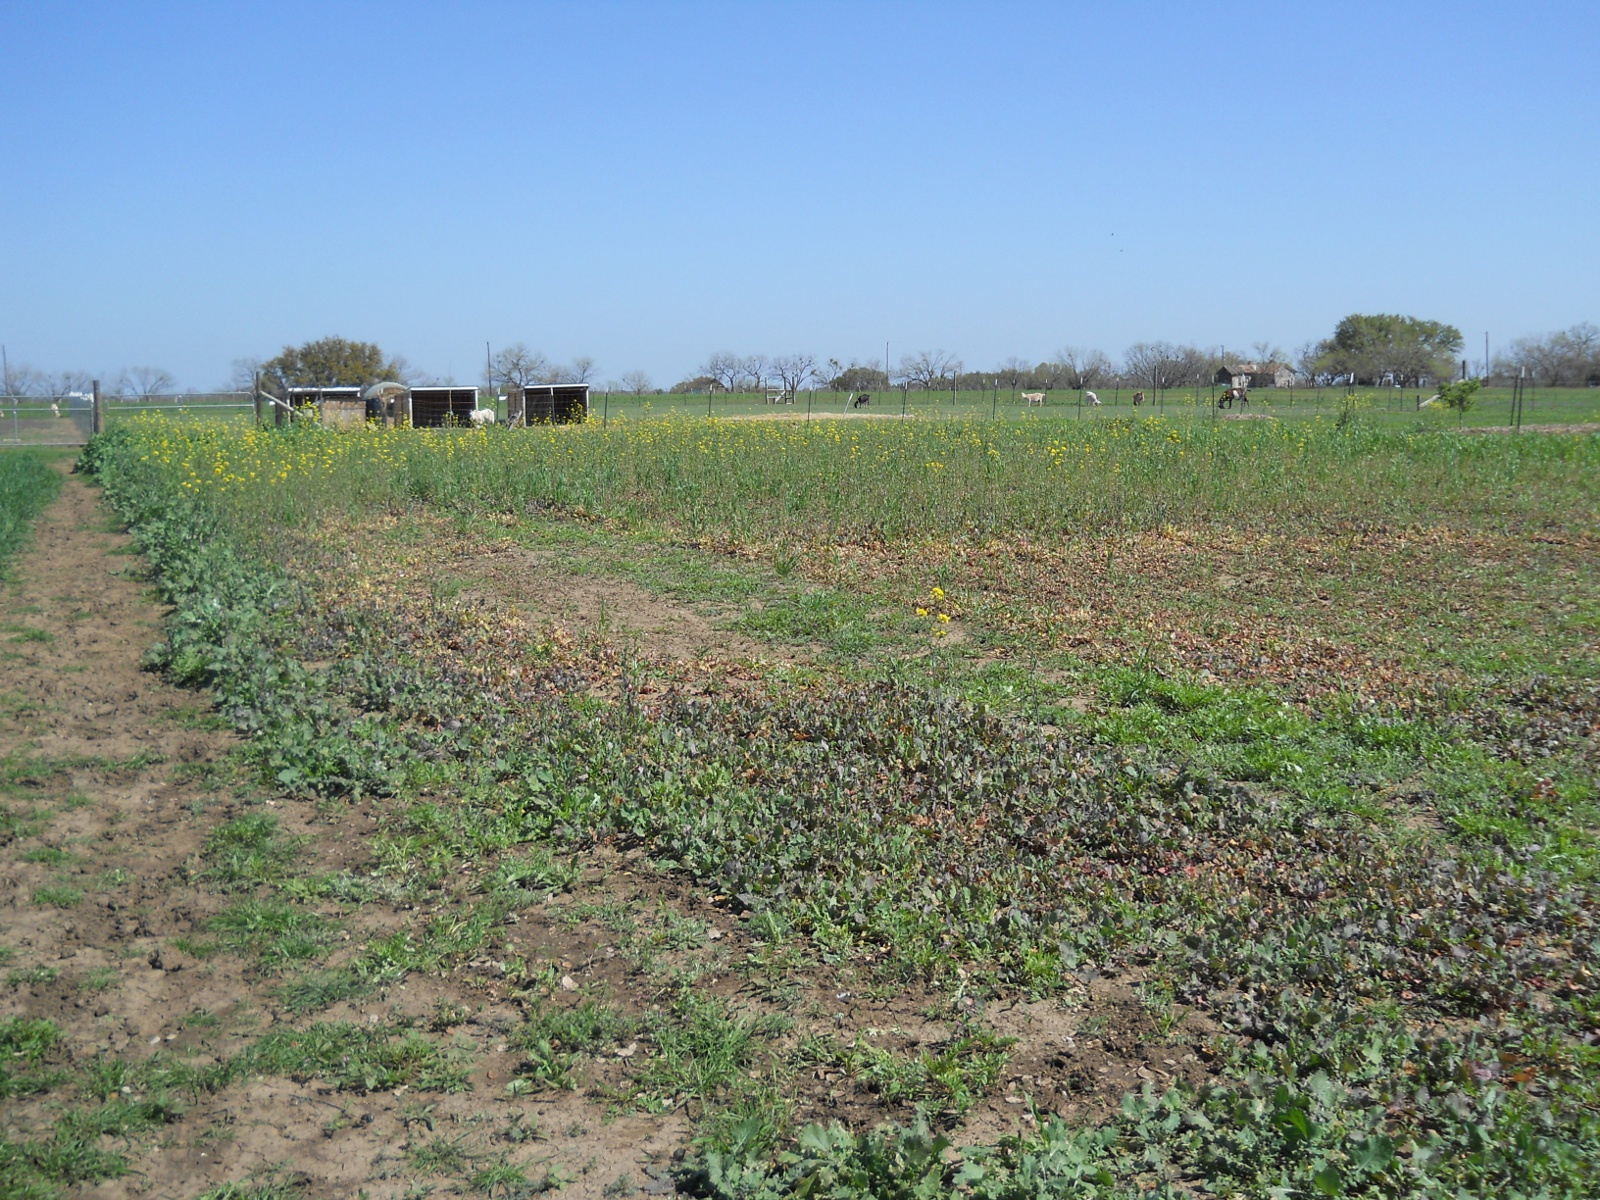
And here is what the turnip field looks like currently. Many have bolted, and the tops of some of them have begun to rot–we had several days recently after rains where the sun didn’t shine and things remained wet, although the turnips themselves are still good. I also think I waited too long to begin harvesting:

Turnips 2012 in the Field

We are using the turnips basically as pig food right now, and they love them! There haven’t been many more joyous and satisfying moments here on the land for me than when I am able to feed our pigs solely from off the land–truly “living our dream” of being independent from the world and dependent on God and His provisions directly!

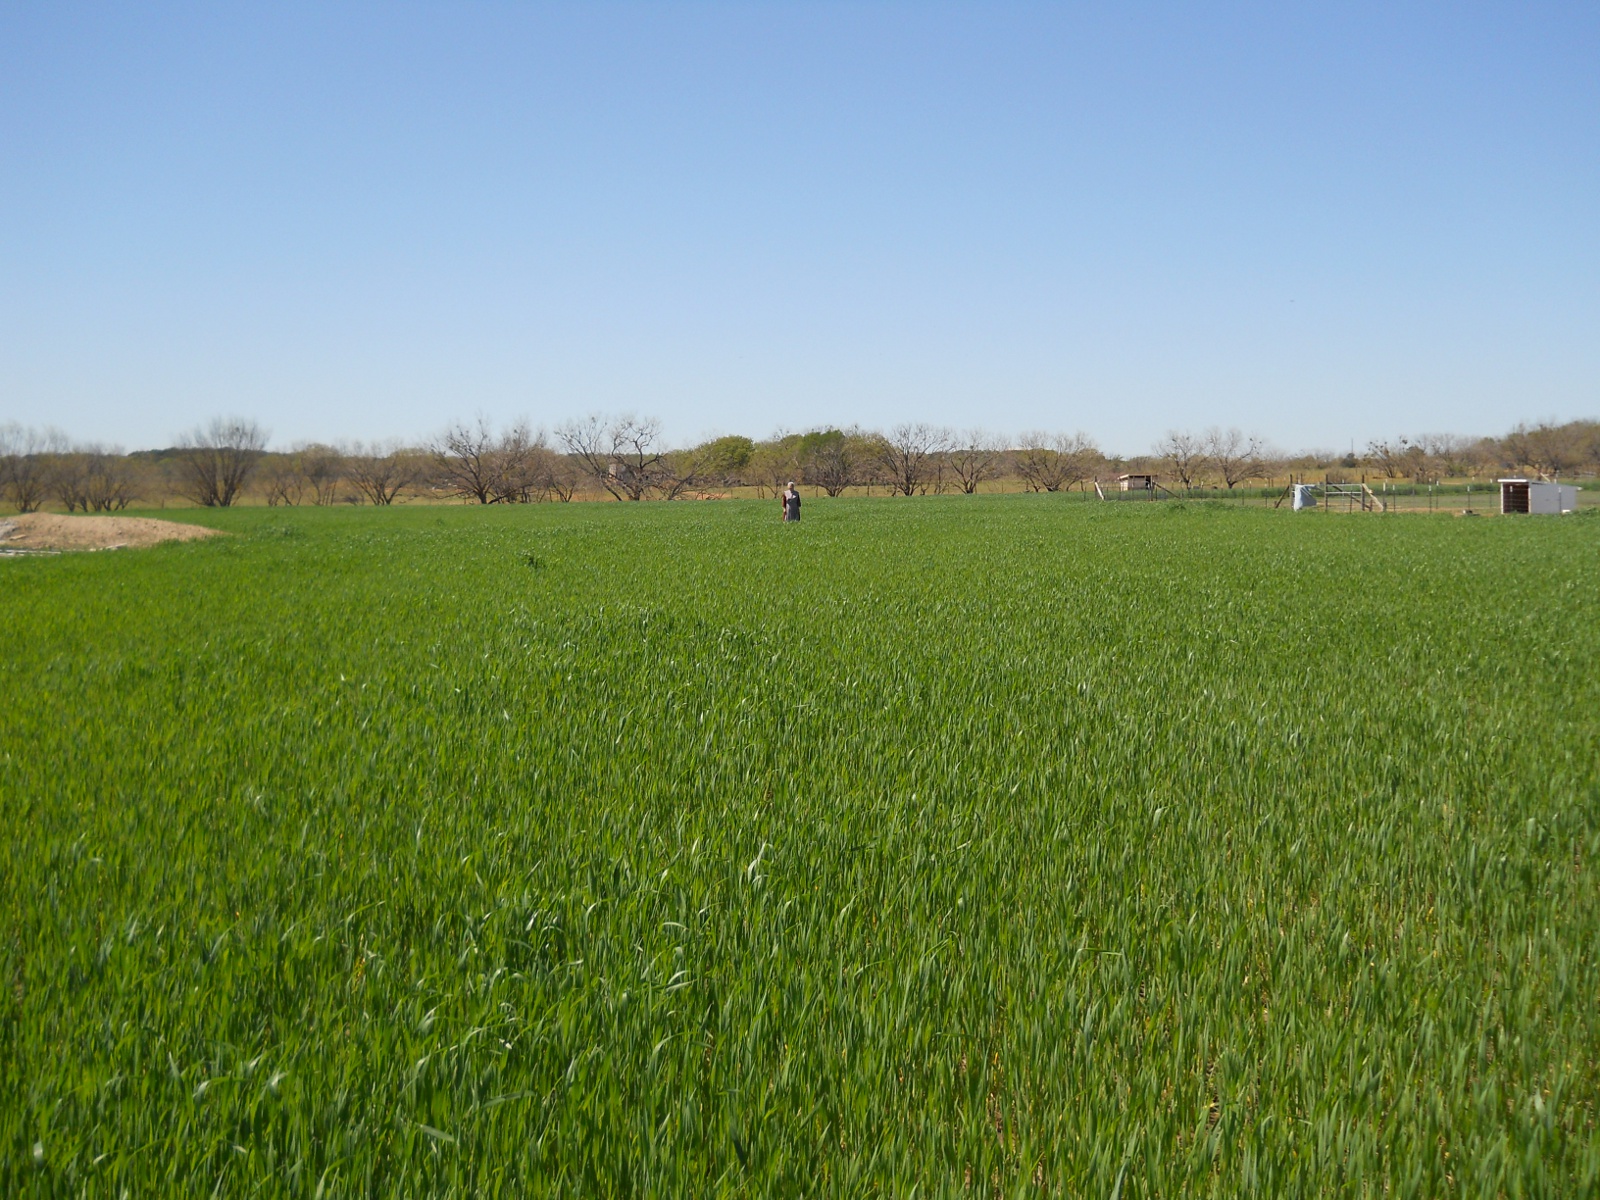
Here is the wheat field currently:

Wheat 2012

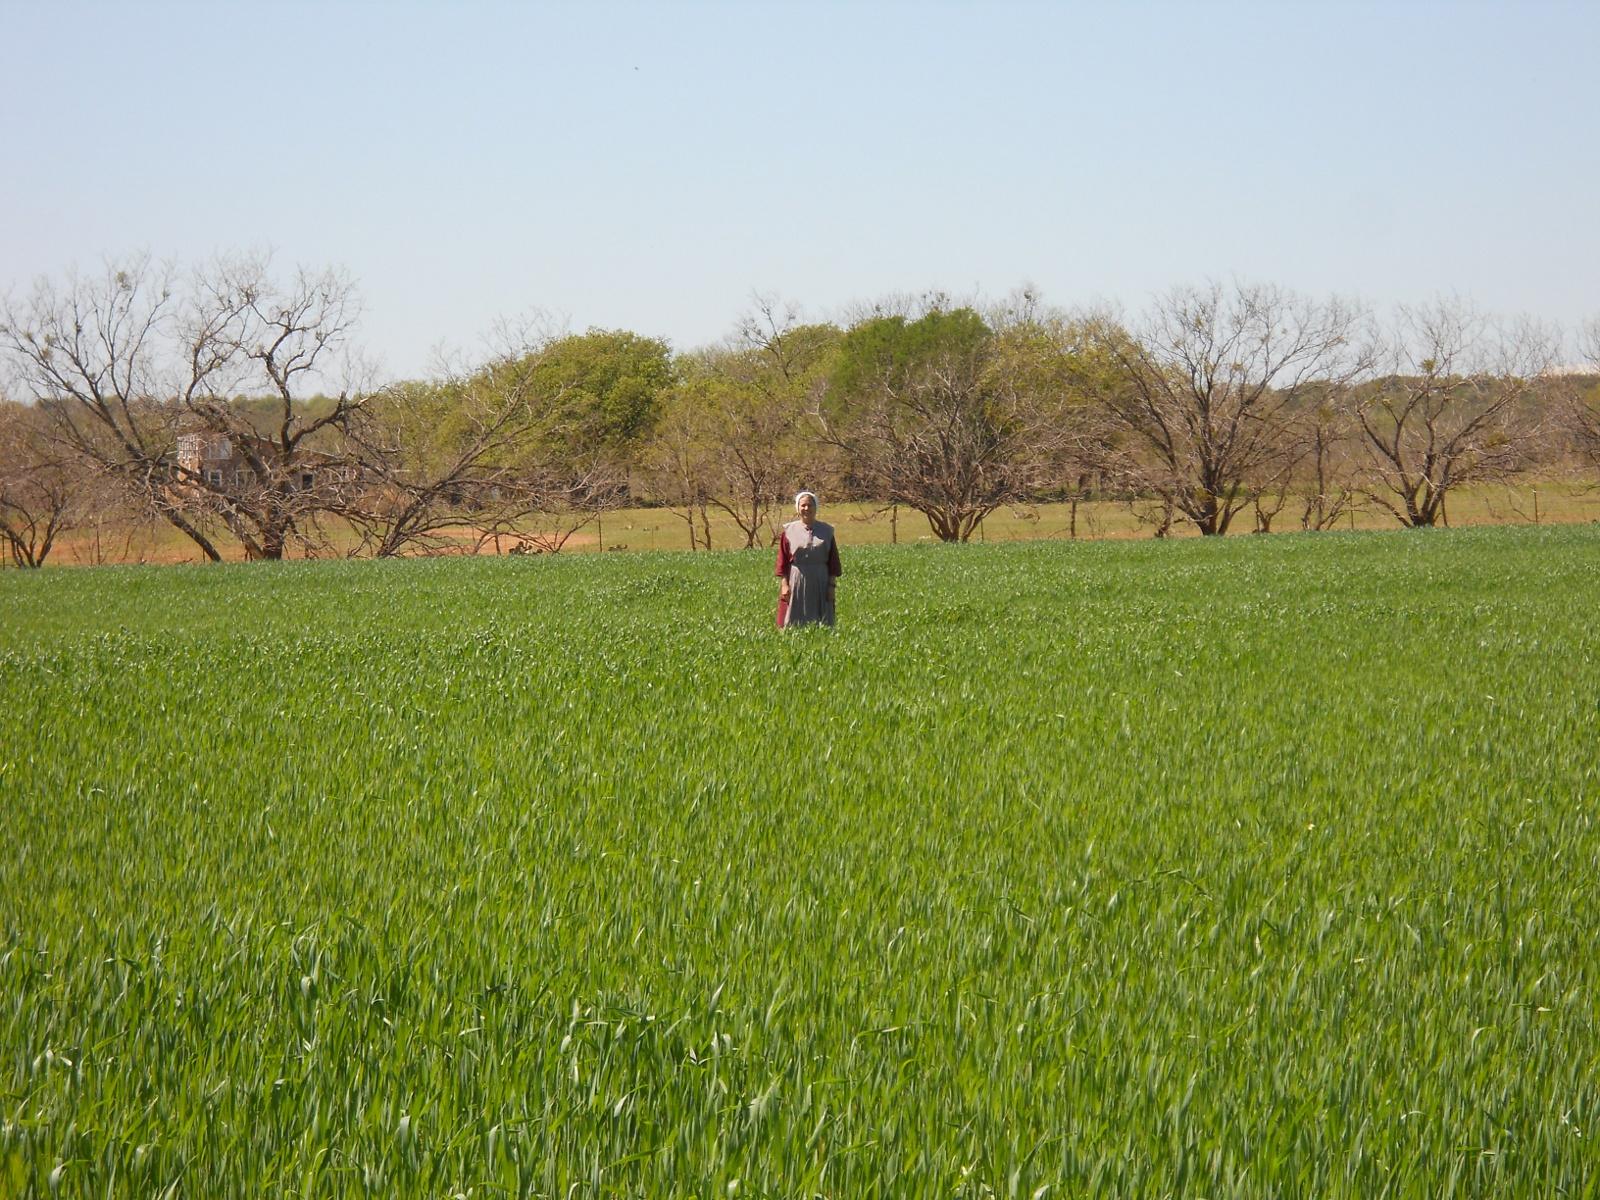
And here’s another picture with a closer view of Sue so you can get a better idea of the height, which is about up to our knees:

Wheat 2012 Up to Our Knees

We look forward to continuing to harvest the turnips and later the wheat, as the Lord wills; and we are grateful to Him for granting these provisions, and we pray He continue to help us in the steps of separation from the world as unto Him!

— David
« Older posts Newer posts »